
Matthieu Lemoule Duparc | 3D Character Artworks | 2022-2023


Hi ! I’m Matthieu, a French 3D Character artist currently stuying at Artside Game Art School at Bordeaux. I love to make Stylized and also realistic artworks. Today I am very happy to show you the progress I have made during my Artside Journey !
Matthieu Lemoule Duparc | 3D Character Artworks | 2022-2023
Hi everyone !
I am very pleased to show you my entry to the Rookie Awards 2023. I am very excited to show you what I could have had the pleasure to work on for two years at Artside Game Art school !
During those two years, I had the occasion to learn a lot in various domains such as game art, 3D / 2D digital art, traditional art, and concept art. Not too long after my first years of studying all those subjects I decided to specialize in 3D character Art, as it was what I loved the most working on in my freetime.
I hope you'll appreciate my work !
My Artstation : https://www.artstation.com/mutoda
Moon Reaper
Original concept by Qi Jinyan : https://www.artstation.com/artwork/8e3Kdn
Figure collectible project I've done under the supervision of Hugo Aubert ! This dude took me 4 weeks to do. The objective was to create a nice stylized figure in ZBrush in order to improve our anatomy, gesture and renders skills.

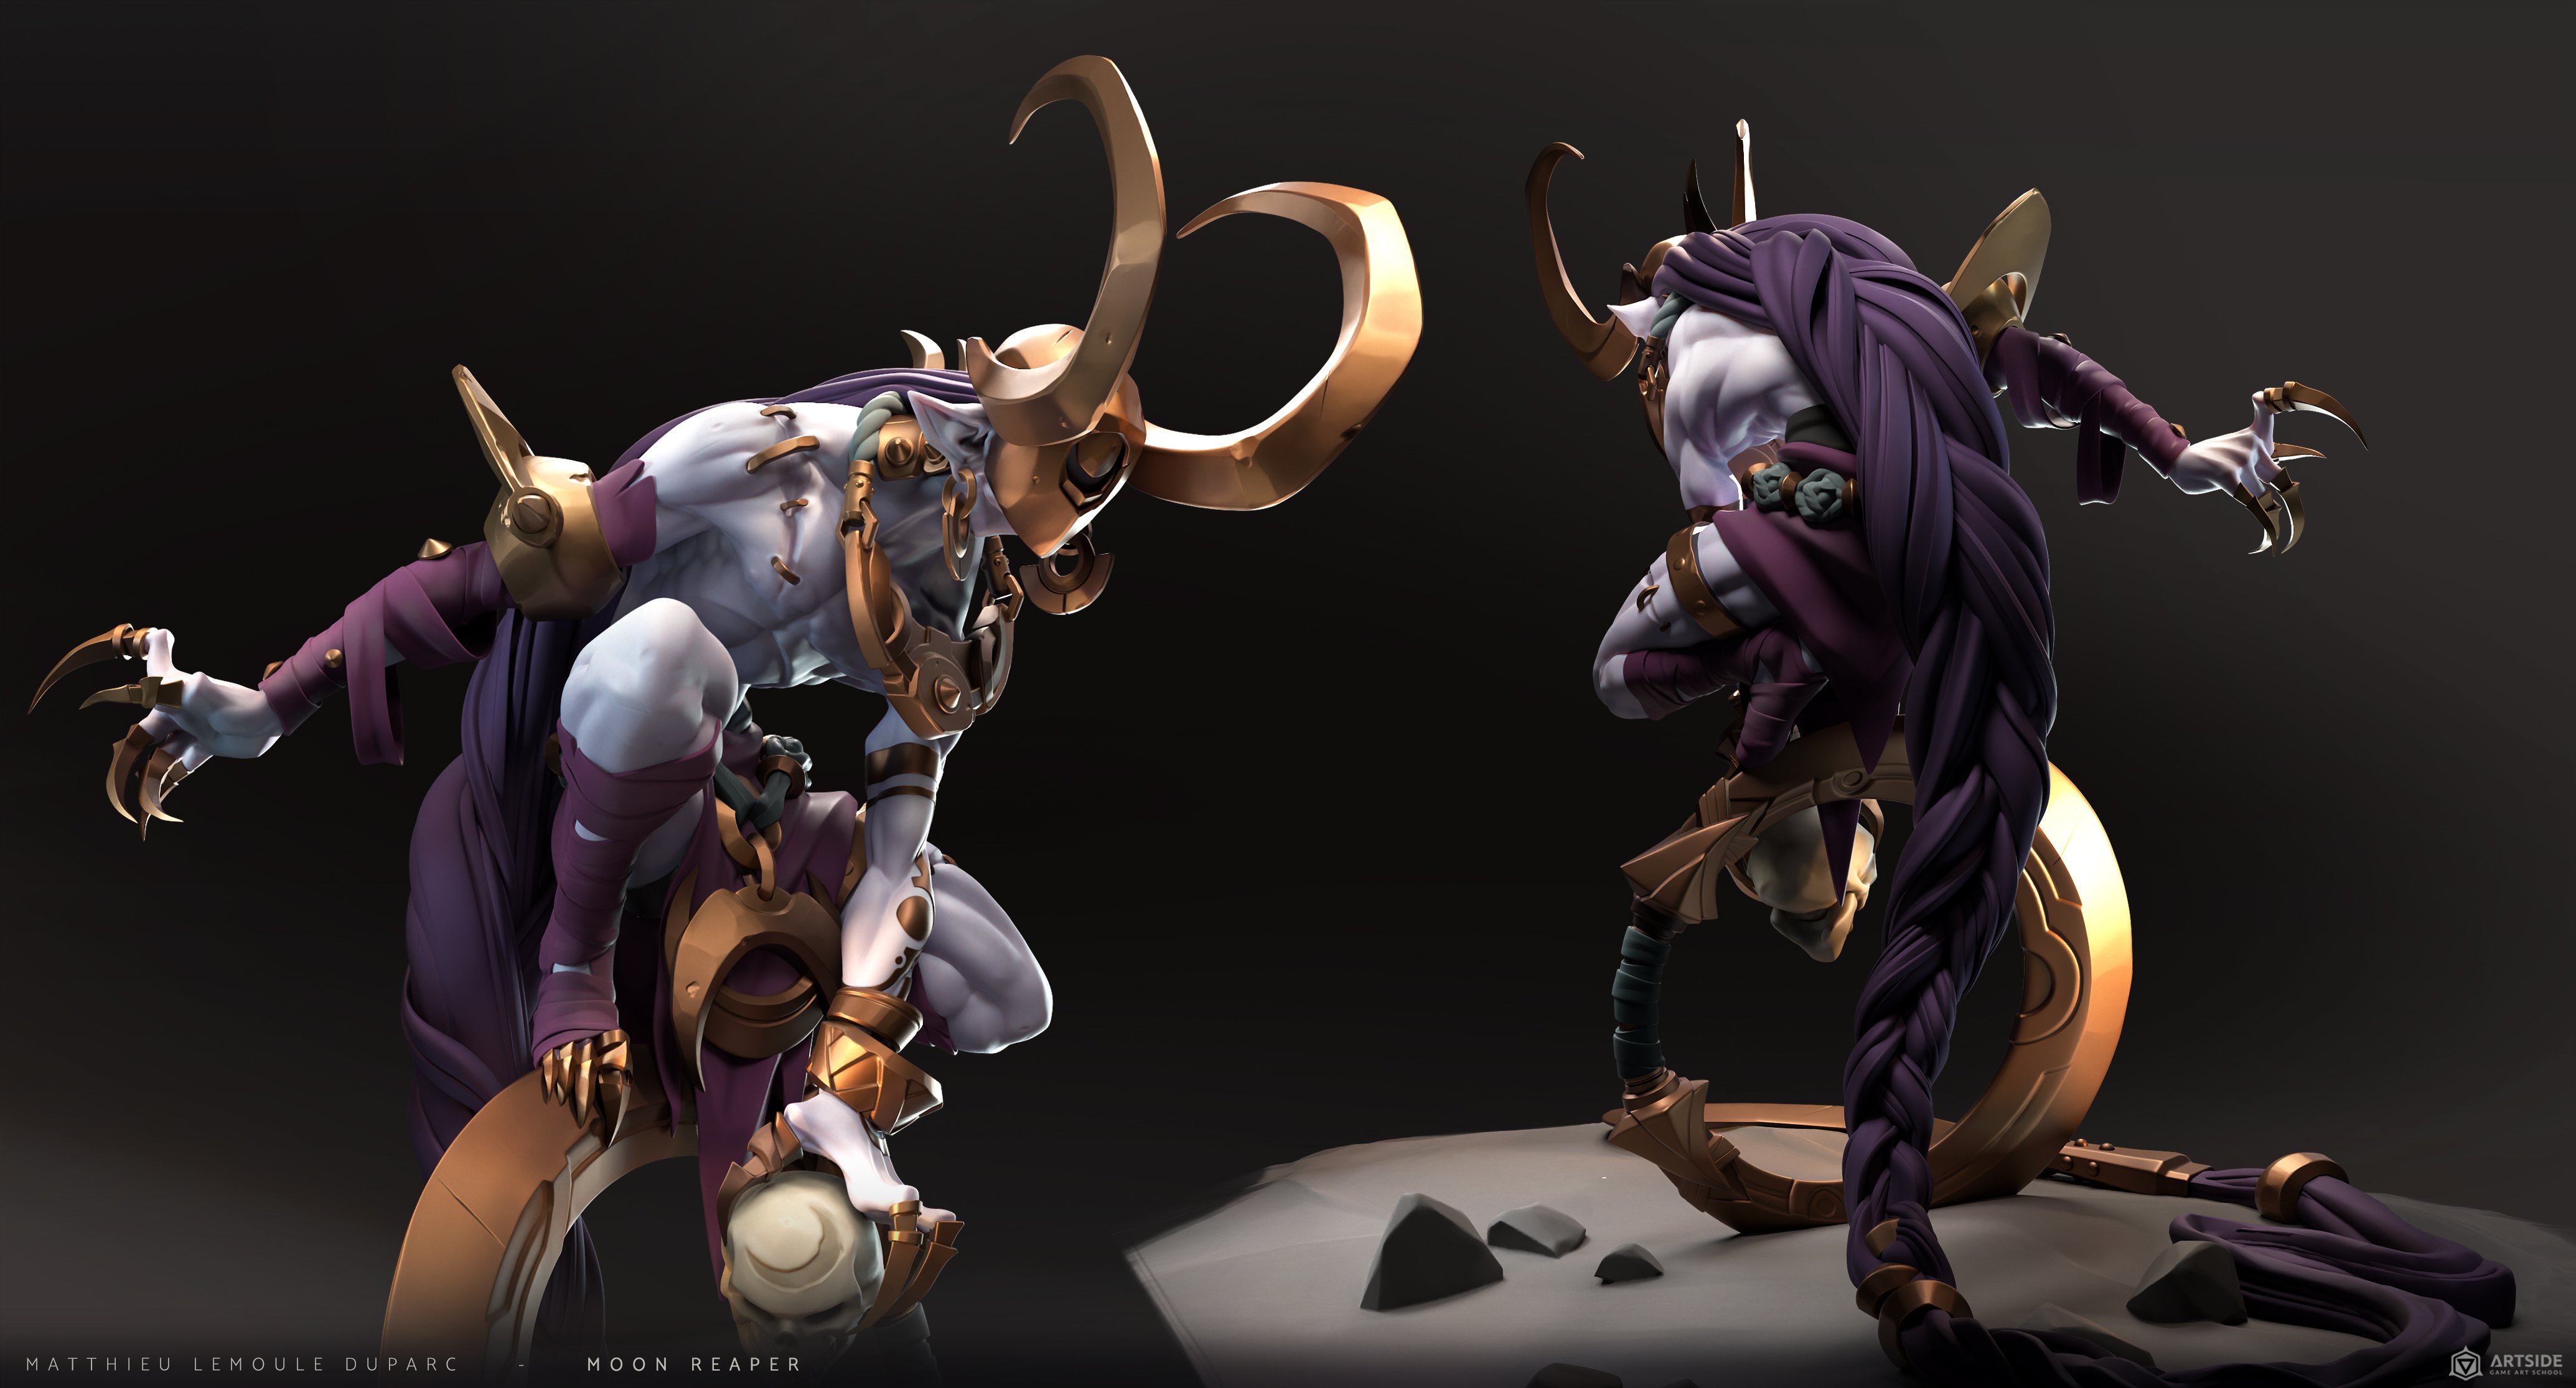
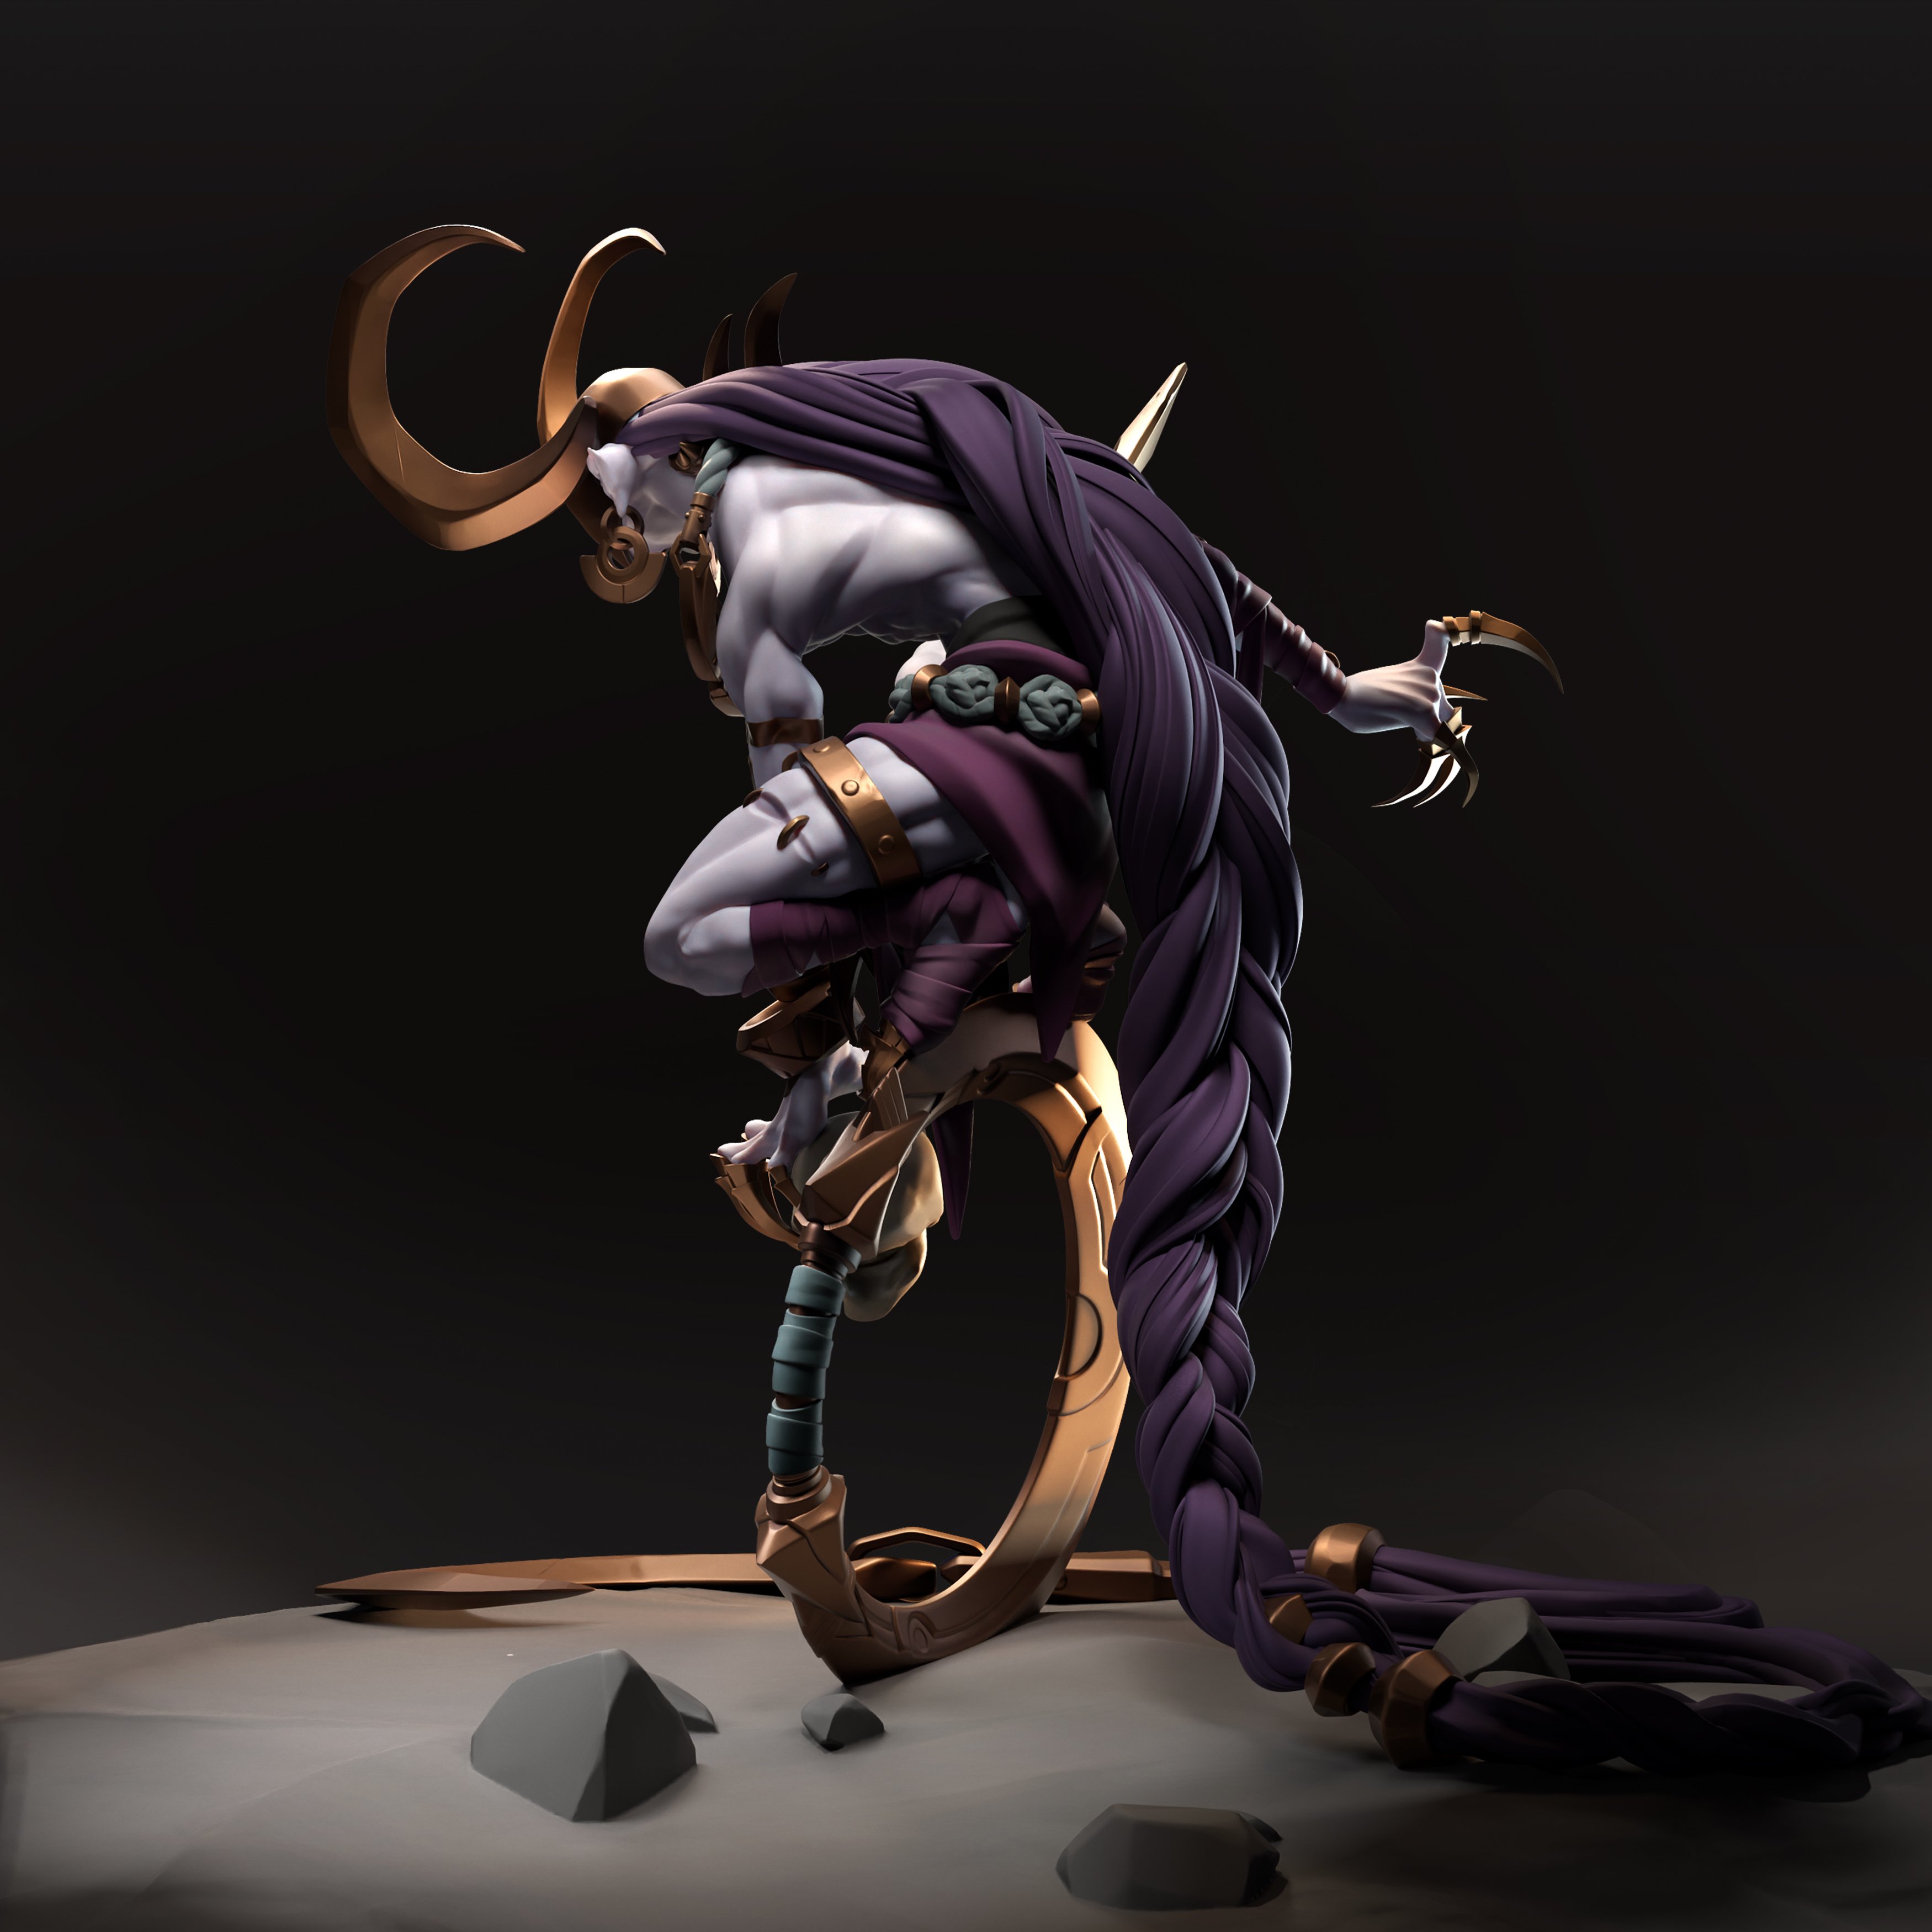


All images were rendered in marmoset toolbag and then composed in photoshop.
I also gave myself the pleasure to make a little over painting on the close up image of his head to give it a nice illustration artwork style !
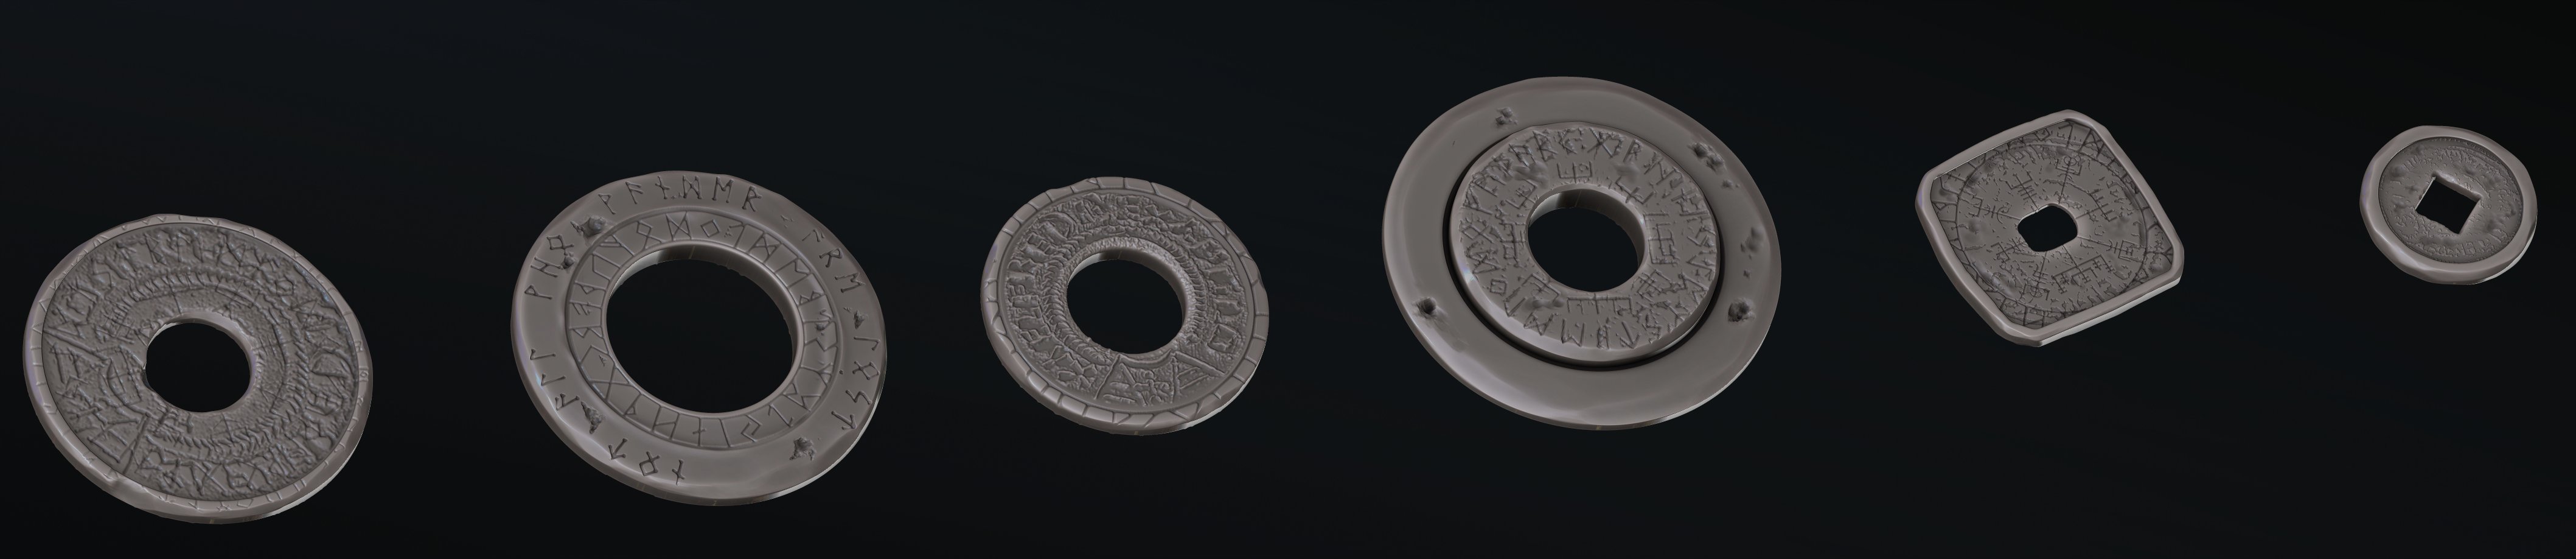
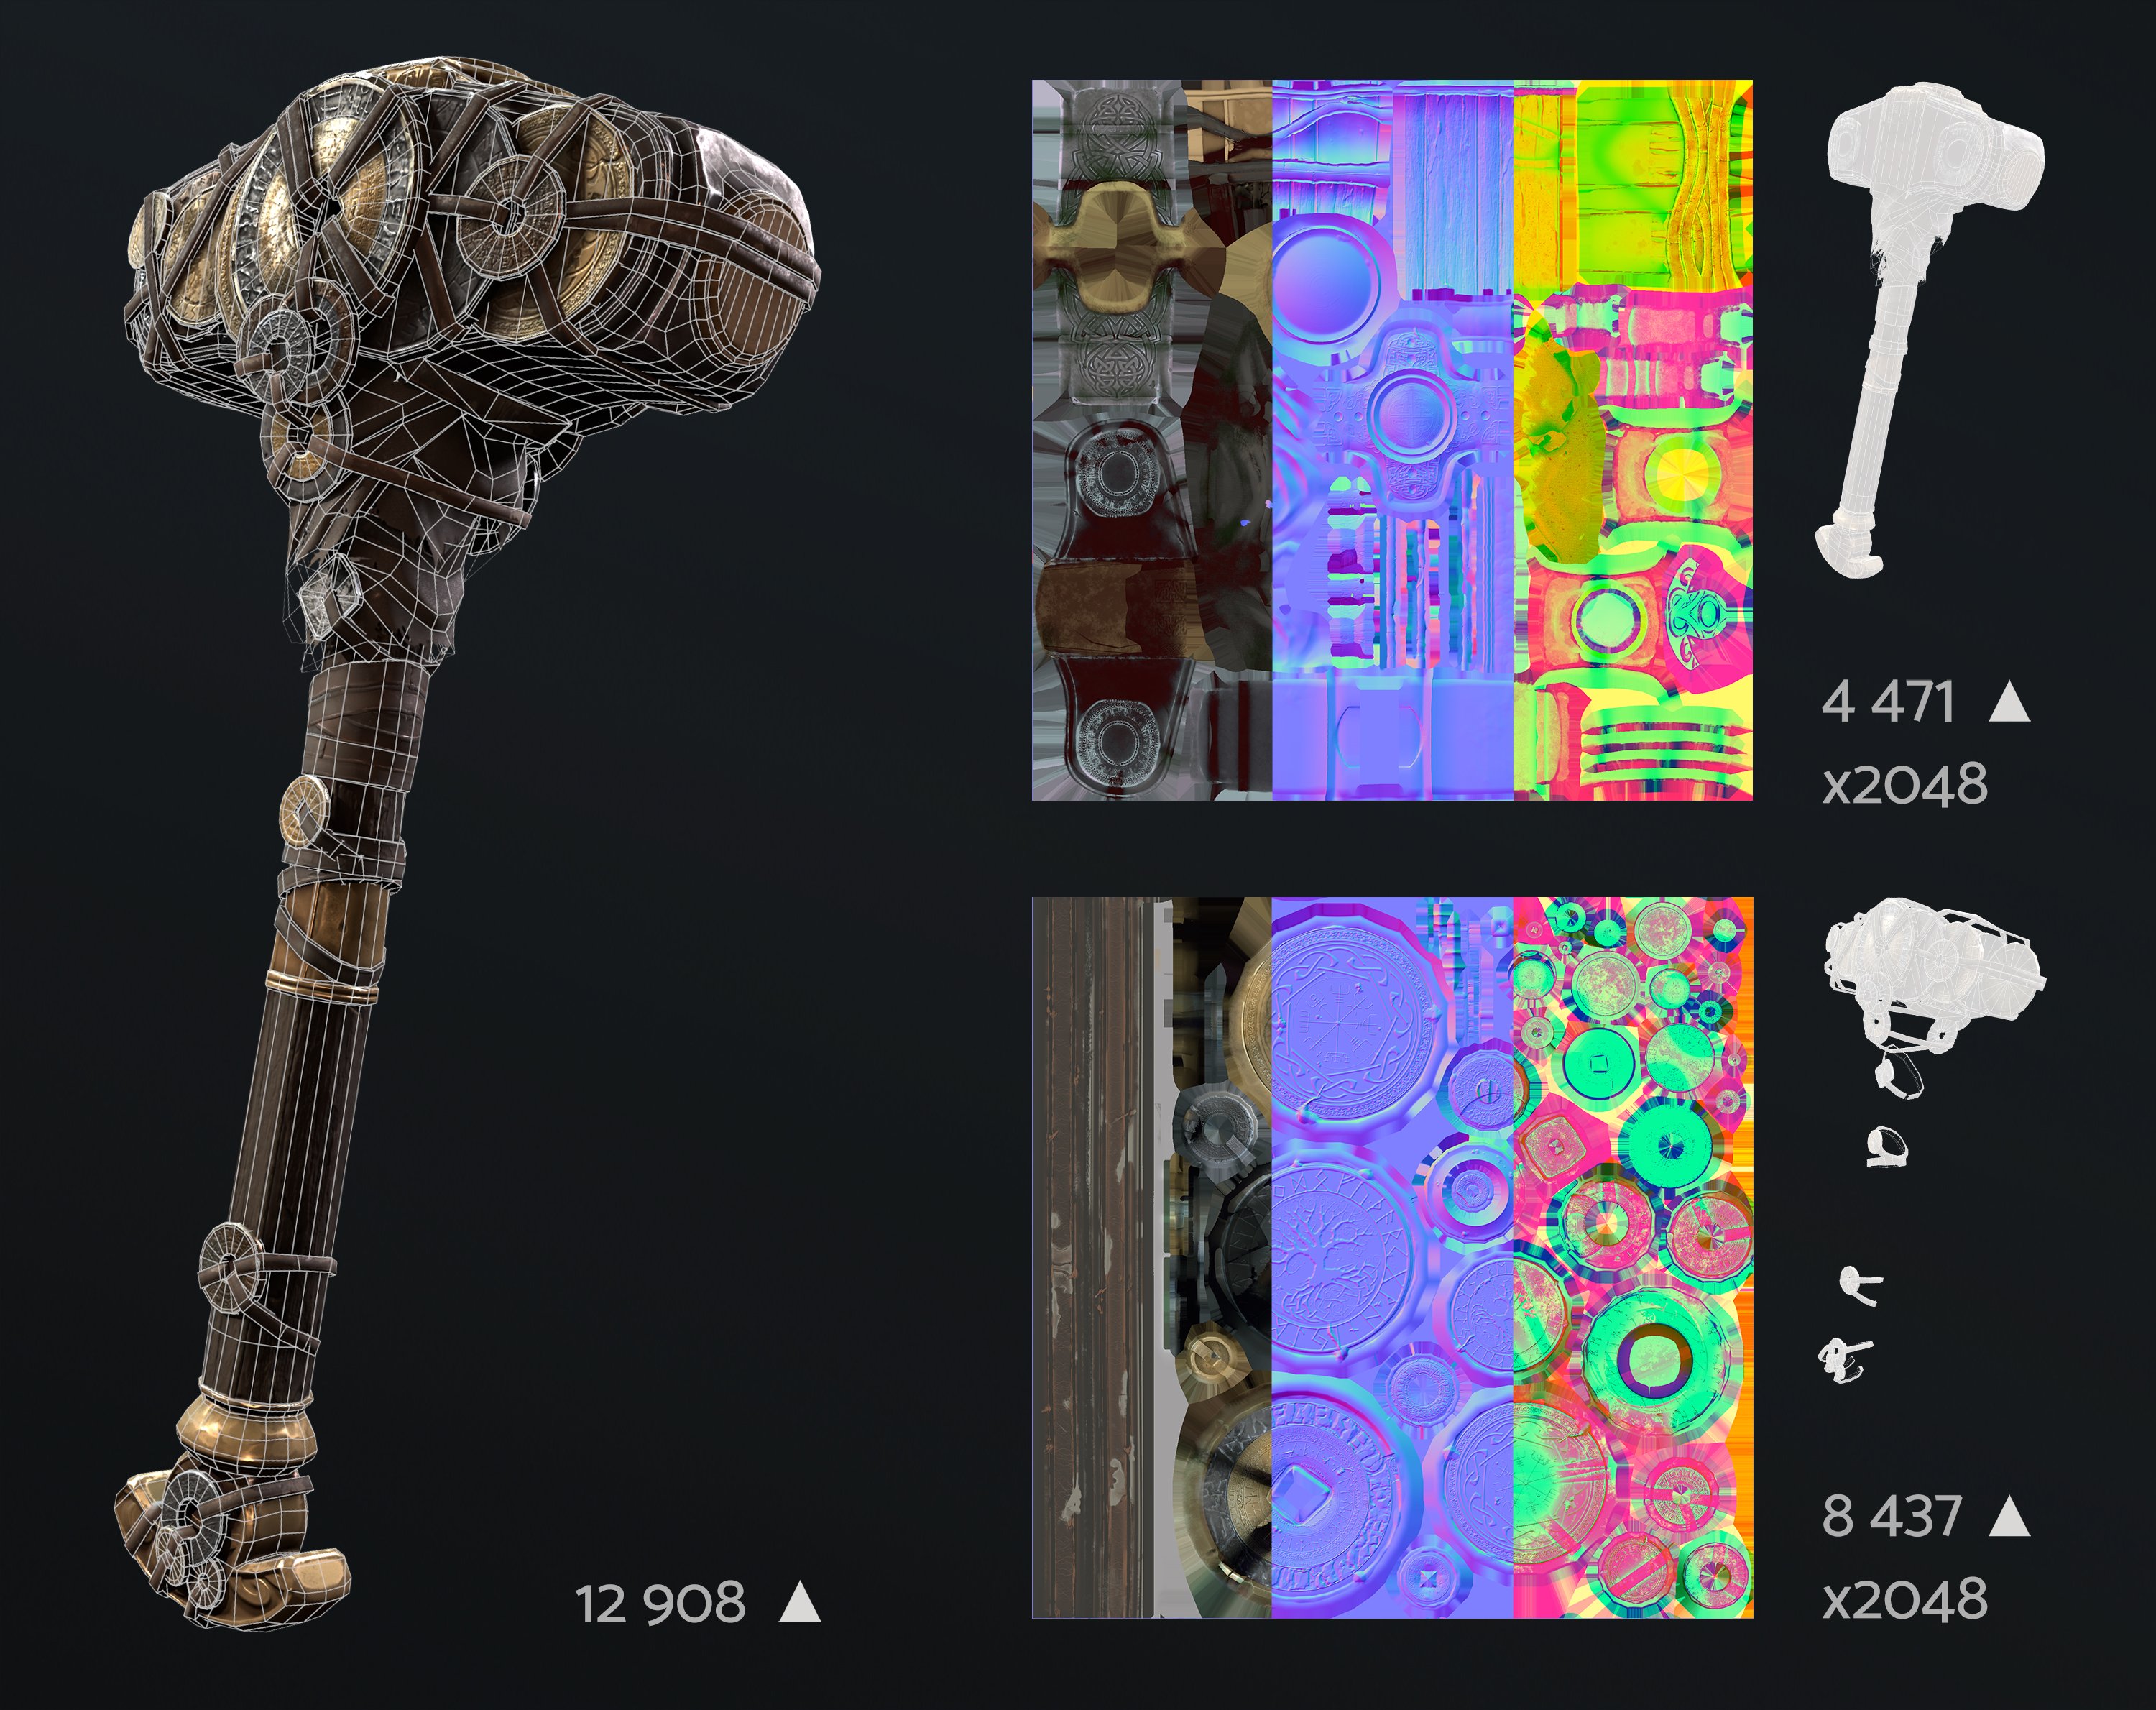
Token Hammer
Based on the original artwork of Pierre Ravenaut for Assassin’s Creed Valhalla
Here is a piece to focus more into the game ready workflow. Supervised by Sacha Veyrier, the objective here was to create a game ready weapon in 2 weeks under a polycount of 15K tris in order to integrate it into UE5.
This one was very challenging to do because of the complexity of the concept. I needed to find solutions to optimize all those littles parts like all the tokens and straps. So, for that, I decided to make a trim sheet for the straps. It permits me to optimize a lot of UVs space and save also a lot of time on the sculpting part.
As for the tokens I decided to make about ten different pieces that I duplicated all around the hammer in order to not see the repetition, and focus on the sculpting patterns. Working on those sculpting patterns were by the way very fun to do, I worked with several alphas and mixed them with layers in Zbrush.


Hammer Breakdowns :


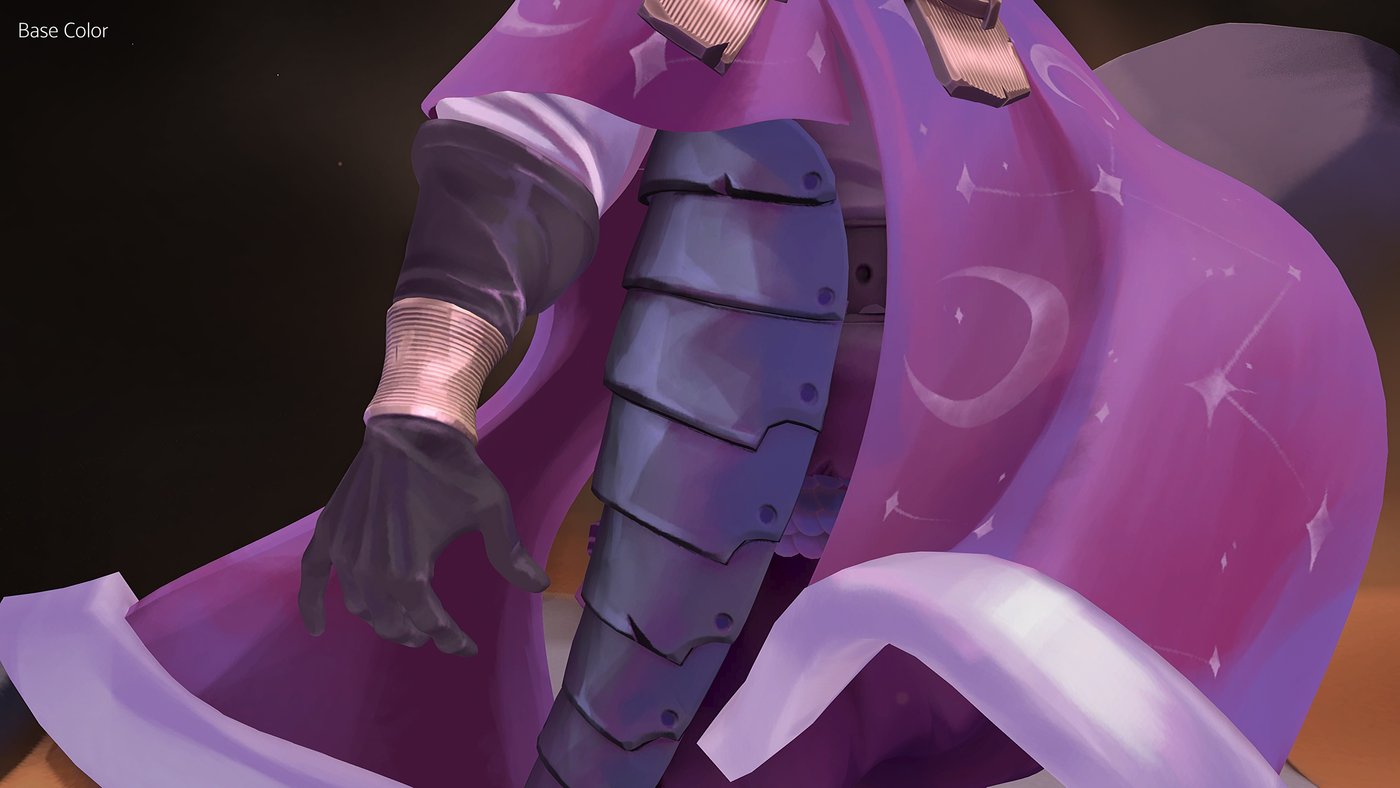
Clear Knight
Clear Knight is a personal project I have done aside during this year at artside. I really took my time to follow the concept as much as it was possible, and to perform the workflow. It was mostly a leisure project to put all the knowledge I accumulated during my training and see how I evolved during the year.
For that project I chose one of the wonderful concepts from my friend and classmate Colombe Fretel : The Sand Seller
For this personal project I decided to not focus on game art and animation constraints regarding the topology. I just wanted to make a nice visual artwork. So I began by sculpting the character in A pose to have the benefits of the symmetry to block the main shapes, then I quickly moved to pose the character for sculpting all the details.
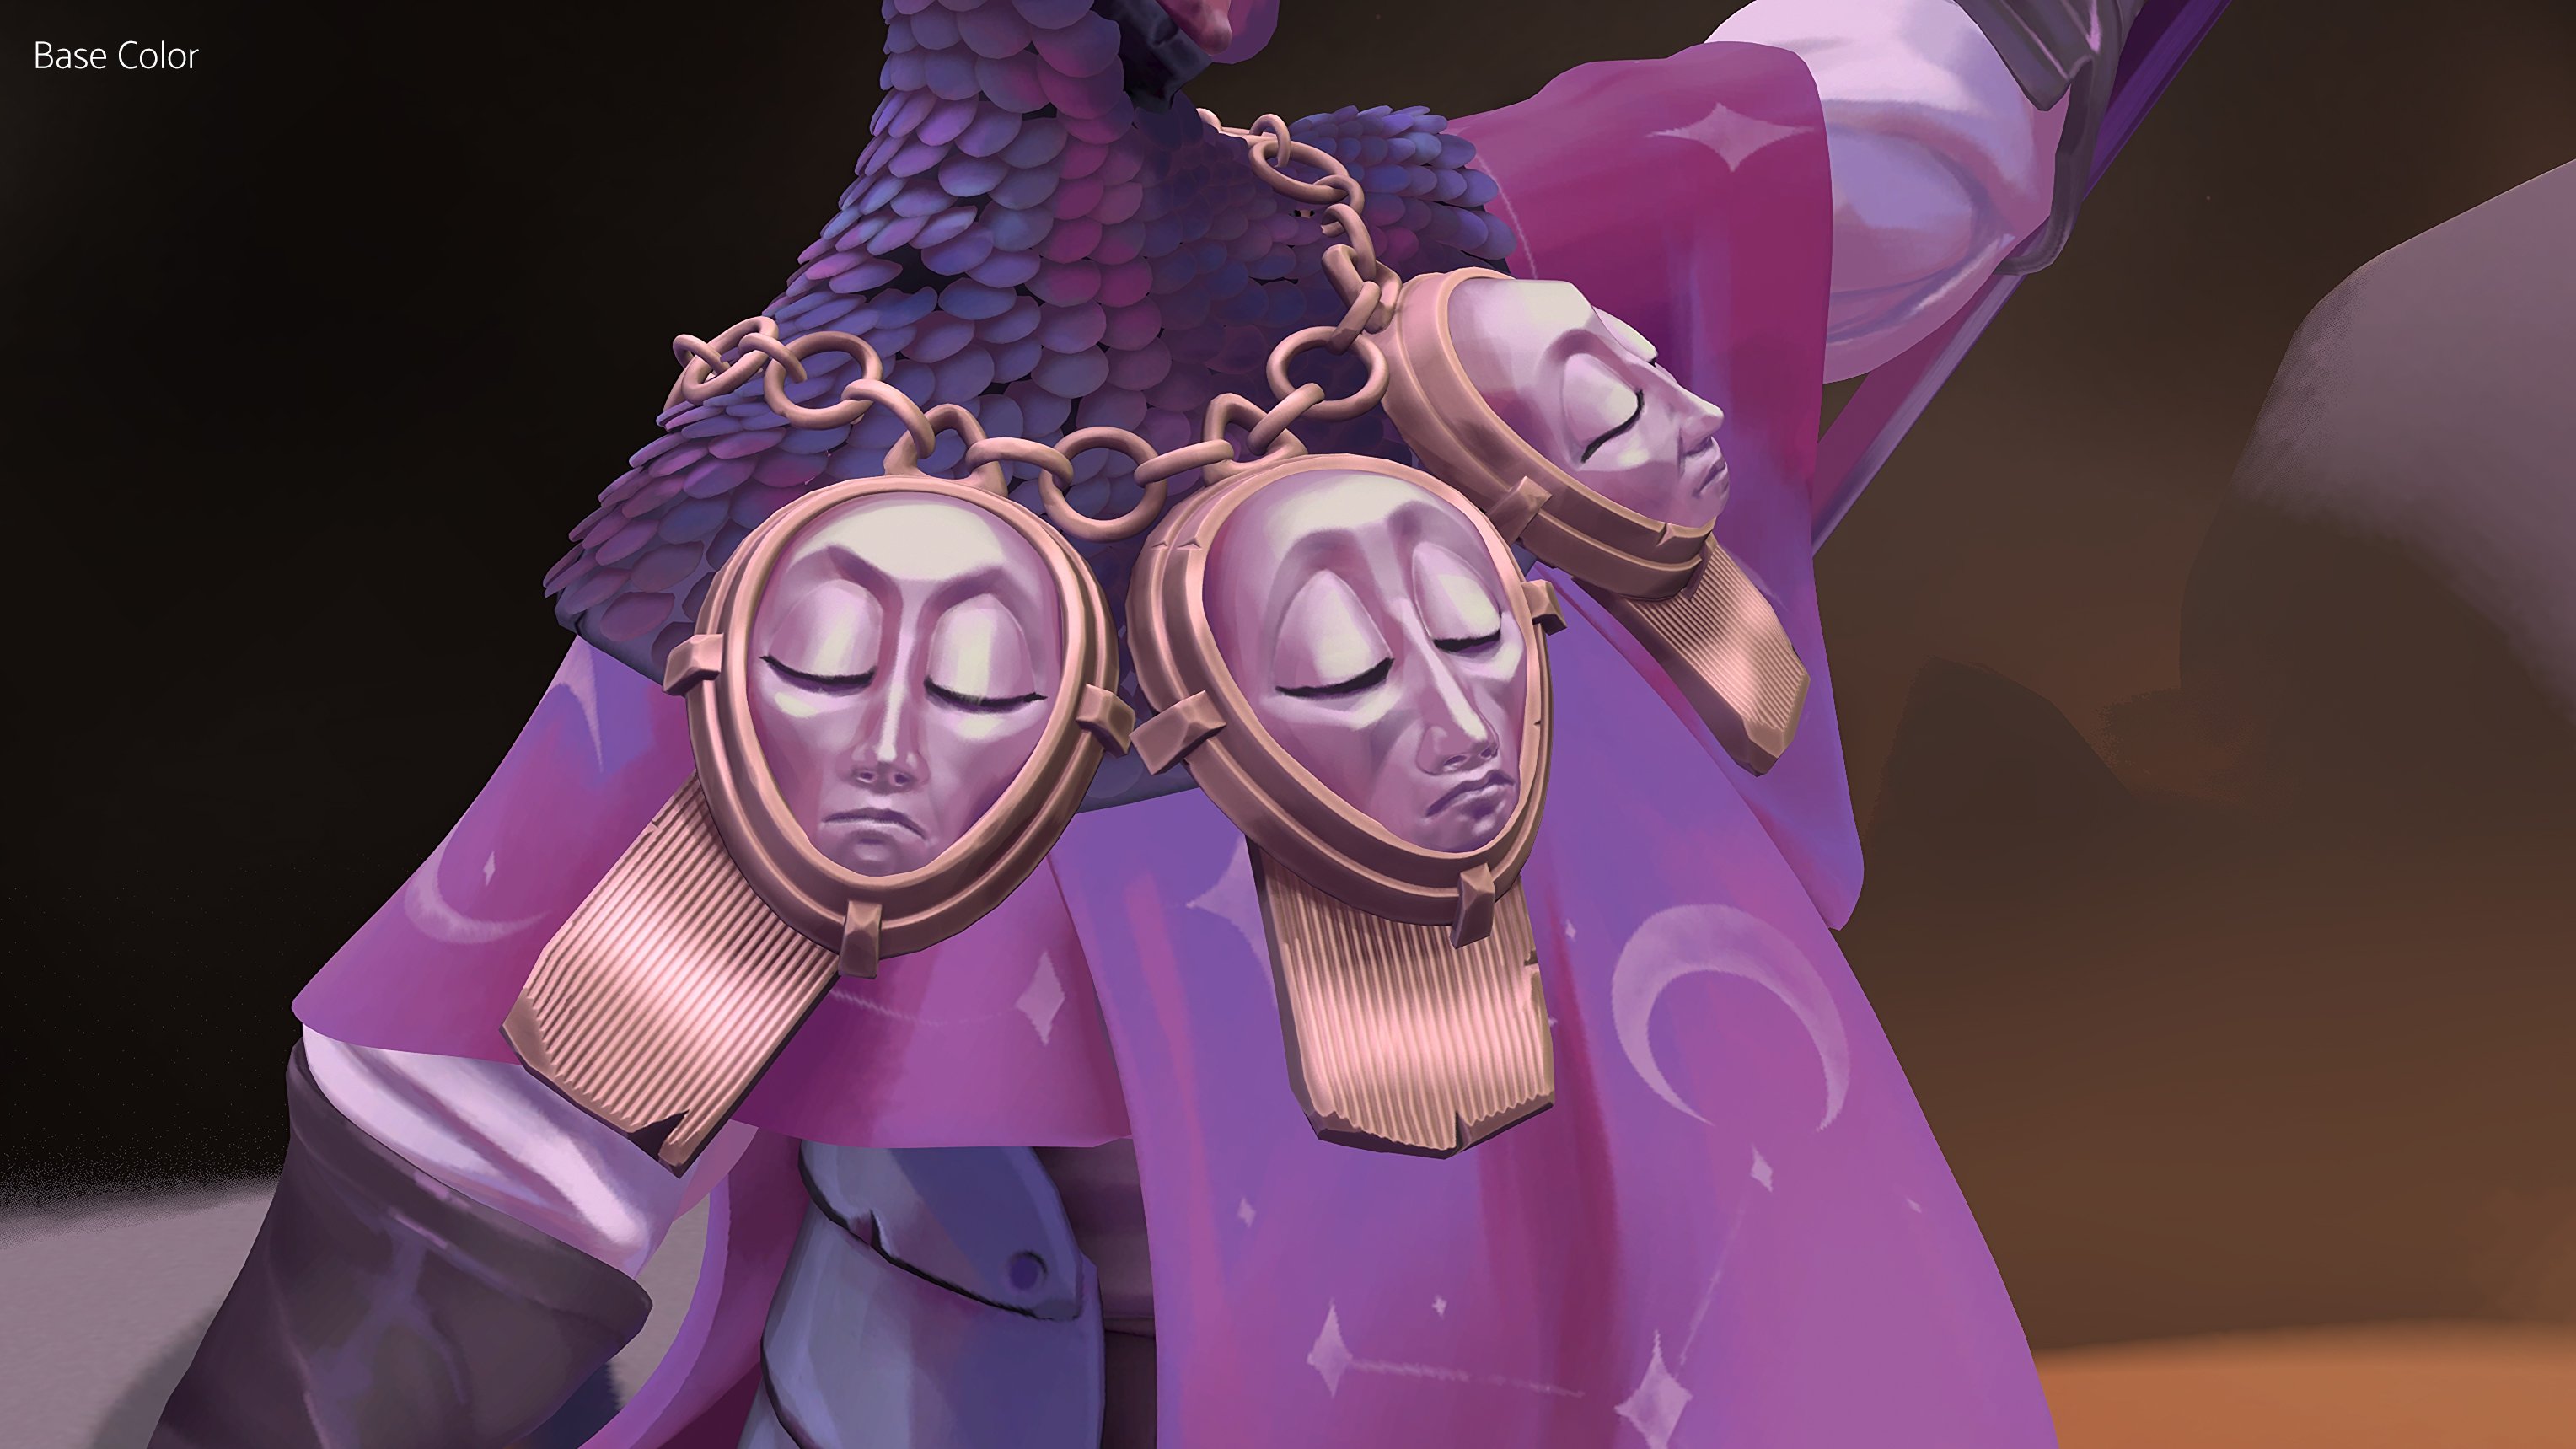
Once the sculpt was done, I then did a rough retopology by not focusing on the optimization of a game ready character. All I wanted to him was a good and high definition on the final mesh. So I kept most of his stuff in separated geometry to have a lossless silhouette on the final render. For example, the scales around his neck are all taken from the subdiv1 mesh previously done in Zbrush before sculpting. I then quickly unwarped them in ZBrush from their polygroups and then it was all good and ready for the bake.
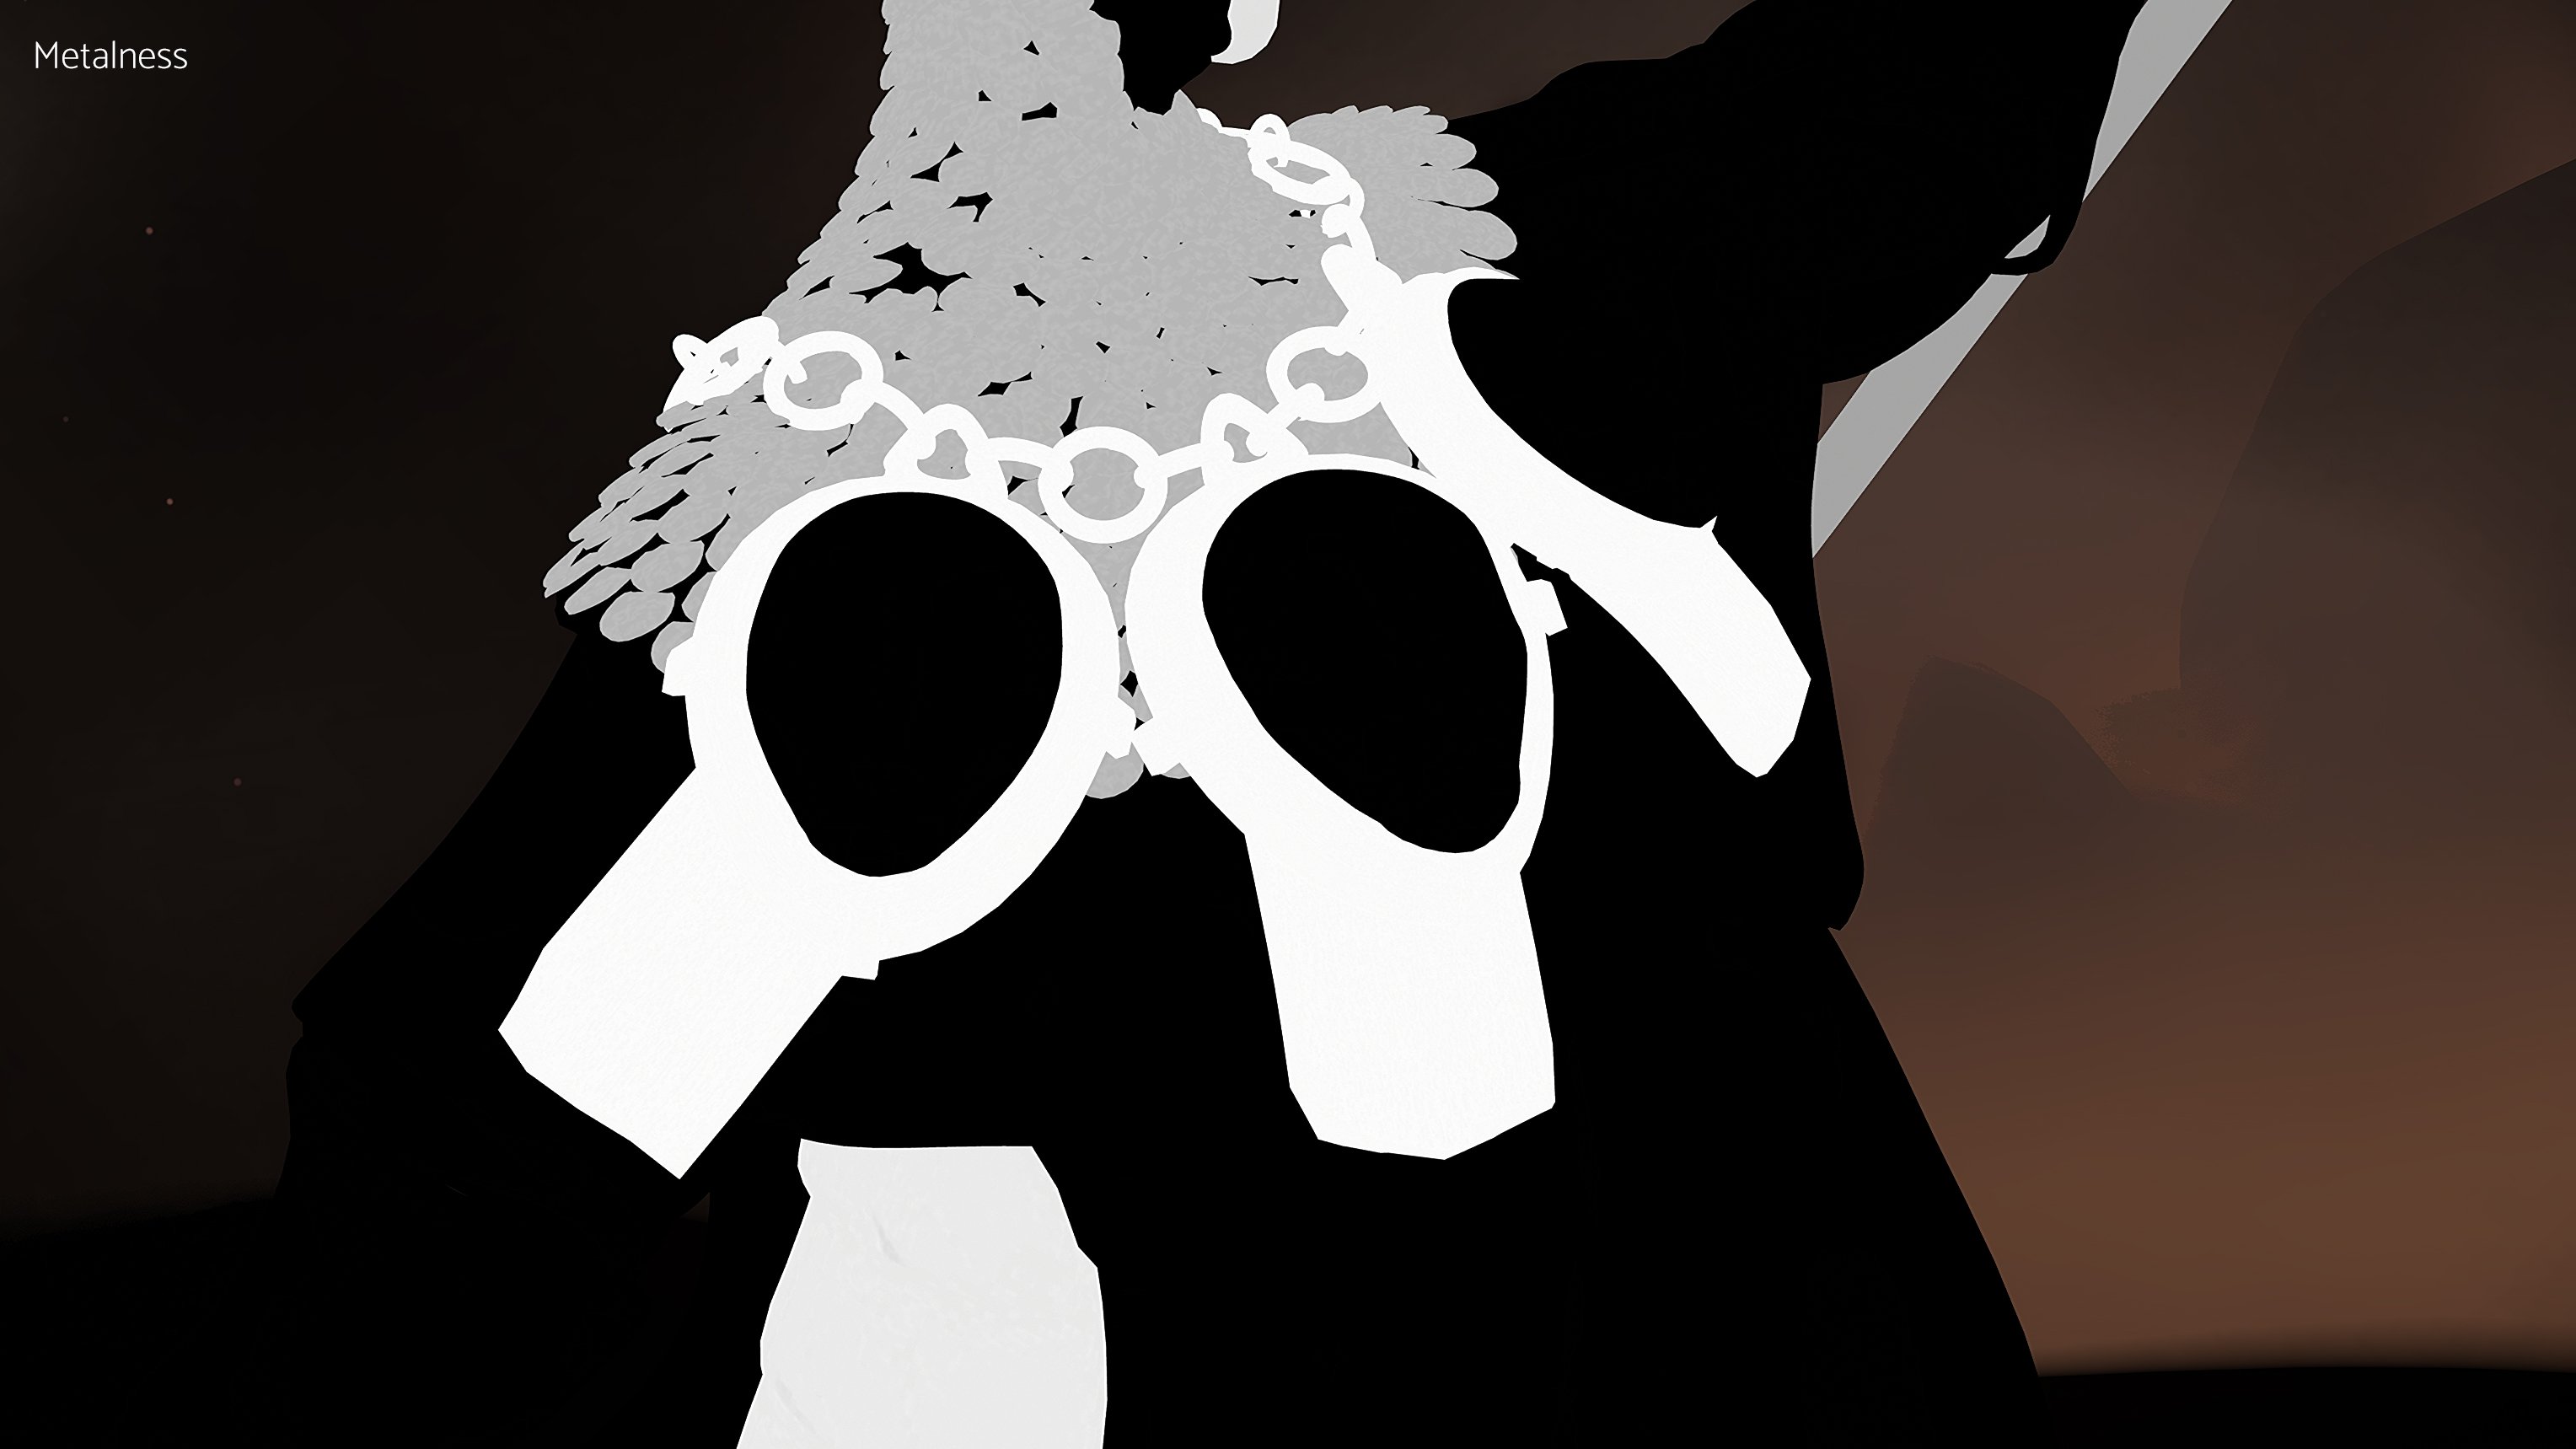
For the texturing part I wanted to be the most faithful as possible to the original concept. So I focused a lot on the hand painted part. Then I added roughness and metalness information from all my painted layers in Substance Painter.
Here is some Textures breakdowns :


Then, once the textures were done, I decided to render it in Unreal Engine 5. It permitted me to have a lot of control on ambiance by creating a nice ground, dust and a clear starry night to follow the mood of the concept ! Also it gave me additional adjustments on the materials which are very precious.
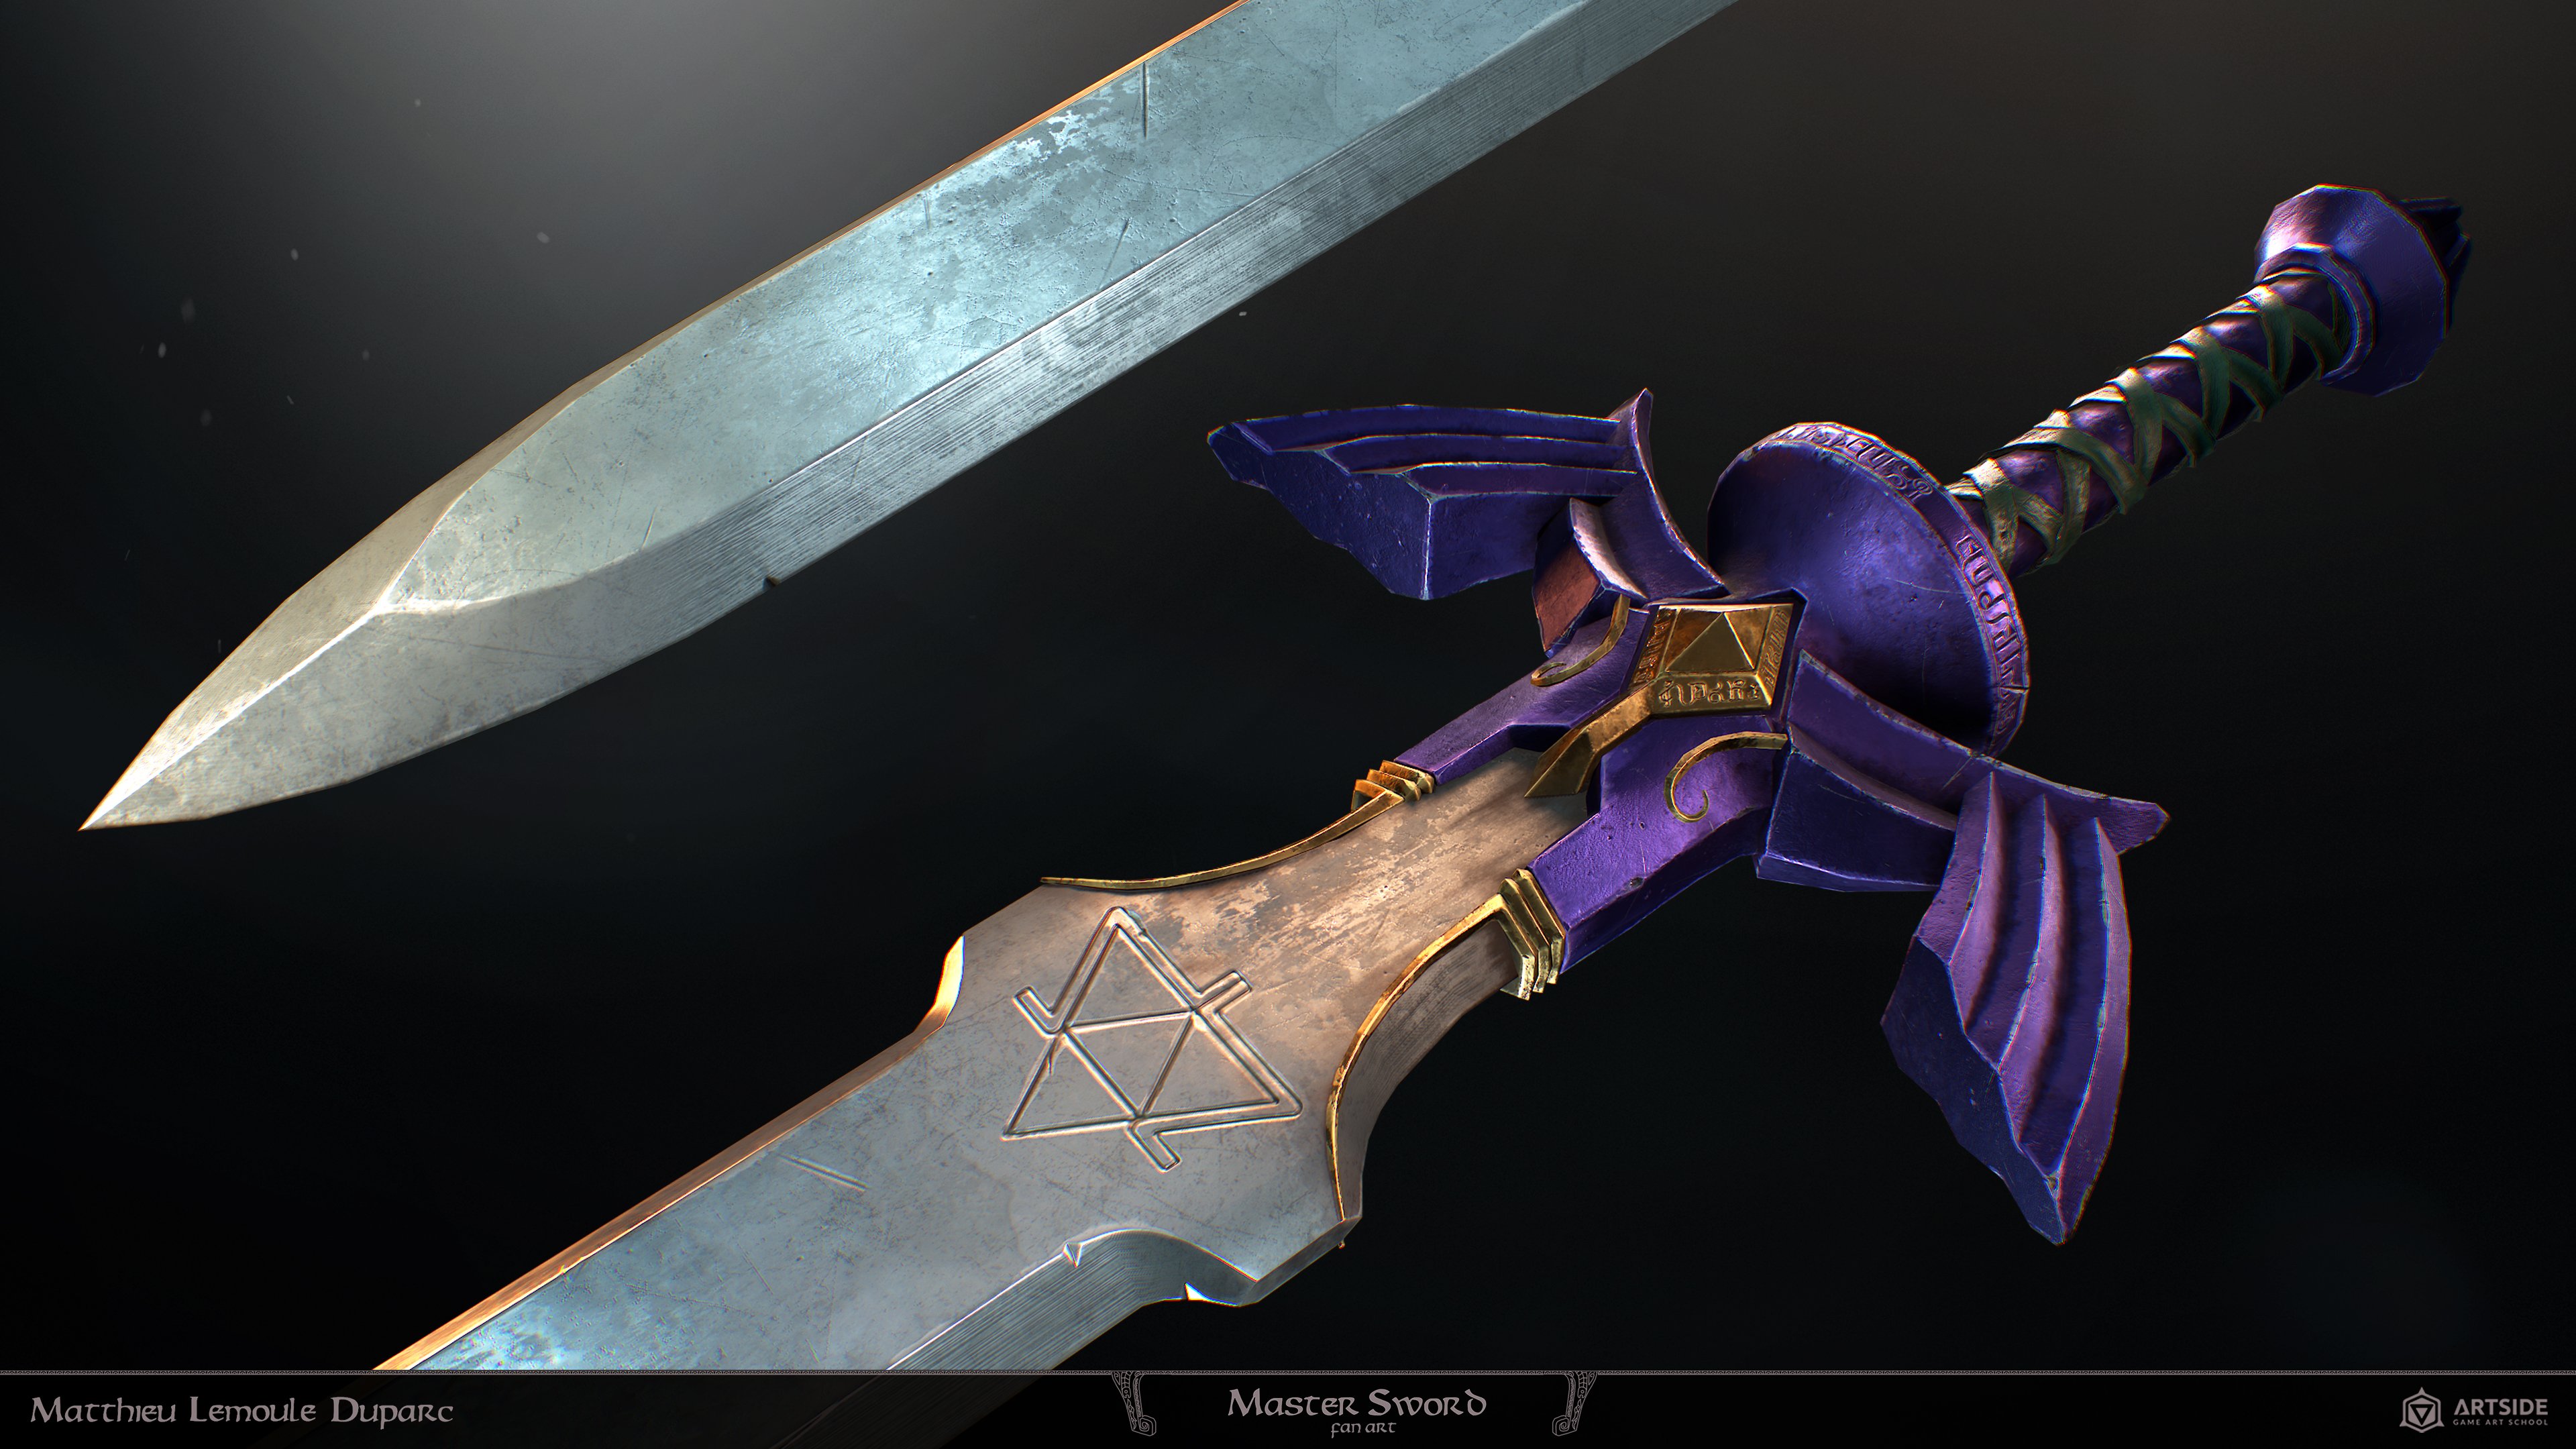
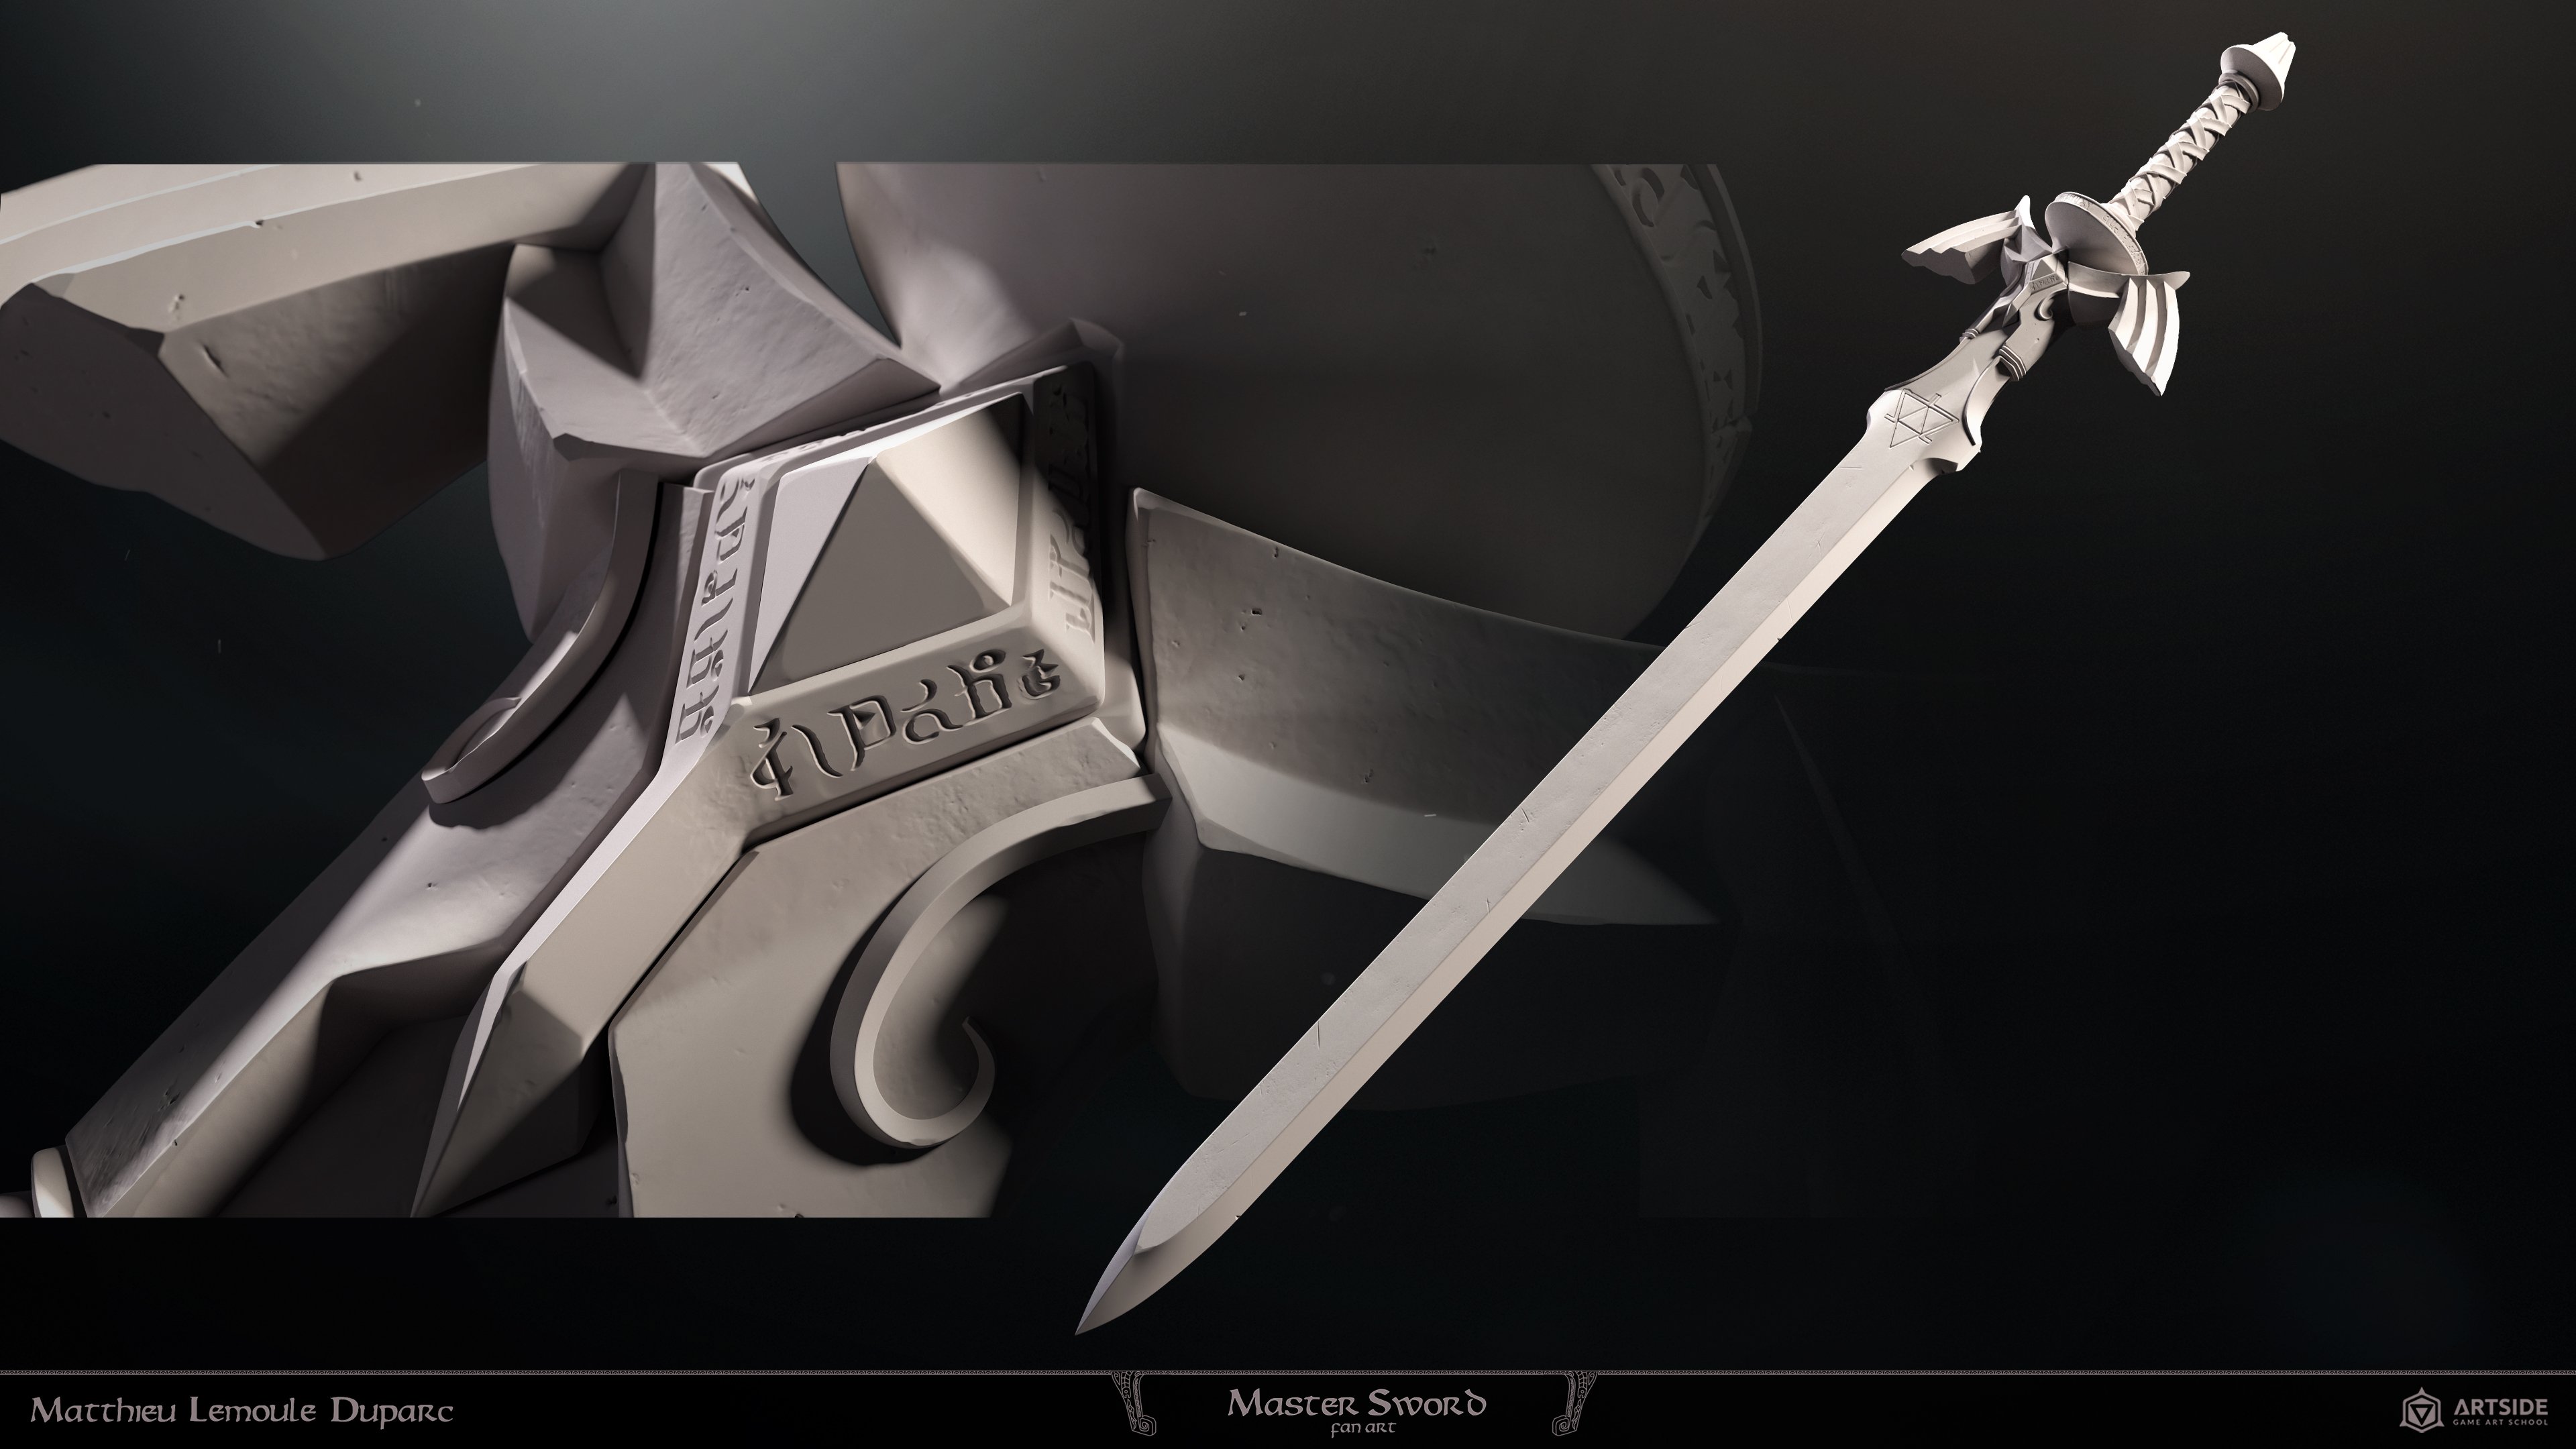
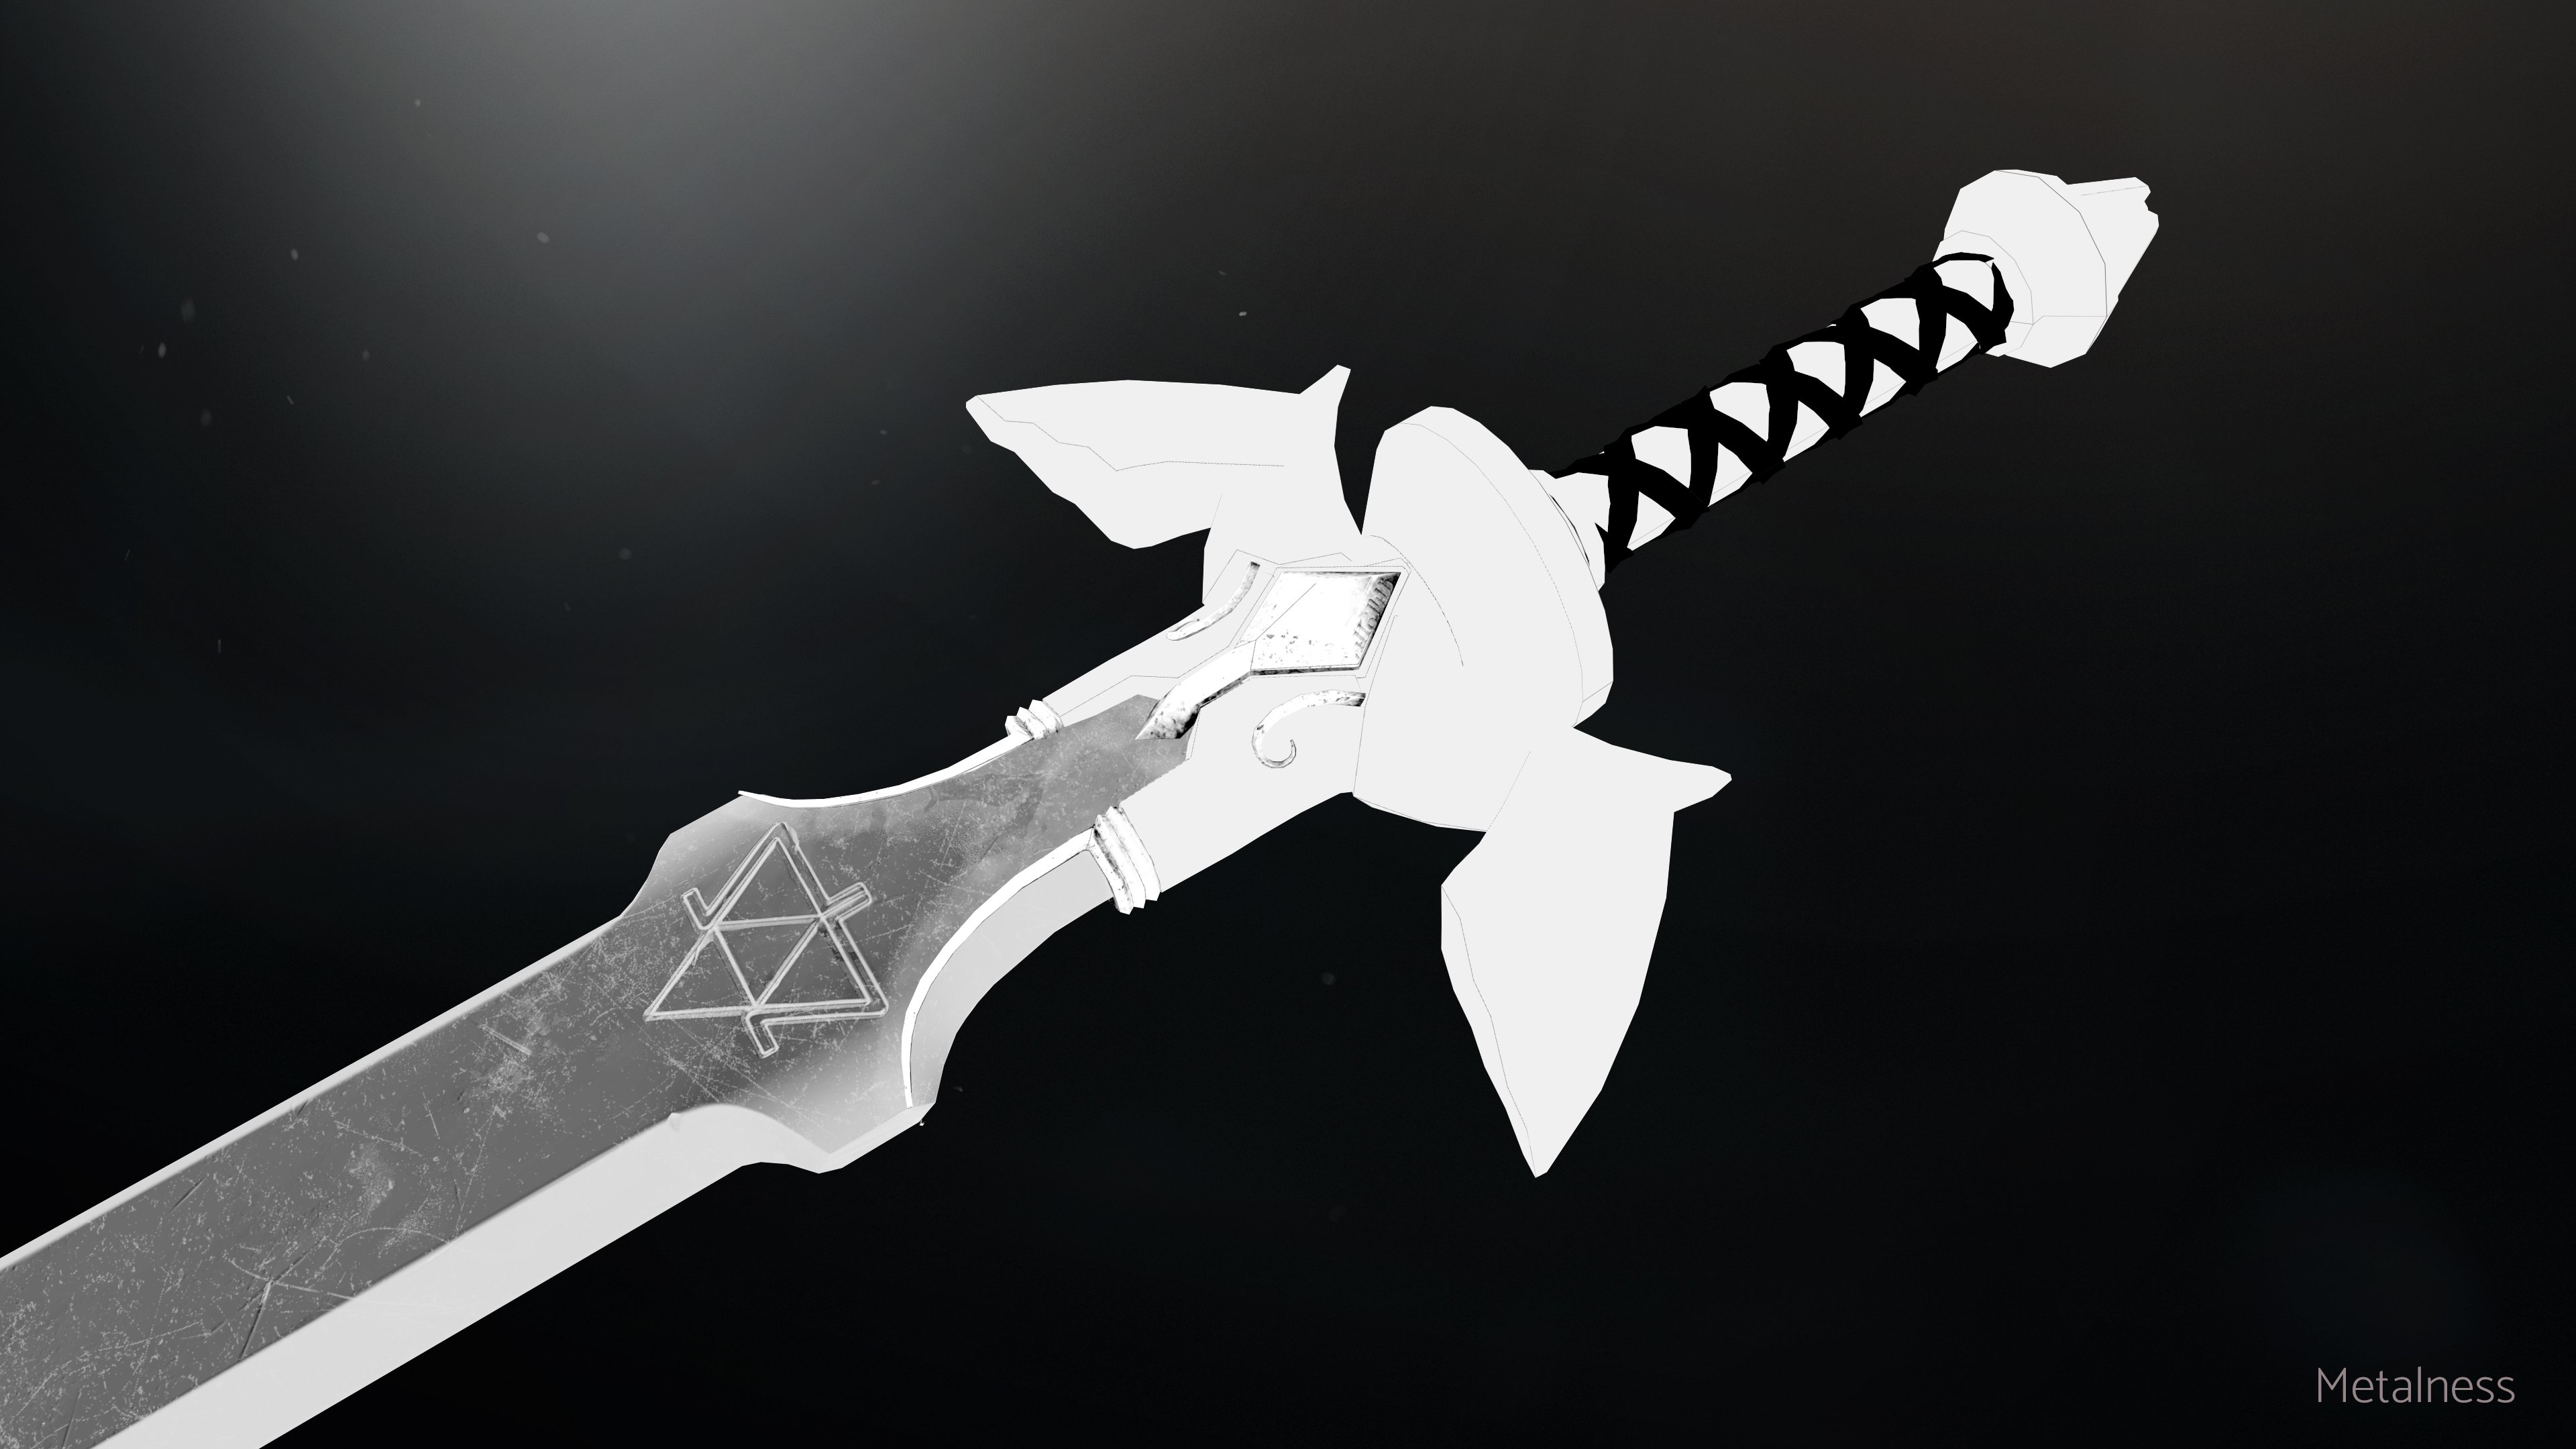
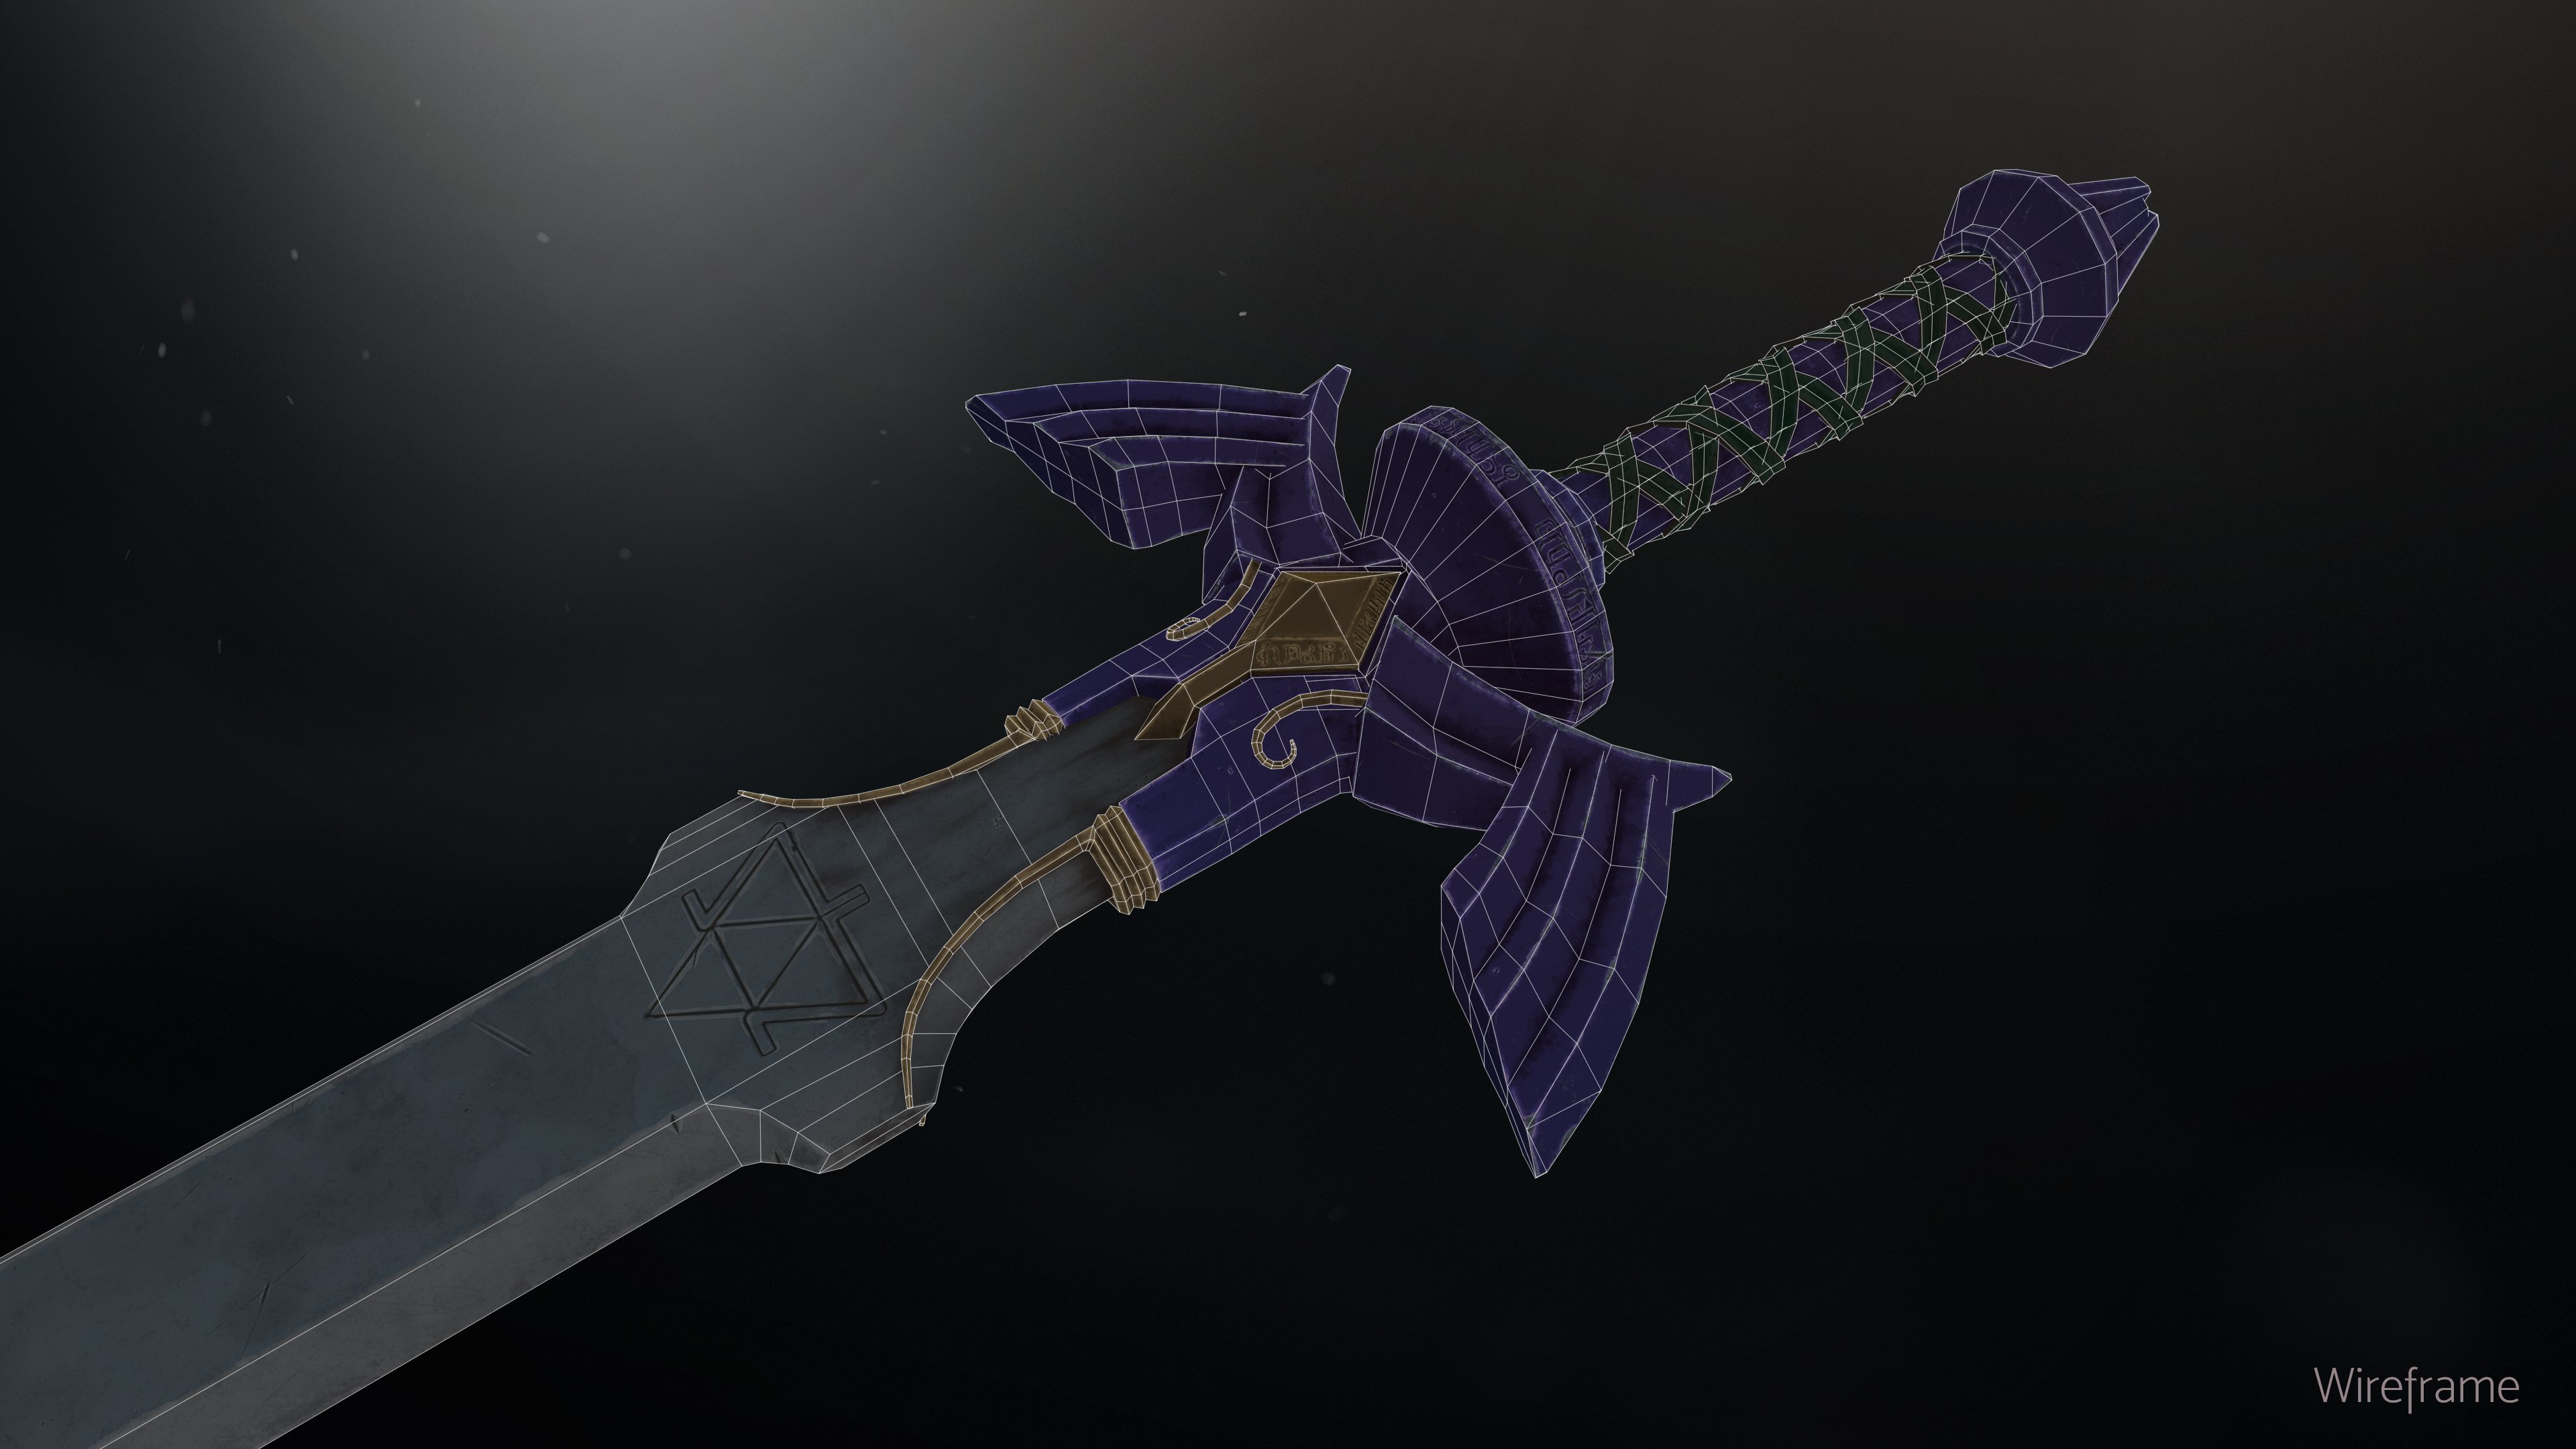
Master Sword Fanart
The objective on this prop was to focus on how to make and deal with realistic details such as altered metals or/and damaged leather. Supervised by Charles Antoine Lerein. This prop was made in two weeks.
As for my main reference, I decided to target the Master Sword from The Legend of Zelda Twilight Princess as a personal affection for this game.
In this project, I learned a lot about how to create realistic textures and how to deal with textures relief in the sculpting part, which is very important to engage the texturing workflow. For that I played a lot with grunge and dirt alphas in Zbrush and layers to recreate the feeling of the material directly on the sculpt.
I really enjoyed working on that piece !


Hard Surfaces Armor
During my studies, I learned the hard surface workflow in 3D and how to deal with high poly hard surfaces characters.
I had the chance to have a 3 weeks workshop with Pierrick Le Texier to create a sci fi armor in Zbrush.
Here is the original artwork created by Xiang Zhang I used for this project : Defender
I really enjoyed how the reinterpretation of the concept is important to make a visual more appealing here. In fact, the 3D artist had to fit perfectly to the concept regarding the global shapes. But I feel that in hard surface, the 3D character artist have a lot of freedom adding details in those shapes, making the mechanical parts more plausible and playing on how those parts are communicating and works together.


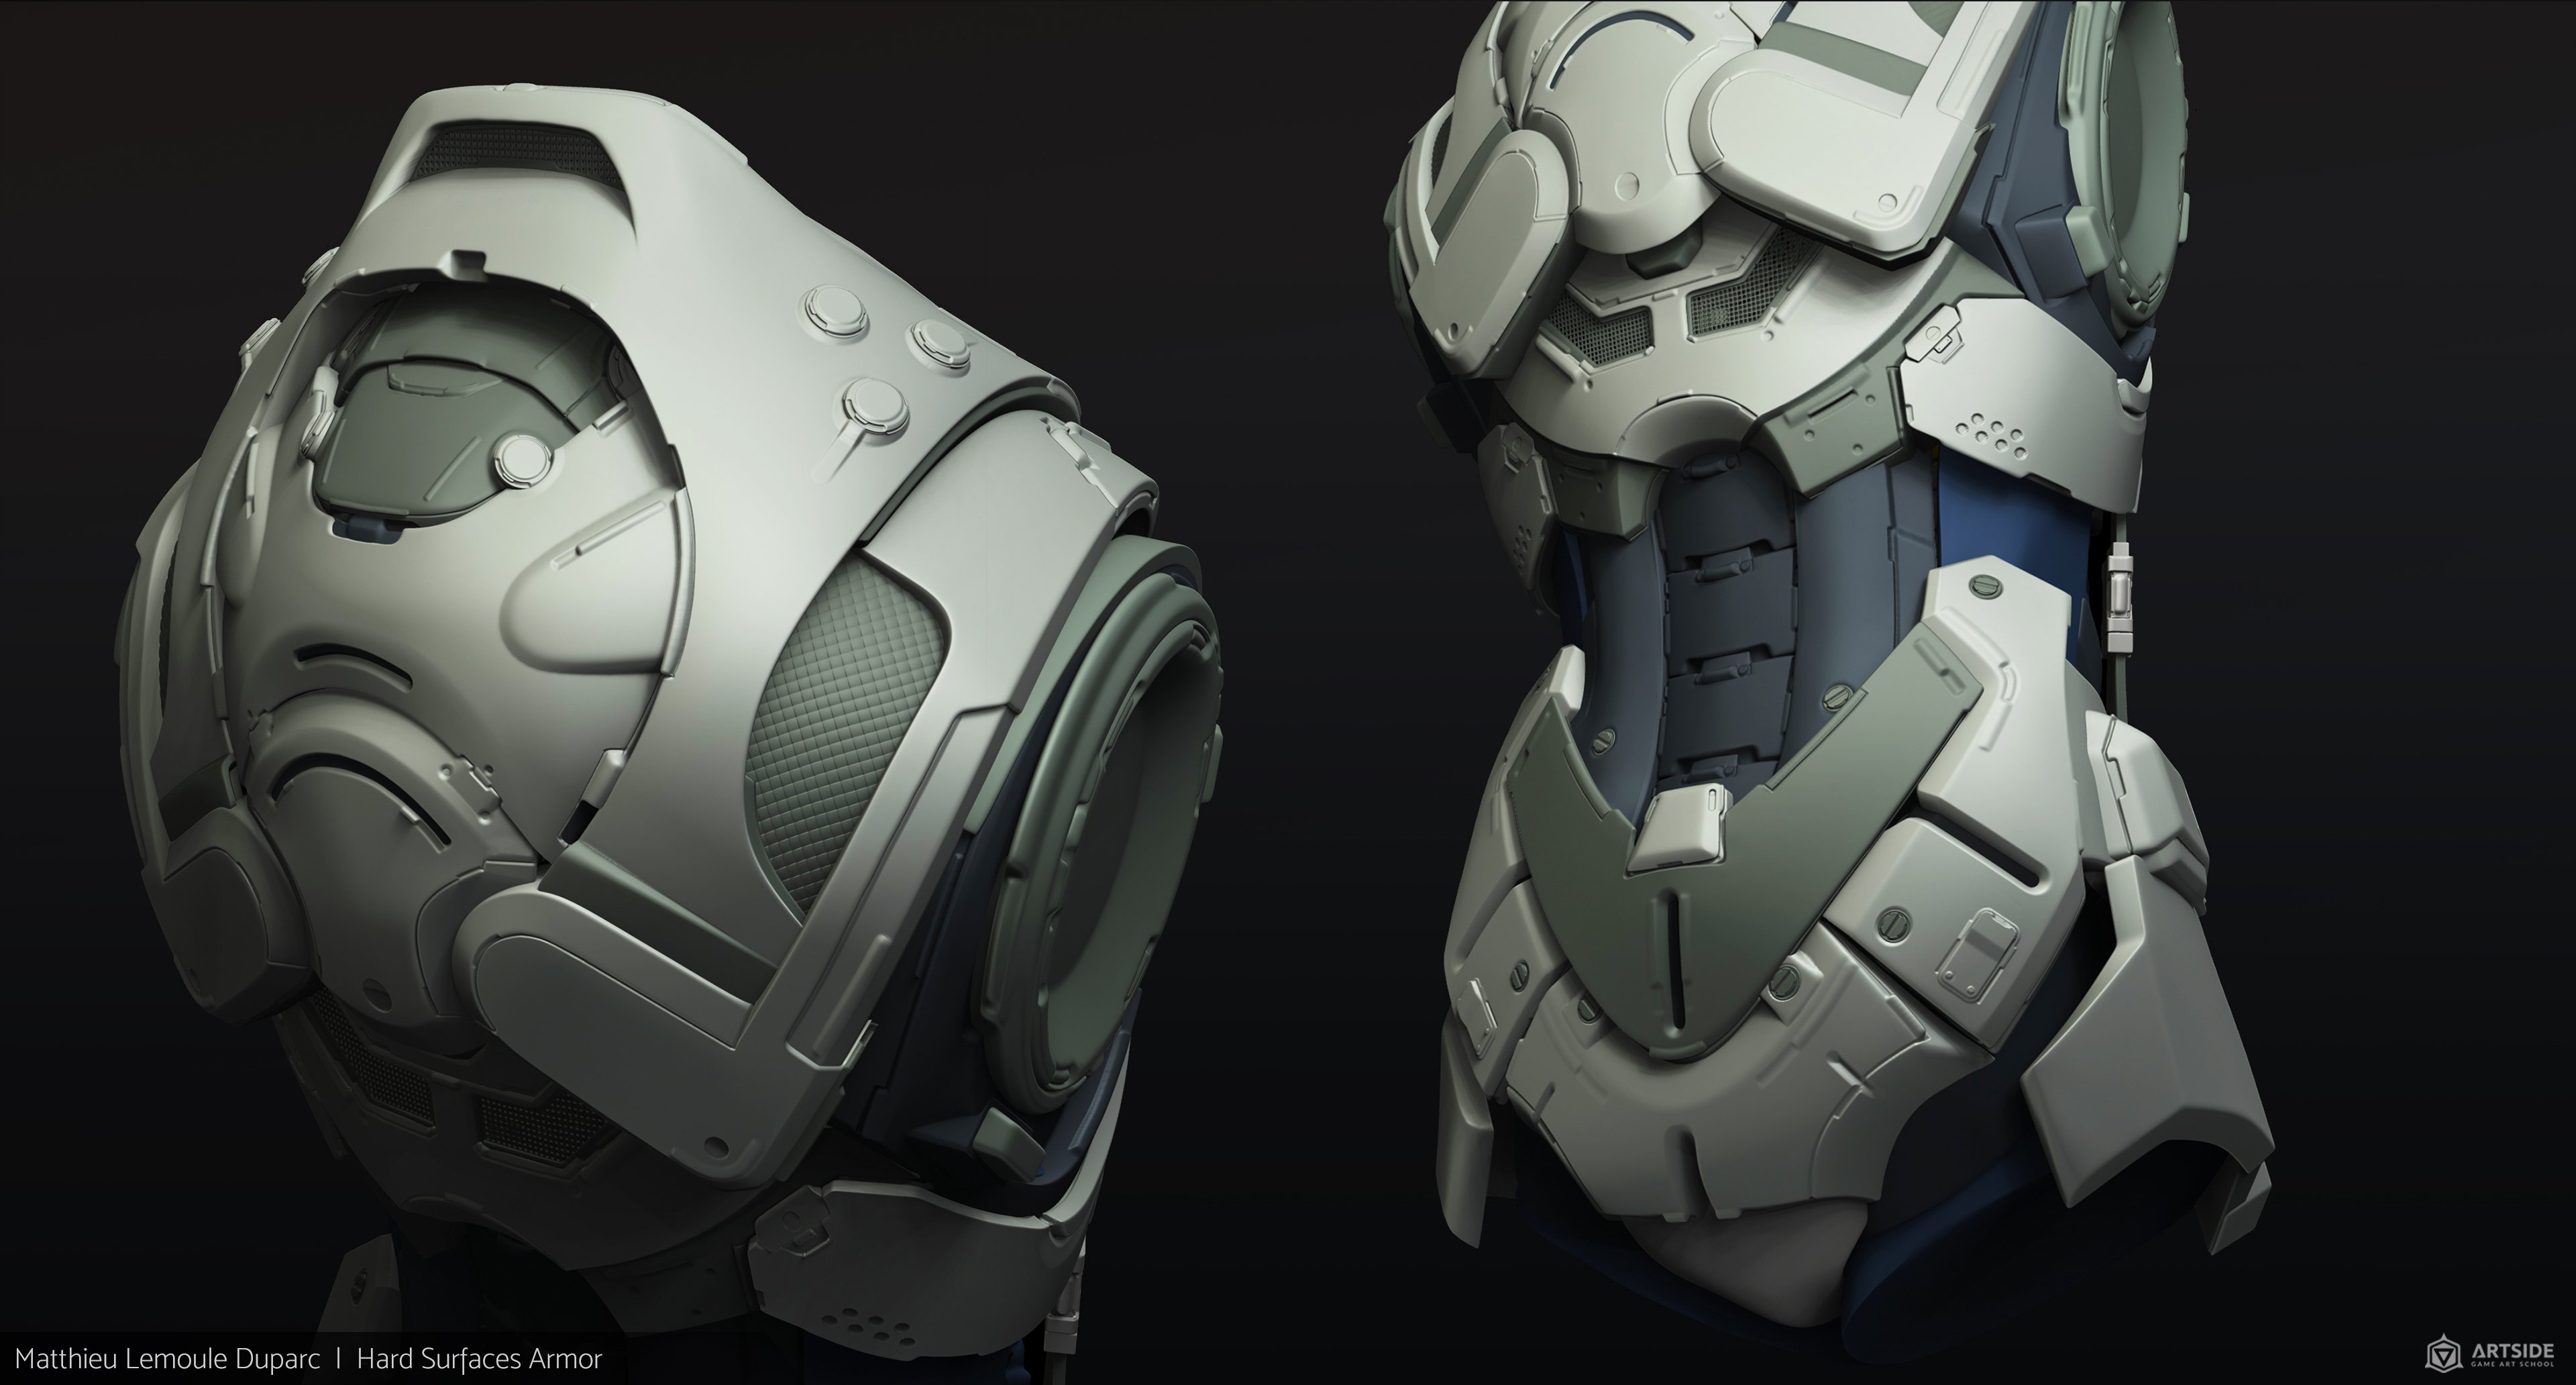
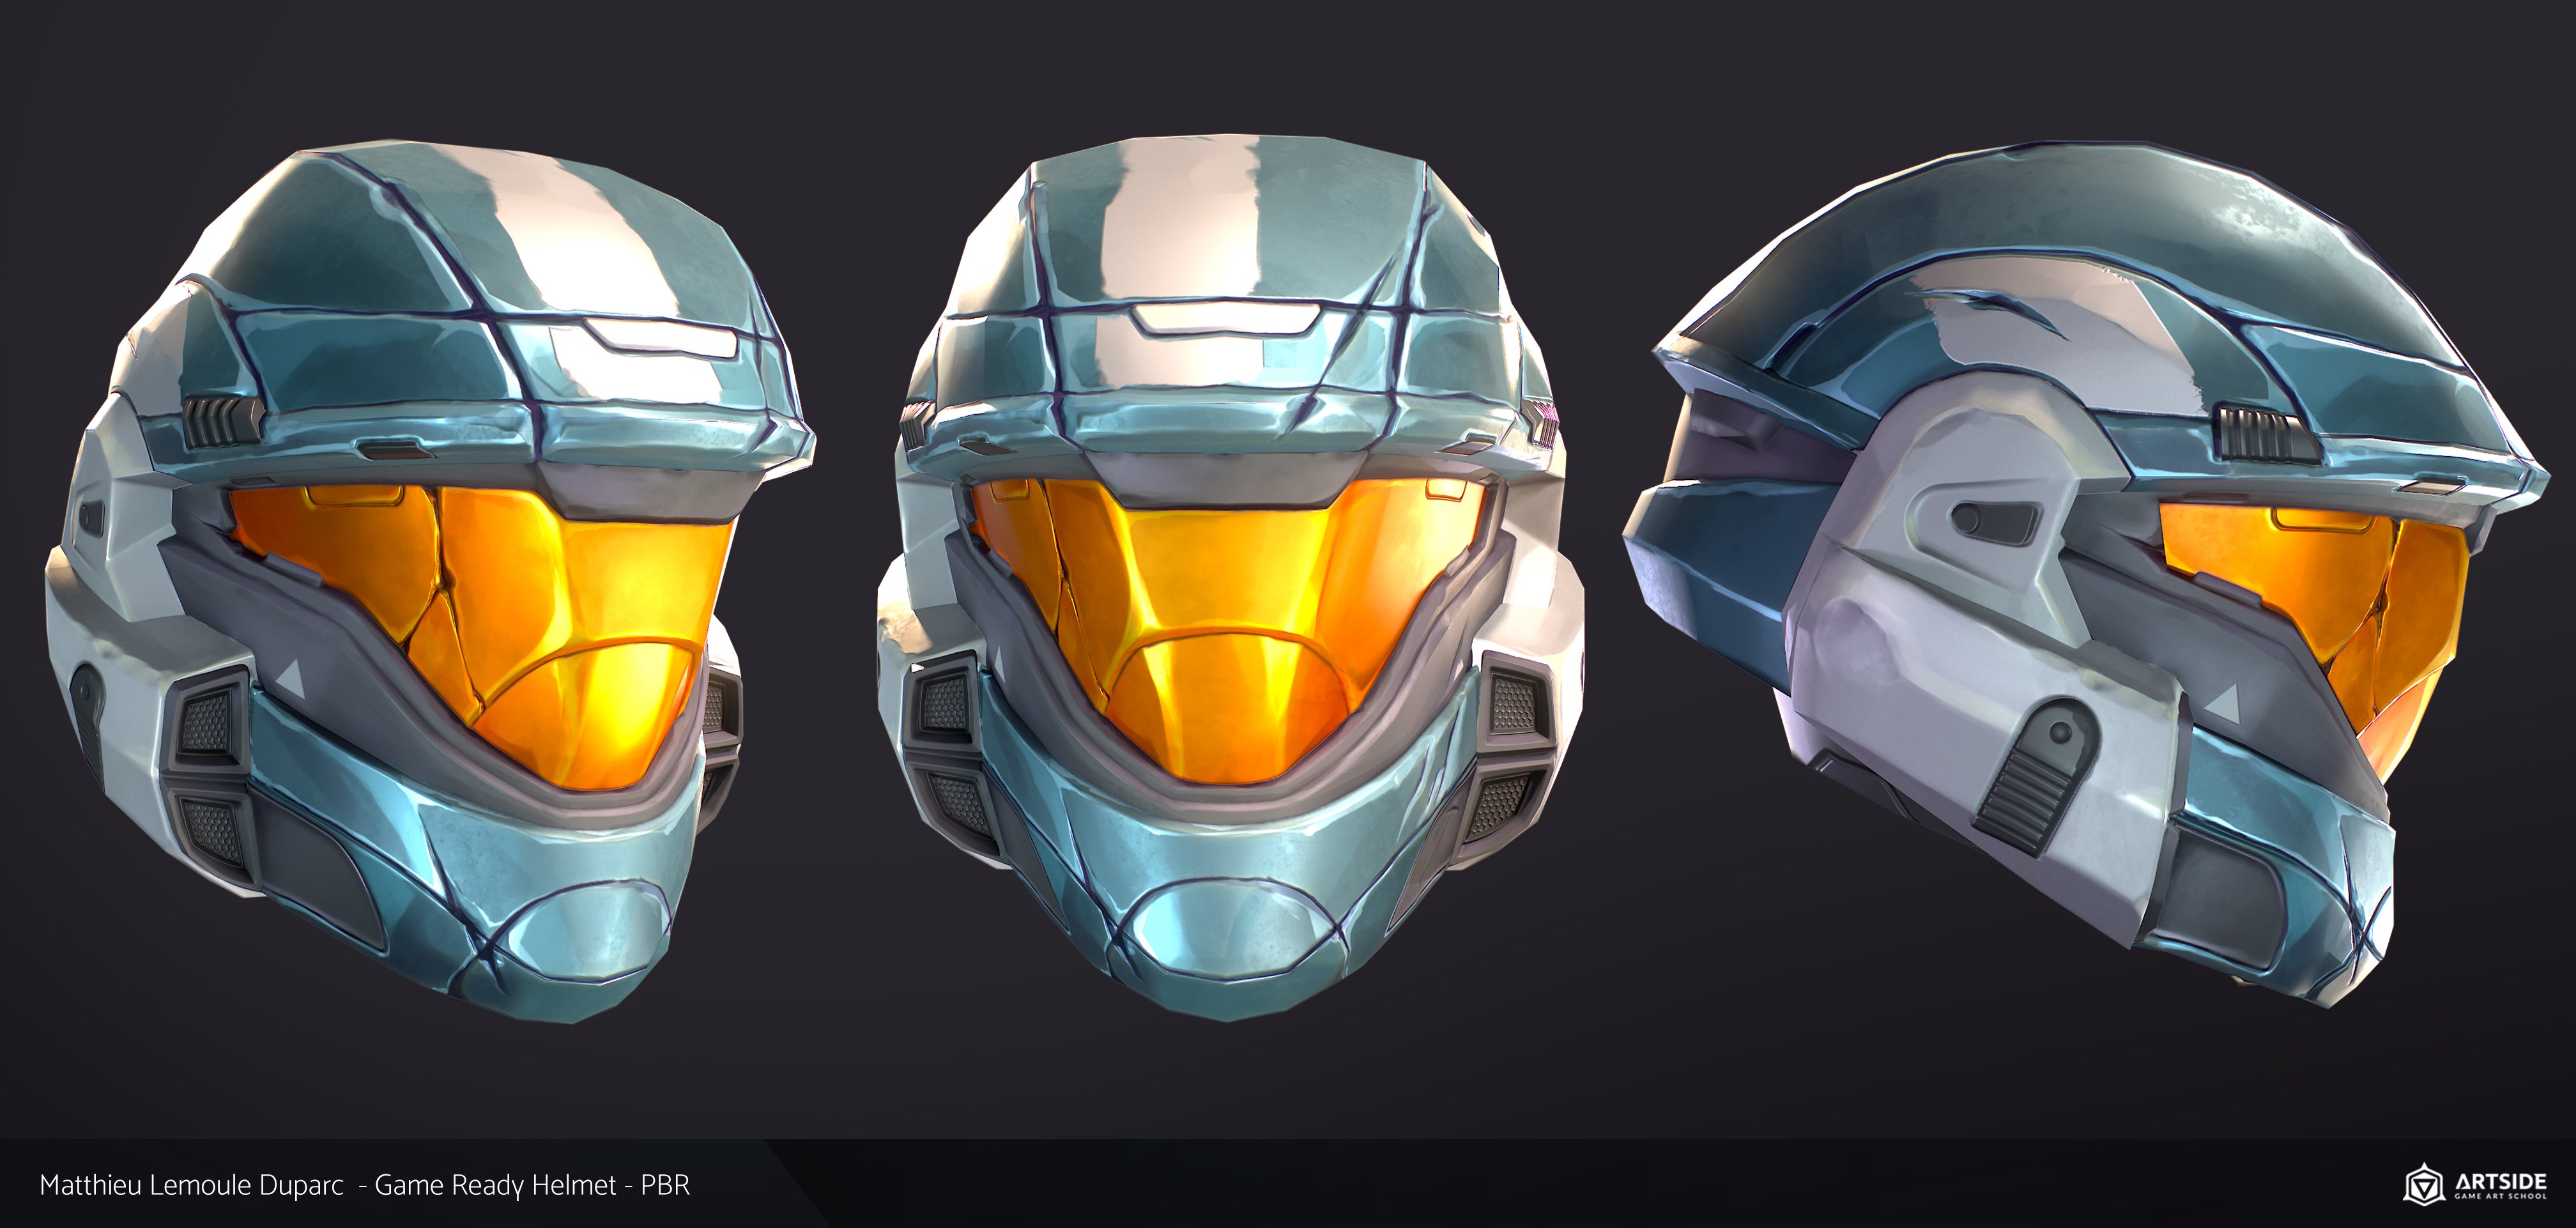
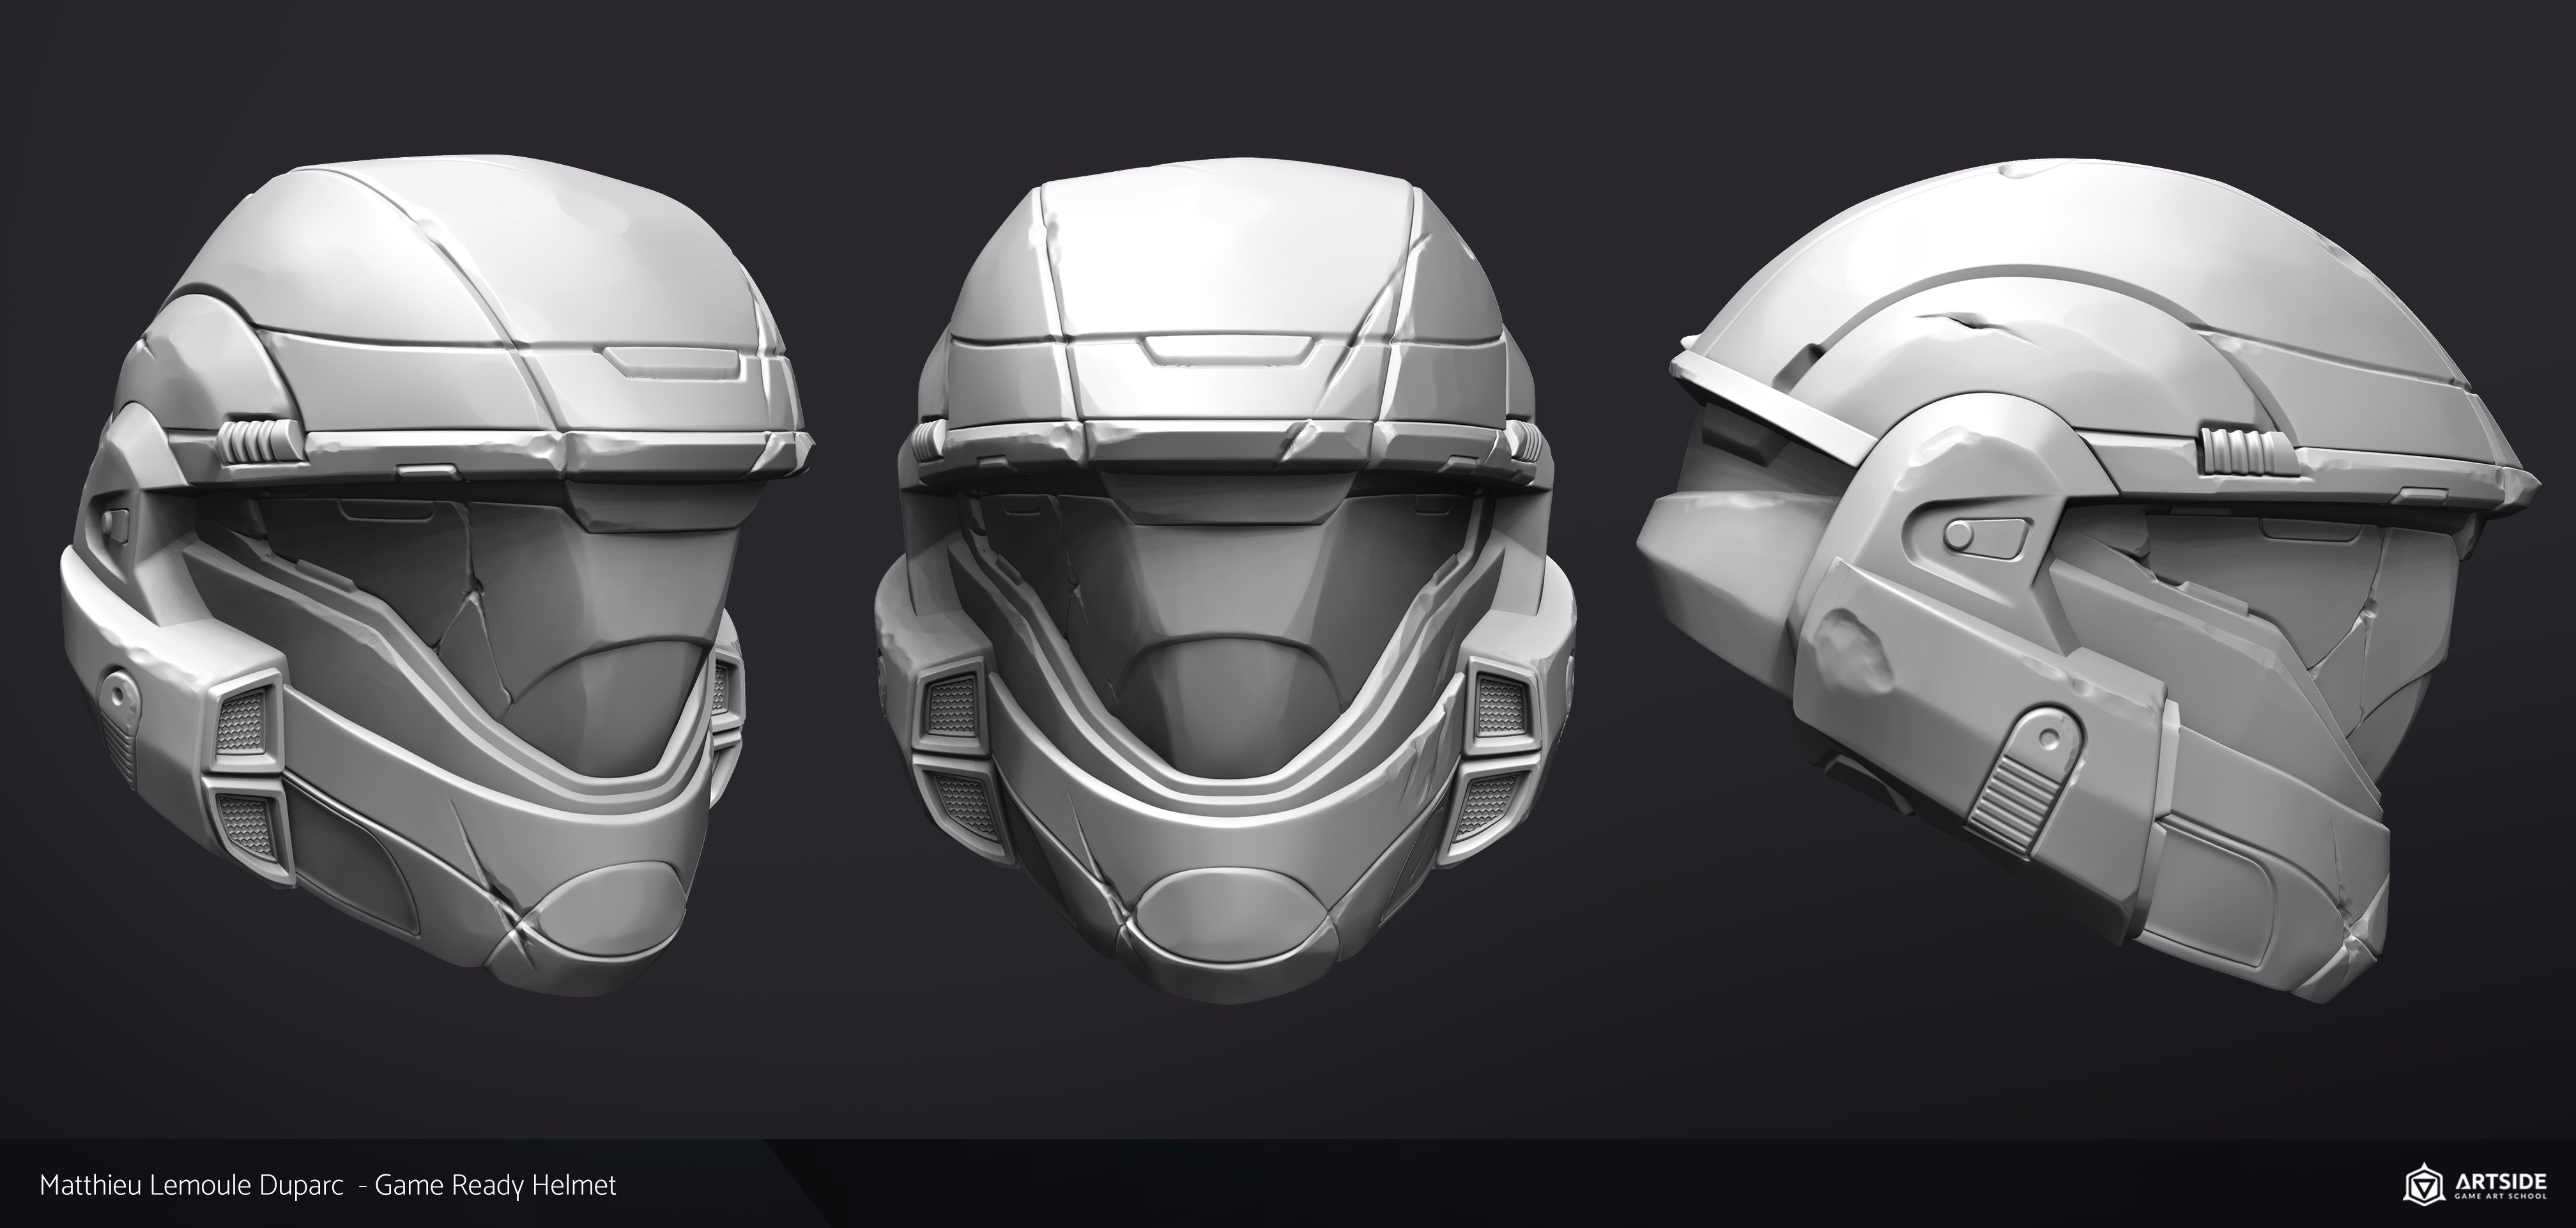
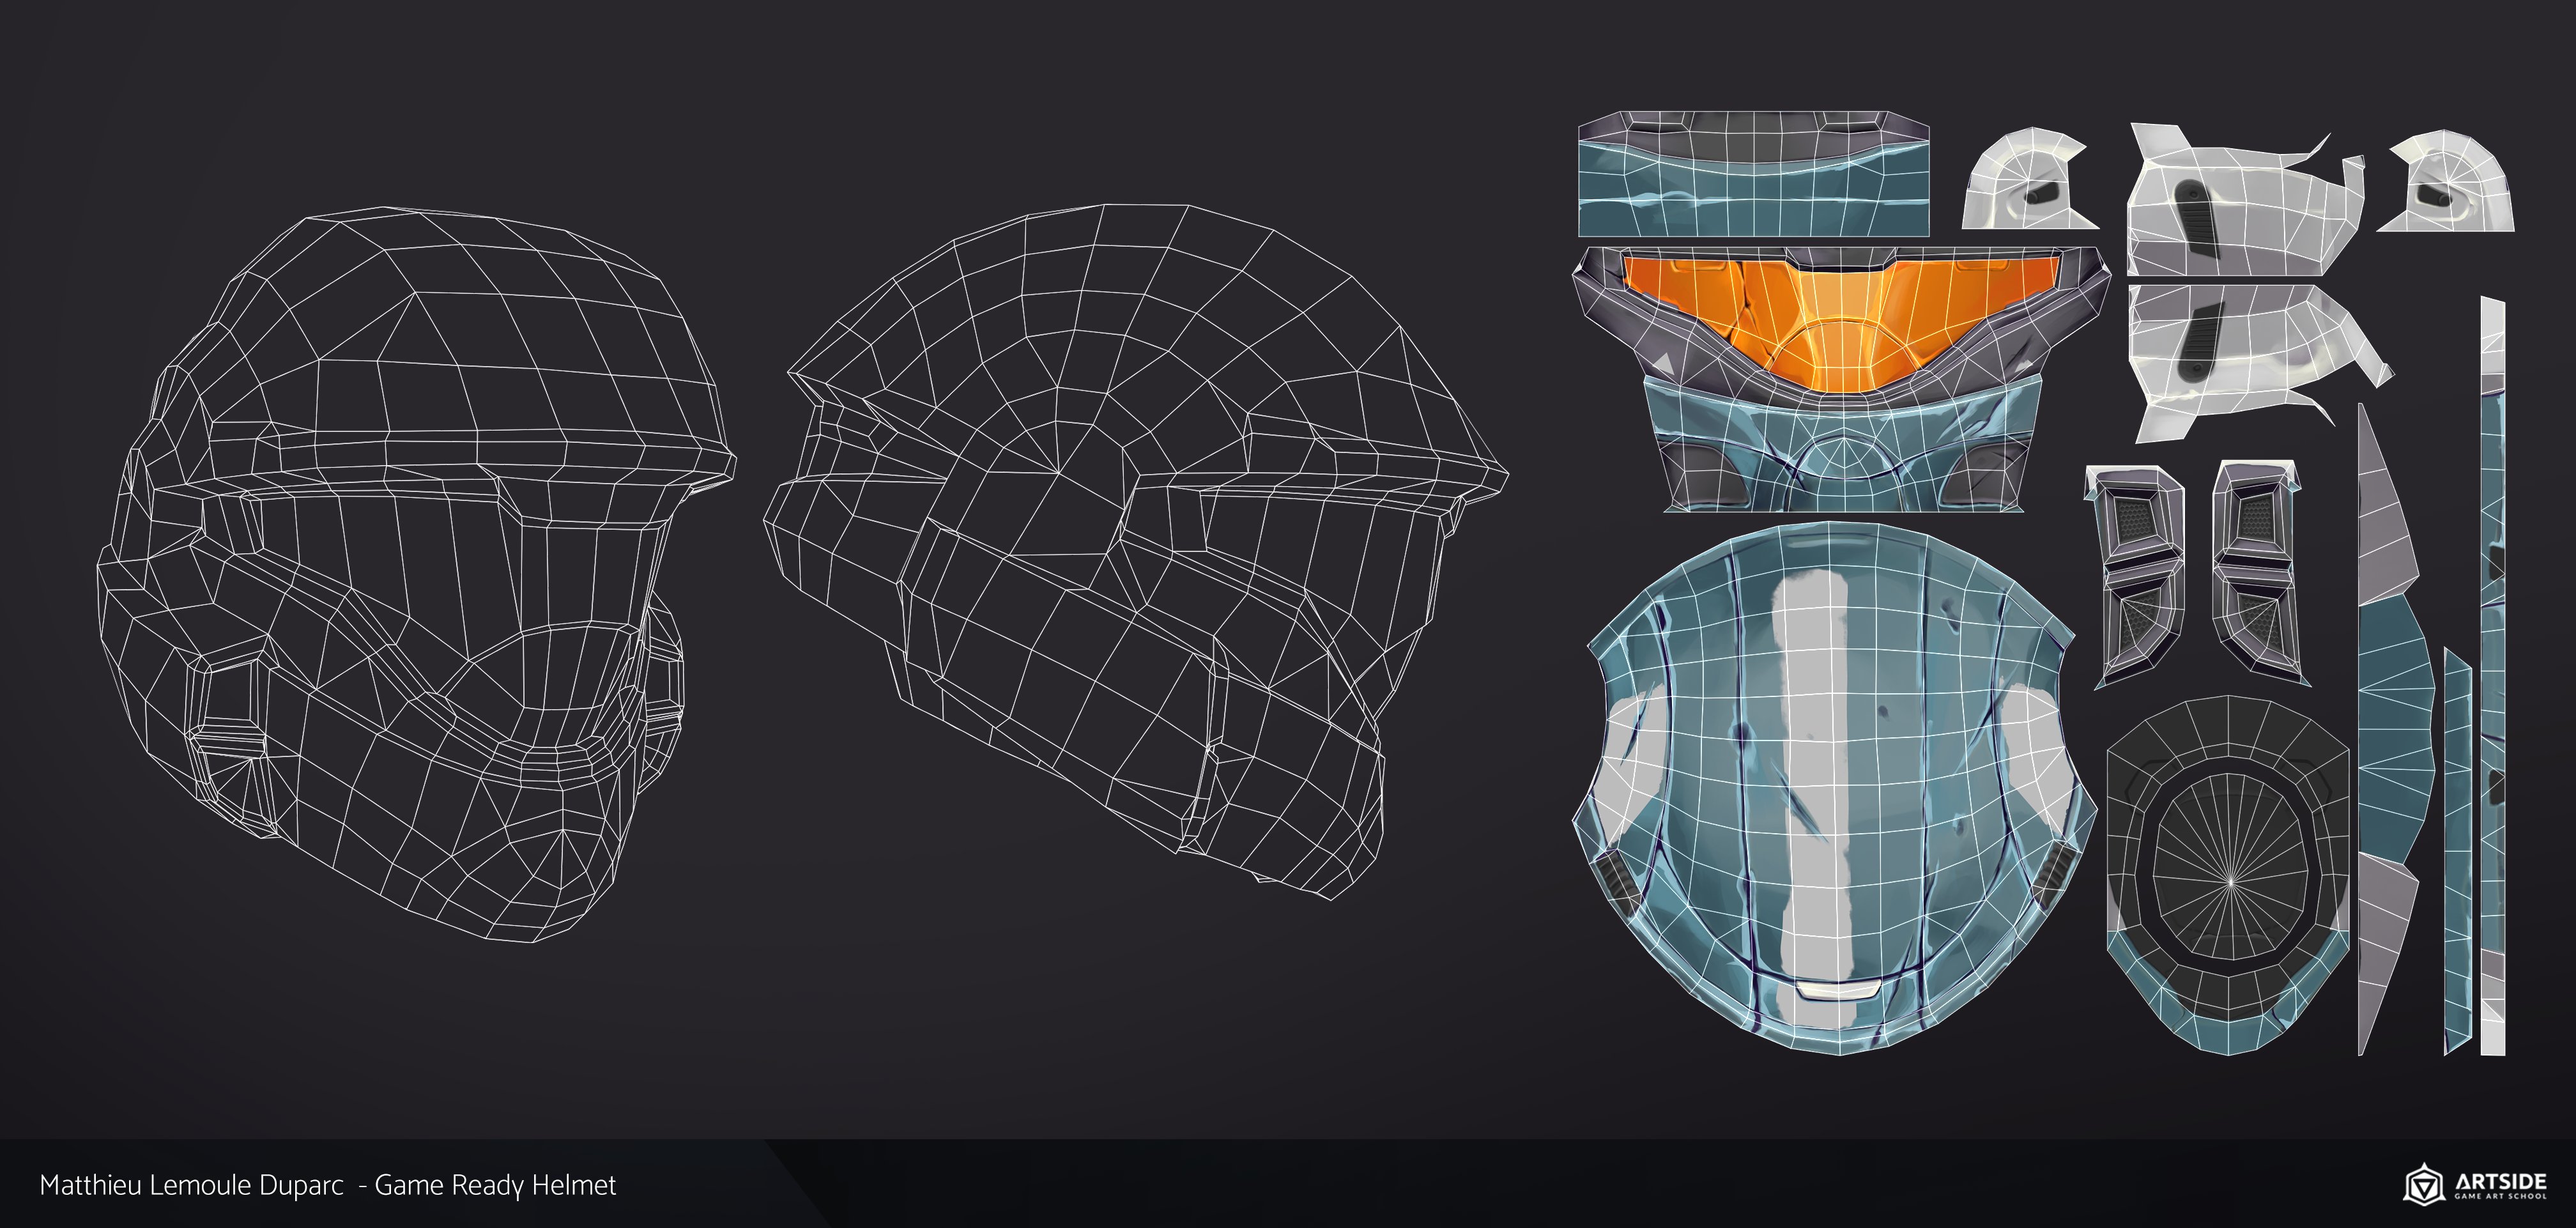
Later in the year, I have had again another workshop with Pierrick and had the occasion to do more Hard Surfaces ! This time it was to create a game ready sci fi helmet in 1 week and in a more stylized artistic direction.
The original concept was created by Isaac Hannaford for Halo Reach's multiplayer helmets

Wonder Woman Fanart
One of my first 3D character artwork I did during my first year at Artside. I Really Enjoyed doing this kind of stuff. The objective here was to recreate a 3D Figure based on the DC Comics 1/4 Wonder Woman Statue from the Queen’ studios
Supervised by our instructors Cyril Roquelaine and Antoine Destailleurs, it was a real opportunity to train deeper into anatomy and how to create detailed stuff armors onto a character.
This work was fully done in Zbrush and rendered in Blender with cycles. Very enjoyed the lighting part by the way !


Thank you for your time and for watching all my selected projects !


Comments (8)