
Meet the Cute Mat Chicken
Entry for my very first Meet Mat contest!. The result of a wide range of references.
Meet the Cute Mat Chicken
Update - 30 Dec 2023
This is my last Update of this fabulous dynamic. The Cute Mat Chicken and I thank everybody for following us along the development of this project, also thanks for the forum help. I had the opportunity to improve my skills and learn new stuff. I had fun making this project and I encourage the community to enter these contests because nothing but only good things may come up from this.


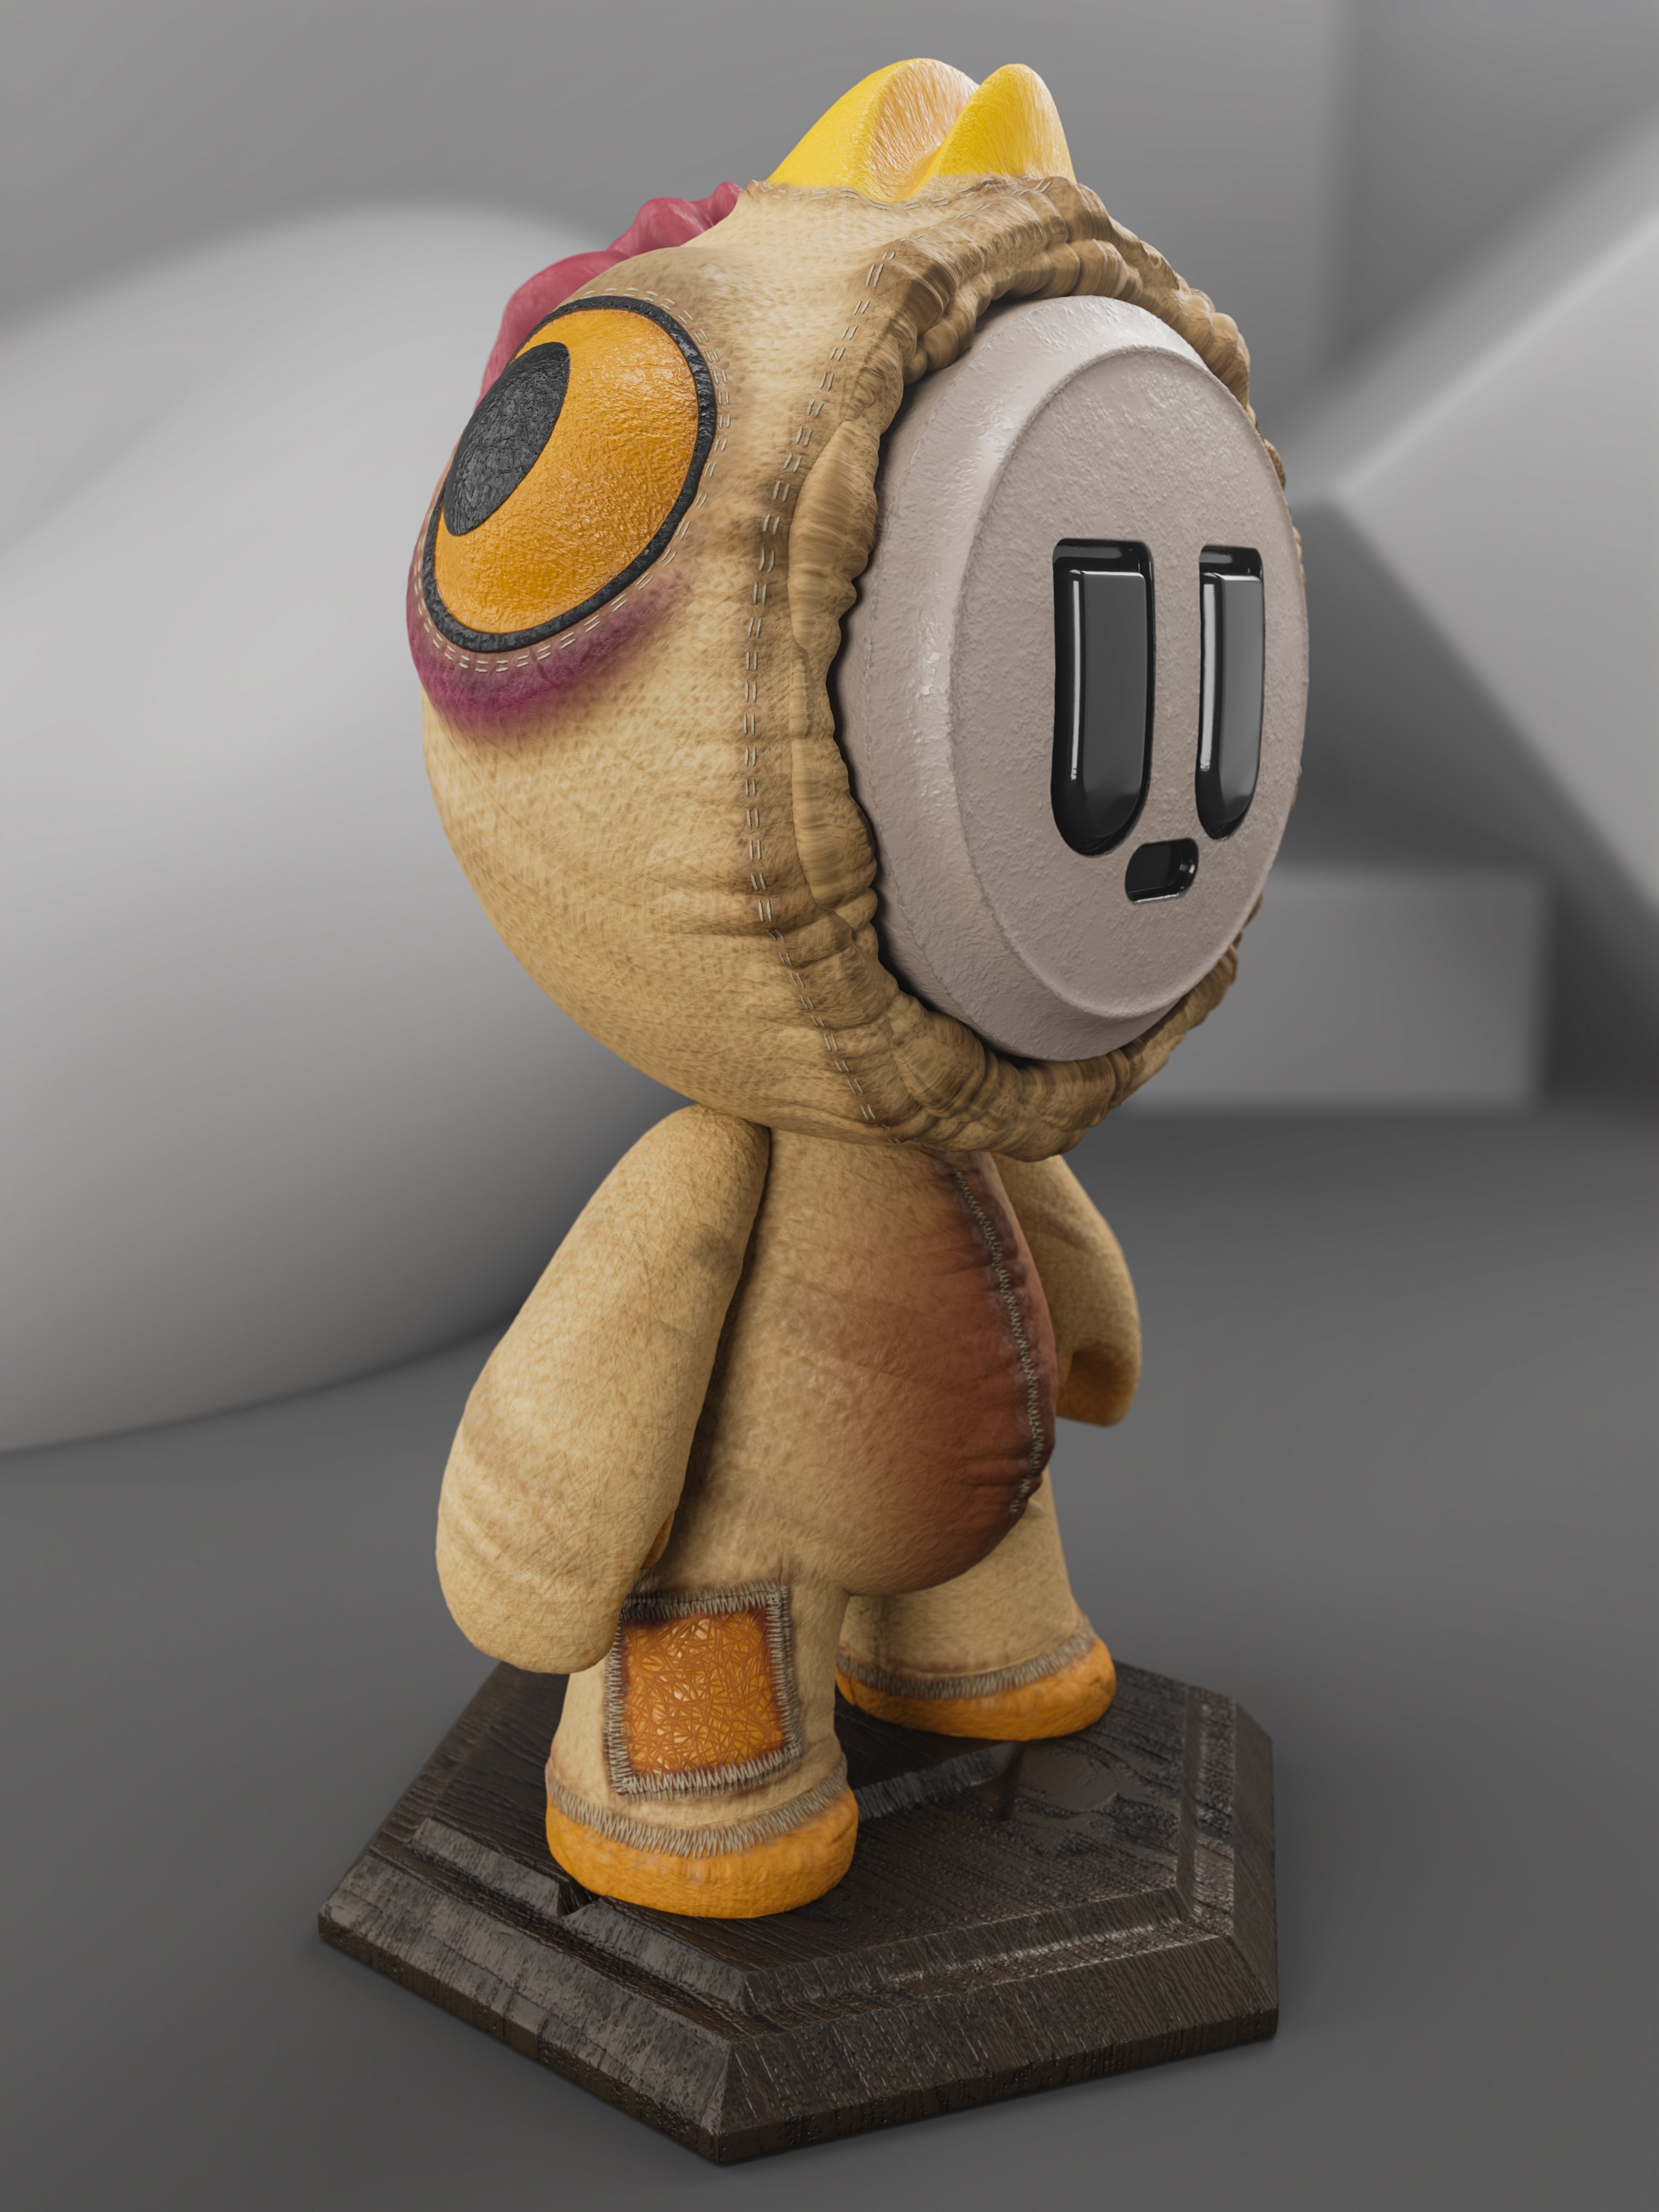
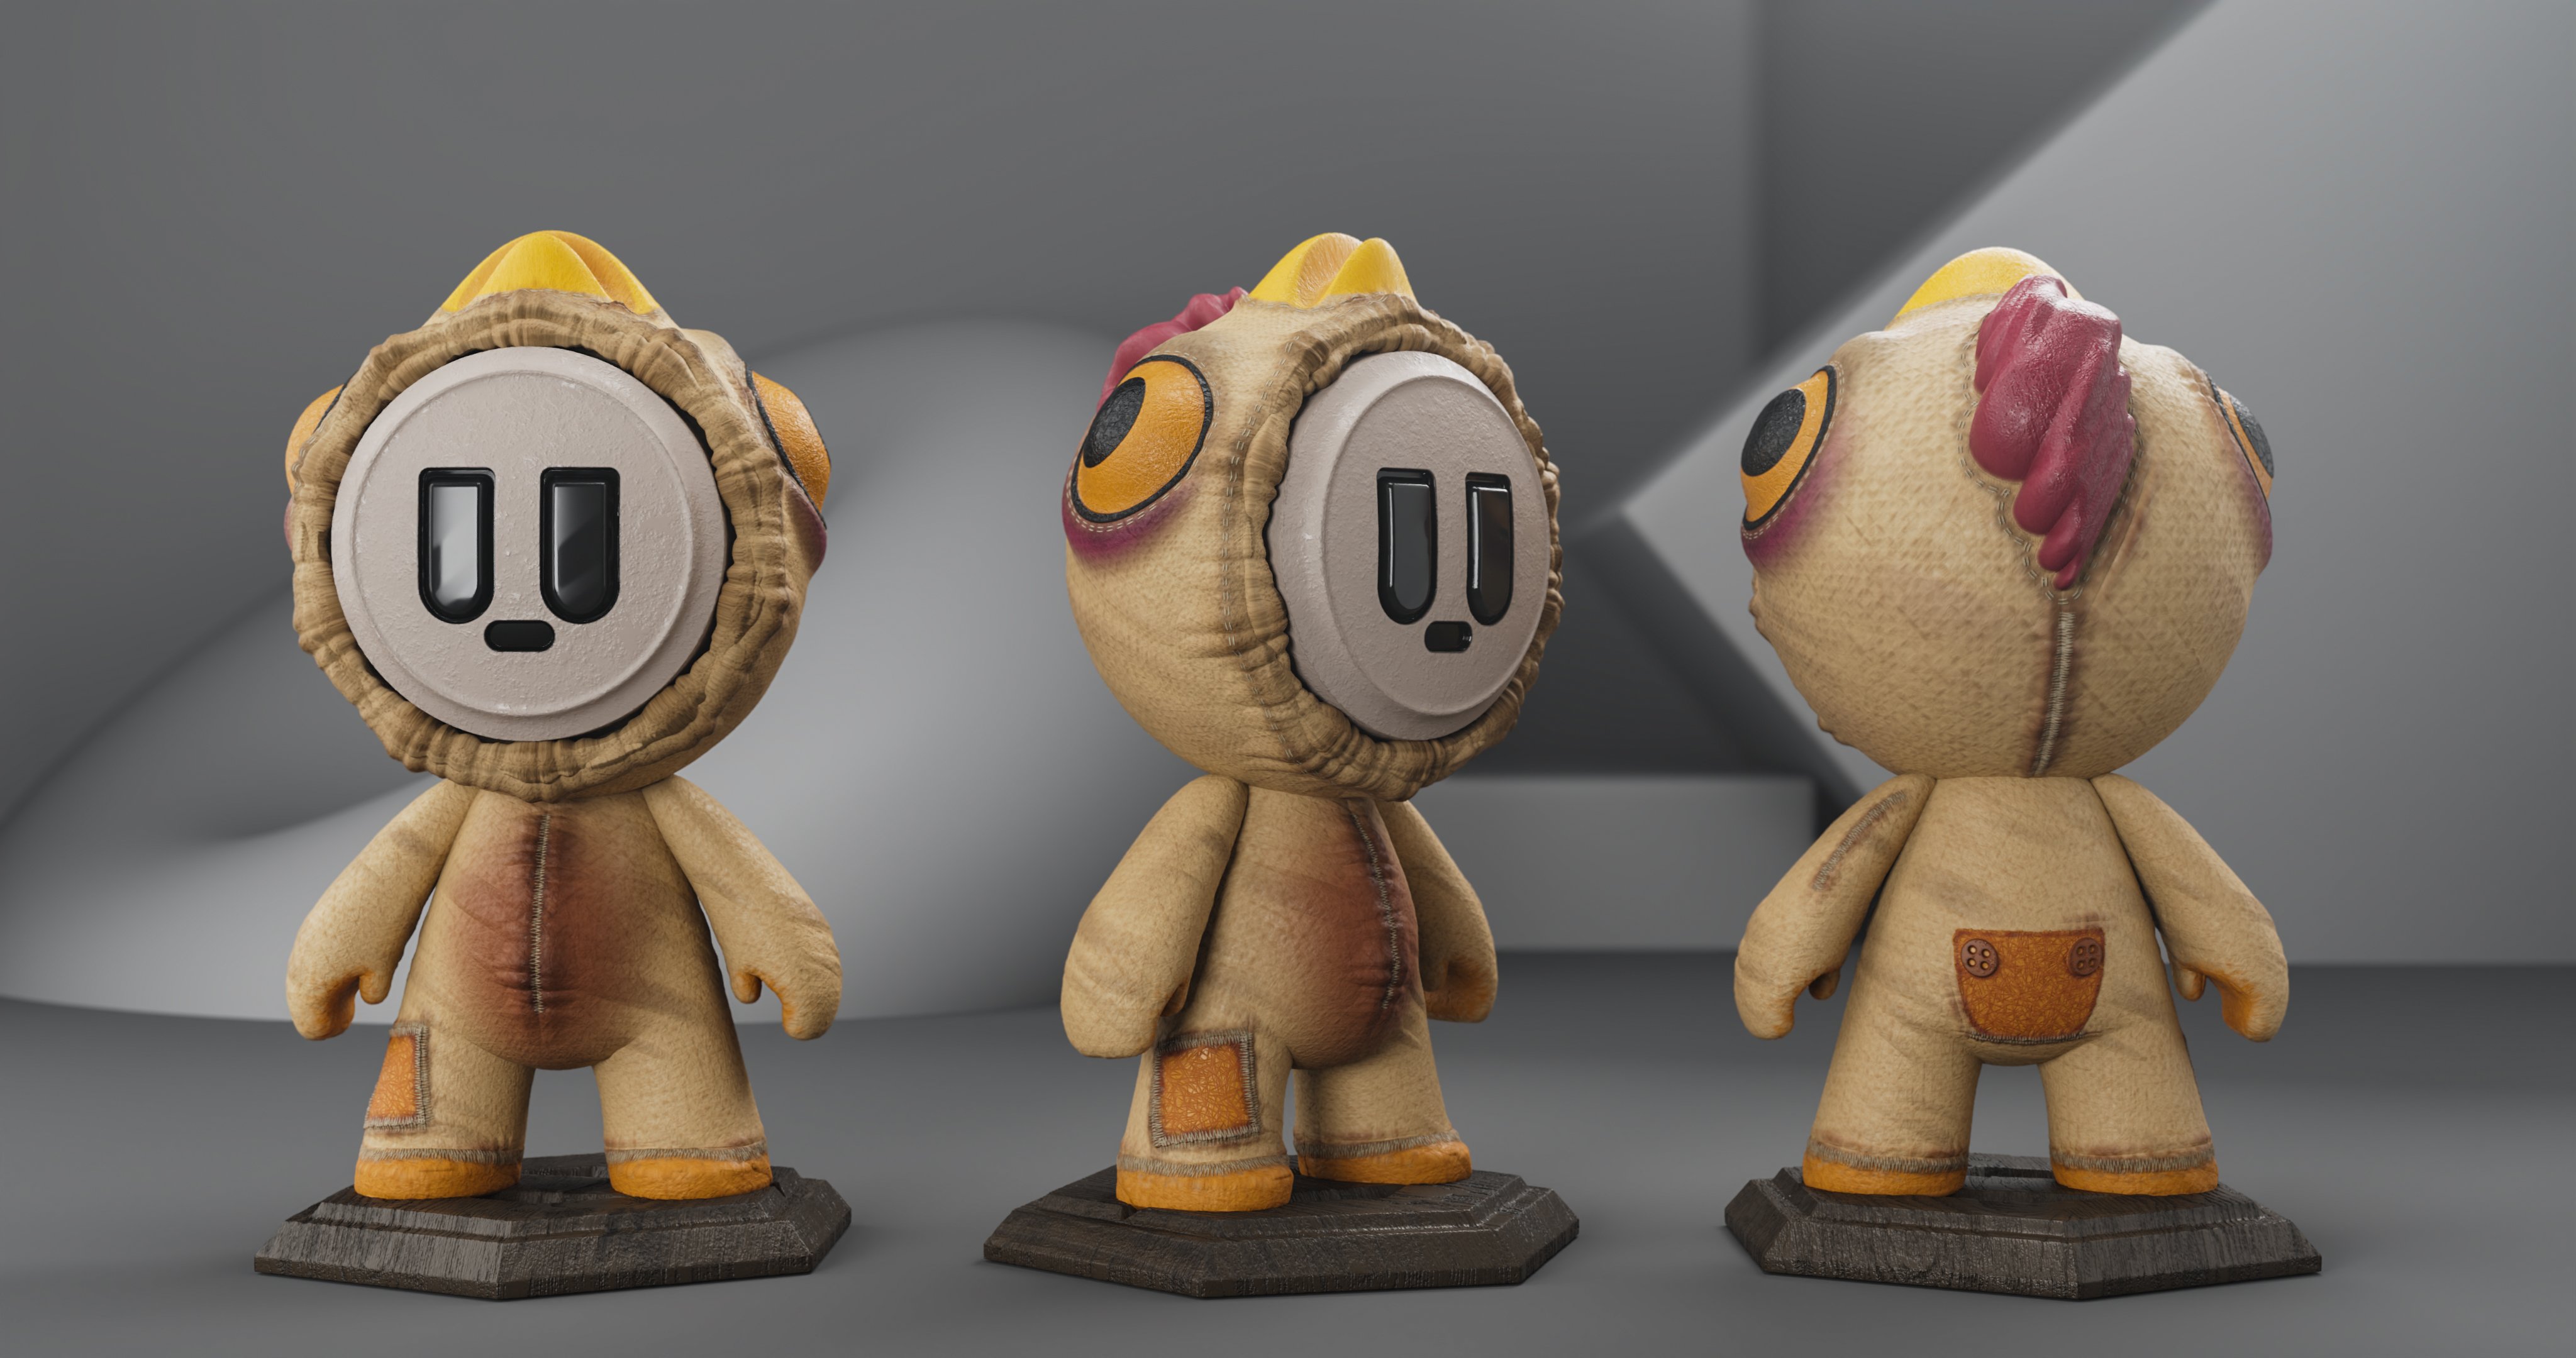
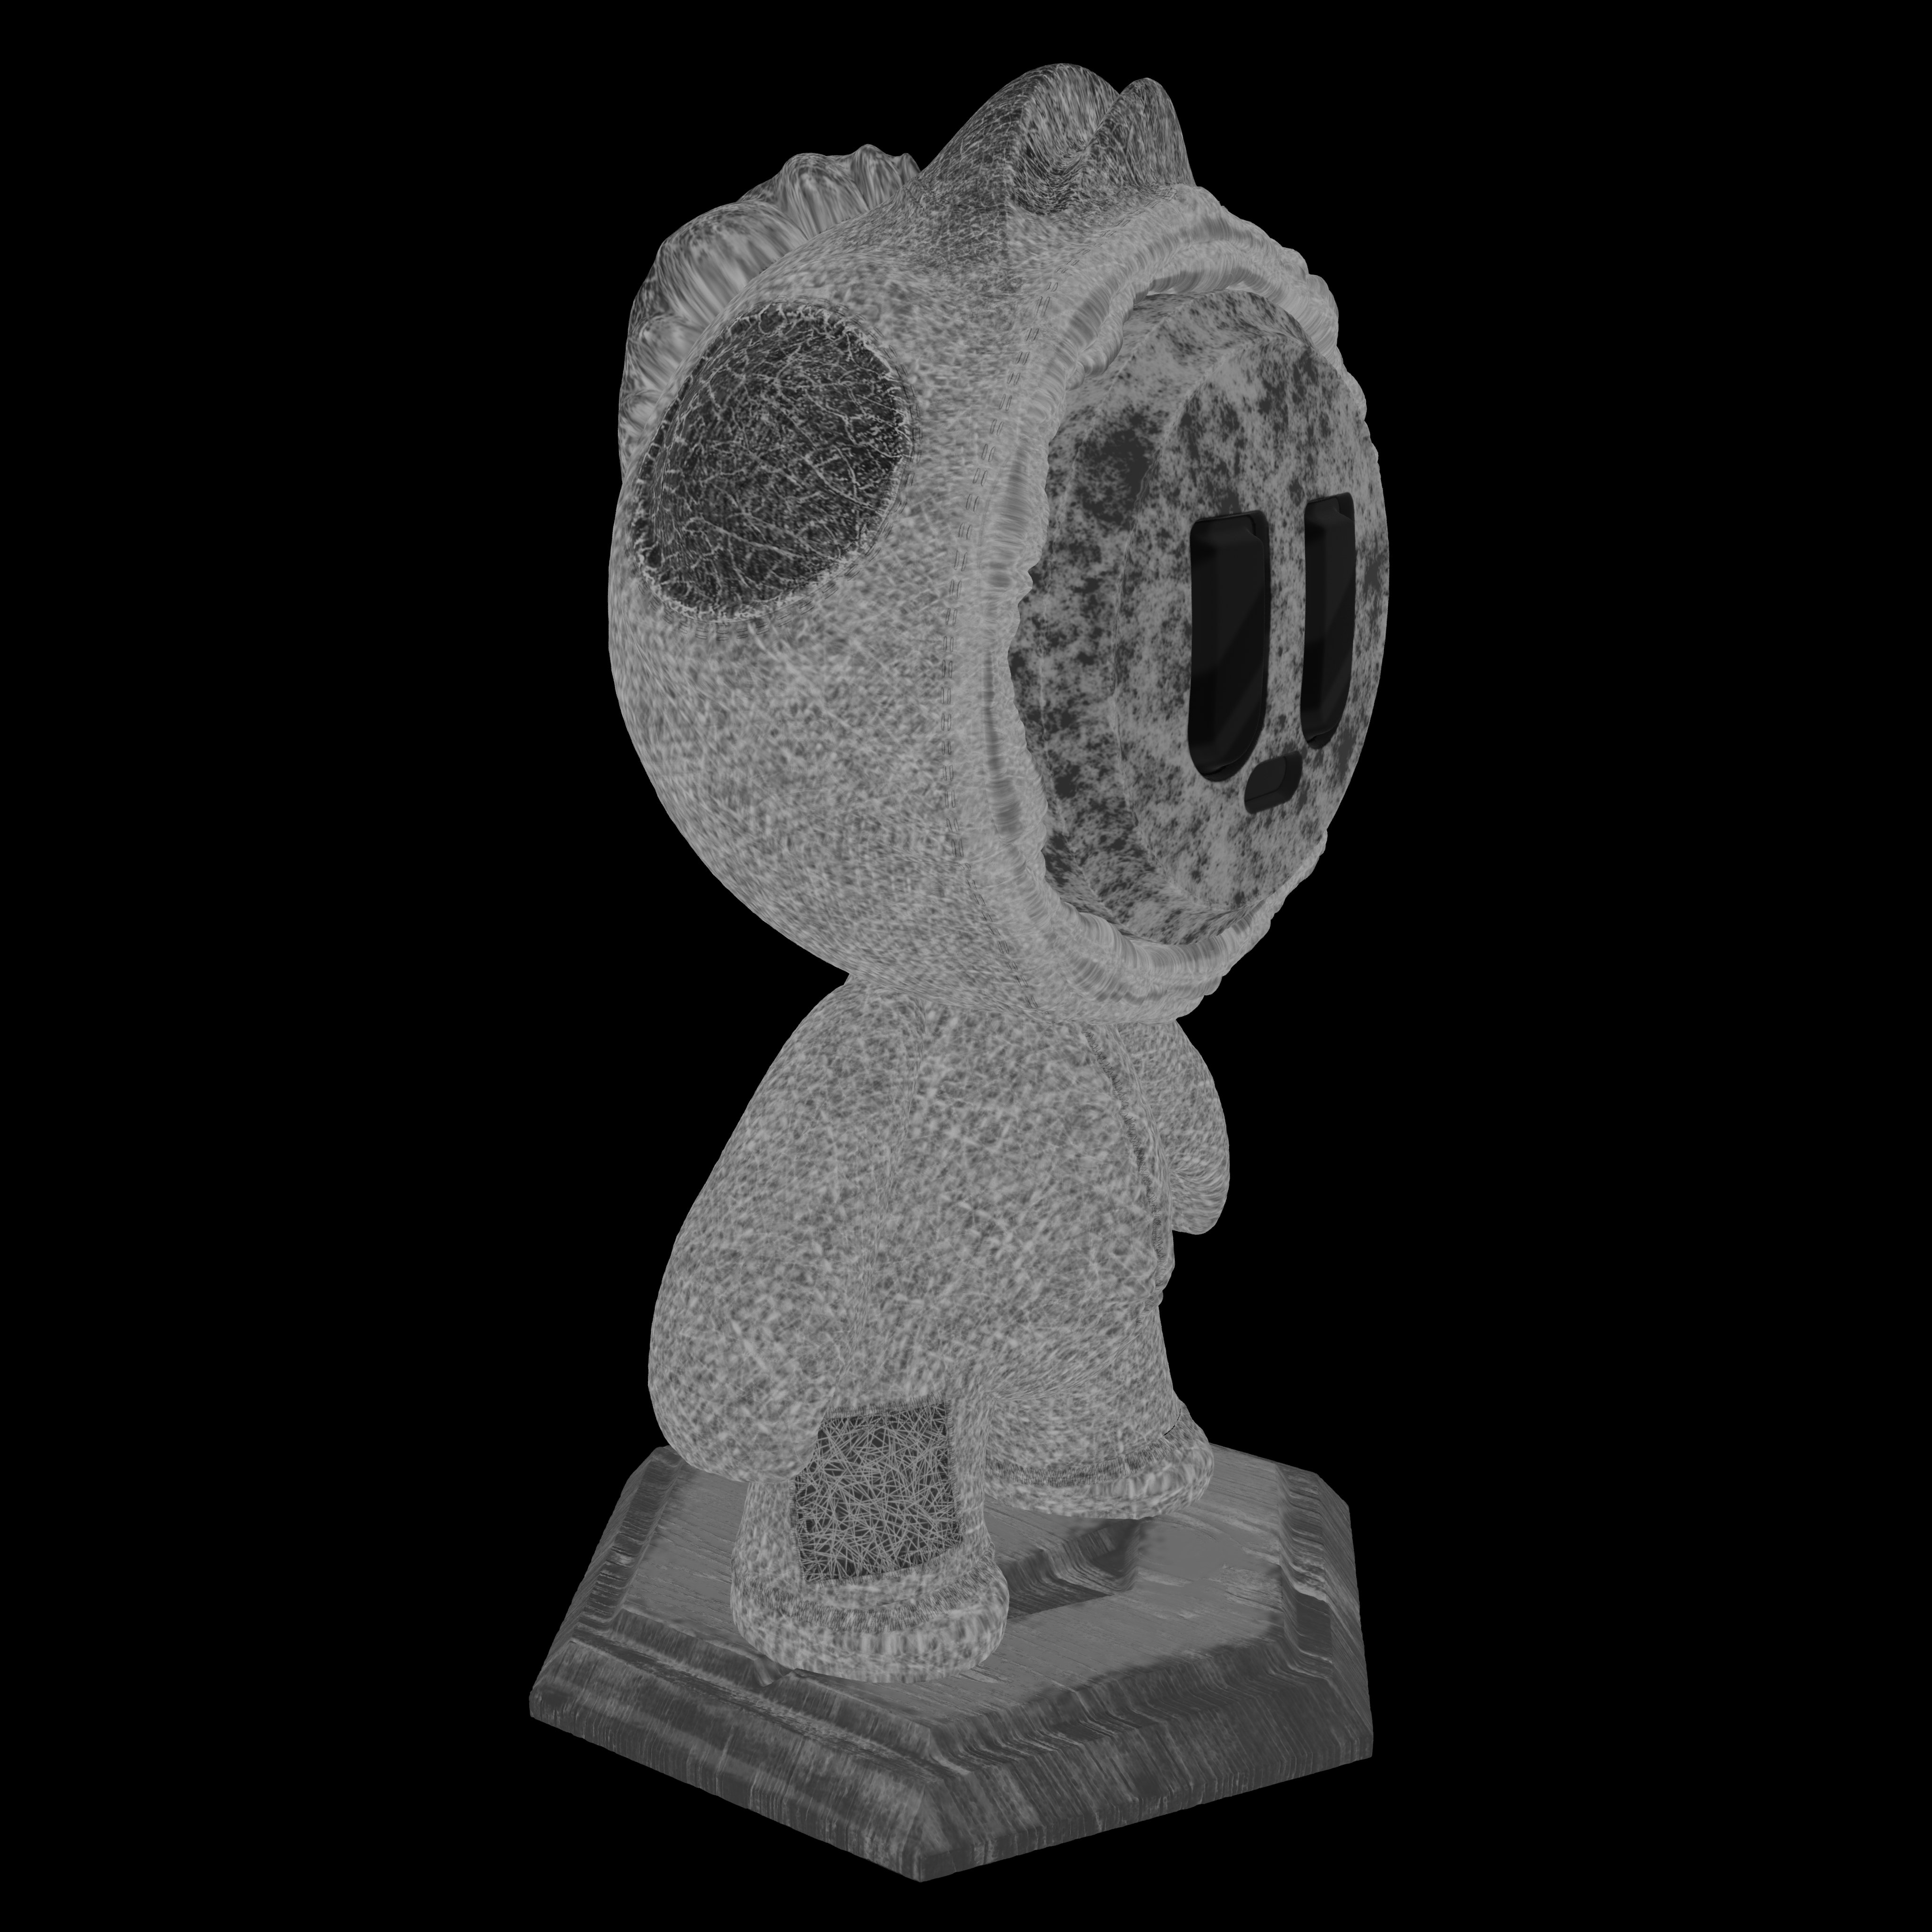
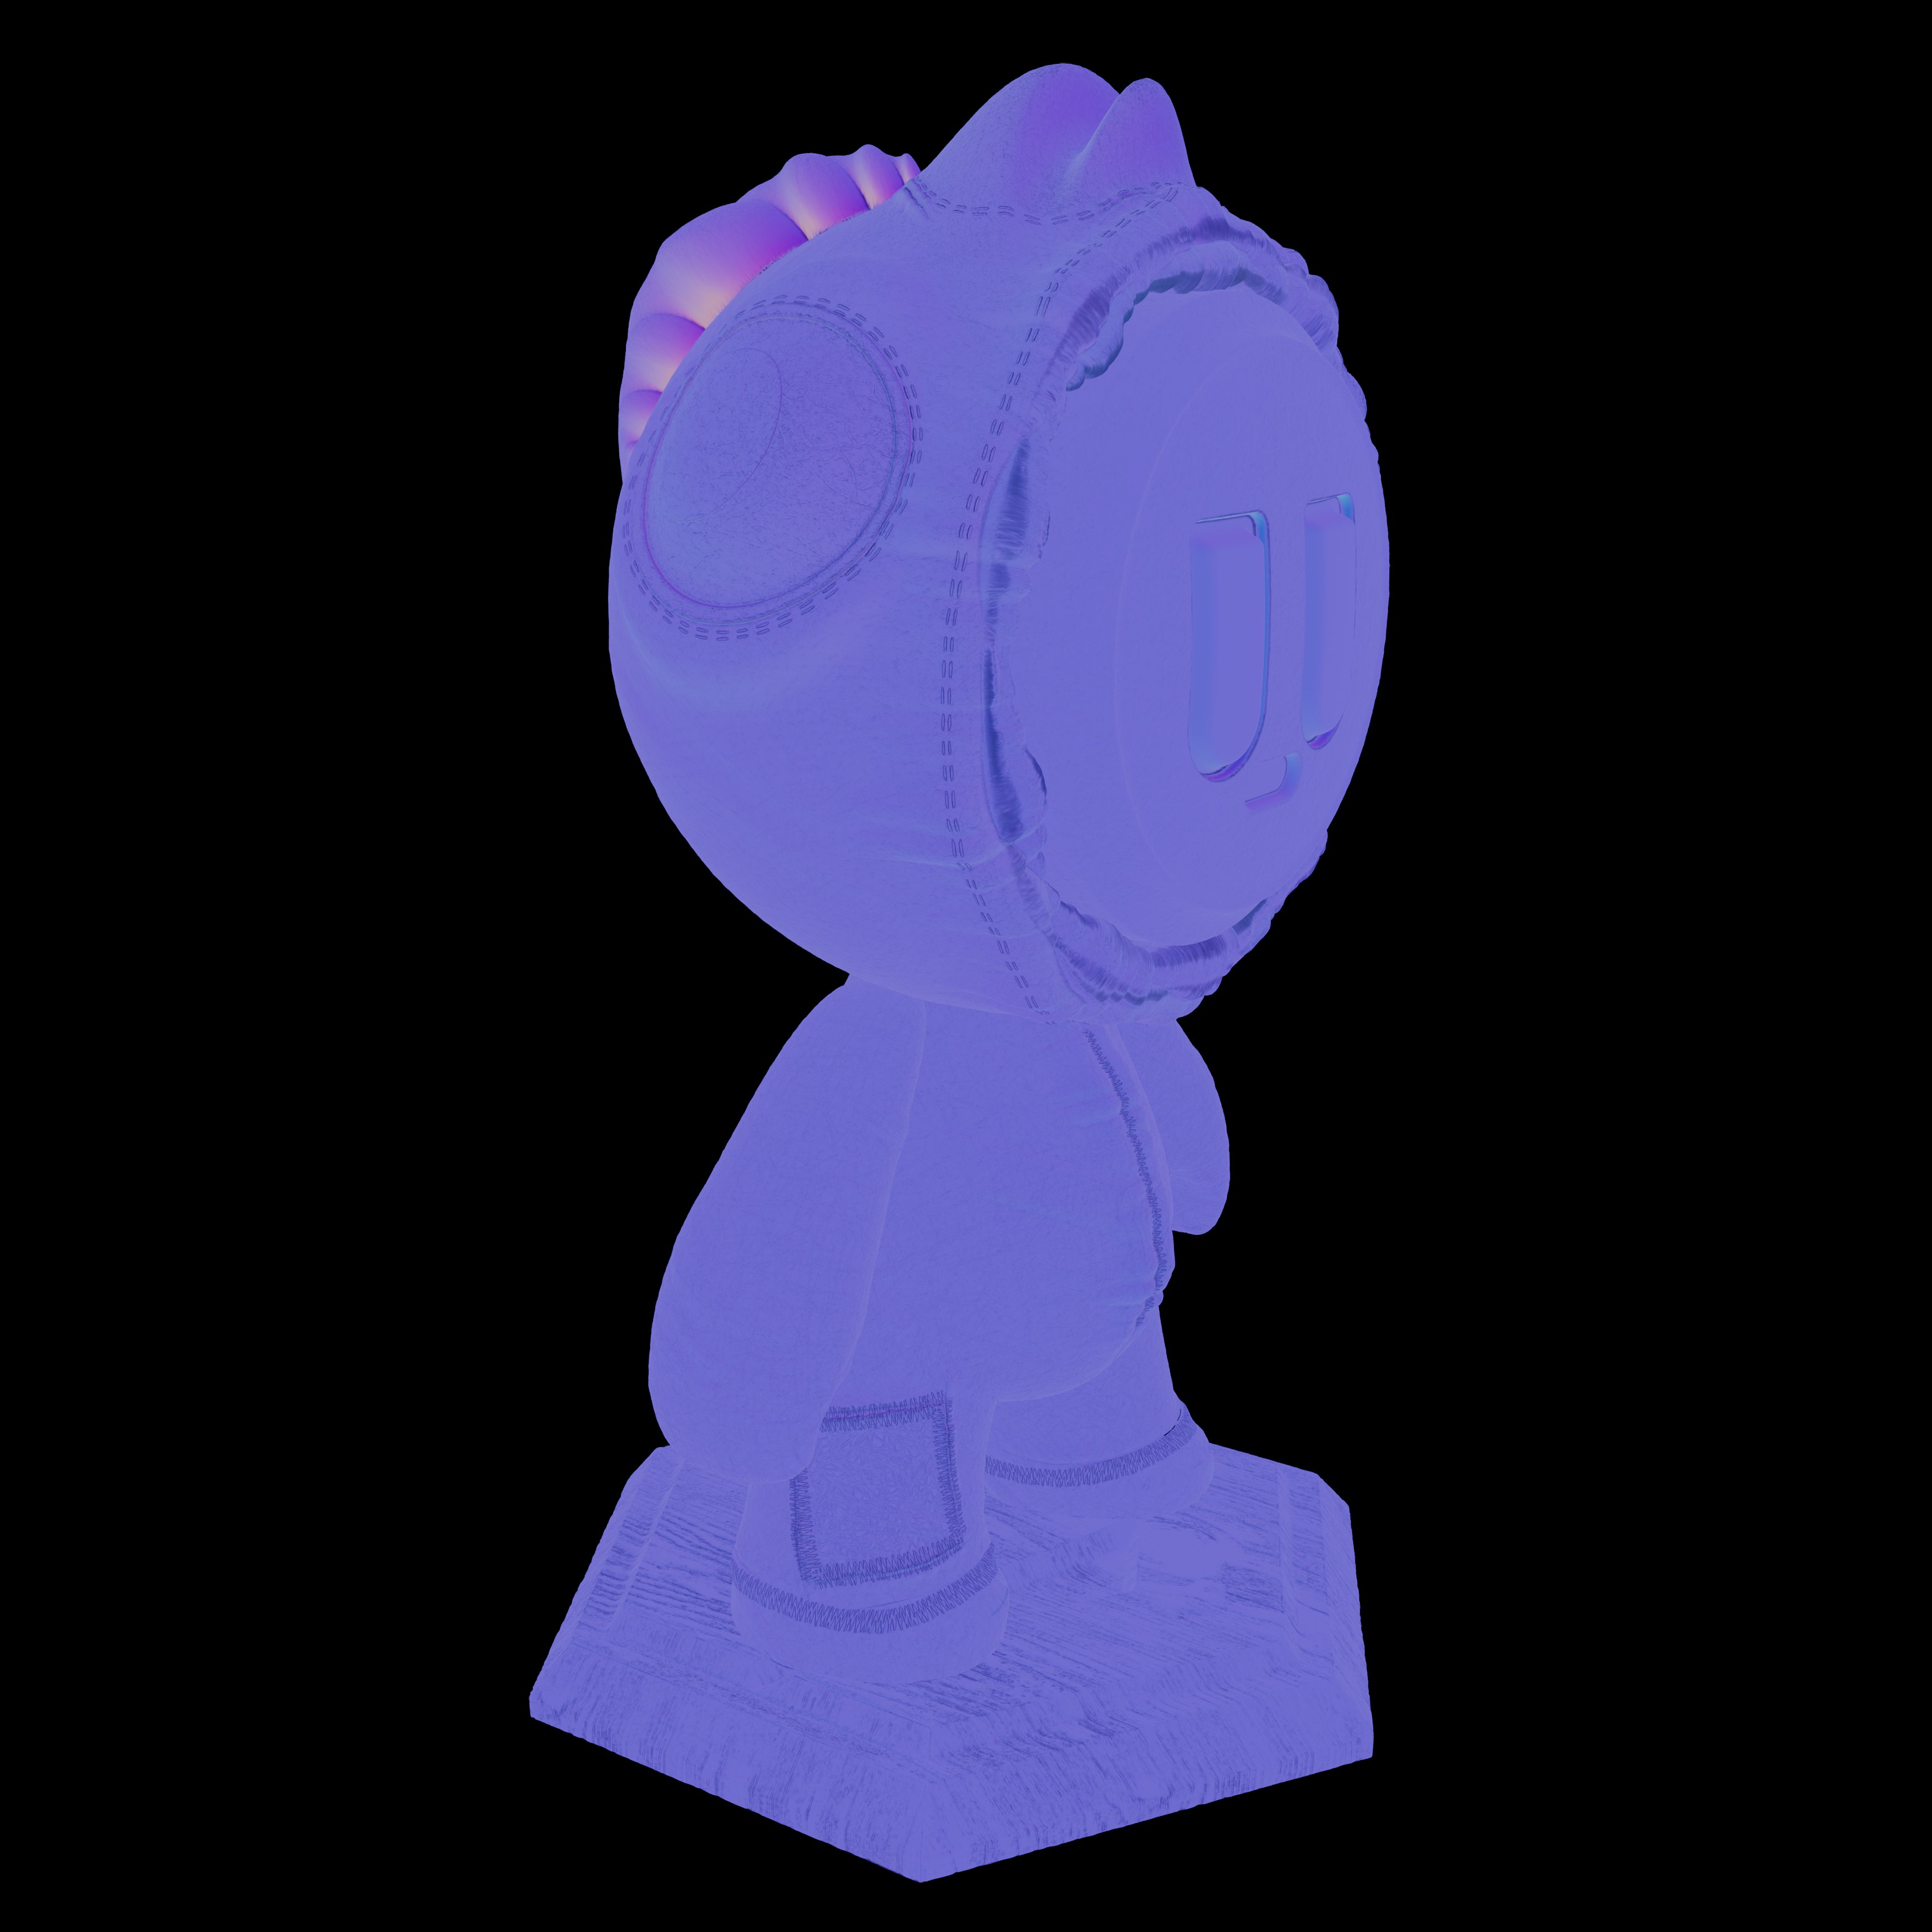
These are the Meet Mat 3 Overview required renders. The ‘Render Cam Front’ and ‘Render Cam Perspective’ at 4096 x 2160 pixels. I didn't move the character or the cameras, kind of unfortunate the character crops a little, but that's why I uploaded the additional renders so you all can preview it well.
The very very last Render!🐔
Update - 29 Dec 2023

The whole process was developed in Adobe Substance 3D Painter, I worked with multiple layers building the whole texture from scratch, every channel was well made ensuring the quality of the project and every layer was named properly to keep good organization. For the rendering I choose Arnold because I am a Maya user, I used an aiImager Denoiser Odin and a Sampling value of 3 plus the proper Lighting sampling values themselves of course.
And of course I did a Turntable, because we all love turntables. It is rendered in Arnold in 2K aspect ratio.
In case you want to take a closer look, you can check it in here. I consider it isn't as accurate as the render one but it's probably a good addition.
Update - 28 Dec 2023
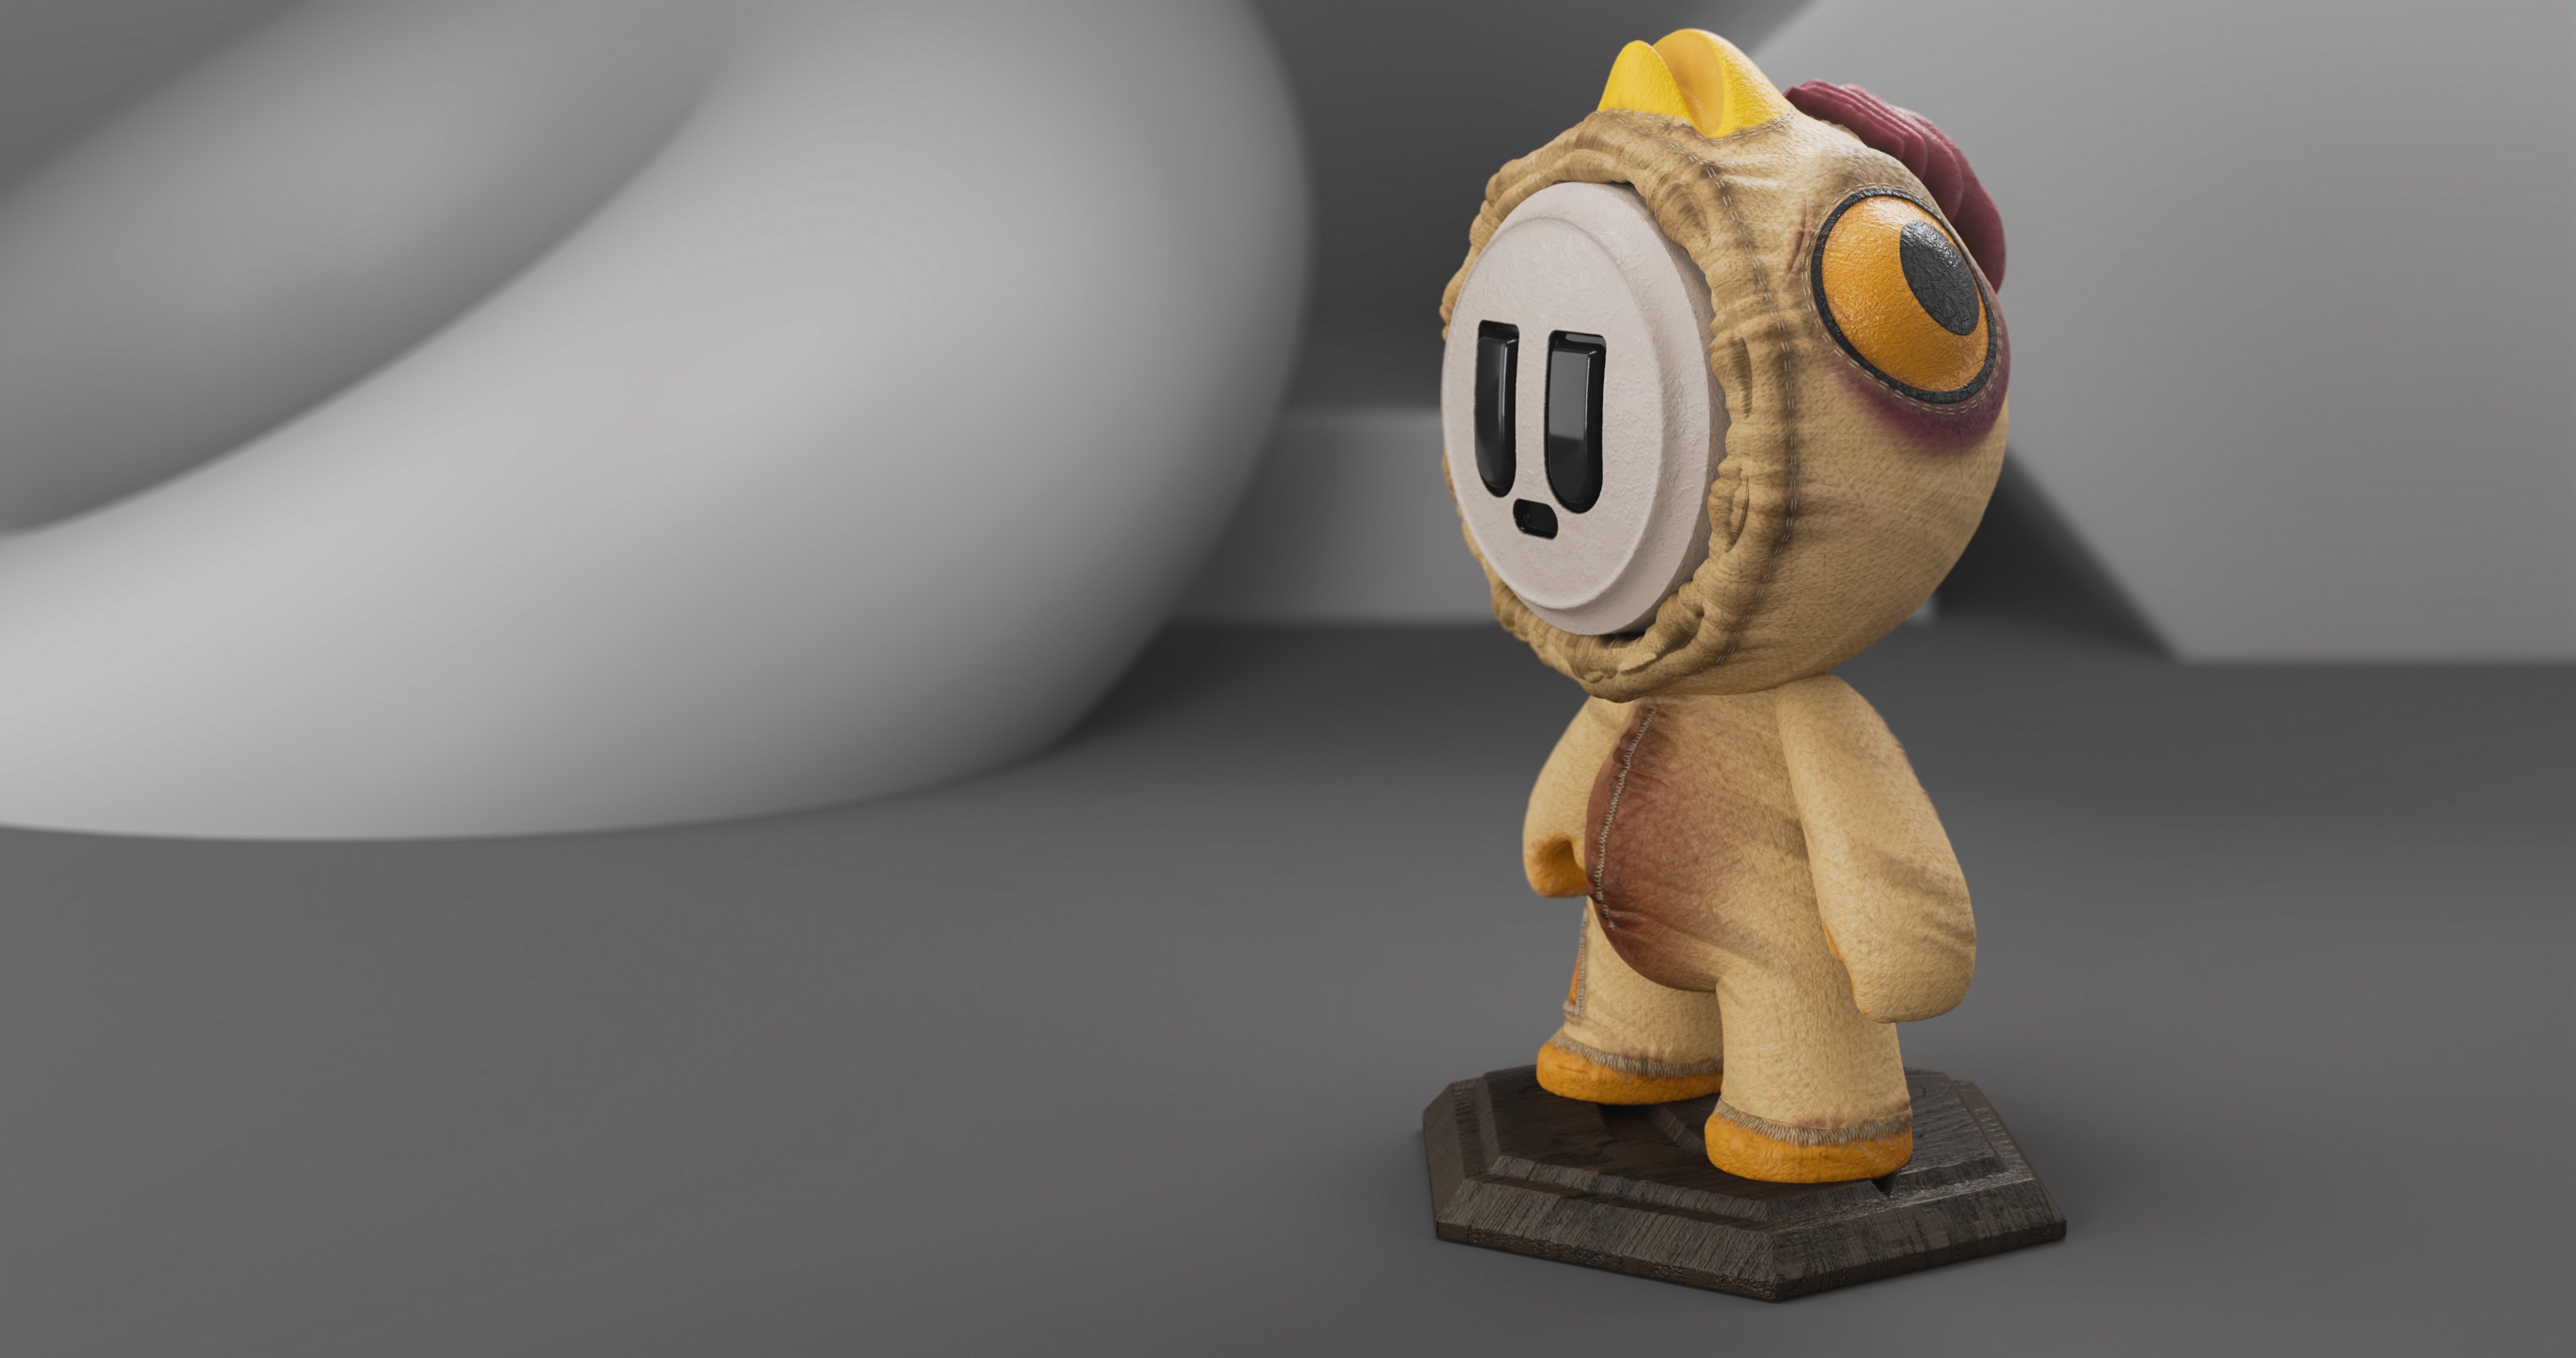
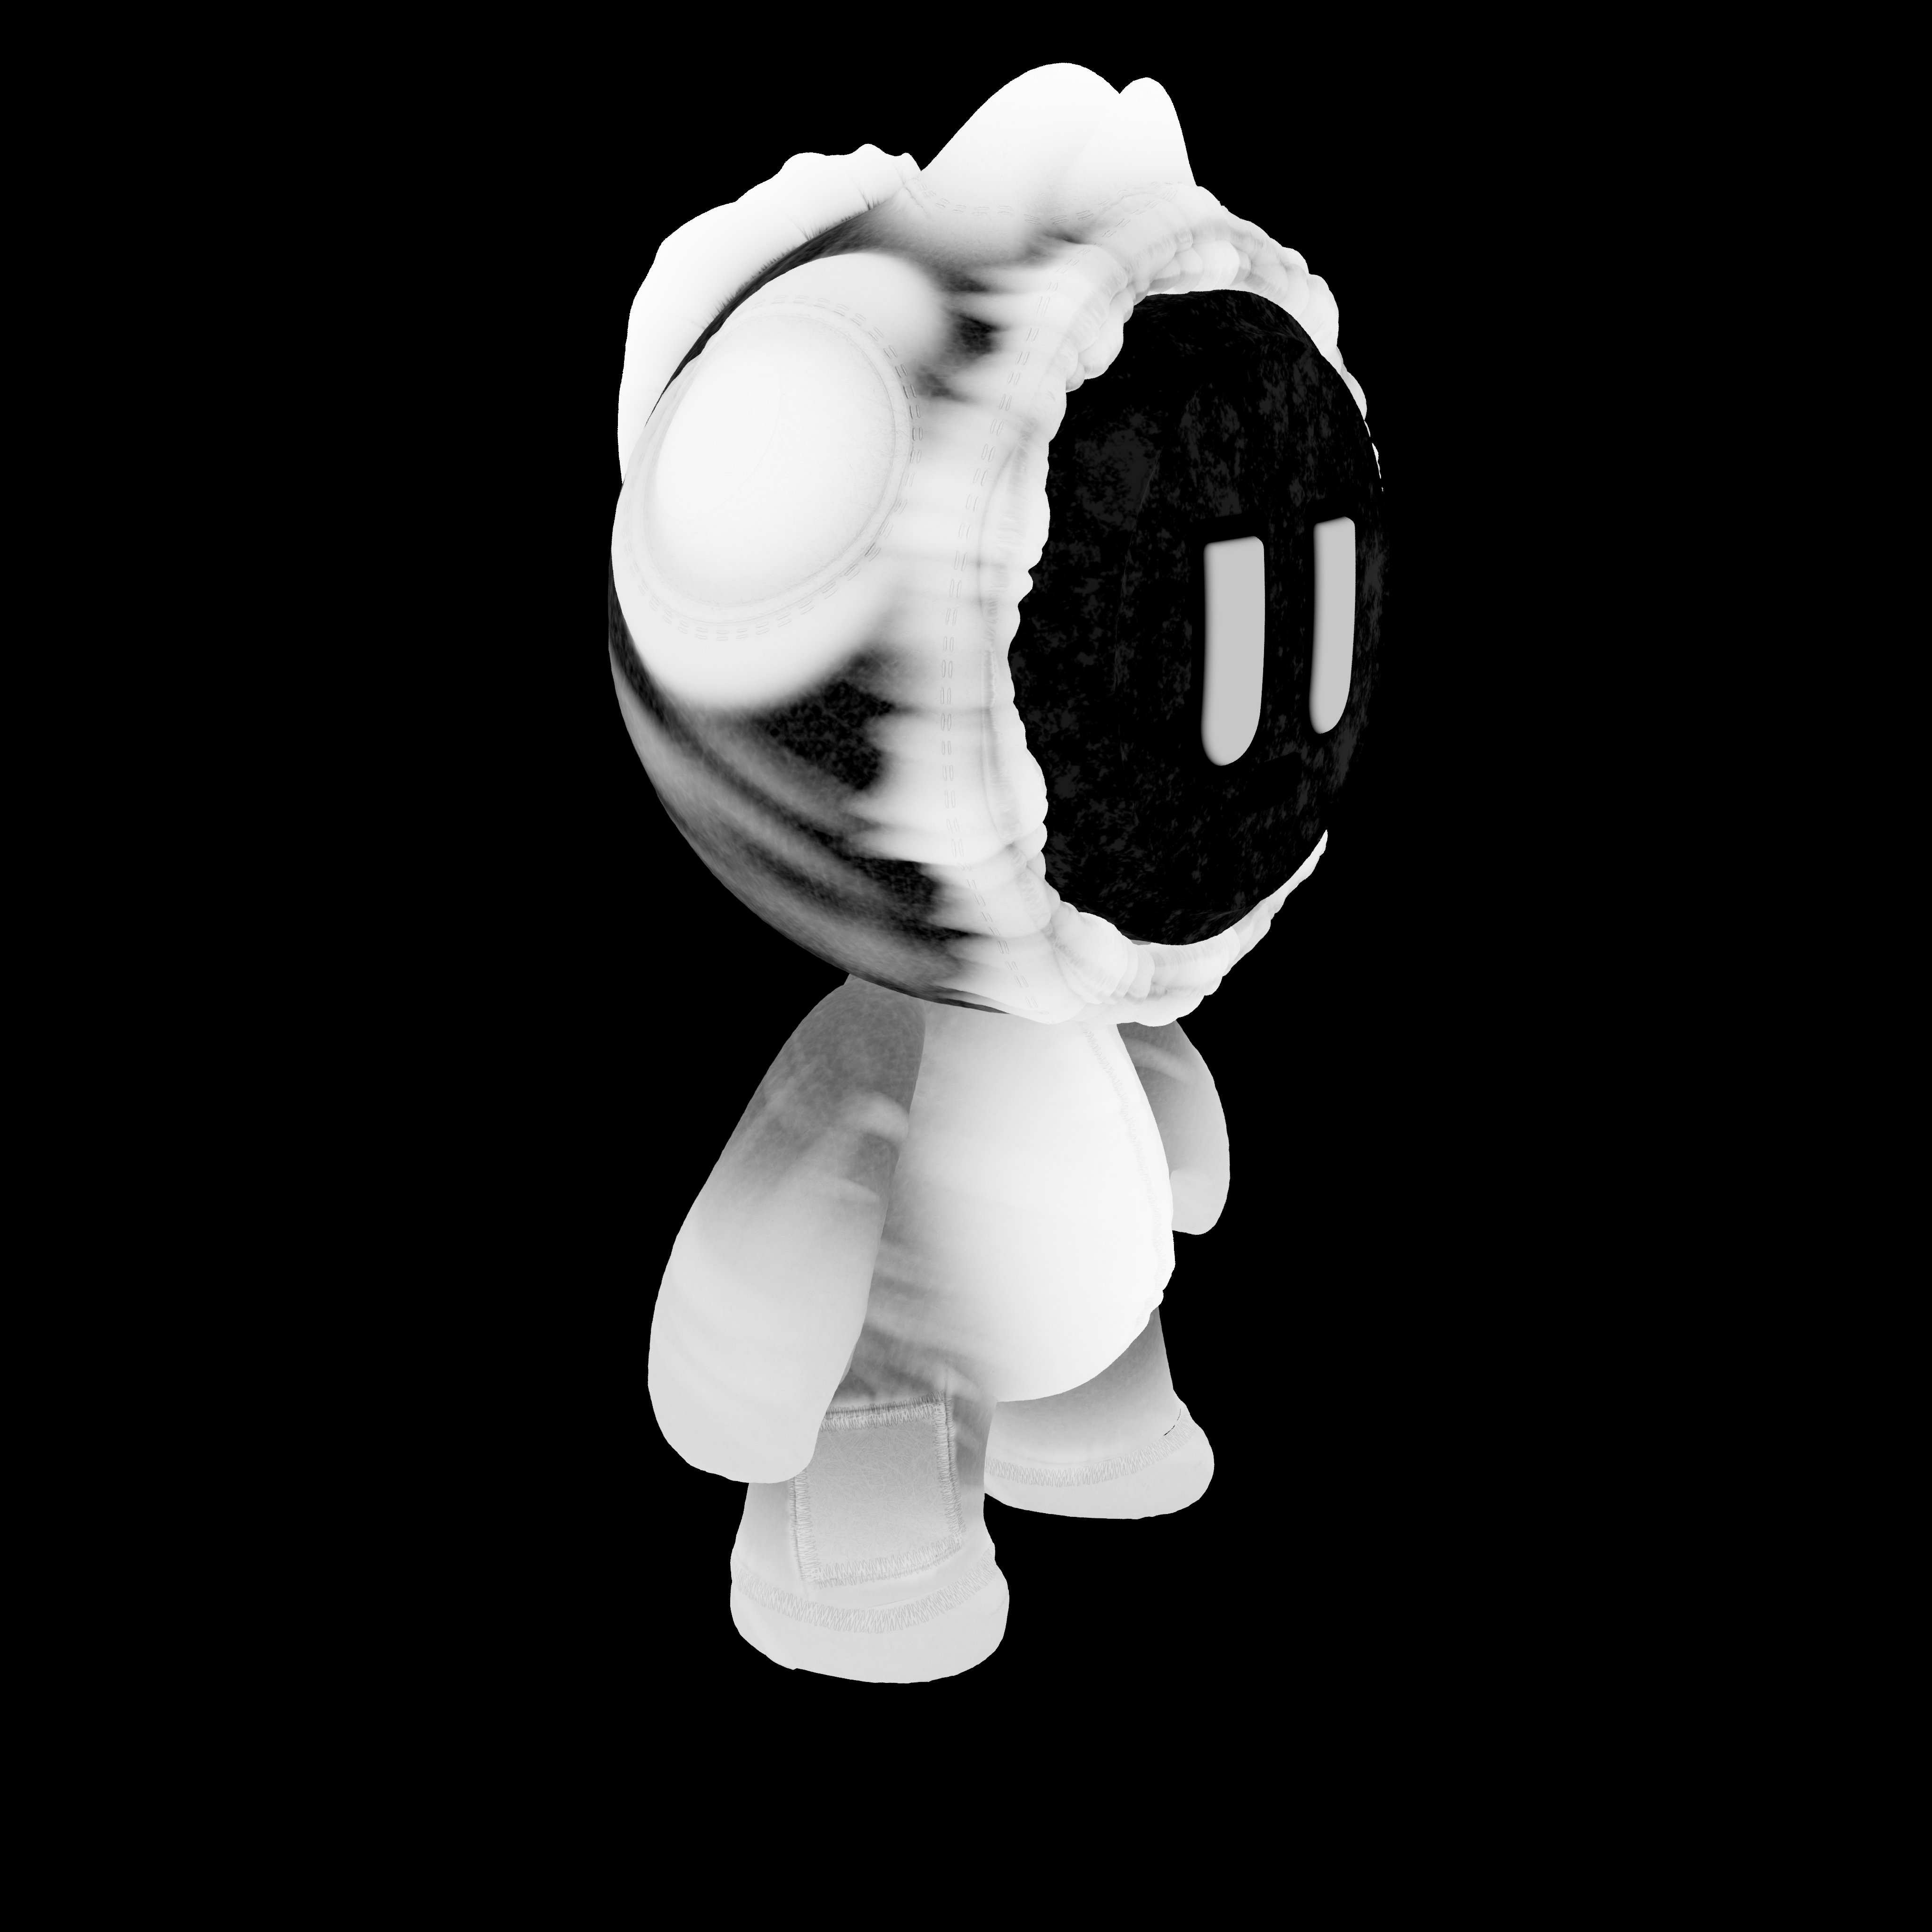
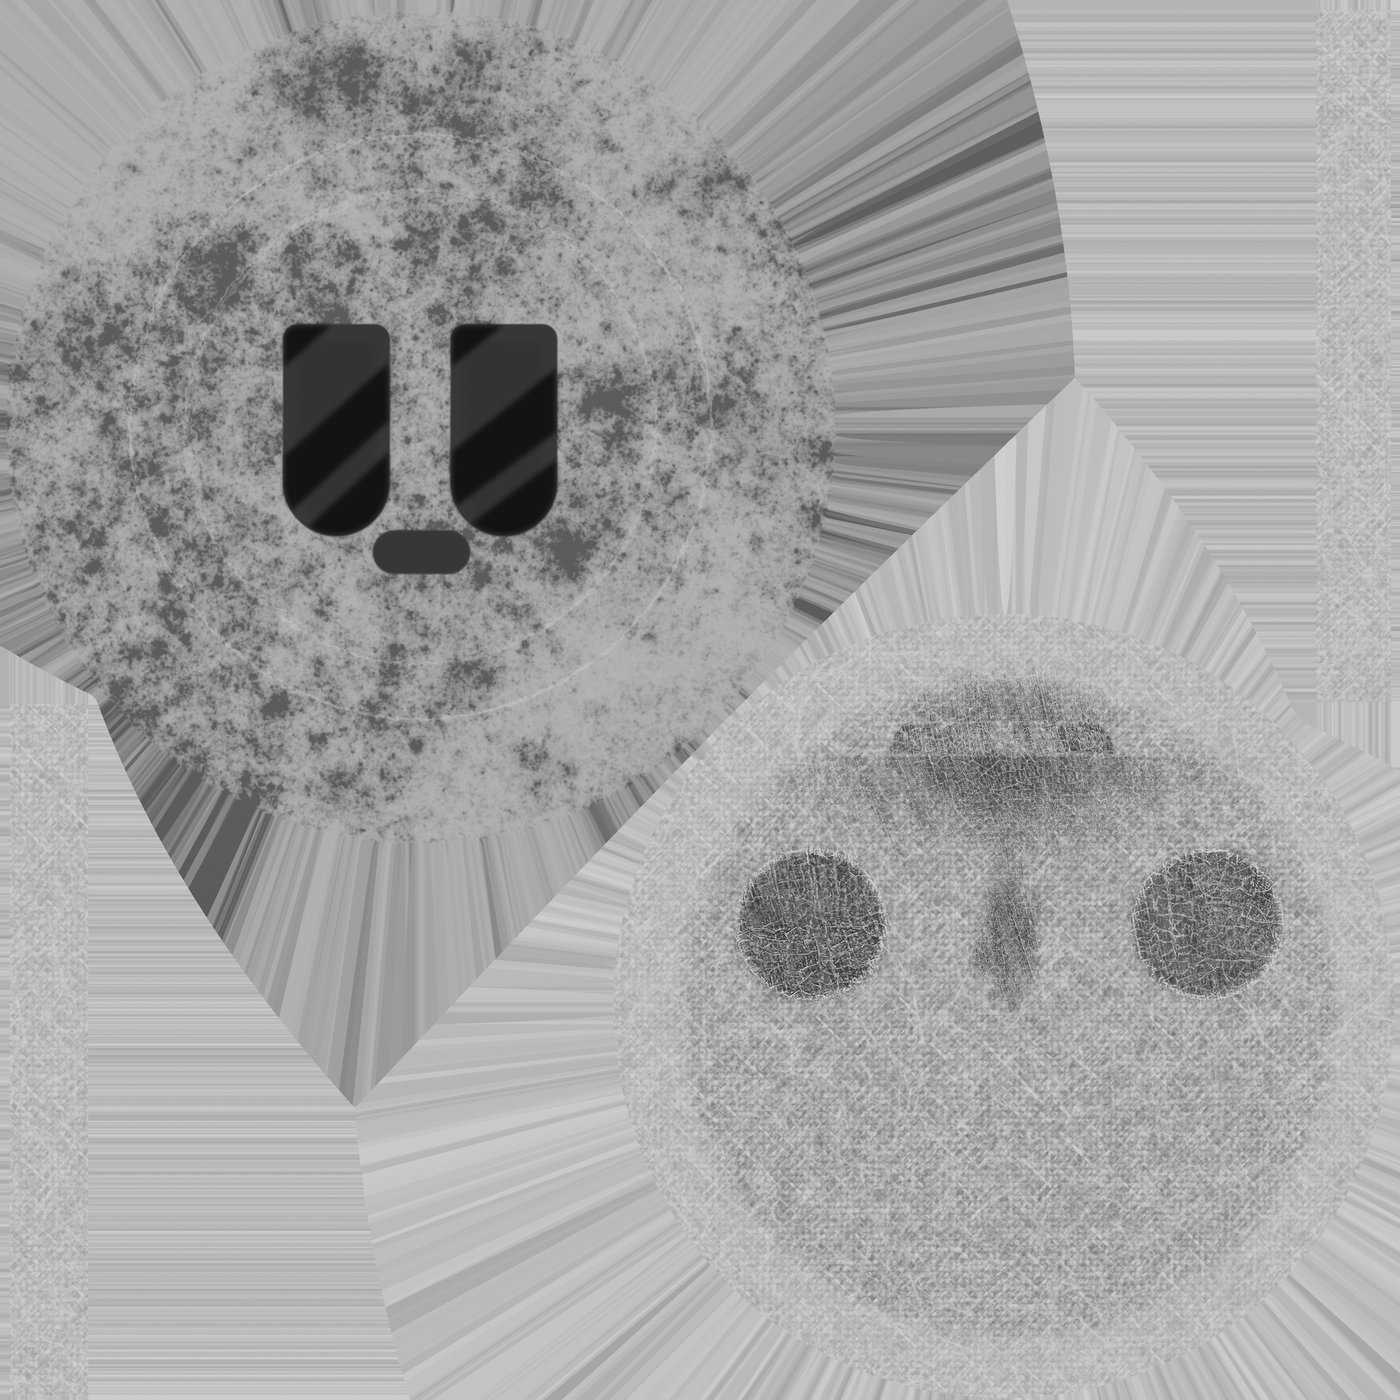
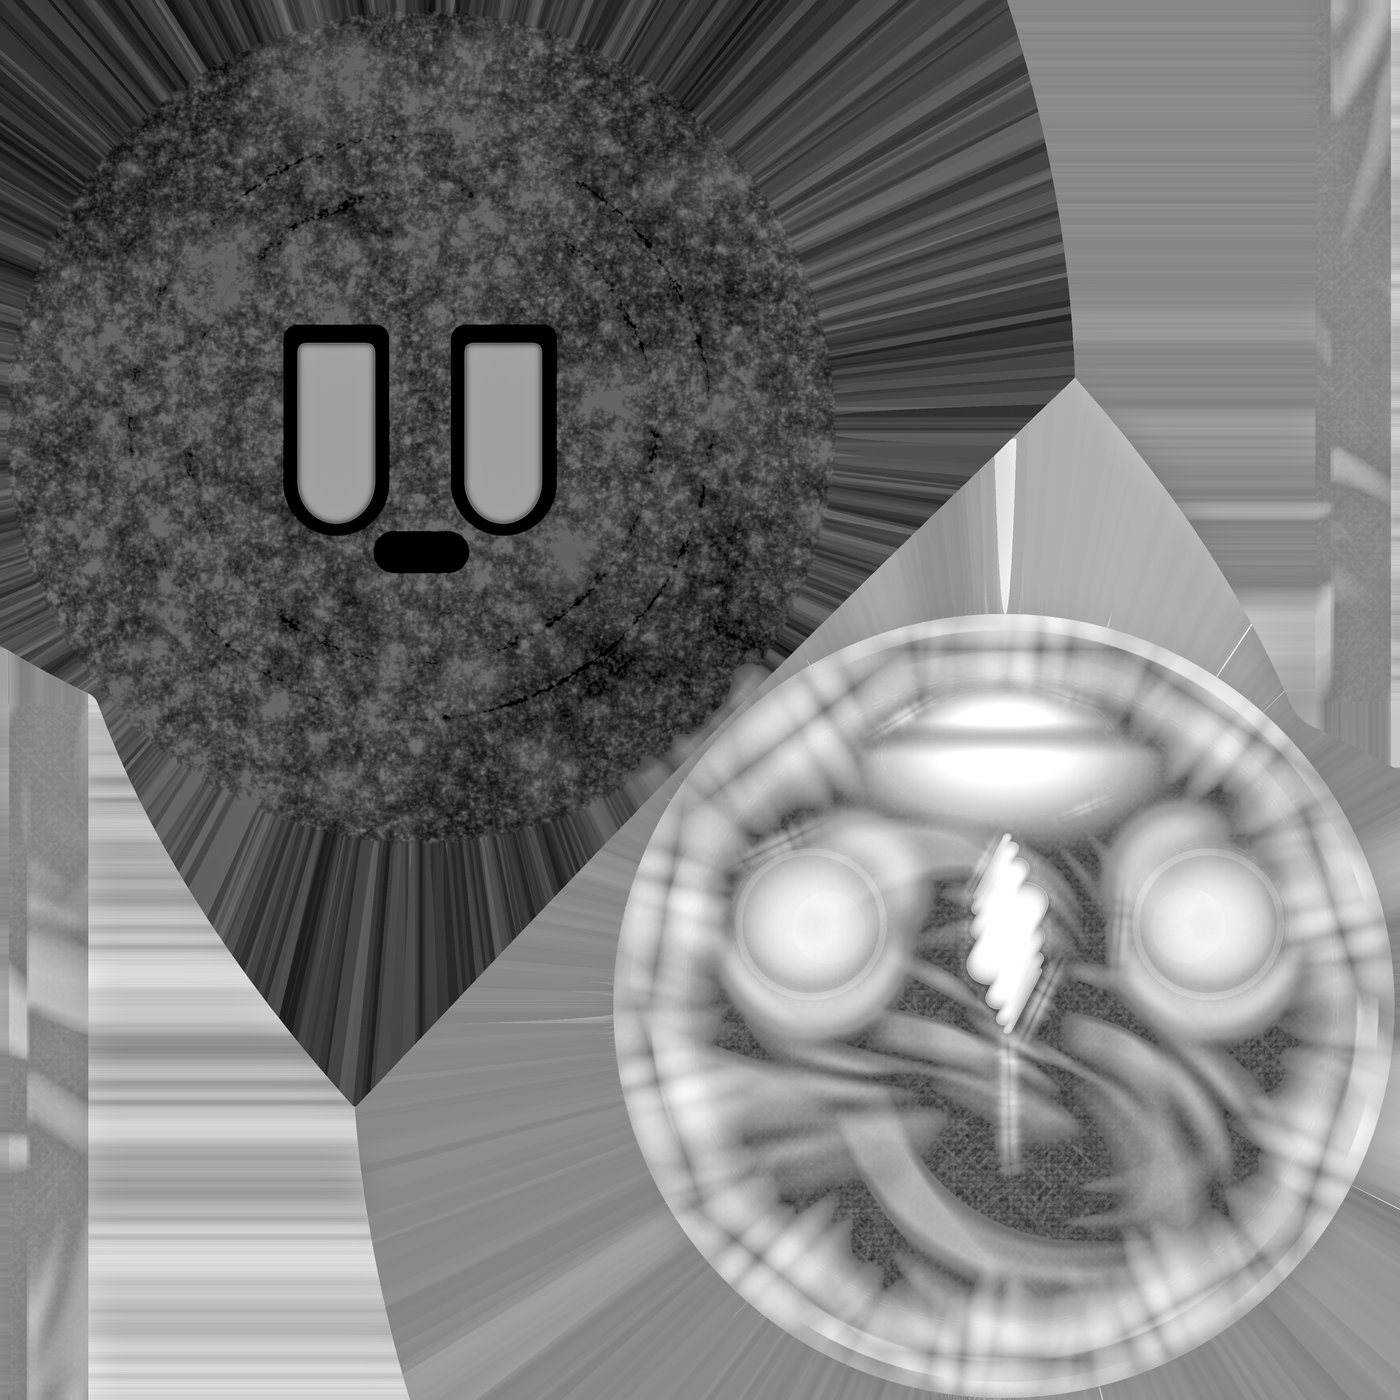
This probably won't enrich my post, but as always, I enjoy making a Black and White version of my renders.
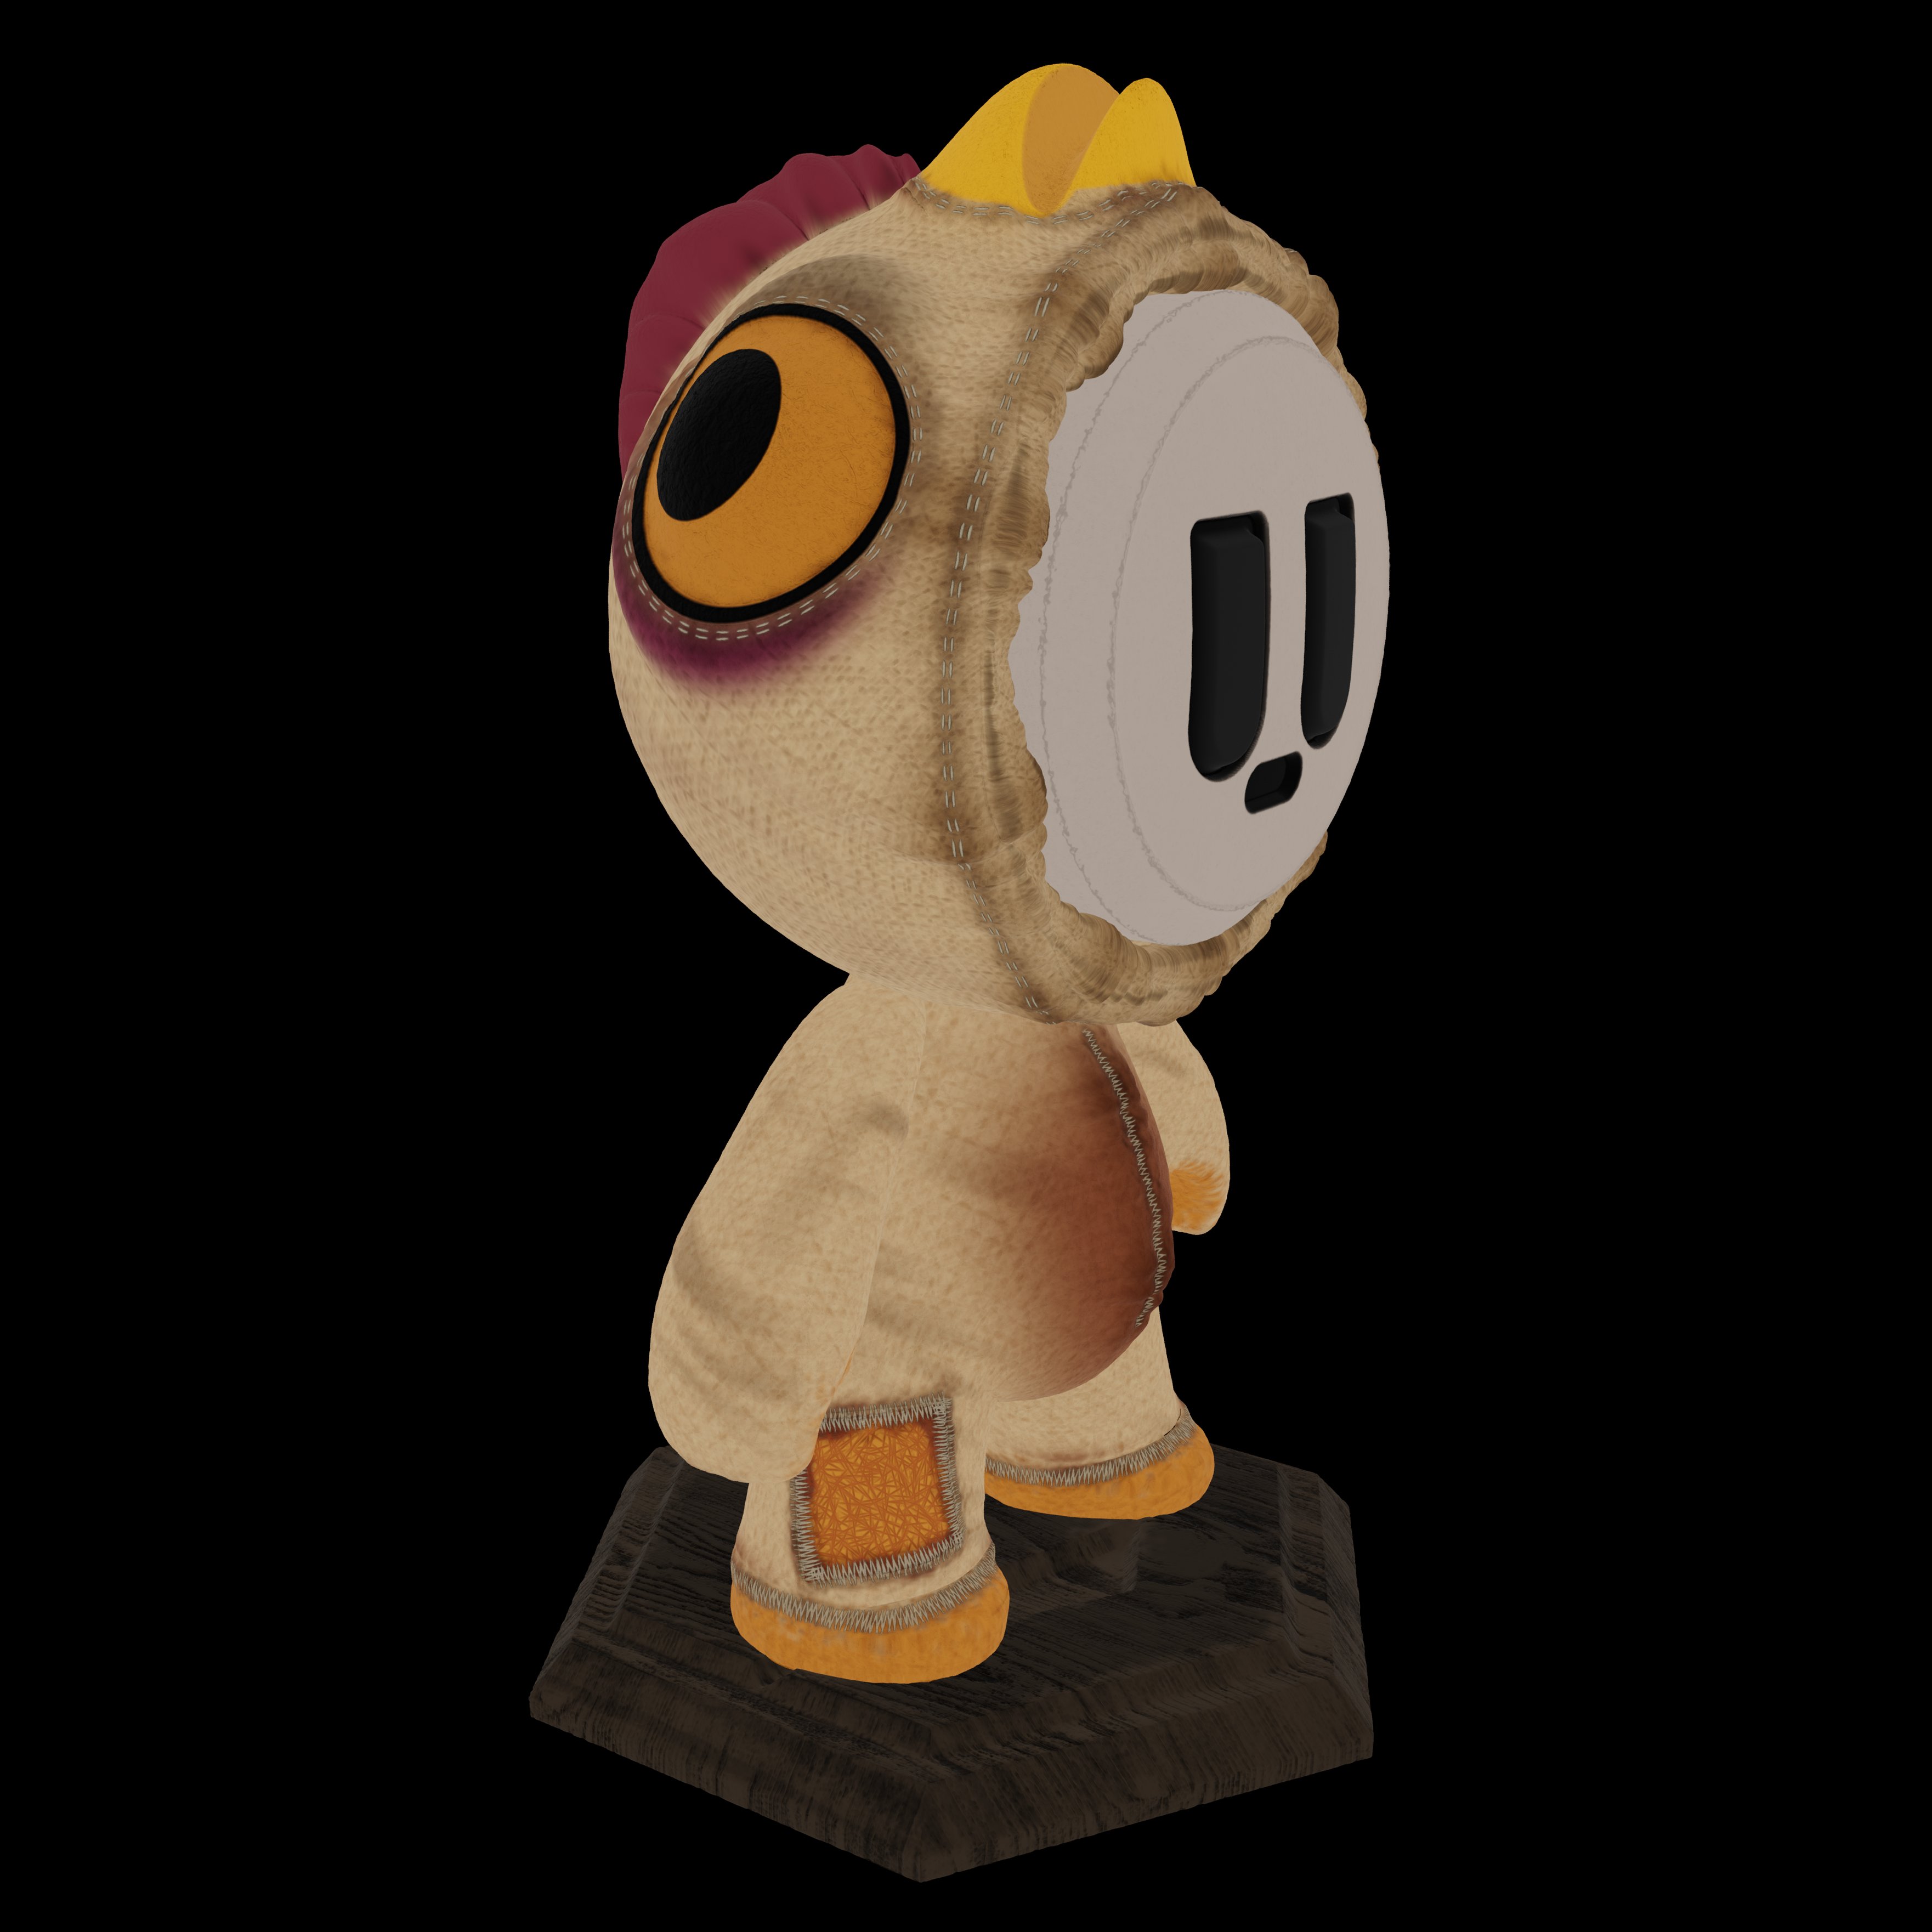
These are the first final Renders. I just played with the character position to showcase the final product. I also did a very simple background with some primitives to enhance the outcome plus some depth of field with a Z map. I nicely put some fine lighting and added an atmosphere Volume to give it a better environment sense. These are my final renders, but of course I'll add the Overview contest required ones.
Update - 27 Dec 2023
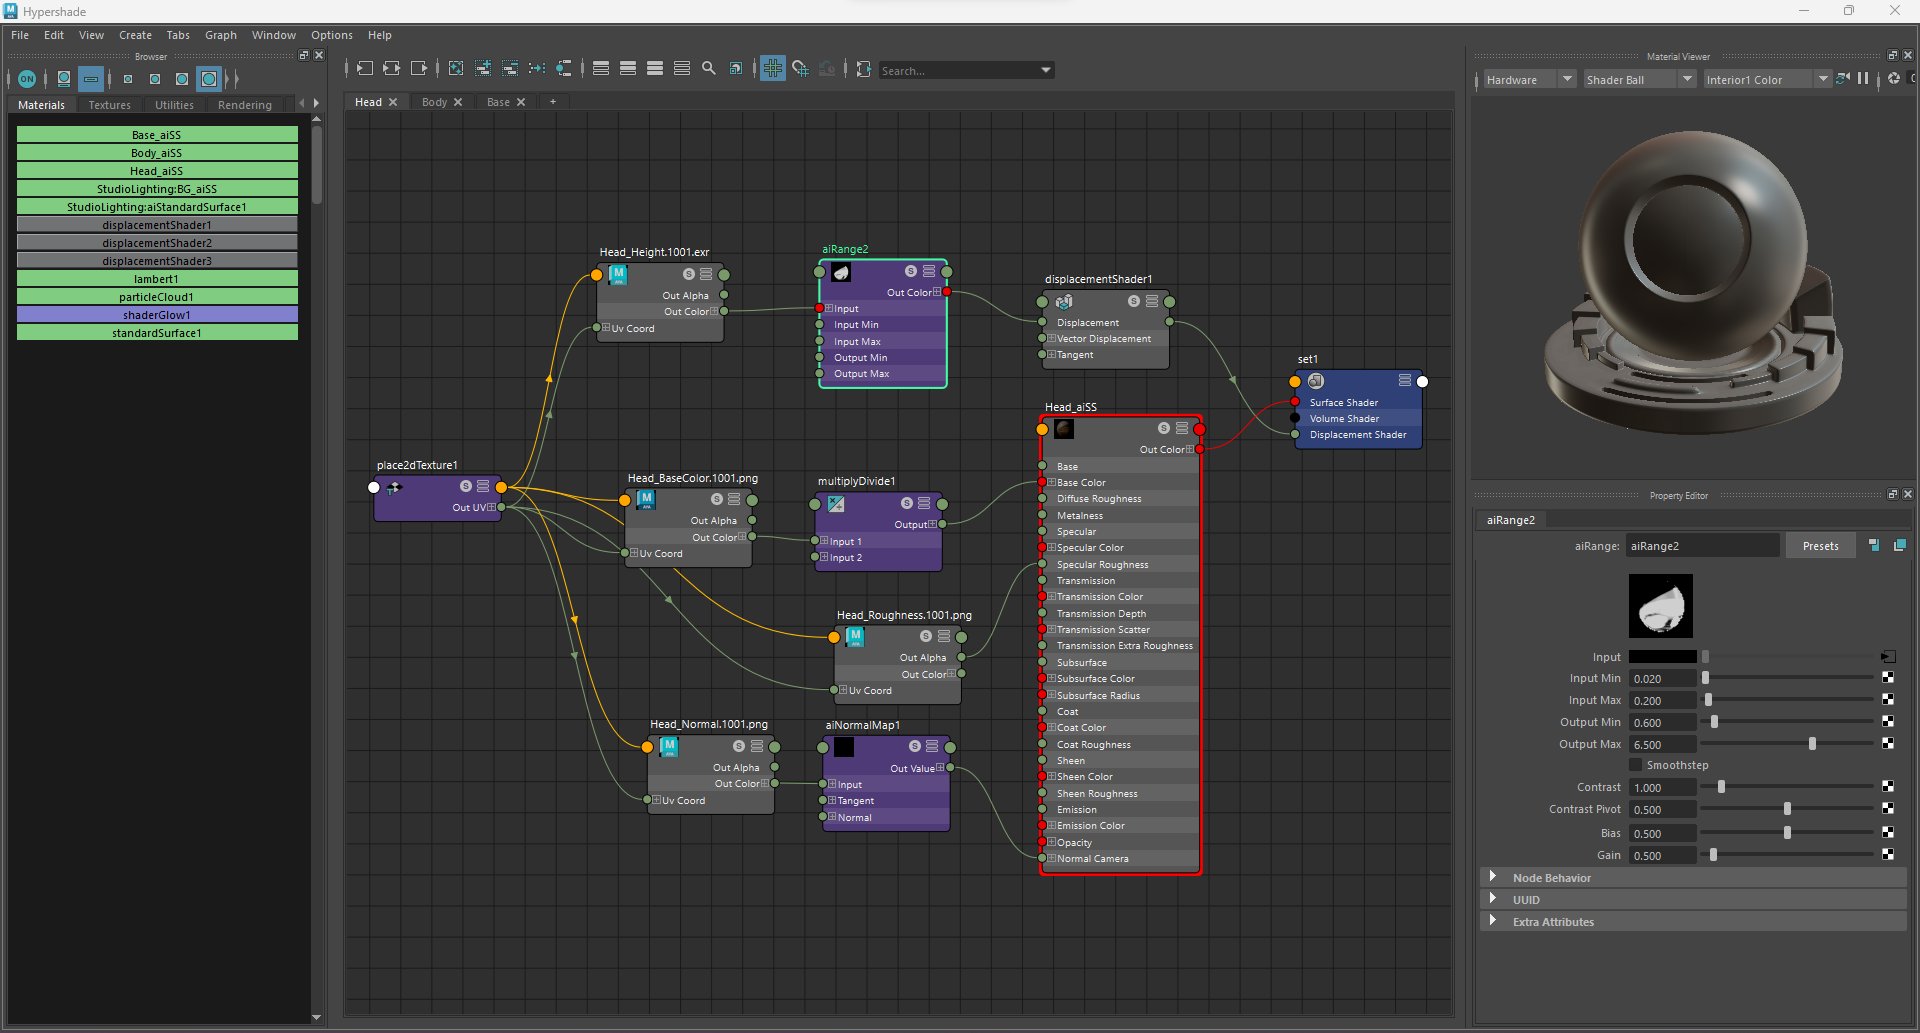
That's when I asked for help in The Rookies Discord Server and I was told to set the scale from 1 to .01, so I did, (thanks for that help). Plus, I added an aiRange node in the Maya Hypershade and finally I got my displacement working properly. Although, the main reason I decided to use an 32f bits .exr Height map it was to play better with that information so I could really pop out those values.
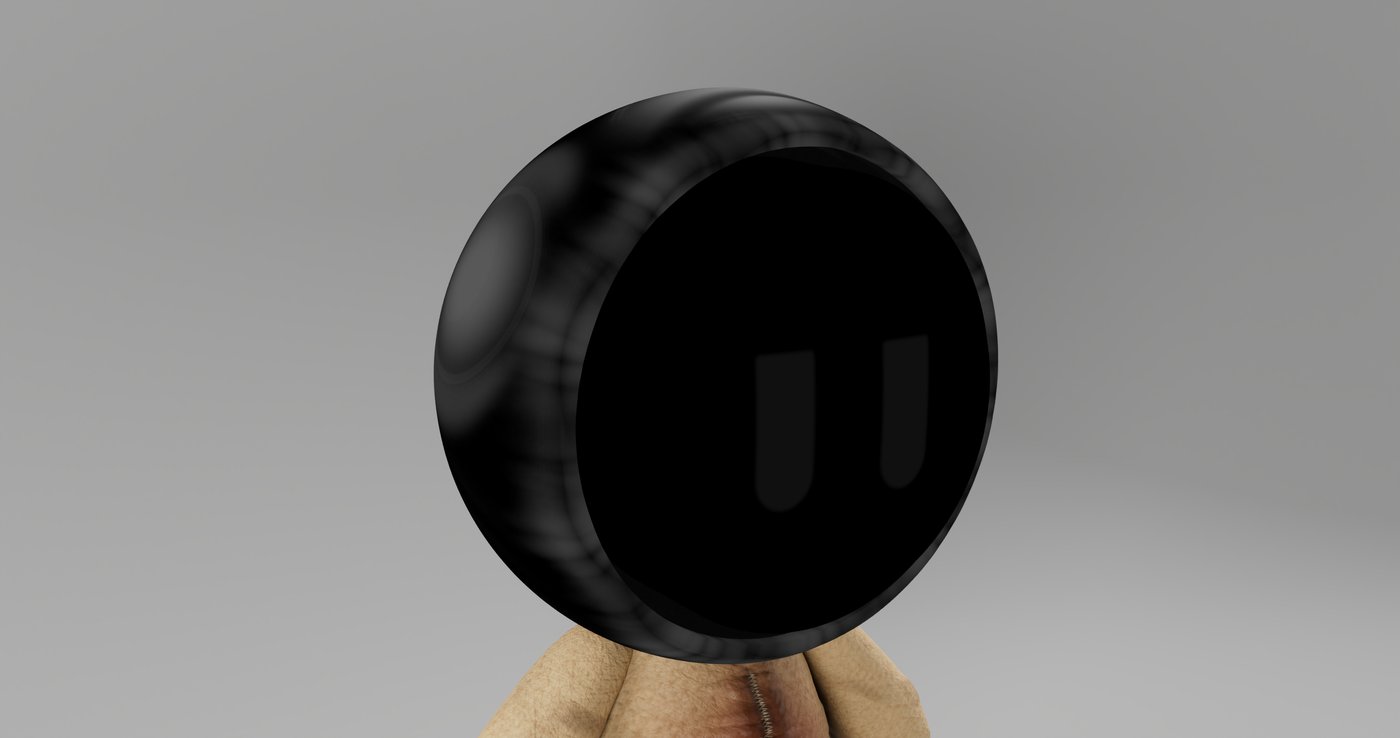
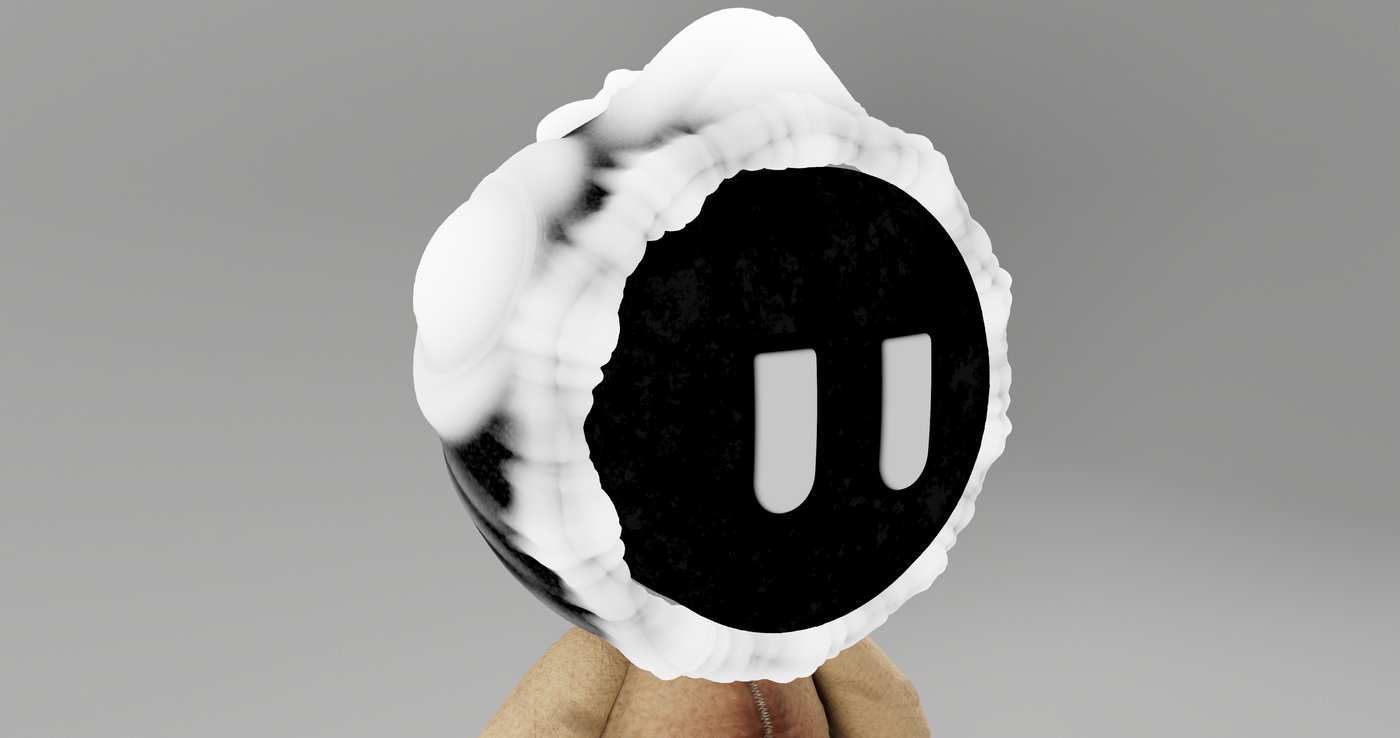
I started running some render tests and I had trouble with displacement. I tried different things such as playing with the Displacement Scale, Iteration values, editing the Height map in Photoshop with a Levels, etc, and I couldn't make it work.
Update - 26 Dec 2023

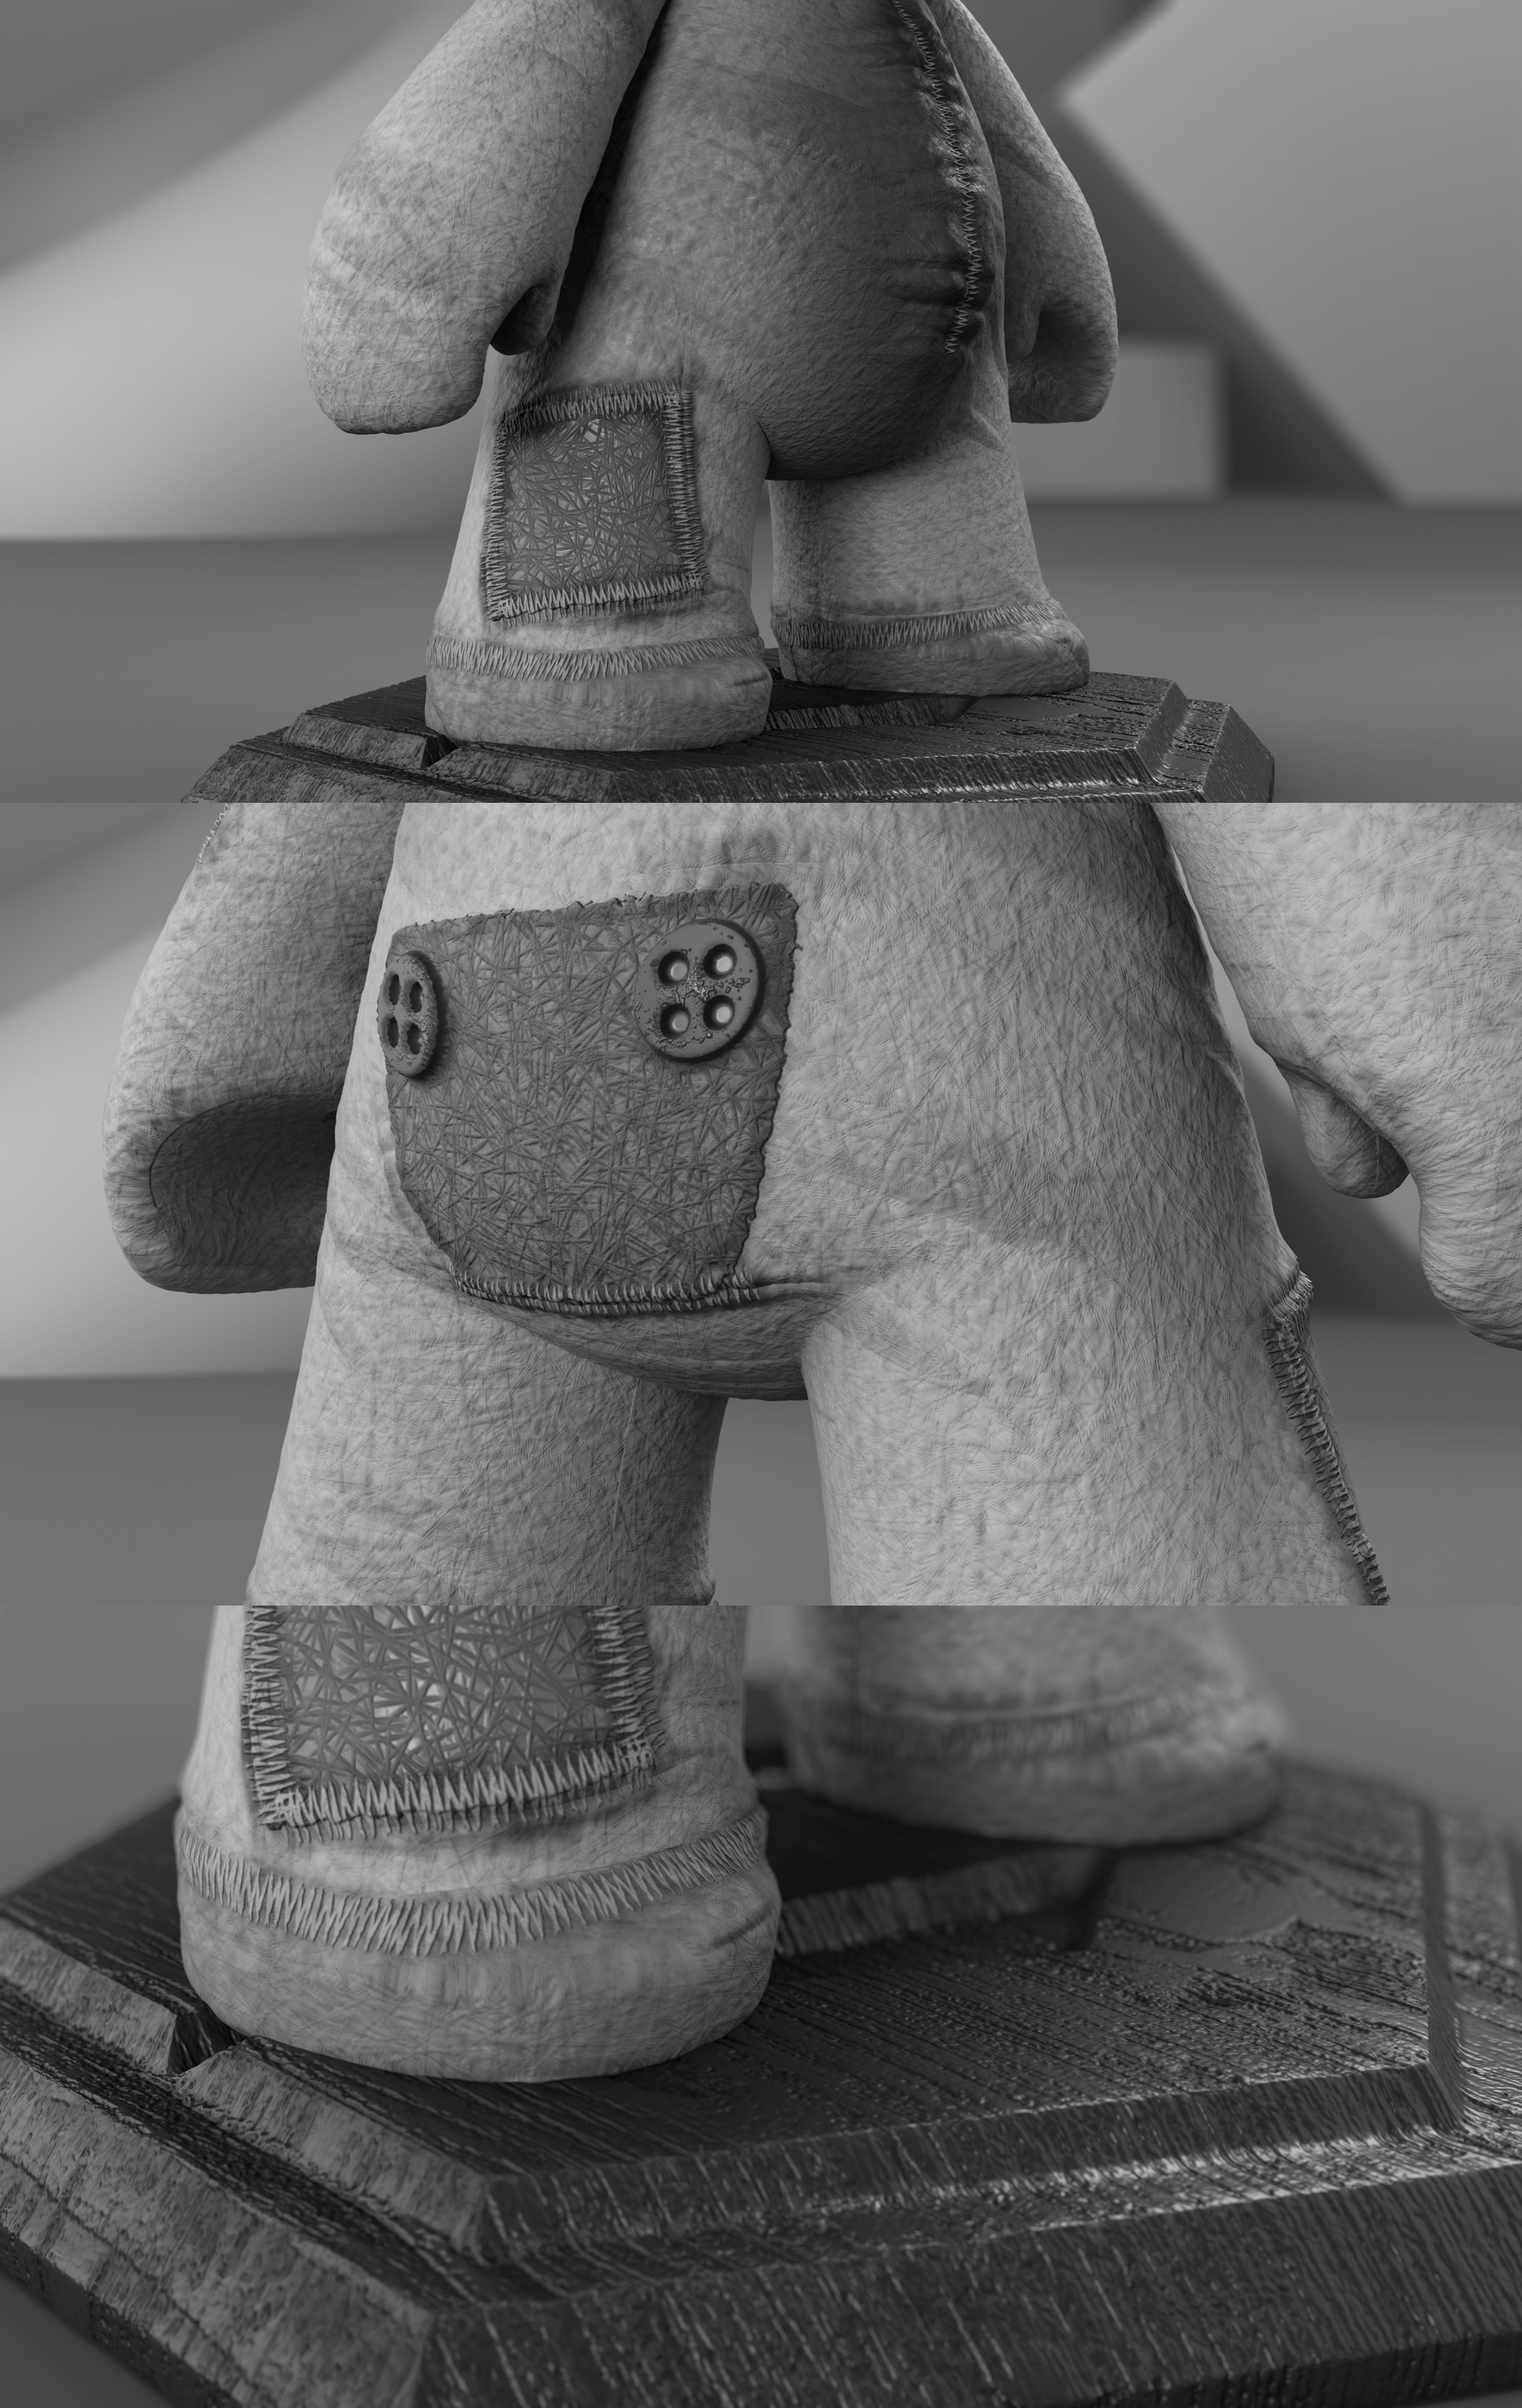
Here you can have a better preview of the maps applied in the model.
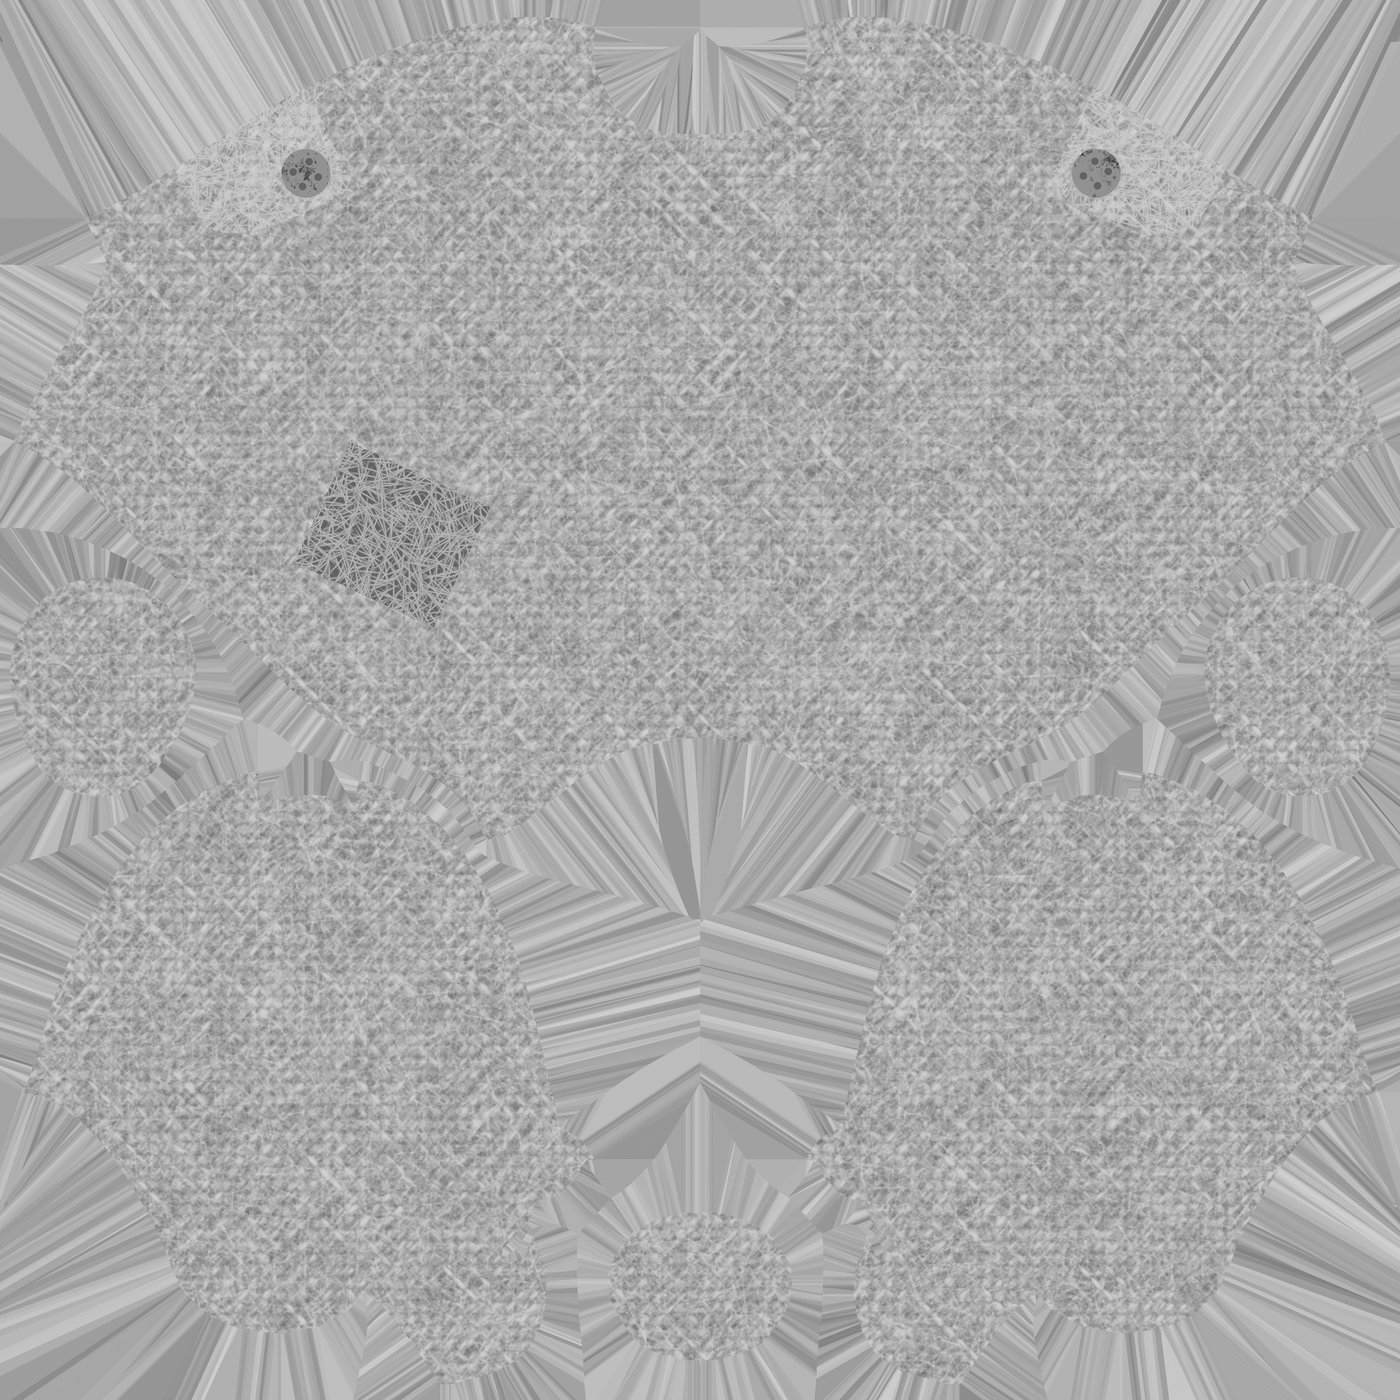


These are the final textures, exported in 4K .png, (Albedo, Roughness, Normal and Height), except for the Height map in 32f bits .exr to get more information.
Update - 24 Dec 2023
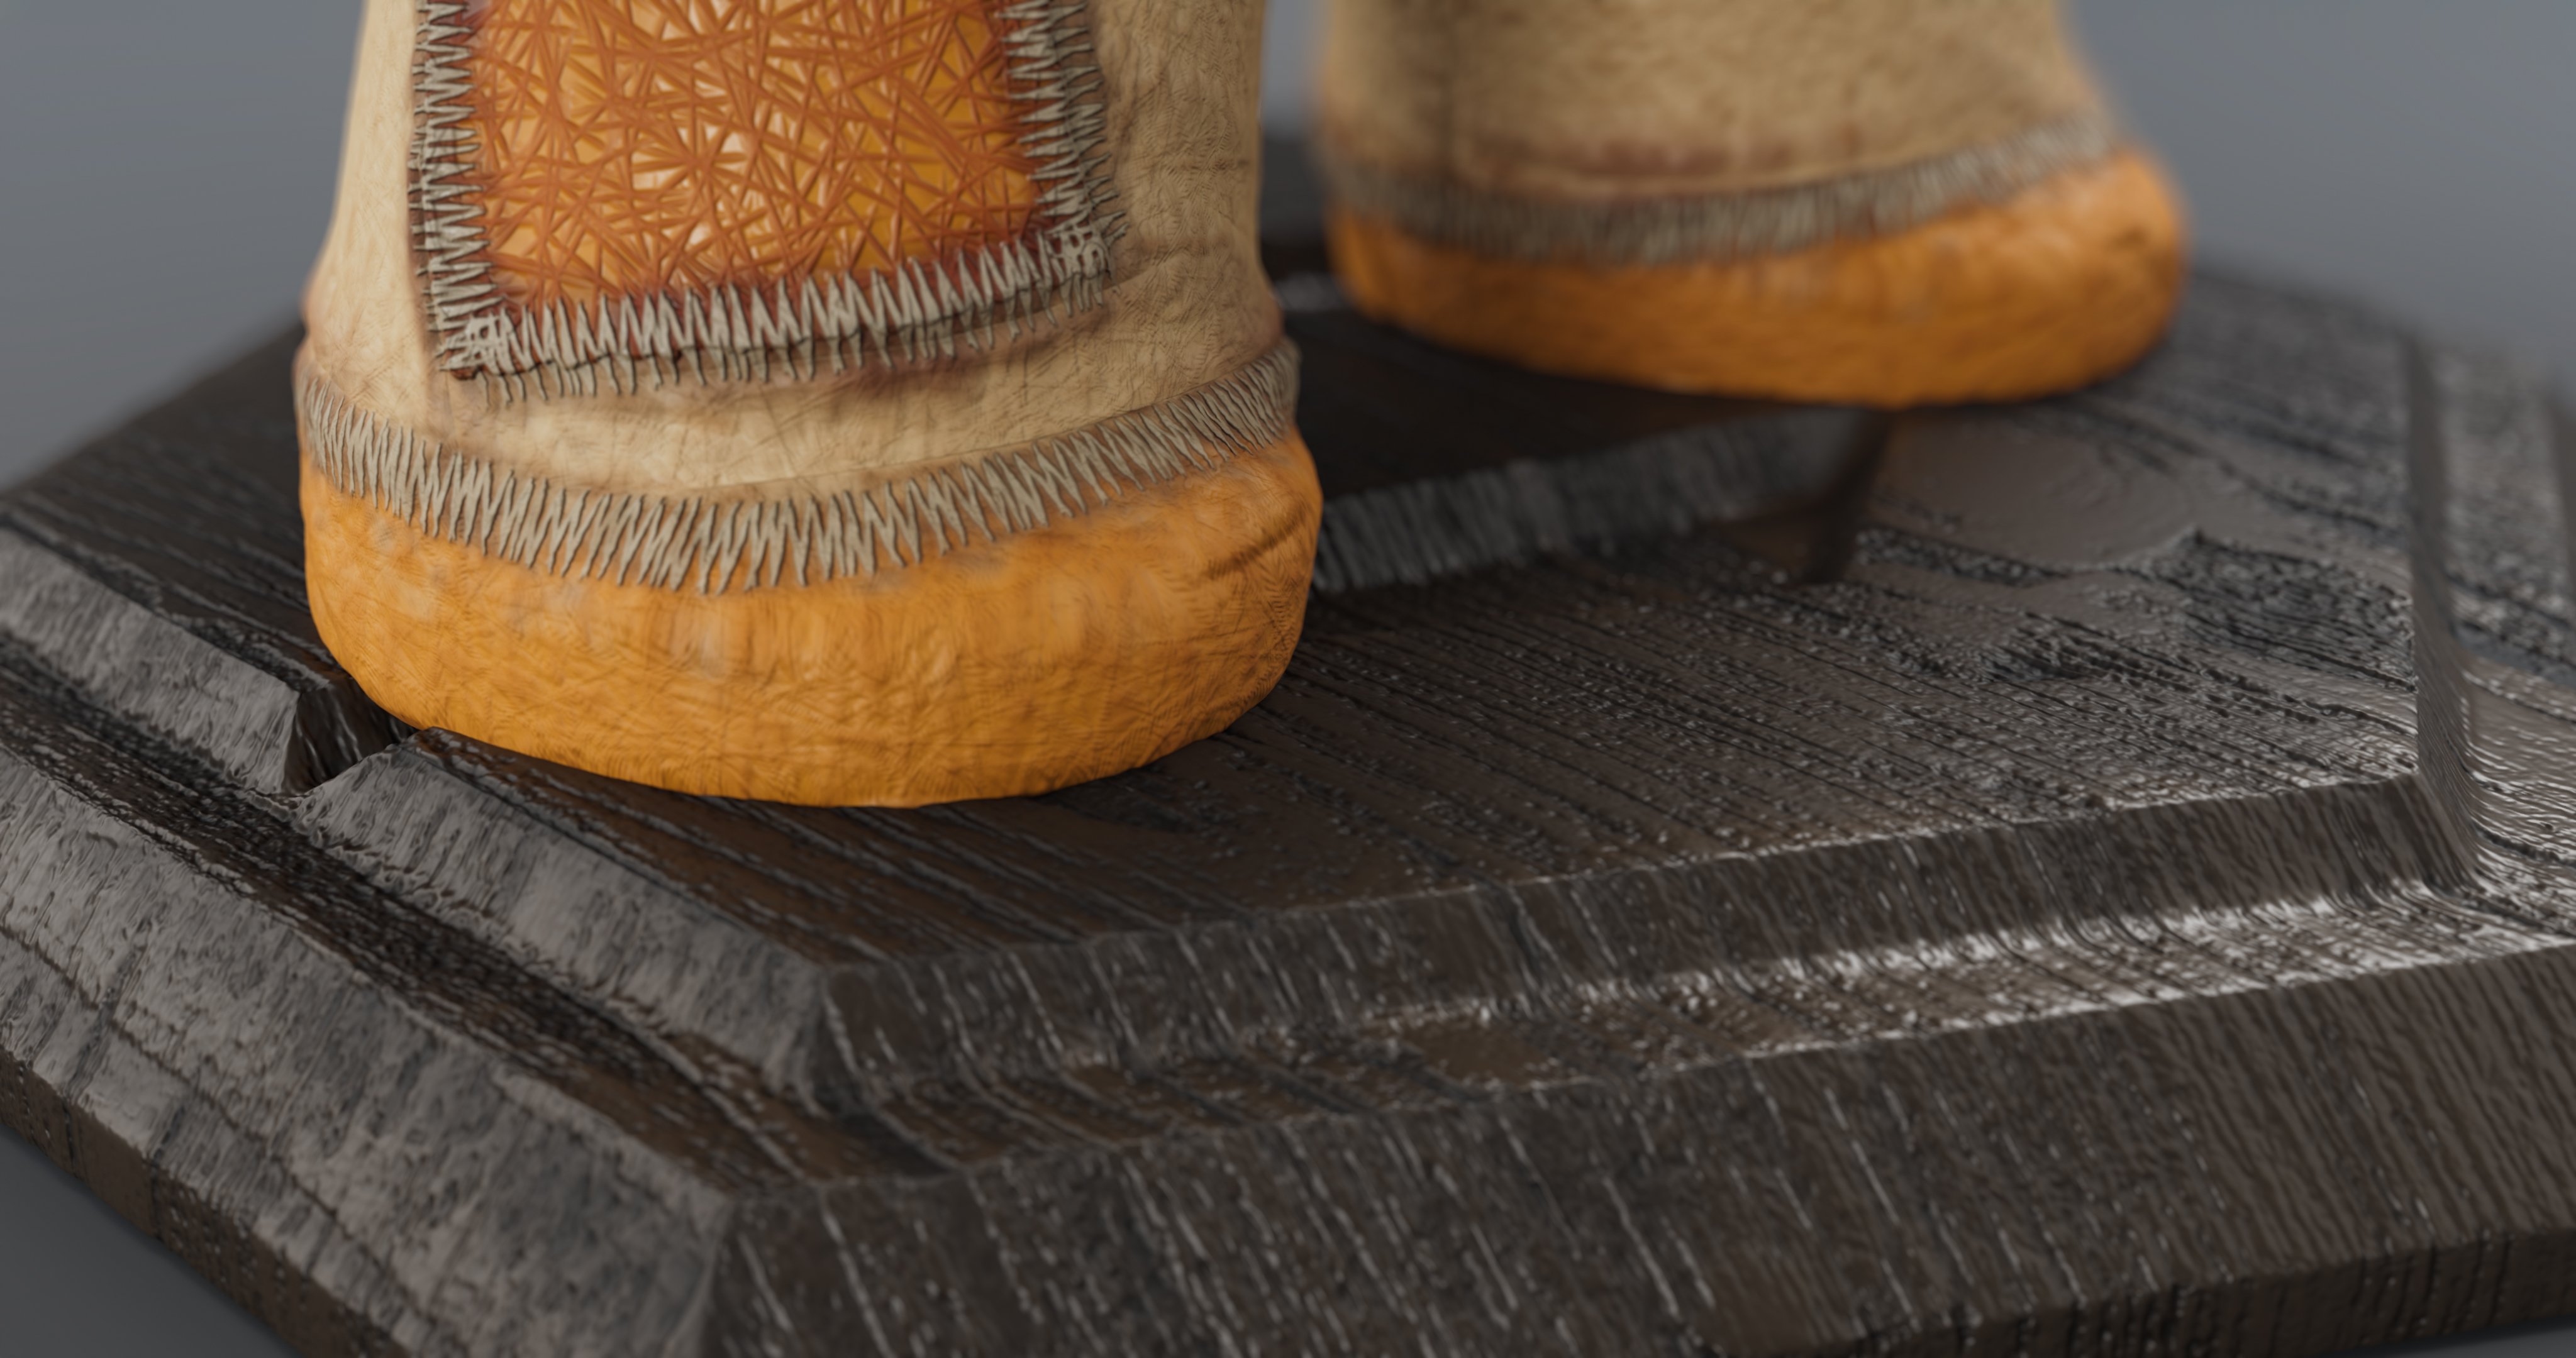
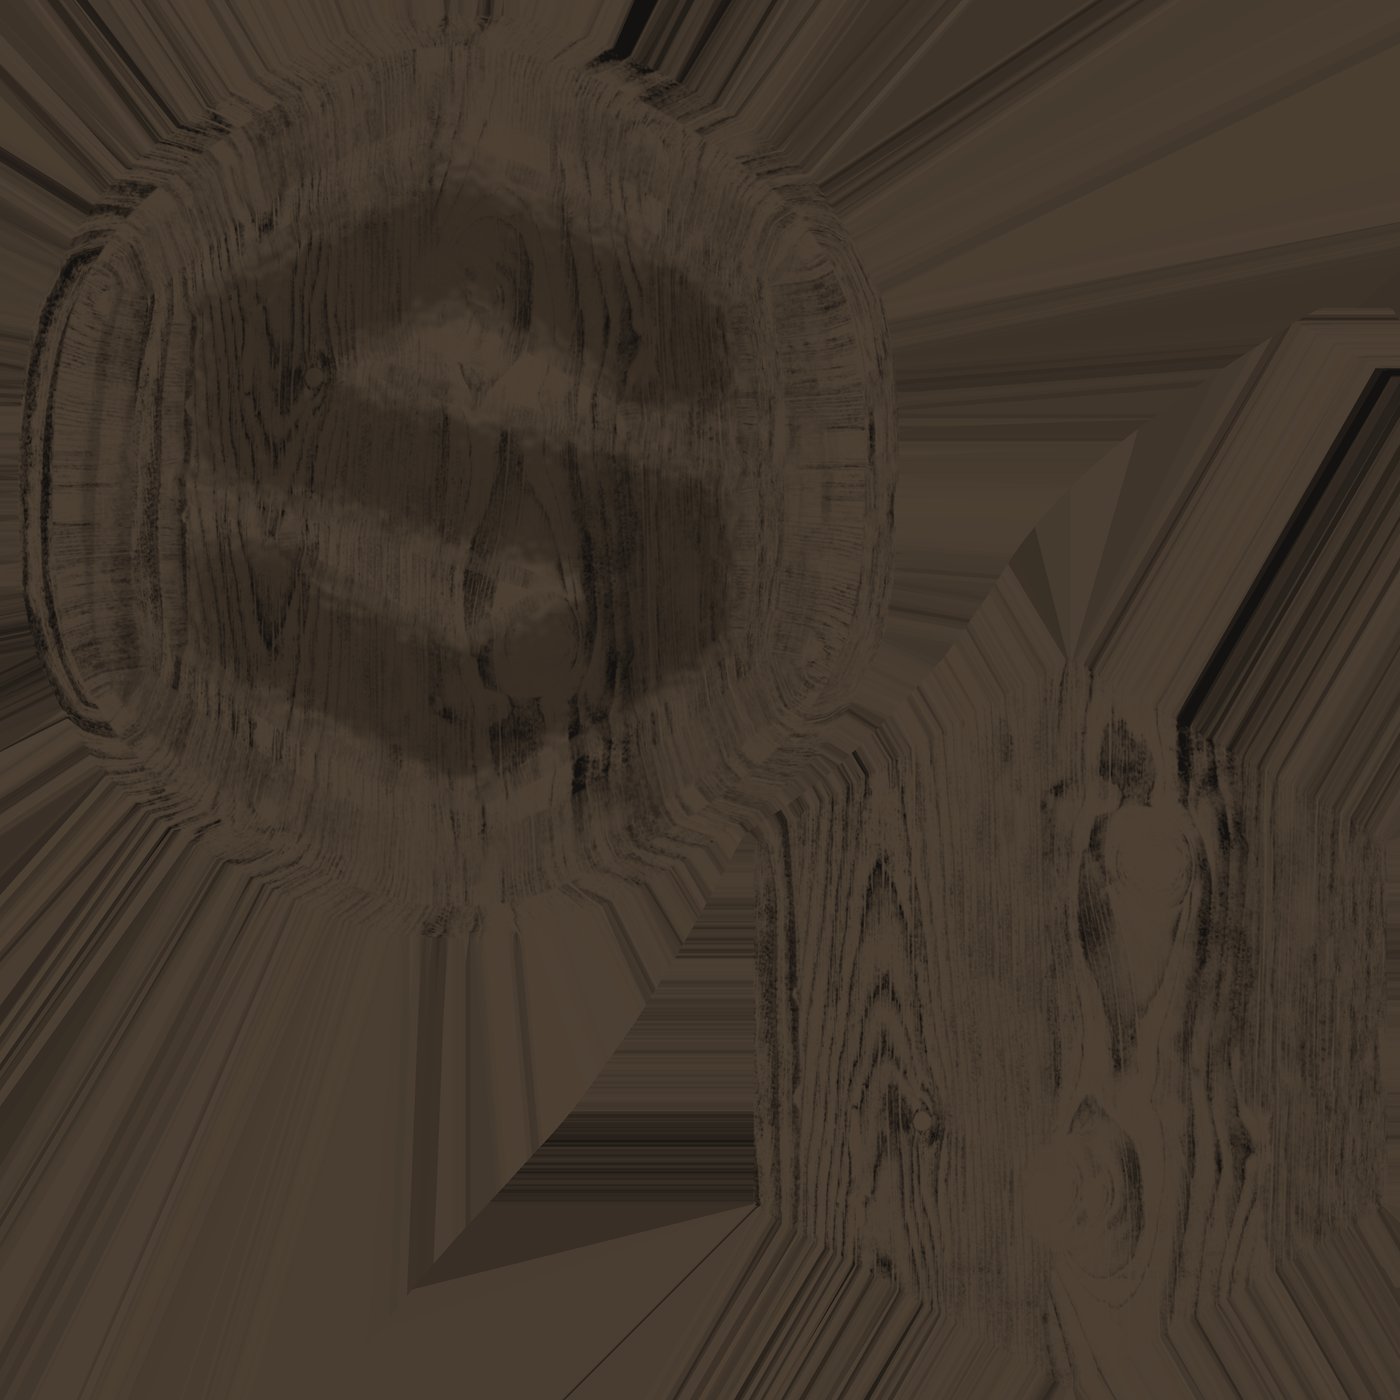
For the Base I didn't do too much. I imagined the Character as a Funko family product, so I just wanted to be placed in a nice wooden surface. You'll see in the upcoming updates.
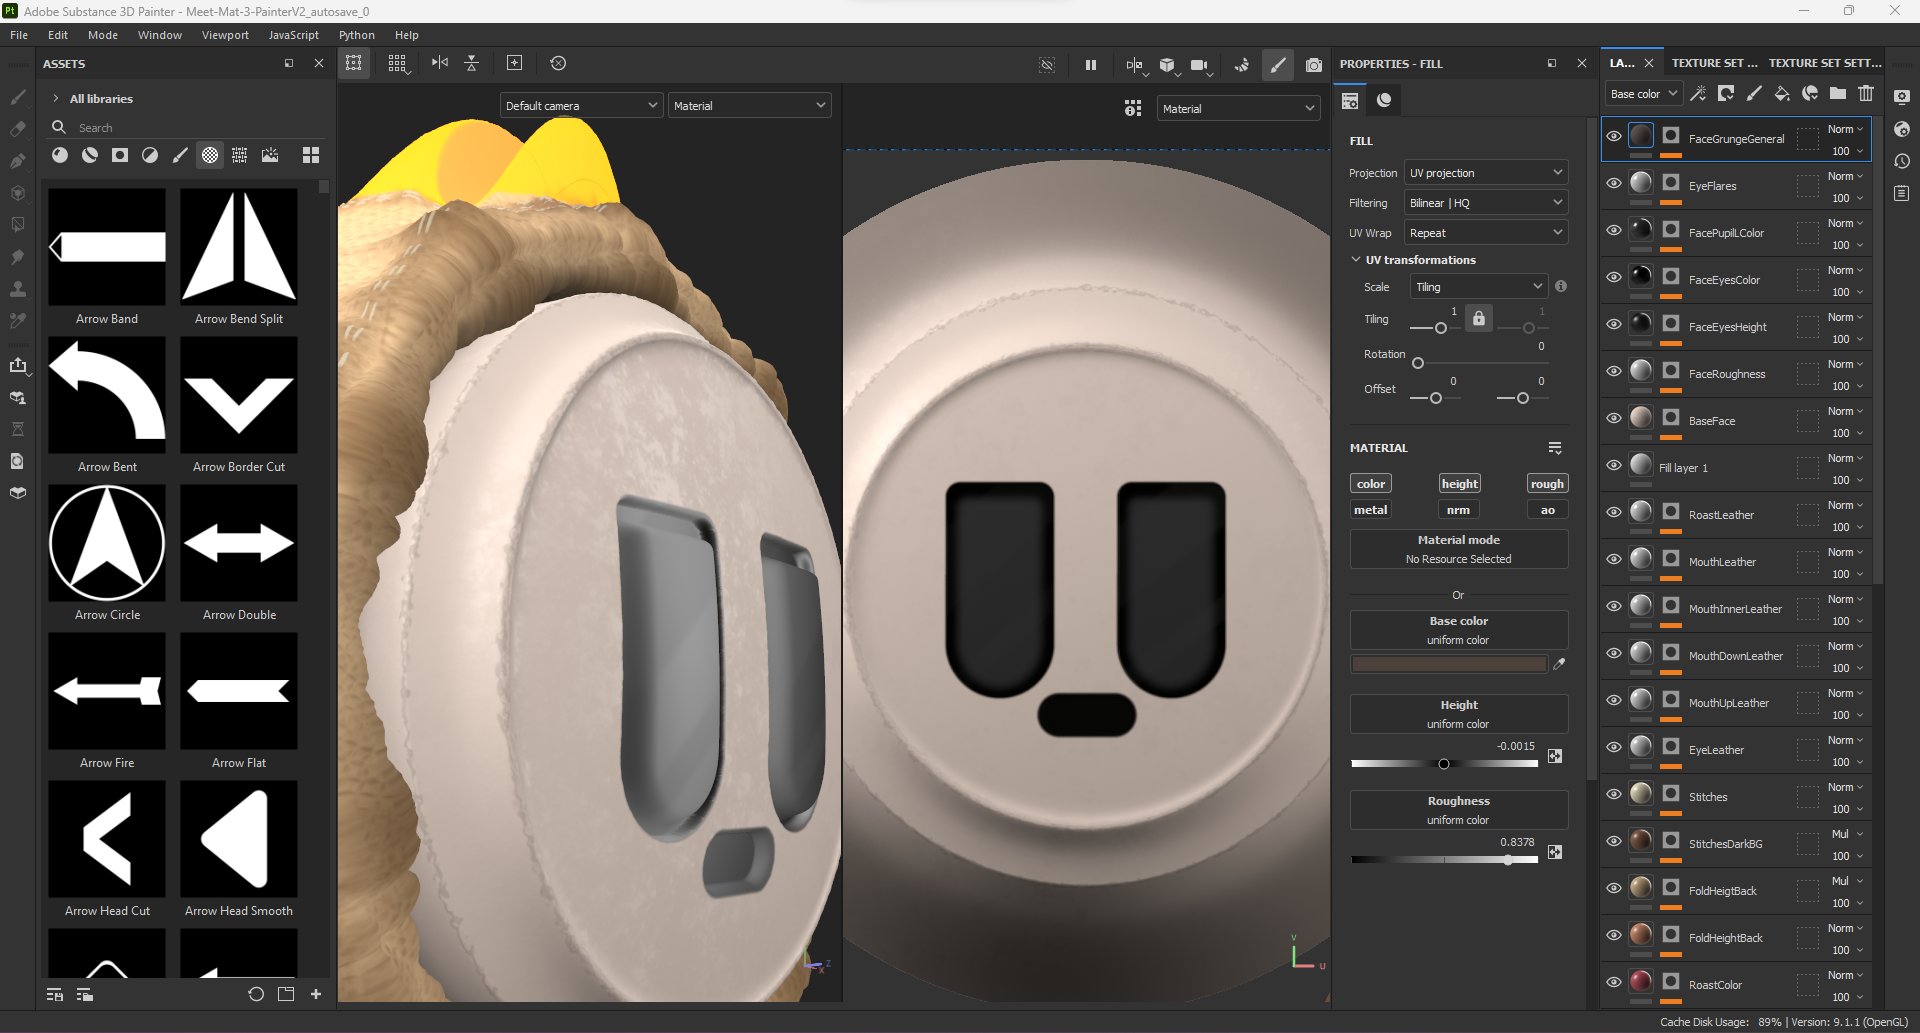
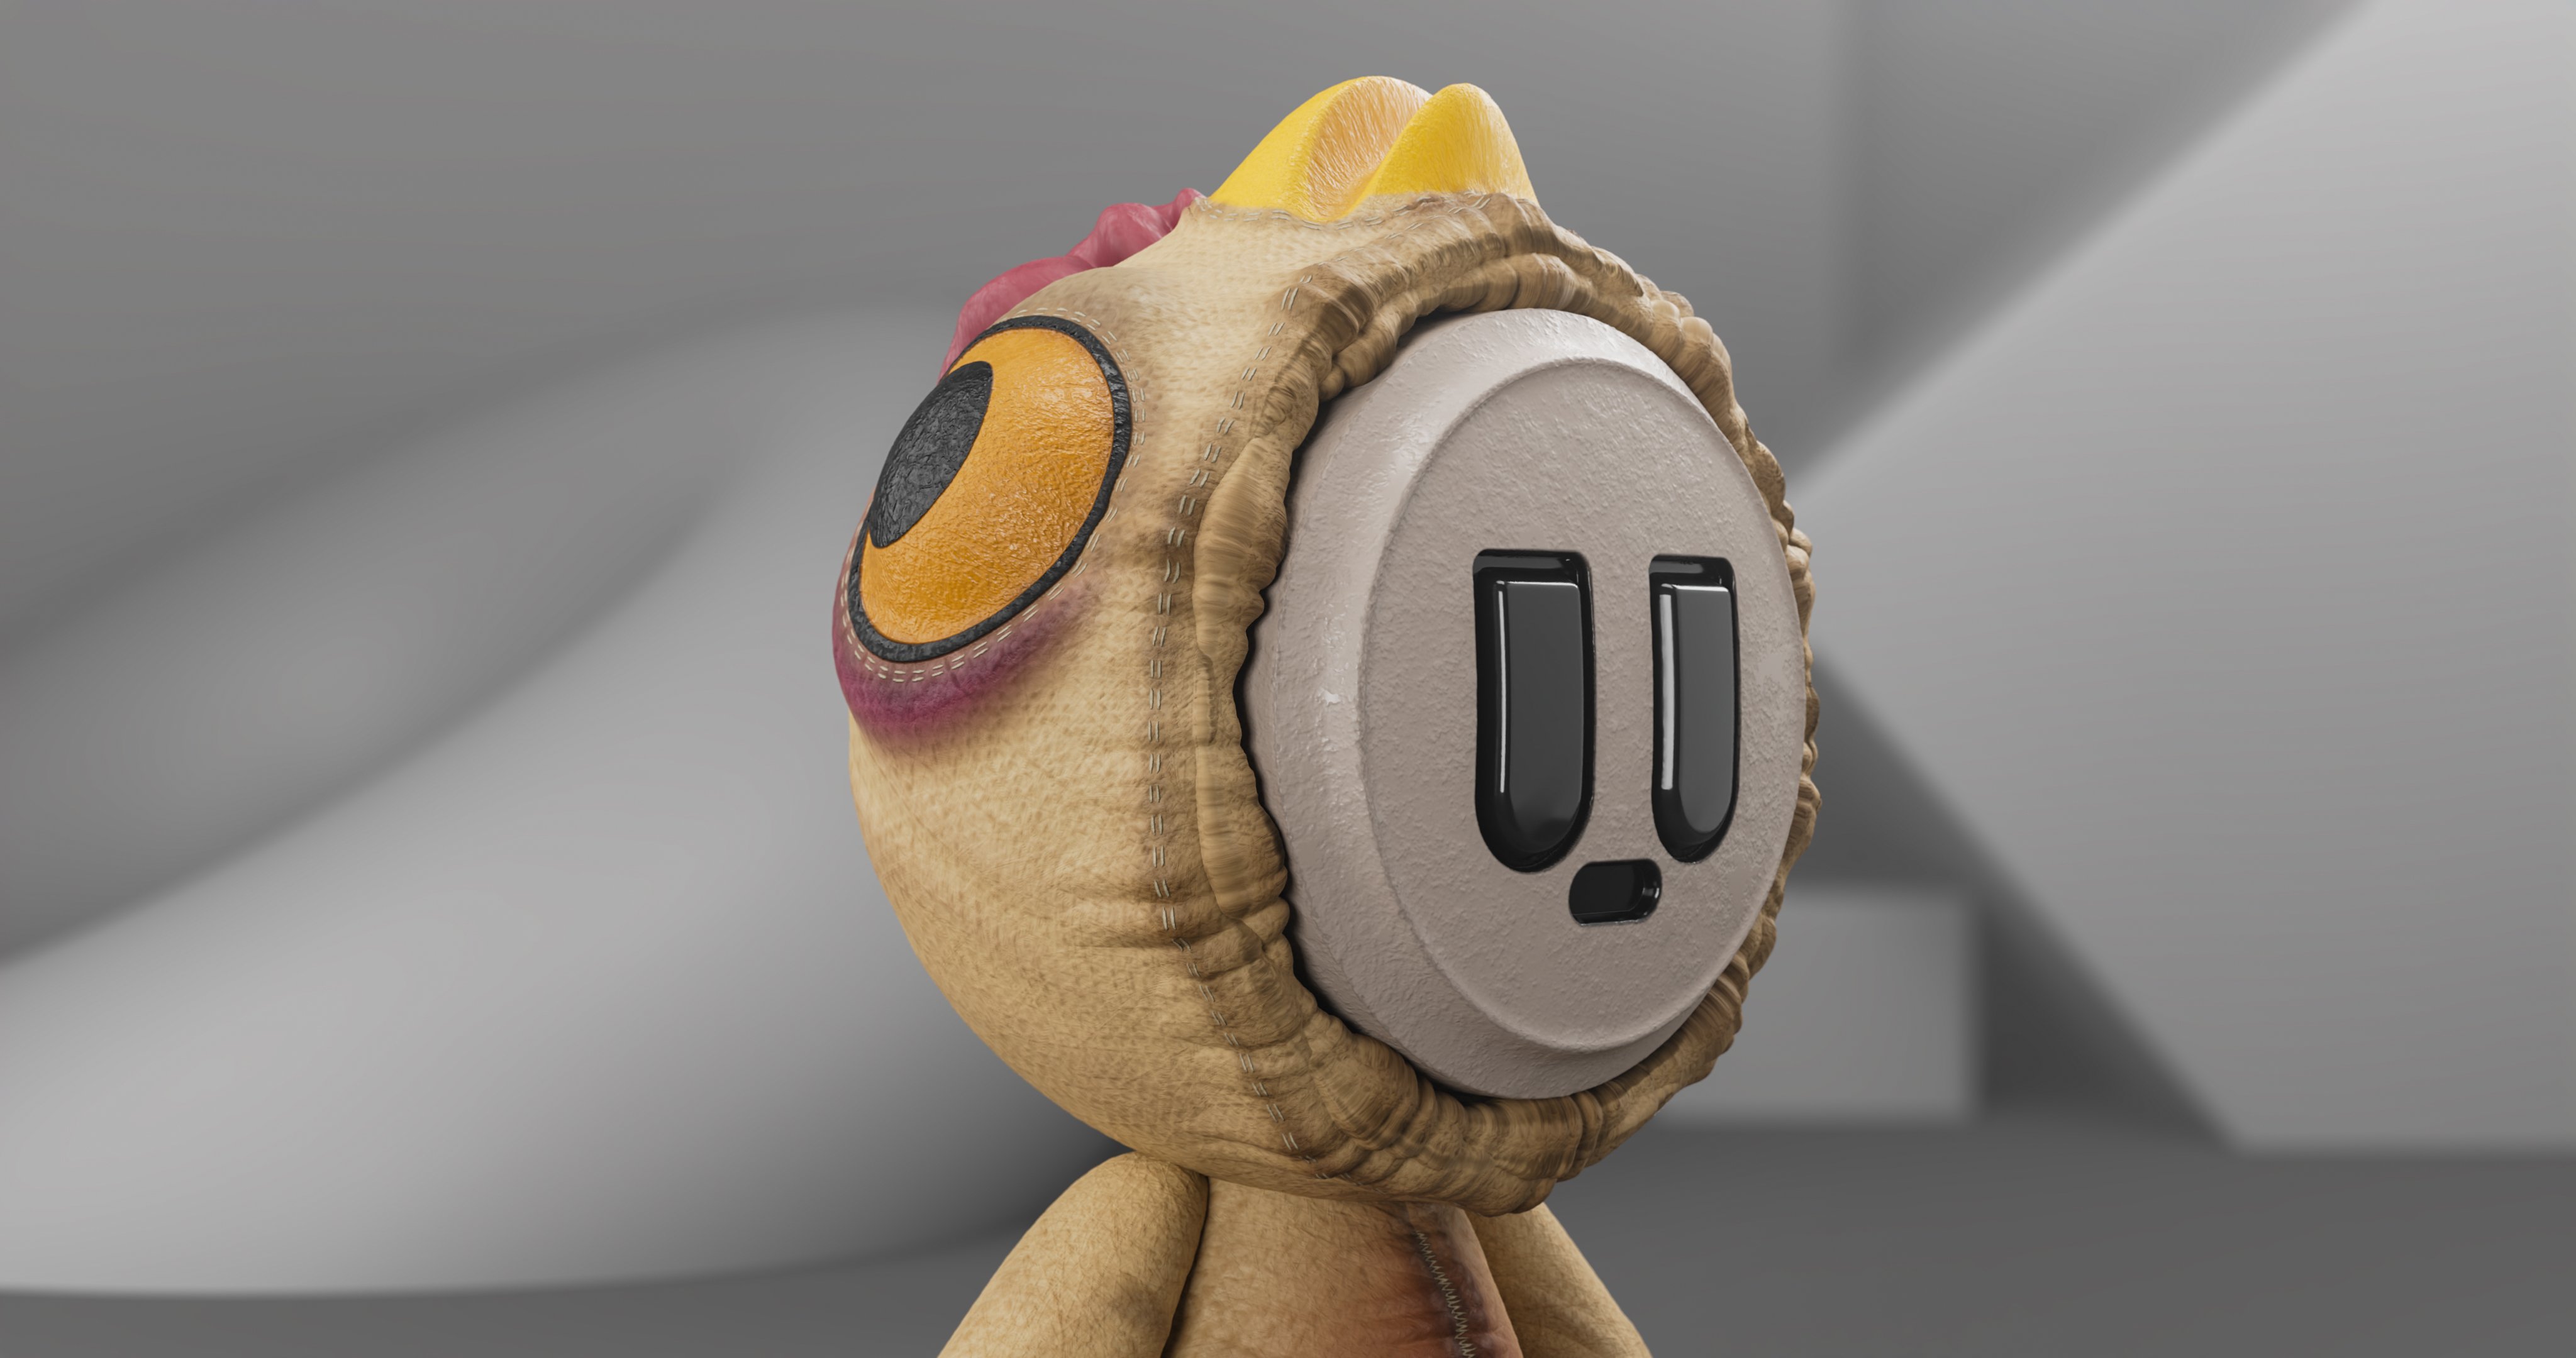
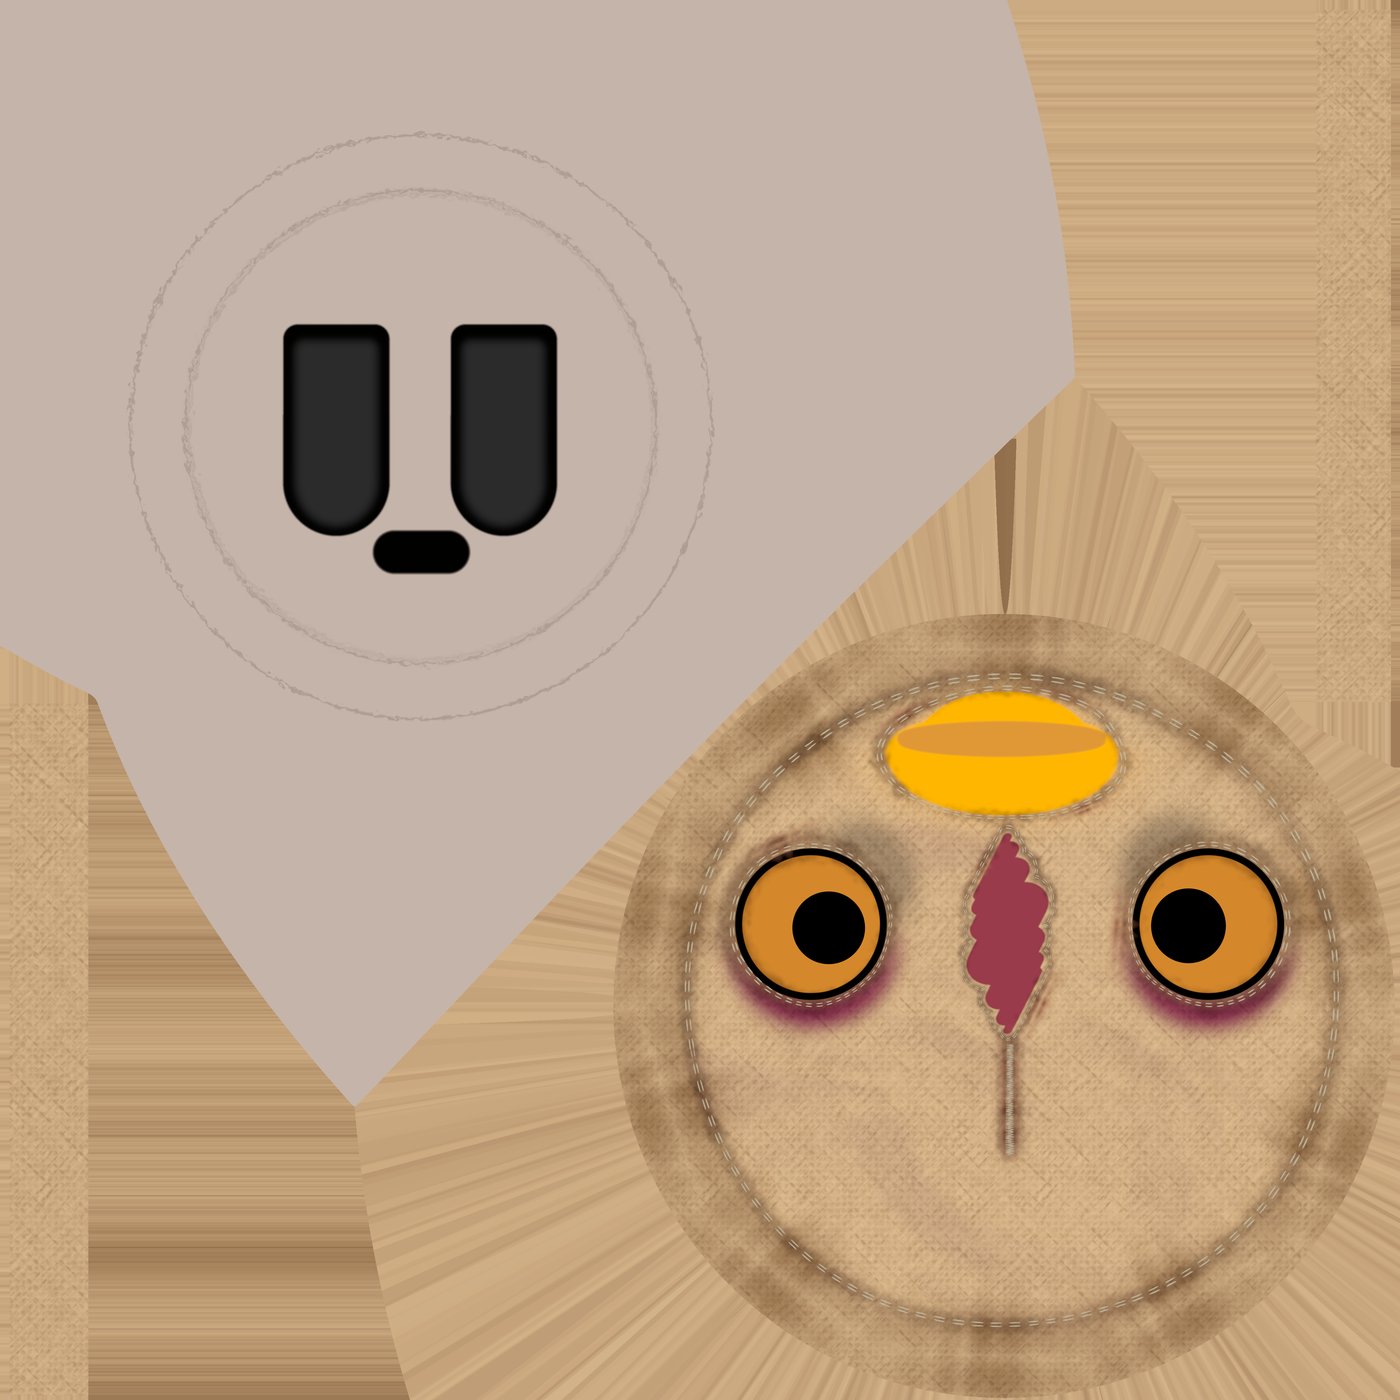
For the Face I didn't want to go super fancy because I thought the Hoodie is the main protagonist. I just added a bit of Roughness and some painted flares in the eyes. But that's it, I think it's time to perform some renders.
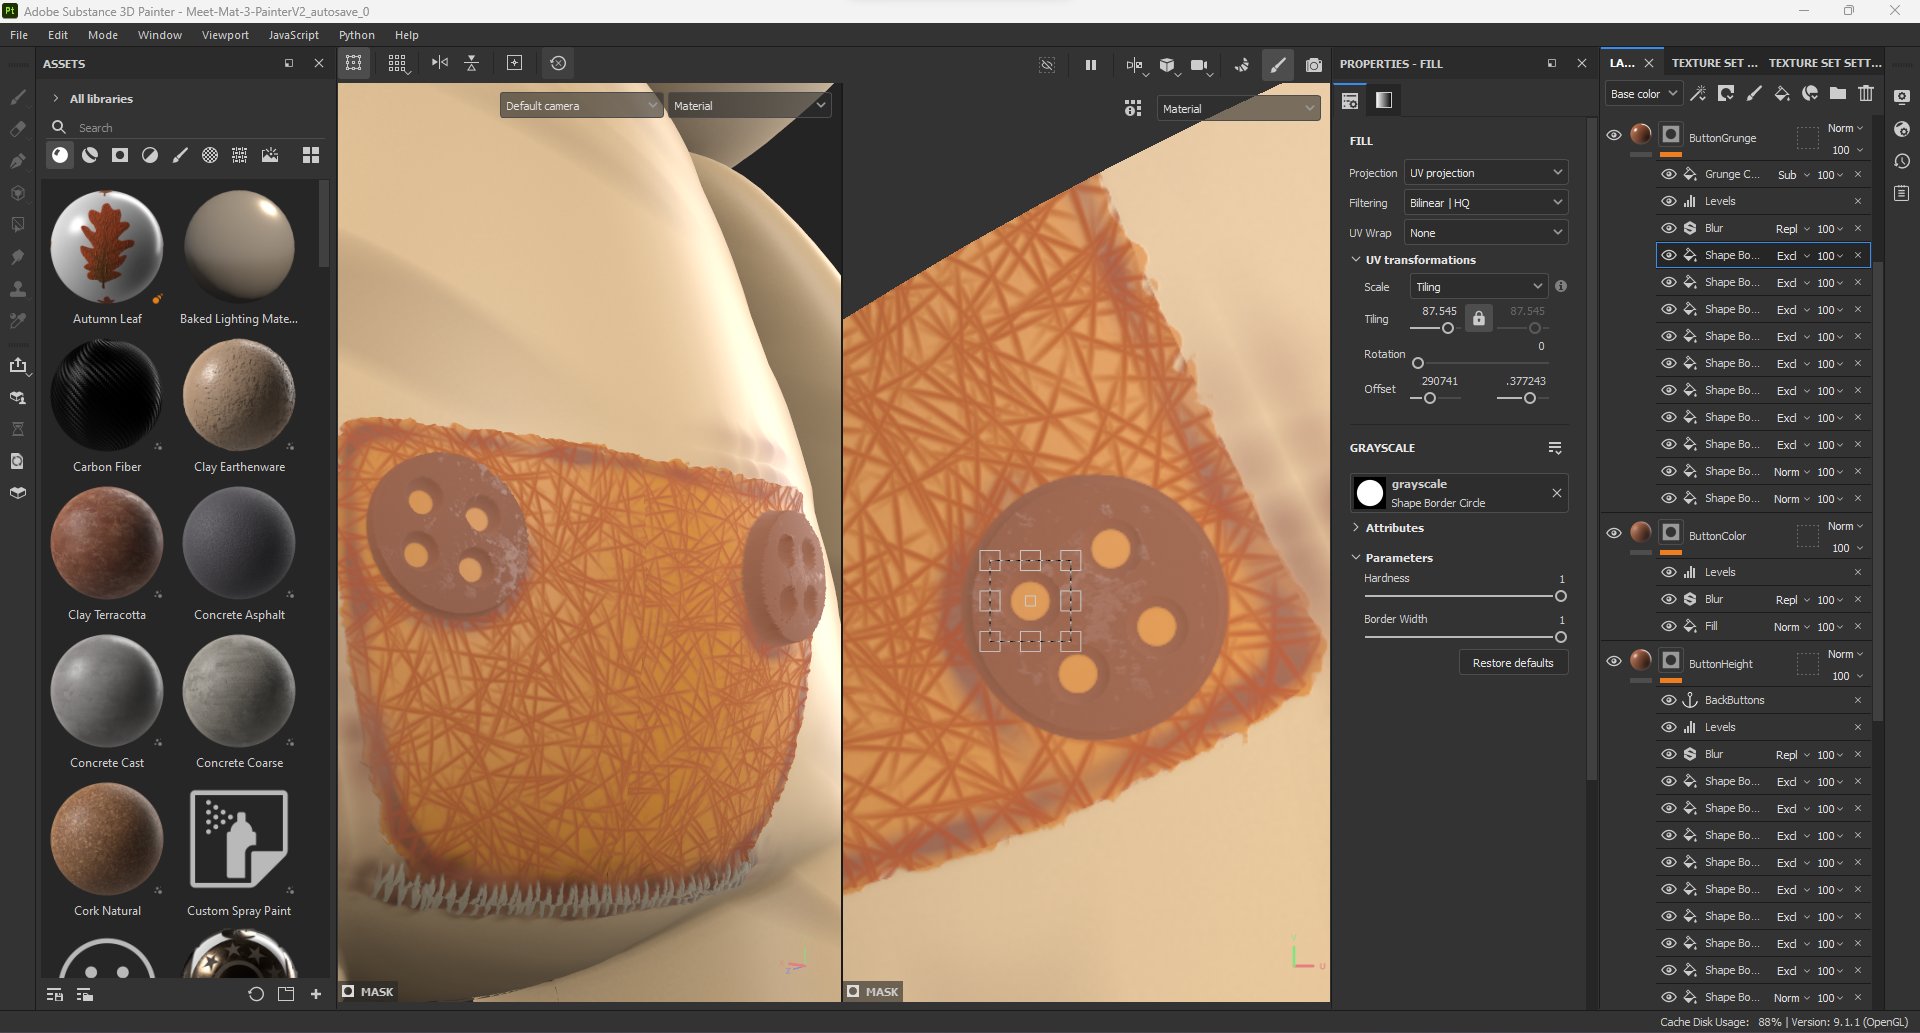
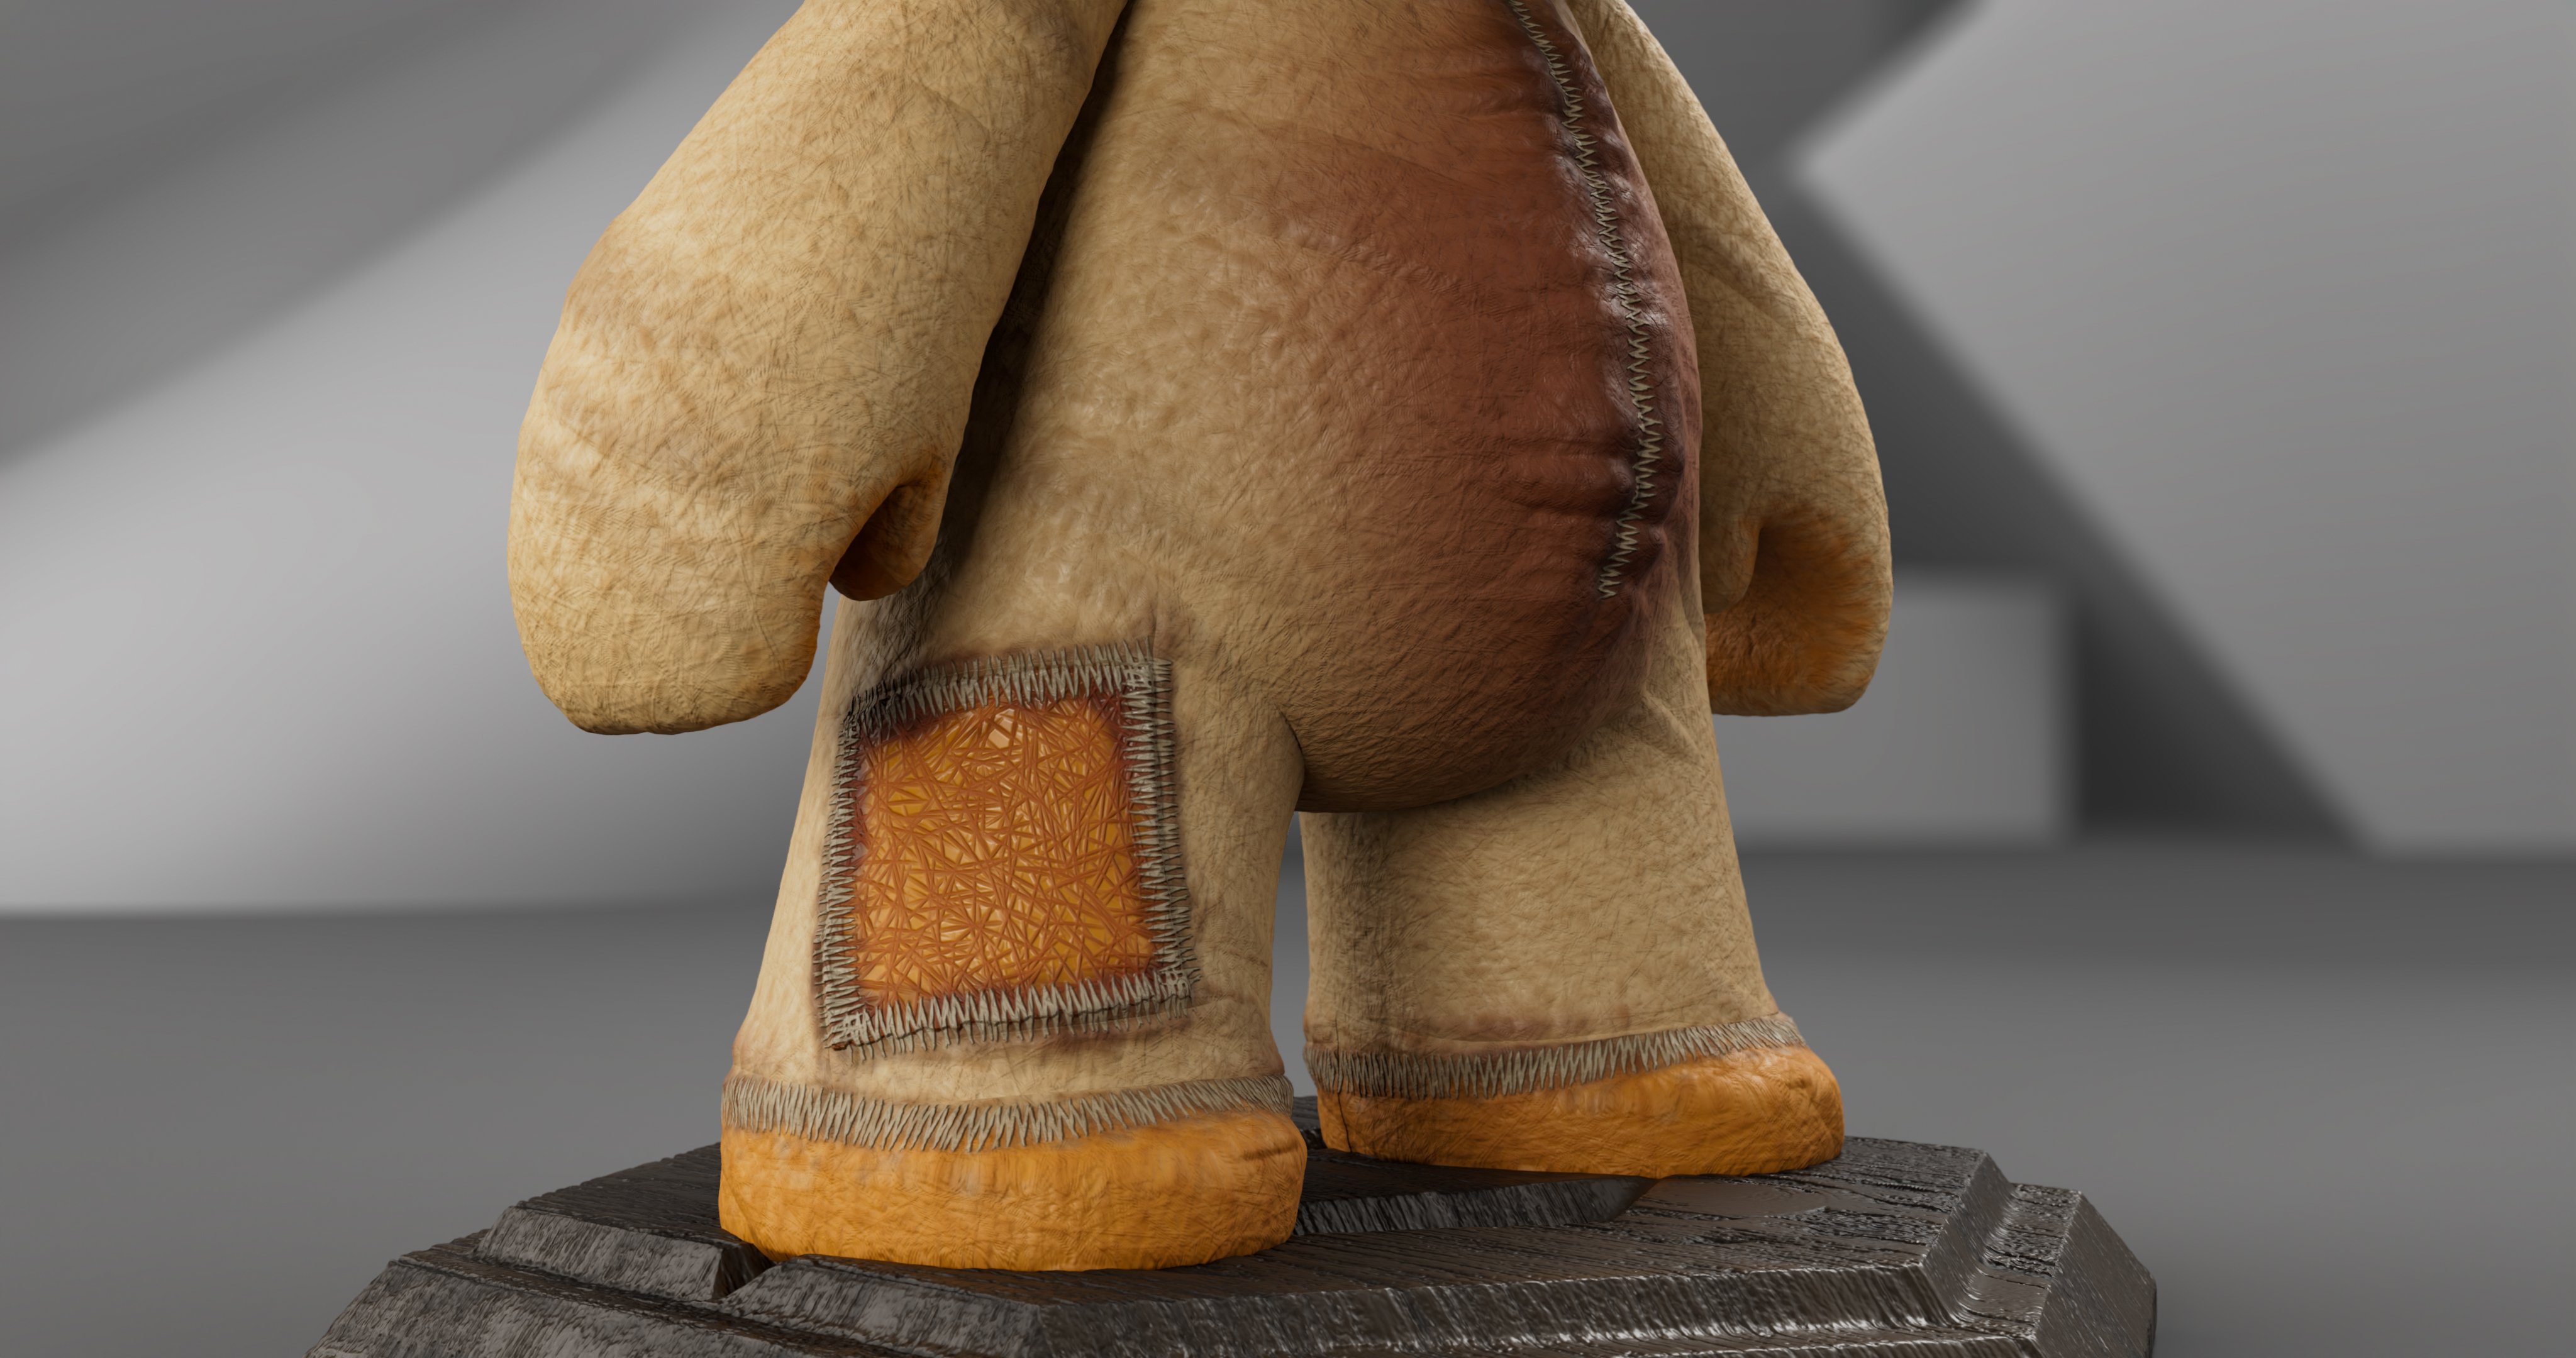
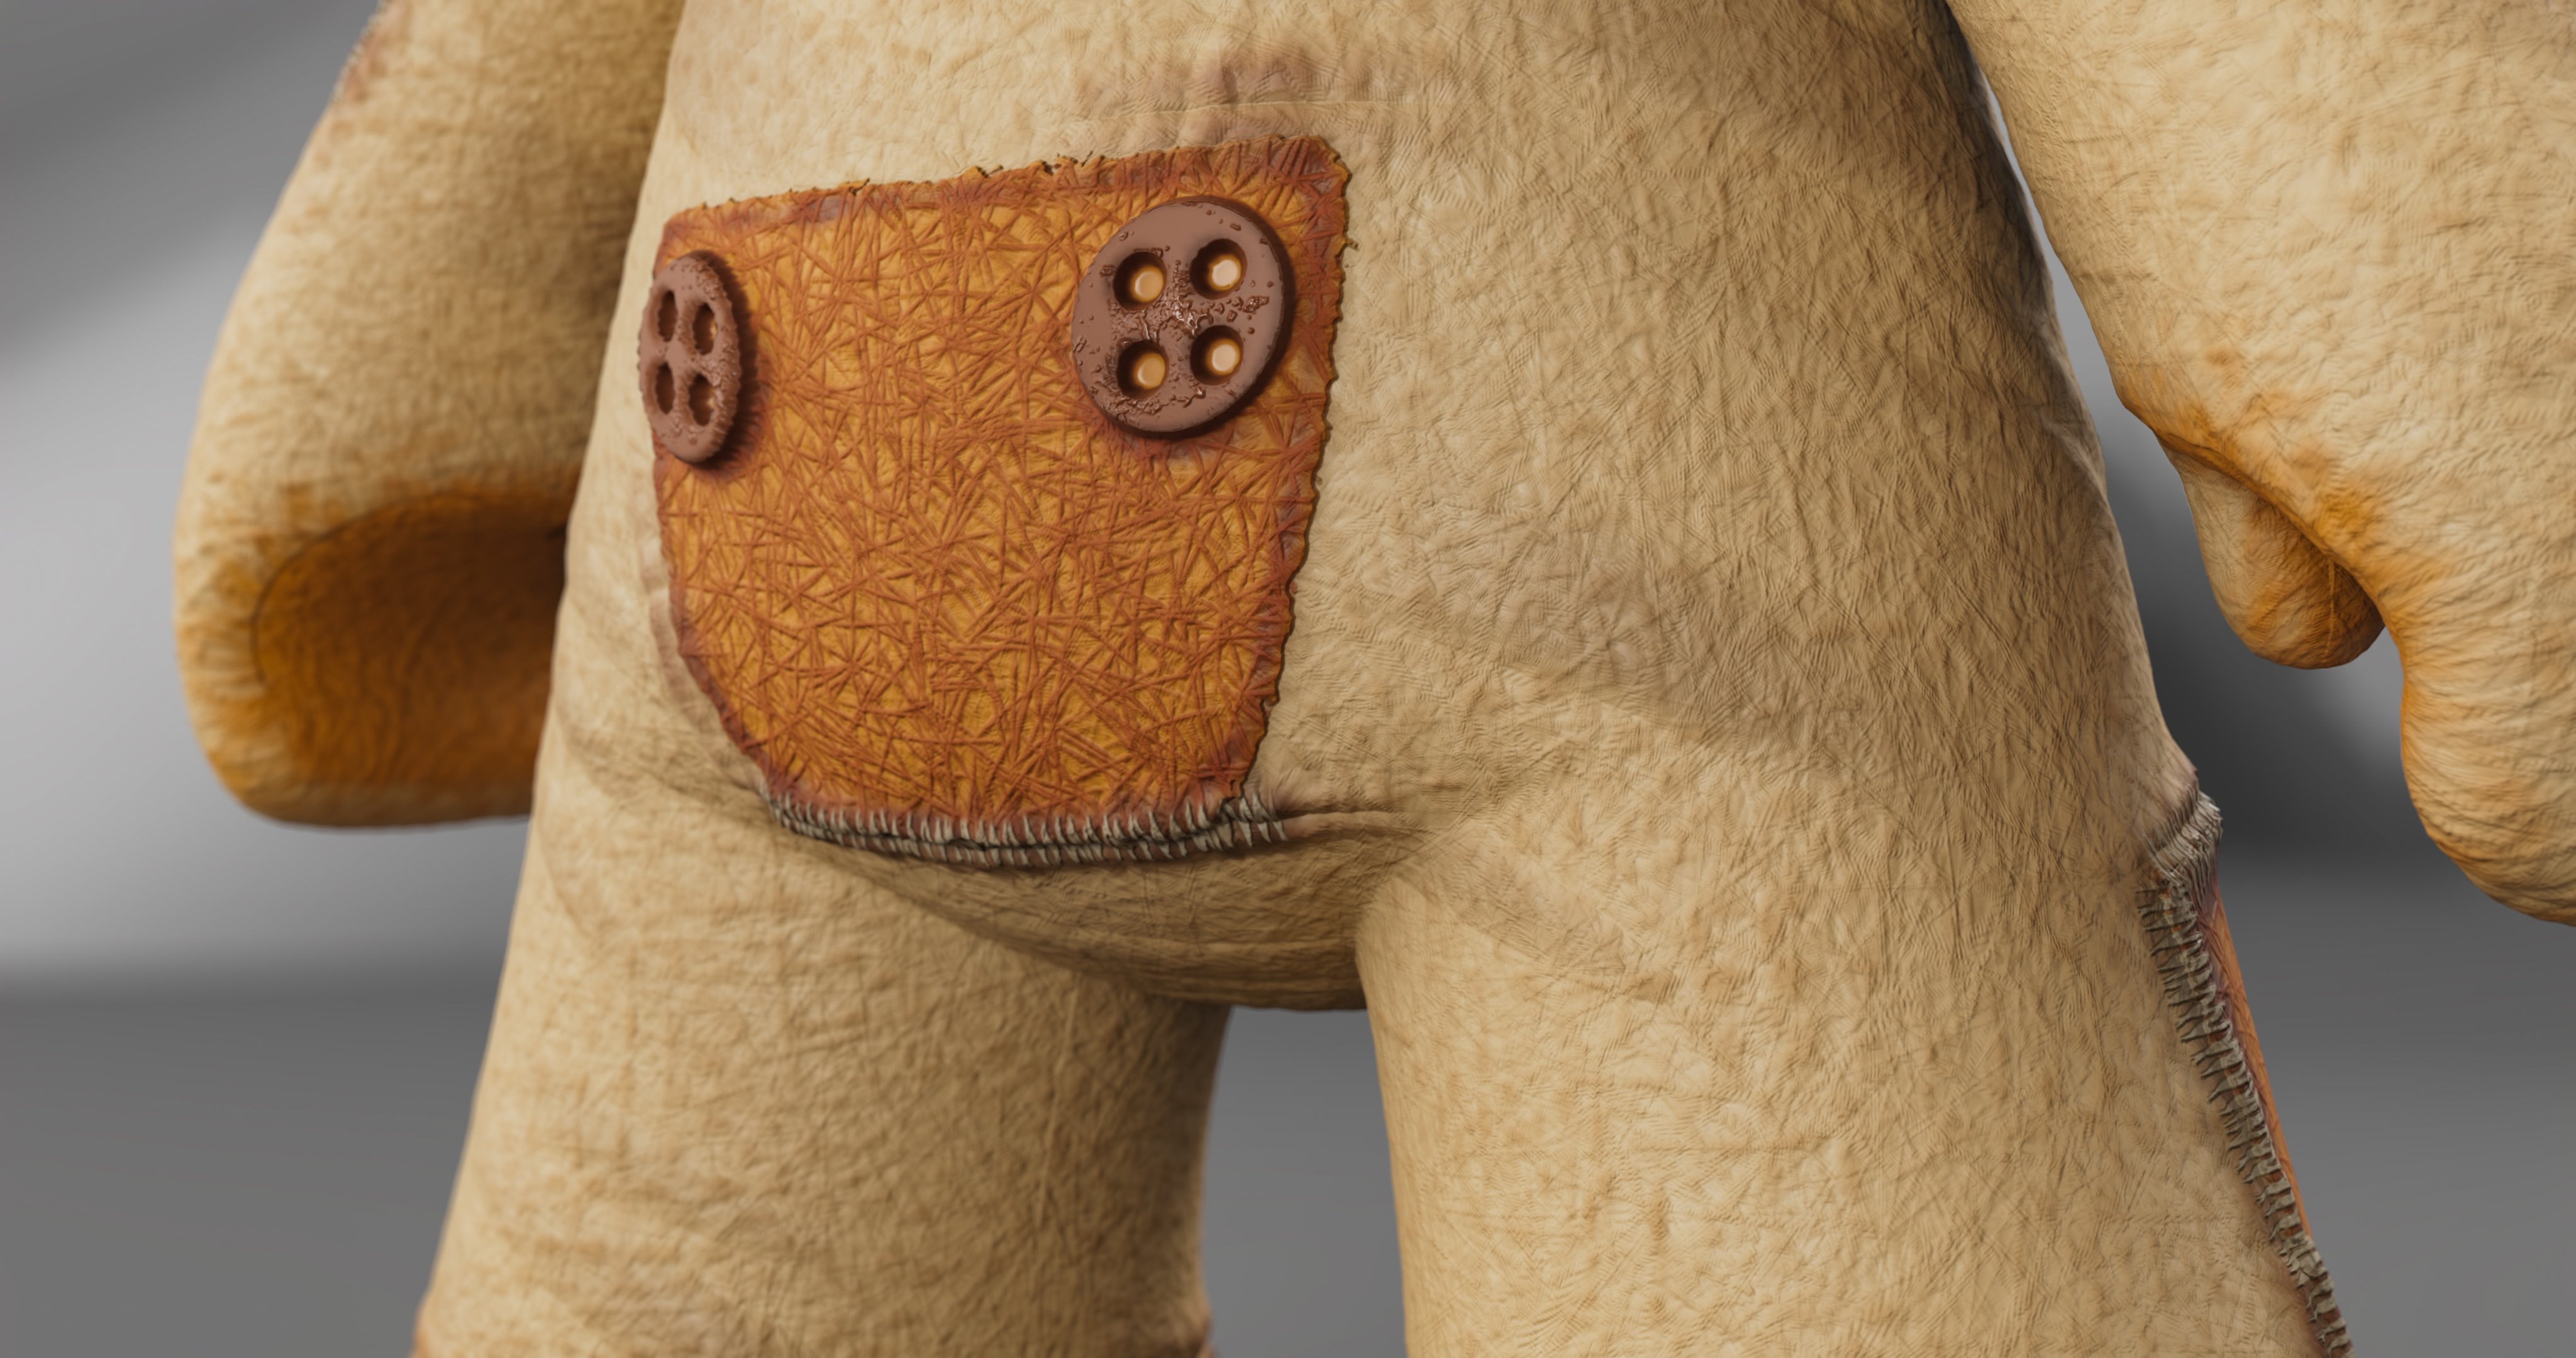
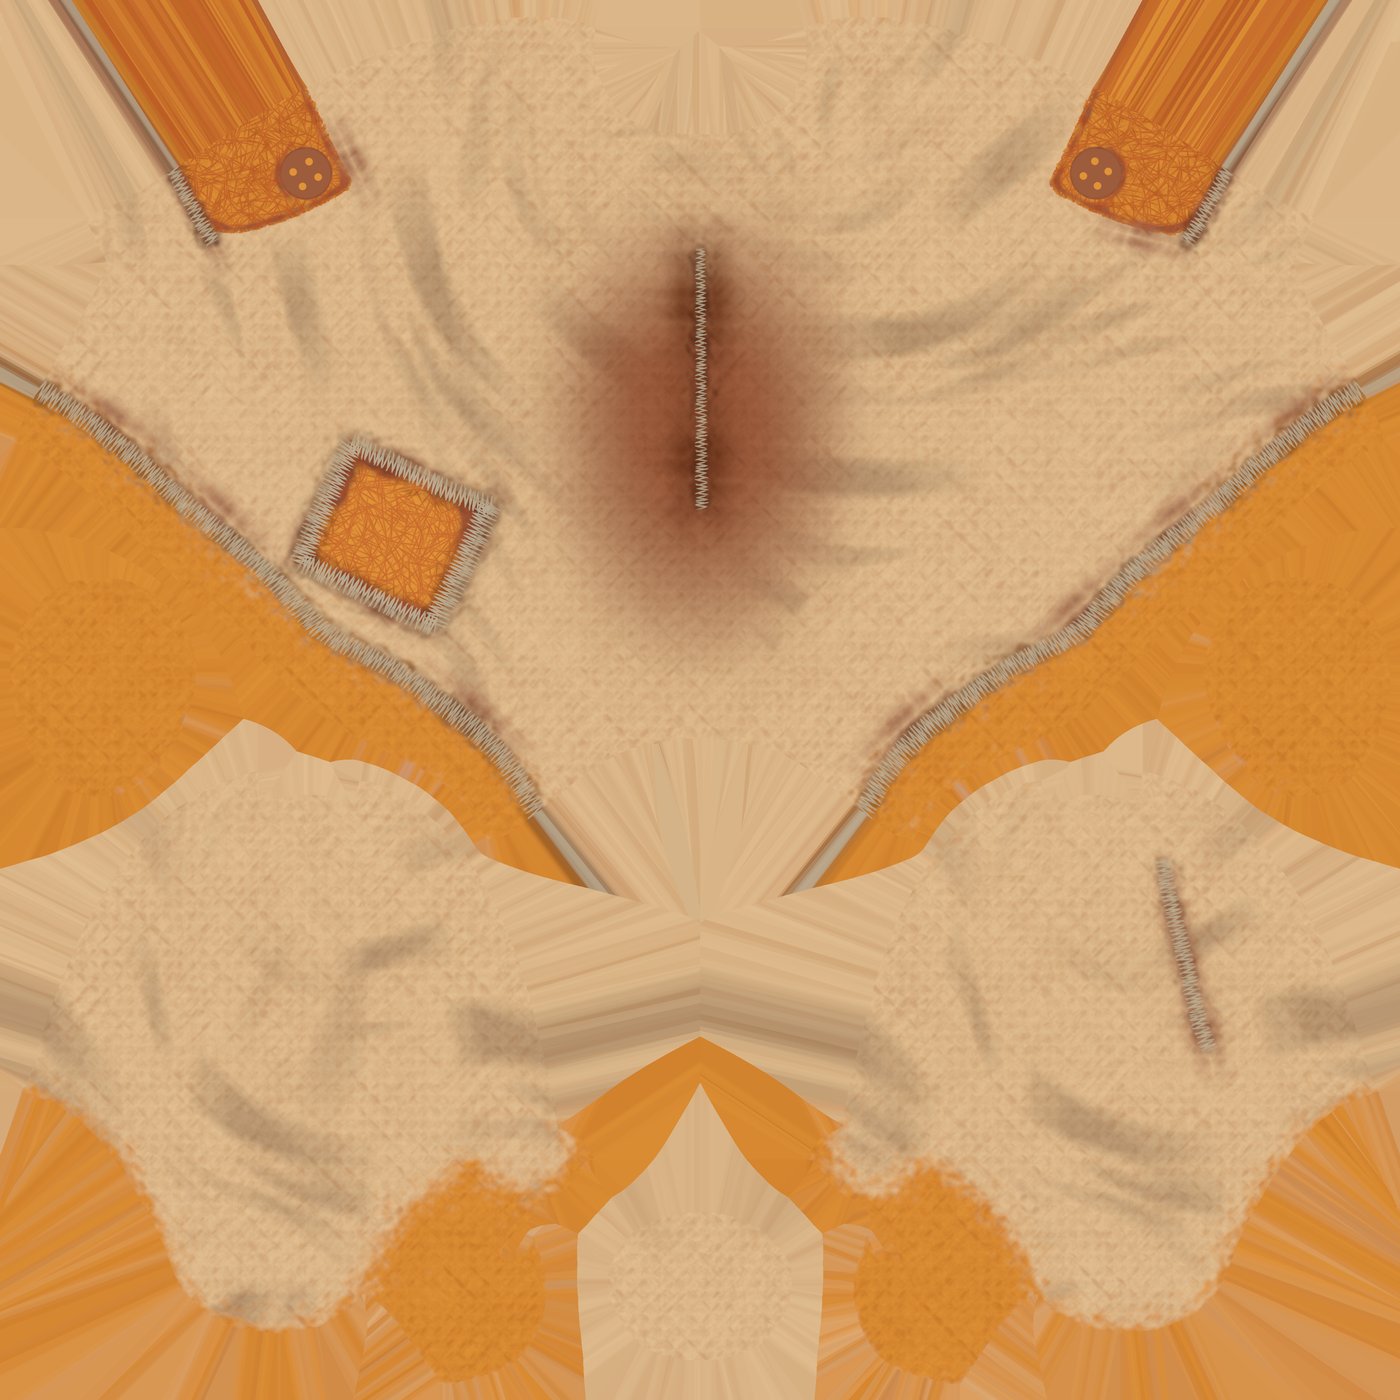
For the back pocket I just added a Square Alpha and blur it. Then I used several round shapes playing with Blending modes so I could make the buttons, then I did the same to exclude them from the general Fiber Alpha. I didn't want to go crazy with the pocket design to preserve the same aesthetic of the character.
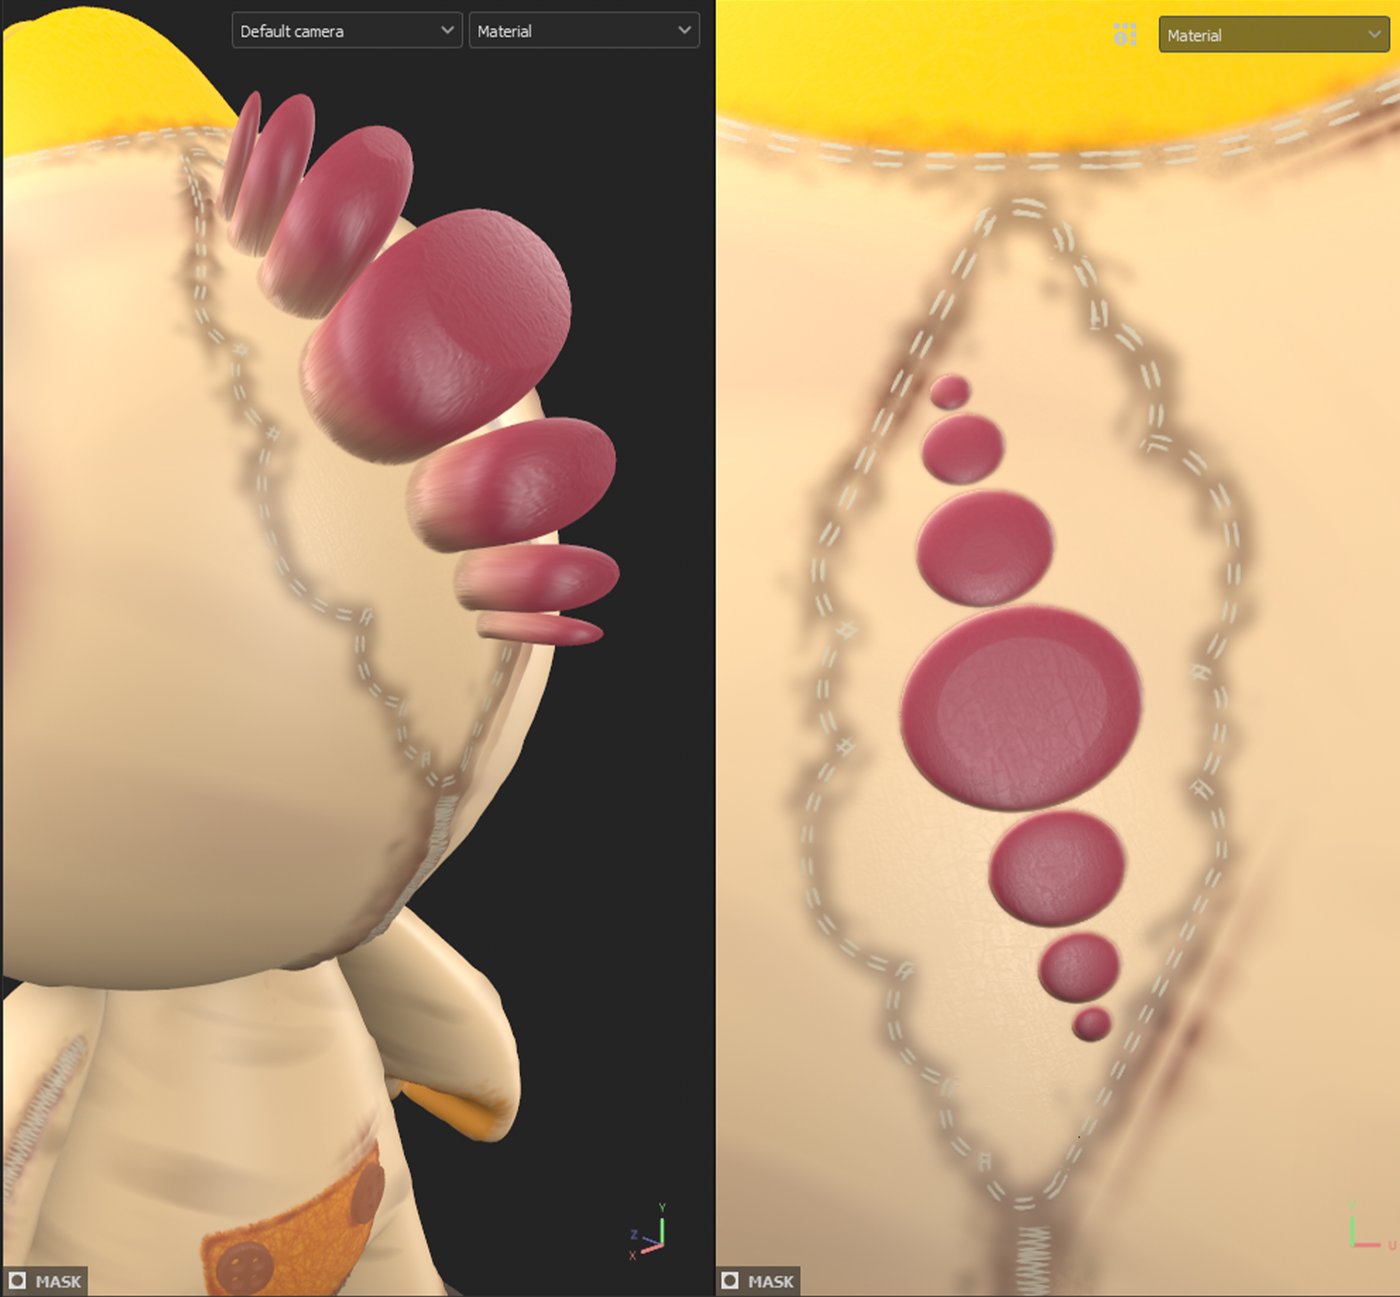

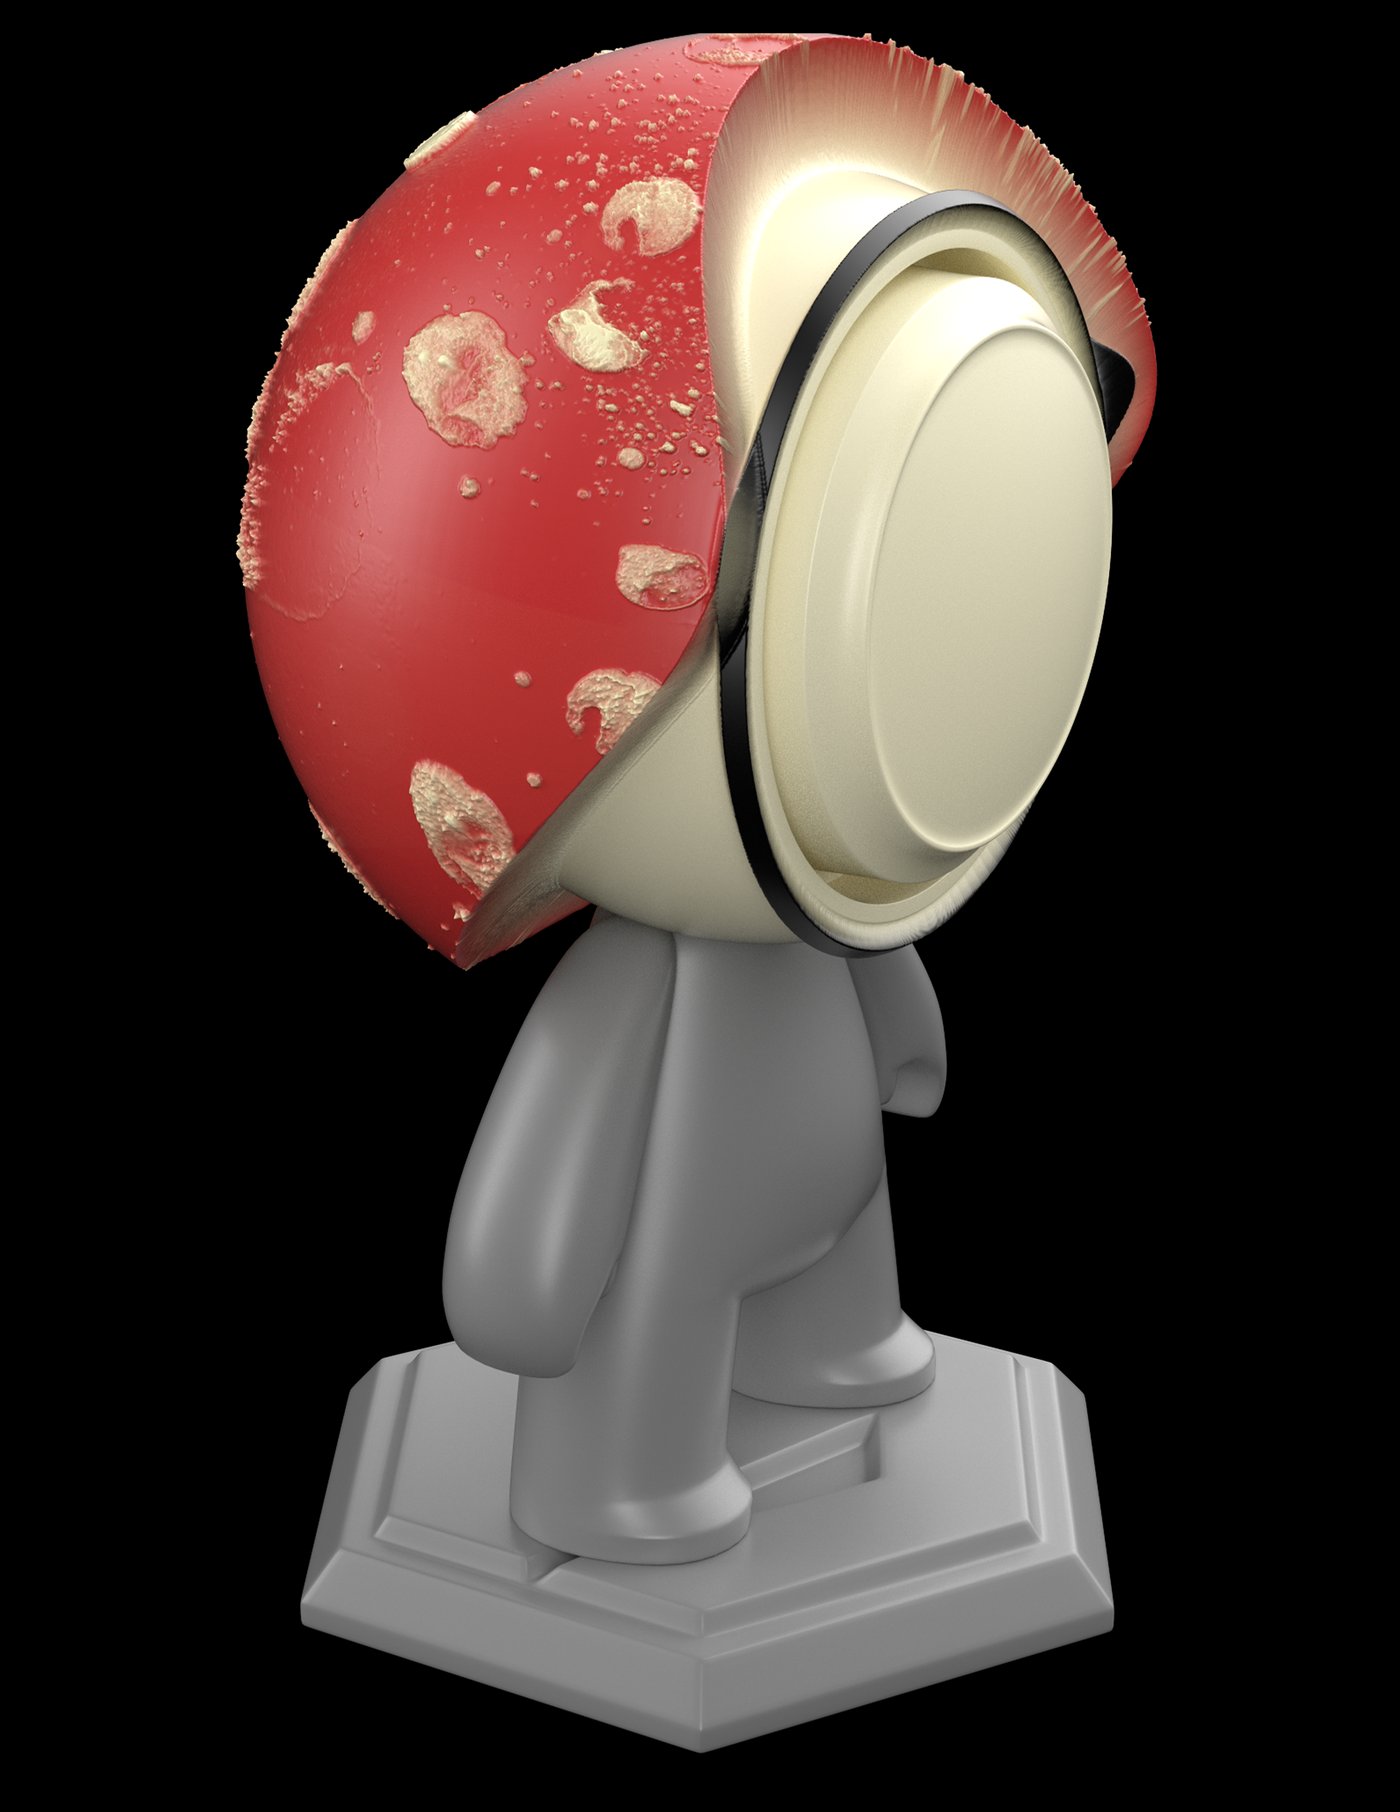
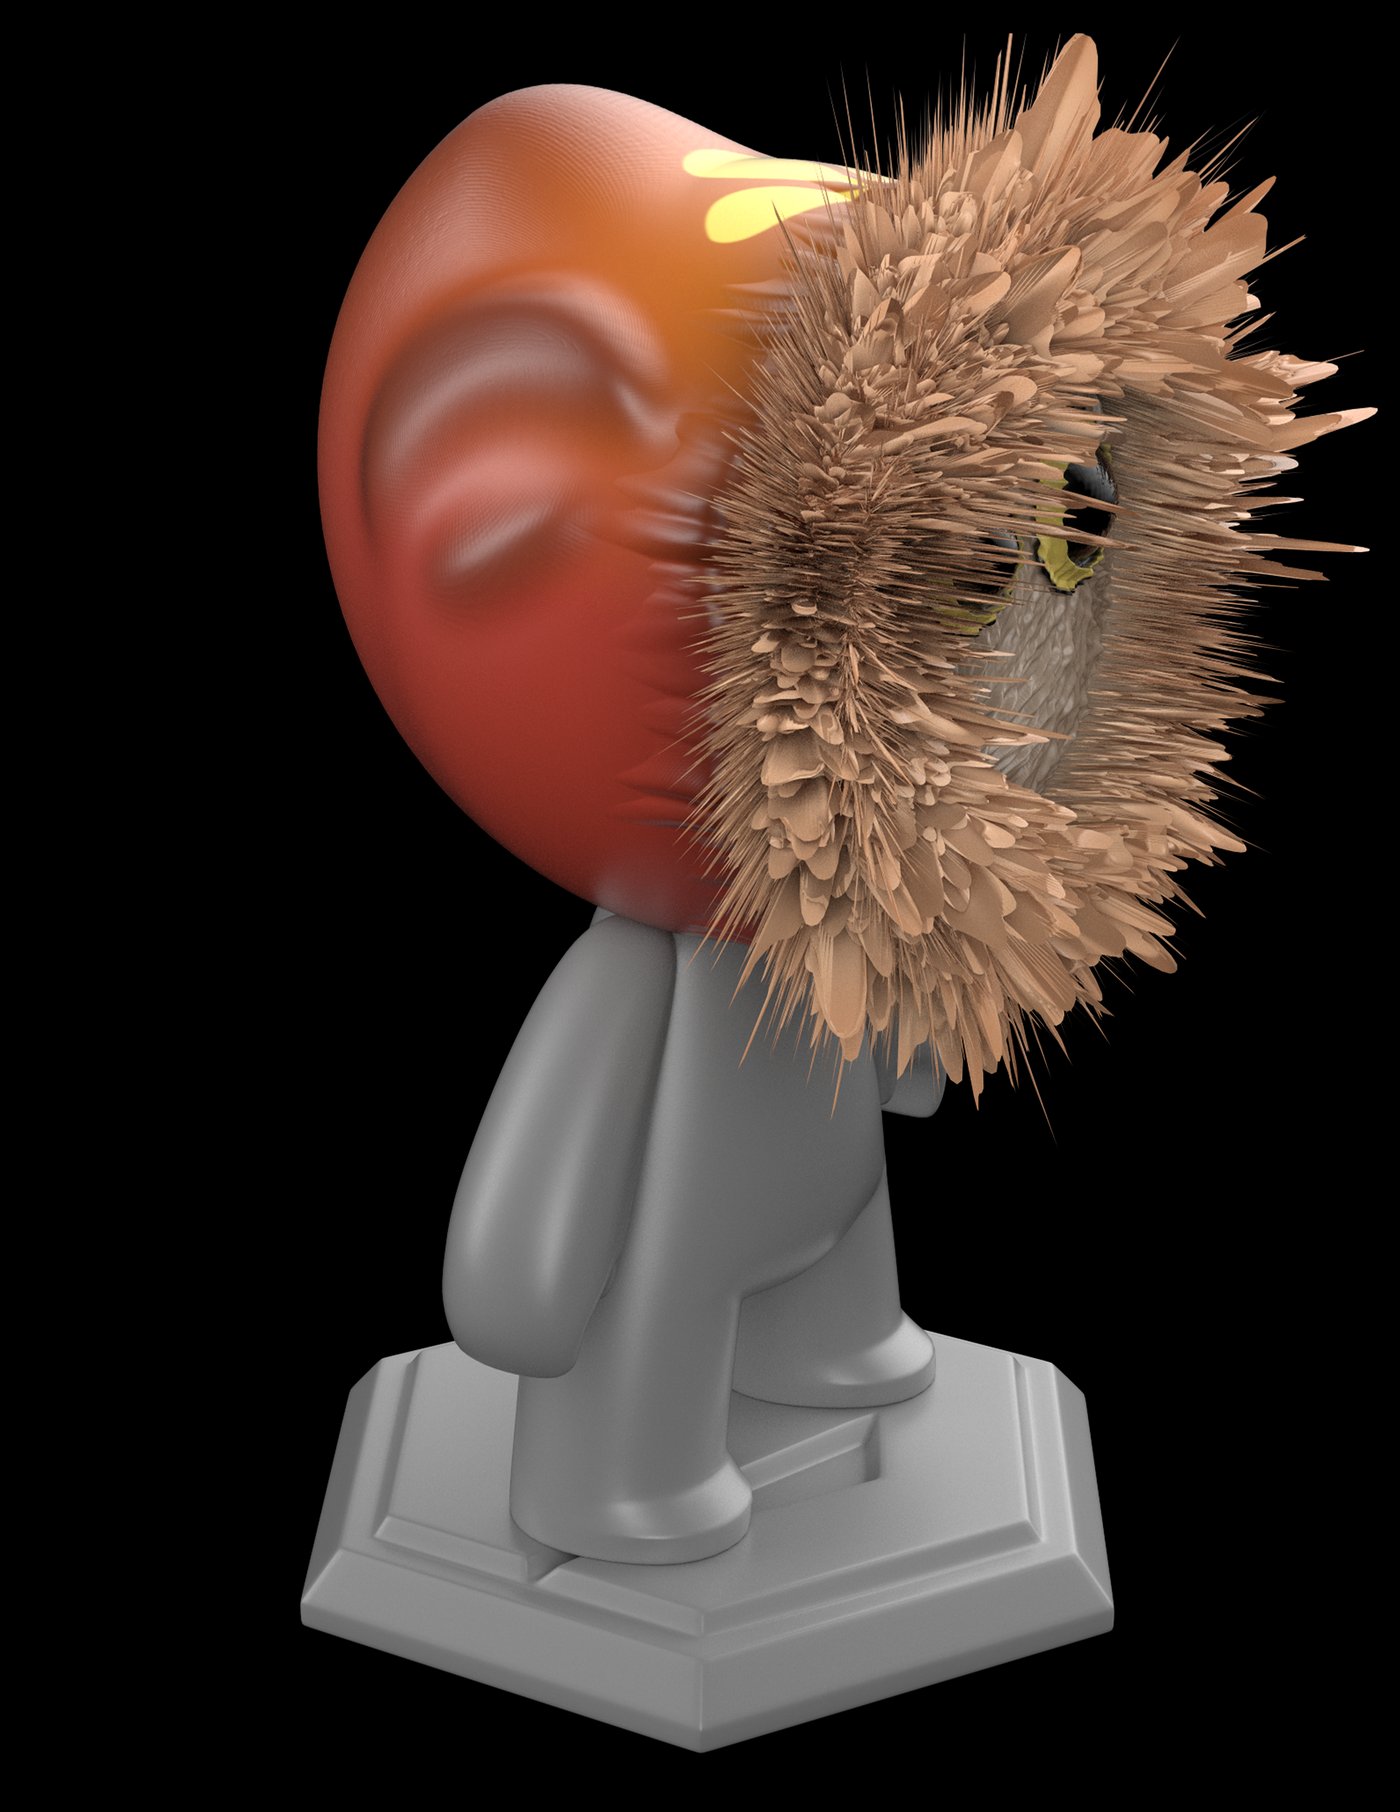
I also used an Alpha for the red thing up in the head, plus a Directional Blur to give it the desired effect. You can appreciate in the Image how it changes a lot when applying it. I tried different variations with different Alphas, but I considered this one gave me quite a good shape. Additionally, I started playing with Roughness and Grunges.
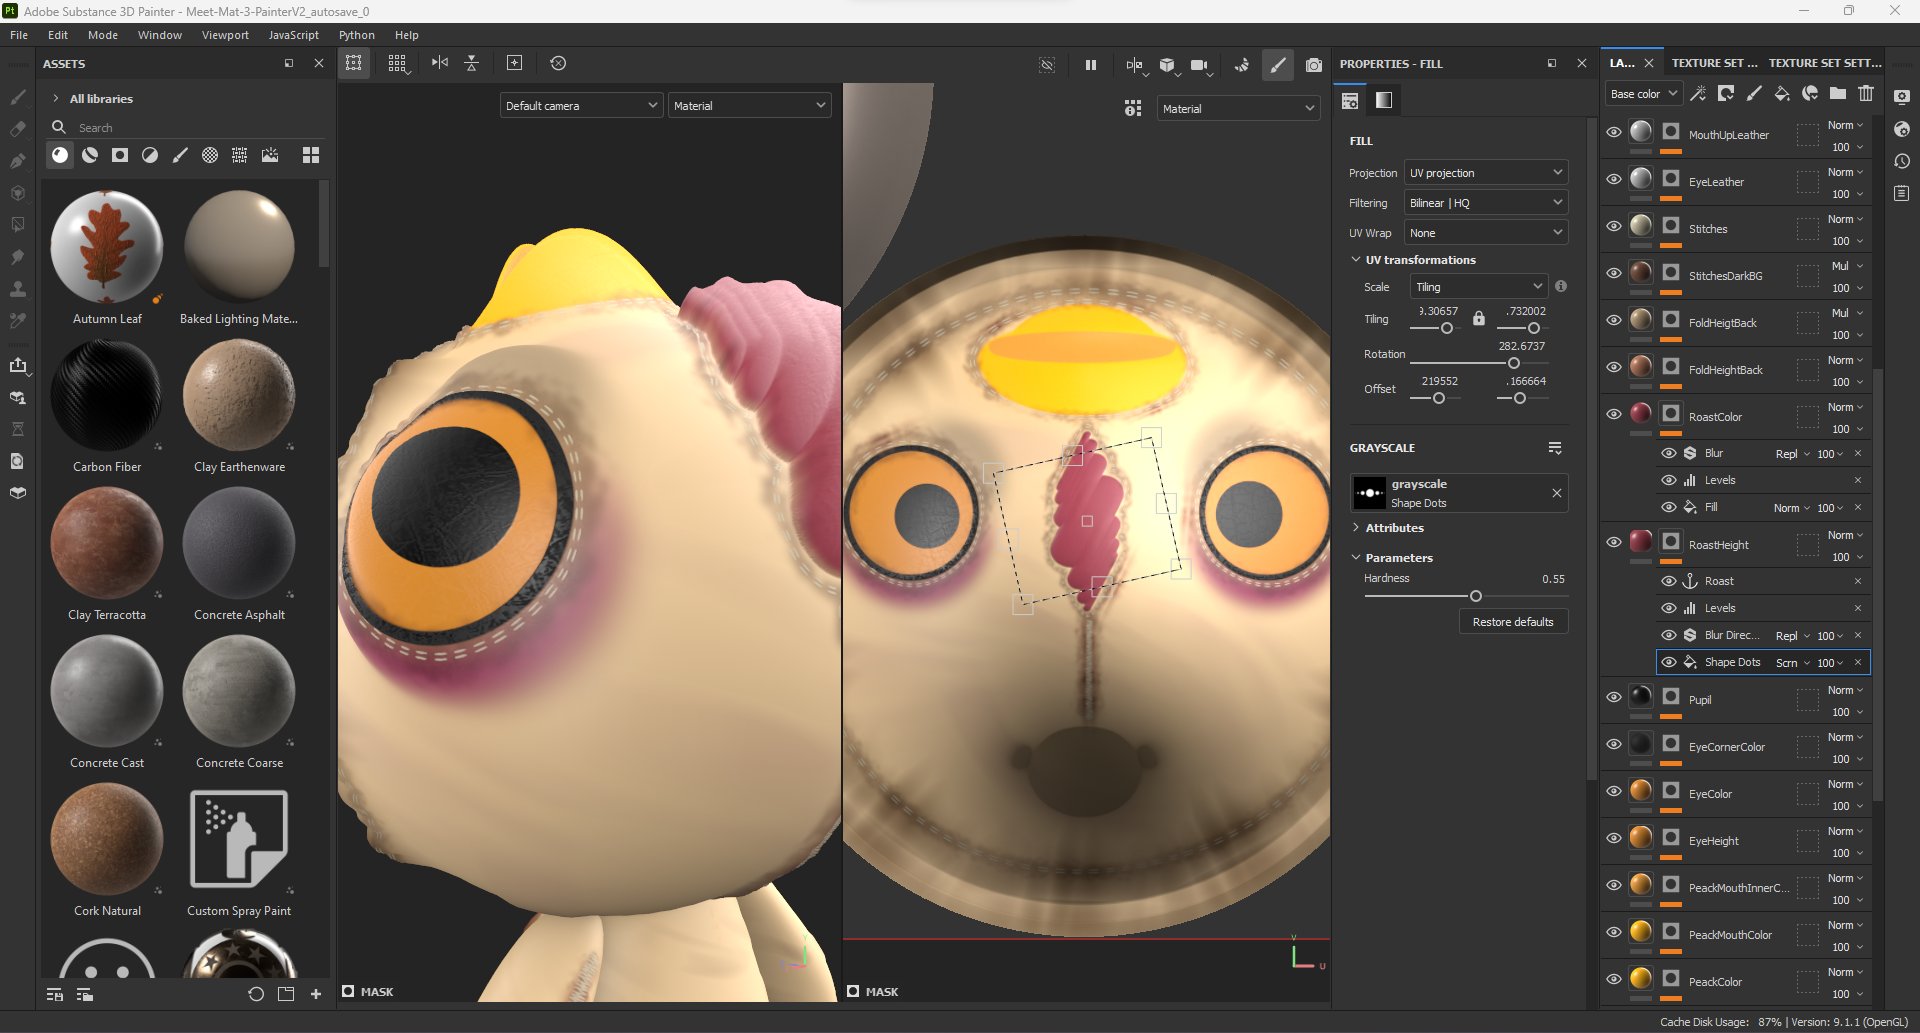
I added extra stitches around the eyes, the hood and so to make it have that cloth fabric material. I used an Anchor Point to add an extra Color layer on top, so I can fill with color that extrusion. I find less destructive to use the Anchor Point, so the information is taken from the original layer.
Comments (2)
Update - 22 Dec 2023
I put the colors in place and start testing which shapes and alphas could help me to get the expected result. I was having fun playing with different options that popped out in my mind at the moment, I tried the ideas that might have suited it best and discarded the ones that didn't. As the character took shape, I knew it was the right set of choices.
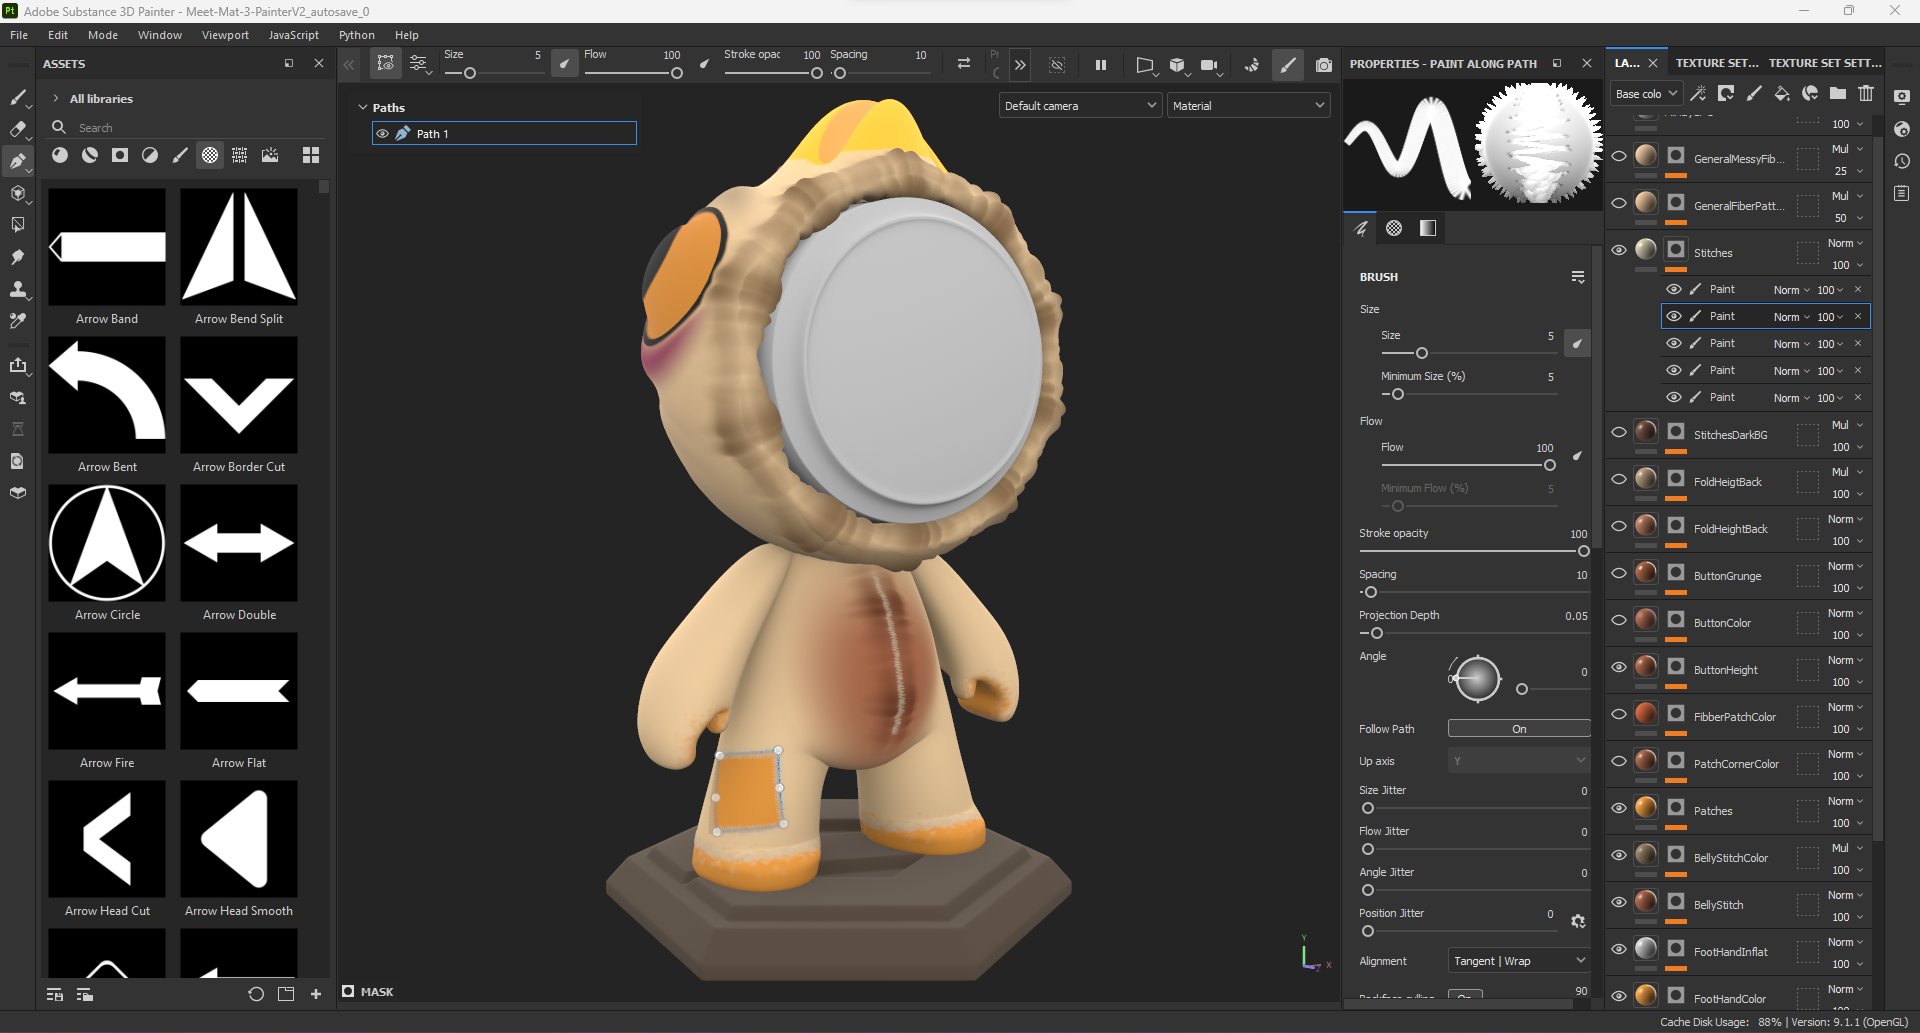
About the Body, I kept some things from the Fish one, like the folds in the hood, the eyes and the stitches, which I made trying the new Paint along path feature, (pretty handy btw).
Comments (3)
Update - 21 Dec 2023
Honestly, I am not good at drawing, it took me a while to accomplish the concept art mission. But I was pretty much happy with the outcome.
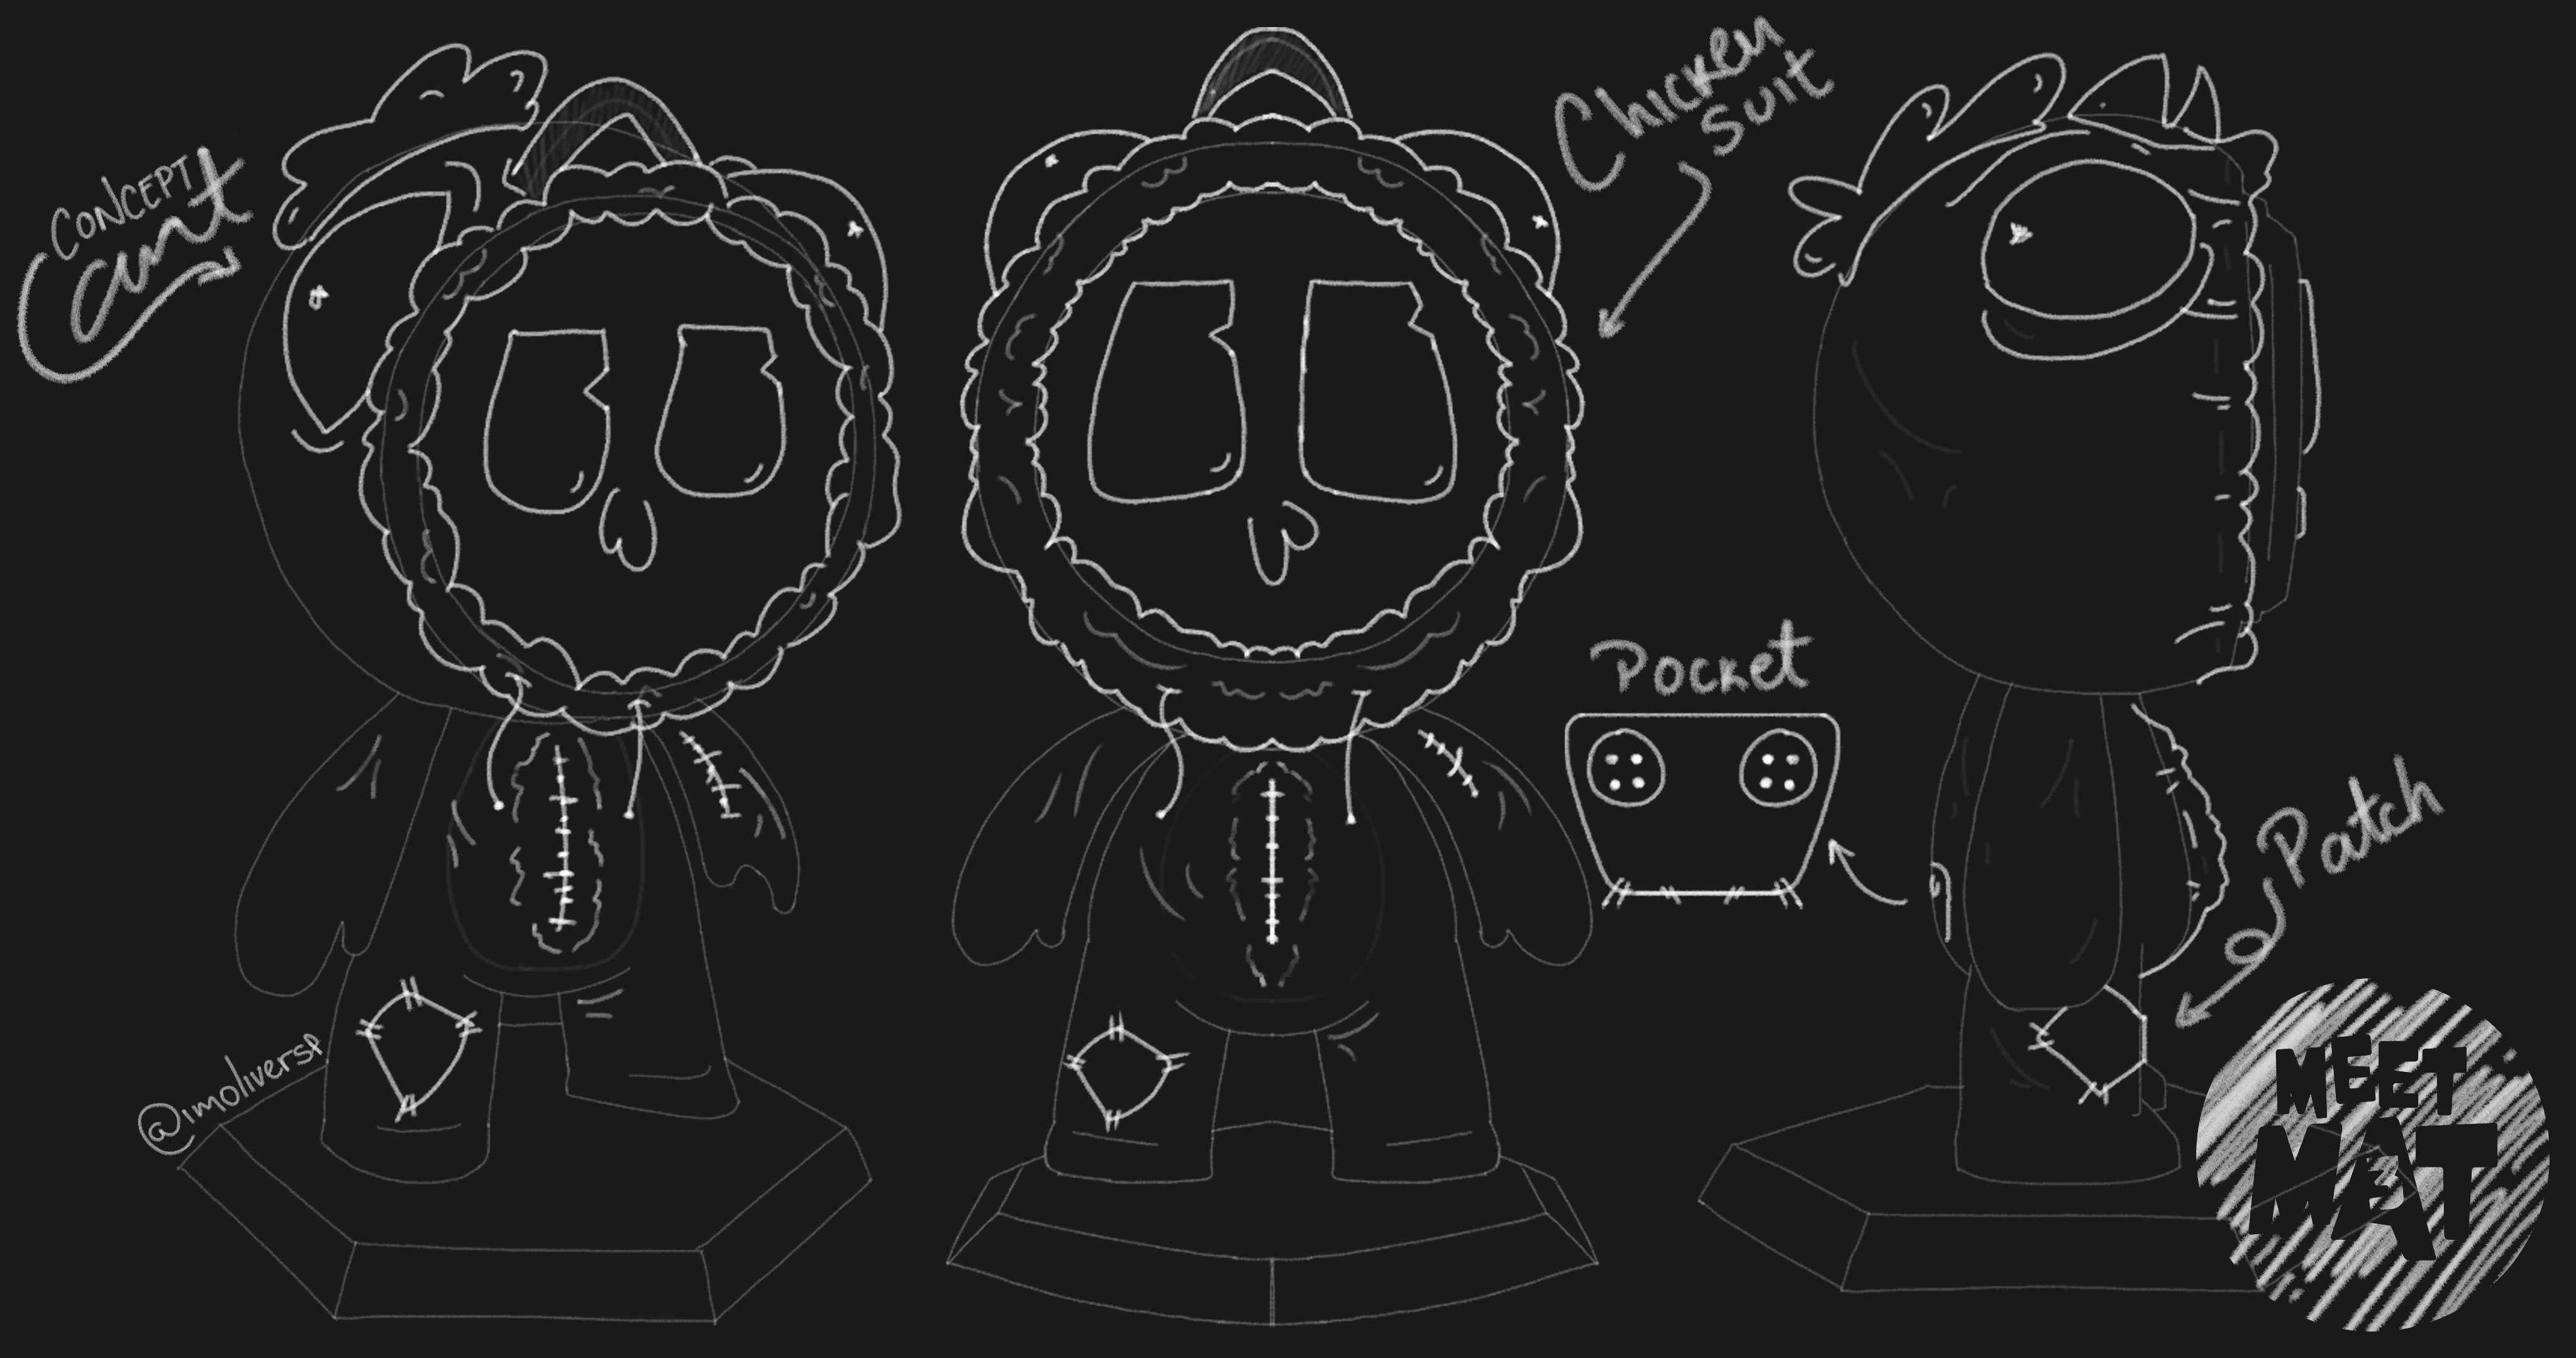
Then I did a concept art, I put all the pieces together and once I was happy with the result, I started the painting process.
Update - 21 Dec 2023

I made a Color Palette, so these are the main colors:
#d5882b for the Chicken eyes,
#ffb600 for the Beak,
#e4c396 for the Chicken hoodie,
#993b4a for the little red thing in the head (I don't know what its name is).
Here is when I decided to make new research with its proper mood board with a fresh concept. I thought a Chicken could have more appealing, so I sticked with that idea and started to develop the following stage.
Update - 20 Dec 2023
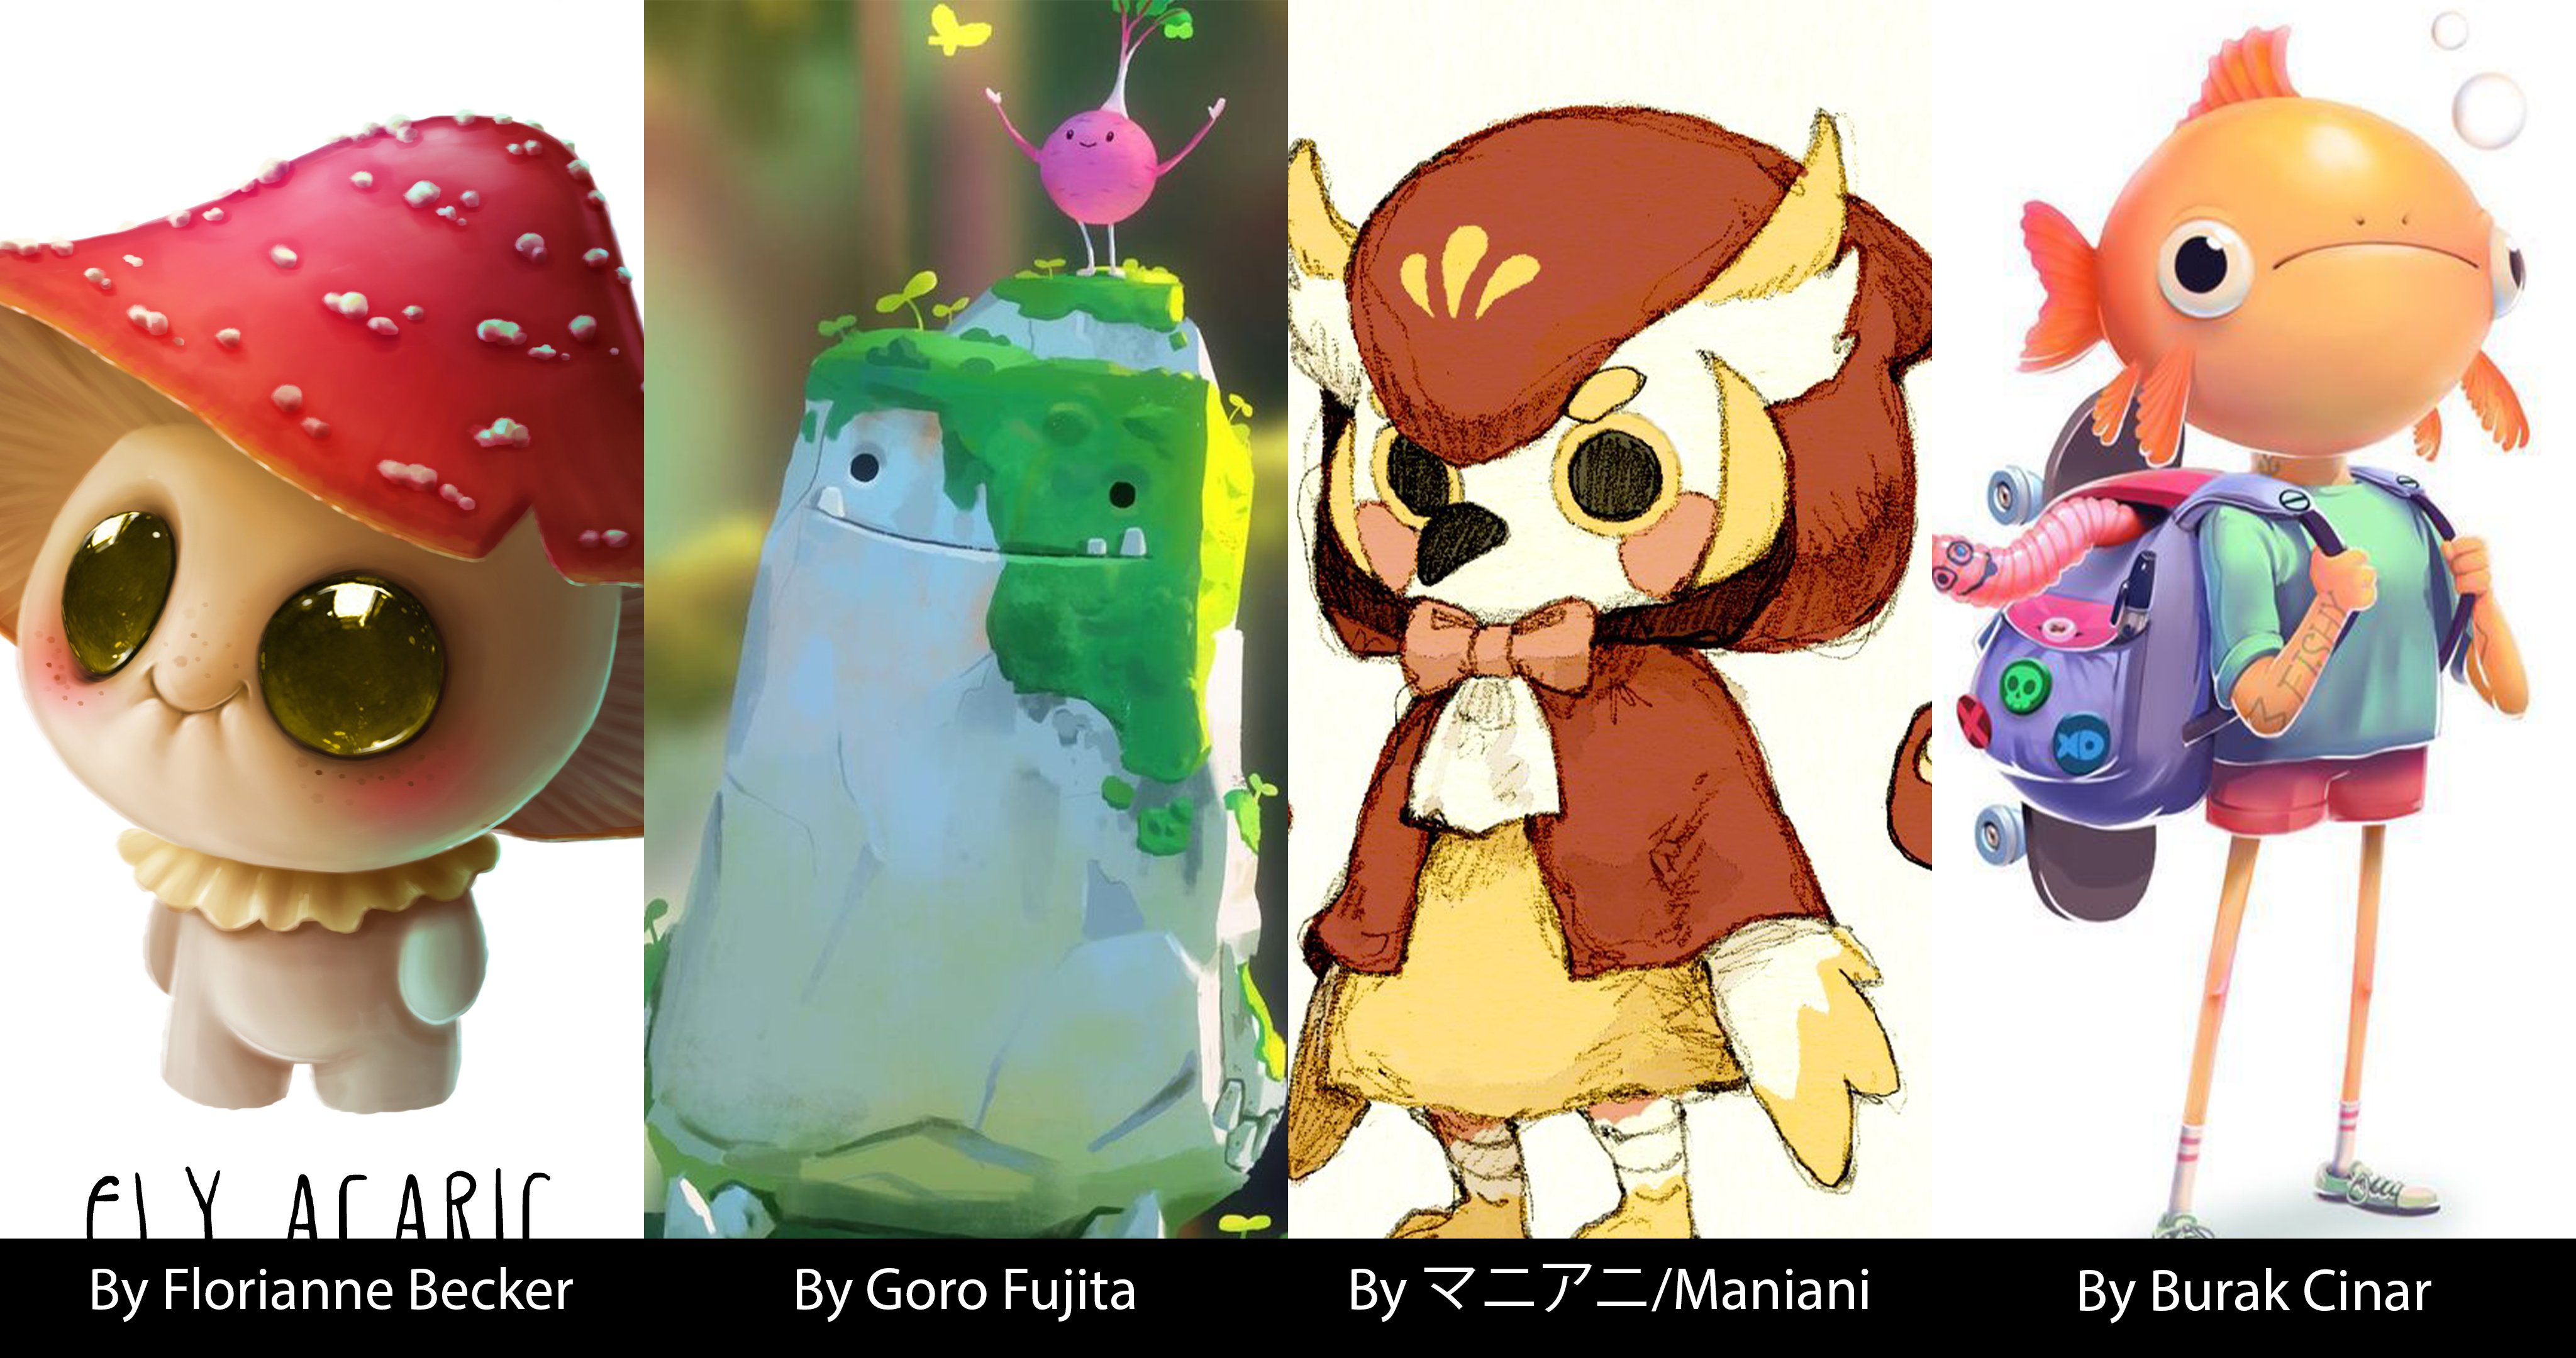
First I tried with the Toad guy, I was just playing with shapes but I was not convinced, so I turned it in the one with the cap, I wasn't sure if I wanted to add whiskers and cat ears (because I like kittens), but the face didn't convince me at all, I thought I looked like Kenny from South Park or so.
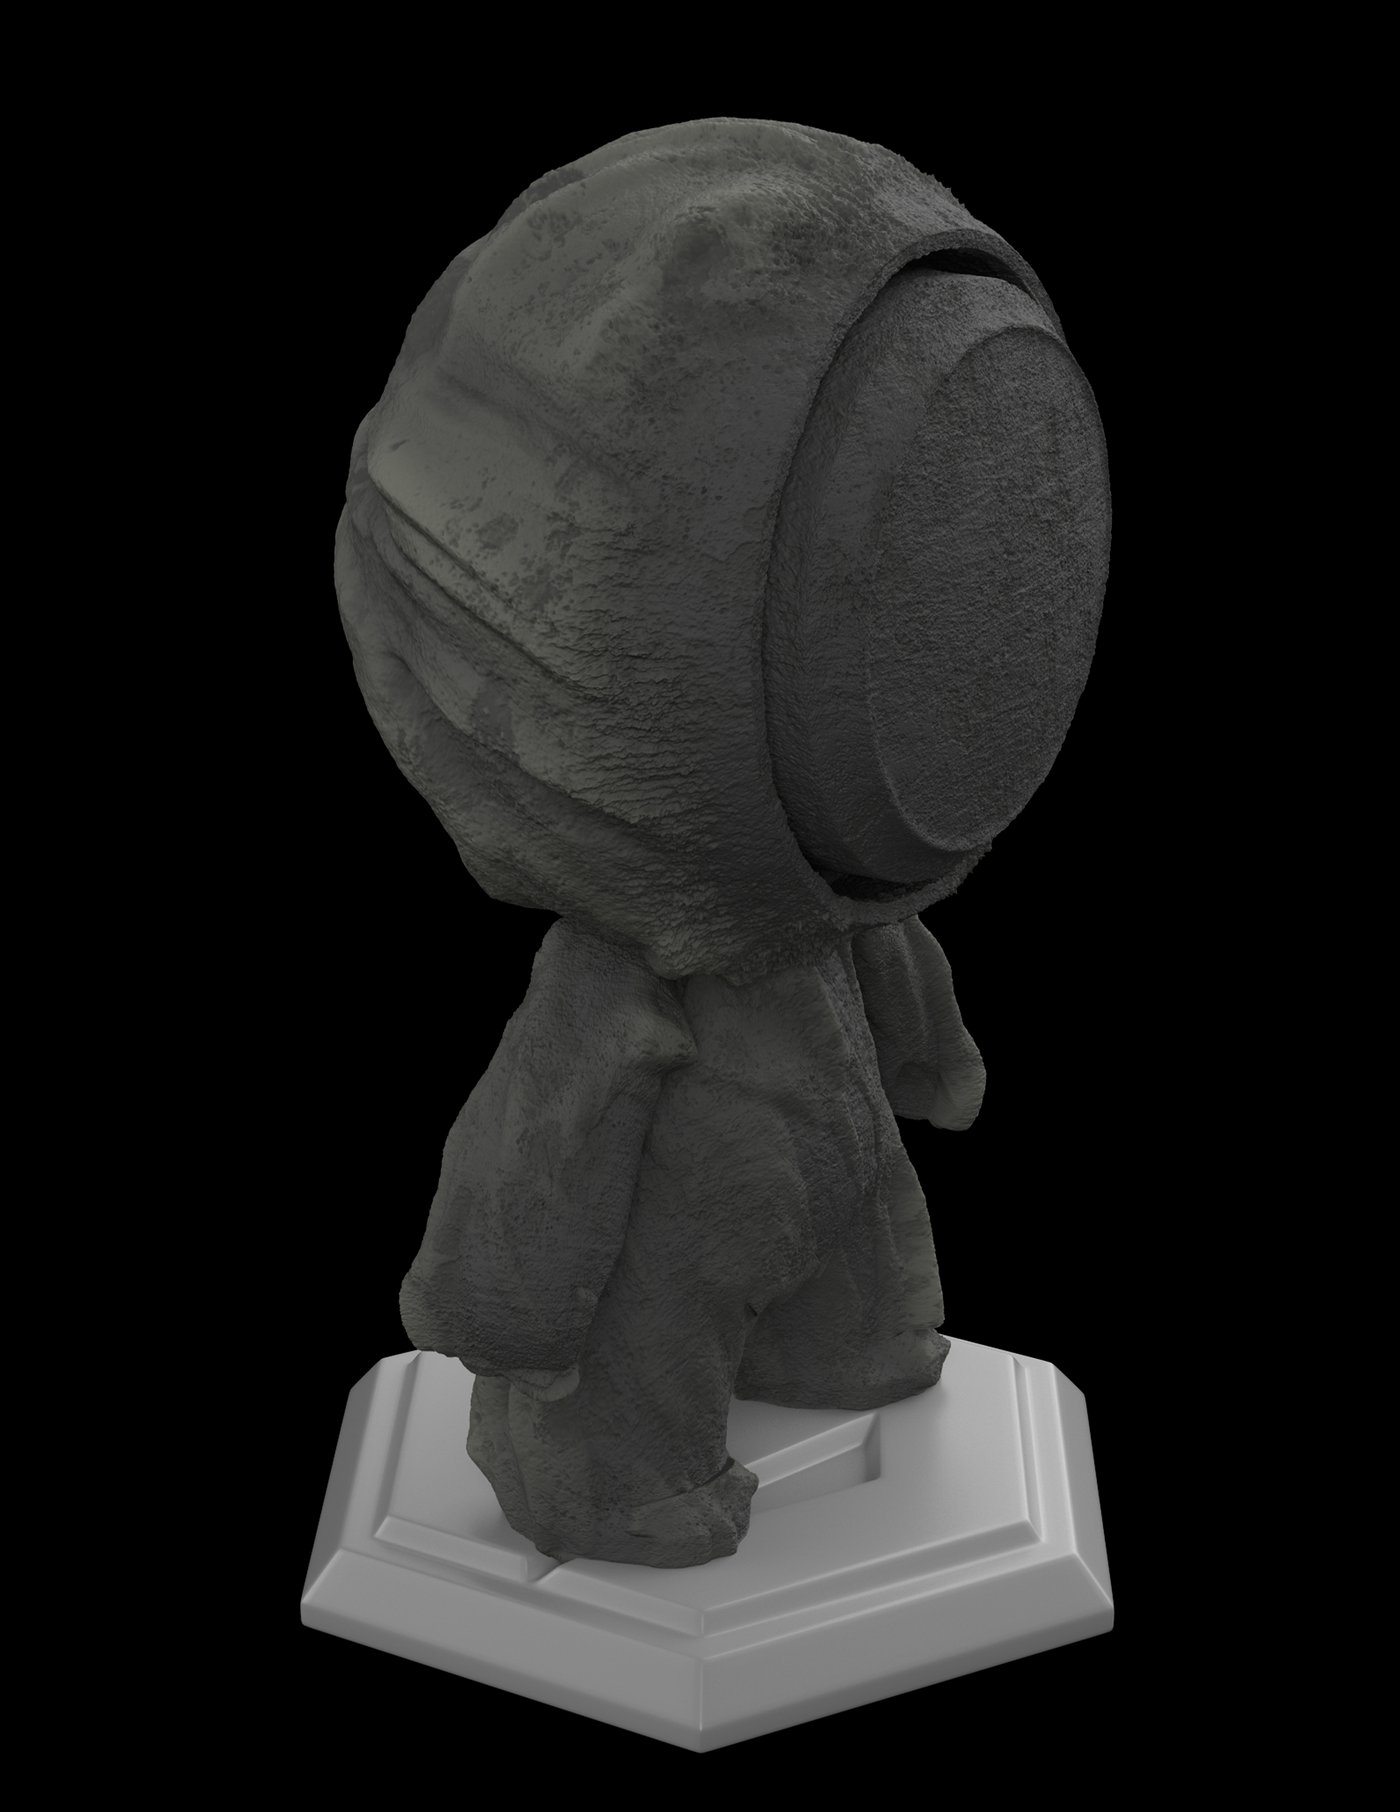
Later then I went with the concrete/stoney guy, I tried to go from general shapes to smaller shapes, adding some detail and playing around with Grunges, but I couldn't get a more cubic shape, so I ruled out that option.
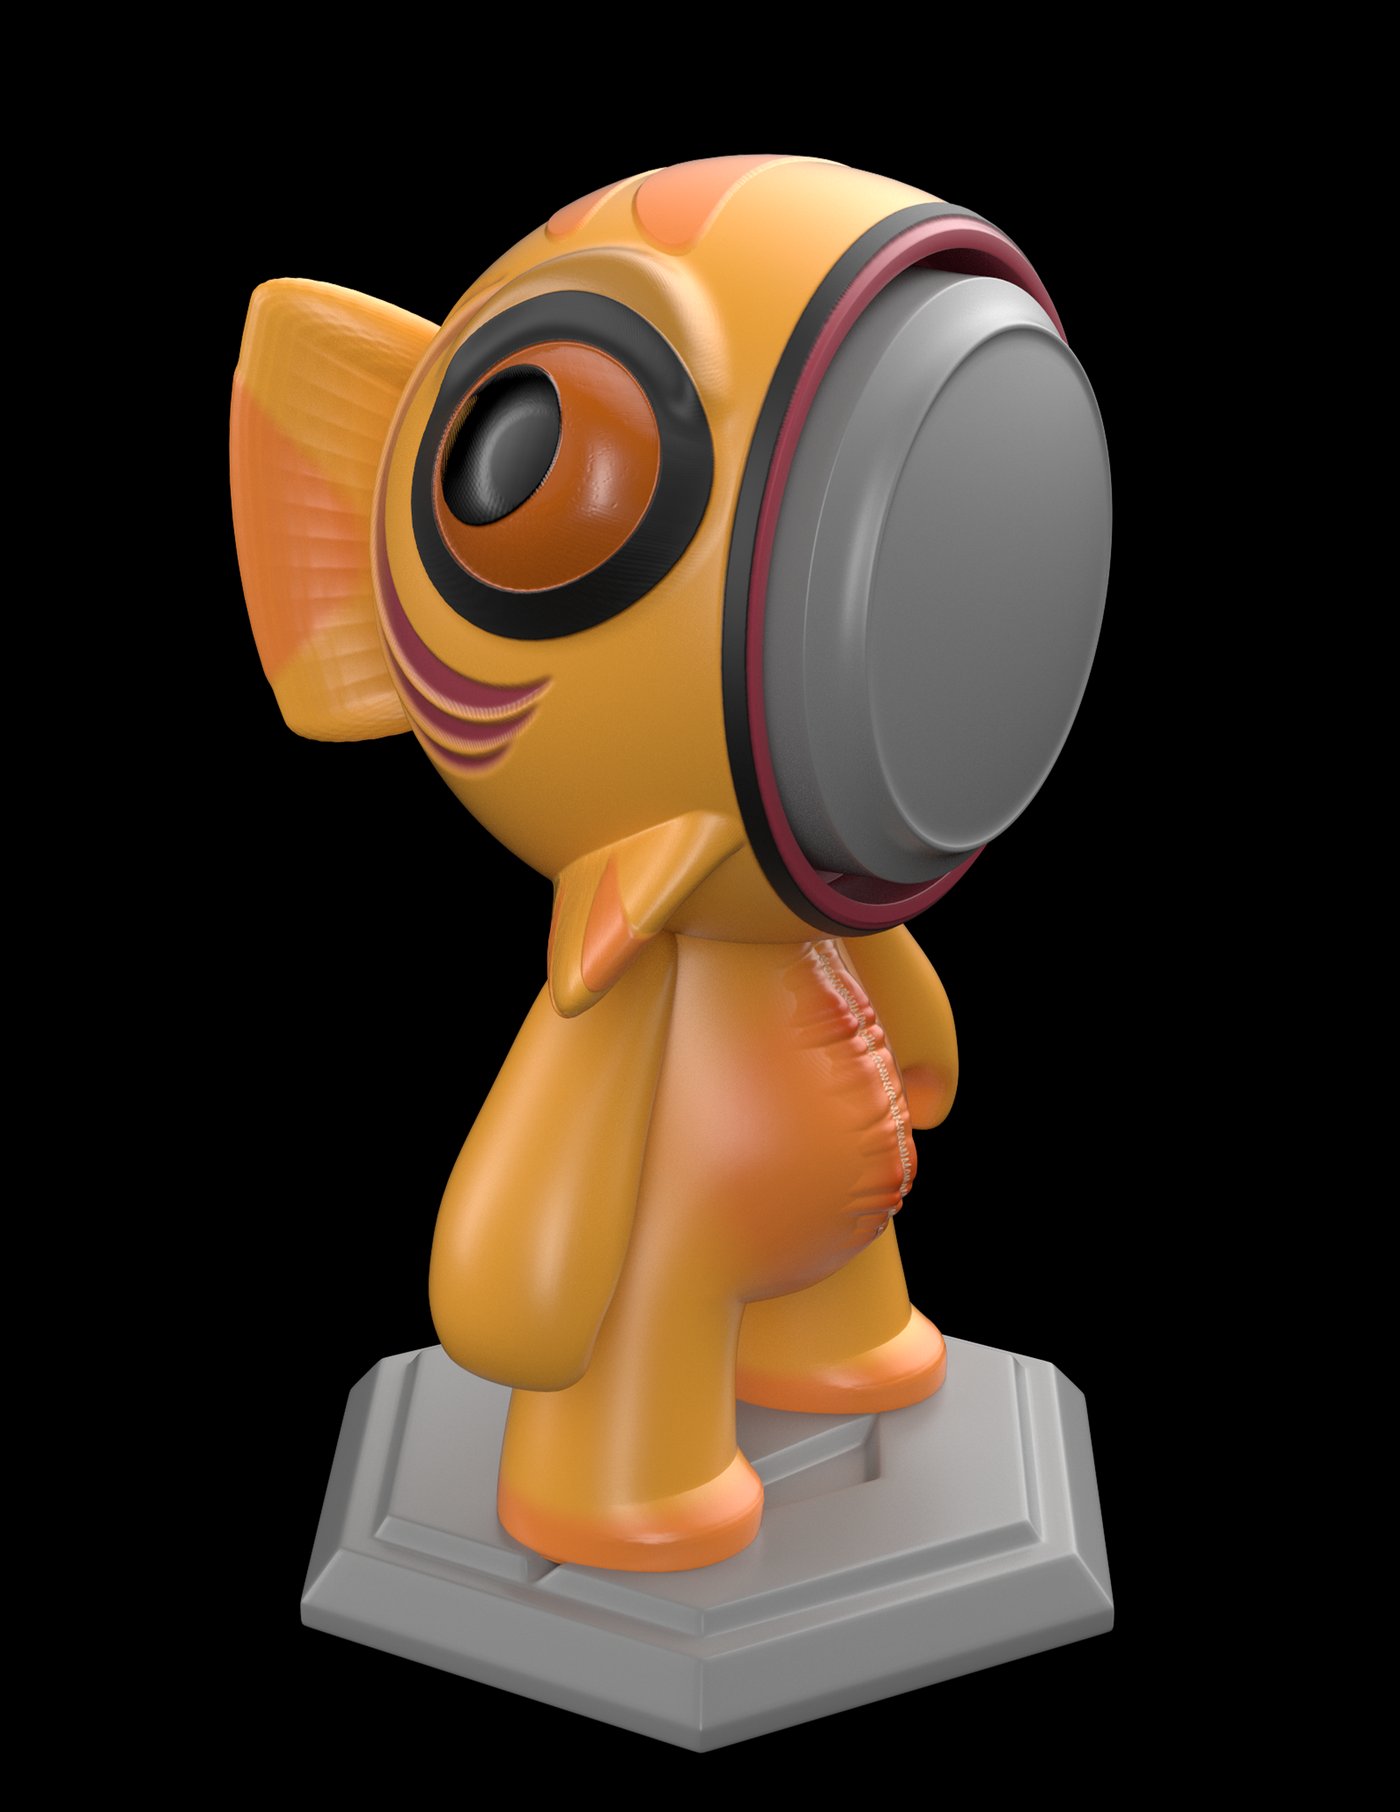
That's when I started with the Fish one, and actually I really liked it, I thought it was the chosen one, but suddenly I thought it wouldn't have such a big impact at the end. So once again, I started over.
Although the references are pretty cute, I wasn't sure with the results I was getting in practice.
Update - 19 Dec 2023
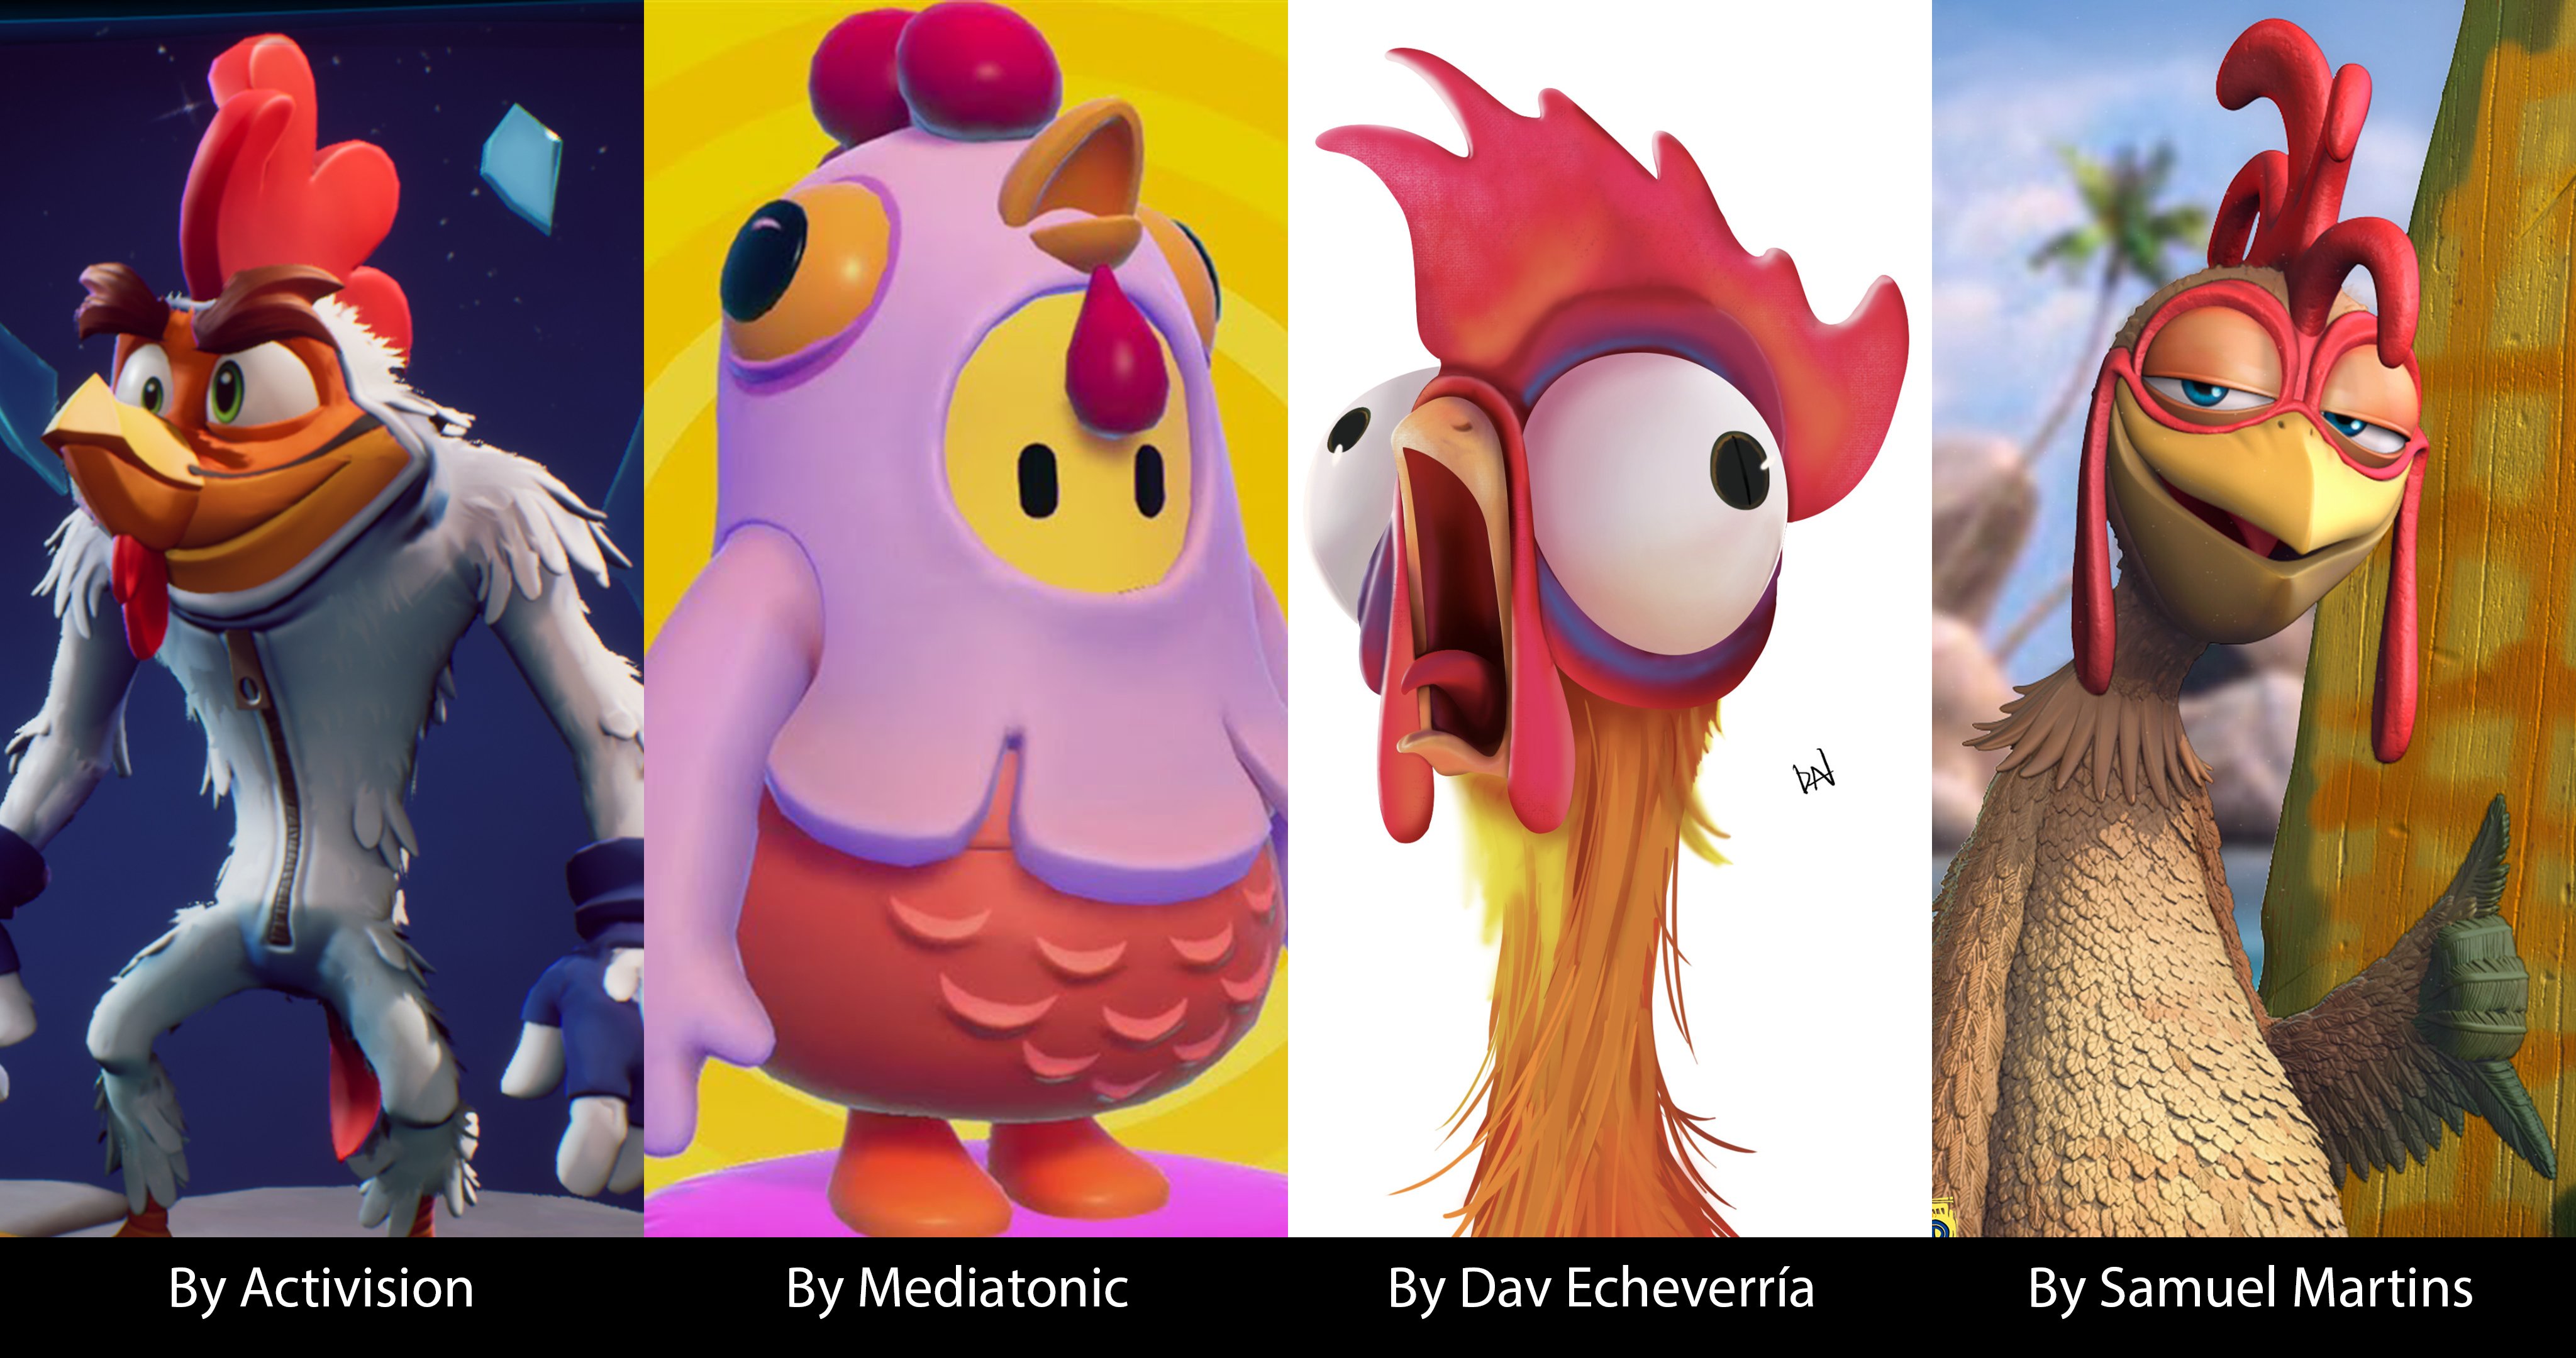
Initially I looked for bunch of different references because honestly , I didn't know what to do. But I was sure I wanted something cute, something catchy and understandable at first sight. That's when I made a mood board.
I decided to develop the project from start to finish and later, create the Entry and upload the Updates in a more organized manner. So at this point, I already have a complete product.


Comments (0)
This project doesn't have any comments yet.