
Nitit Premjaicheun - Character Art 2023
I’m Nitit Premjaicheun, a digital artist from Thailand with a passion for creating 3D characters. Currently, I’m studying at Gnomon School of Visual Effects, Games and Animation
Nitit Premjaicheun - Character Art 2023
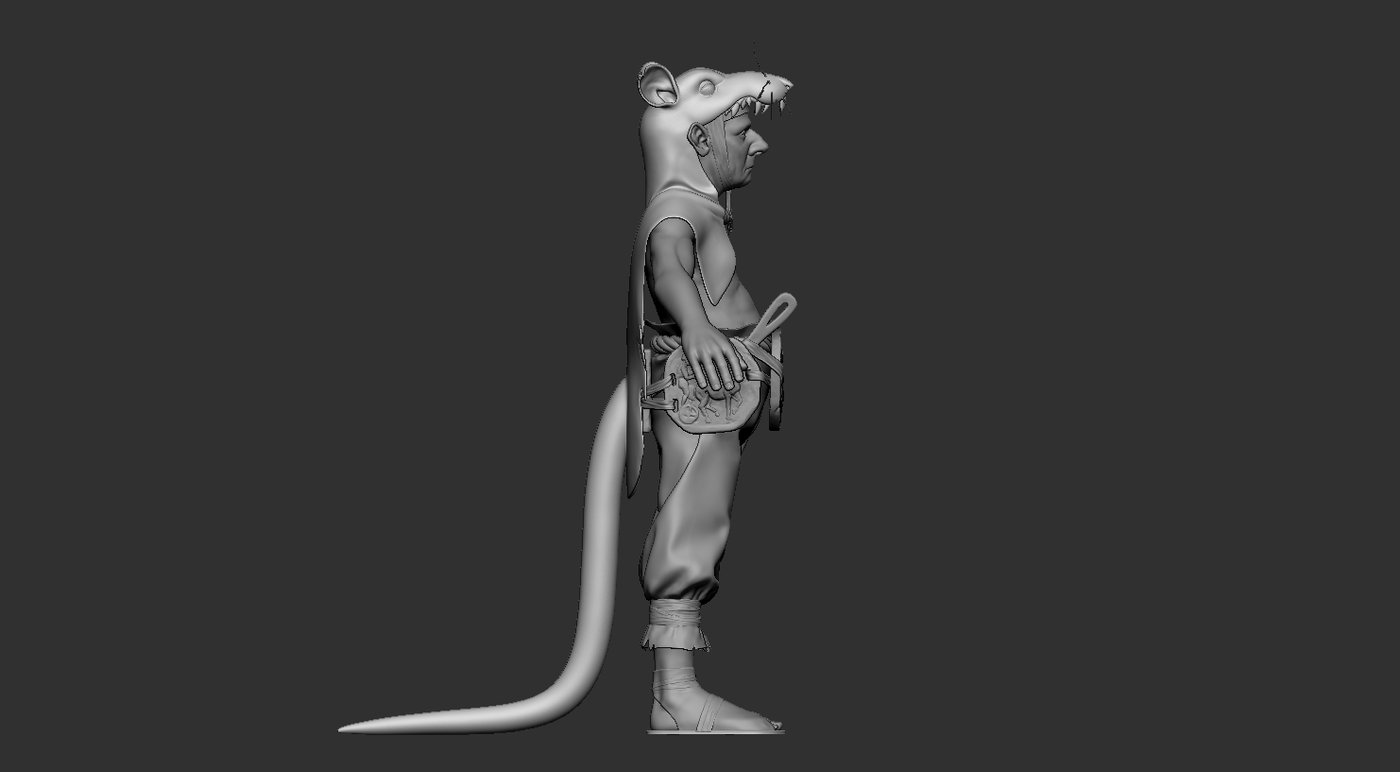
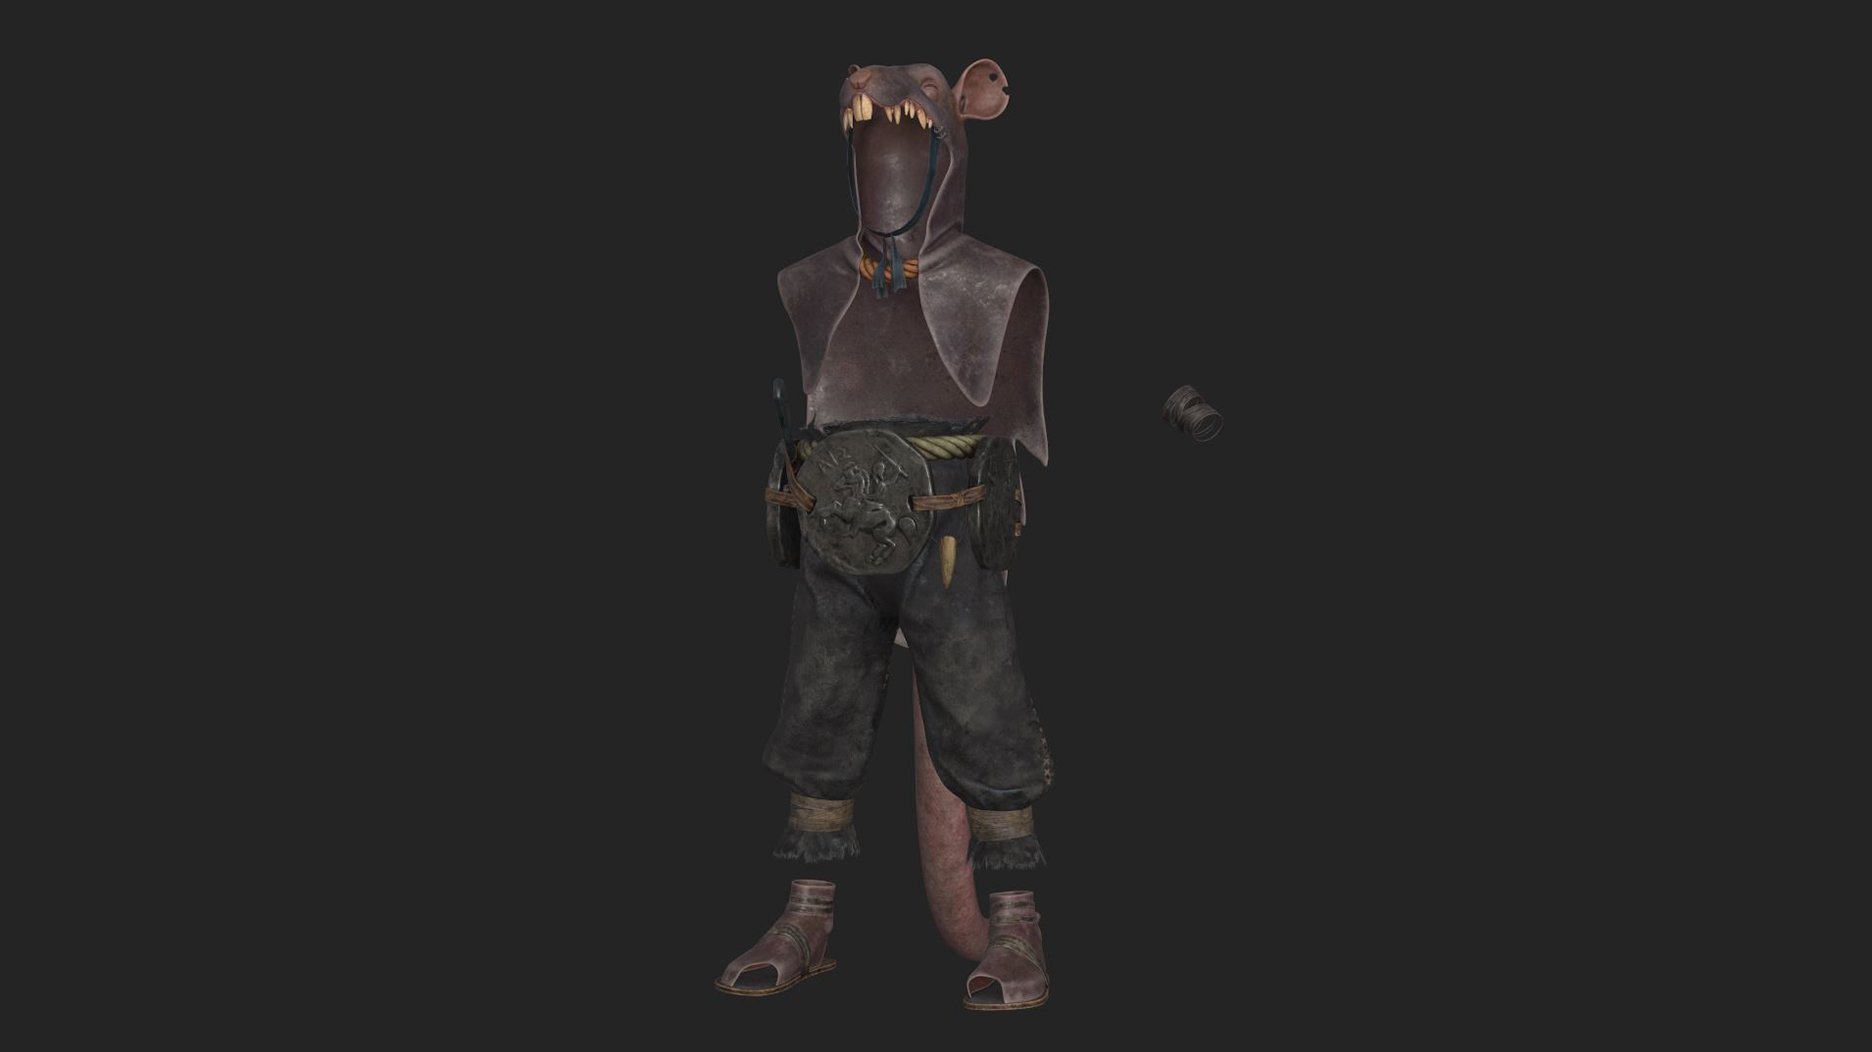
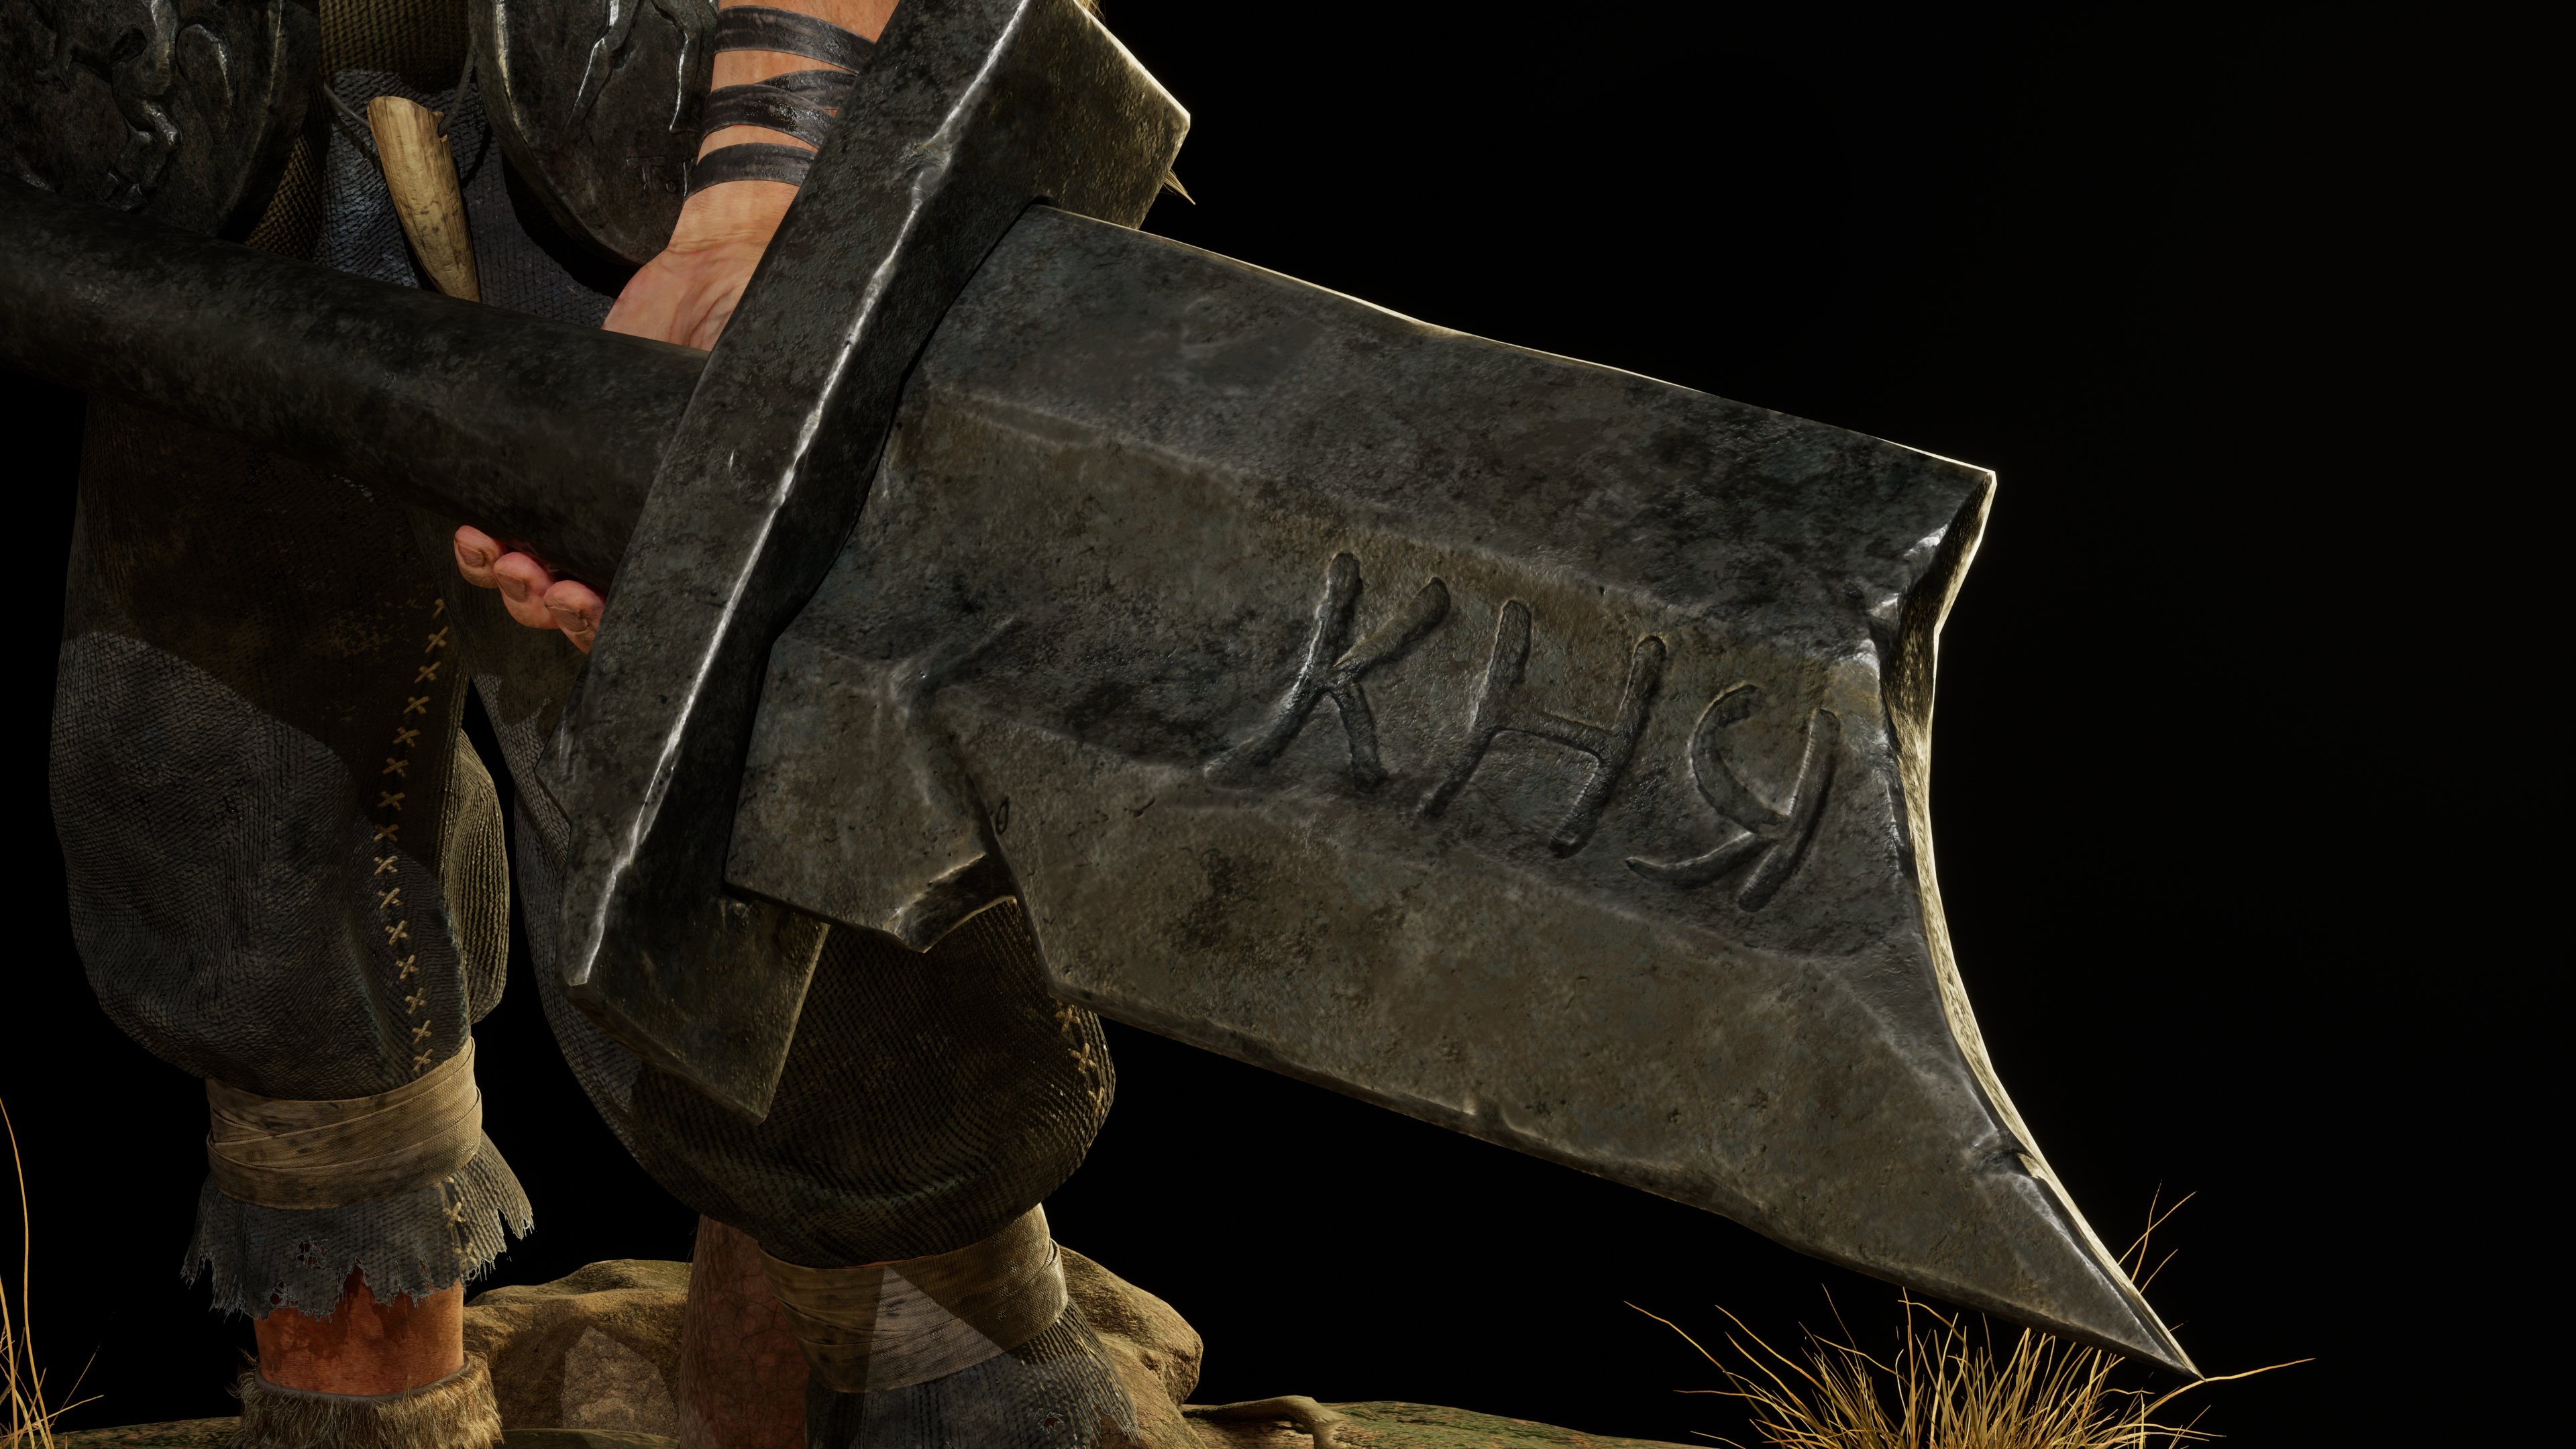
Ratcatcher
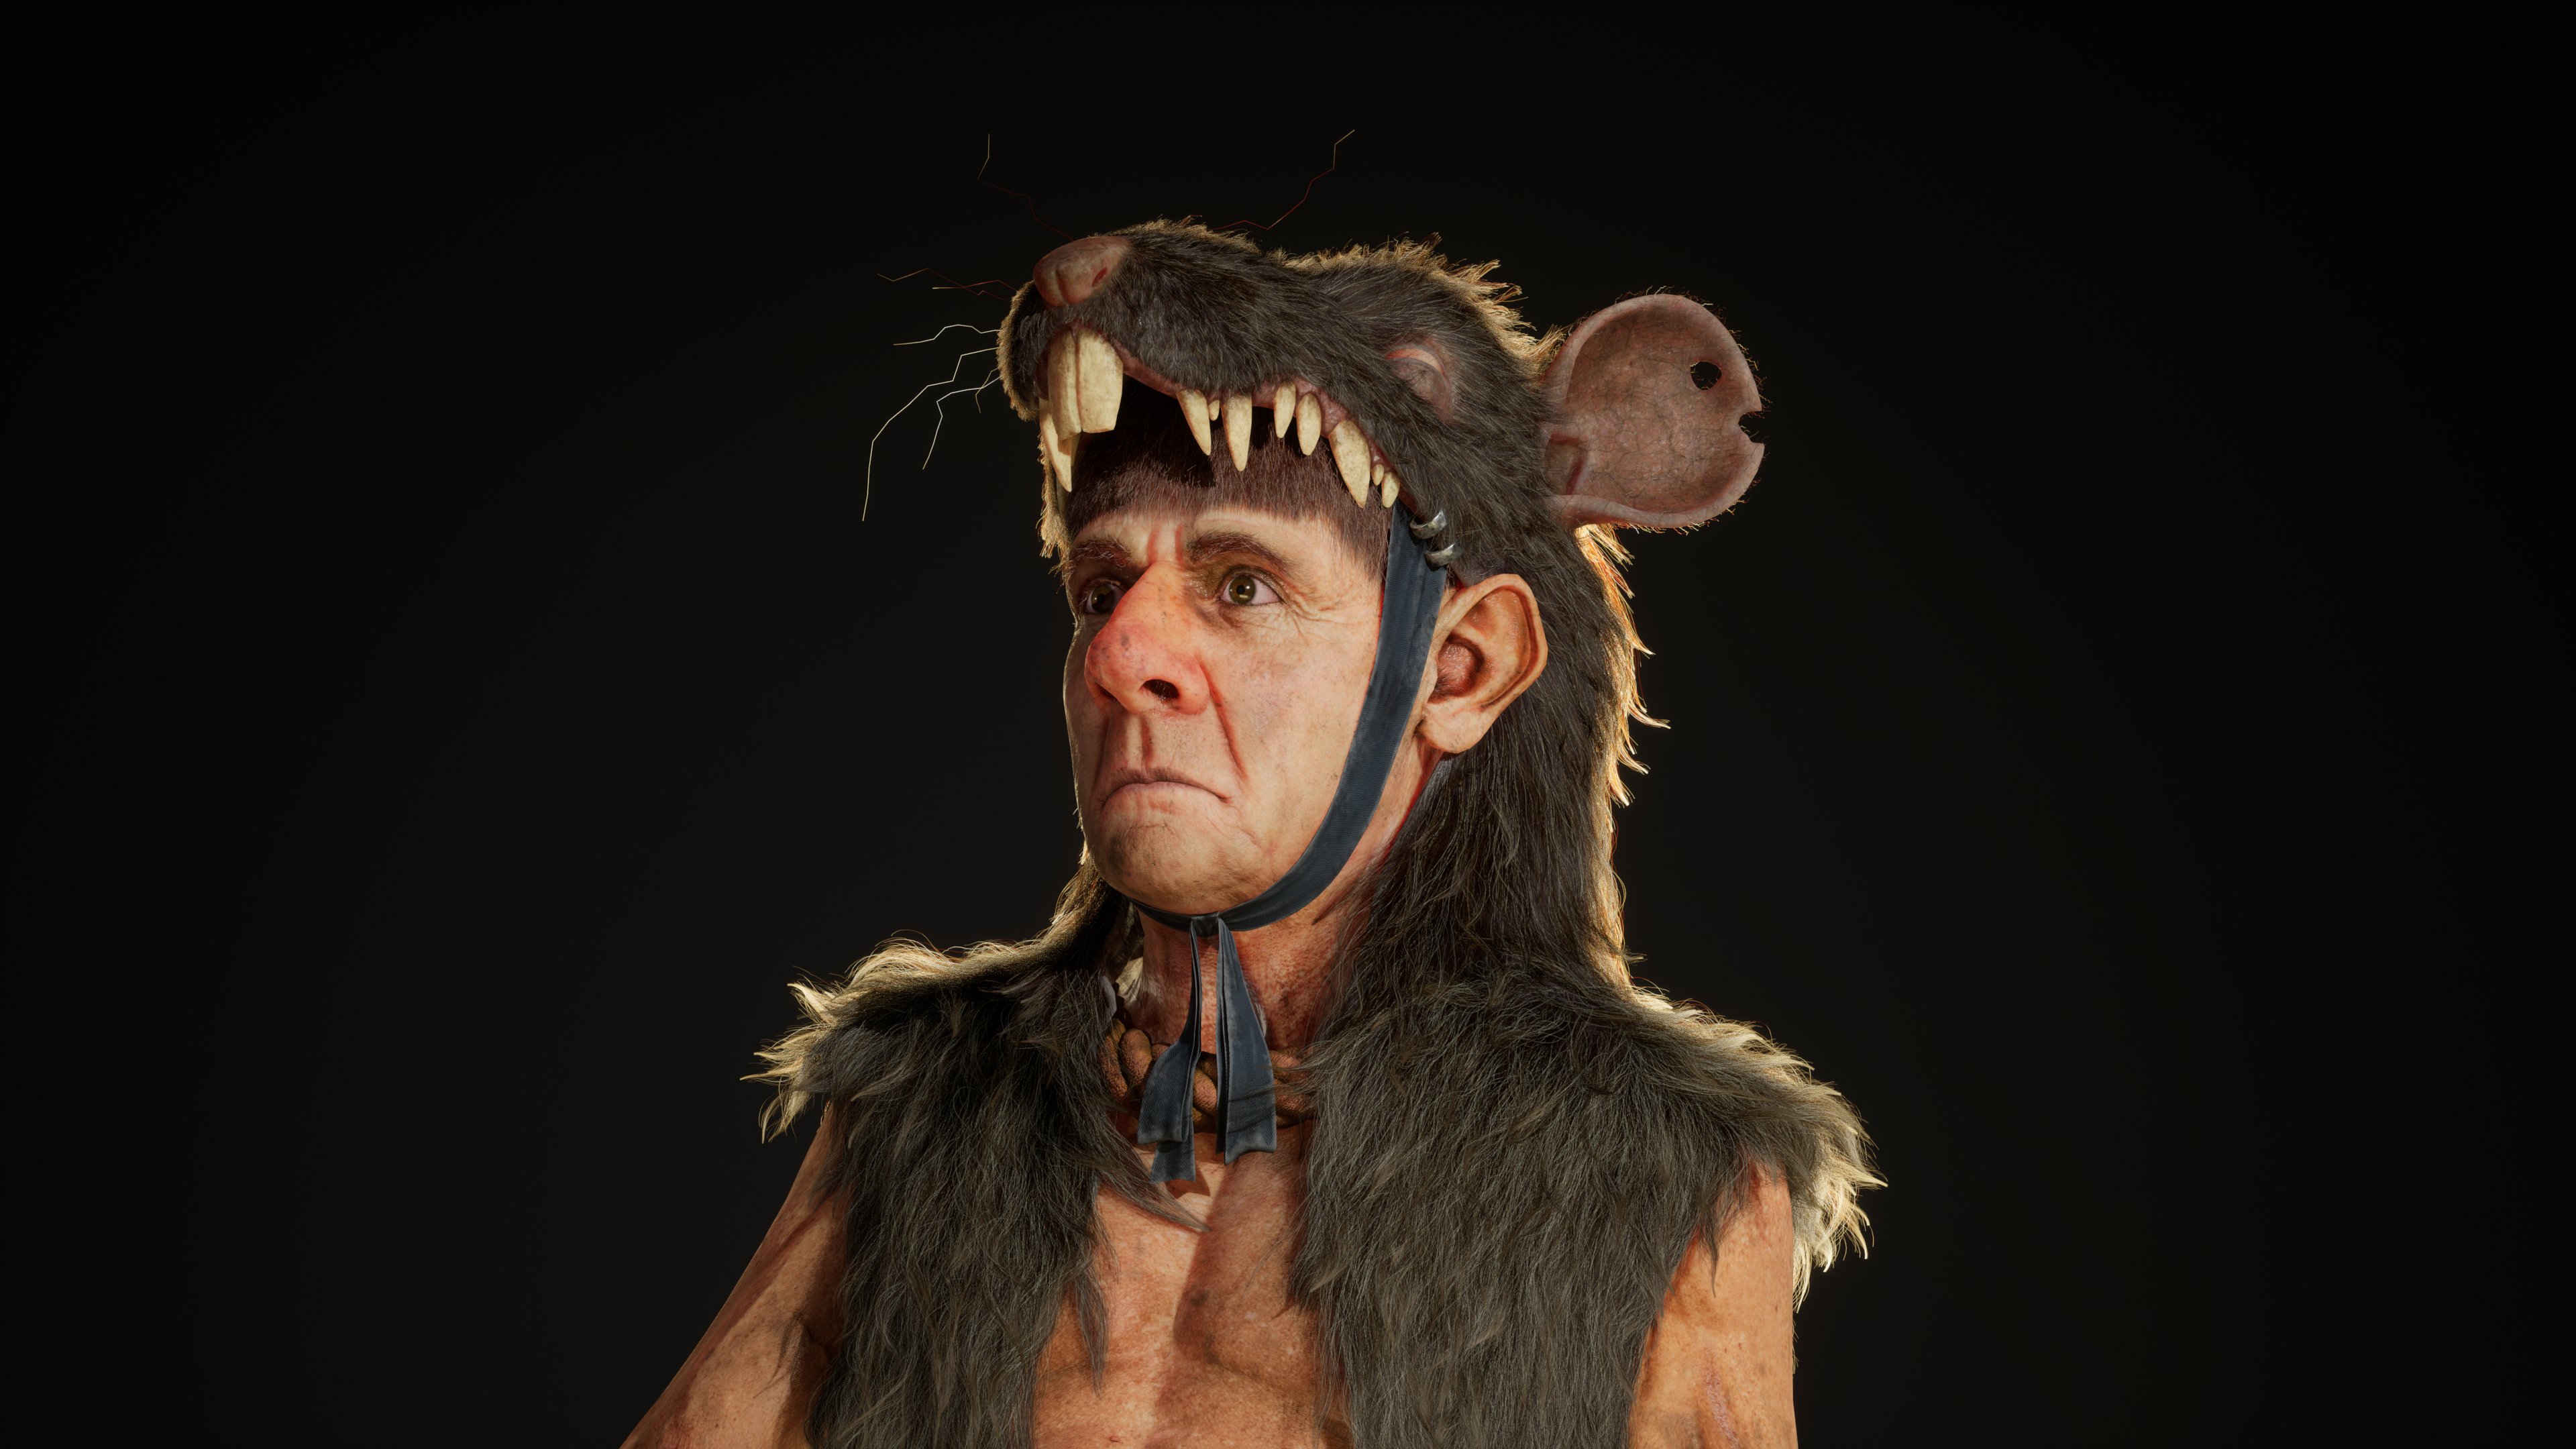


Concept by Tony Sart

I usually create characters for pre-render pipeline. The Ratcatcher project was my first real-time character. My goal was to learn the pipeline and create a character that is as close to a game-ready asset as possible.
Breakdown
In the first stage I spend a lot of time understanding the concept and planning my work process. This will save a lot of time in the modeling process.

This stage is also a good place to gather and set the art style. For me, it’s not just about gathering realistic images but it’s also good to have some 3D art references so that I can learn how other artists approach their masterpieces.

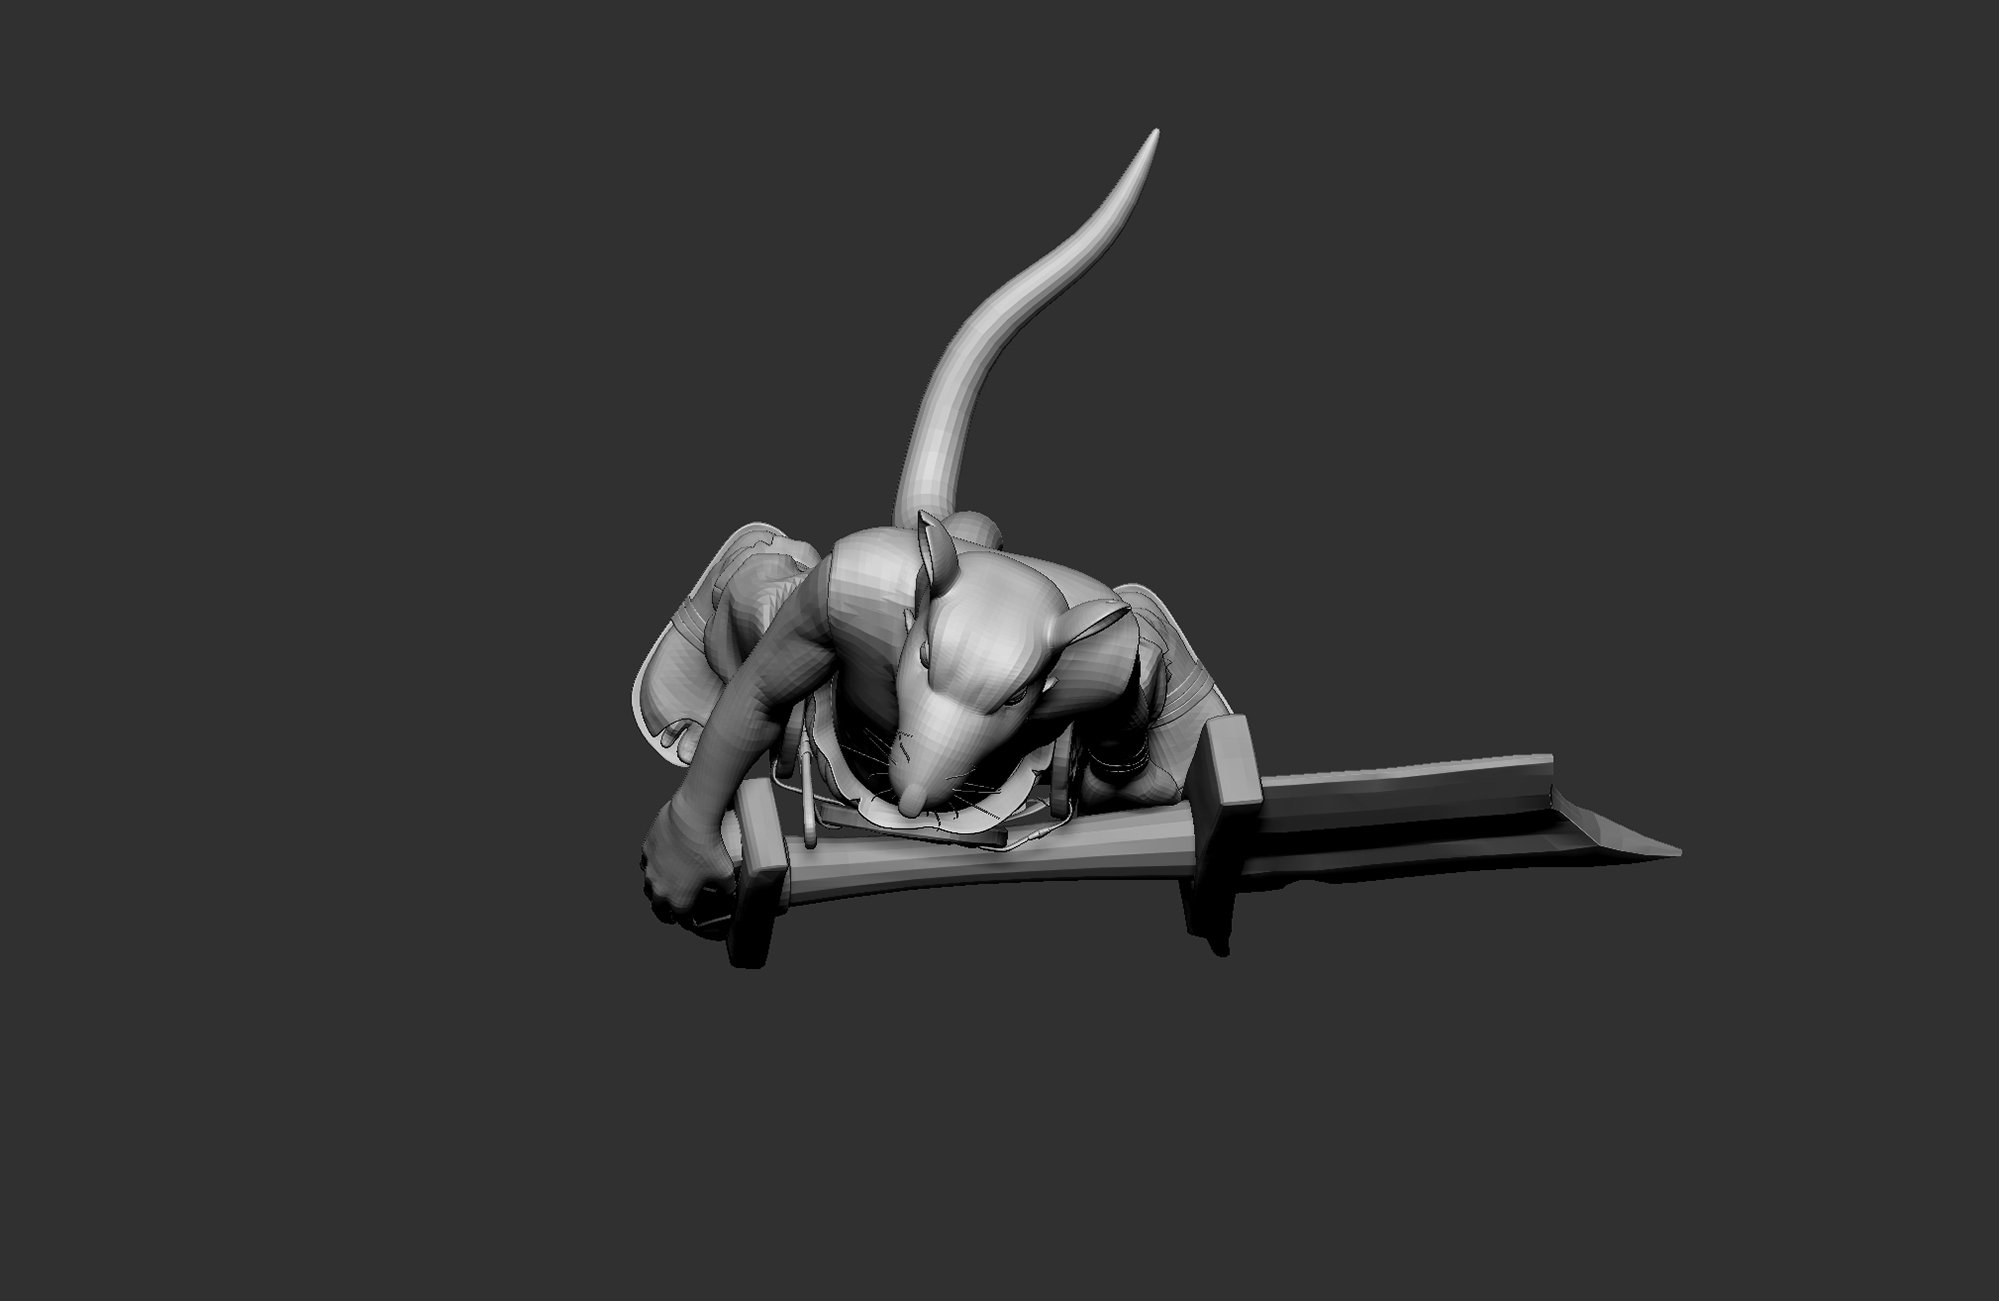
Blockout
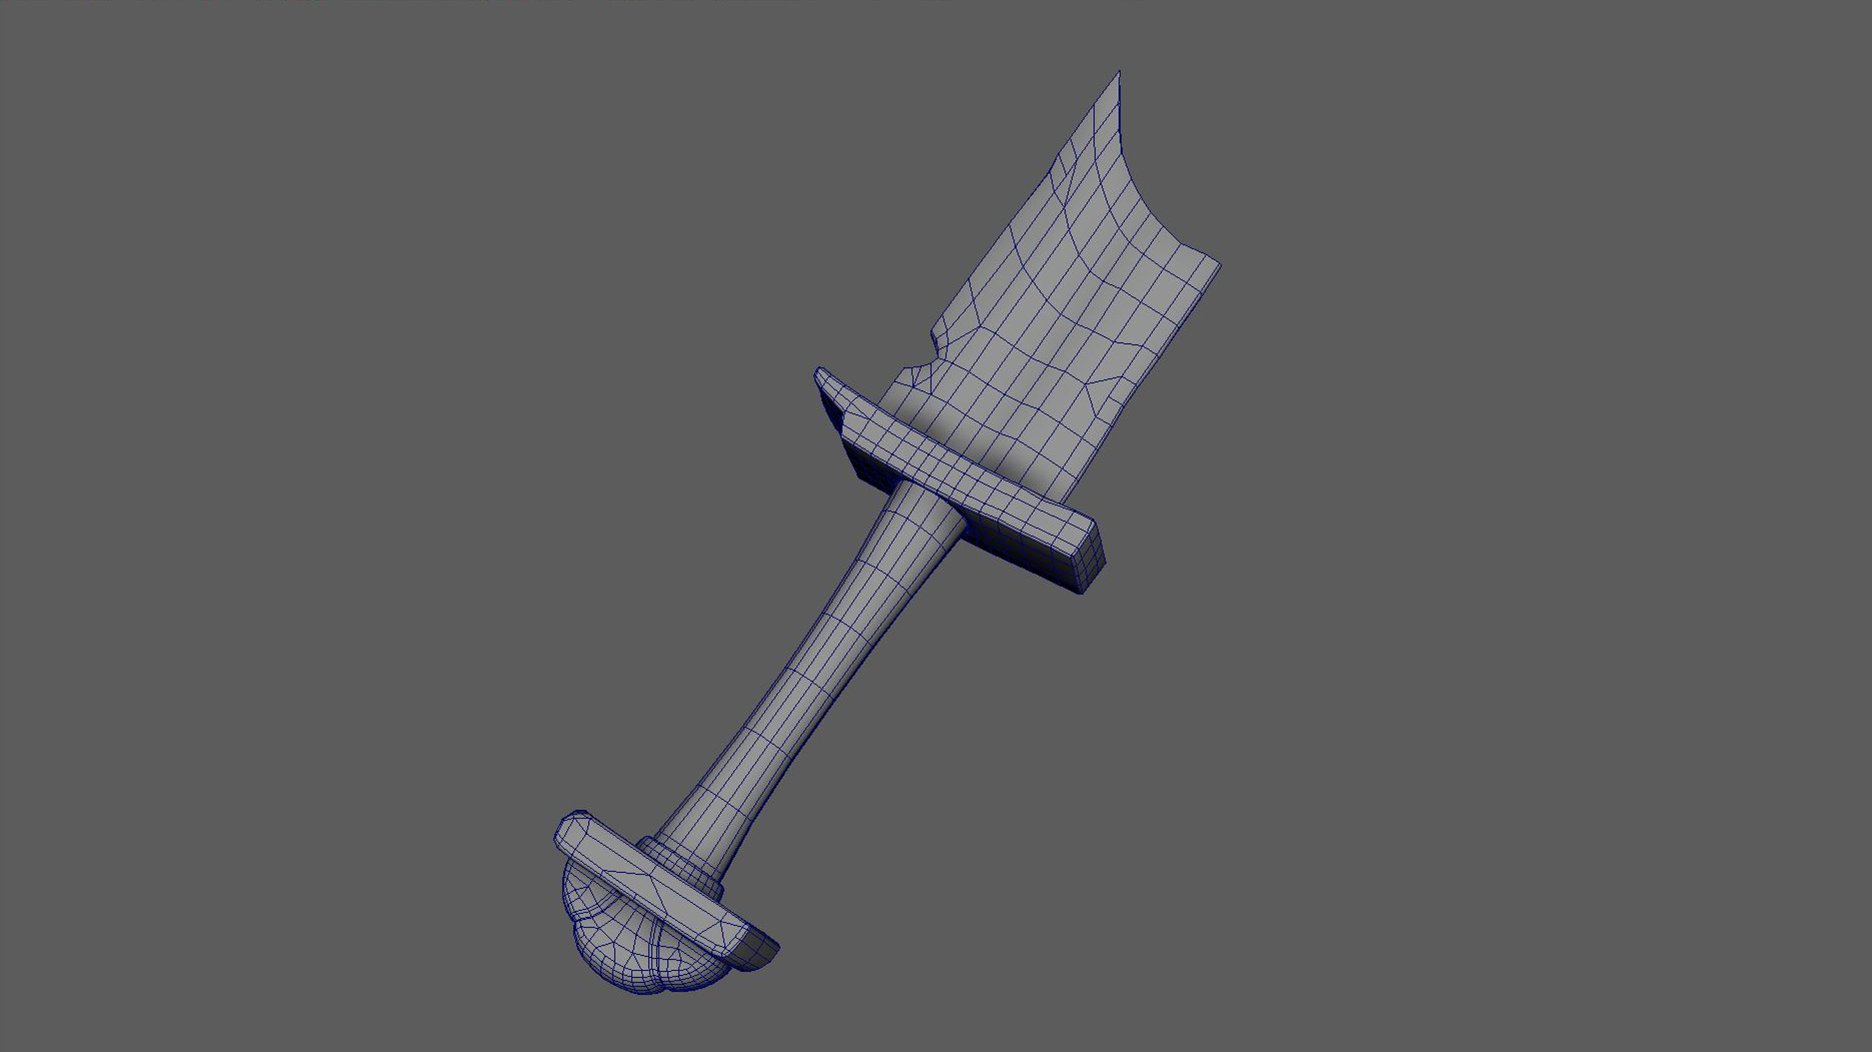
For this project, I started with a base mesh and a bunch of primitive shapes to find the proportions. This step is important because we need to understand the silhouette of the character.
I like to keep the block out mesh as low as possible because we can reuse it for low poly.


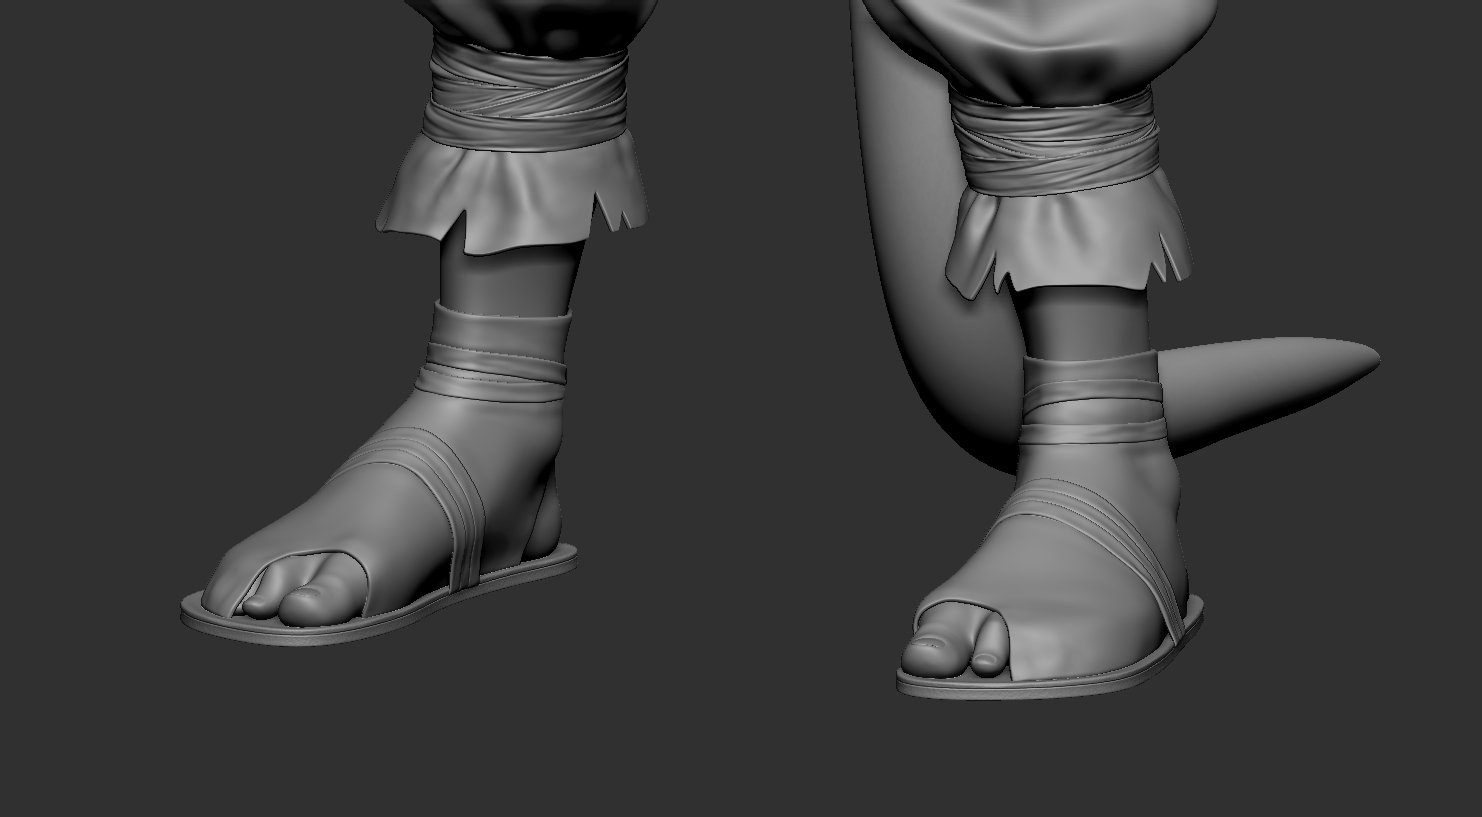
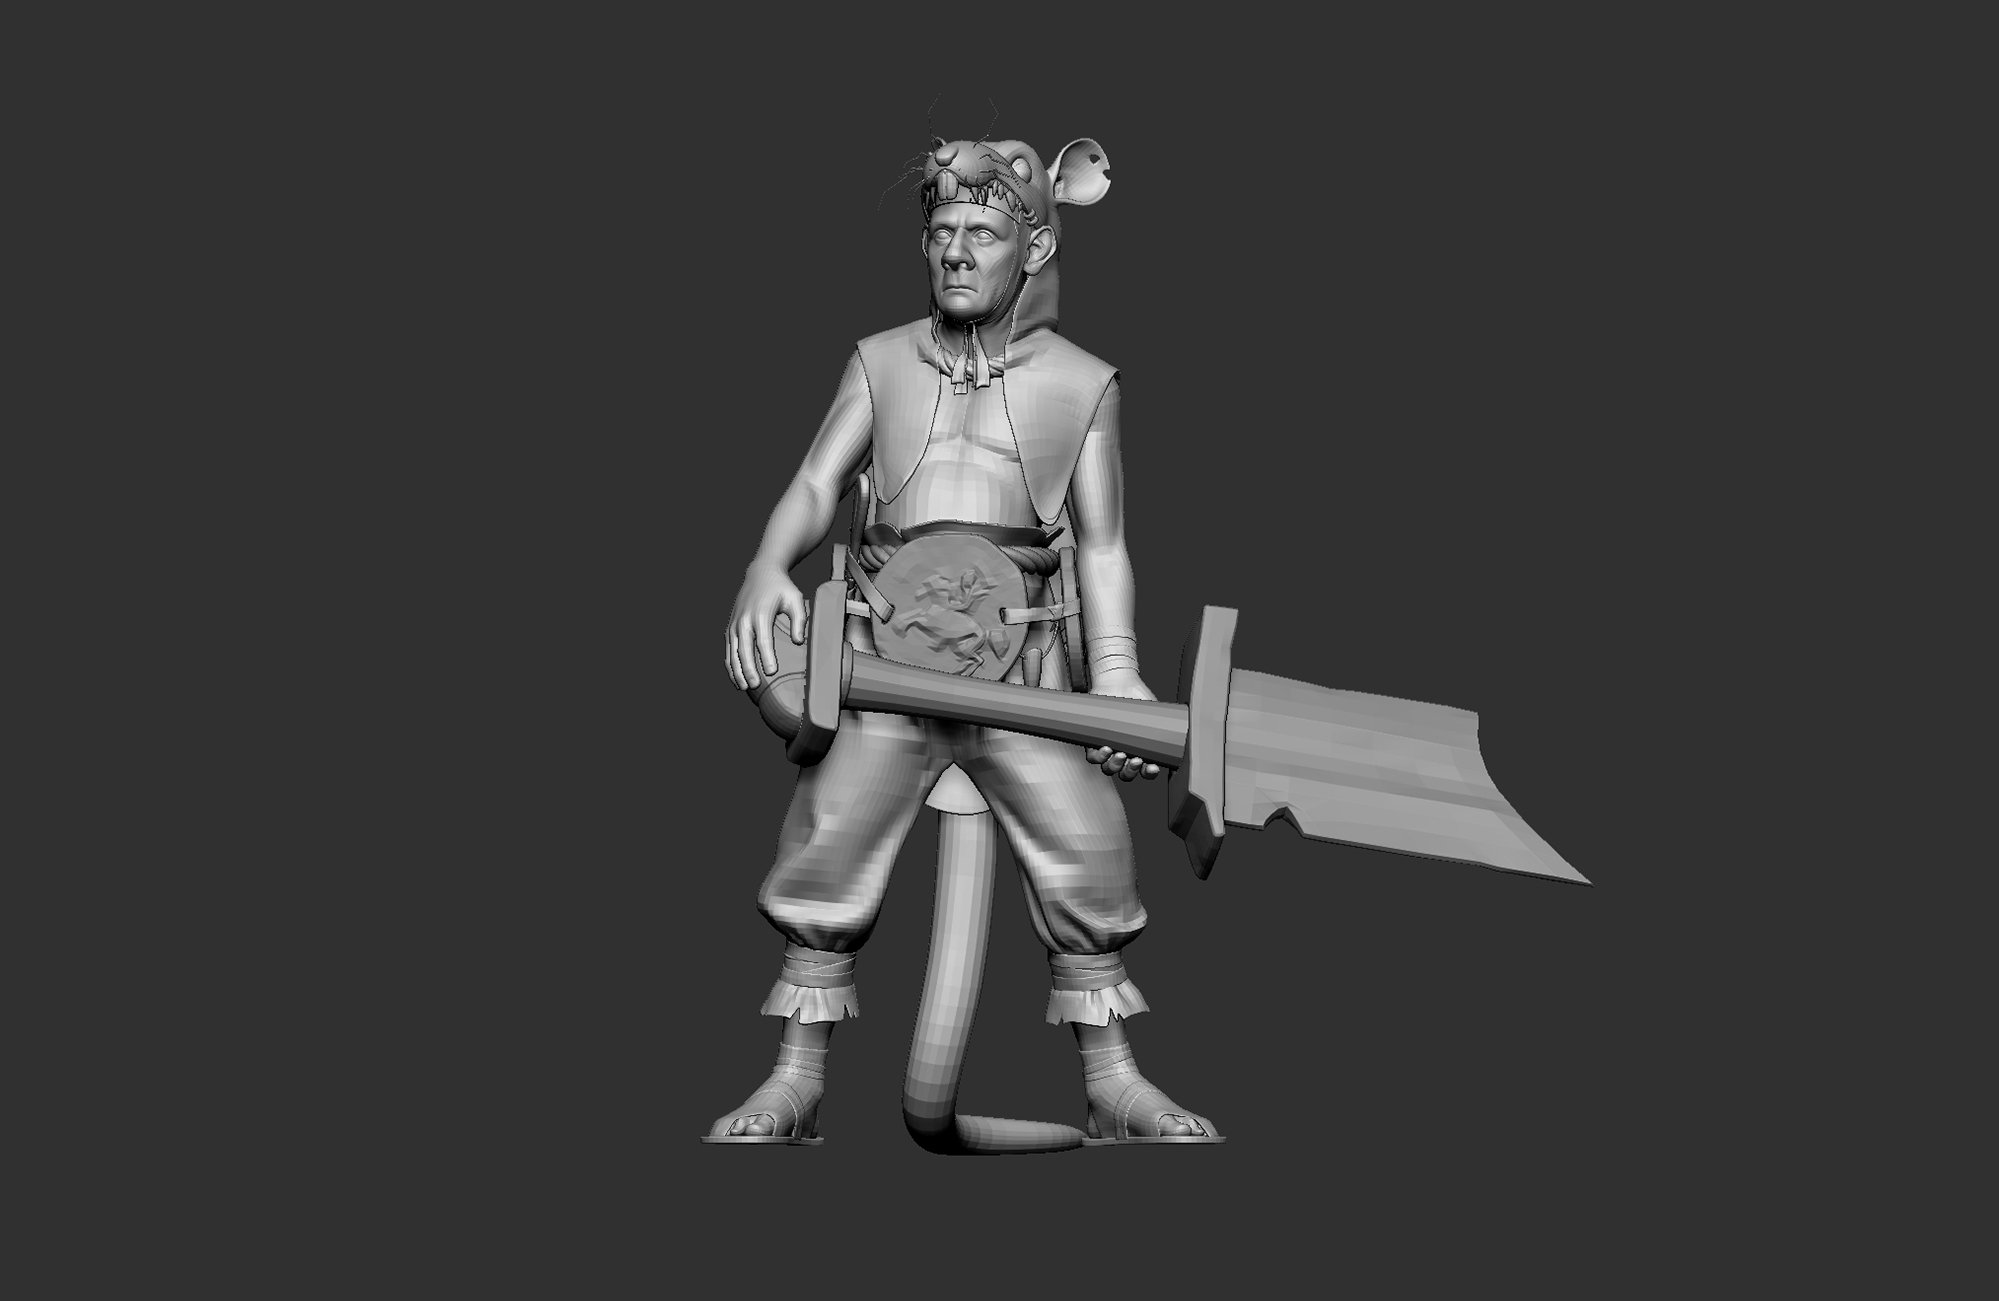
Modeling
My workflow pretty flexible with this stage. I usually bounce between Zbrush and Maya. If the model is more complex, I will spend more time in Zbrush. I find it easier to work in Maya for simple props.


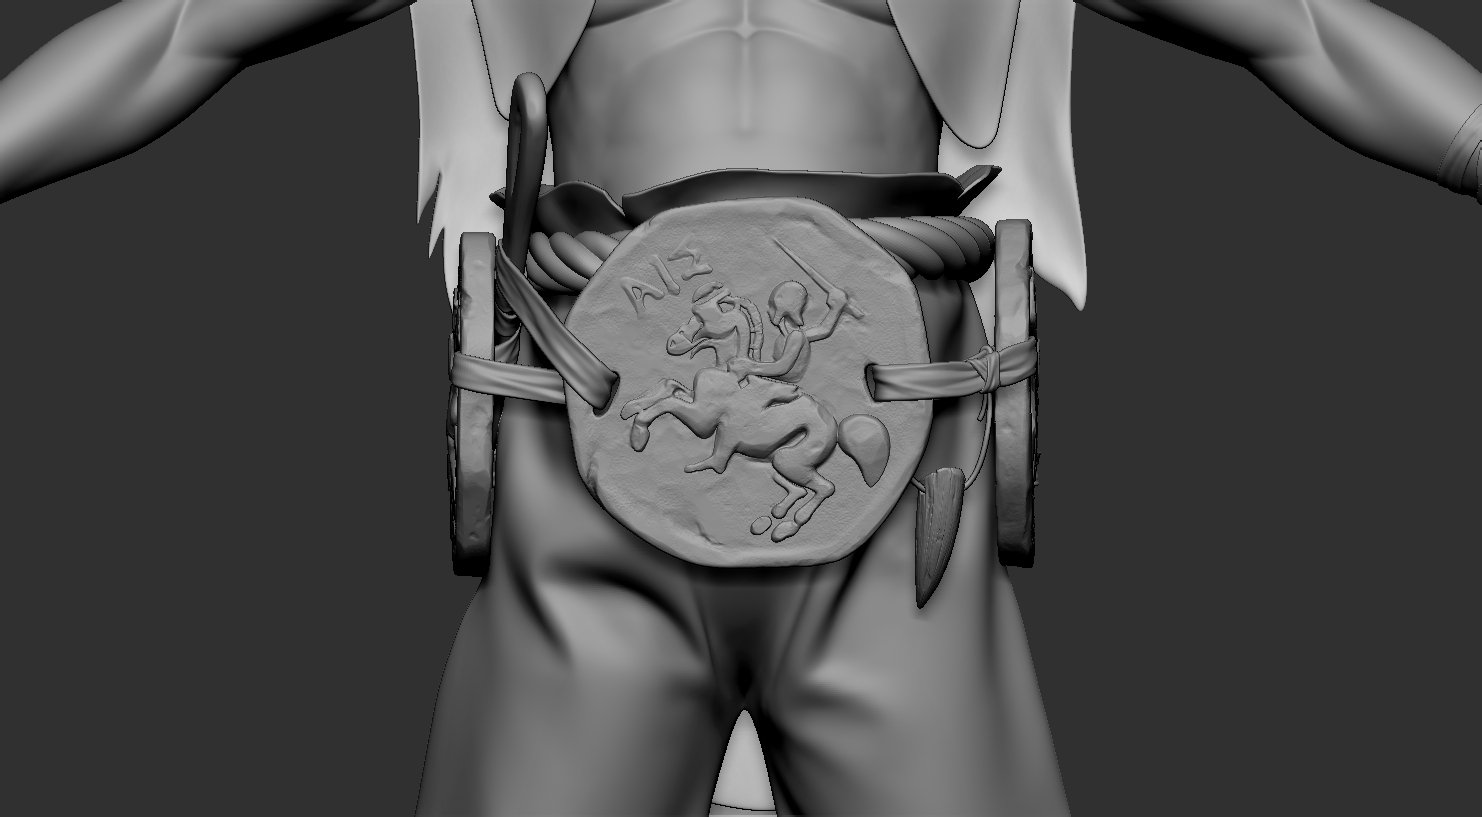
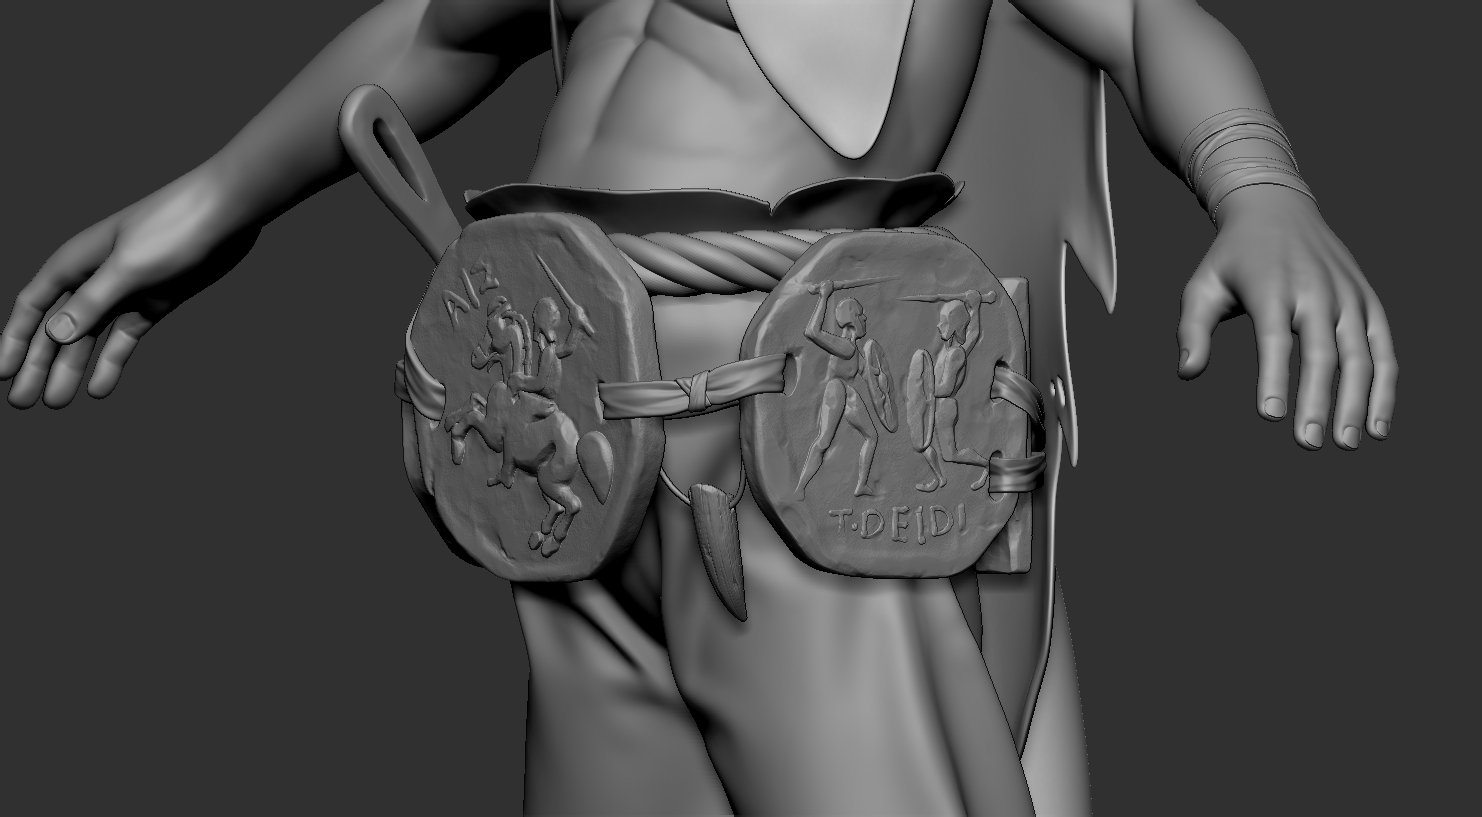
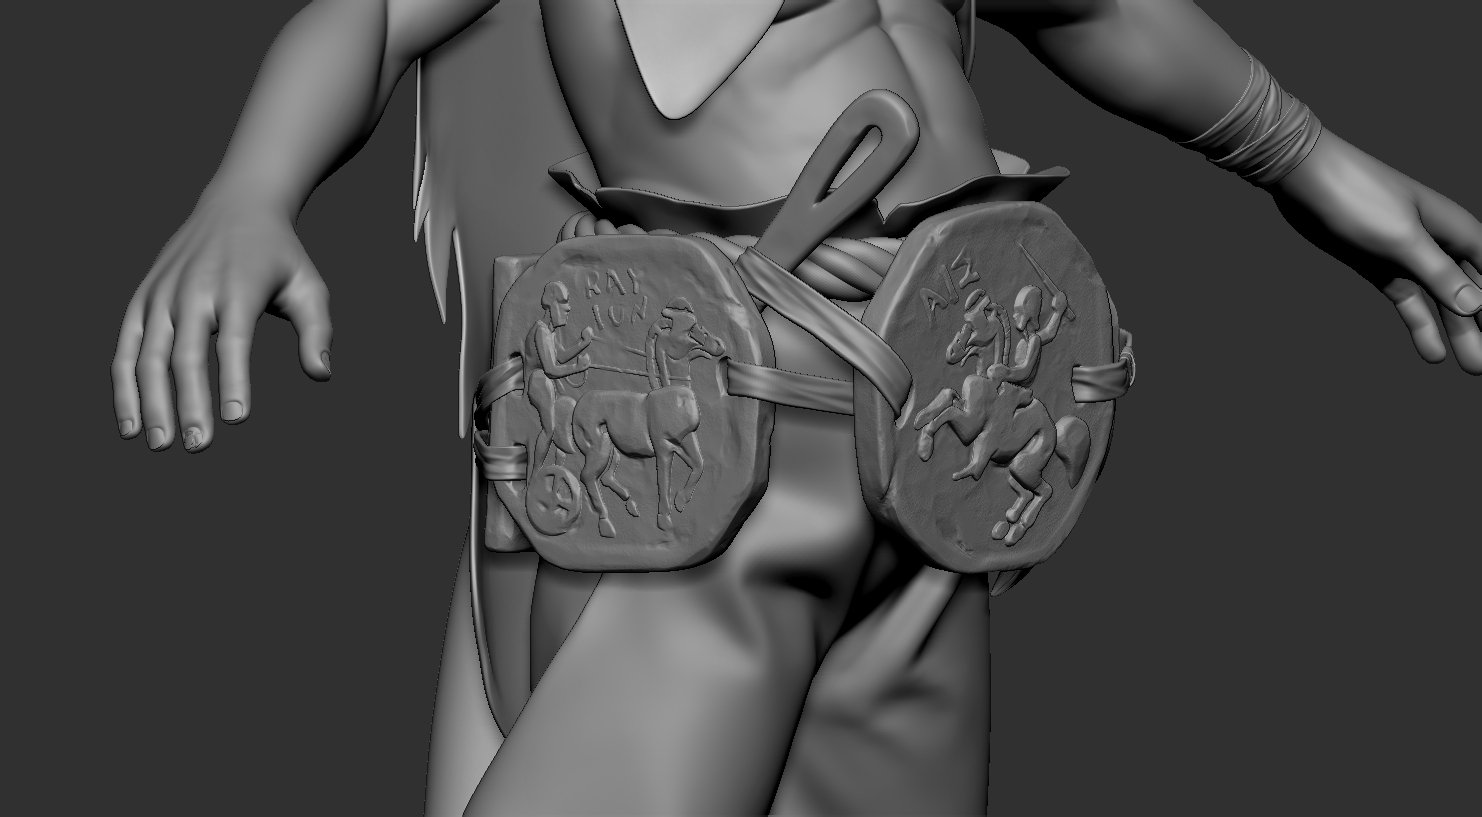
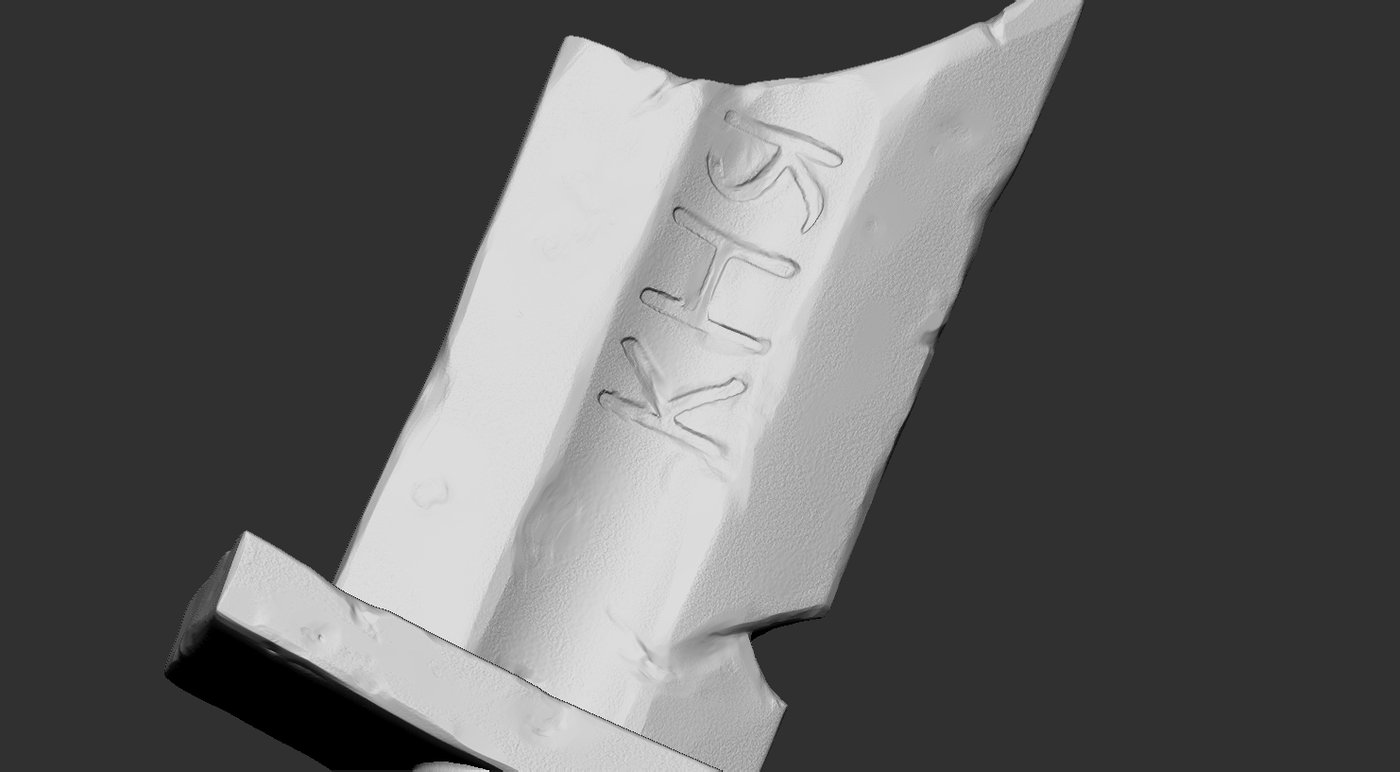
Once I am happy with the proportion and secondary details, I bring all of my assets to Zbrush to add tertiary detail.
For this step the most important functions are layer and subdivision. I used noise surface and alpha to create details. I like to add some storytelling on my character such as scratch damage or imperfections. This will enhance storytelling of the character when I move on to texturing.


Baking
I prefer to put Low and High Poly (Decimated) in Maya because it’s easier to organize and clean-up my assets. I renamed all the Low and High Poly assets for texturing as I usually use matching by Mesh name for baking setting.


Texturing
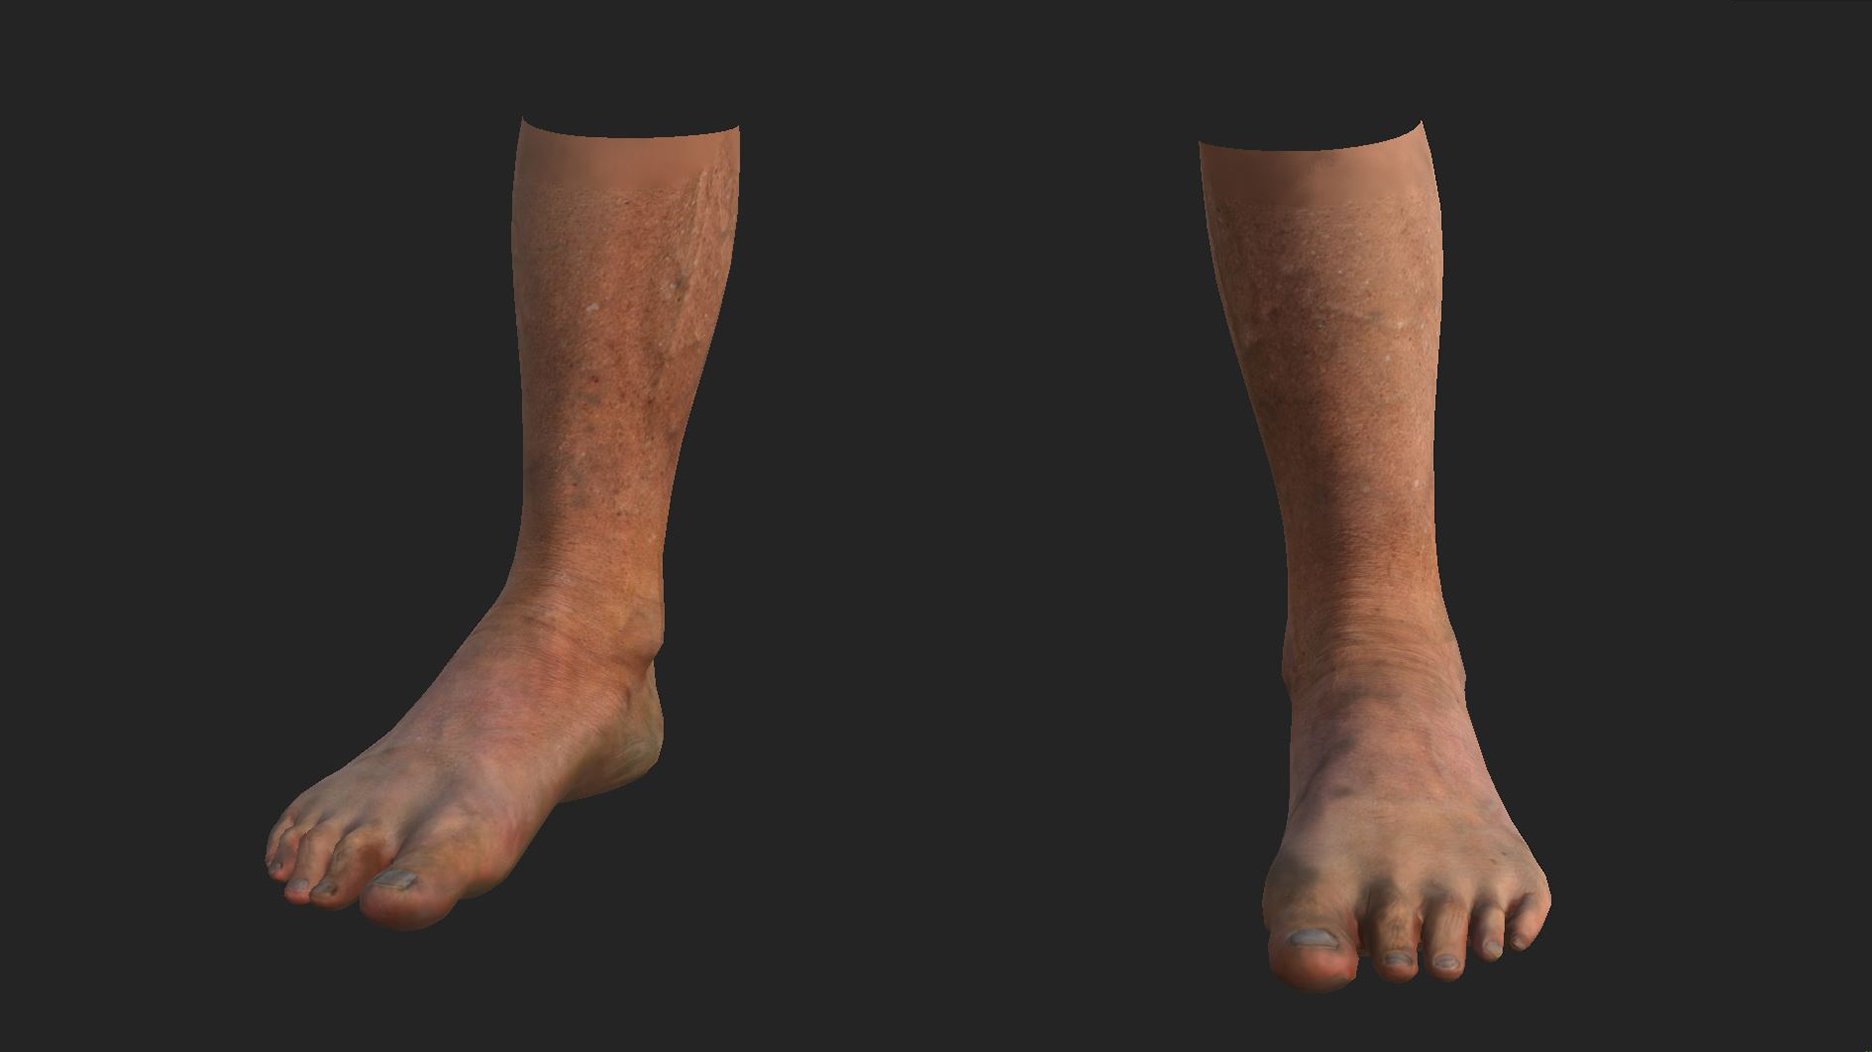
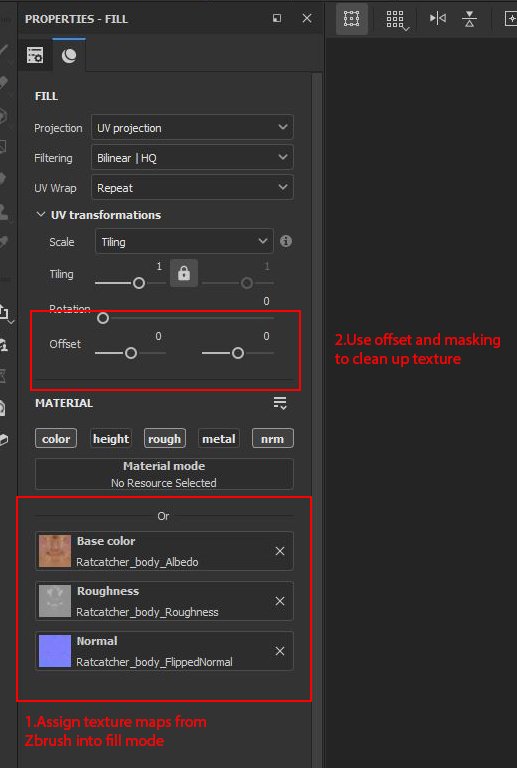
For the skin, I used texture maps from 3dscanstore and transferred the texture to my mesh using ZWrap. Sometimes the texture maps aren't lined up perfectly. I cleaned it up in Substance Painter by assigning all the maps from Zbrush into the fill layer in Substance Painter. This way, we could line up all the texture maps and clean up by masking.
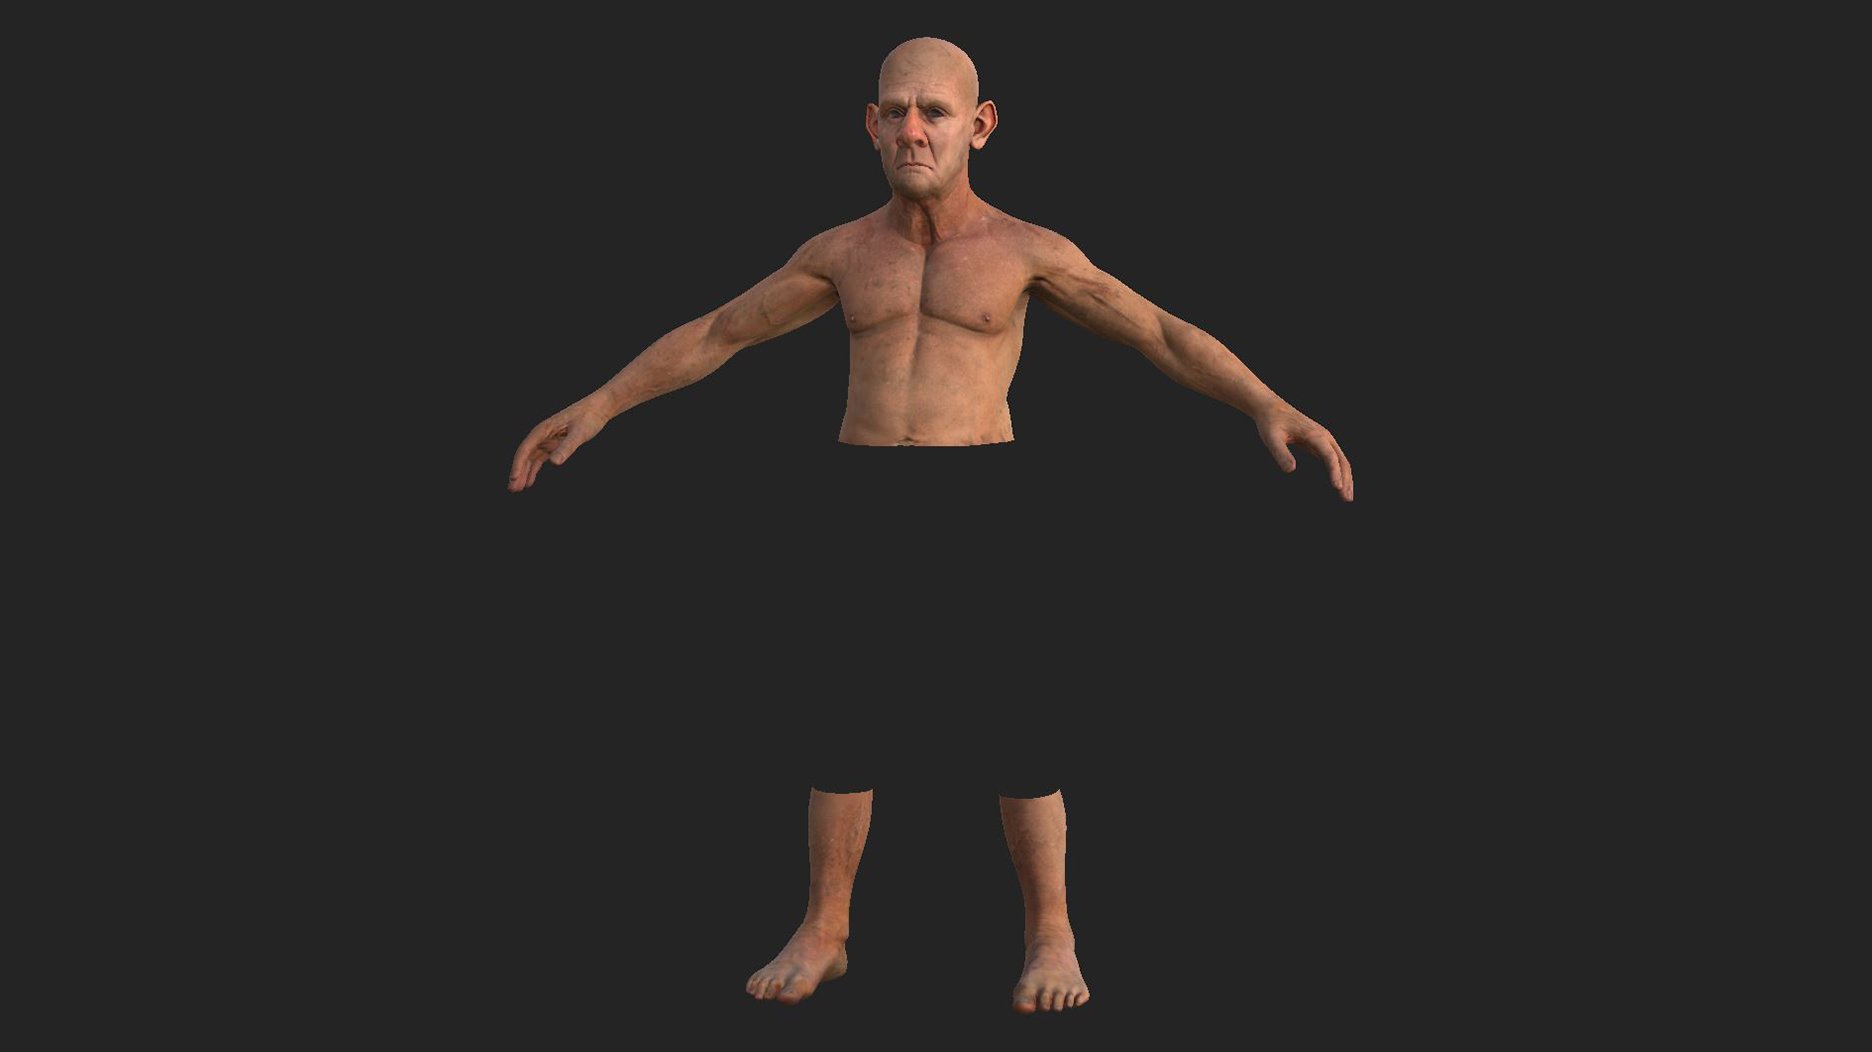


After I cleaned up the skin texture, I refined details such as redness of the blood or dirt.
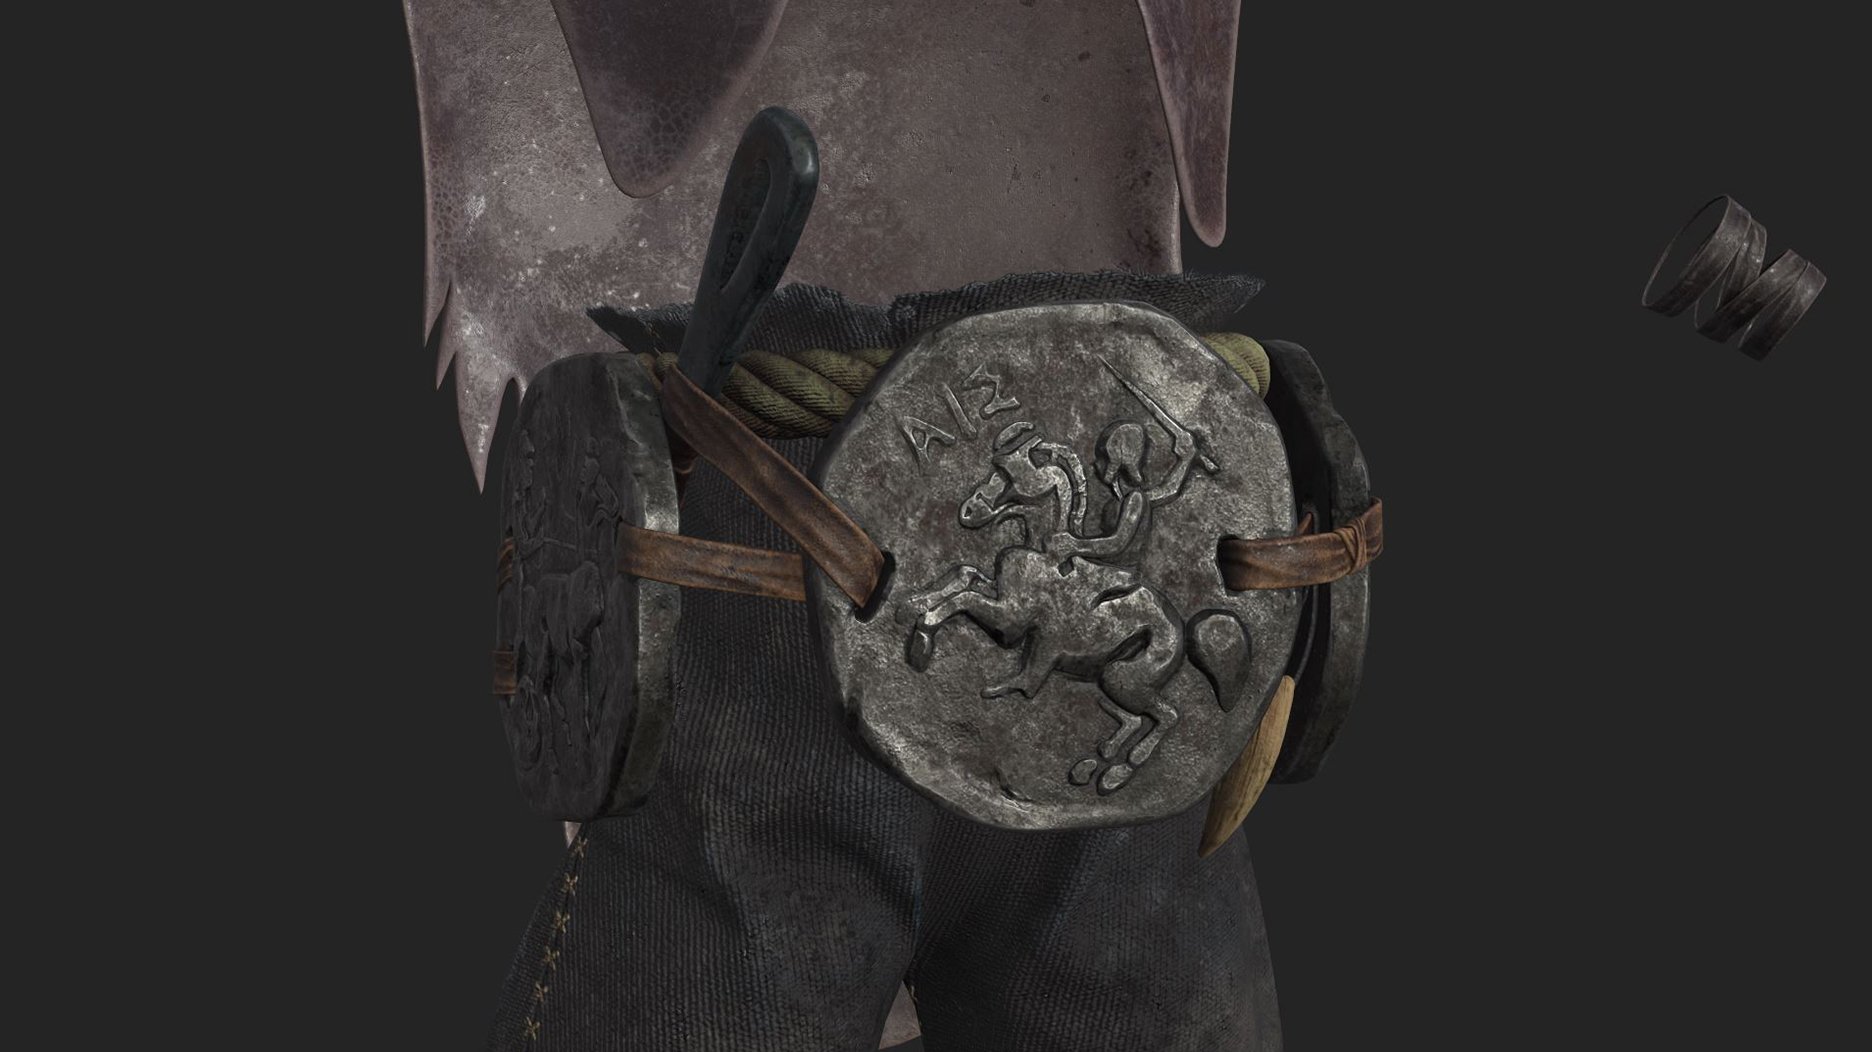
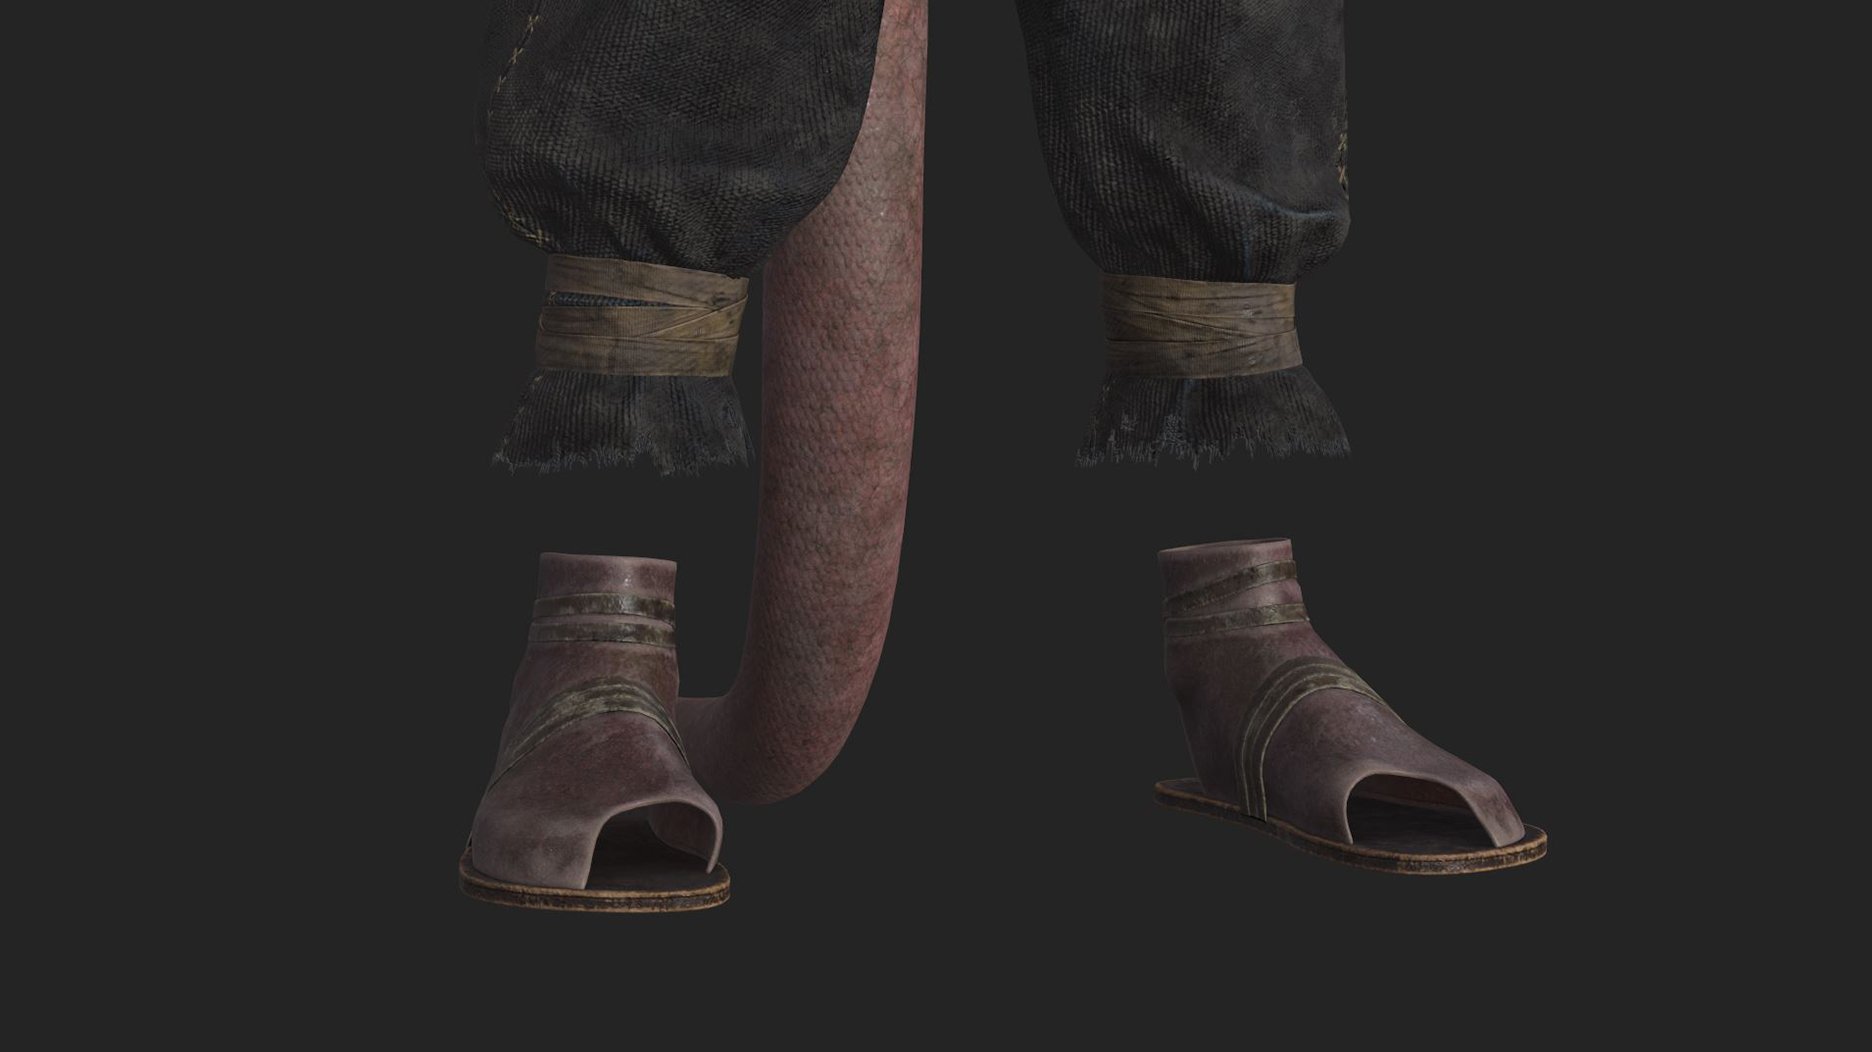
For props, it’s pretty simple. I created a base material and added color variation, dirt, oil, etc.
It’s also a good idea to export our texture maps and test some renders in engine along this process.


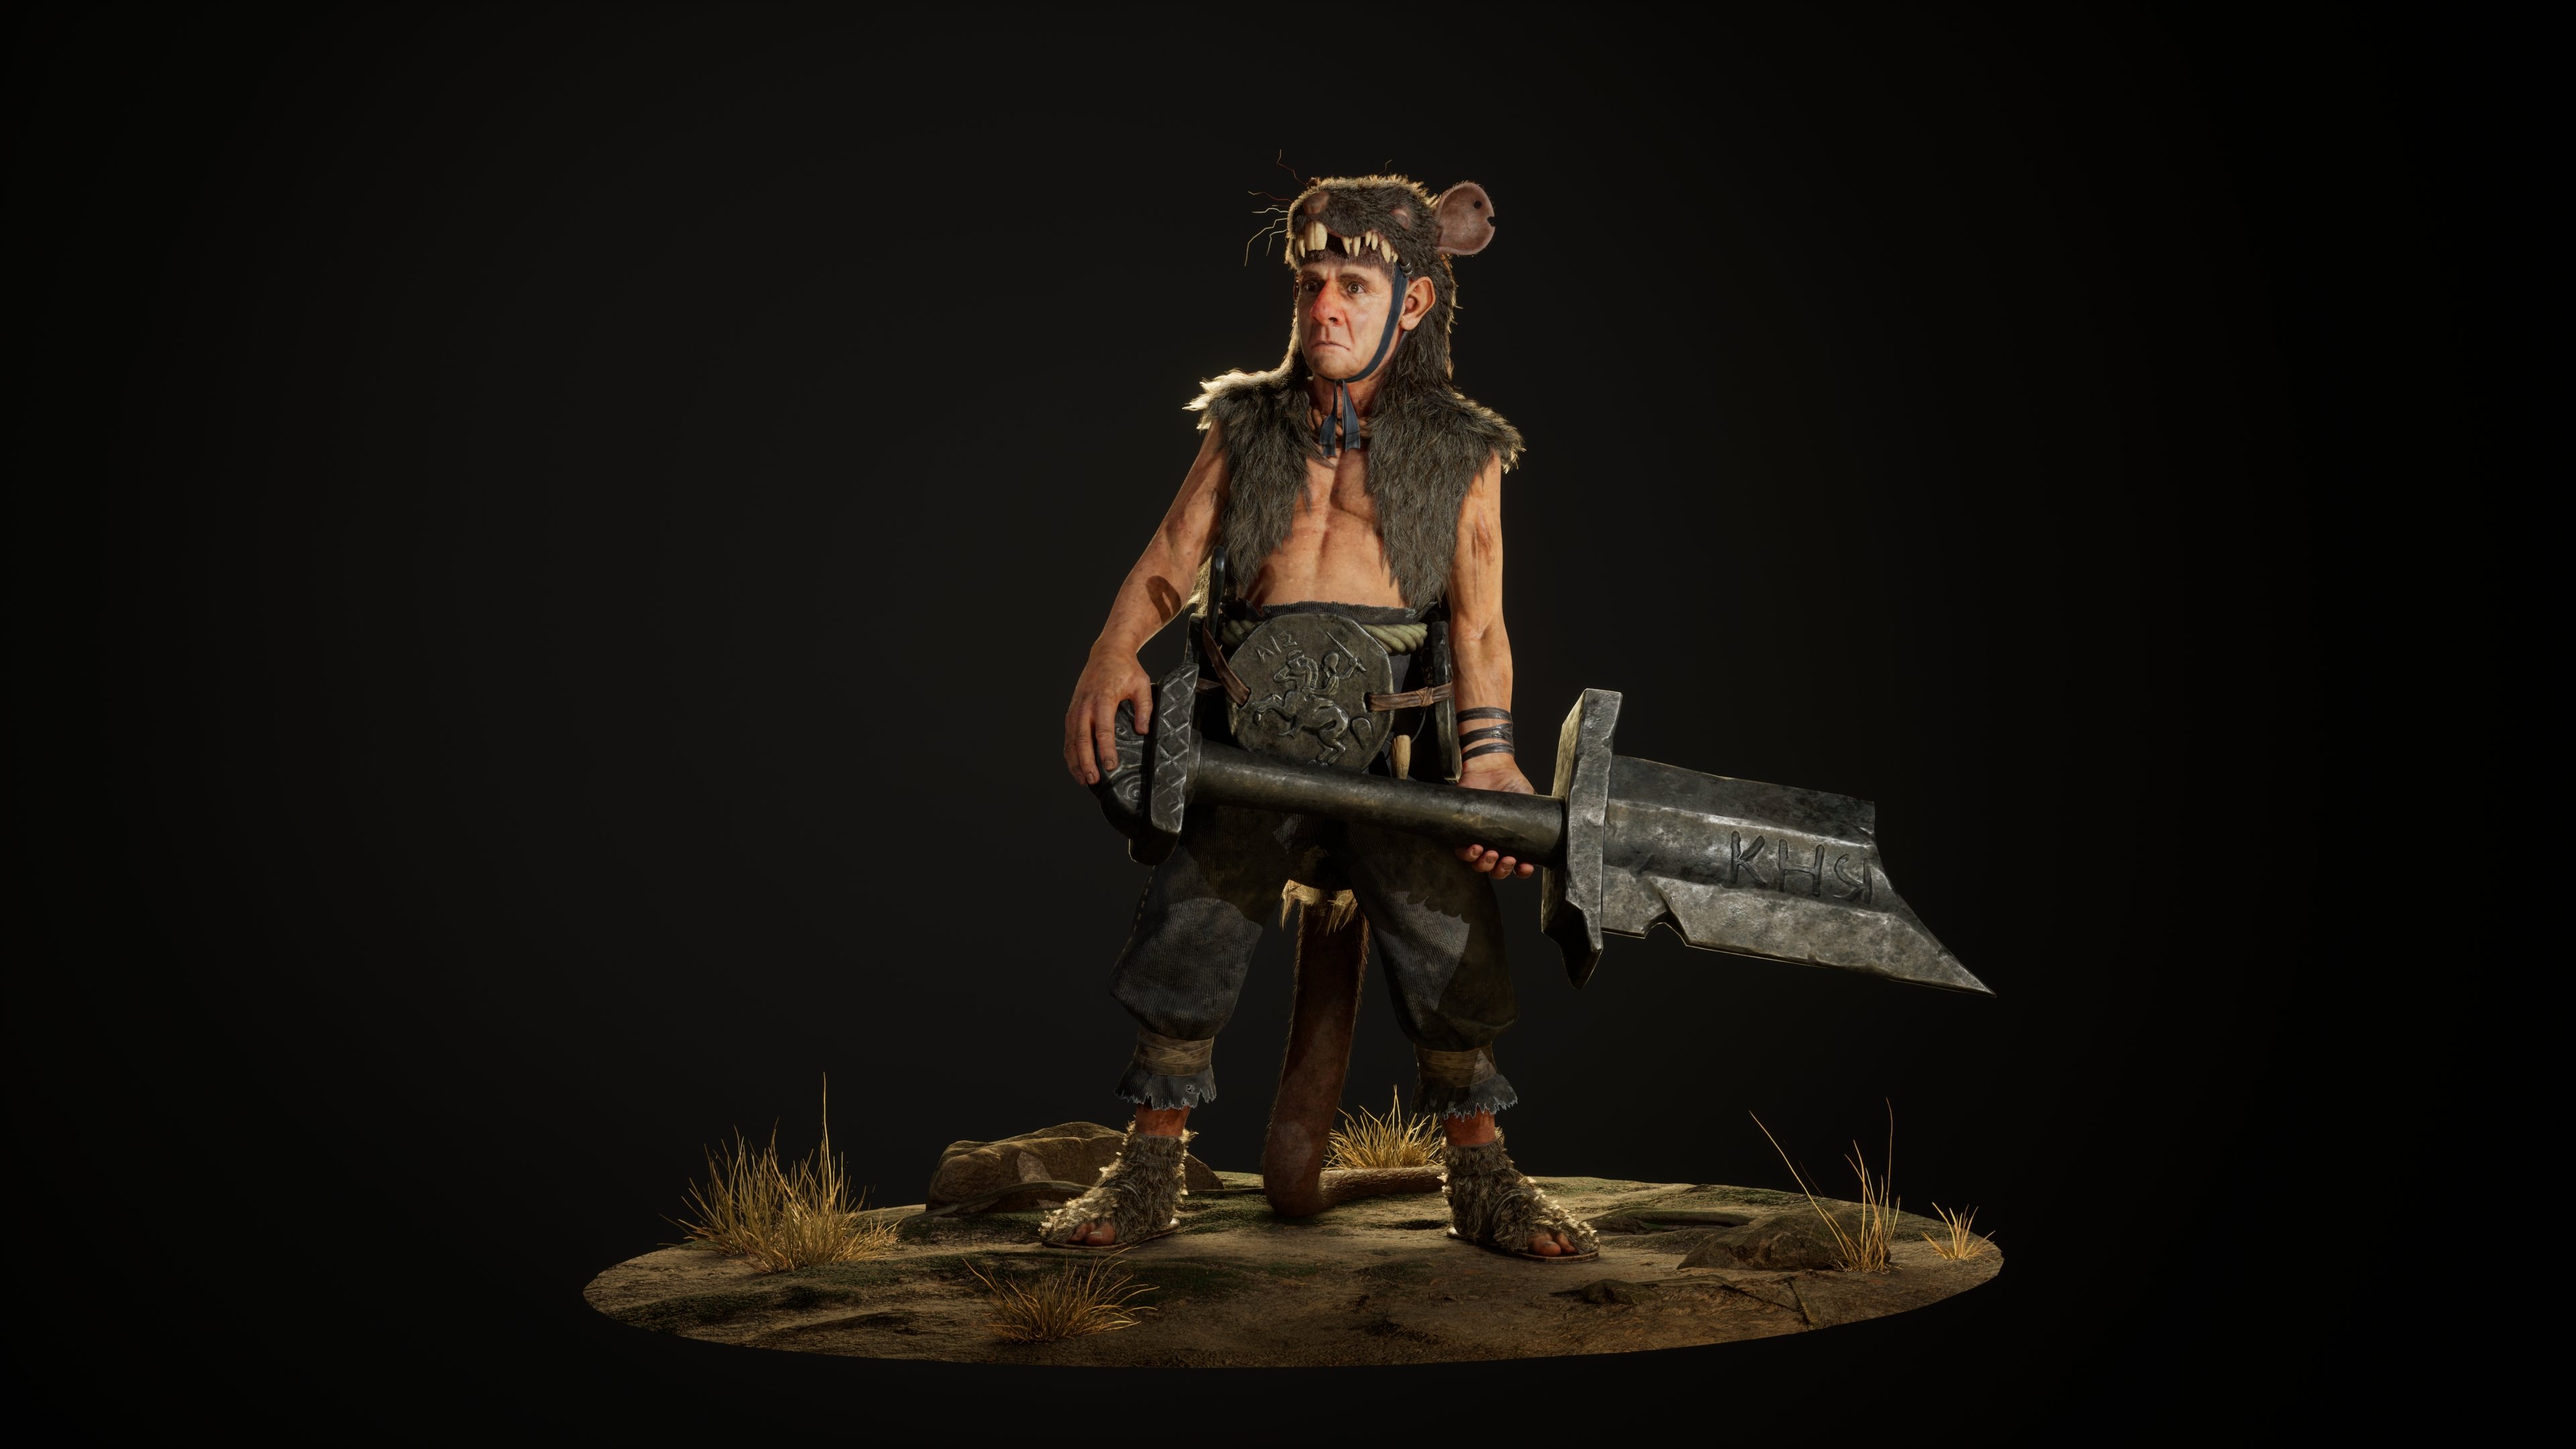
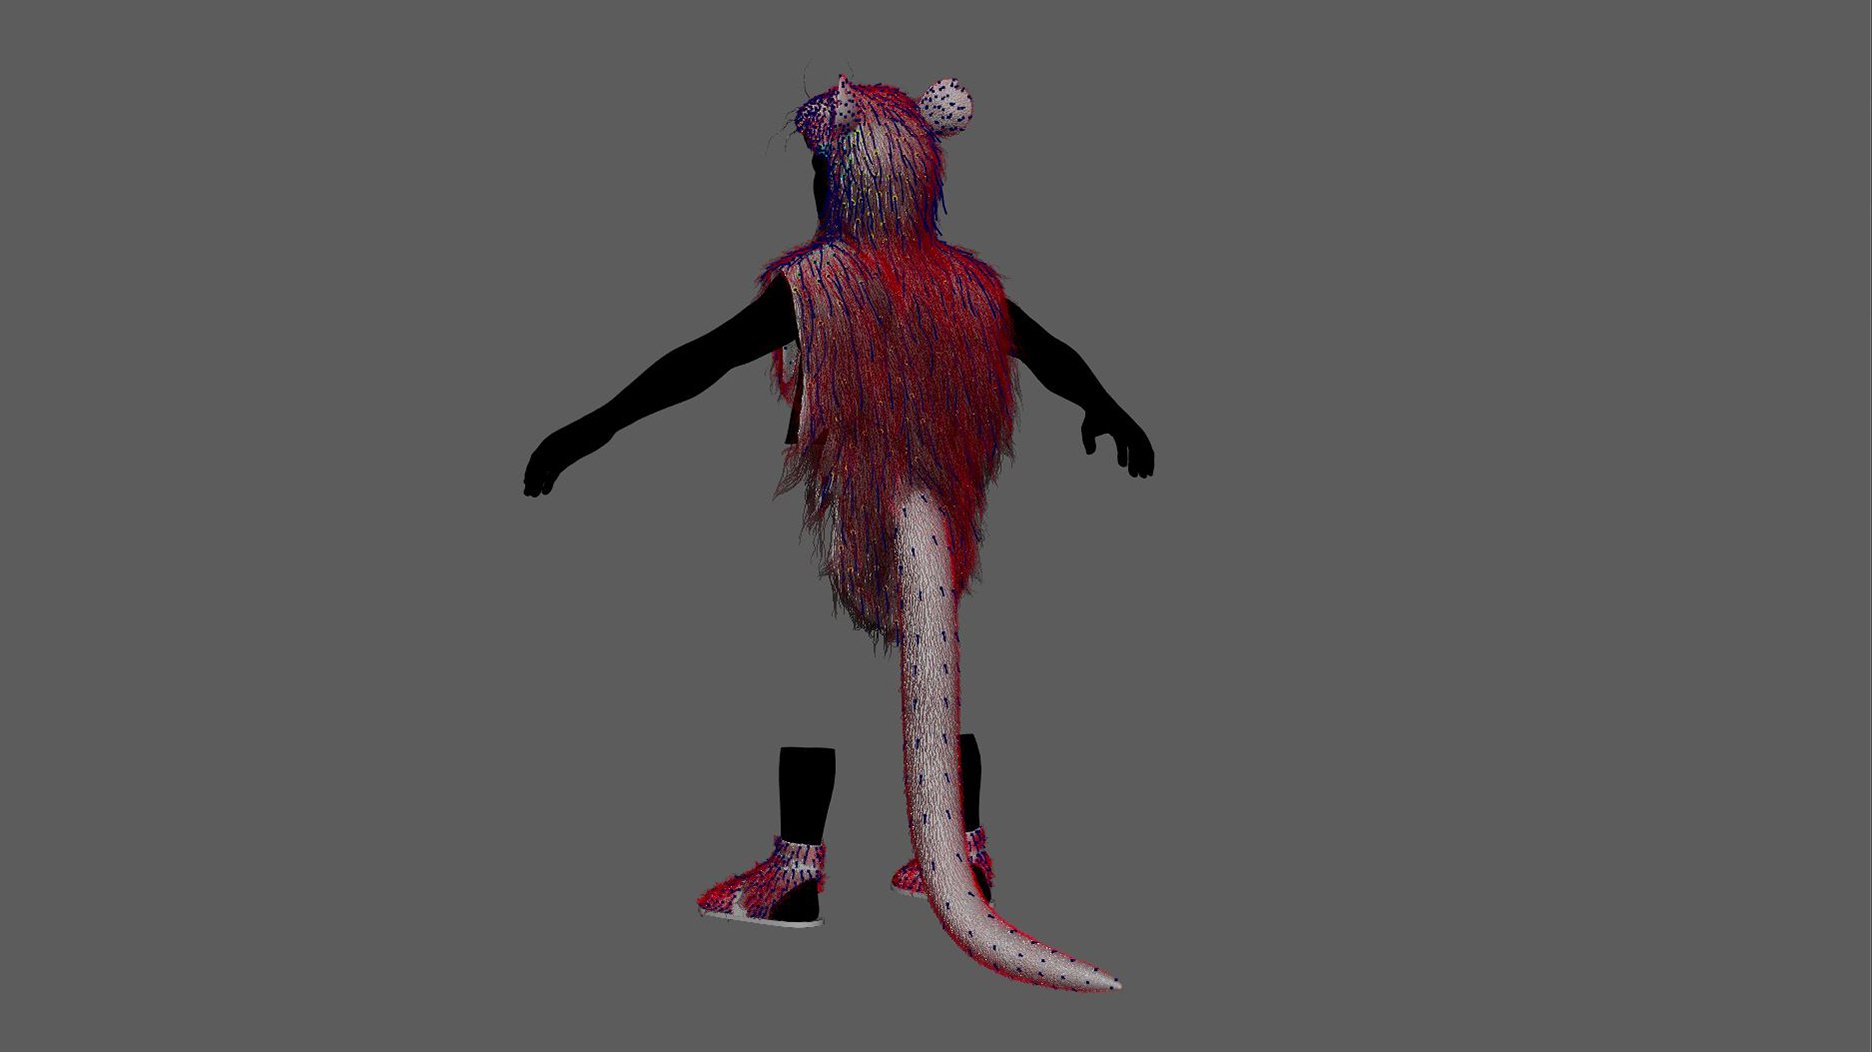
Posing
I got the first draft of rigging from my friend, Krittapad Dejjeenmuang. And then it was ready for posing.
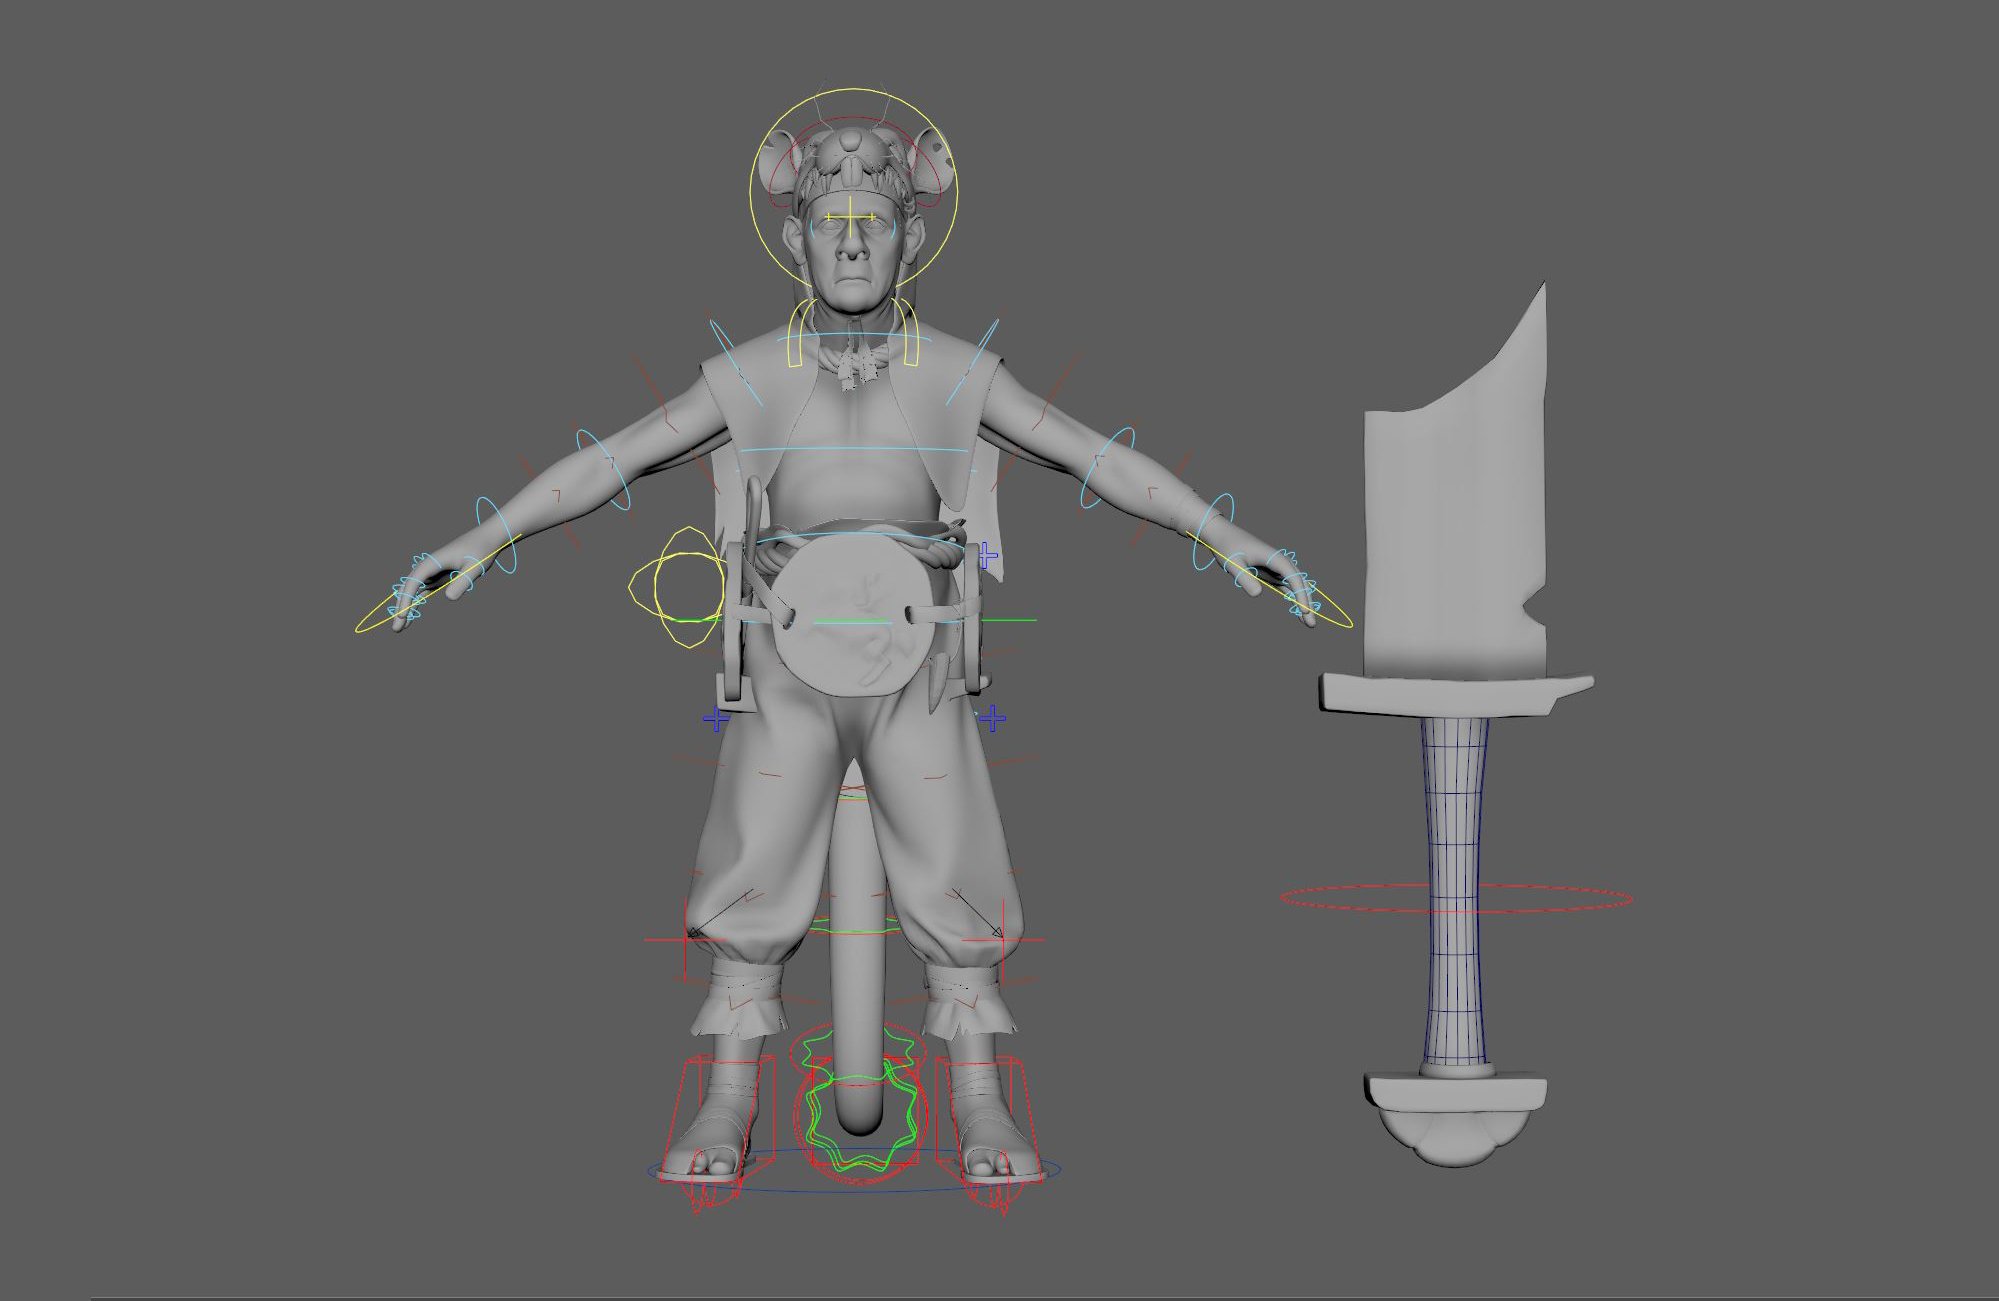


I posed my character in Maya, making sure it was dynamic. Doing this helps make my adjustments in Zbrush easier. I found that the best way to check the pose is from the top view. If I got the balance on this view, it would make the pose make sense.
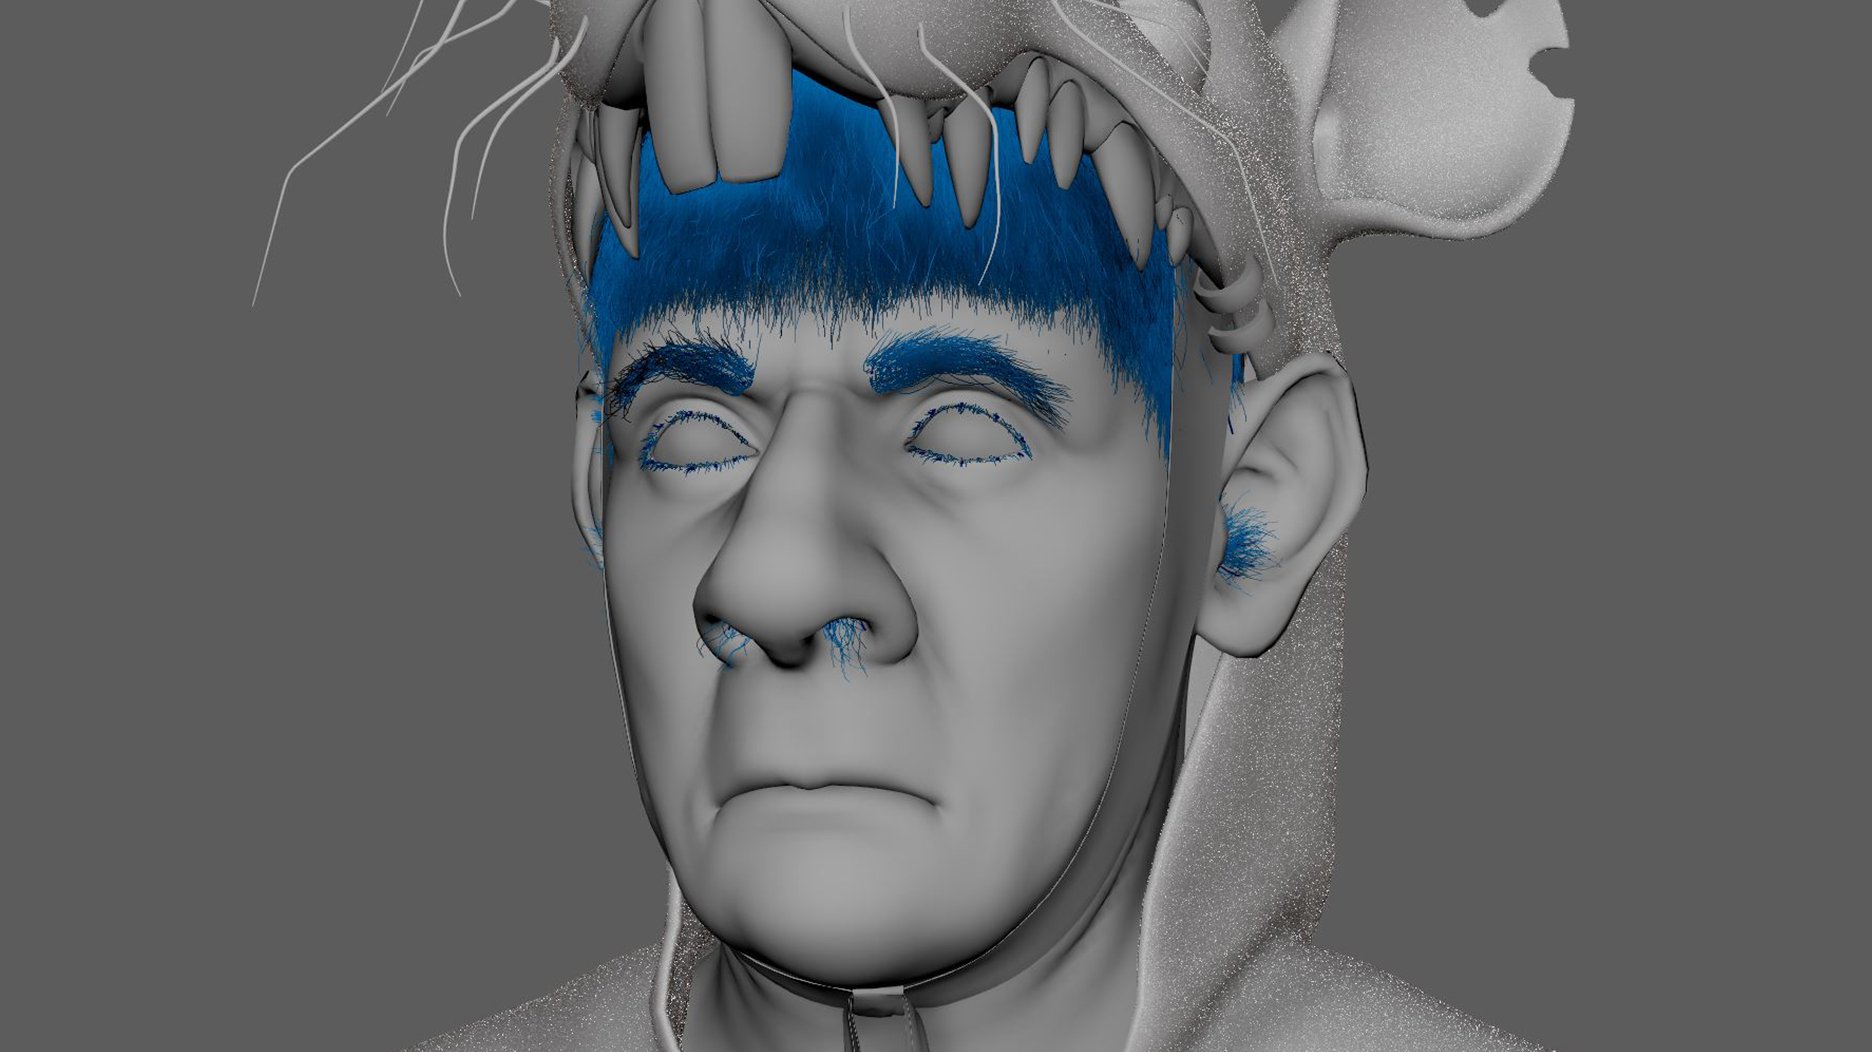
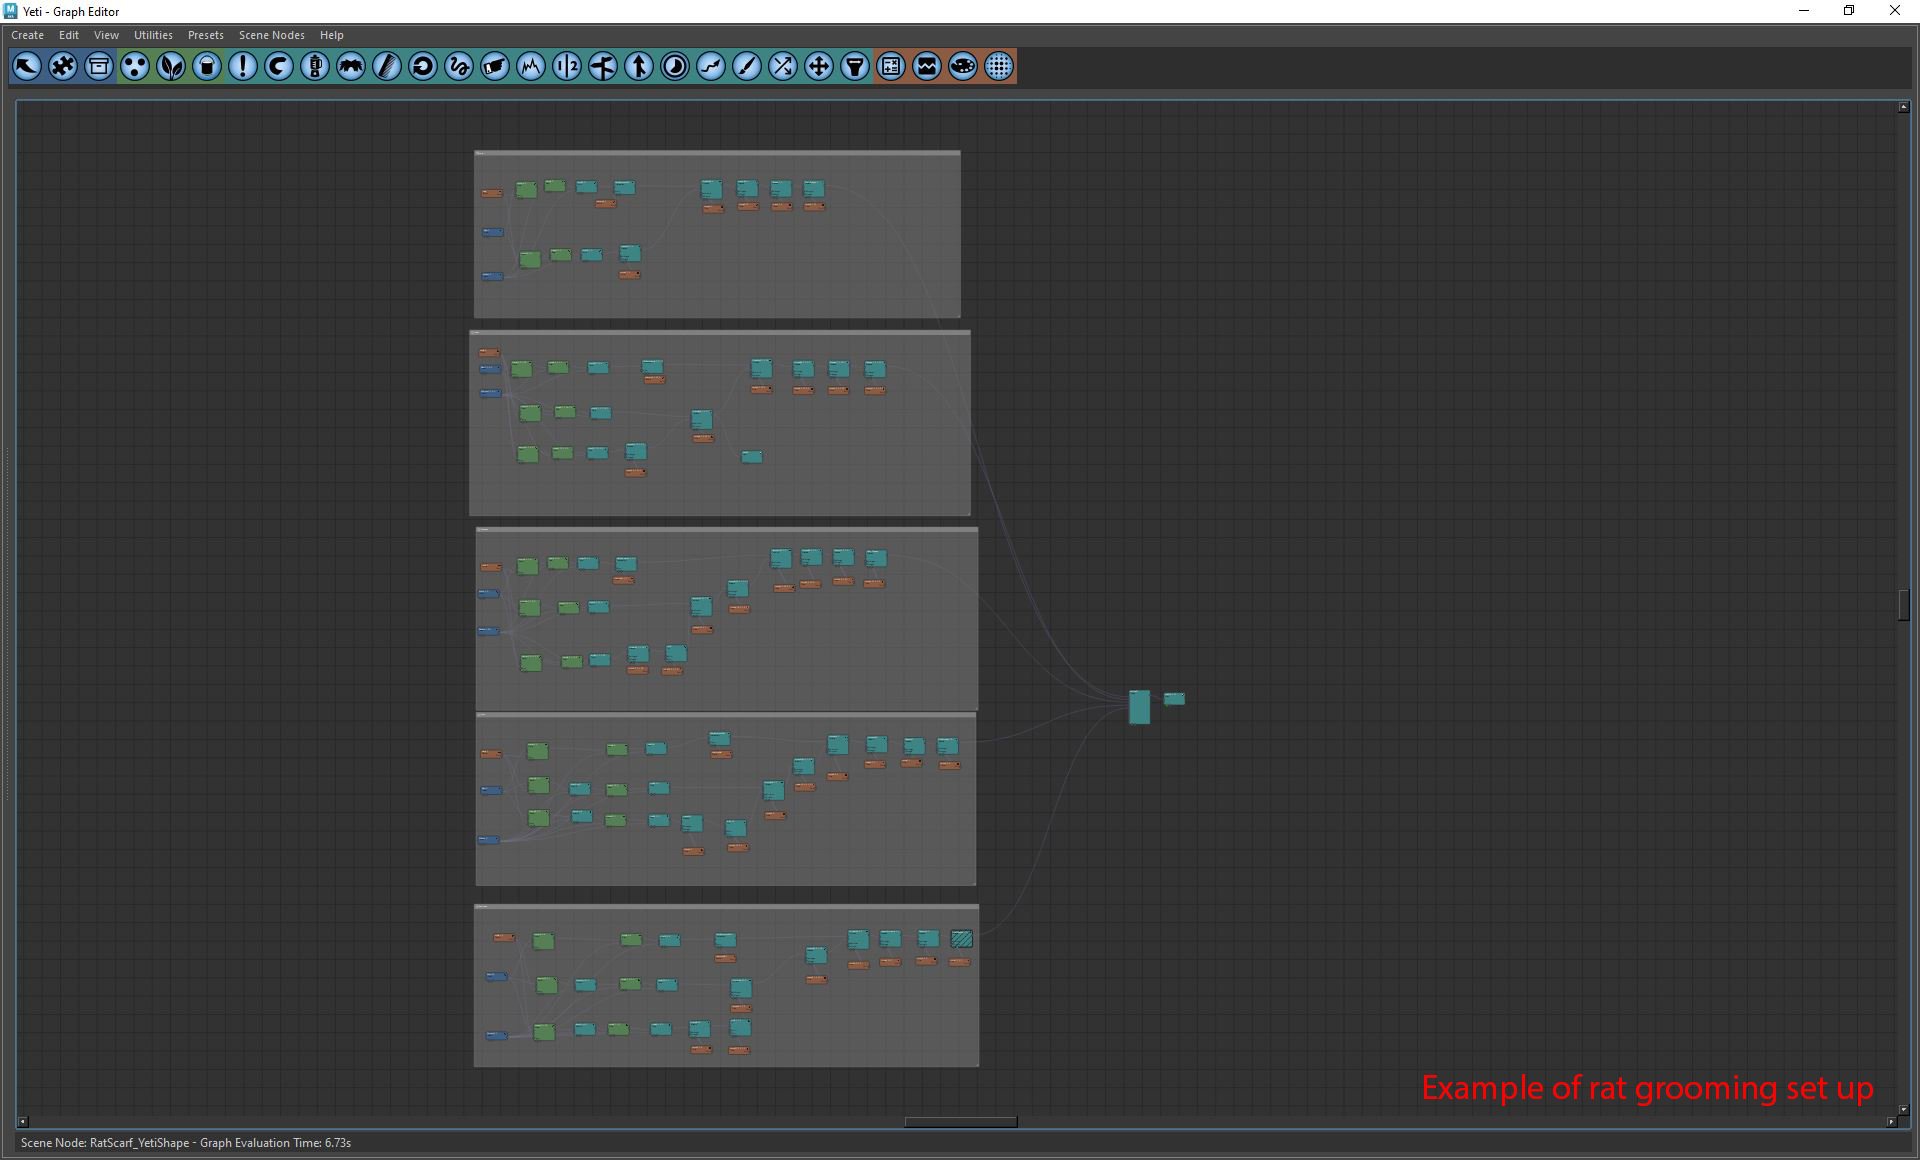
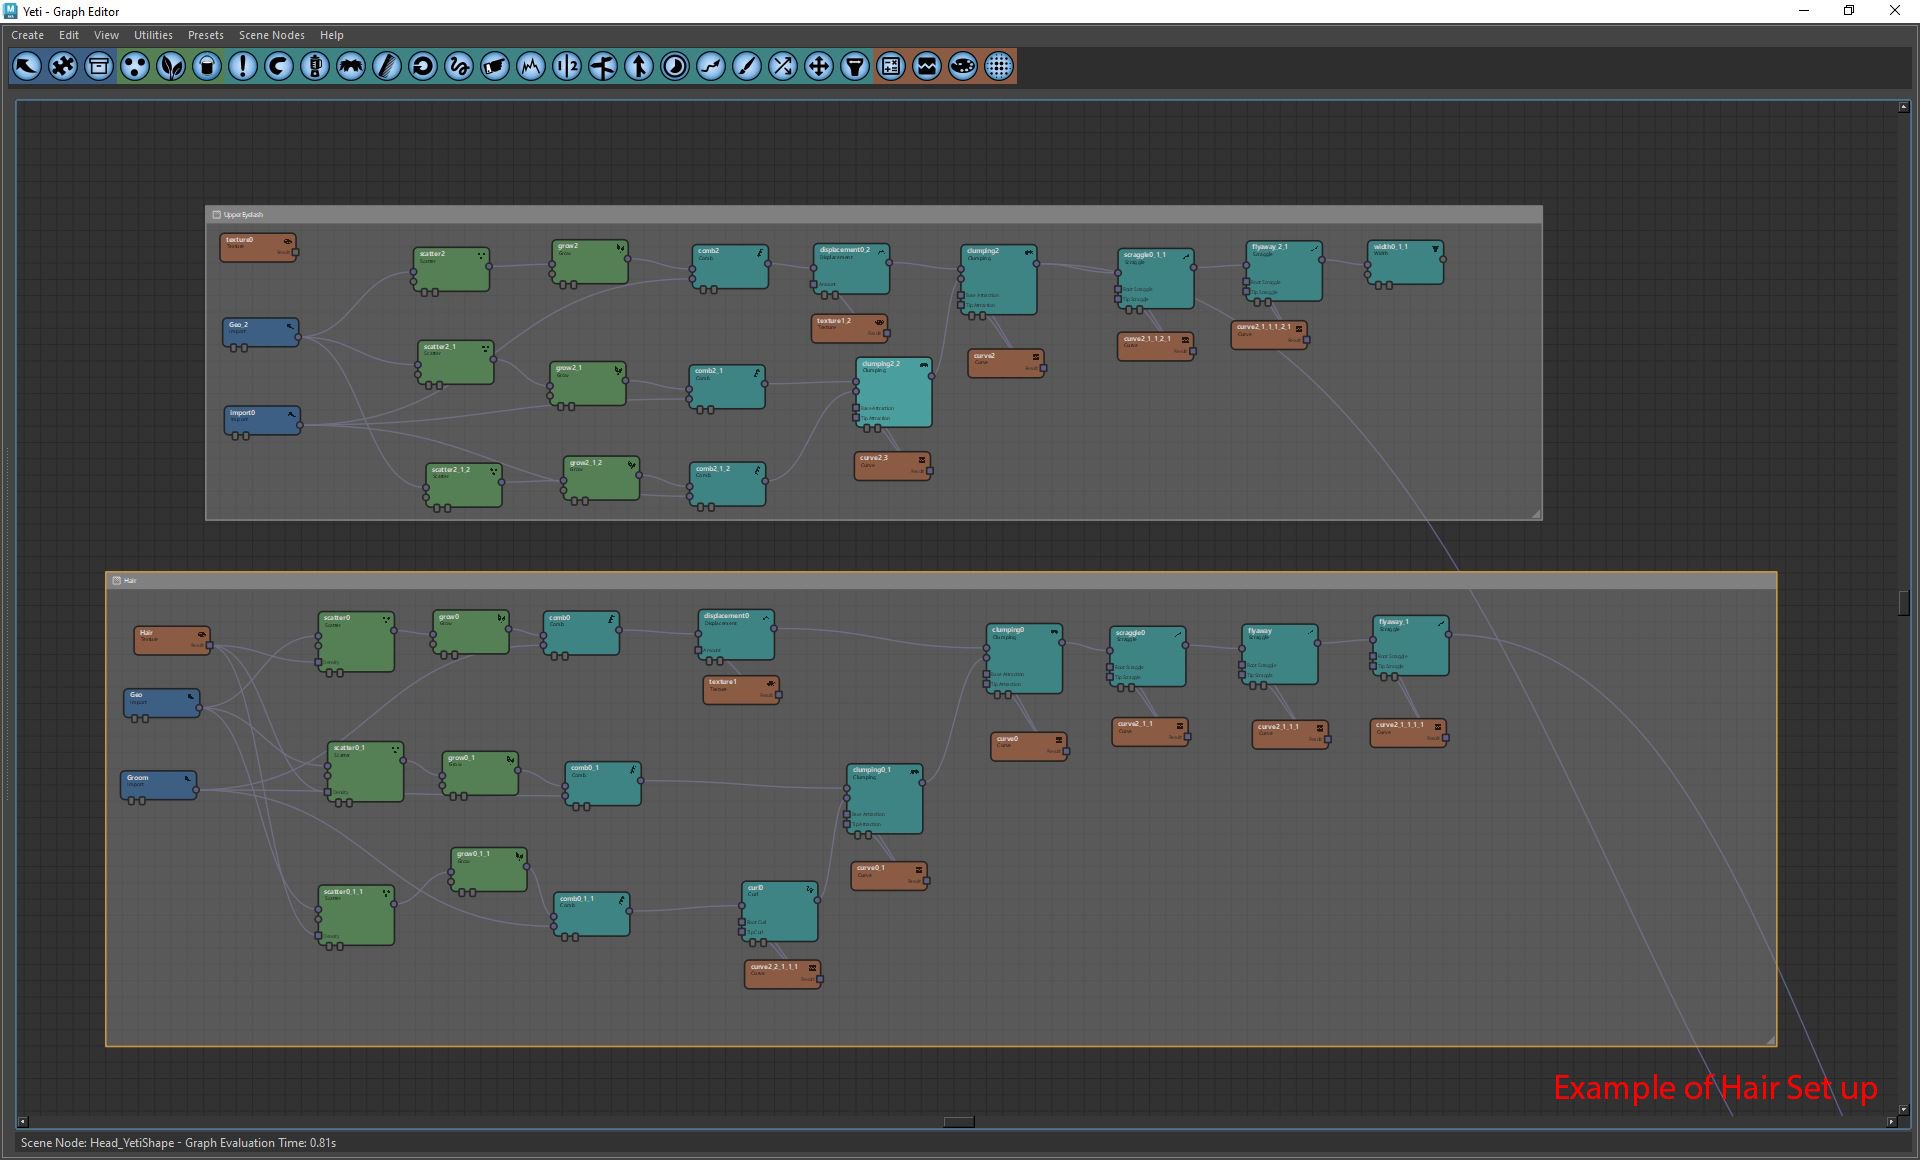
Grooming
In Yeti, I used basic nodes such as clumping, scraggle, and curl to get the messy look of the character.

Once I finalized the groom, I cached and exported it to Unreal engine 5 as Alembic files.


Unreal Engine 5
I was so excited to bring my character to Unreal Engine 5. Below are a couple of the tutorials I followed.
J Hill’s tutorial on YouTube and Nick Rutlinh’s hair shading tutorial.


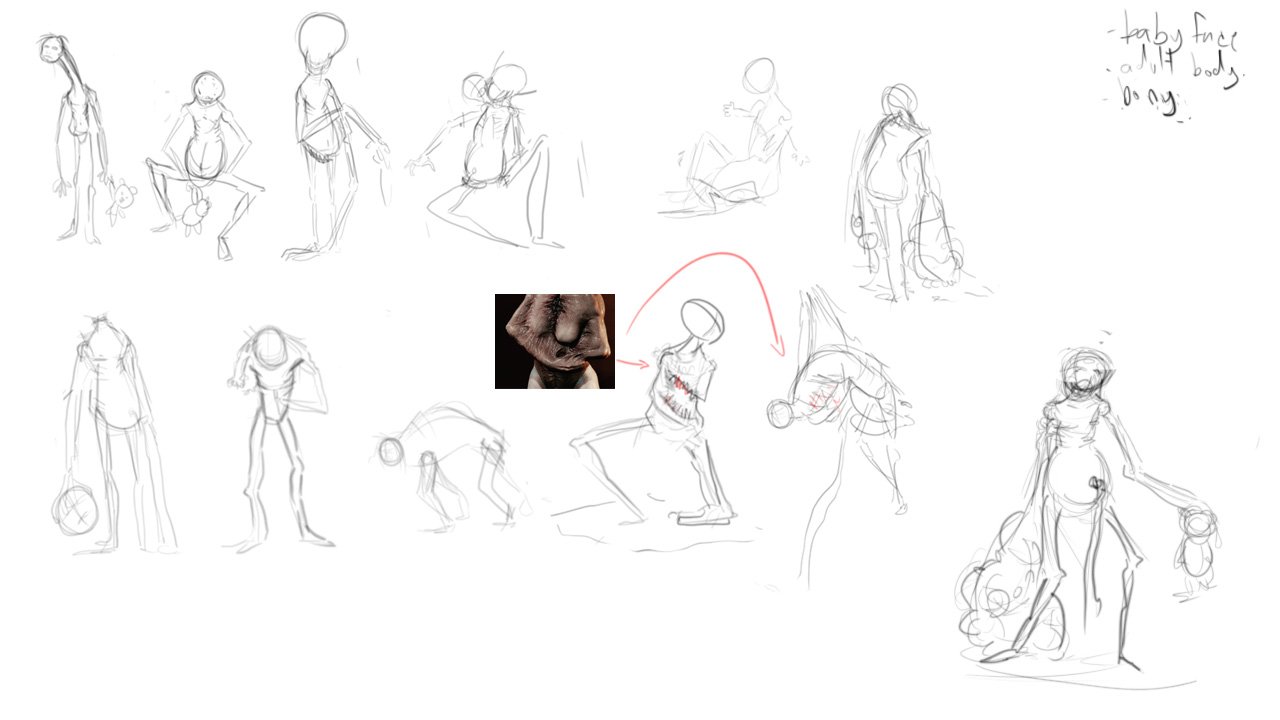
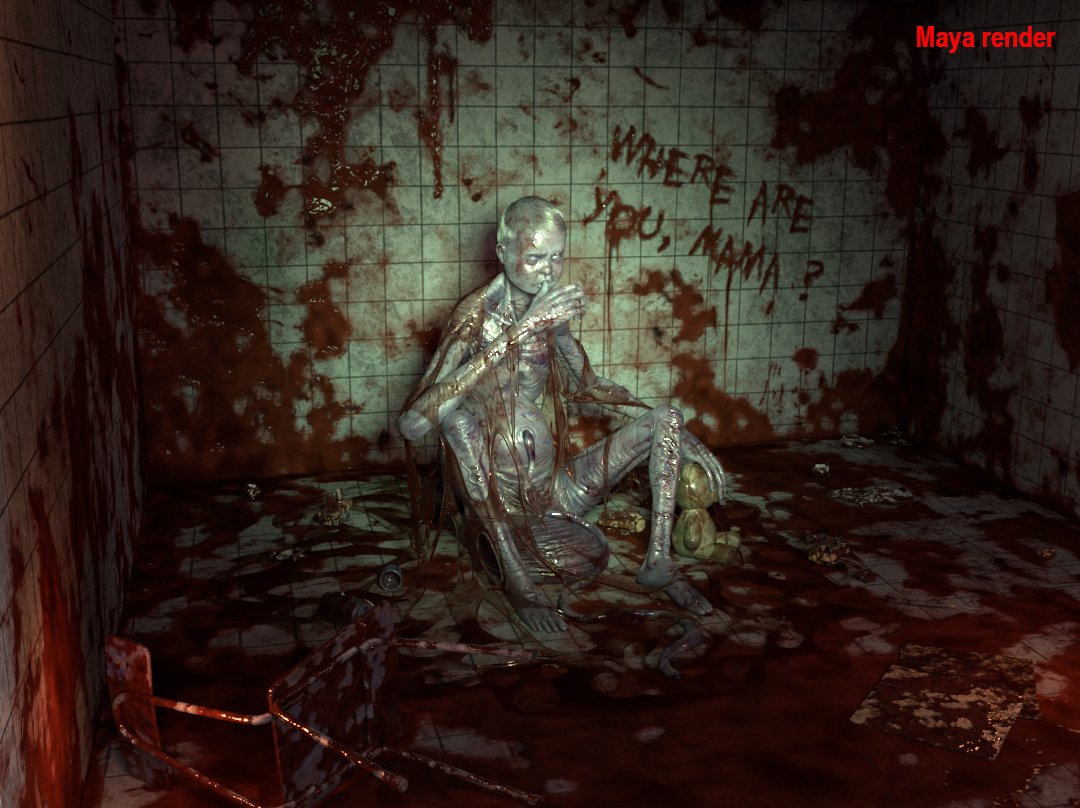
Where are you, Mama ?

Original concept
During this project I focused on character design and development. The theme of this piece is ‘Tortured Soul’. I wanted to combine this idea with a ghost based off my culture.
Designing the concept
First, I begin gathering references. Then, I roughly sketch my character. As you can see my 2D concept is pretty gorgeous, haha.
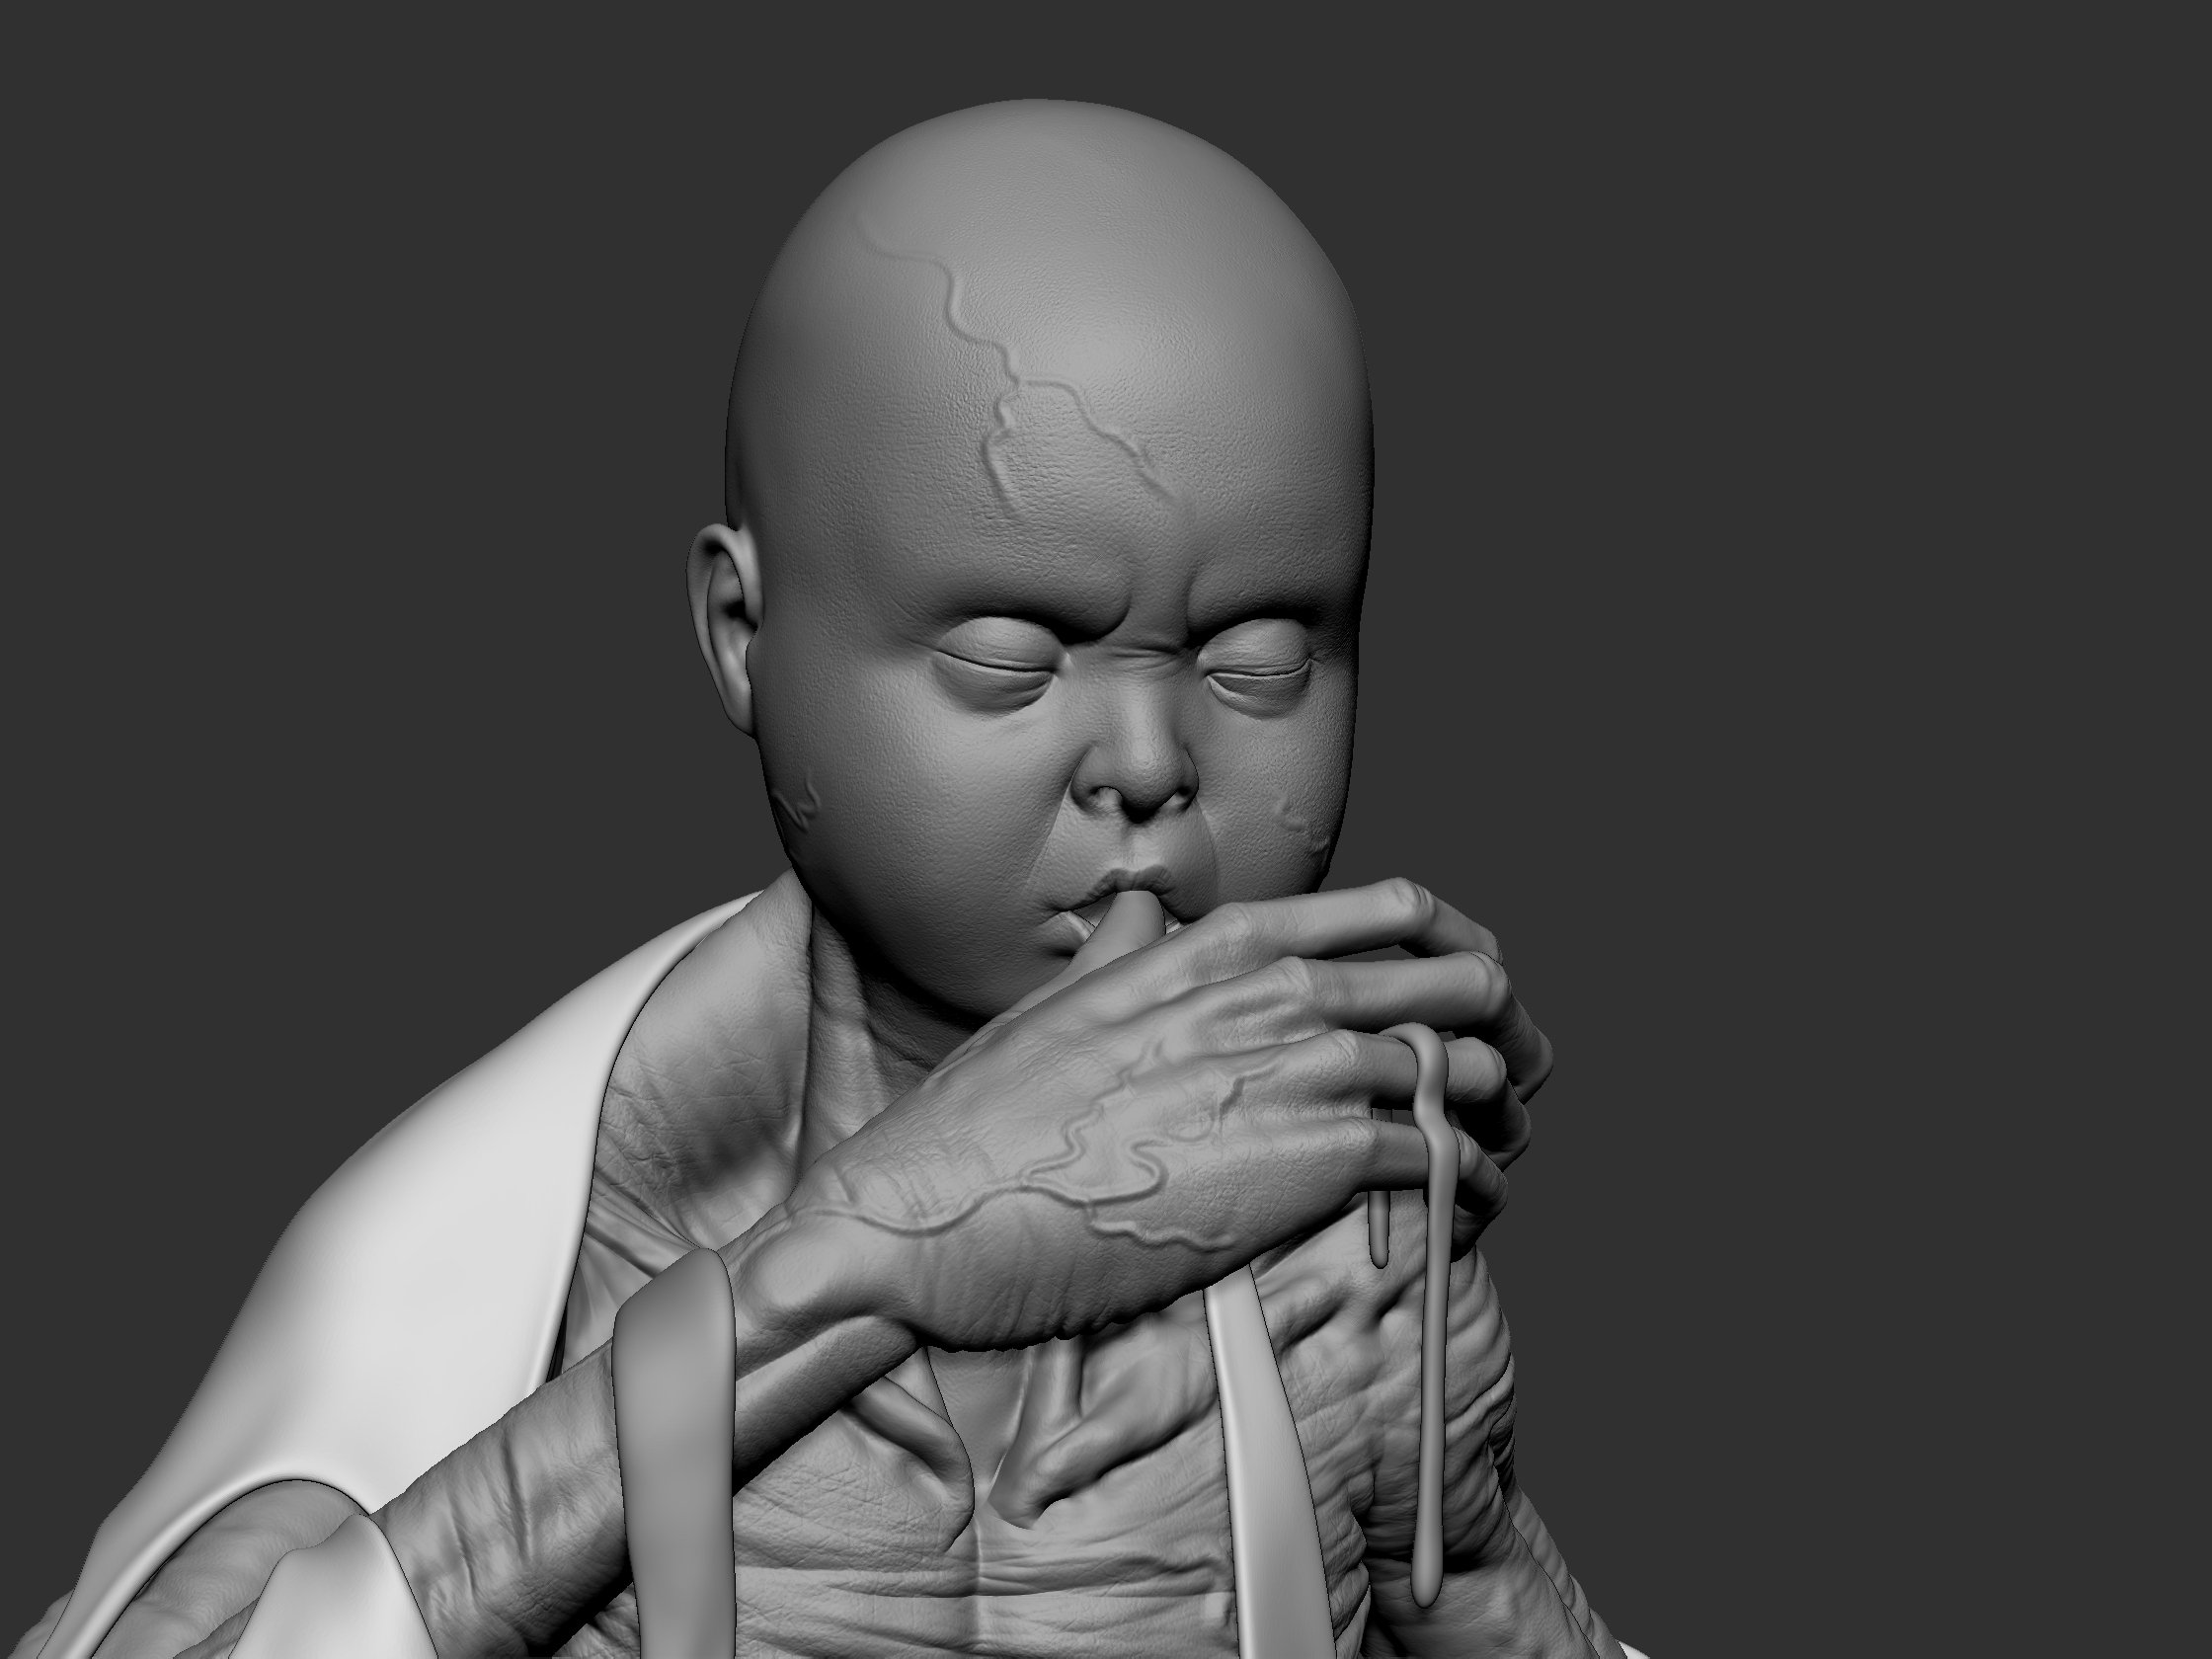
Modeling
At the beginning of this project, I was not so worried about topology and only focusing on design. I used primitive shapes for block out until I got the satisfying proportion and silhouette. I used Sculptris Pro to refine the details. I kept the joints that have to move separately as far as possible so that I could change and modify my design easily.
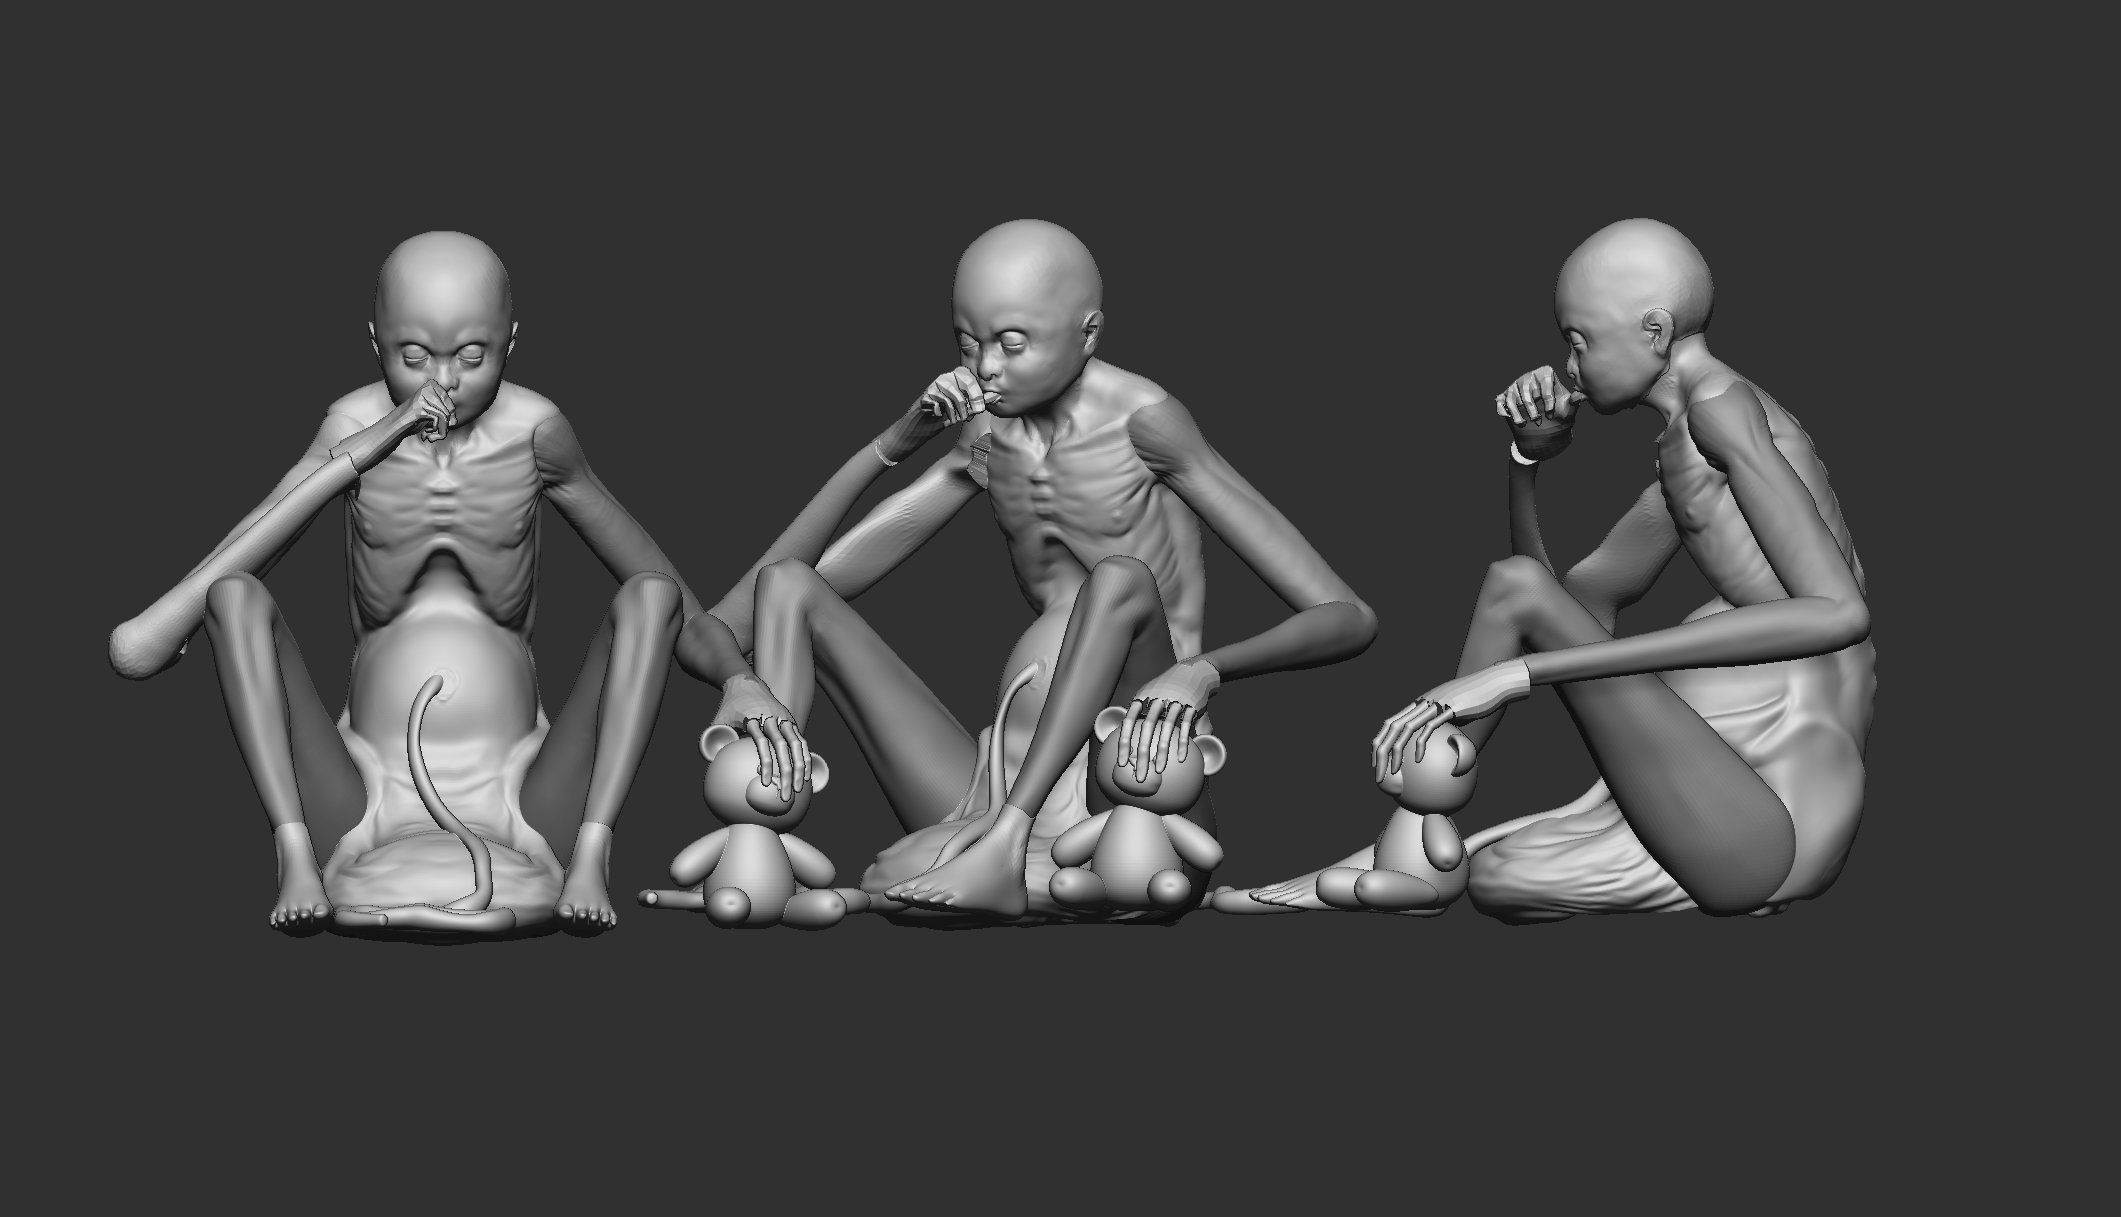

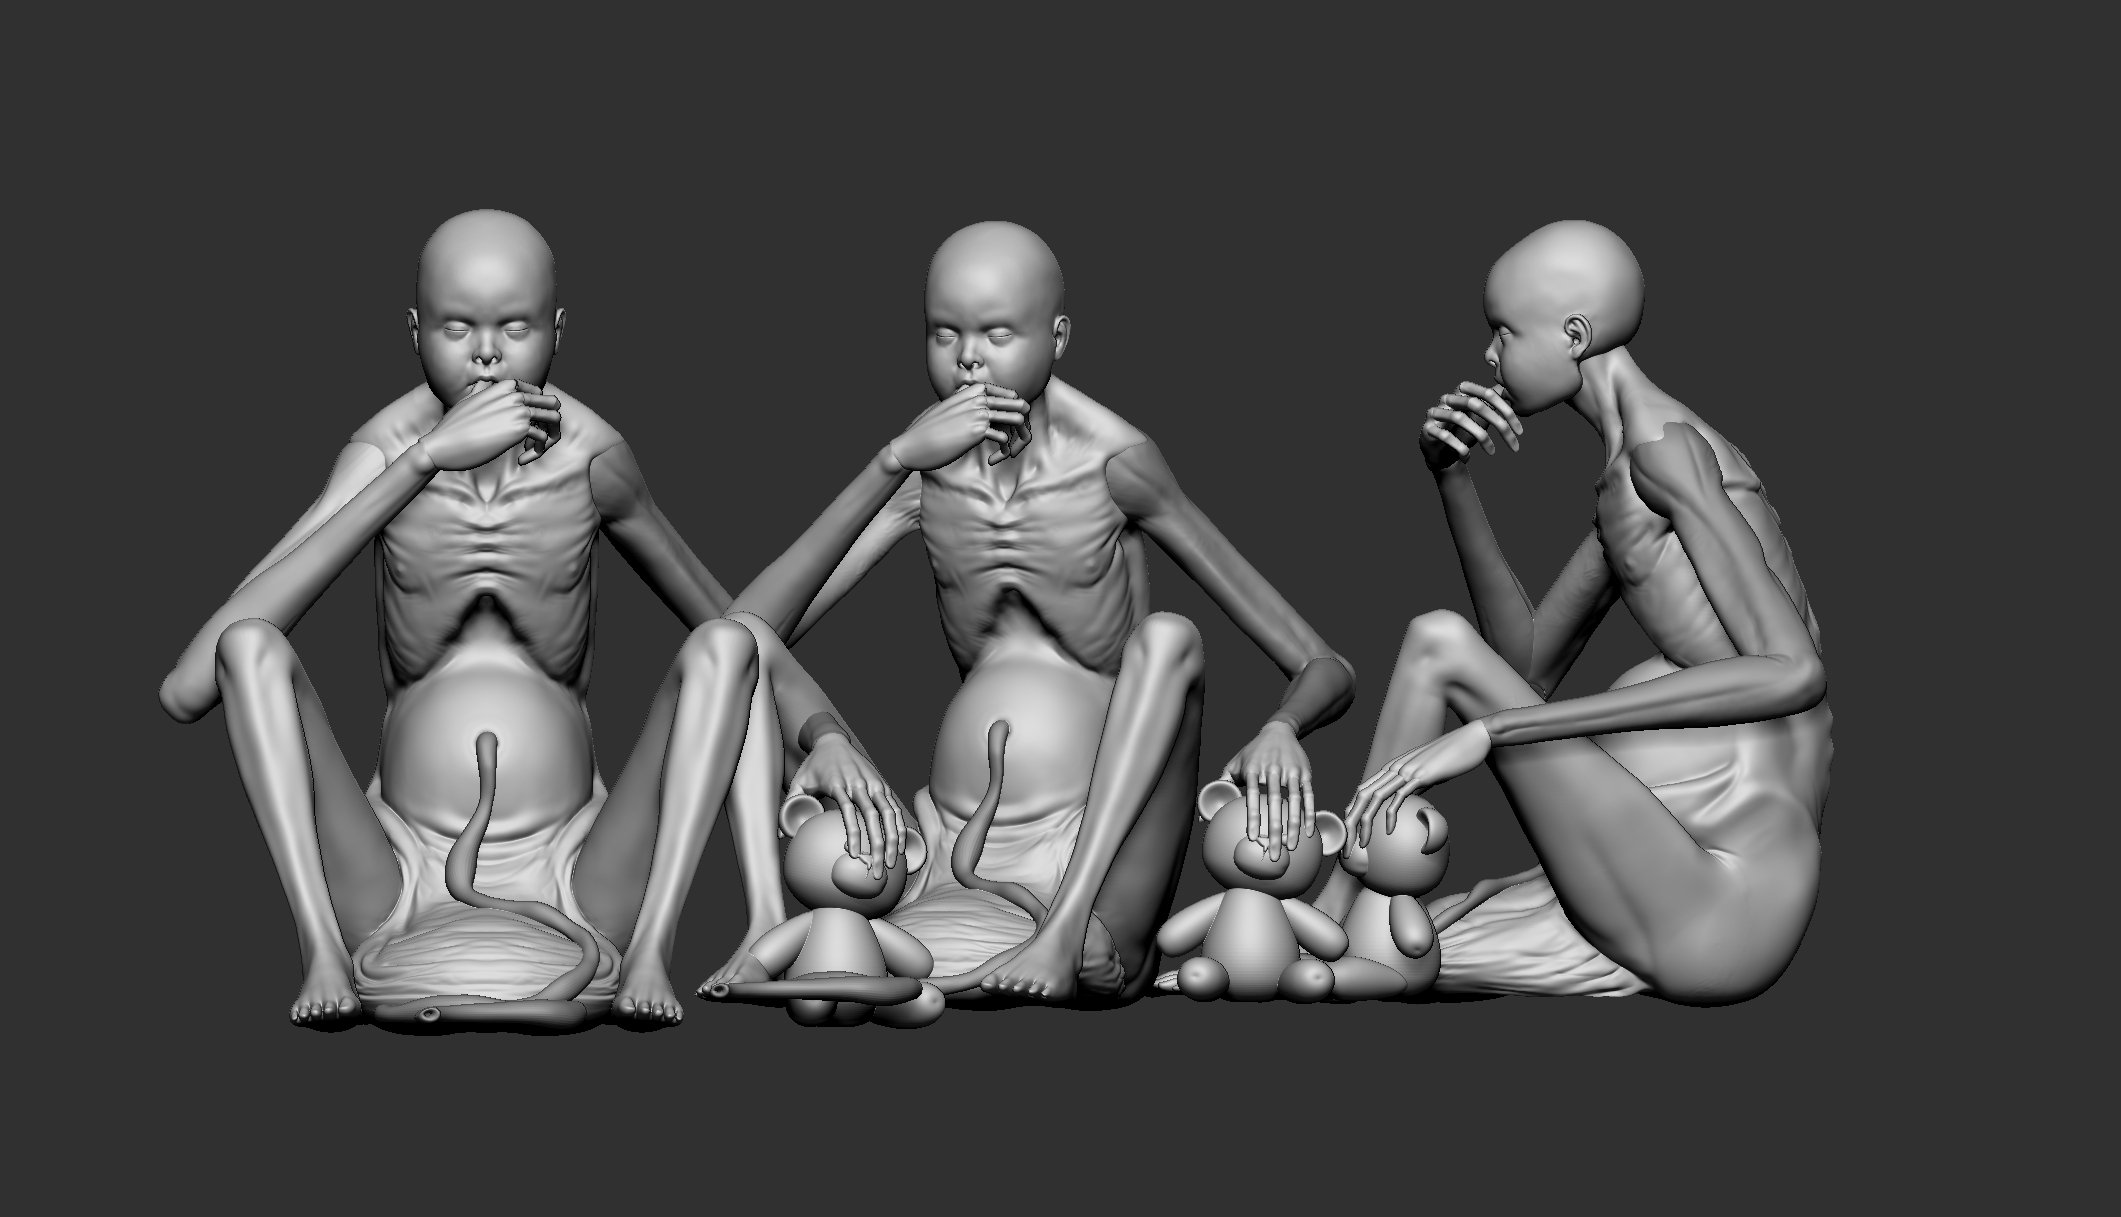
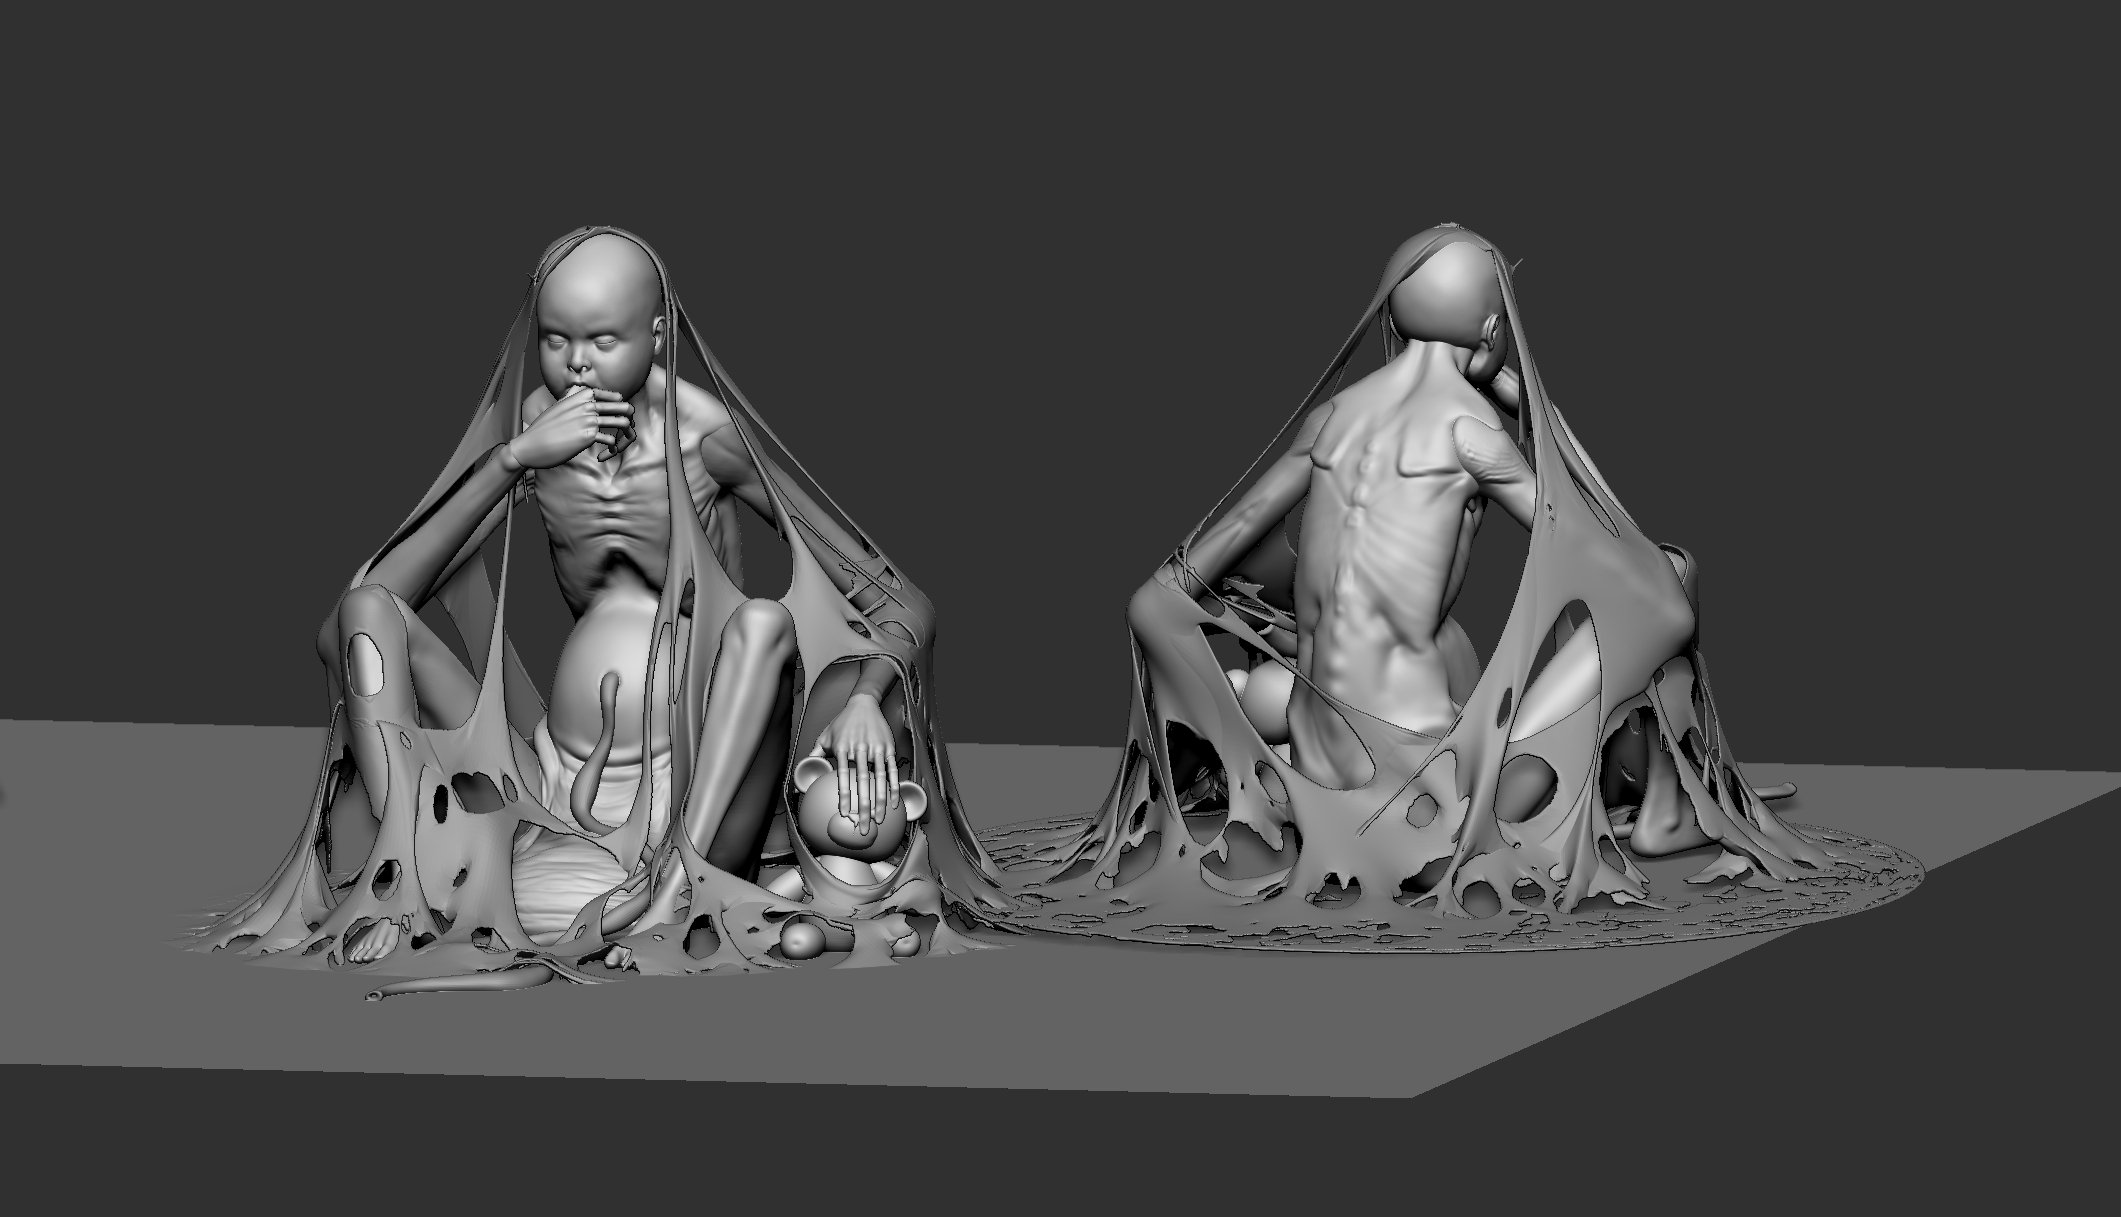
After the design was mostly much done, I moved onto DynaMesh and ZRemesher to clean up. As I mentioned I wasn't concerned about the pipeline. Just focused on creating a unique concept.


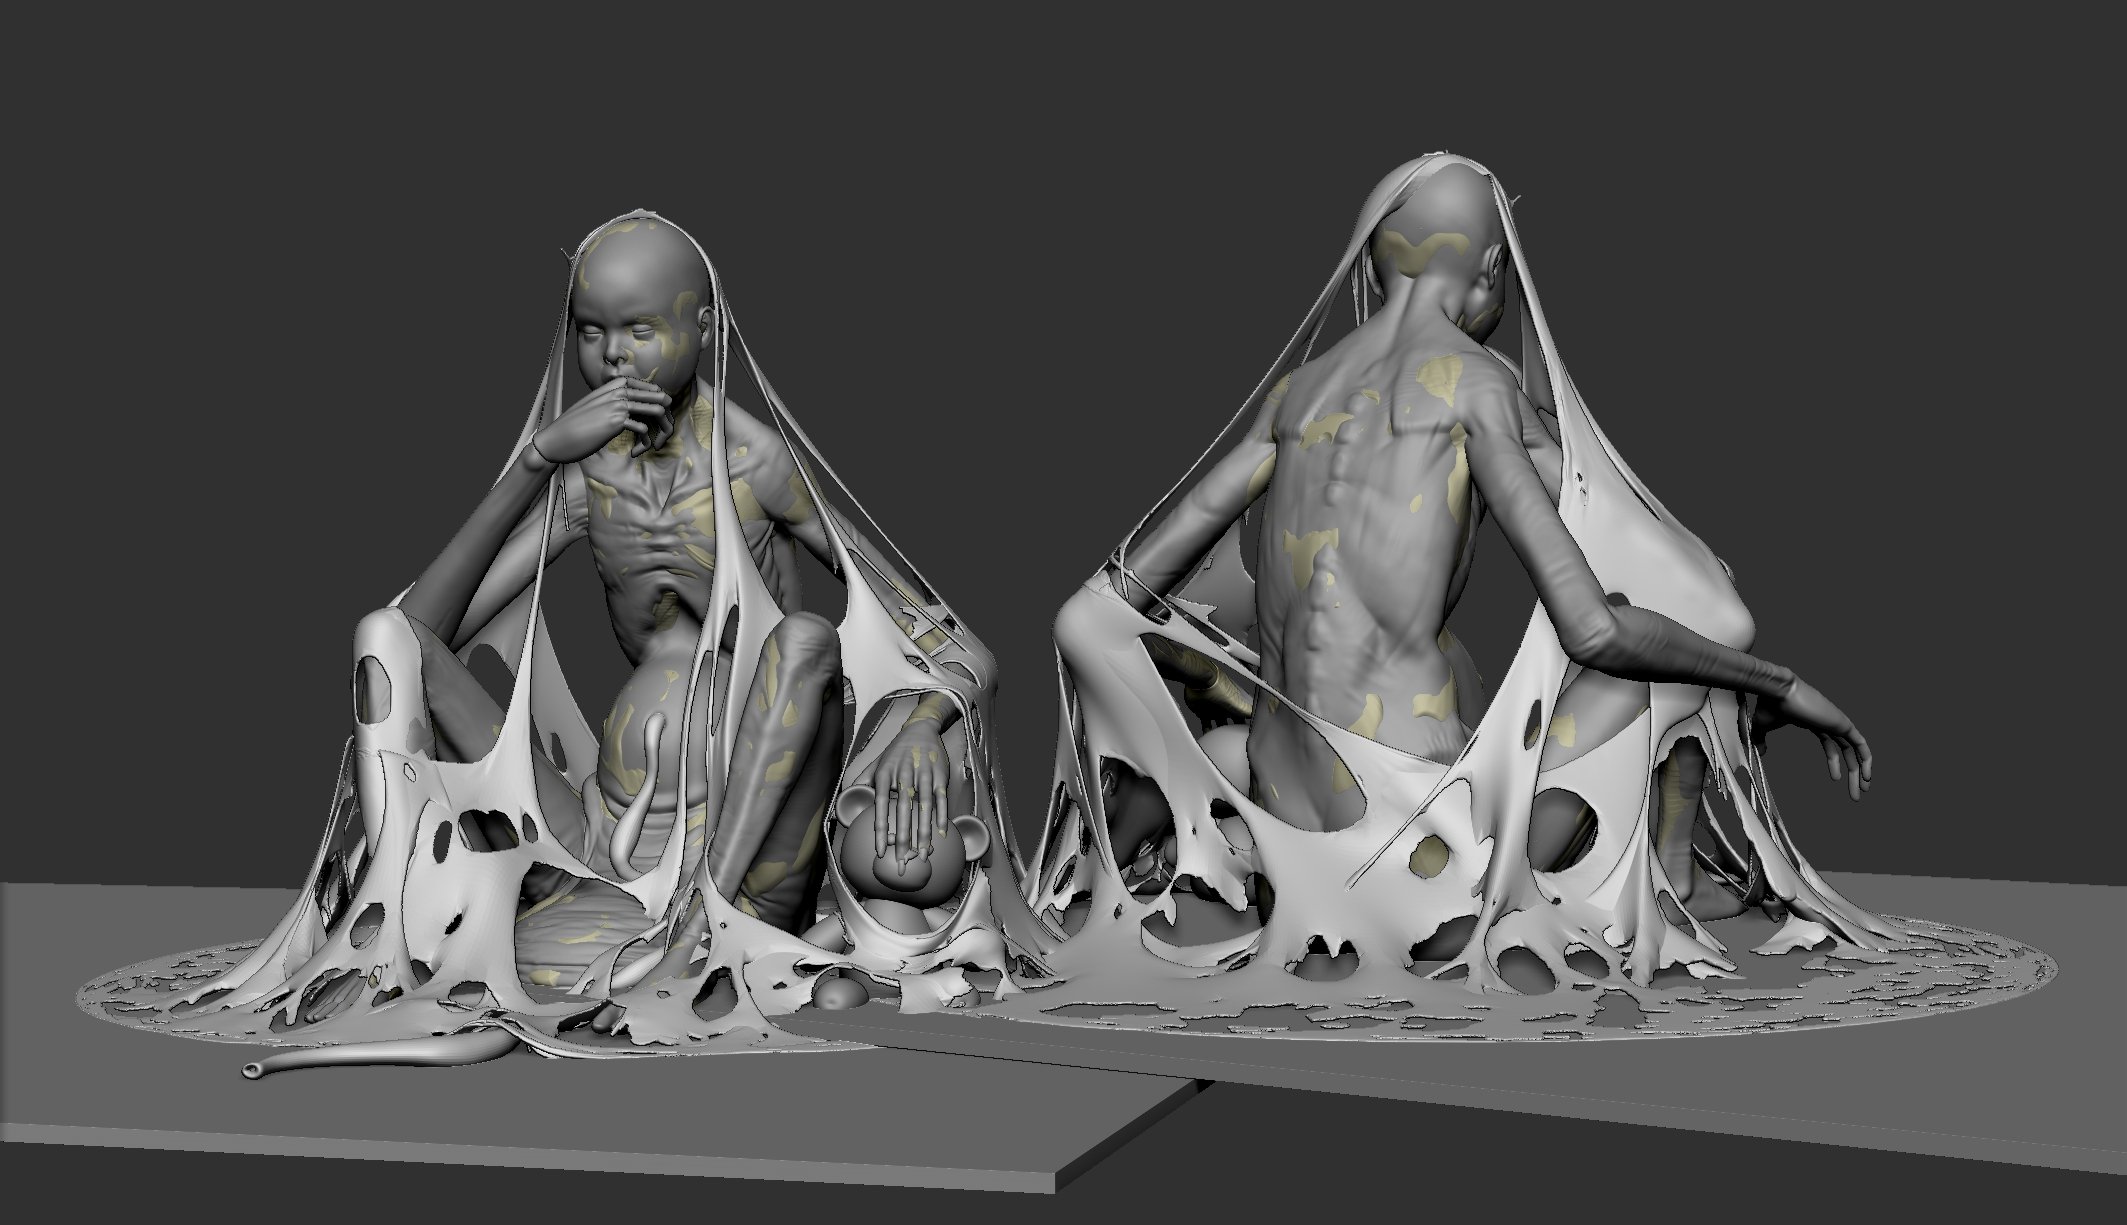
Texturing
I started the skin base material in substance painter. Then, I created various color and vein layers. For the blood it’s a combination of dark and light red colors with height and roughness.


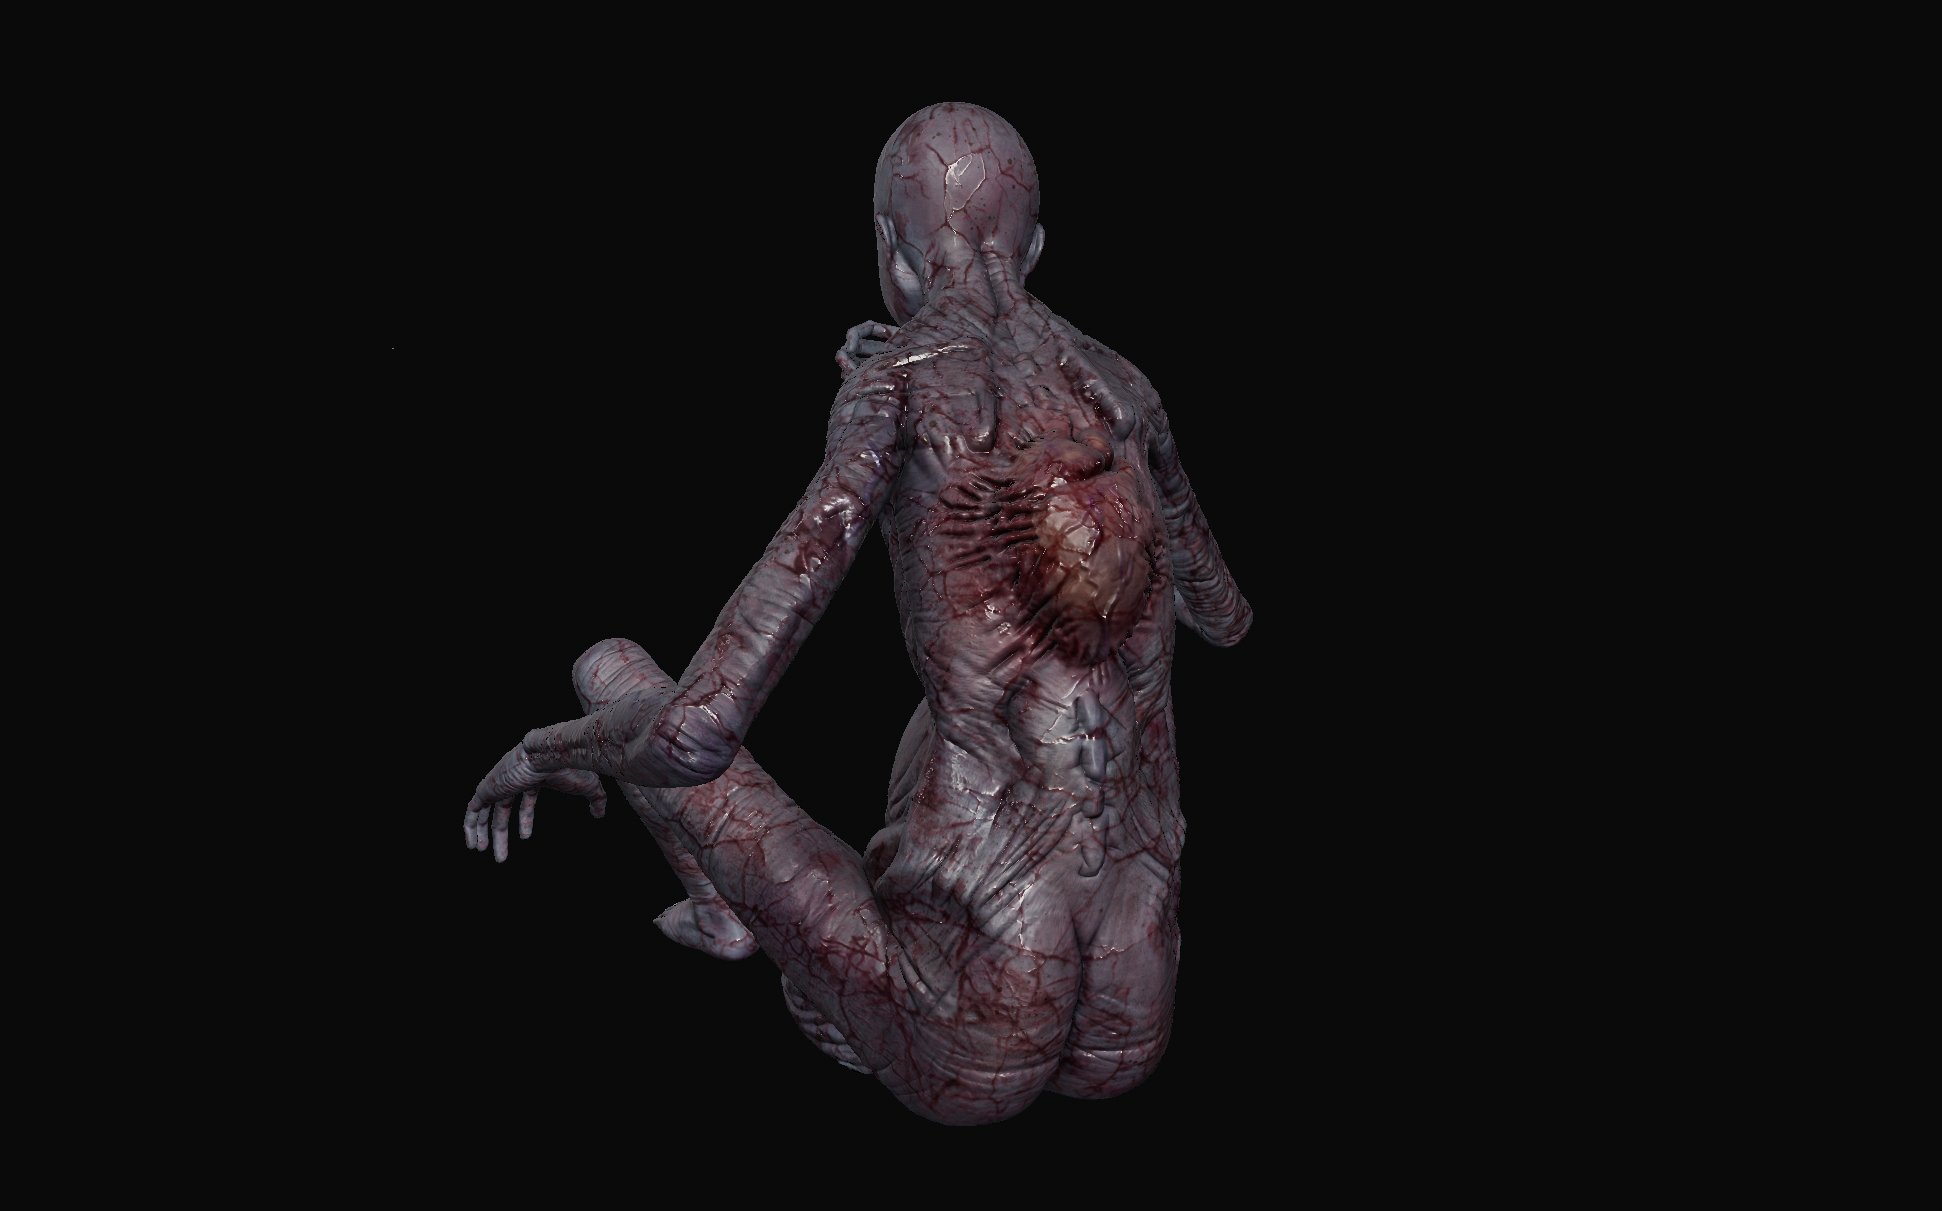


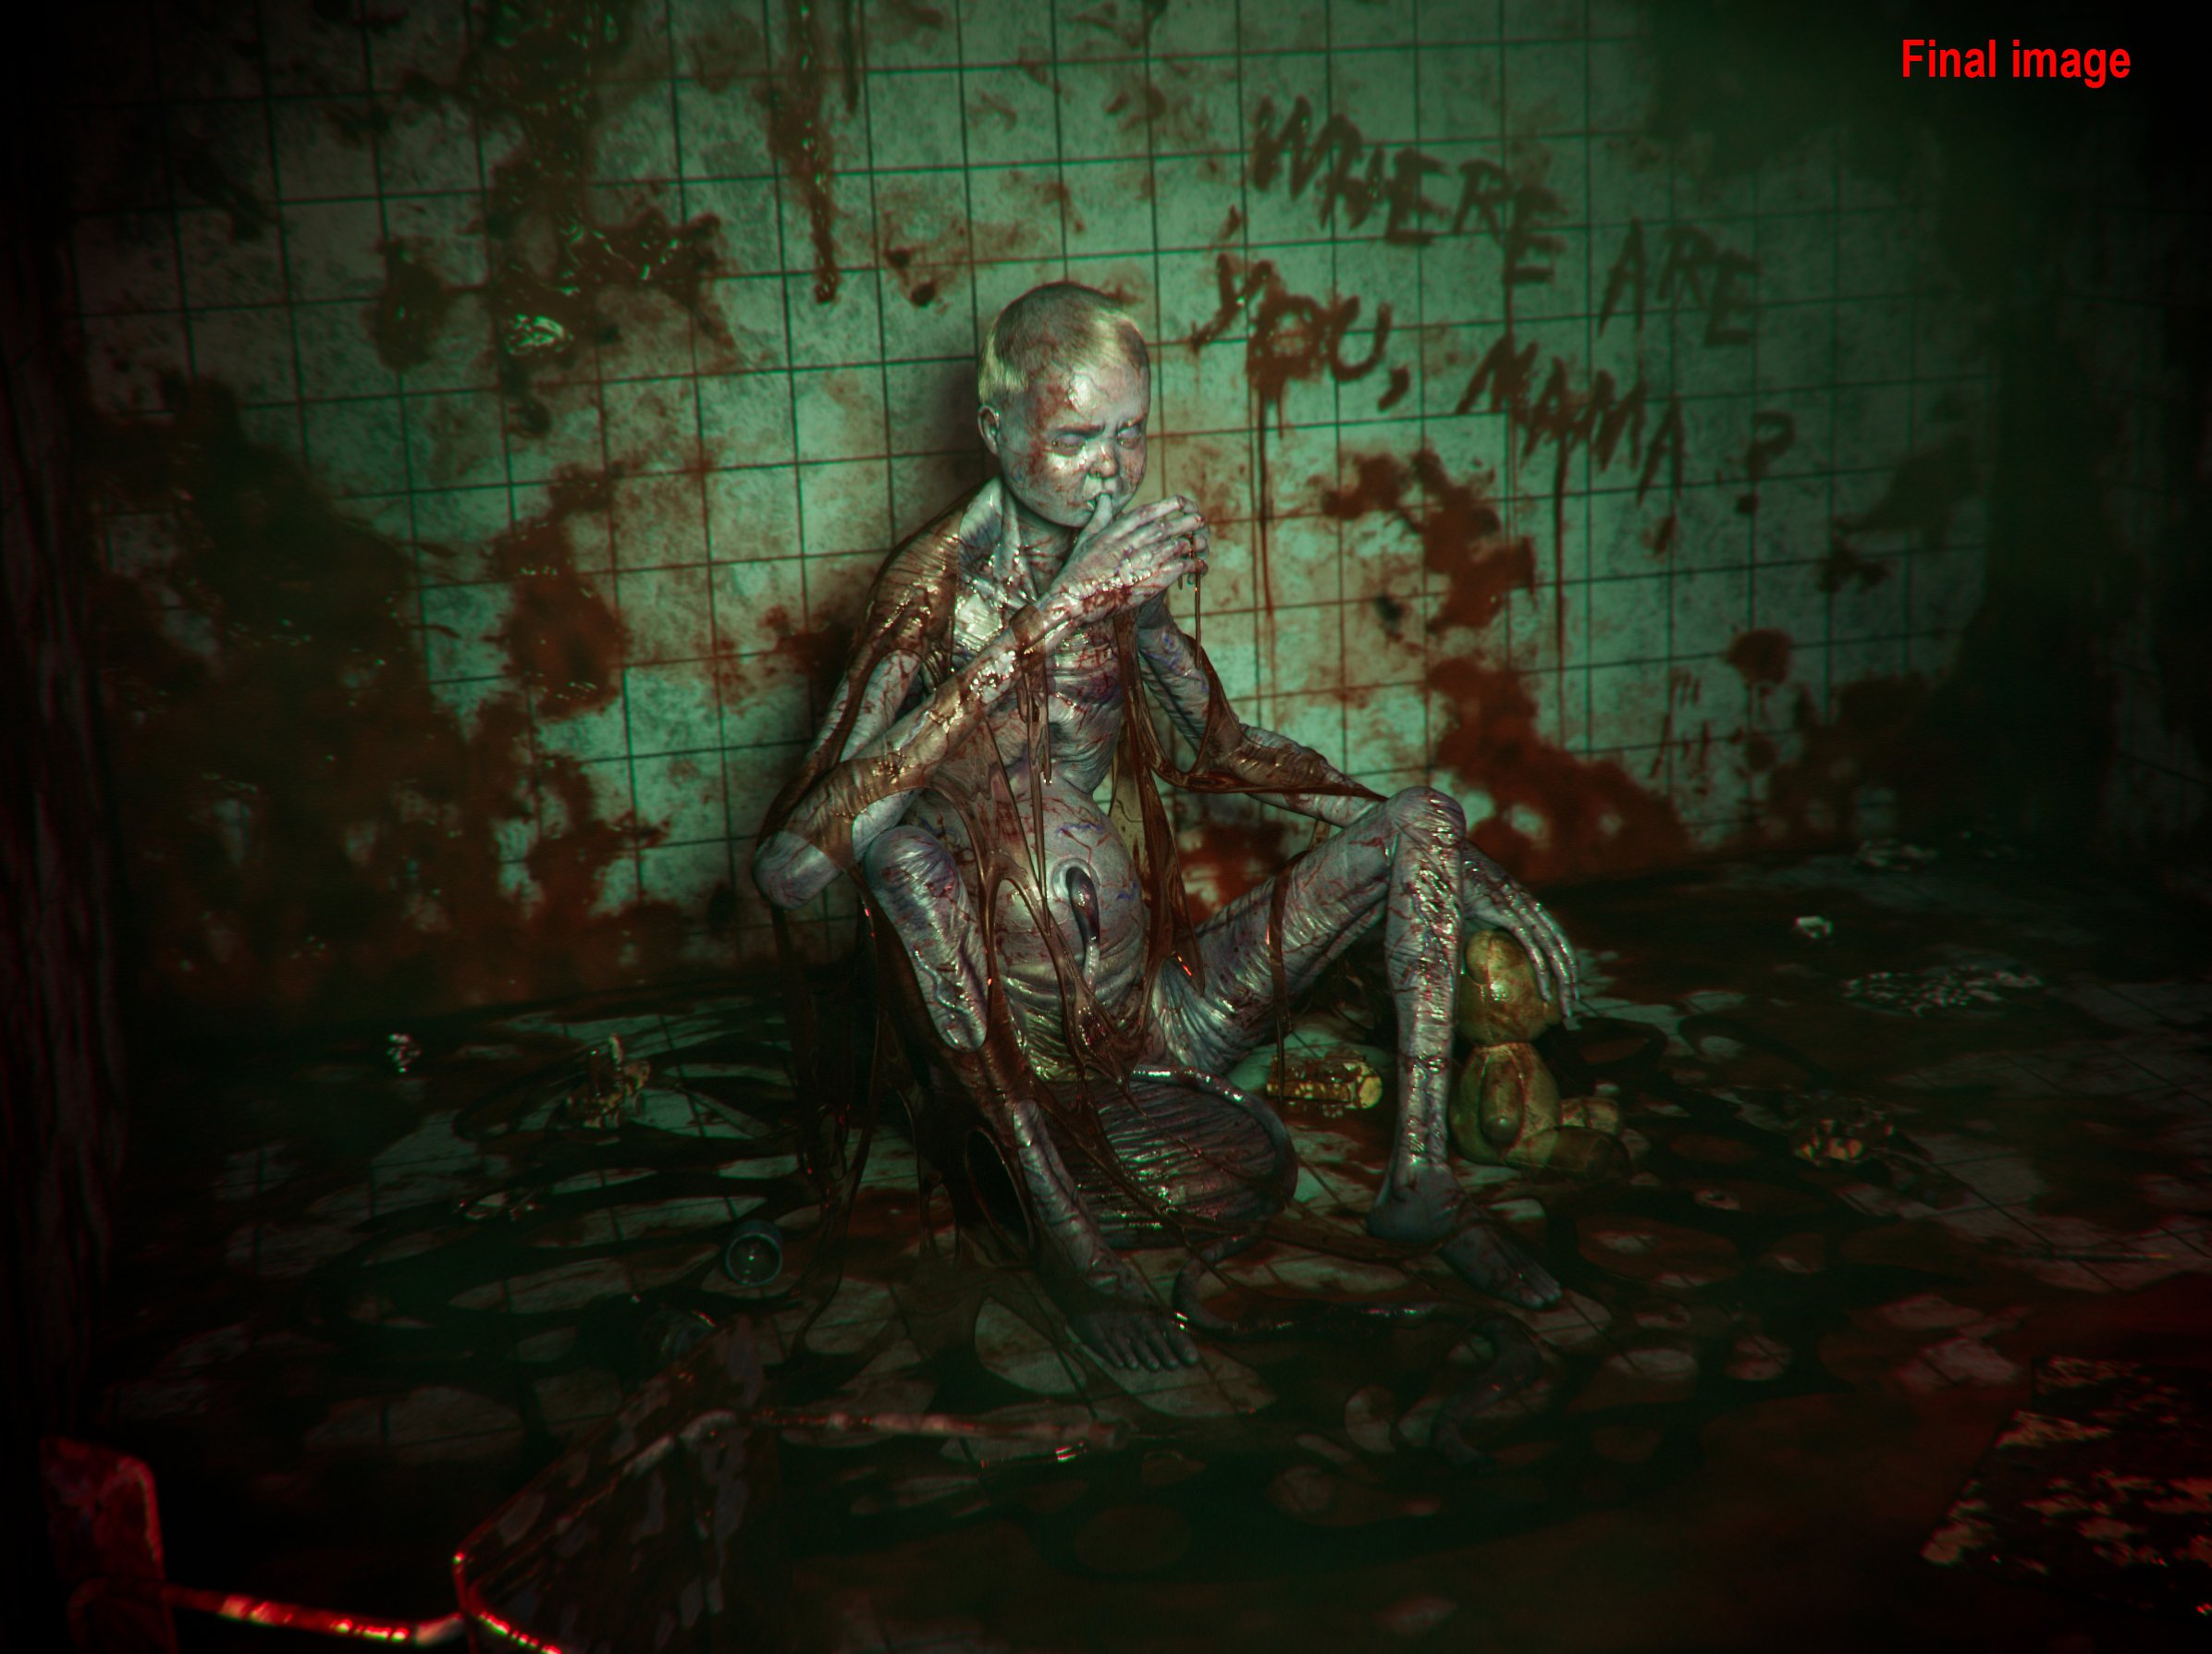
Polishing the concept
I created the groom using Xgen. And look development in Maya. Once I was happy with the lighting and rendering, I moved on to Nuke and polished my concept.


Comments (13)