
Annika Hottgenroth - Lighting LookDev - Rookies 2024

Join me on my lighting journey, expressing my passion for lighting throughout my projects. From cozy interiors to the sleek lines of a Ferrari and the rugged terrain conquered by a Land Rover.
Annika Hottgenroth - Lighting LookDev - Rookies 2024
Hello! I'm Annika, a graduate of PIXLVISN with a specialization in 3D Lighting and Lookdev. I'm thrilled to share my latest demo projects, which I primarily created during my time at PIXLVISN. If you're curious, you can find the link to my full demoreel here:
However, if you're interested in getting deeper insights into the creation process of these projects, I'll be guiding you through my thoughts and workflow in the following post.
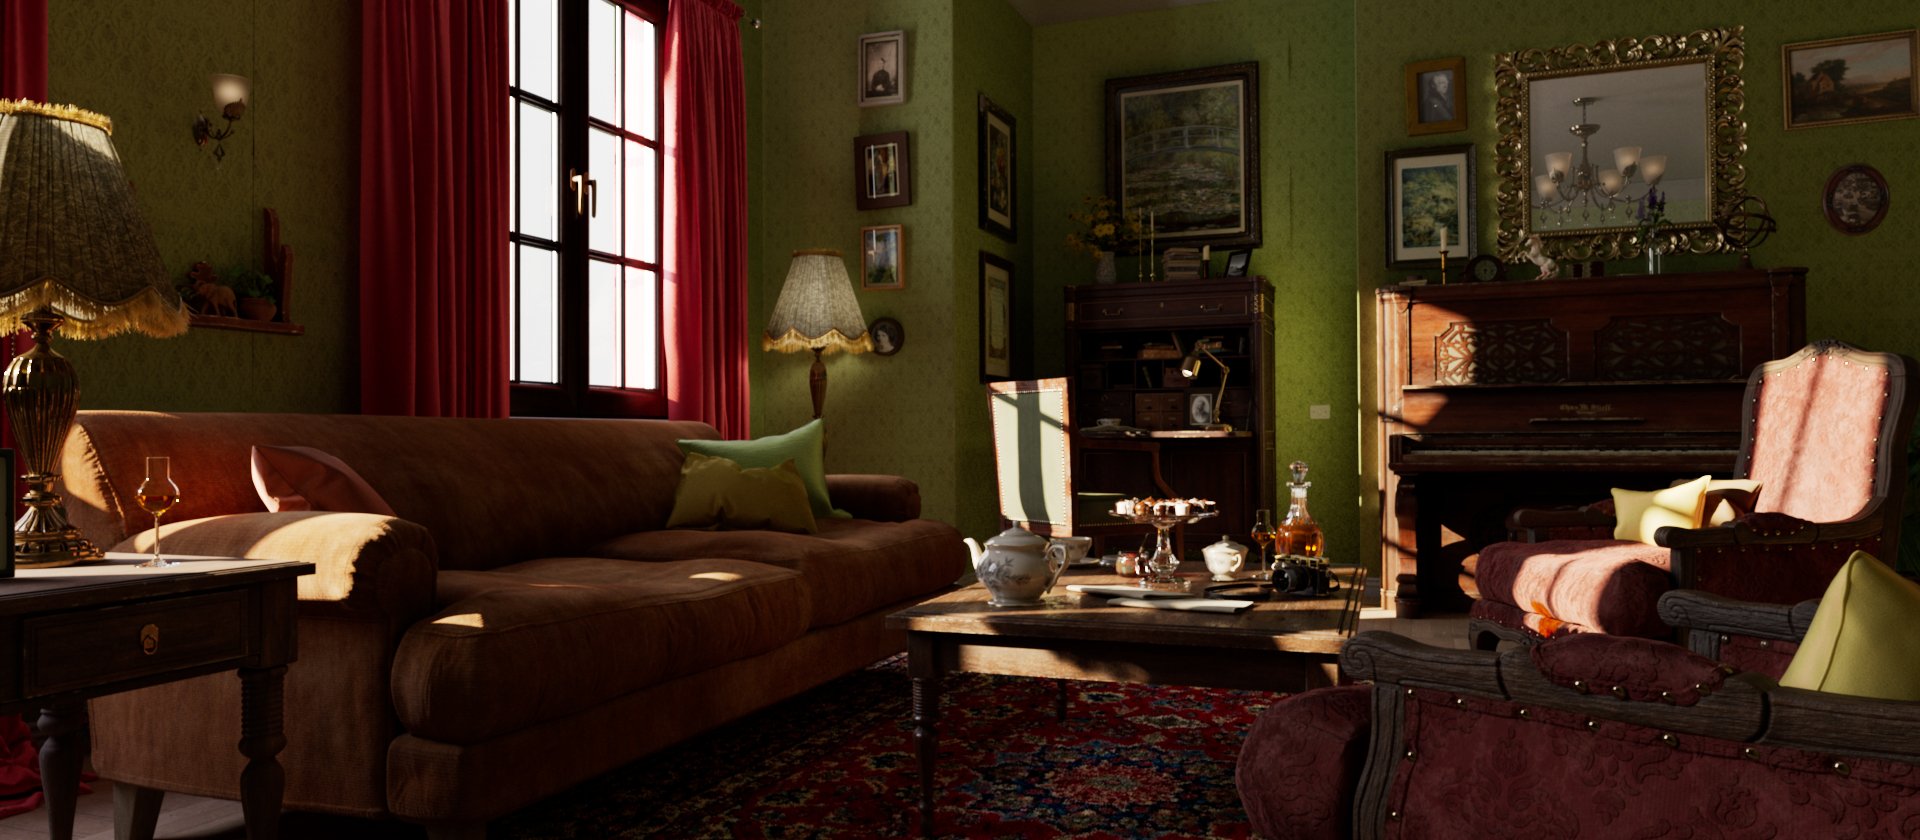
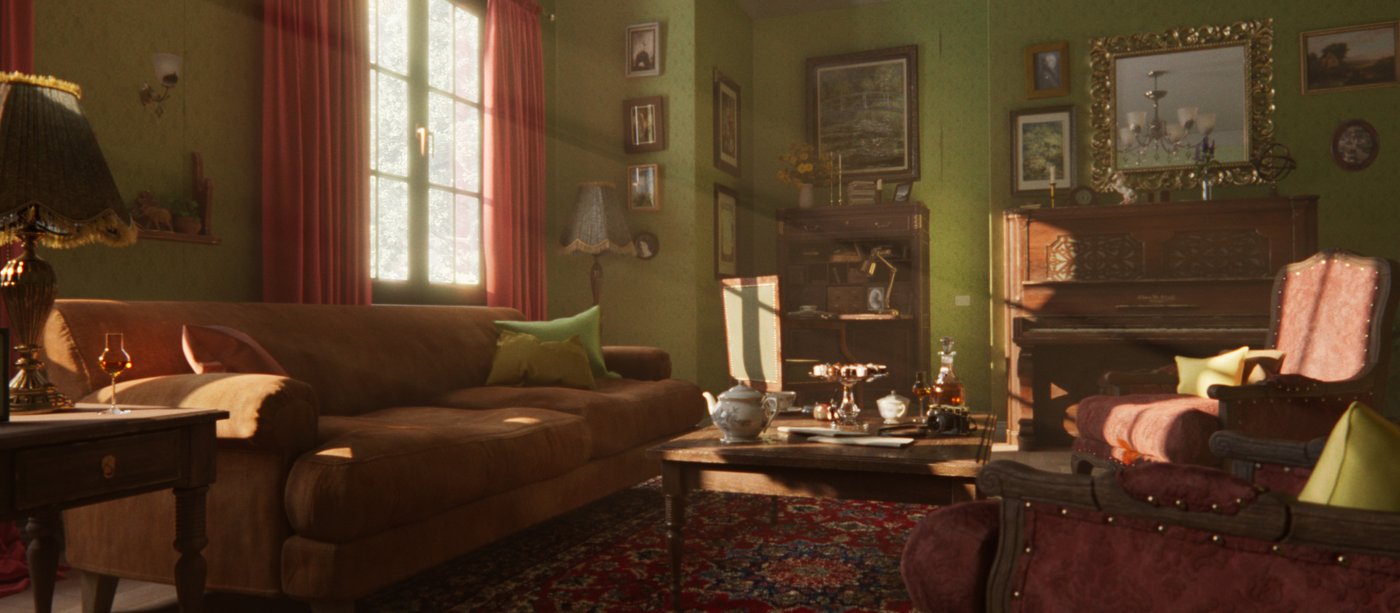
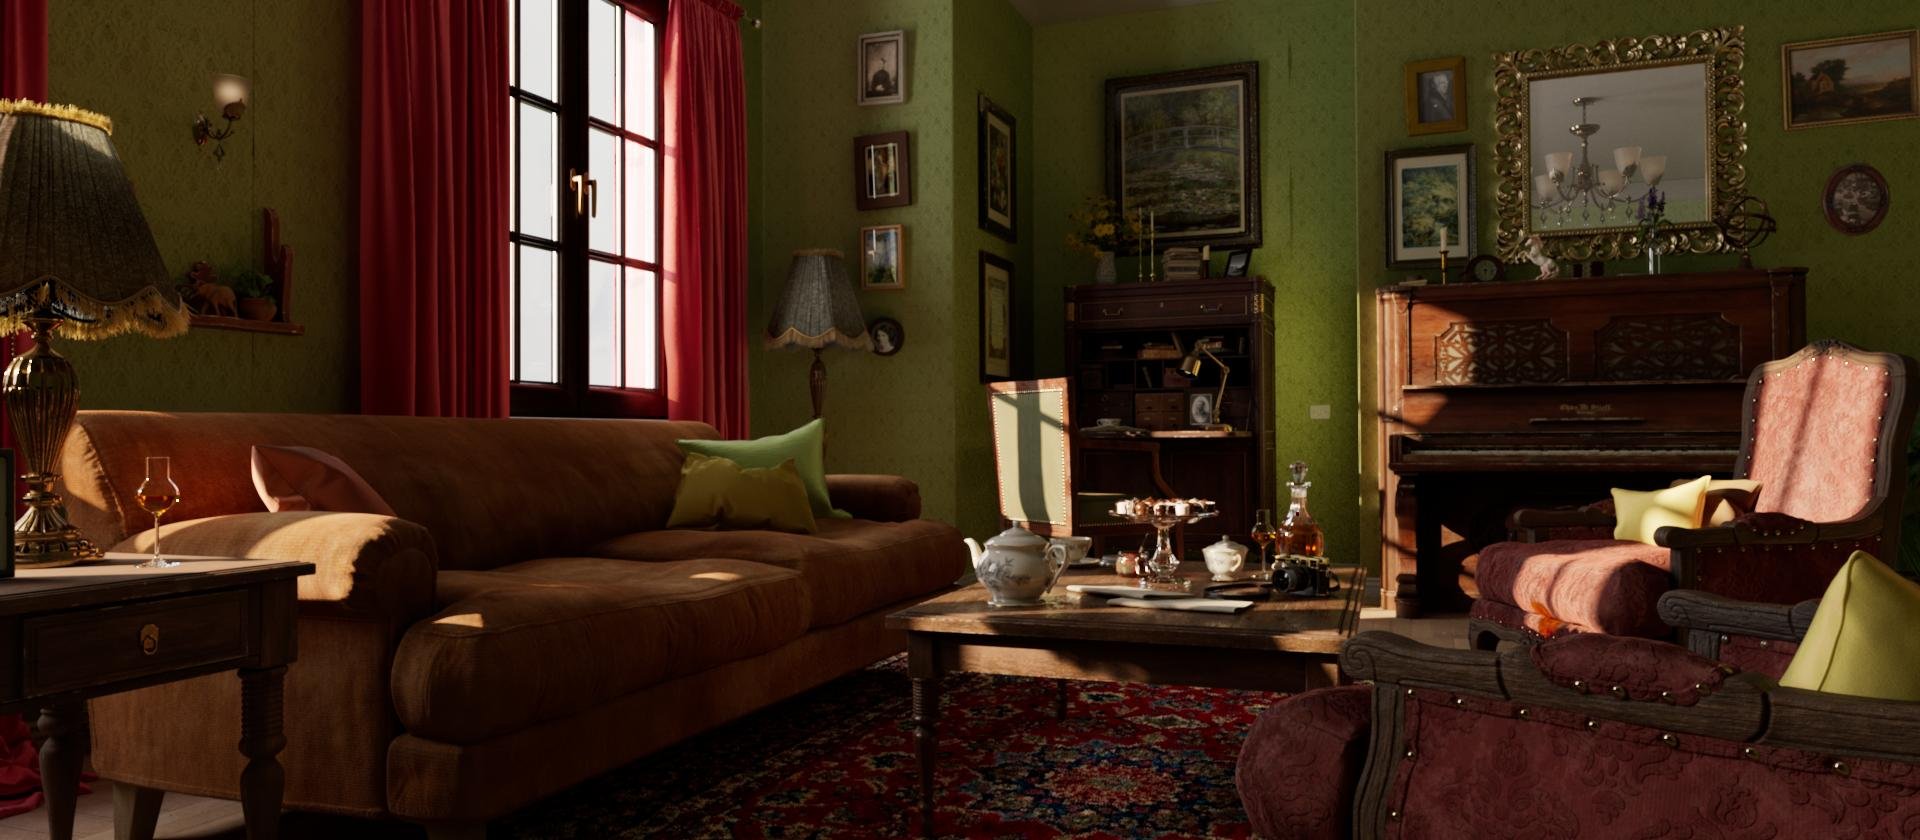
Project 01 | Cozy Retreat: Day to Night Interior
This project is a group project from Mariia Krylova, a fellow student at PIXLVISN, where I studied 3D animation and VFX. Mariia did a wonderful job on modeling and texturing the main assets, while I was responsible for shot composition and layout based on our reference, lighting, lookdev, shading, as well as retexturing some of the assets we used from external sources, and finally, the compositing.
As it was my second demo-project during my time at PIXLVISN, I aimed for a bigger challenge than just lighting an interior uniformly. I came across a similar project of lighting an interior with a day-to-night light cycle and really liked the idea of dynamic lighting and achieving different moods within a single environment through smooth animation transitions.
Concepting – finding the right balance between quality and quantity
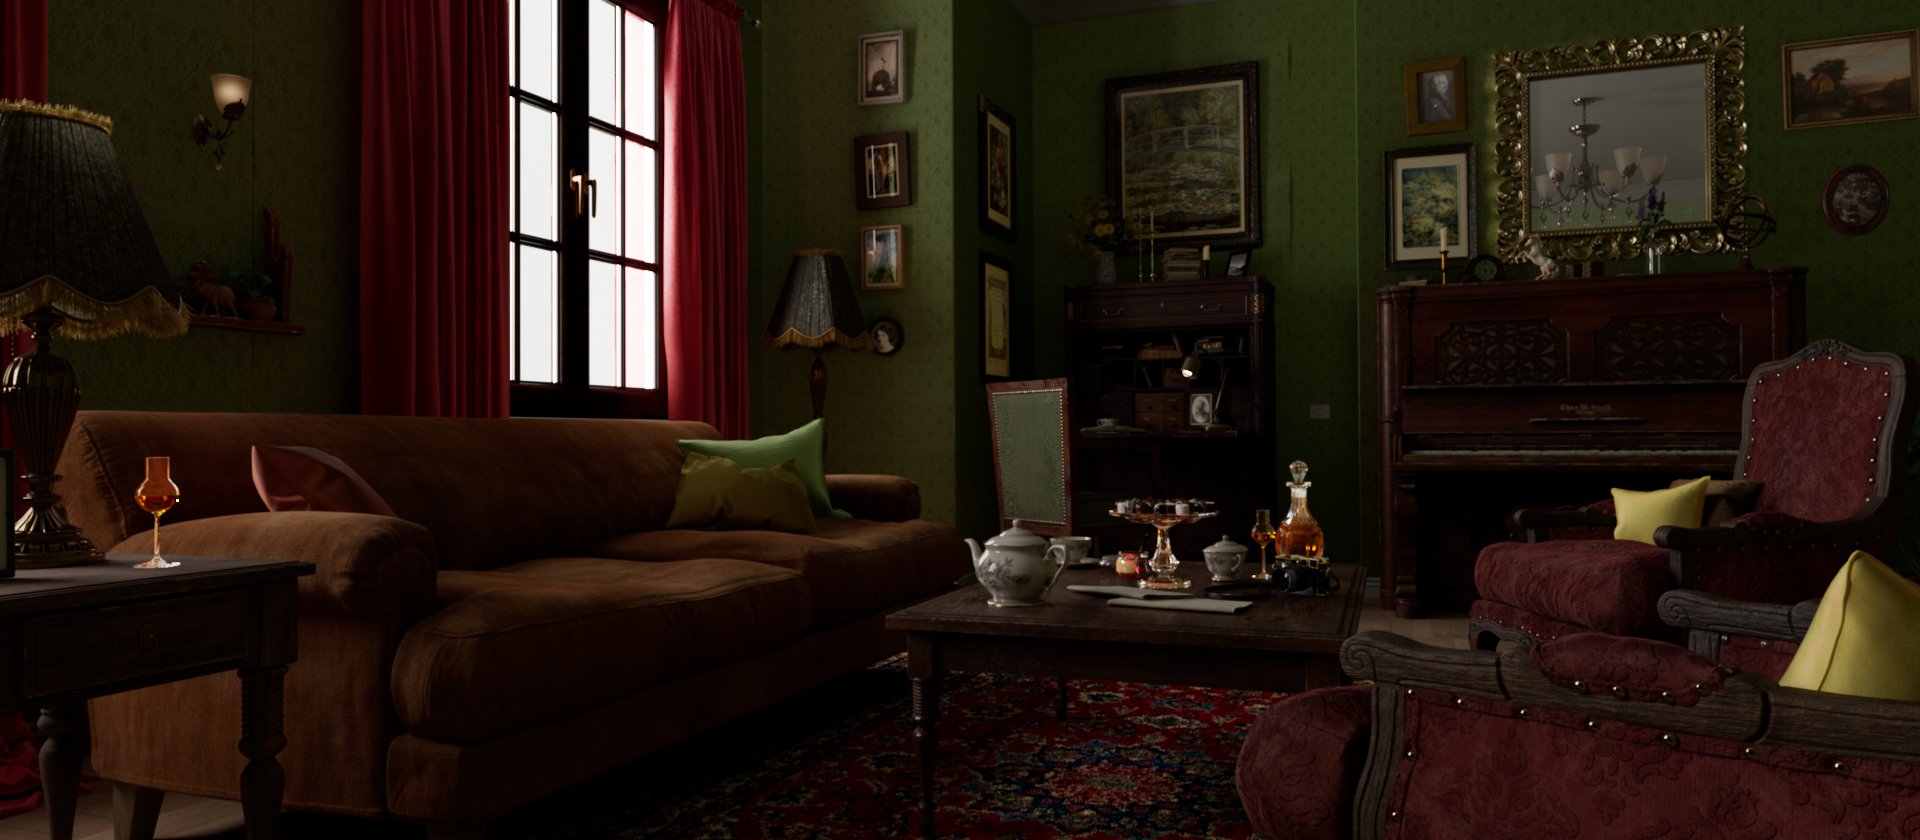
We spent quite some time finding a concept for the layout and assets, contemplating what direction we wanted to take with our interior. Initially, we envisioned a grand and opulent room with abundant windows and spaciousness. However, given that there were only two of us working on this project, each with our own areas of focus, it became clear that we needed to scale down and concentrate more on the little details and set dressing, to get a good quality as result. Quality over quantity.
Once we settled on our concept, I began blocking out the environment and cameras. Blocking out the furniture was straightforward, as our concept was clear and had an aesthetically pleasing yet realistic layout.


Lighting - my process of doing a day to night cycle in maya
After completing the initial setup, I began my lighting tests using the blockout furniture provided by Mariia.


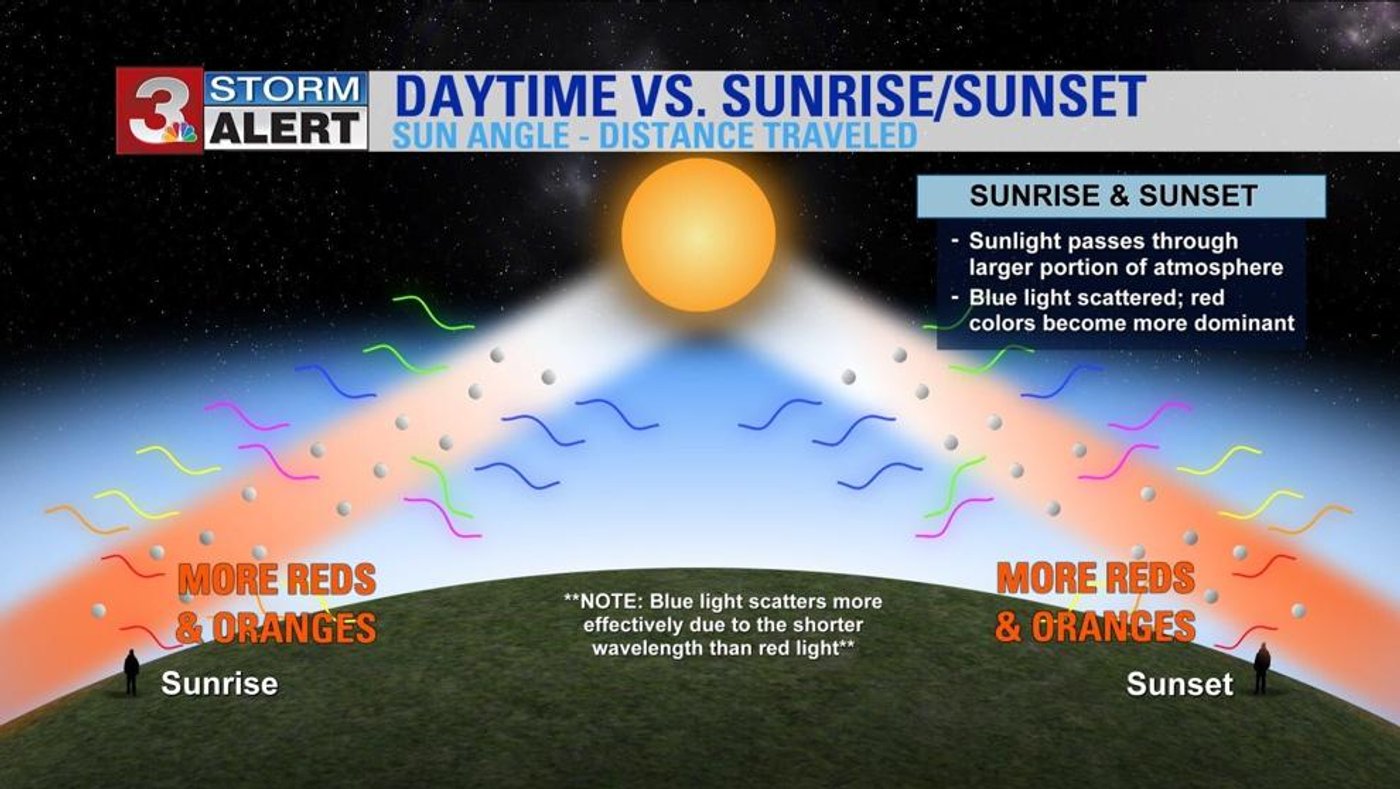
Since it was my first really animating lights I did a lot of research on how the light of the sun and the moon behaves on different times of days or night. While I already had some prior knowledge of light behavior during certain times, this research gave me a solid foundation for my lighting.
I asked myself several questions, some of them were: In which angle is the sun at morning, noon and afternoon? How does the color and hue change in-between certain time of day? How can I combine all these factors to create a realistic yet visually appealing result?
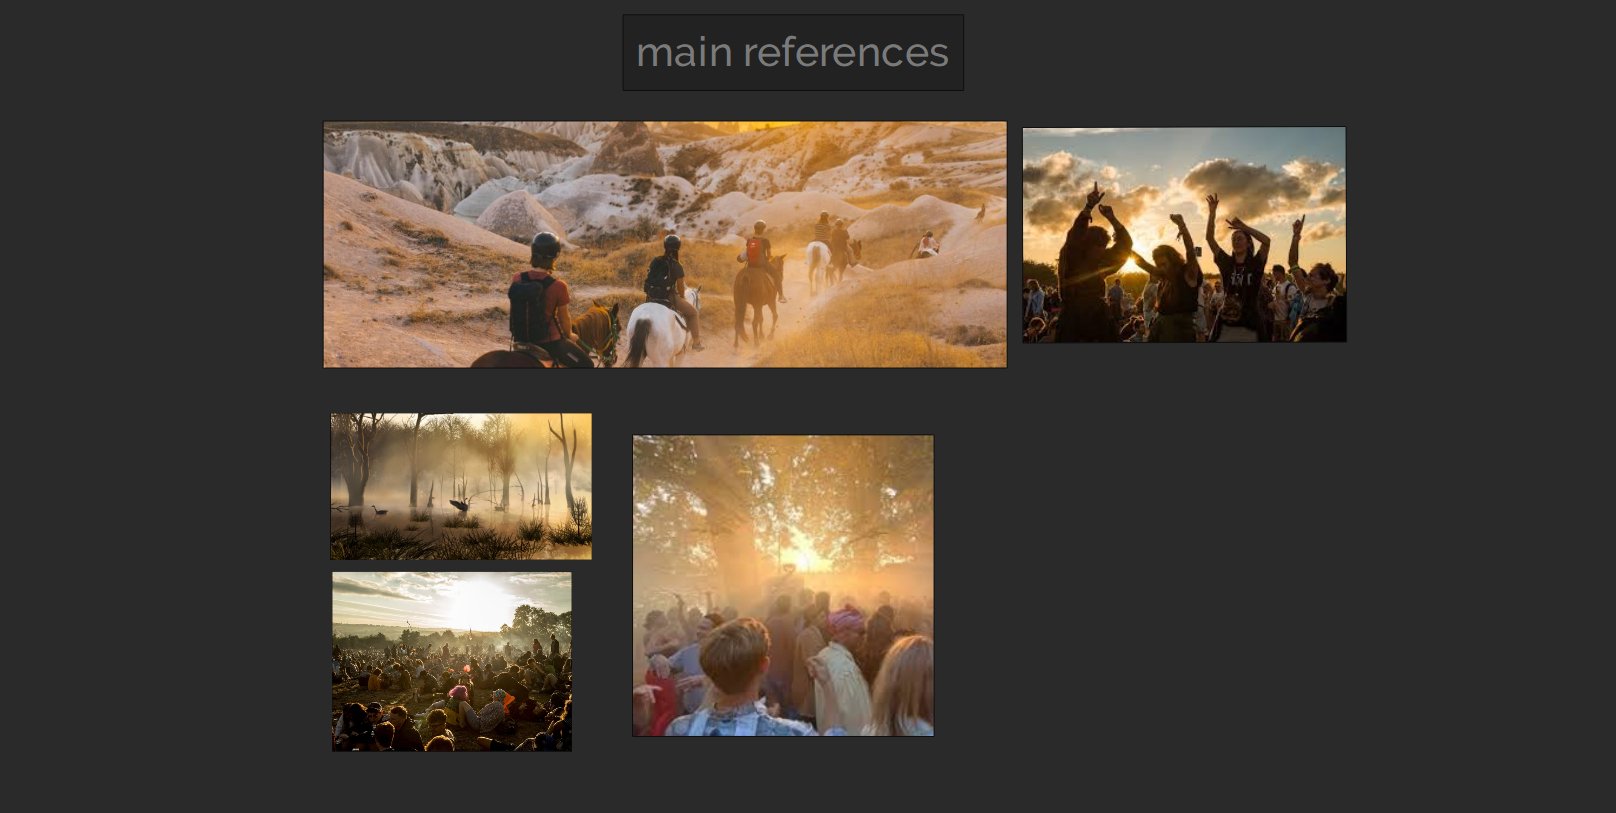
Studying various nature time lapses was immensely helpful, so was observing natural lighting phenomena in the real world I´ve seen and drawing from my own experiences. Additionally, Fabrizio Meli, a mentor at PIXLVISN, introduced me to a website called sonnenverlauf.de. This website allows for precise calculation of the sun's path, providing information on sunrise, high noon, sunset times, sun angles, and shadow lengths. This resource gave me a comprehensive understanding of how to time my time-lapse and how different stages of the sun's path affect the lighting.
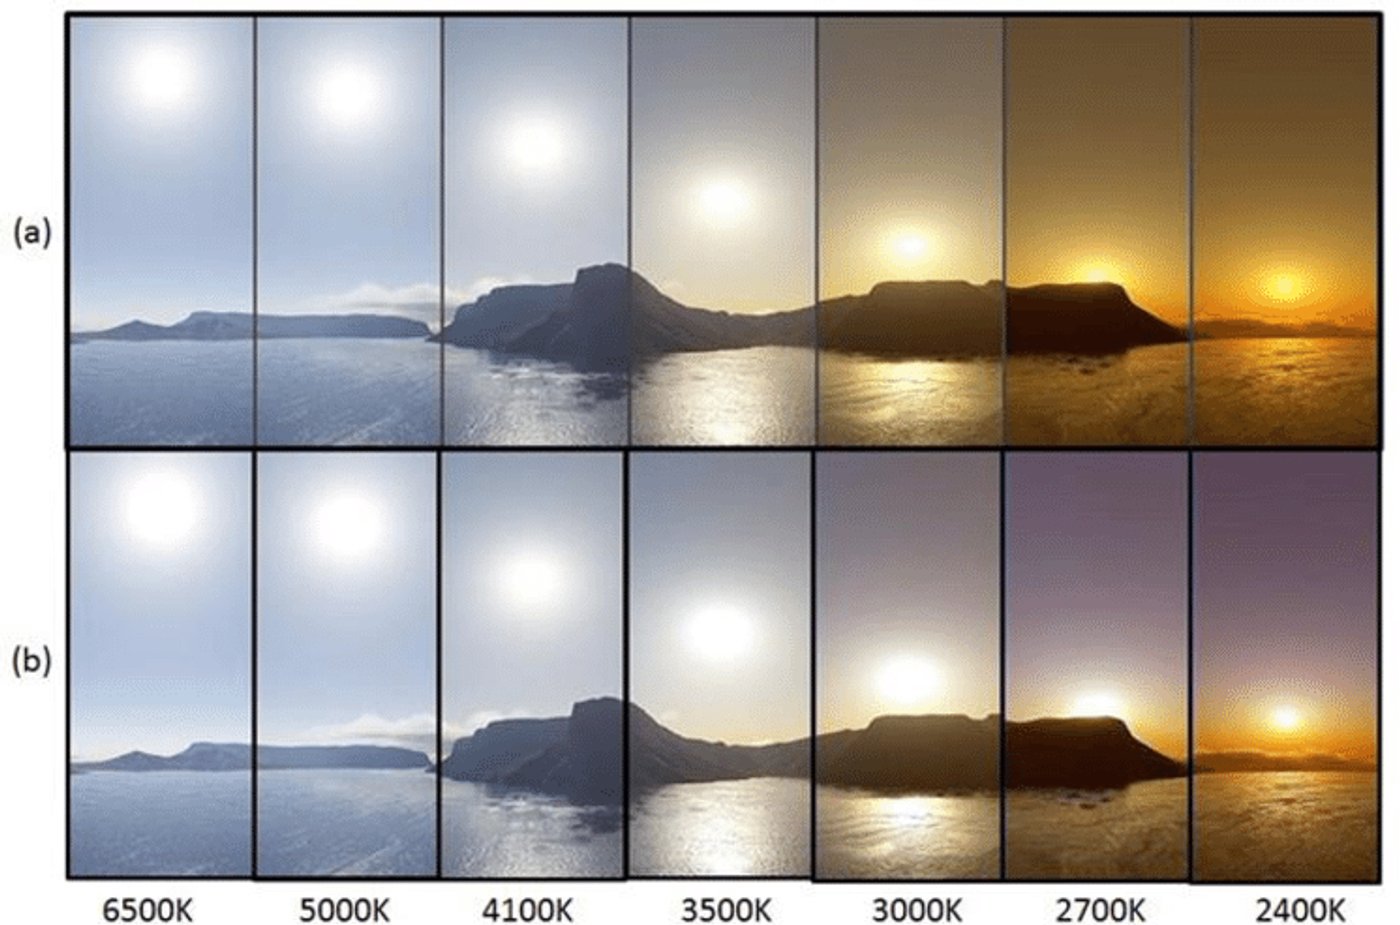
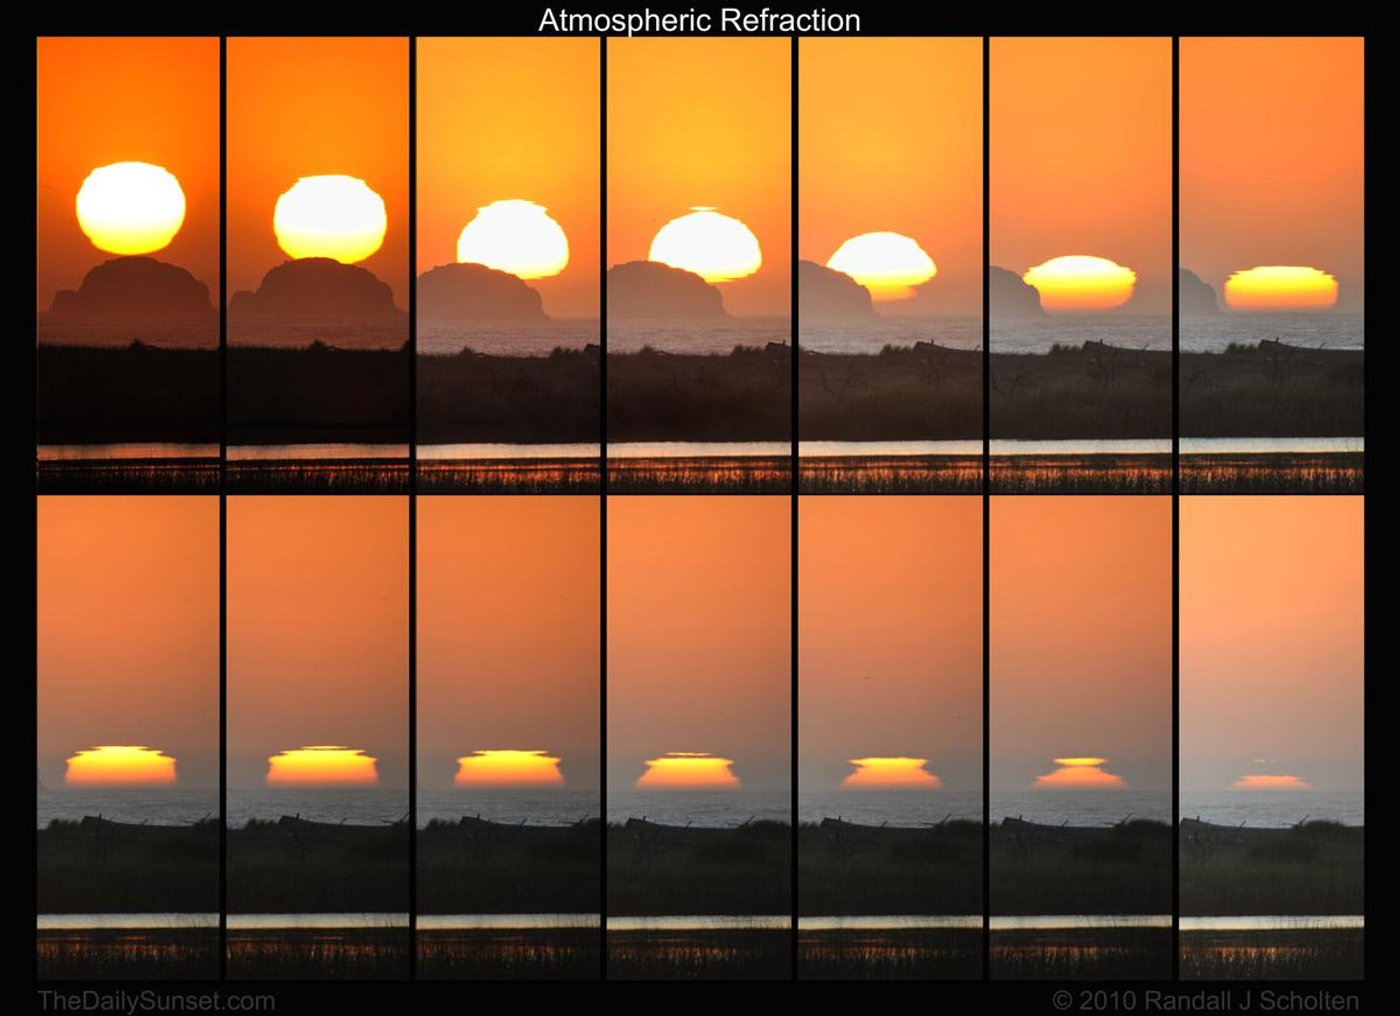
These are some of the references that helped me to understand the light color better:

After that I could fully start the lighting process. For the sun I used the sun provided within Chaos Vray. At first I did my tests using the directional light in Maya, but I soon realized that the built-in aim constraint provided better control over the artistic direction of the light. Additionally, the built-in color changes based on the height of the VRAY sun gave me a good foundation to work with regarding light colors. Looking back, I would have tried to make my own light rig, if I had the time for it to gain complete control over how the colors would look like.
Another significant question for me was how to handle the dome lights in my scene, as I intended to animate all the lighting in Nuke for faster controls without the need for re-rendering. Everyone I asked had only ever done it in Maya before and had never rendered with two dome lights. After doing some testing, I found that it worked as I desired, but I'll dive into more detail on that matter in the compositing part.
Furthermore, I set a light for every window, since the sun- and the dome-lights were not enough to illuminate the scene properly. Lastly one light for every lamp.


LookDev – getting into detailing
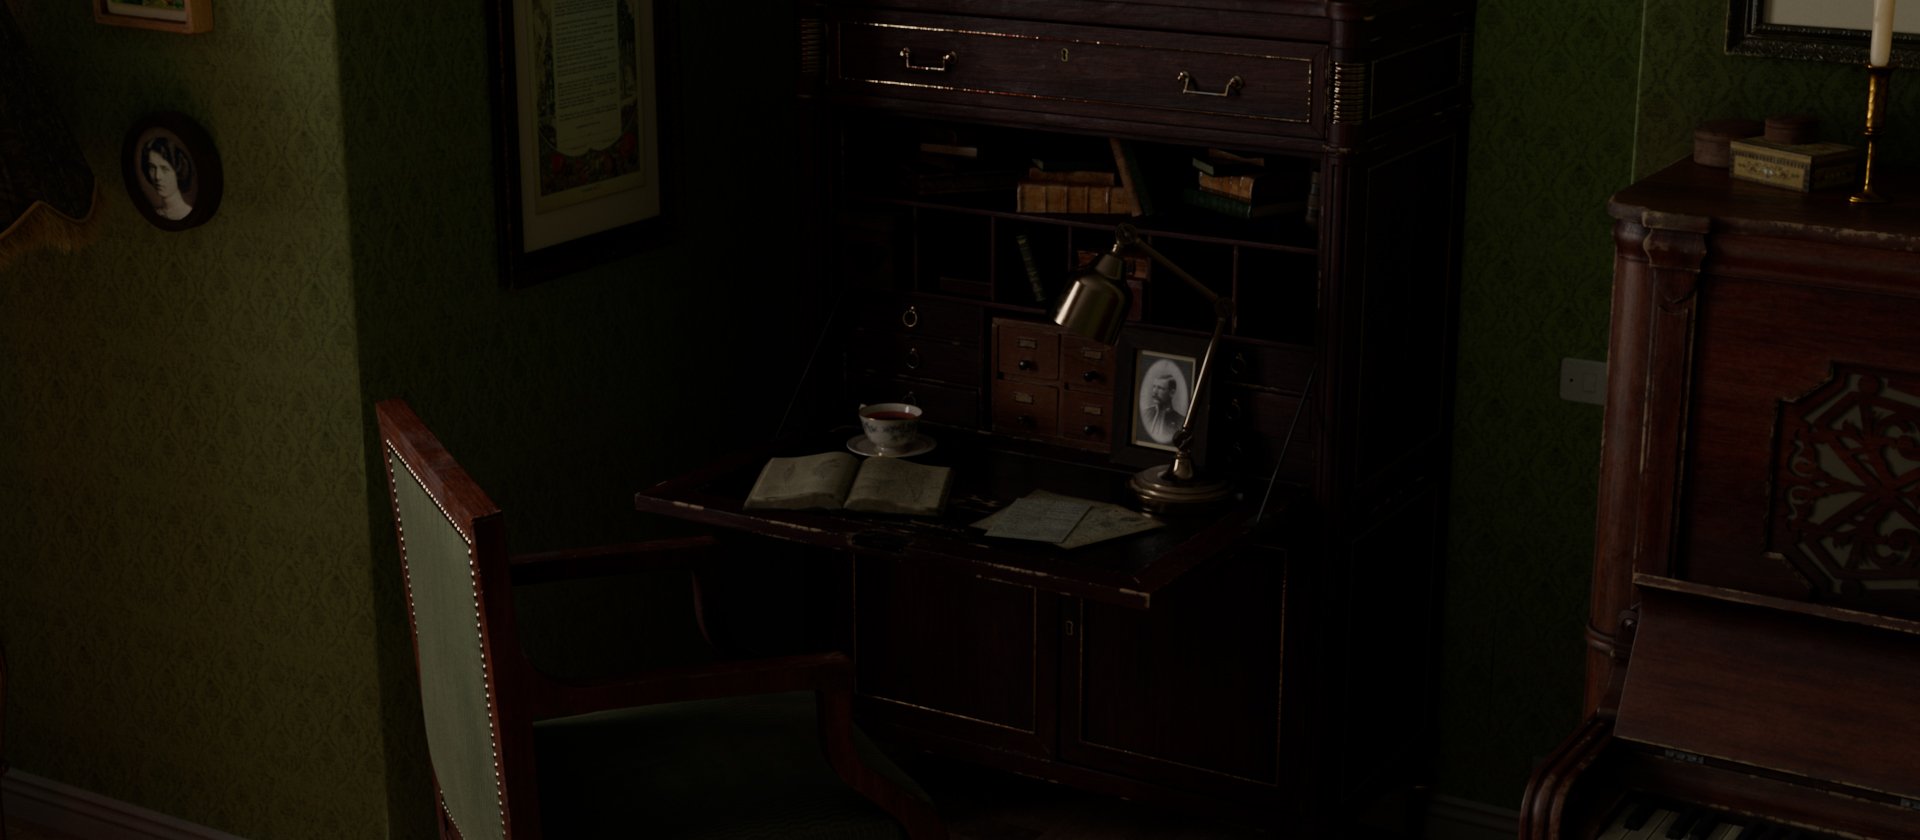
After completing the rough lighting, I also started the LookDev part in this project. Although the project looked great with all the furniture modeled and textured by Mariia, it was too empty and still lacked the lived-in feel to be believable. To address this, I searched for set dressing assets to populate our scene. Selecting from various resources was quite a challenge at times since each asset had a different appearance. I iterated back and forth in the shading process to achieve the desired look, especially focusing on wood tones. I liked that it resembled a collection of items gathered over time rather than a uniform set from a furniture store. However, I needed to maintain balance in hue and color to ensure they still complemented each other. Additionally, I modeled and shaded small details to enhance the room's realism, such as the light switch, desk lamp cable, baseboard, and ceiling molding.
For the photos and artworks on the walls, I intentionally chose old portraits to match the furniture aesthetic. Drawing inspiration from the work of German romantic painter Caspar David Friedrich and the painter Claude Monet, I included some of their paintings and Caspar’s self-portraits.
To achieve a realistic look for the pillows and curtains, I used the sampler info node to generate a black and white mask specifying the camera's direction. This created the illusion of the velvet's shininess changing based on the viewing angle.
When I began my test renders, I realized it would be time-consuming to adjust colors of the light and get them right in Maya. Therefore, I decided to handle all color animation and light toggling on and off in compositing to fasten the process.
Compositing – animating and final touches
Starting the compositing process, I reconstructed the beauty based on my lights. Prior to this, I separated each light group I set up in Maya into their respective diffuse, GI, specular, SSS, and reflection channels, granting me full control over each component. This was super helpful for toggling lights in compositing, such as the lamp in the foreground of the first shot, which still required the SSS channel's light for proper illumination without appearing too dark. Without this separation, I would have been limited to simply turning the light on or off. When I´m talking about turning lights off and on, I mean adjusting their intensity within their light groups using a grade node.

on the left: no seperation when switching off the lights | on the right: lights seperated into different channels
I previously mentioned the dome lights; I rendered the full sequence with both dome lights on their original exposure —one suited for night and the other for day. In Nuke, I had the flexibility to animate them to my needs.
Additionally, I primarily animated light colors and hues in Nuke. This allowed for quicker adjustments, as I worked with animations and couldn't rely on still renders to see if the transitions work how I intended them to work. Rendering the entire sequence in Nuke was also faster than doing so in Maya. Moreover, I could link grade nodes in Nuke to get the same adjustments across multiple nodes. For example, if I made the sunlight redder in the Sun-diffuse channel, it would automatically update in the Sun-GI channel, Sun-specular channel, and so forth.
After animating and adjusting the lights I adjusted the black levels.
I also did a custom AOV to add the illusion of atmosphere in my interior. It´s almost like the Z AOV with depth information, but with smoothed out edges, to avoid weird artifacts in the atmosphere.

I also added a particle system in nuke. To add variety to the dust particles and avoid them appearing as simple flying dots, I custom-painted 10 different dust particles in Photoshop.
After that I added god rays and lens effects such as lens distortion, halation, chromatic aberration, defocus, light wrap and color correction.
For the trees out of the window I put two different trees and did a small matte painting so they would move accordingly with the camera movement. After that I also animated the colors and brightness accordingly to the lights changing in the scene.


Looking back, I would use Nuke primarily as a tool to experiment with light animation if I have enough time on my hands. I would try out values in Nuke and re-render the scene once satisfied with the results, rather than relying solely on compositing. However, due to time constraints during the project, I didn't have the time to try out everything and re-render afterward.
While animating lights purely in Nuke had its advantages, as previously mentioned, I encountered some challenges, particularly with turning off lights behind glass. In that case I would make tests in nuke to get fast feedback on timing and colors.
Overall, it was a pretty fun project and I loved to try out new ways of working even if it meant encountering some mistakes along the way.
Softwares used:
Autodesk Maya, Chaos Vray for Maya, The Foundrys Nuke, Adobes Photoshop, Substance Painter, 3ds Max
Credits:
Modeling and Texturing of main Furniture: Mariia Krylova
Decor/Set dressing: Quixel Bridge, poliigon, polyhaven, 3dSky, CG Trader
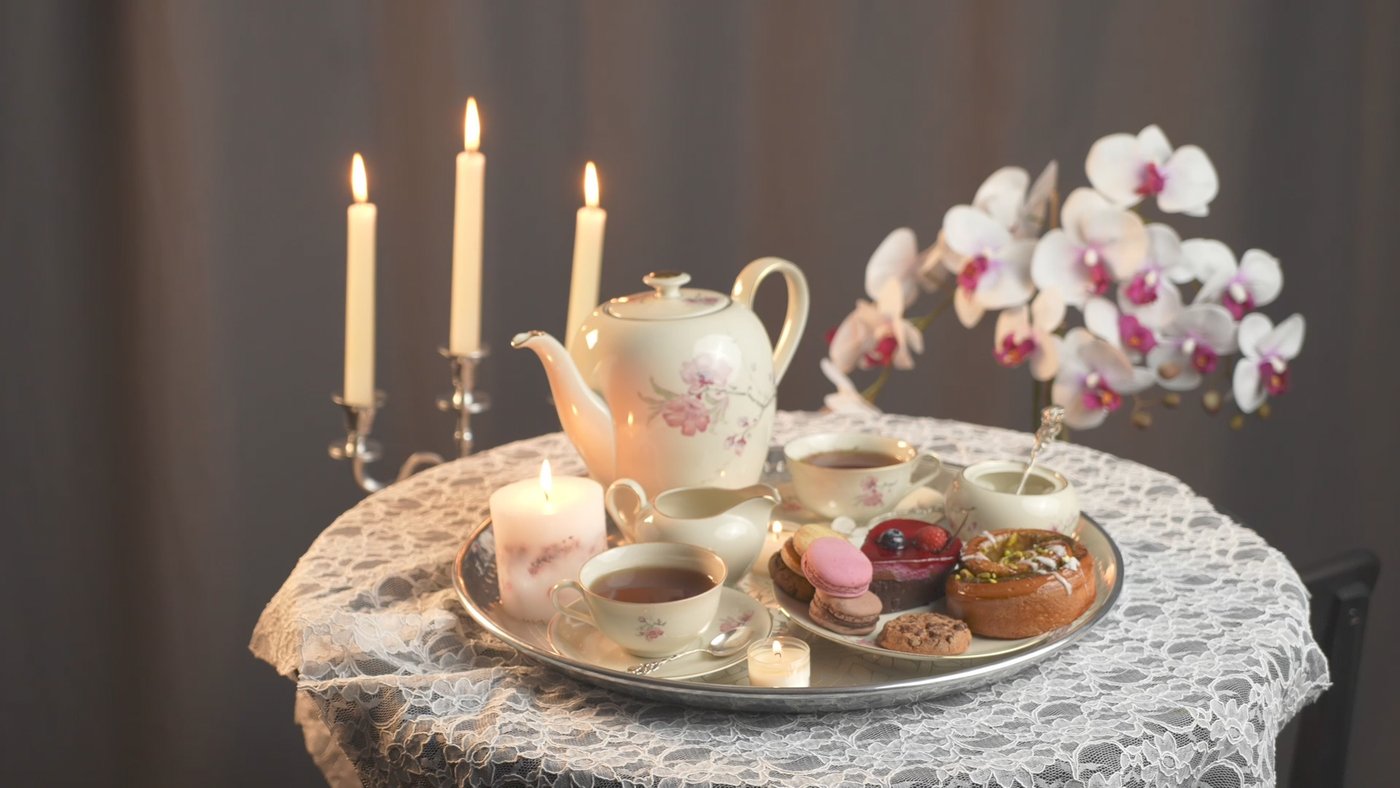
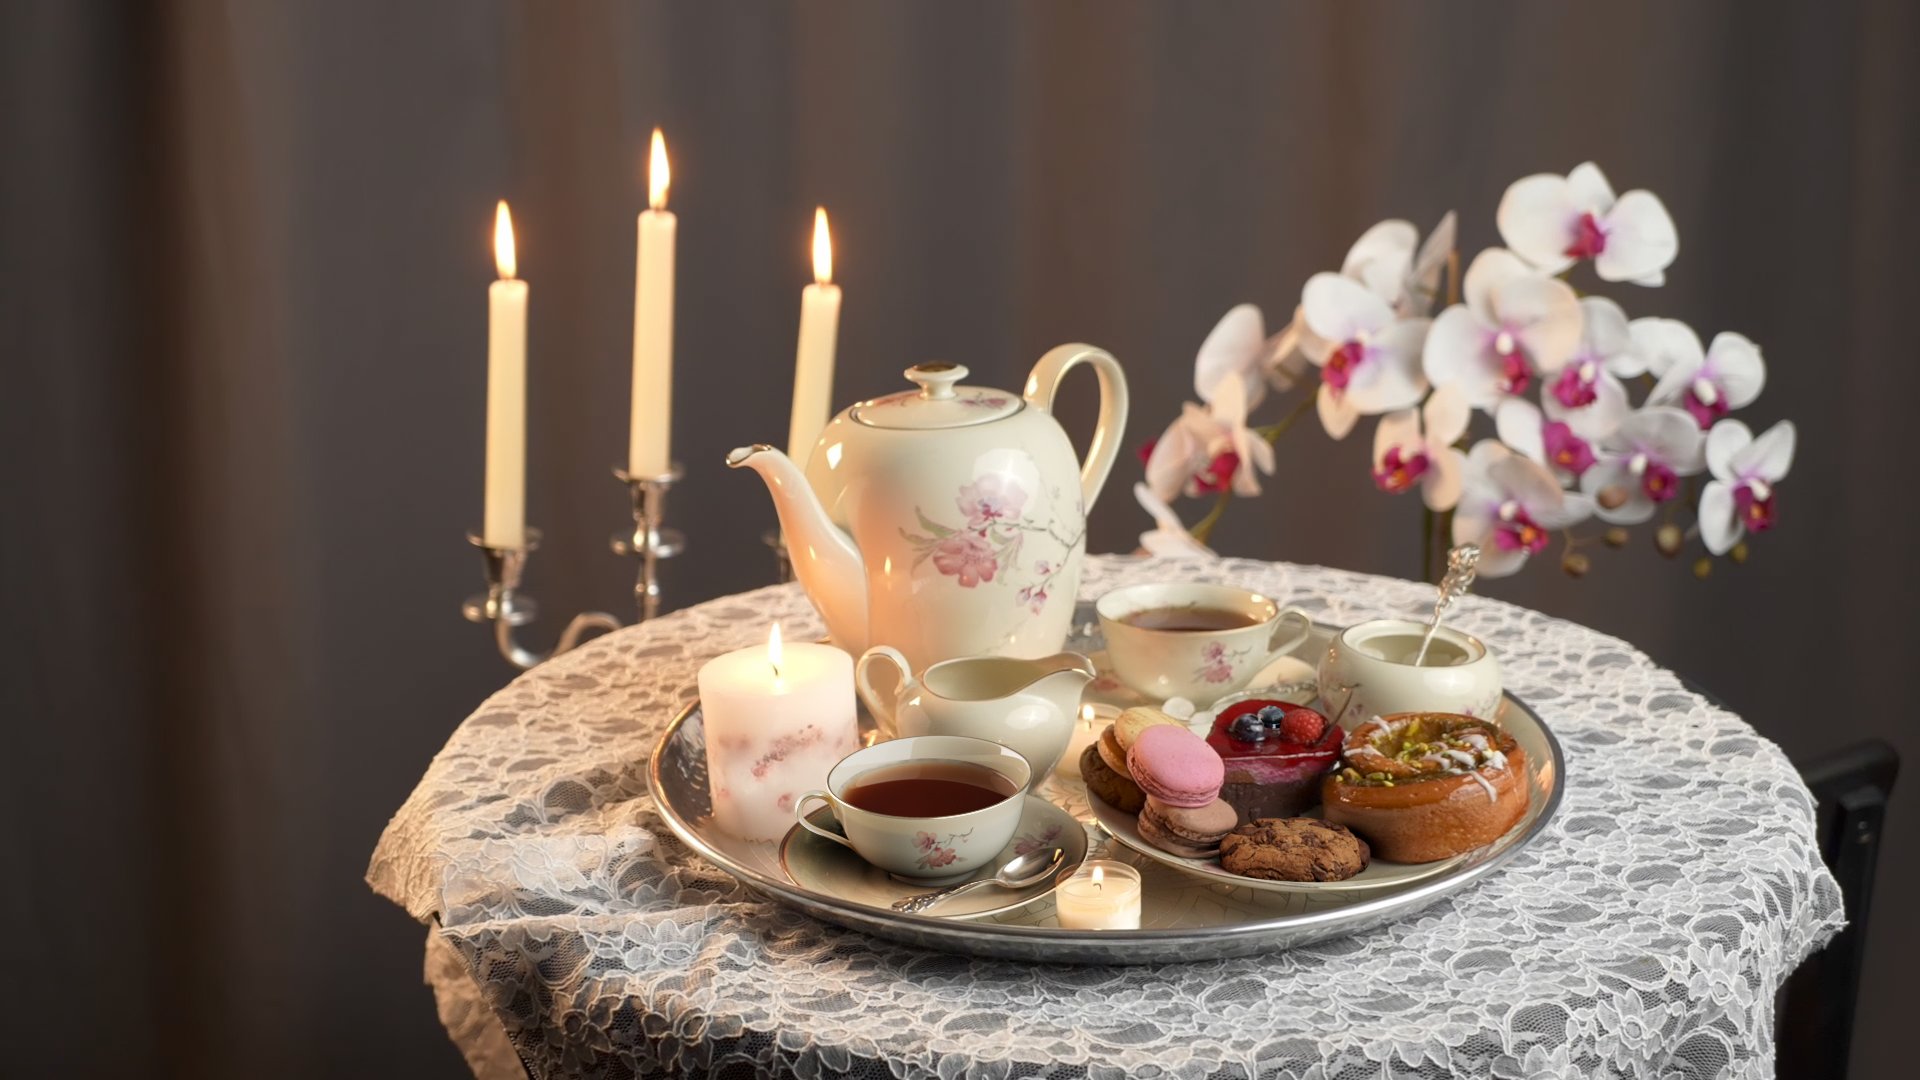
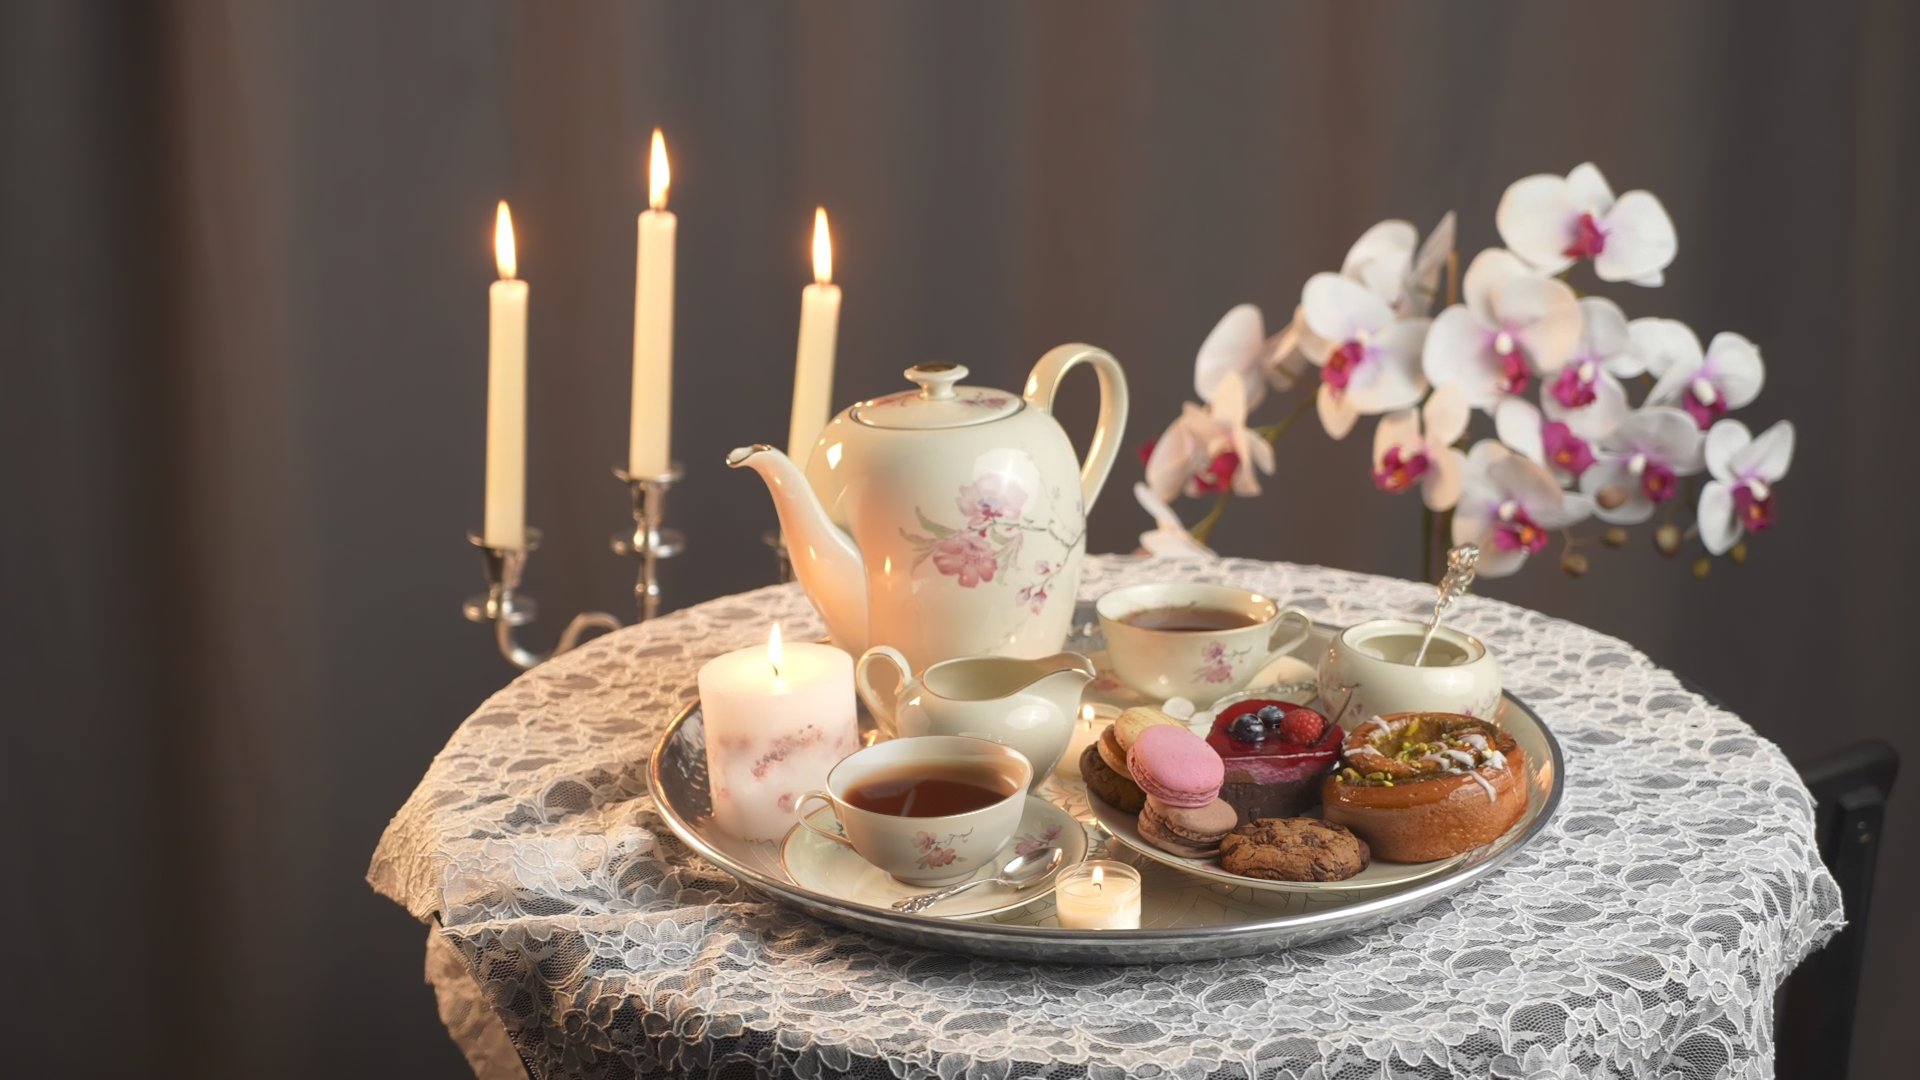
Project 02 | CG Integration – sweet tea
Some of you may recognize this project from my entry last year. My reel has grown since, but it´s still a big part of it.
I started the project as an assignment for our compositing course, with the Idea in mind to gain knowledge on how to integrate a CG object seamlessly into a real environment, as I would do as a lighting artist. I wanted to archive an aesthetically pleasing project, as well as give myself a little challenge with having a lot of reflective objects and candles.
Getting started – filming and concepting
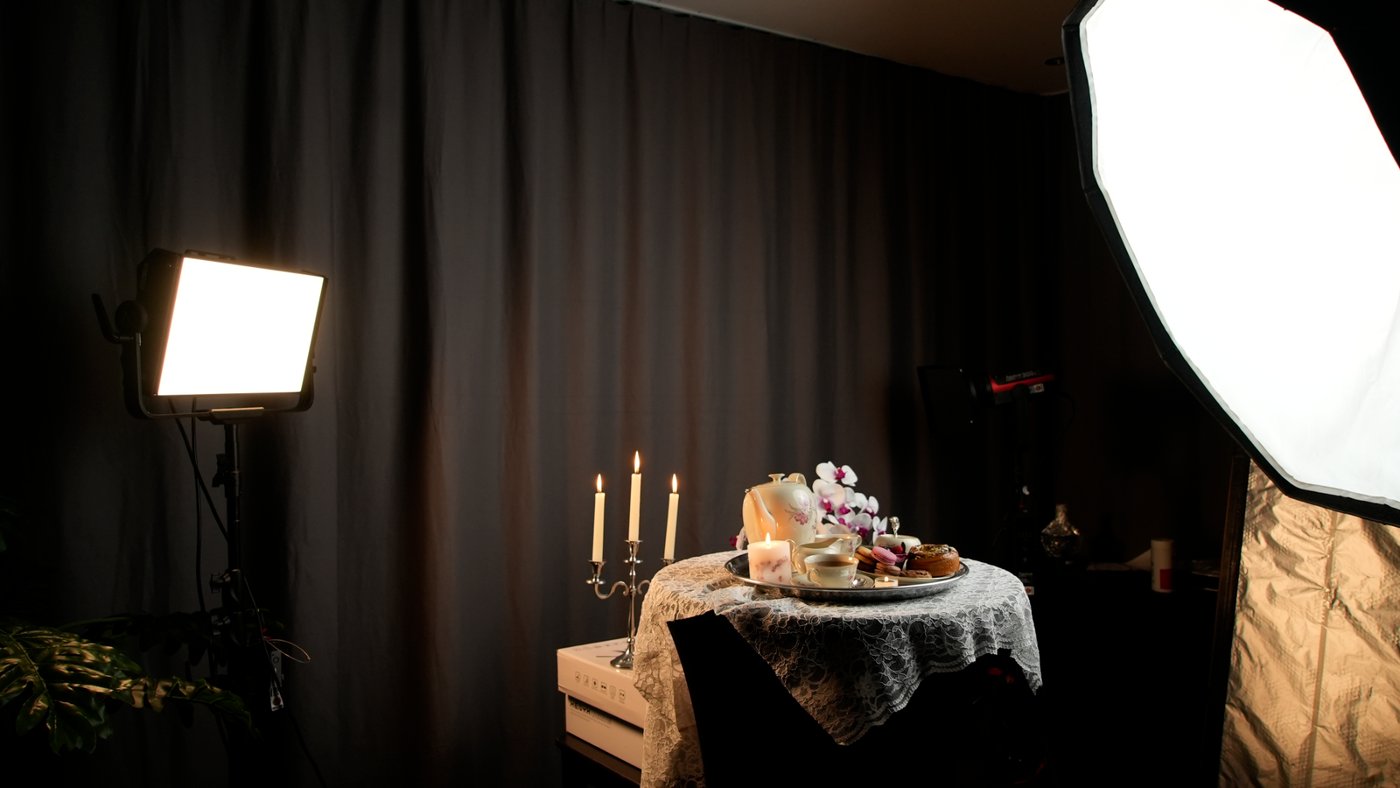
After I planned out my concept and got the assets, I arranged everything in a way that would be pleasing for the eye and then made the final decision on which objects I wanted to integrate. Originally, I wanted to integrate the spoon instead of the cup. After seeing it all set up, I thought it would be more interesting to texture and shade the cup with tea in it as well as it being more challenging in compositing to get all the reflections in the tea and porcelain just right. As I wanted to have a little challenge to recreate the reflections of the candles, I placed some smaller candles throughout my arrangement instead of just placing them in the background. I set up a rim light from the back left and a big softbox from the right to get it evenly lit. As the candles added warmth, I decided to also give the rim light a warmer tone, but generally tried to get a pretty neutral light so I could adjust it with grading in nuke afterwards.
For the camera movement I decided to go for a simple pan from left to right, that would make the tracking easier, as it was the first time for me to track something with a 3D tracker setup.
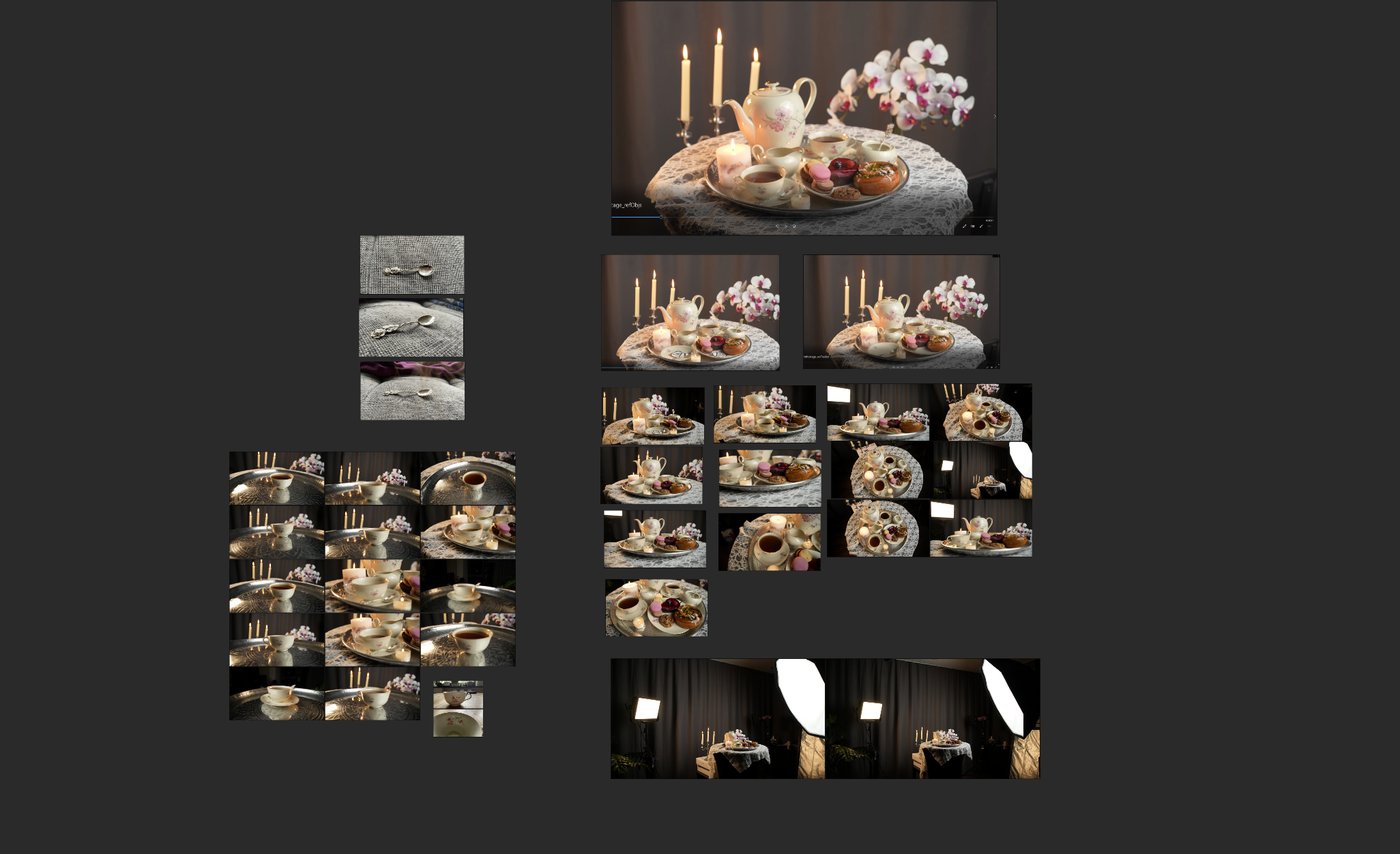
After I filmed the clean plate, a reference with all the objects that were to be integrated, a plate with tracking markers to make tracking easier, I created a HDRI with the help of a 360-degree camera. What I didn't think of at that time was that I would need all objects, except the ones to integrate, in the HDRI as well so that I get correct reflections. Therefore, I had to recreate the reflections of the integrated objects per hand afterwards.
An important part was to take as many pictures as possible, from different perspectives, to get a good understanding of every light source. To match it in 3D as close as possible, but also for compositing, getting all the details just right.

Diving into 3D – Lighting and Shading in Maya
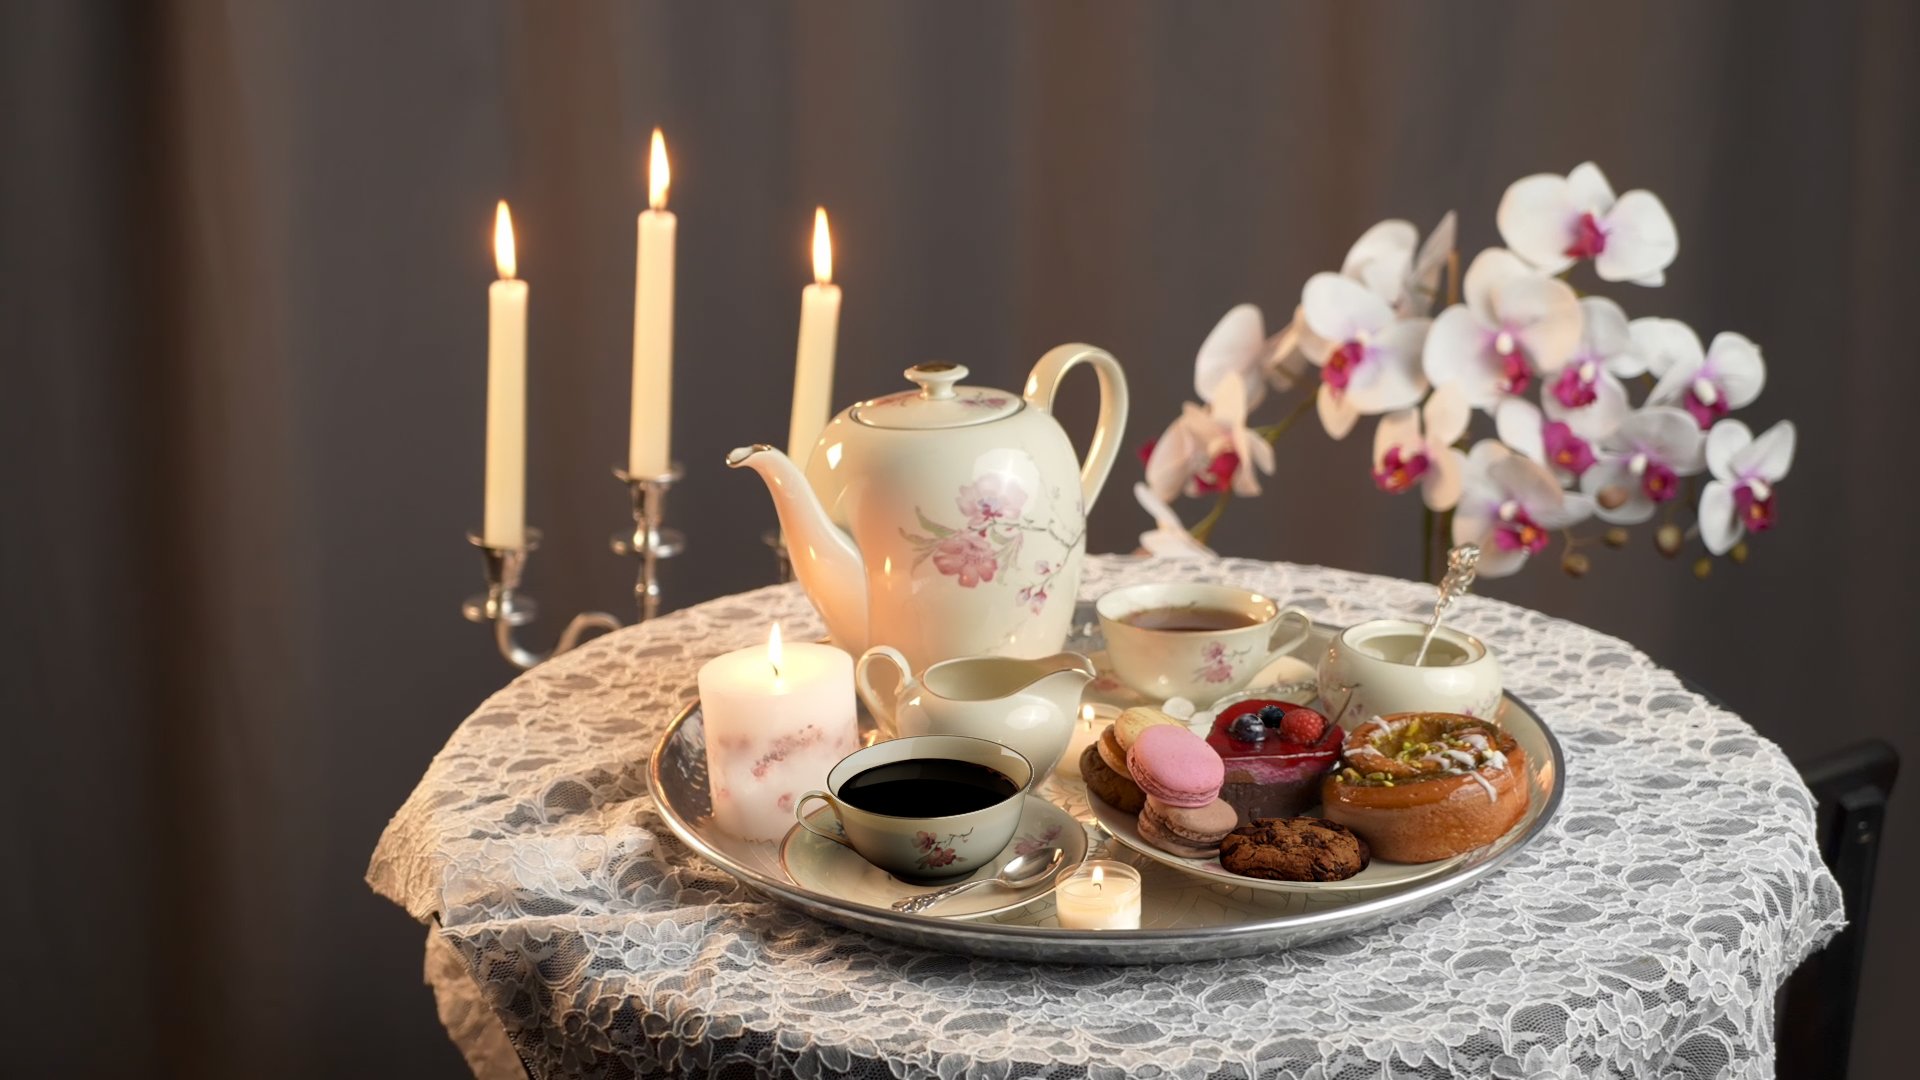
After deciding to integrate the cup and the cookie I wanted to add one more integrated object. I needed something subtle and therefore decided to integrate a second blueberry on the small cake. The blueberry is shaded completely procedural in Autodesk Maya, only some maps, for example AO and Curvature, were baked in Adobe Substance 3D Painter, to make the shading tree less heavy. I wanted to use this opportunity to get better in this matter, as I never did it before. I textured the cup completely in Substance 3D Painter and made standard shading adjustments in Maya.

The rendering was done in Maya with Arnold. To have more control in compositing, which was done in Nuke, I created sperate lightgroups. For ultimate control over every light, I separated the different lights into diffuse, specular, SSS and transmission channels, as well as rendering out all of the albedo channels of the listed above. That would give me the chance to divide the lightgroups in Nuke through the related albedo channels to get the light separated from the albedo, to only affect the light and not changing the albedo color, while adjusting it.
Rendering every object on a separate render layer gave me the opportunity to adjust them even more individually, especially fixing some minor sliding, when the track wasn´t 100% accurate. In addition to that I put the shadowmattes on its own renderlayer. I also separated the shadowmattes with help of a custom AOV per light, so I had the shadows cast from the different lights individually.
To add missing reflections, where the HDRI wasn´t accurate enough, I added cards with a light texture to get reflections in my tea from the softbox, aswell as two cards to get the reflection of the candle on the cup.


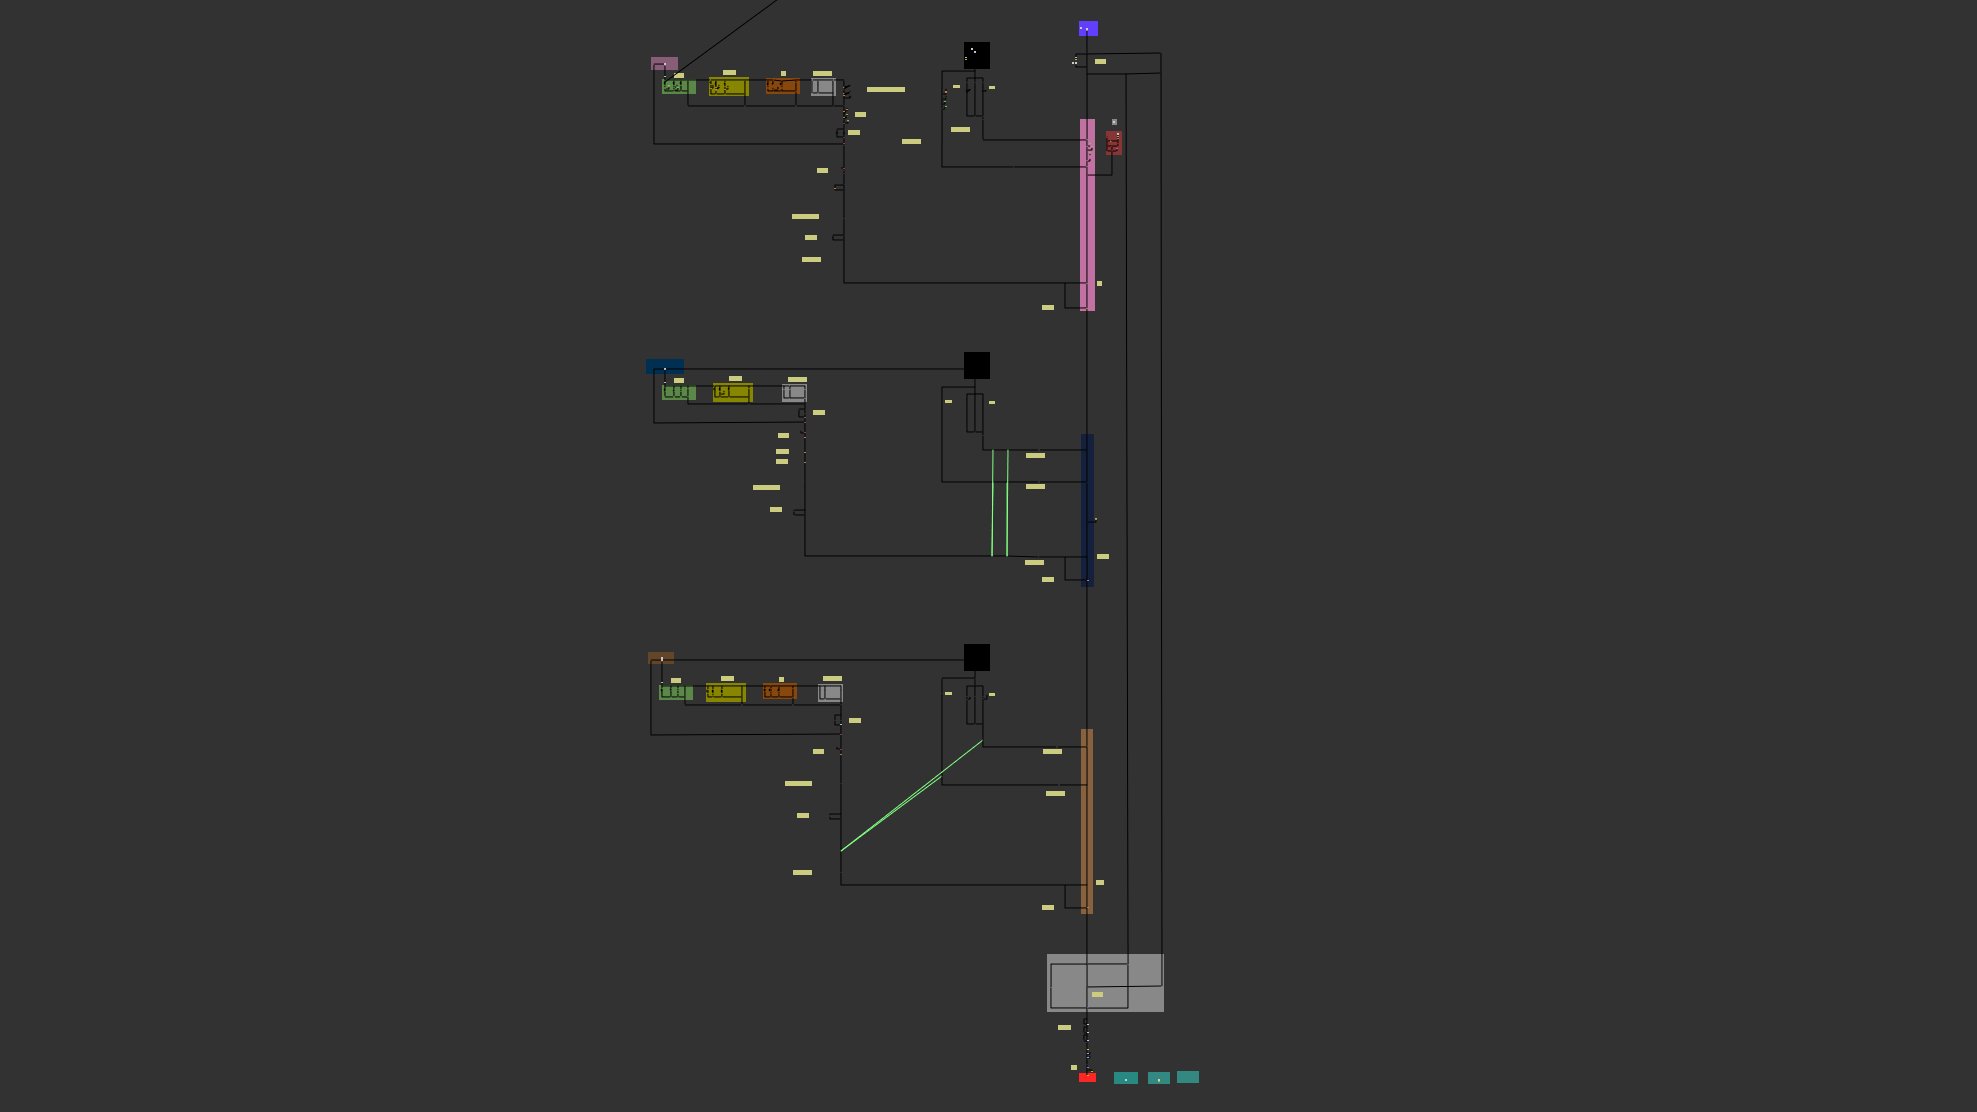
Compositing - Bringing everything together in Nuke
Jumping into Nuke was mainly about bringing everything together. I started reconstructing my beauty and adjusting the blacklevels. I found it helpful to have a lightslap, allowing me compare my current comp output to it, so that I won´t go overboard. Having all my lights split up helped me to get all integrated objects to match as close as possible to my reference. For example, I had a highlight on my blueberry from my rim light that was just too bright if you compared it to the other blueberry right beside it. But having my lights split up in that way prevented me from having to re-render it again. This was especially useful for the shadows from my tea cup since some shadows were darker than others, so I could grade them individually. The ambient occlusion where the cup stands on the plate was barely visible, but the custom AO AOV didn´t help in that case. Therefore I used rotos to manually adjust them and tracked them to the cup. After studying the original plate for lens effects, I added defocus, chromatic aberration, halation and camera distortion. Before merging it to my backplate I also added some defusion with a blur, to match it even more. After that I de-grained my plate to use this to re-grain everything together at the end. Lastly, I added some color grading with help of LUT´s and manual grading as well as some bloom and a vignette.


Conclusion
The biggest challenge in this project was doing everything from start to end. Not only the filming but also the part in Maya as I only did similar compositing before. As there´s a lack of an in-depth explanation of the proper workflow at the internet, it was a lot of research work, as well as try and error and asking other students and teachers for help. I´d like to thank Luise Rolle in that matter, for finding solutions with me. Emilio Lingg with compositing help. Leo Matull for modeling the cup and the blueberry and Fabrizio Meli as well as Marcel Pichert for feedback on this project.
In the end, I think there´s still a lot to improve and making the workflow a lot faster, but it was a great learning opportunity.
Softwares used
Autodesk Maya, Arnold for Maya, The Foundrys Nuke, Affinity Photo and Adobe´s Substance 3D Painter.
Credits
Cookie Model and Textures – Quixel Bridge
Cup and Blueberry Model – Leo Matull
Everything else – Annika Hottgenroth
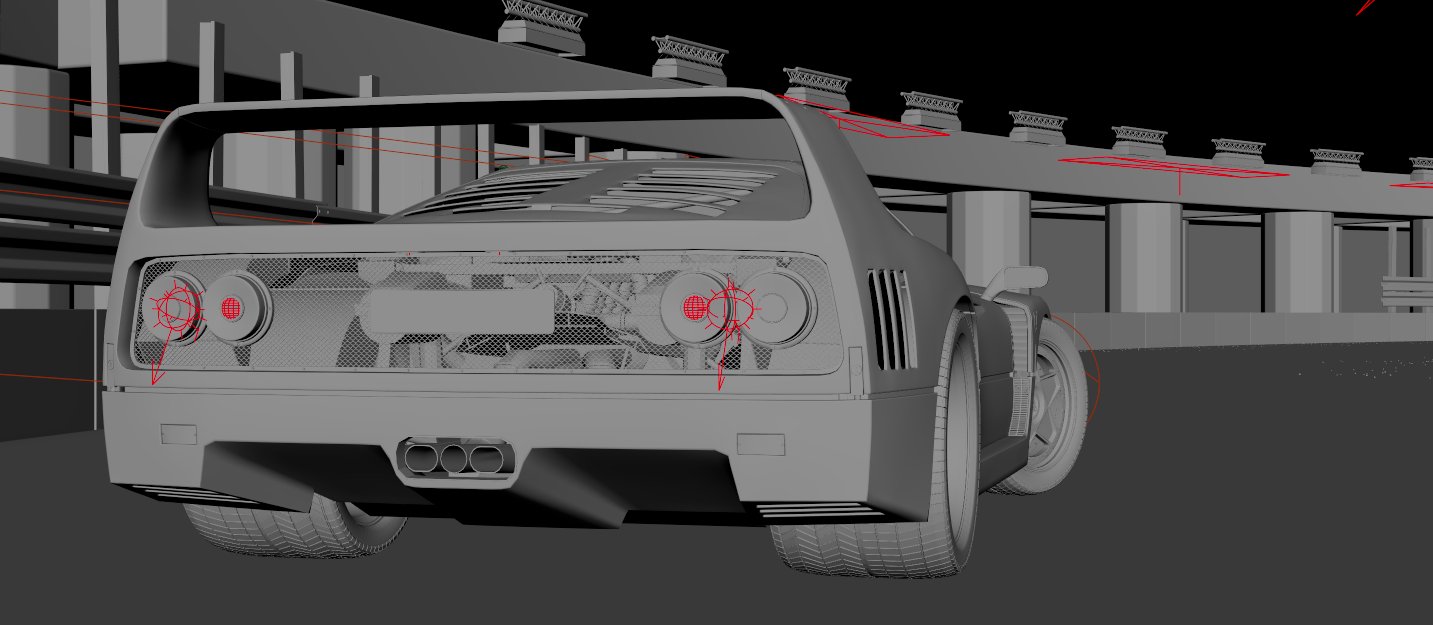
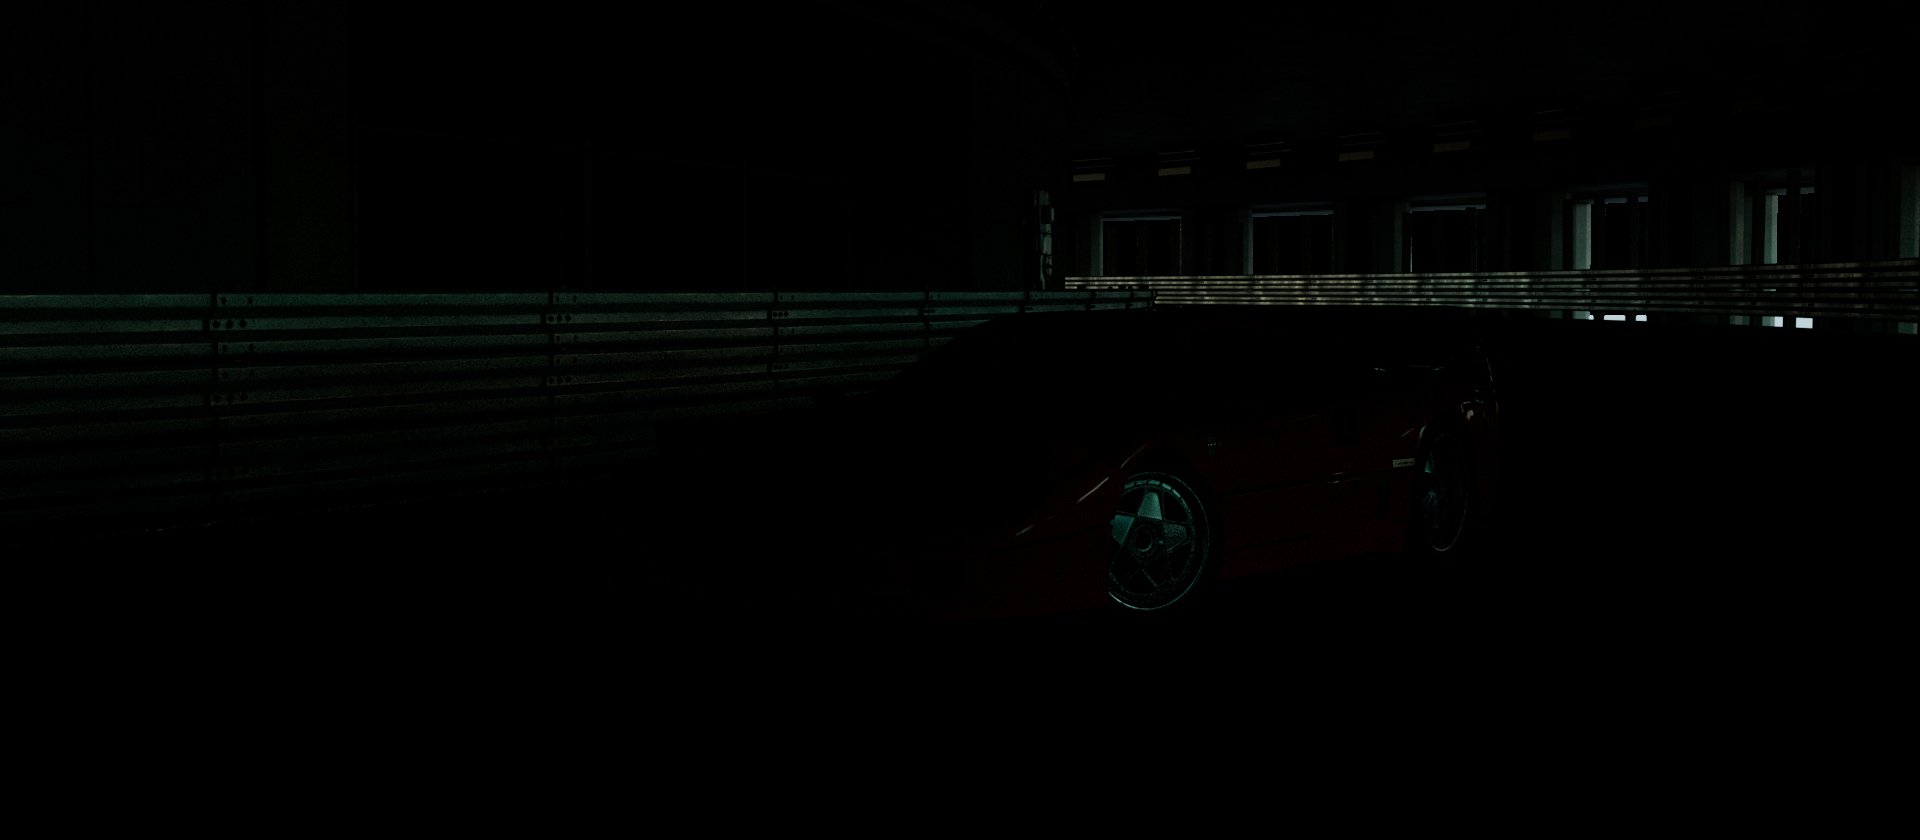
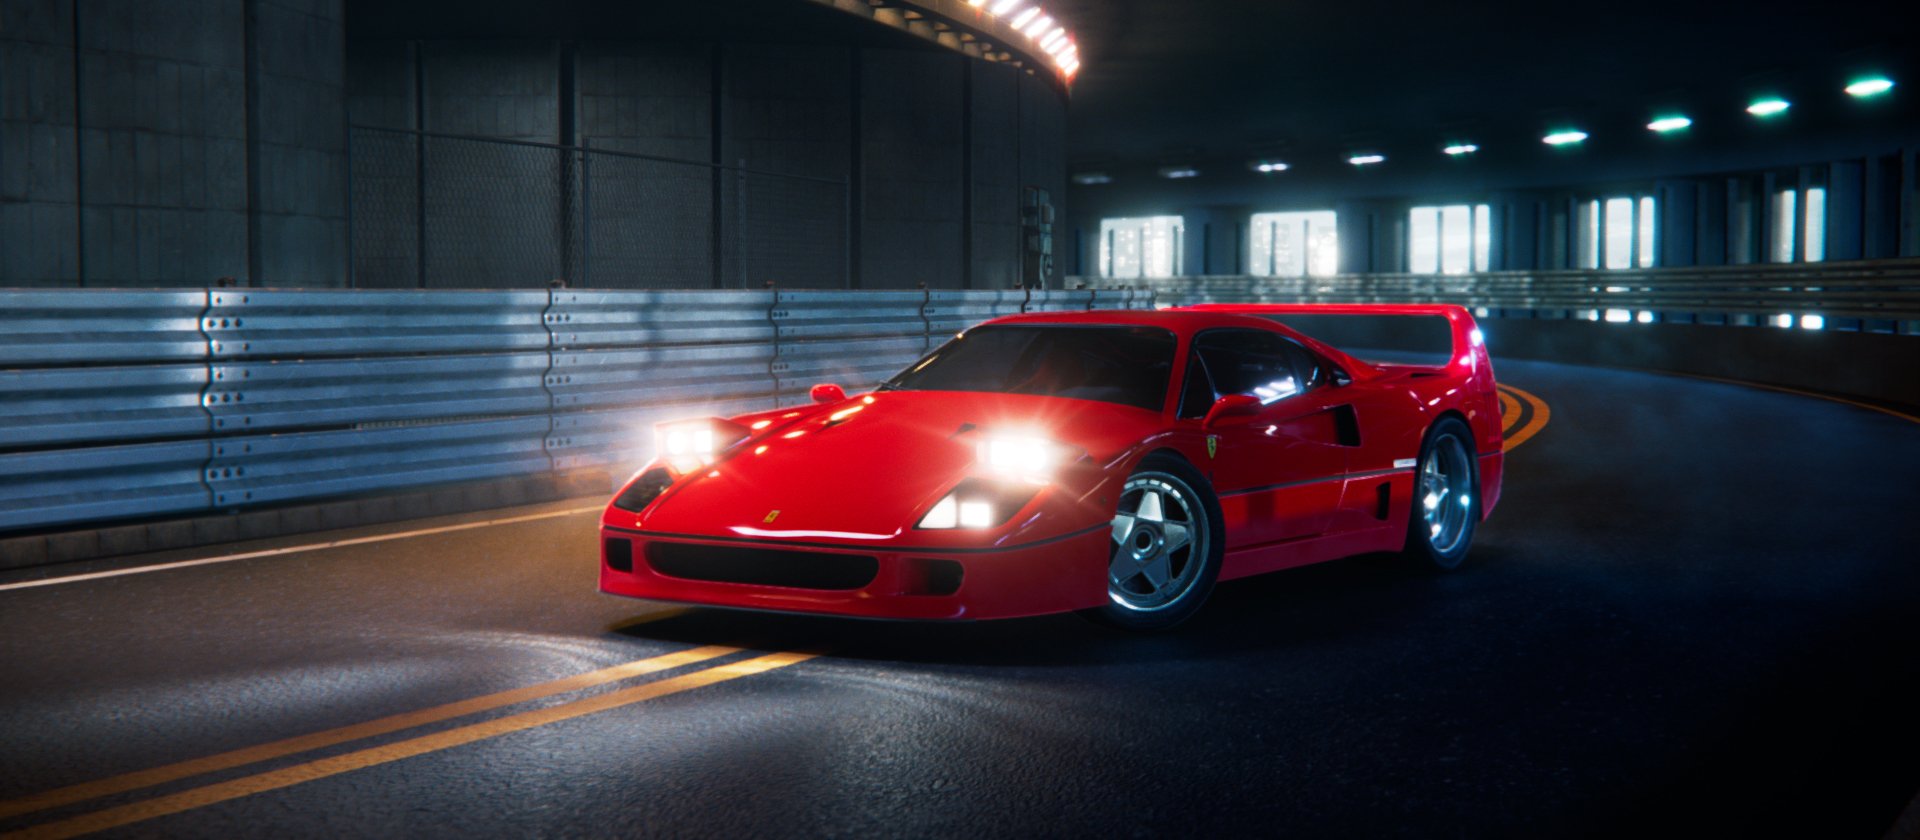
Project 03 | Ferrari F40: showcase in Monaco
This project is a group project involving Leo Matull and me and is also a part of our Student-Demoreel. Leo being responsible for Modeling and Texturing, while I was responsible for Lighting, LookDev and Compositing.
Starting this project, we had a different approach in mind. We wanted to put it on a street in the forest. However, seeing some reference images of a car in a tunnel, with all those highlights on top, quickly changed our mind.
We were particularly drawn to the tunnel in Monaco, where the Formula 1 cars always race through. Therefore, I searched for references I liked.


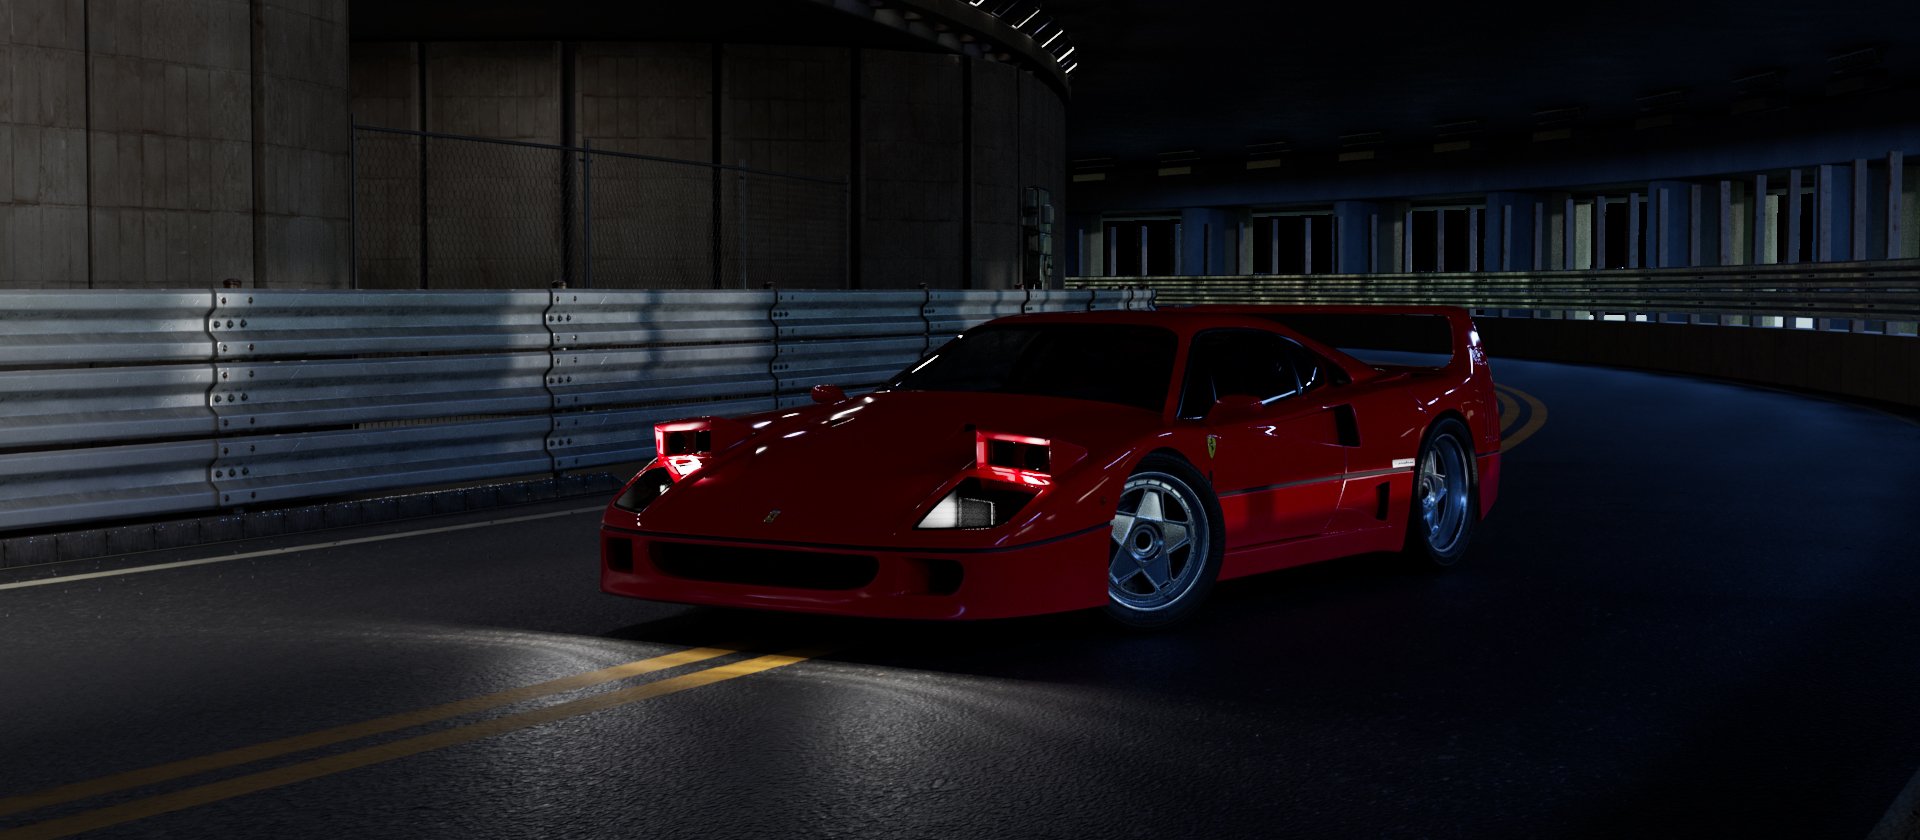
LookDev – refining the scene
With the car and environment already modeled and shaded by Leo, I had a pretty good base to work with. It was my task to enhance the textures we got for the environment from Quixel Bridge even further. I really liked the reflection on the asphalt in the background on some of my references and wanted to recreate that, without overdoing it. As well as pushing the walls contrast to bring out a dirtier appearance.
Lighting – challenges of lighting a car
Starting out in the lighting aspect had a rough start. Placing all those little spotlights quickly made the scene much slower than expected, along with some other problems; the scene crashed as soon as I even started the IPR Renderer. Minimizing Lights and fixing other causes, such as too high of catclark settings, as well as optimizing the scene as much as possible. Also, using the environment as Arnold stand-ins (proxies) was beneficial, although it later presented its own set of problems.
In this project it was all about balancing lights. I´ve never really lit a car before and getting the headlights looking realistic was a challenge. I used area lights to illuminate the lights itself, but that wasn´t enough to have an impact on the ground. So I decided to go with spotlights to have a light cone on the ground, but also additional IES lights, to have a nicer light shape, to mimic LED lights. I also used additional light-blockers to get rid of unwanted light on the car.

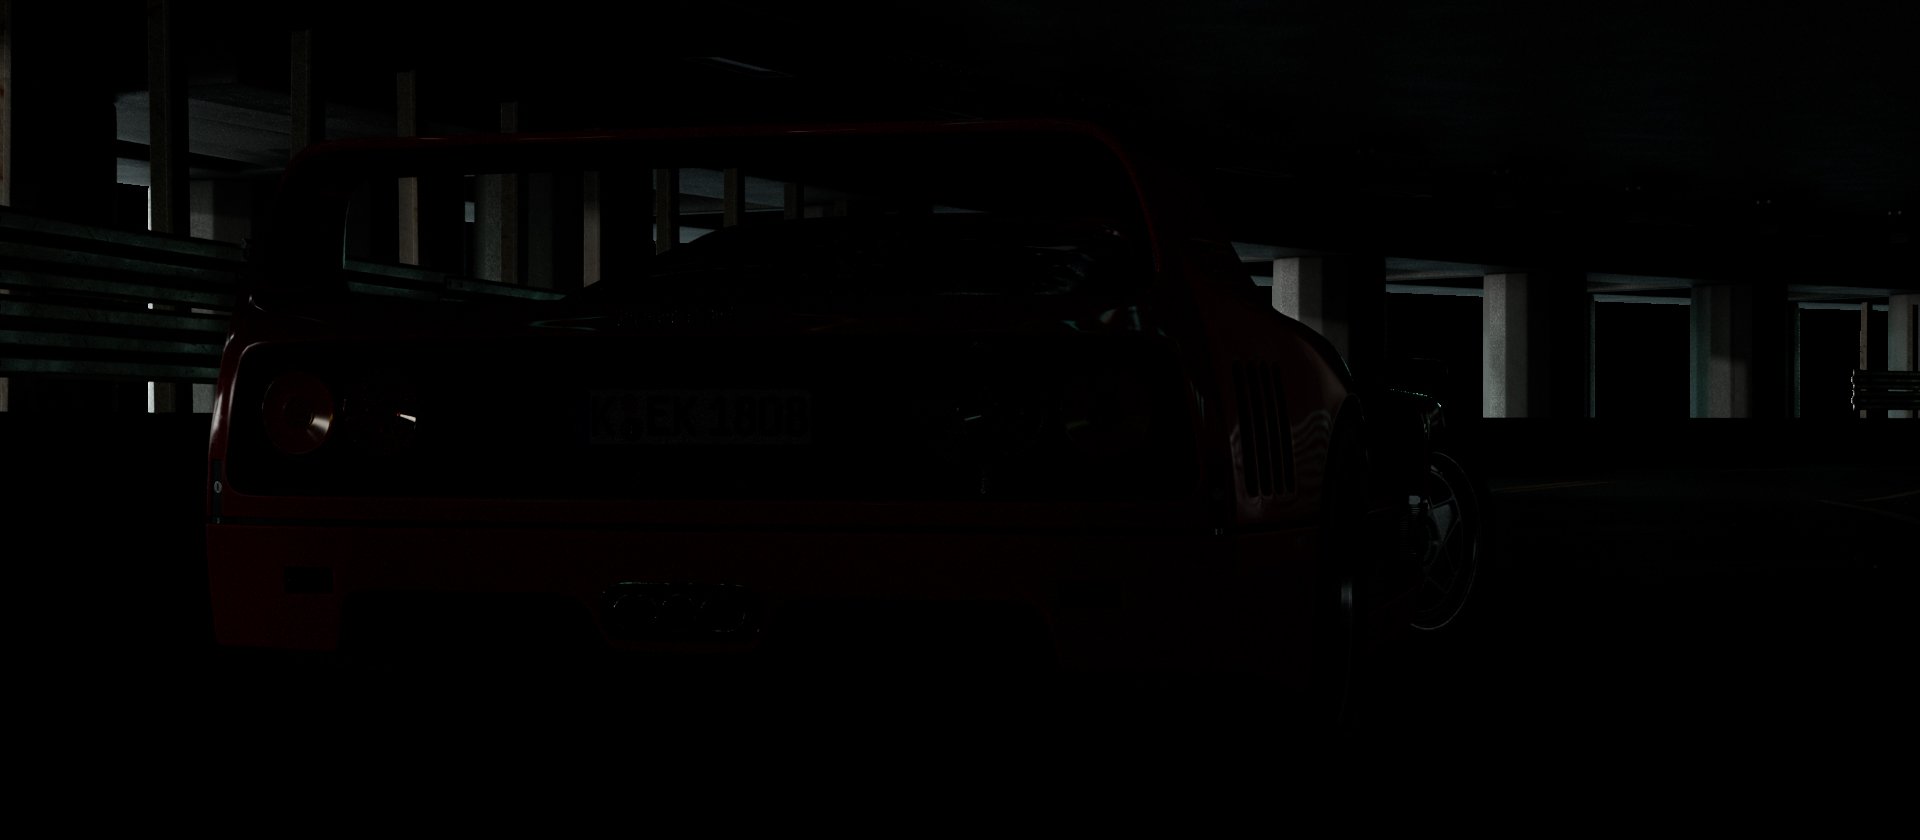
Another challenge was lighting the areas behind glass. The area light source itself cannot be seen by default in Arnold. Of course, there are workarounds, but I wanted more control in Nuke. Thus, I placed a plane with a surface shader as a "light" so I could grab it with cryptomatte in Nuke. Since there was glass above it, I had to make a decision because cryptomatte would only capture the object information of the glass, not the plane behind it. So I decided to render without the glass and get it on a separate render layer, so I could put it back together in compositing.
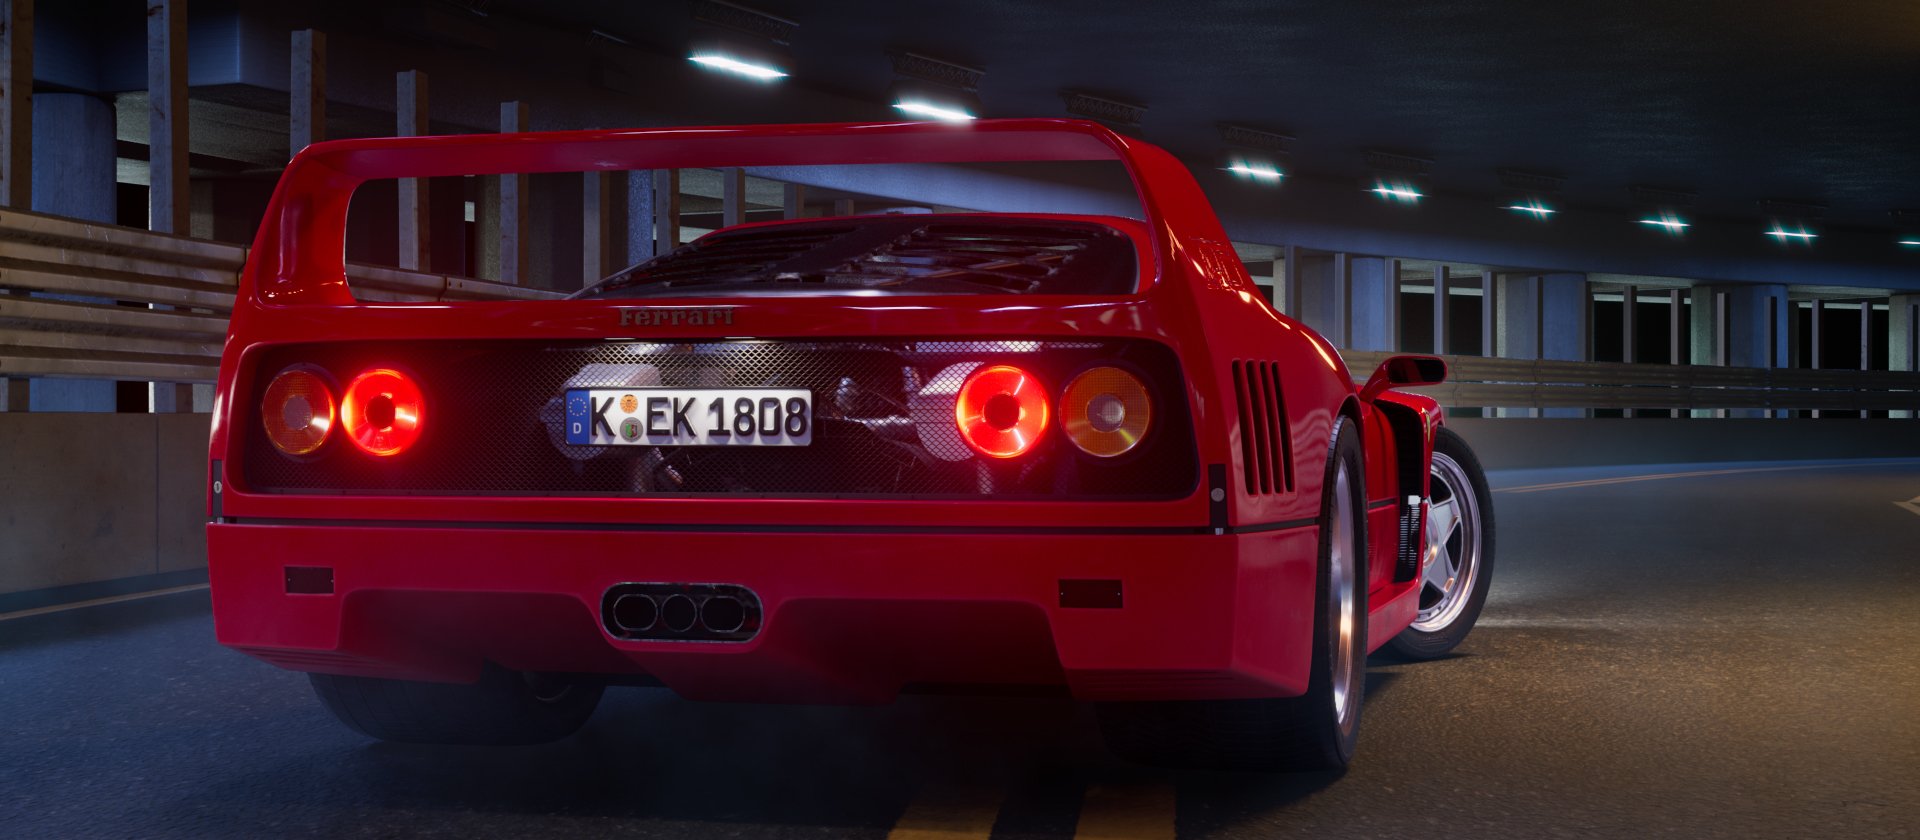
For the rear lights, I decided to use four area lights instead of one big light, as the references showed four separate lightbulbs that gave a particular shape.
Wanting to have a lot of highlights also came with many problems. While still-renders looked good, I quickly noticed that in sequences, they didn't. Fireflies and jumping highlights appeared everywhere on the car. The environment could be fixed mostly in Nuke, but fixing the car in Compositing wasn't an option. Even in areas where it was cleaned out in Nuke, we lost all the good highlights. So, we decided to re-render only the car, despite having limited render- resources after graduating from school, which posed its own challenges. Easy as it seems, having Arnold stand-ins doesn´t work well with render layers and shader overrides. Up until today, I haven't found a good solution for that, so it was a lot of trial and error. In the End, we could re-render the car, with a harsh clamping to make it possible to re-render it with the limited resources we had. Today I would try and find other approaches, since this harsh of claming also limits the color range one has in Compositing. Luckily we haven´t had any problems with that.


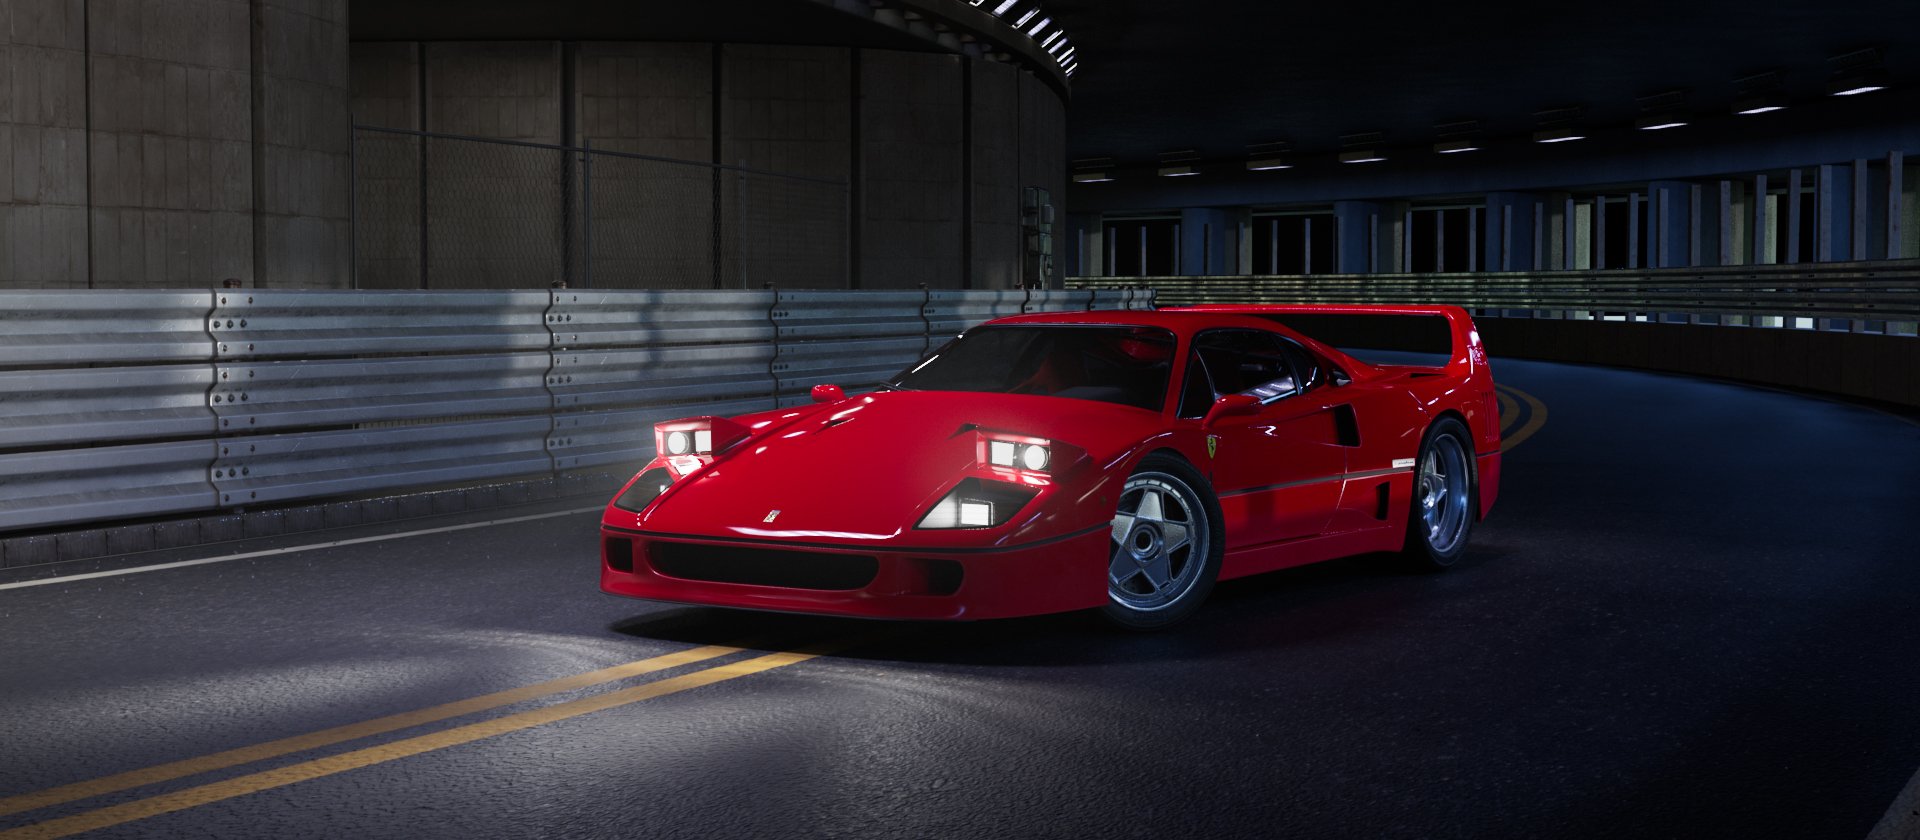
Compositing – the saving land after the light(n)ing storm
After a rough start in Lighting, compositing felt like a breeze. Although there were some minor problems, it mostly went smoothly. First I did my back-to-beauty pass, incorporating all my light groups along with the base color and emission, and merged everything we had to re-render back together. In lighting I decided to render all my lights out with a pretty neutral color, so I would´ve full control over light colors in comp. So I adjusted the colors there.
After that, I adjusted the black levels and added some background fog using fog cards in the 3D space to create atmospheric haze. To enhance the background atmospheric haze, I utilized the same custom AOV setup I mentioned in the interior scene before (atmosphere). Using a grade node, I used it as a mask to determine the distance at which it should appear.
Furthermore, I added the lens effects, such as lens distortion, halation, chromatic aberration, defocus, light wrap and allowed my highlights to be slightly blown out with the help of a luminance keyer, glows, and glints. To achieve the stripe effects of the LED spotlights on the ceiling, I also used a glint node.
Lastly I added the lens flares grain and color correction, also with the help of LUTs.


Conclusion
Despite the numerous challenges encountered throughout this project, I'm very pleased that I completed it and managed to overcome obstacles along the way. It's inevitable that not every project will be easy and even if some of the major problems were caused by mistakes I made in this project, it gave me room to grow and learn from my mistakes. I've already been able to avoid similar mistakes in future projects of mine and used this knowledge to adjust and make other projects more efficient.
Also learning the importance of dedicating time to thoroughly test render sequences, not just still frames and taking time with them, to try to avoid preventable mistakes.
Software used:
Autodesk Maya, Arnold for Maya, the Foundrys Nuke
Credits:
Modeling and Texturing Car – Leo Matull
Modeling Environment – Leo Matull
Environment Textures – Quixel Bridge
HDRI - polyhaven
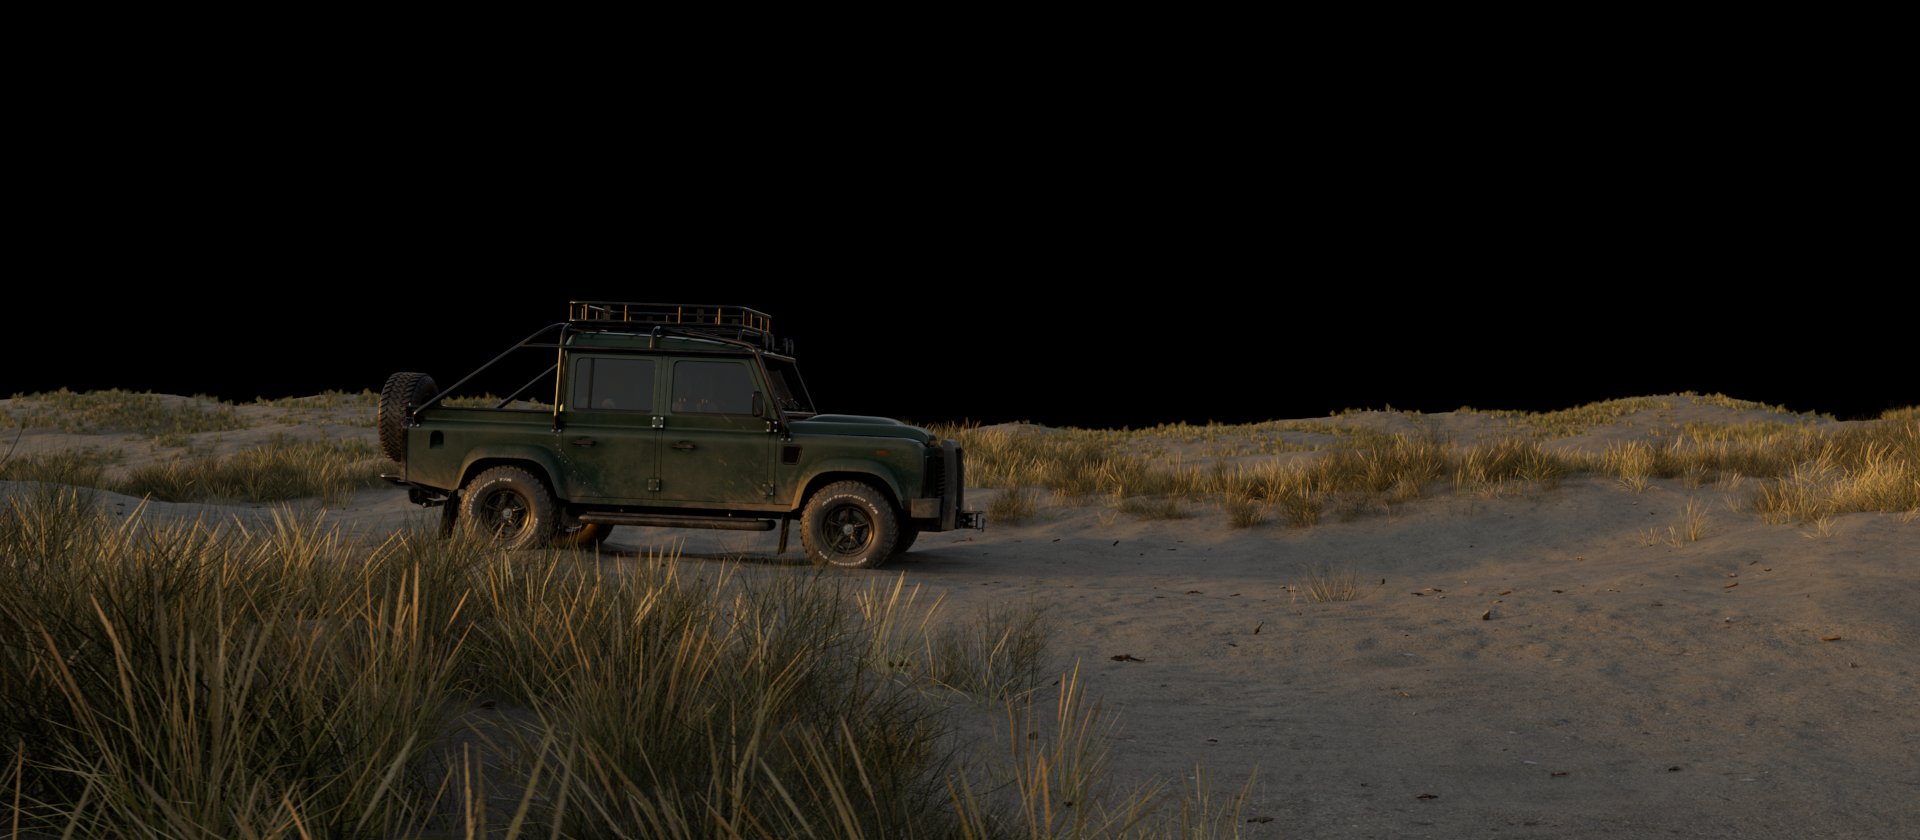
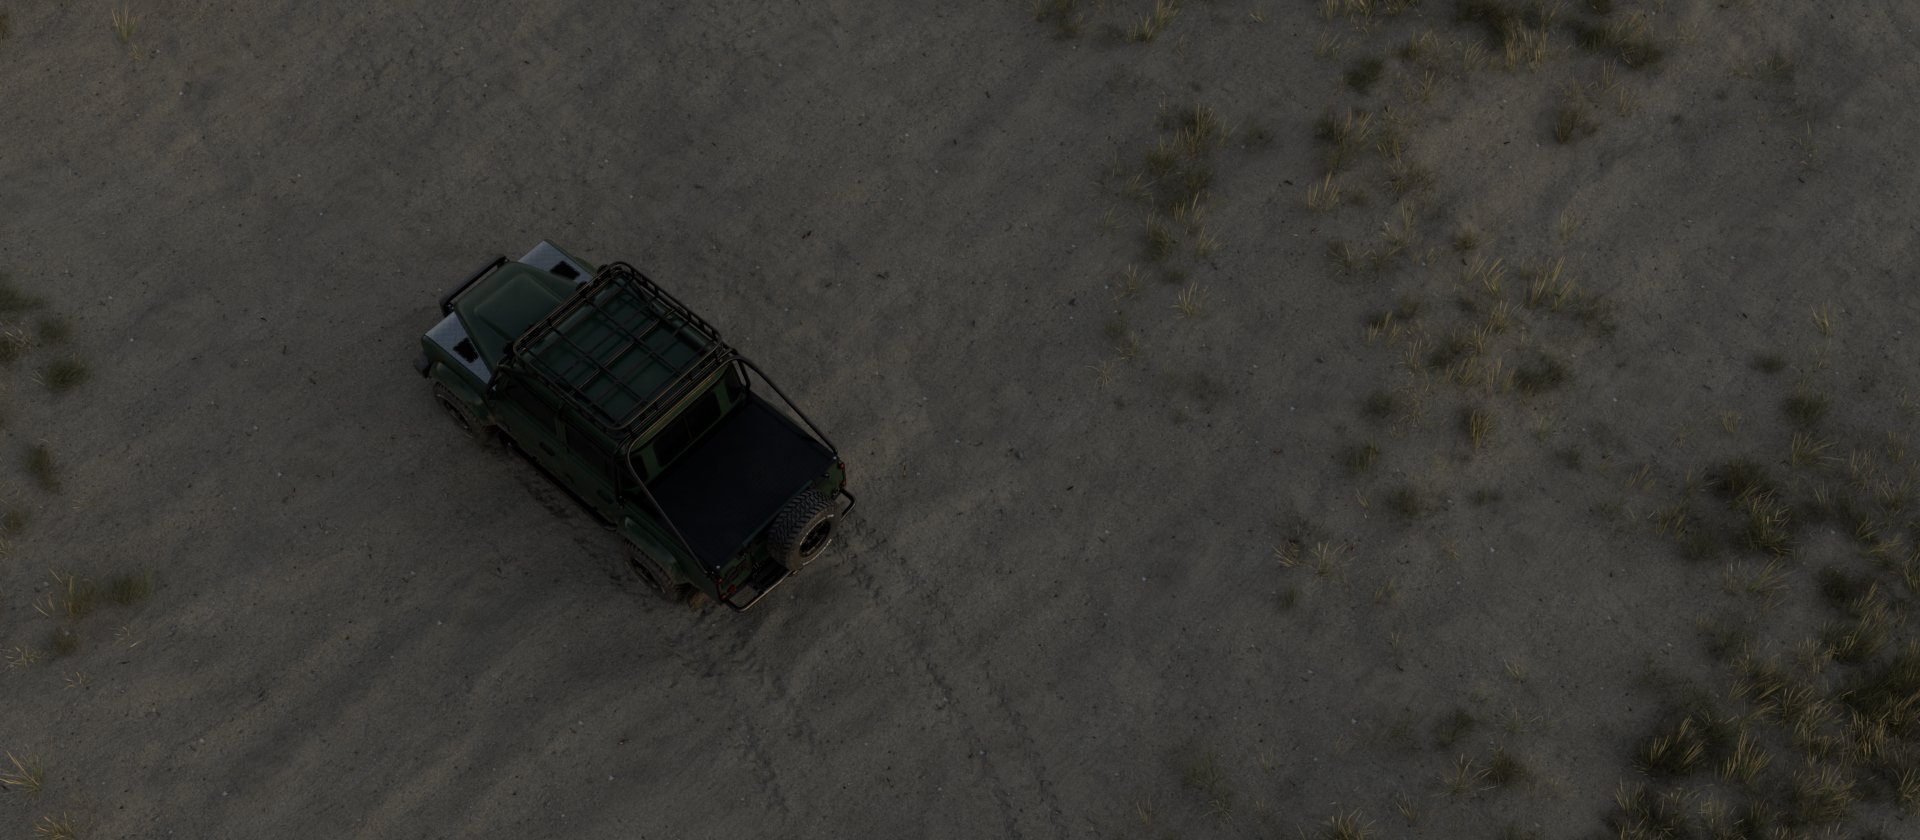
Project 04 | Sunset Drive: Landrover Defender
This project is also a collaboration between me and Leo Matull, as well as Emilio Lingg. This time I was only responsible for the Lighting.
Initially, we had set up the project in a mountainous area and rendered it for our final submission at PIXLVISN. After graduation, we decided to rework the project in a different environment. We had seen a similar car in a render of Clayton Sjoerdsma and also wanted to go for an approach to put the car in a beach like environment.
Lighting – focusing on one thing
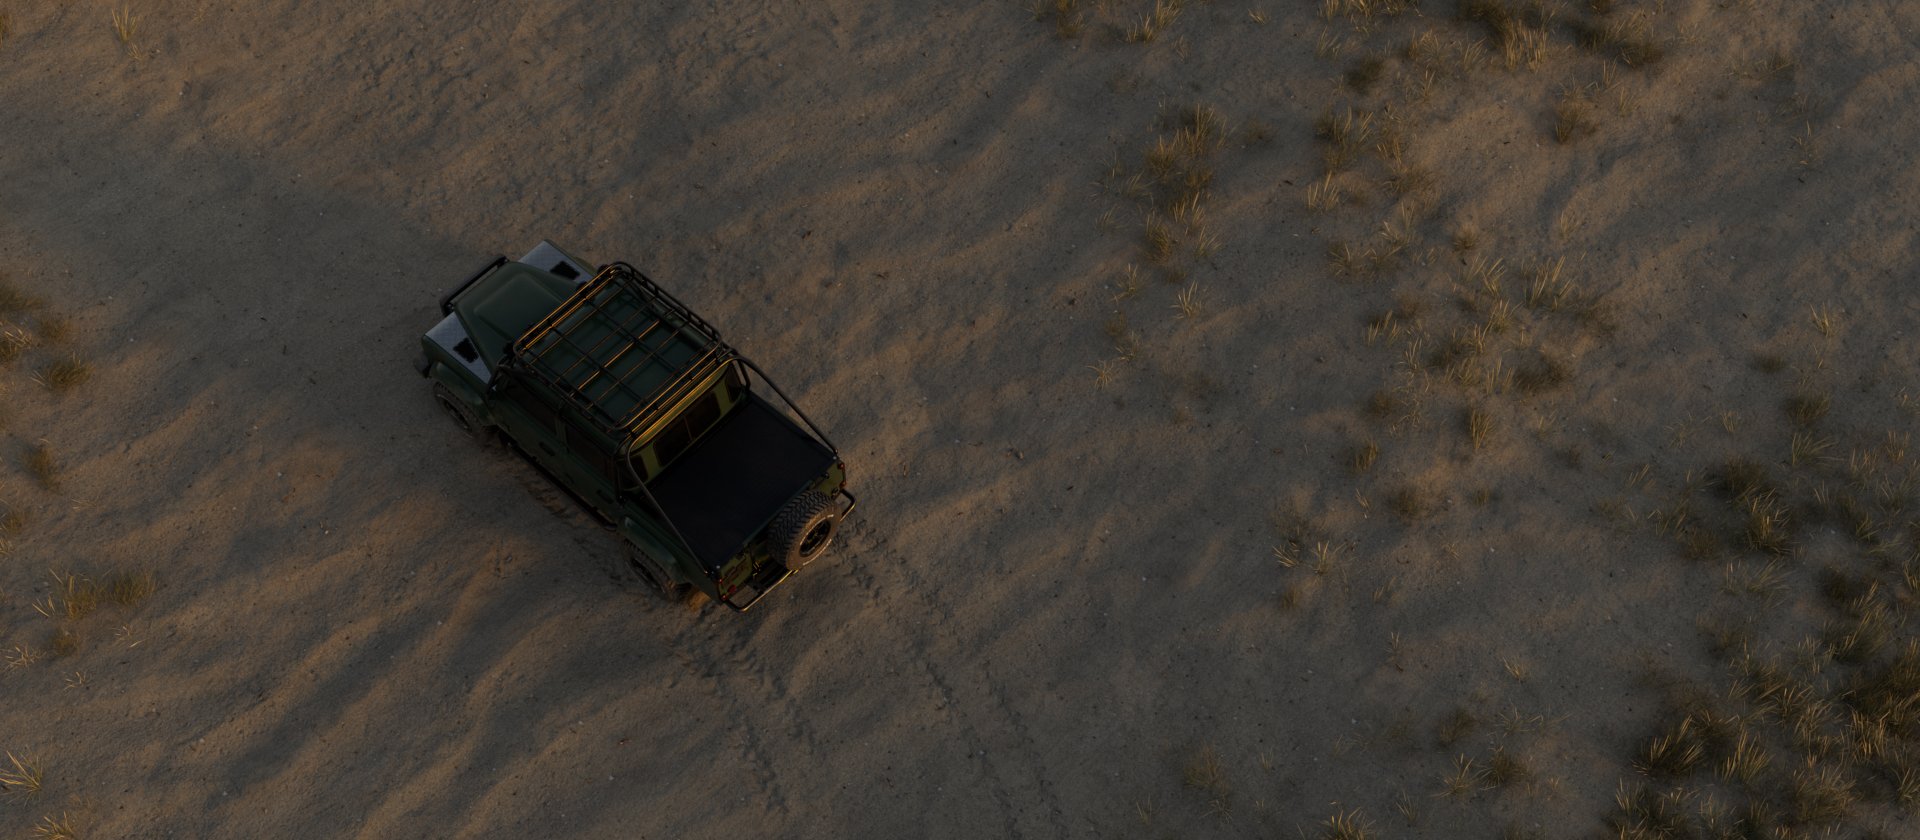
Since this was the first time in a long time, where I could mainly focus on the lighting, I was very excited about this project. I wanted to go for a late afternoon like summer lighting, still some touches of the light of the day, slowly fading into golden hour ambiance.
Since it's a complete exterior lighting setup, I mainly experimented with various dome lights (HRDIs) and the positioning of the sun. Surprisingly, I quickly found the direction I wanted to pursue.
In addition to spotlights for the headlights, I once again used IES lights to achieve a more appealing light shape on the ground.
Another detail I wanted to have, is that I tried to “paint” with my light. When I saw the camera for the first shot with the little hill of grass on the screen left side, I knew I wanted the shadows to frame the car in. So I decided to put a light blocker in the grass area as well as behind it, so the viewers Eye would be drawn to the light where the car is located. I also wanted to have a long shadow cast by the car, to accentuate the feeling of the sun slowly setting.
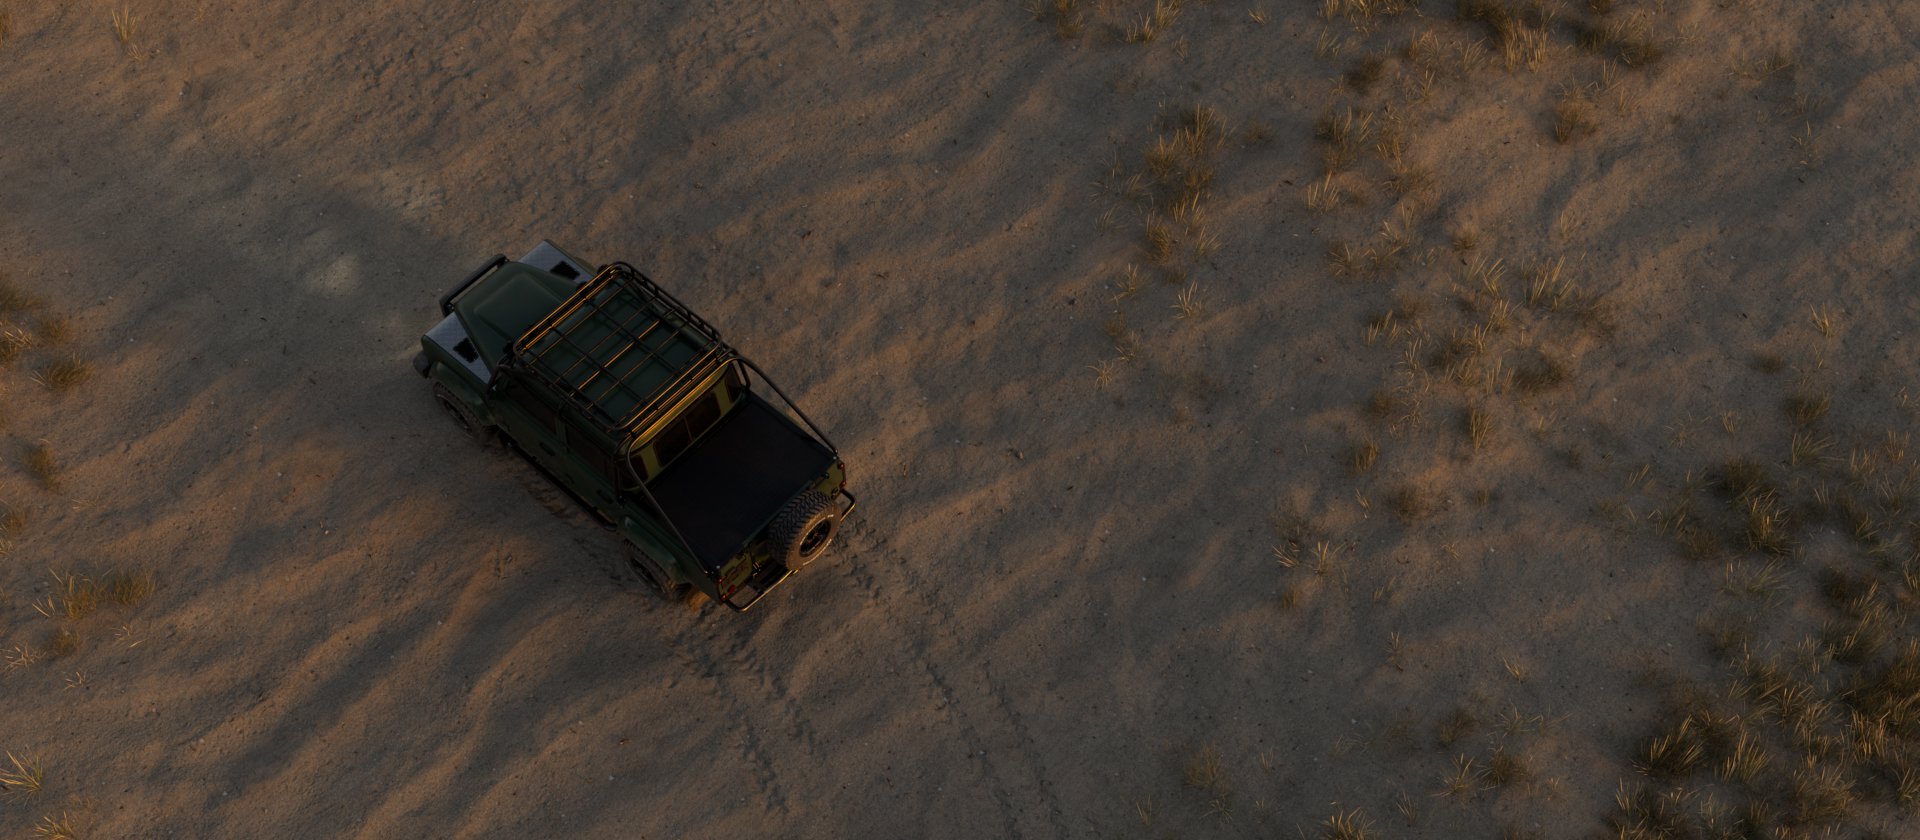
In the overhead shot of the car, it was crucial for me to ensure shadows were cast over all the bumps and small piles of sand to enhance the sand texture and prevent it from appearing too flat.
I took the opportunity of having more time, to try out doing a “warm edge” of my sun. I duplicated my directional light and only played around with the angle of the light, what causes the shadows to be softer or harder and fade out more on the edges. I also played around with the color temperature, making it warmer than my actual sun. To maintain the overall color of my lighting I made my original sun a little colder in the color temperature, to regain the balance.
After some trial and error, the effect was most noticeable in the overhead shot in the non-composited version. Unfortunately, it is not really noticeable in the final compositing version, but it was a fun experience to explore and test various settings to achieve the best results.


Rendering
I did a lot of test rendering, trying out different settings. Also figuring out minor inconveniences, like textures being in the wrong color space and causing the grass to be almost black instead of their original color.
Drawing from my experiences in the Ferrari project, I now knew how to handle the fireflies on the cars reflection better.
Another big issue was, that the grasses in the background were still pretty noisy, even though everything else was noise free at this time. So I read more about adaptive sampling, since I´ve never used it before and optimized the settings for our scene. This reduced the render-times drastically, compared if we had rendered everything with normal sampling.
I also added some additional ground planes with more grass in the background of the first shot, to get some parallax and make it easier for our compositor, without having to mattepaint.
In summary, although the lighting in this project may appear simple, and my responsibility was solely lighting this time, the experience was quite refreshing. Having the time to tweak all the little details, testing around with different settings and trying new things was very fun.
Software used:
Autodesk Maya, Arnold for Maya
Credits:
Modeling and Texturing car – Leo Matull
Environment – Leo Matull
Compositing – Emilio Lingg
Environment Textures – Quixel Bridge
HDRI – polyhaven
Congratulations on reaching the end of my submission! Whether you've read everything until here or just scrolled down out of curiosity, thank you very much! Your time is greatly appreciated. If you have any questions or would like to connect further, feel free to reach out to me via my LinkedIn or check out my Artstation.
If you missed it at the beginning of my post, here is the link to my Demoreel again.


Comments (5)