
Student Demo Reel - Generalist / Character Artist


I am excited to enter this year the Rookies Awards 2024. And I am happy to present the work that I've created during my education at PIXLVISN Arts Academy.
Student Demo Reel - Generalist / Character Artist
Introduction
Hey everyone,
My name is Niklas and I'm an aspiring 3D Generalist.
This is my Student Demo Reel, which I created during my education at PIXLVISN Media Arts Academy.
It took me about 5 months to finish all 3 of my projects.
I hope you enjoy my Breakdowns while I guide you through my process and the challenges that I encountered.
Project "Geisha" - Breakdown

In this project, my aim was to showcase a range of skills, with a strong emphasis on both hardsurface and organic modeling, while tackling any challenges along the way.
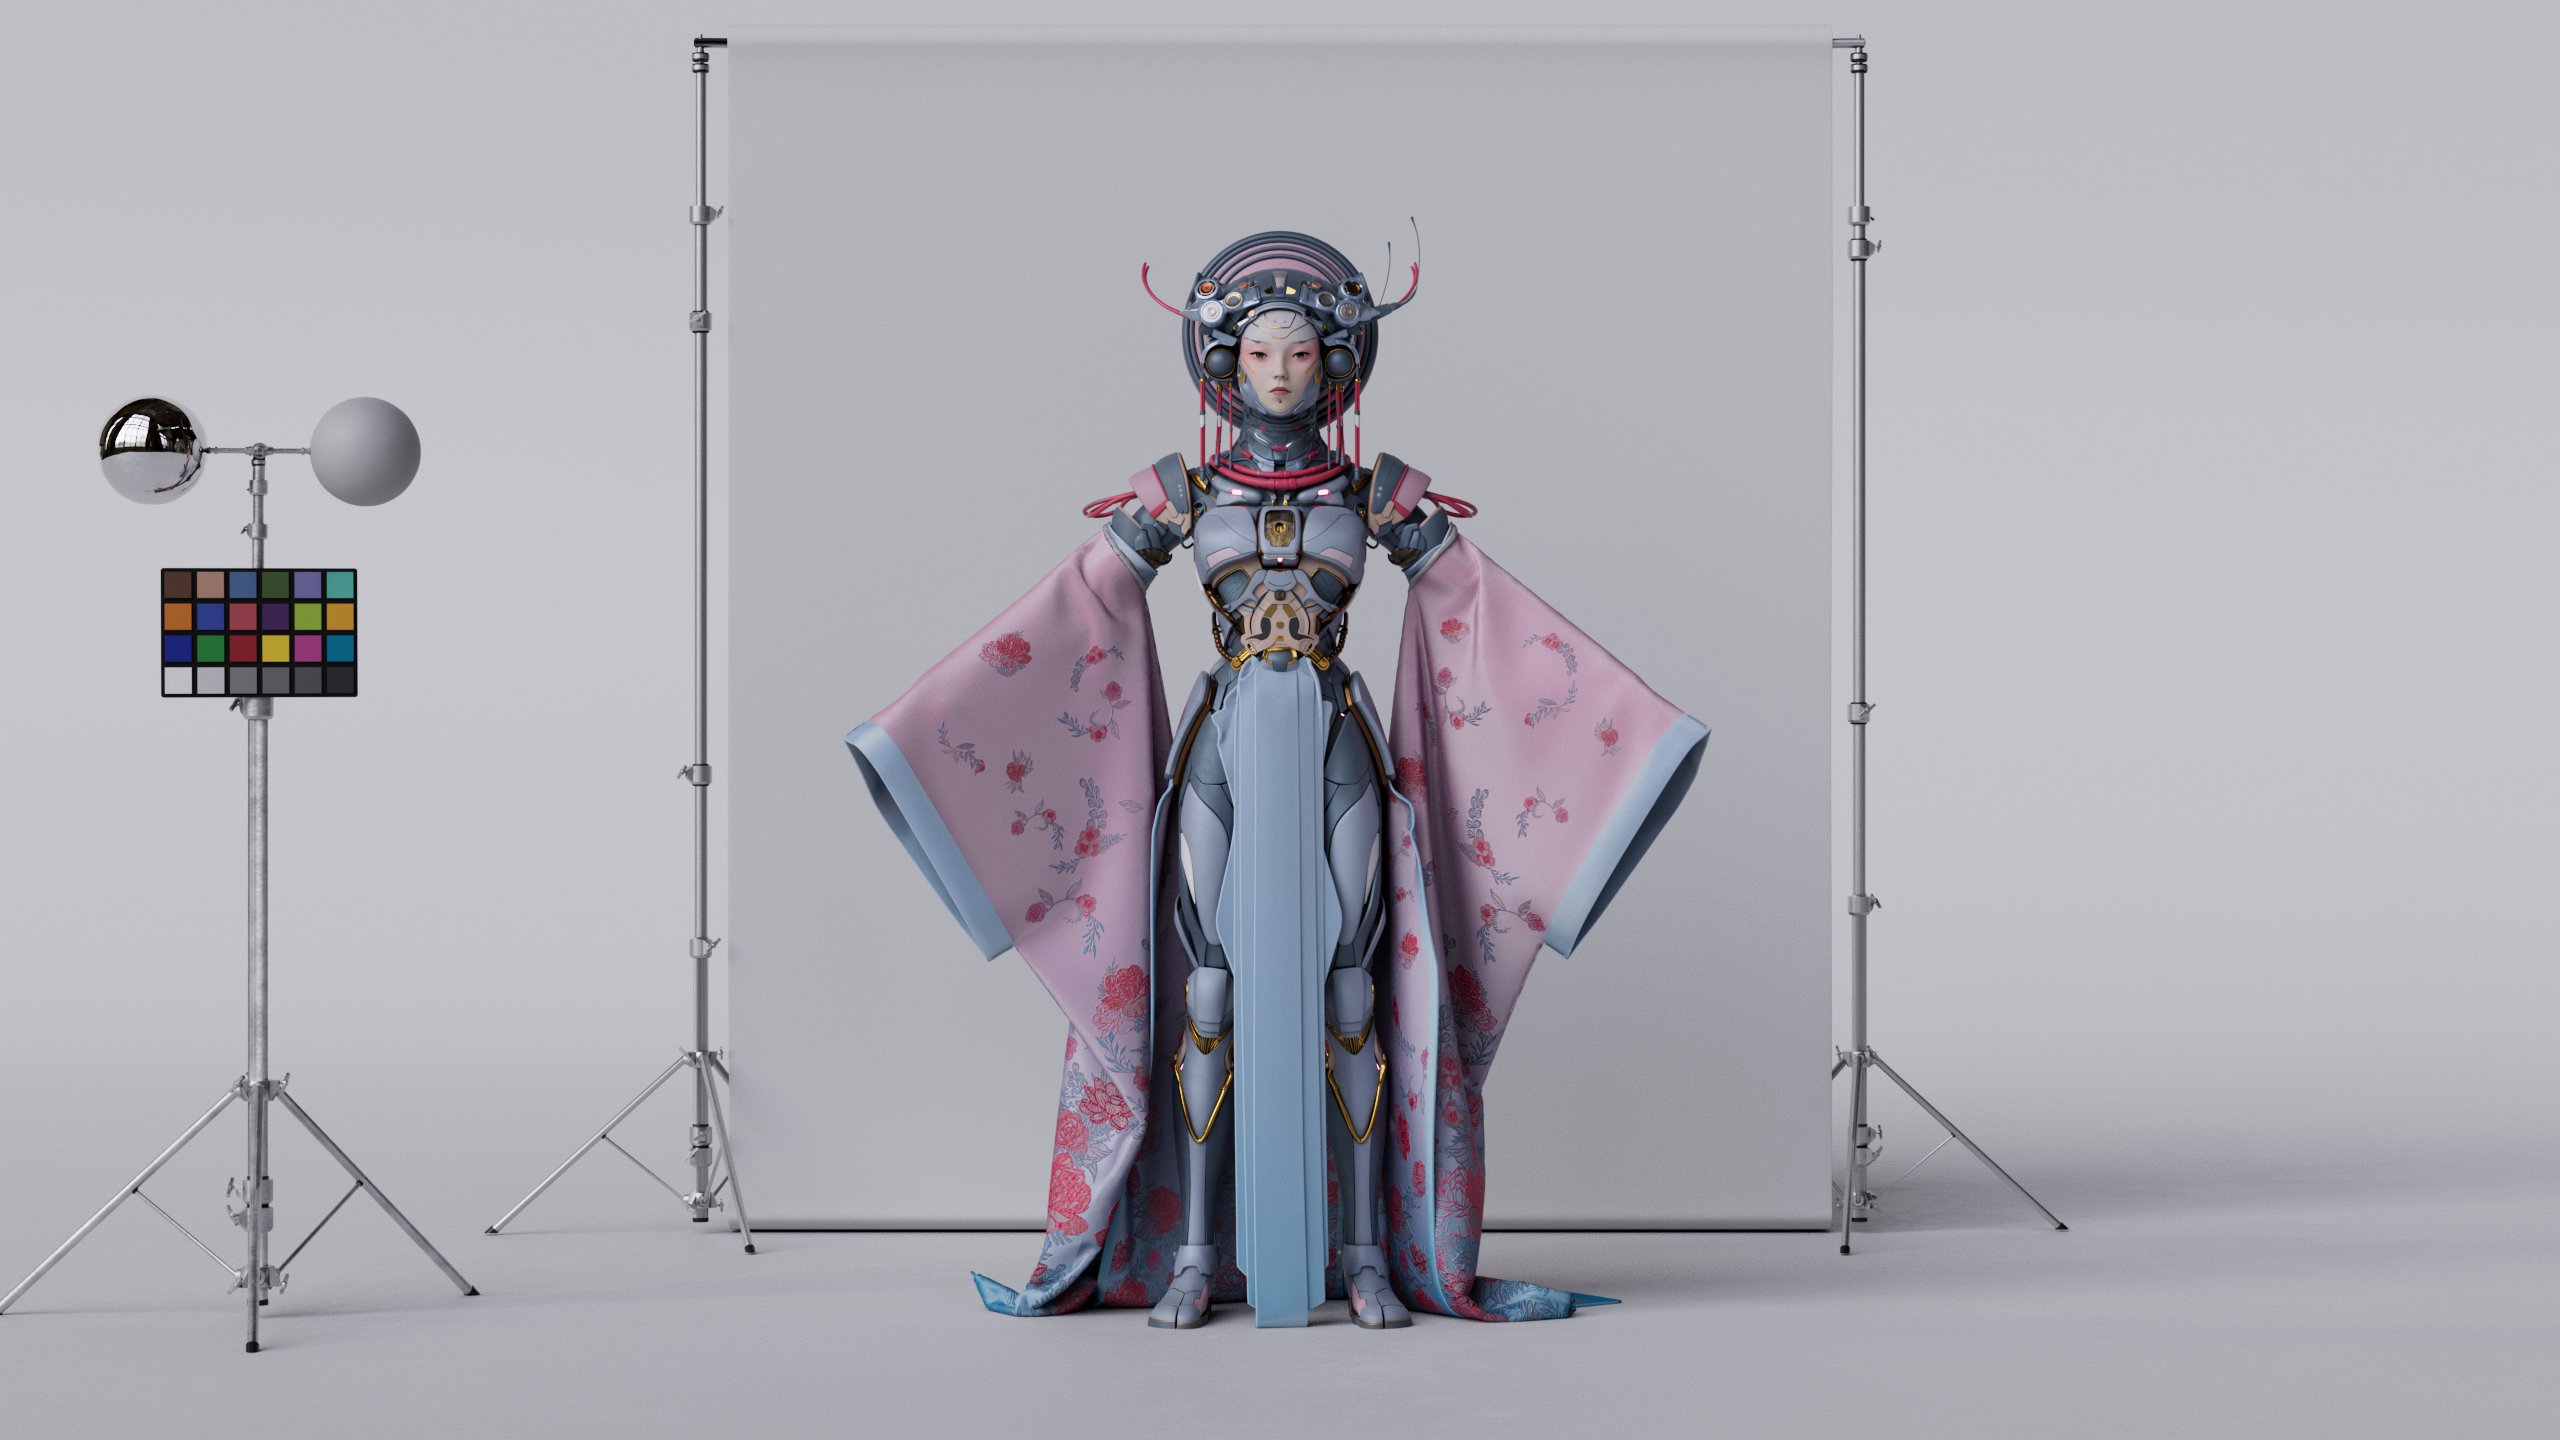


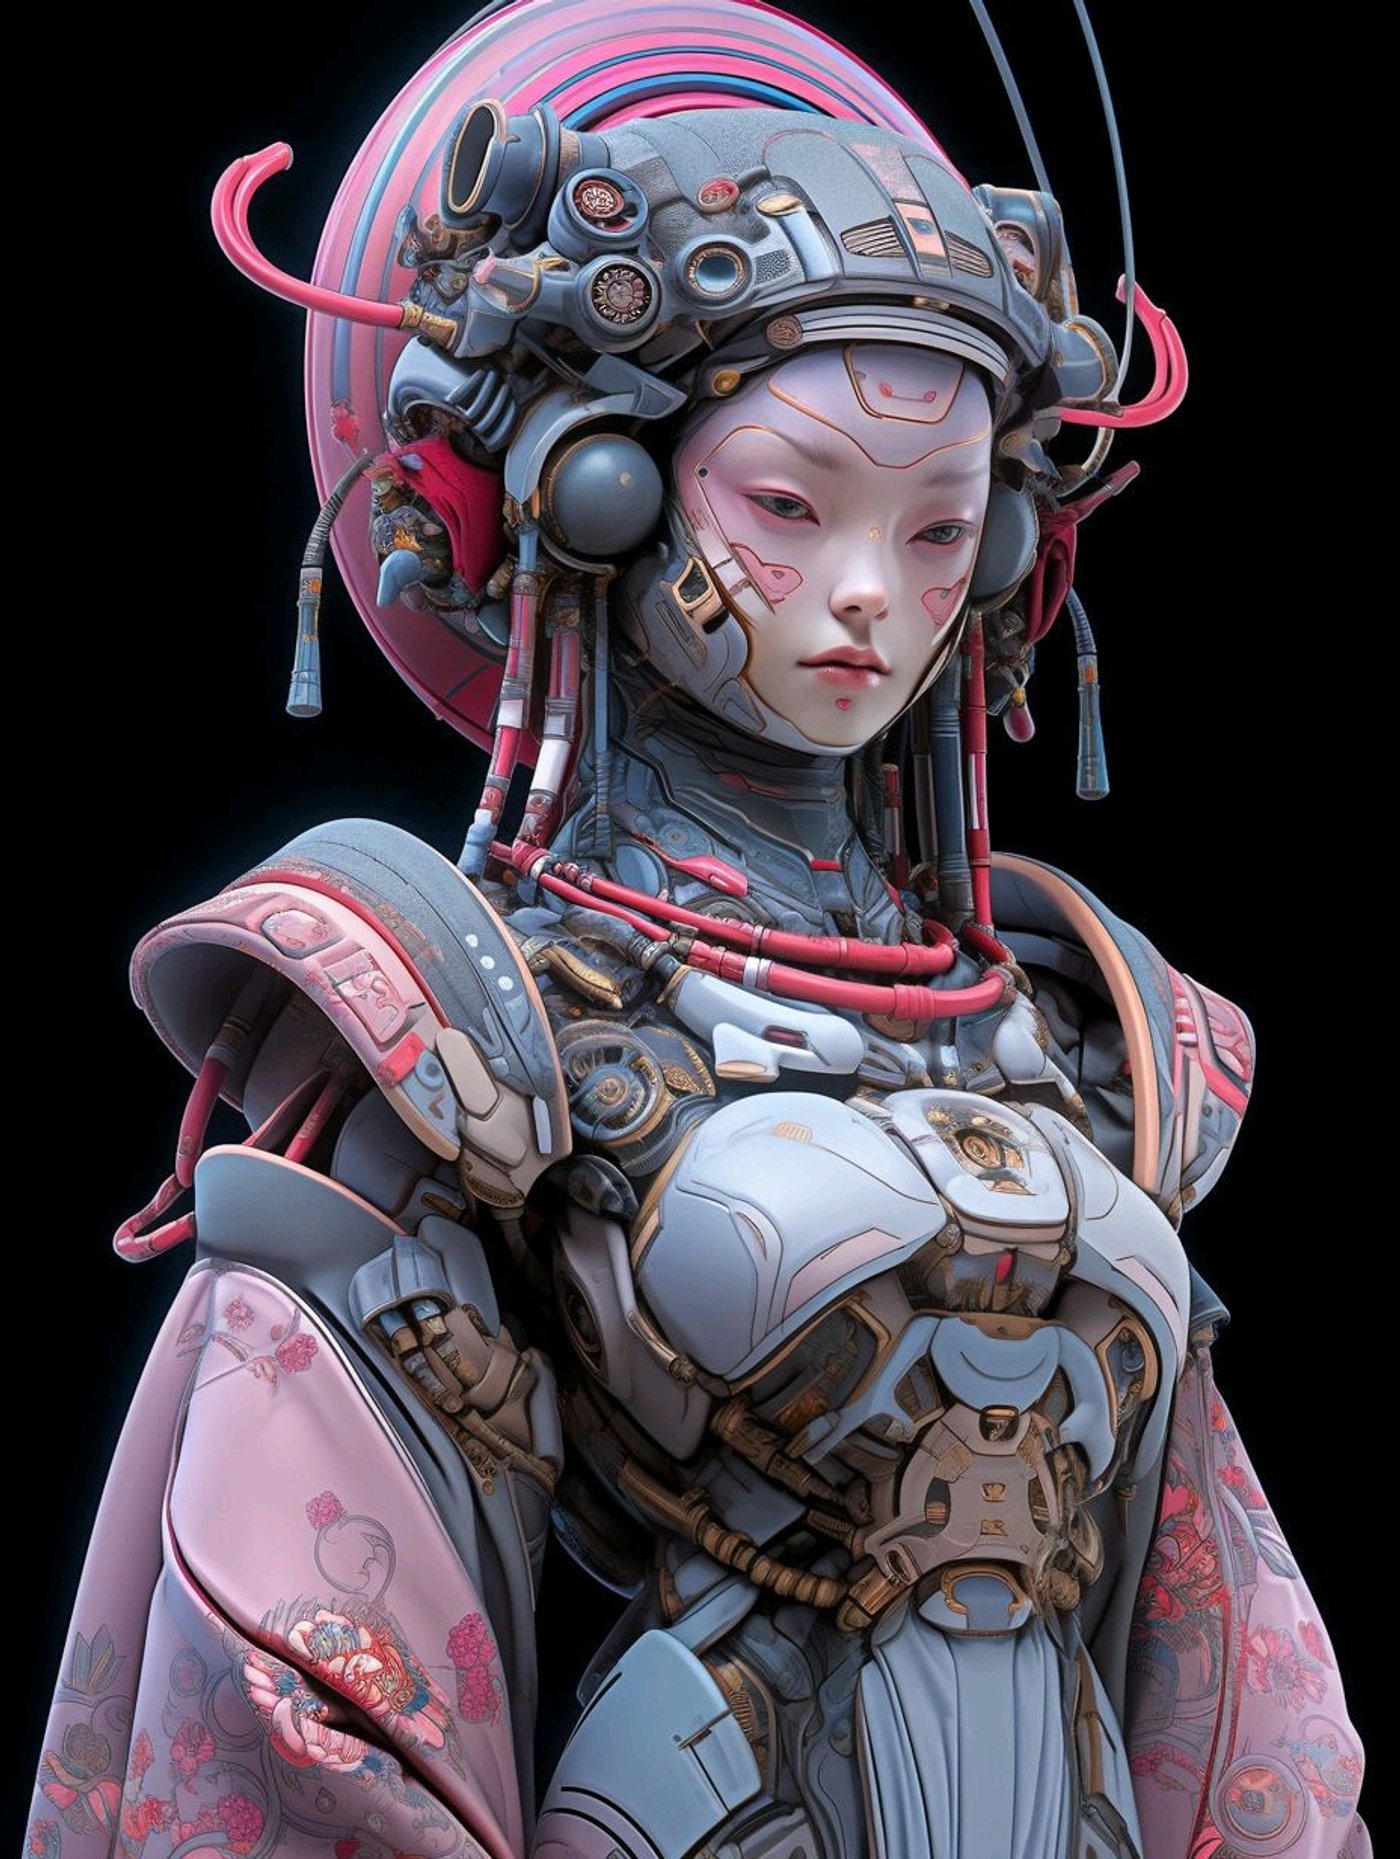
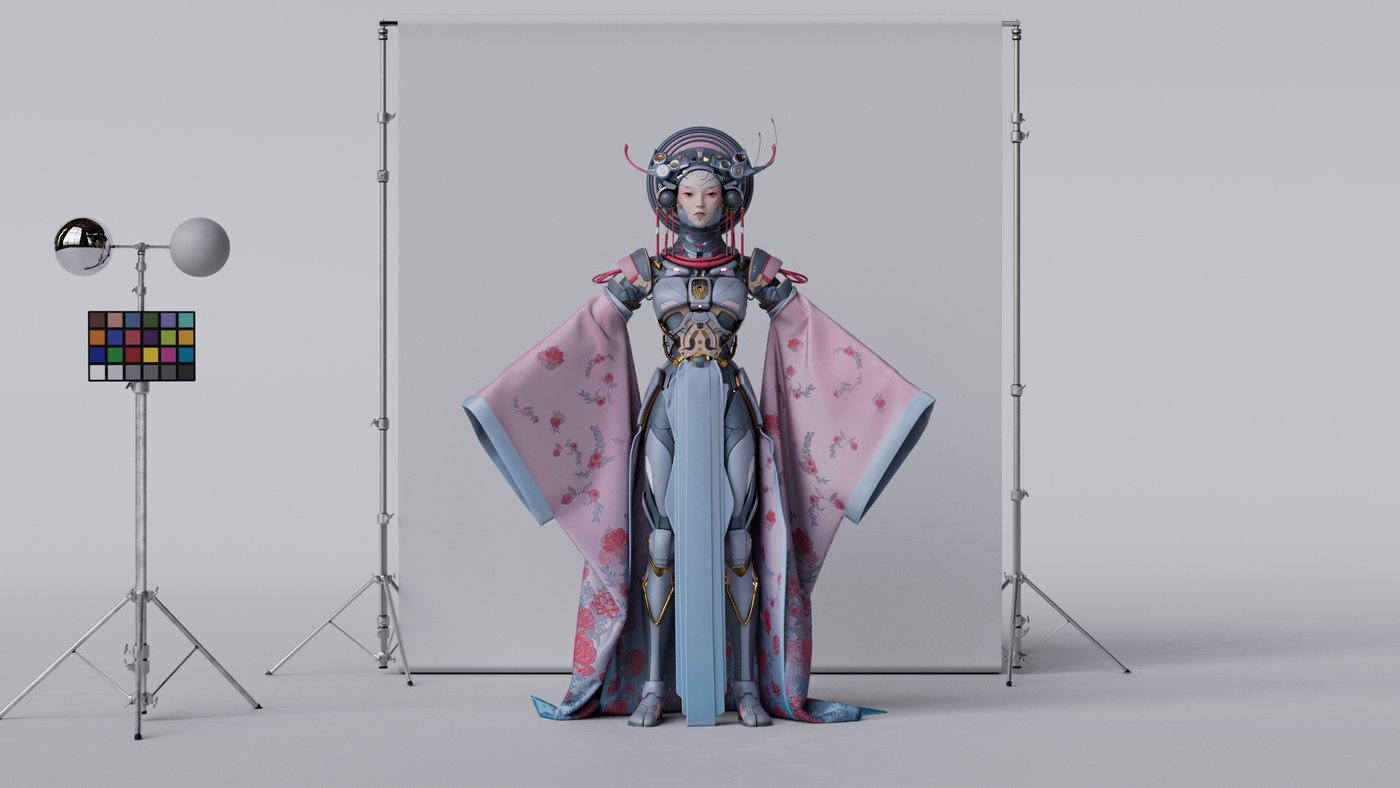
The Main Reference was an AI Image prompted by Eric Bellefeuille. My goal was to interpret this image into a realistic version that could exist within a sci-fi universe.
Modeling Breakdown
As some traditional artists might know, starting from a blank canvas (in our case an empty scene) can be a tough thing to overcome. Therefore, I wanted to try some new workflows that involved AI to overcome this cliff.
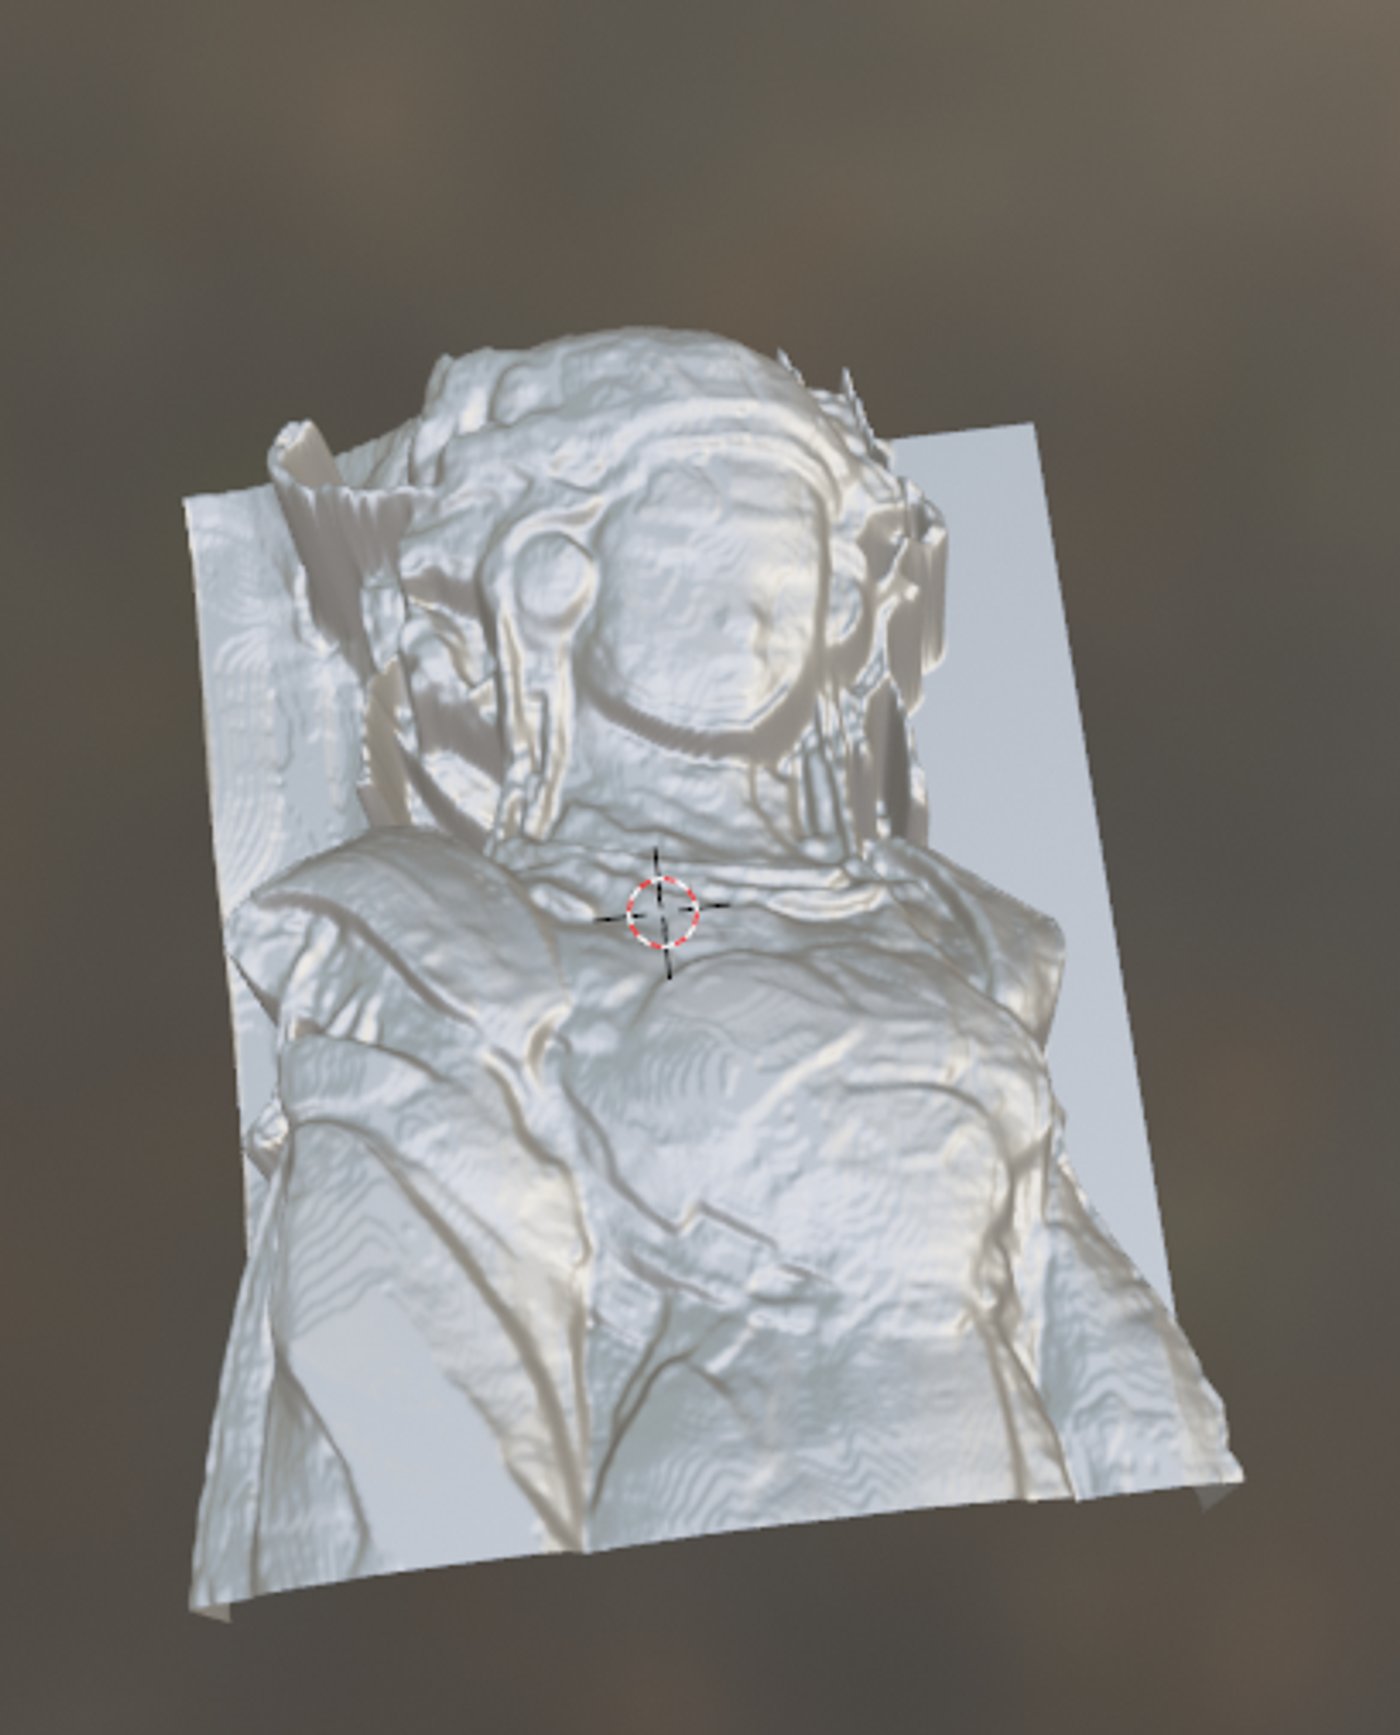
I used ZoeDepth to convert my Reference into a Depth Map that I then used to plug into a Displacement Modifier on a subdivided plane to achieve a rough first base.
Tip: If you ever want to use this workflow for your models, I'd advise you to prompt an image where the asset is either in profile or looking directly into the camera. As it turns out, trying to convert a positioned asset into a solid base is fairly hard.


As the main reference only showed the Geisha from one perspective without revealing what the legs or back look like, I did end up sketching a rough figure to get a better visual feeling of the full range of the asset.
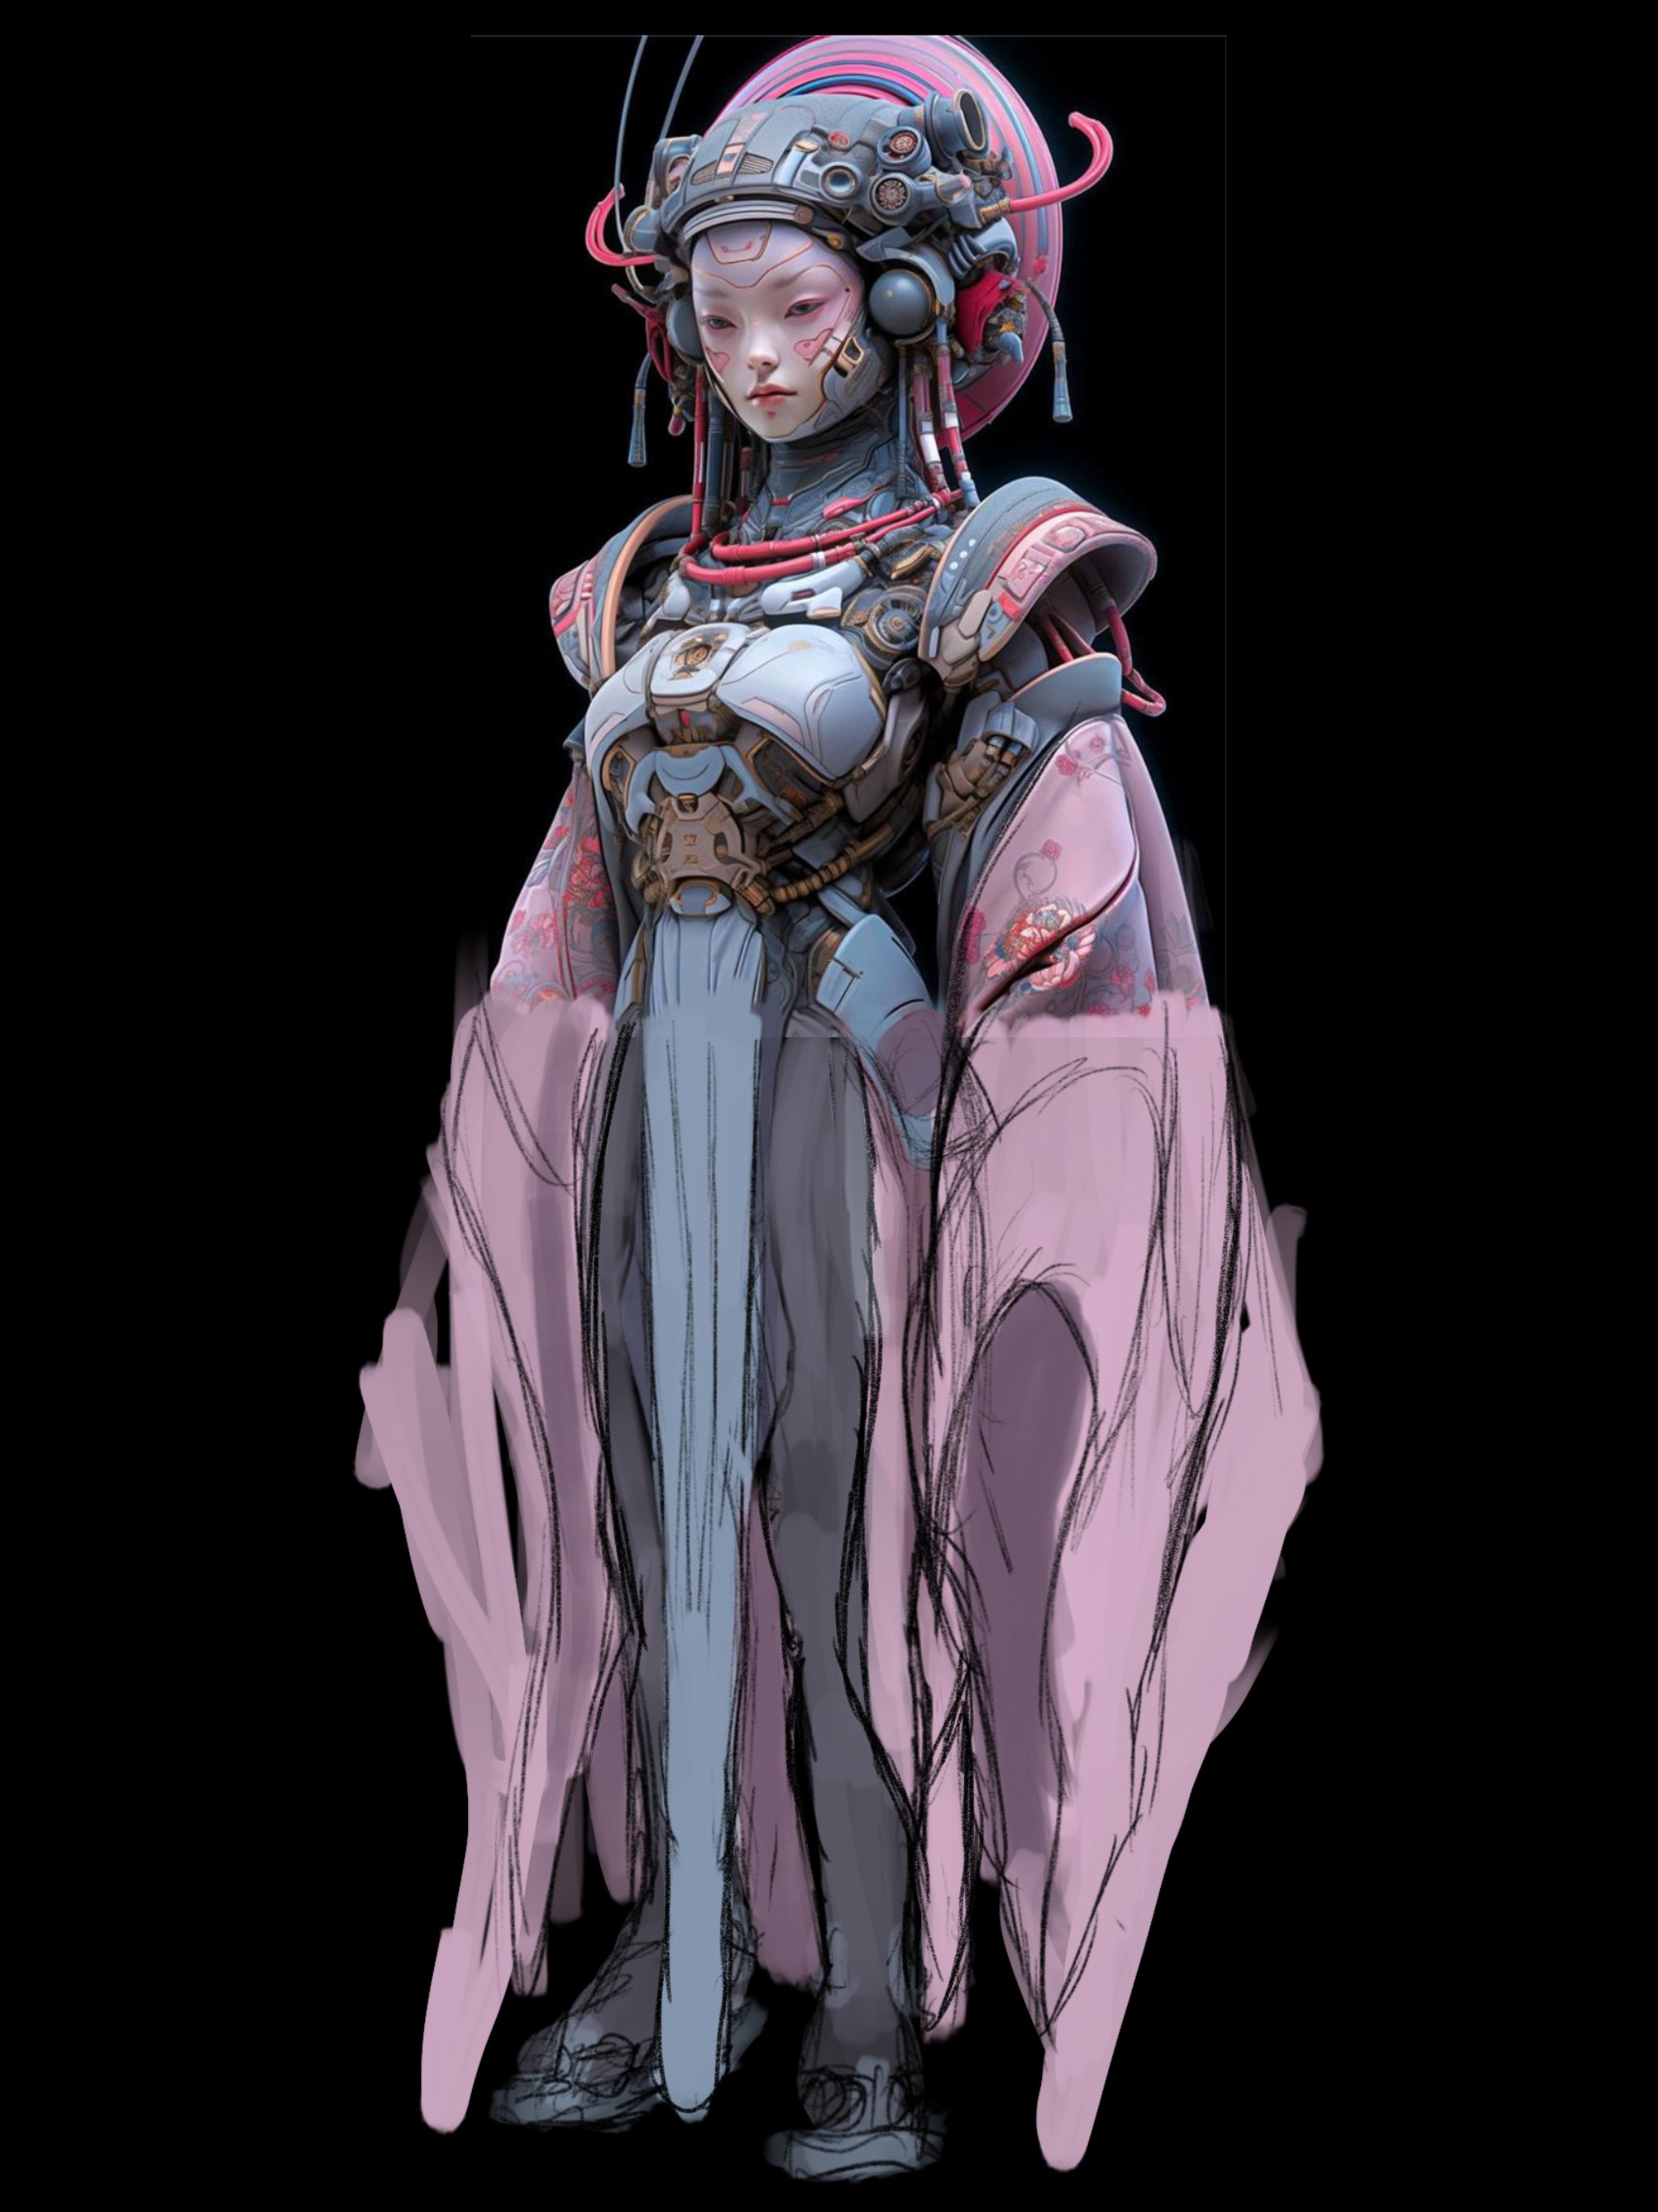
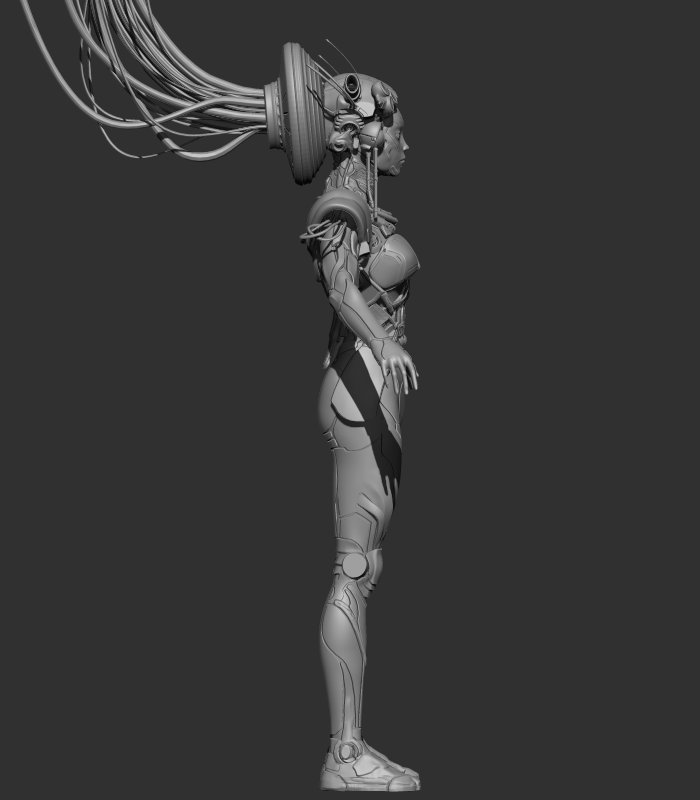
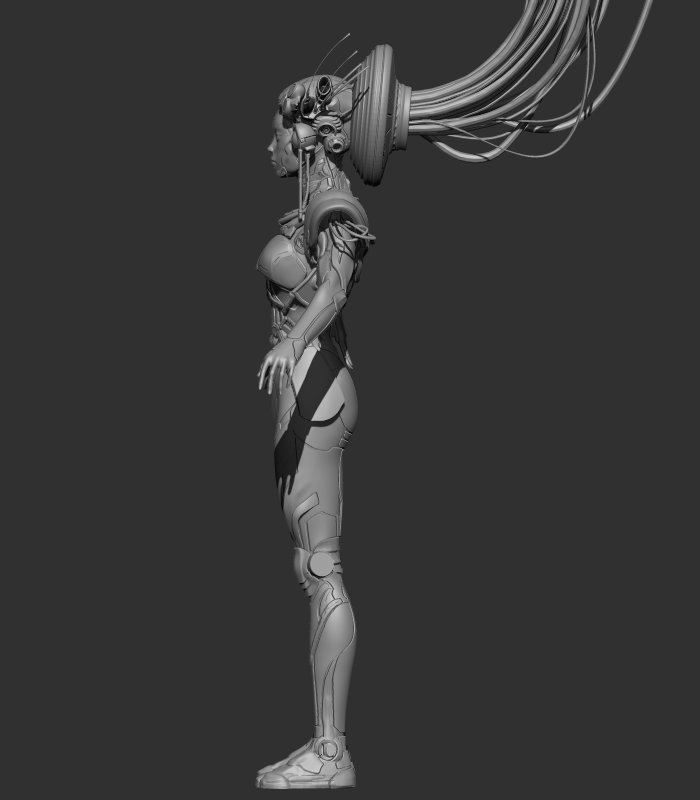
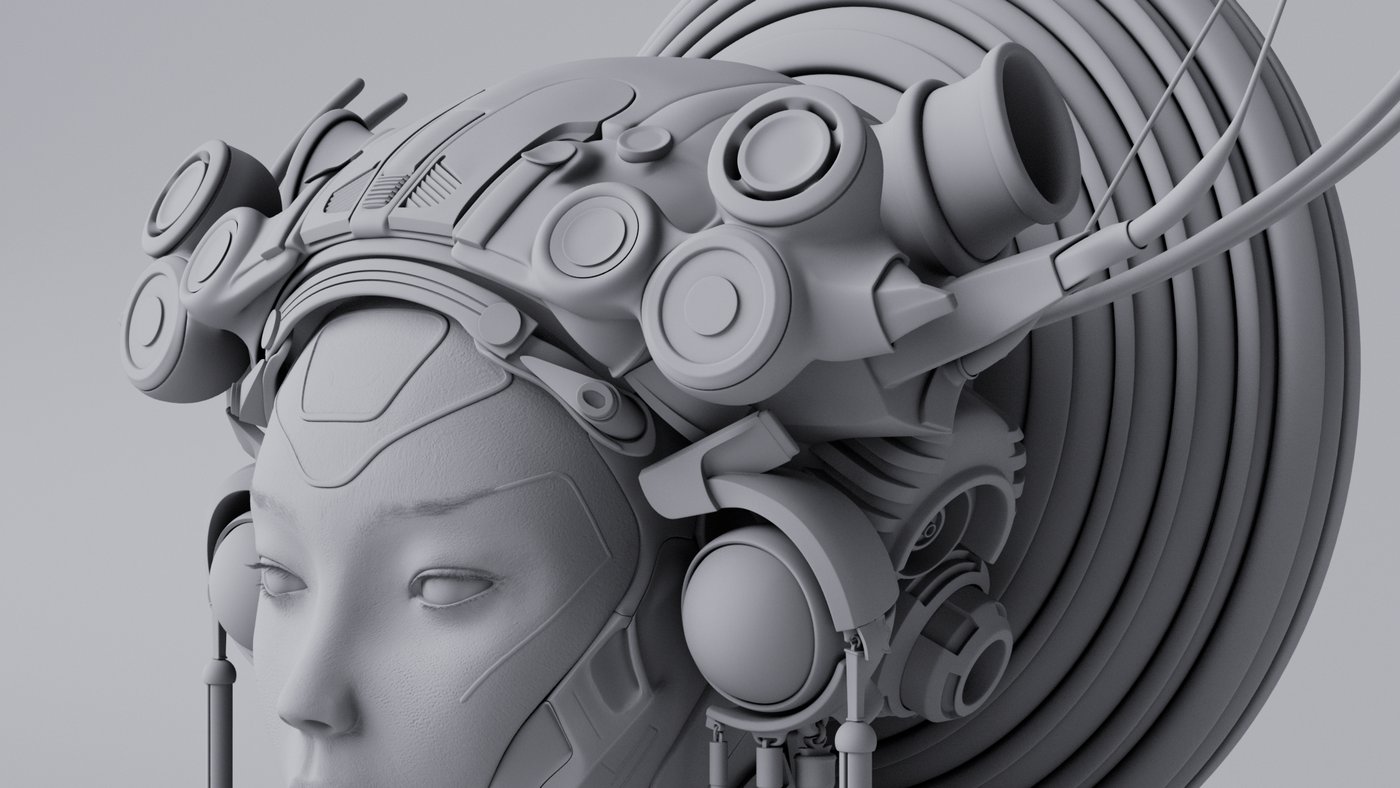
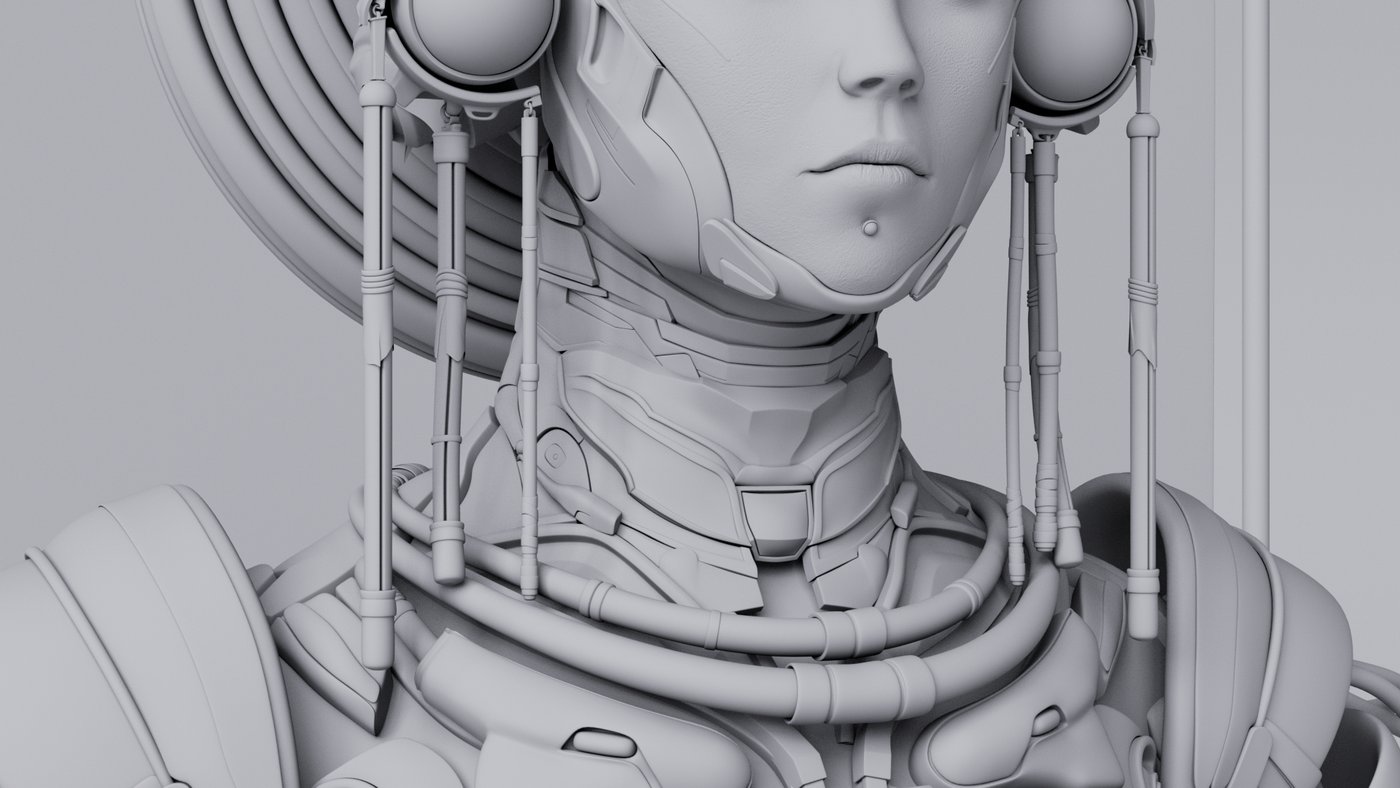
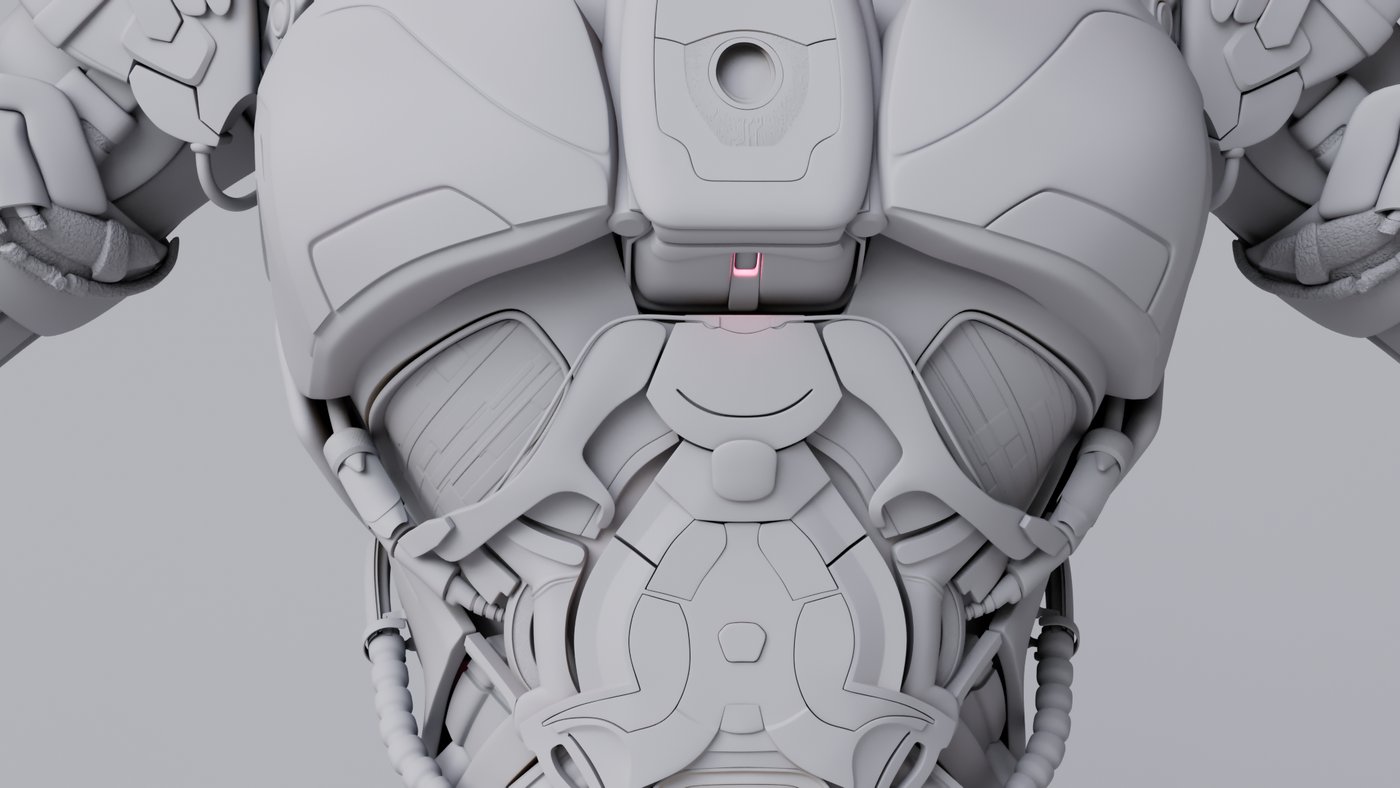
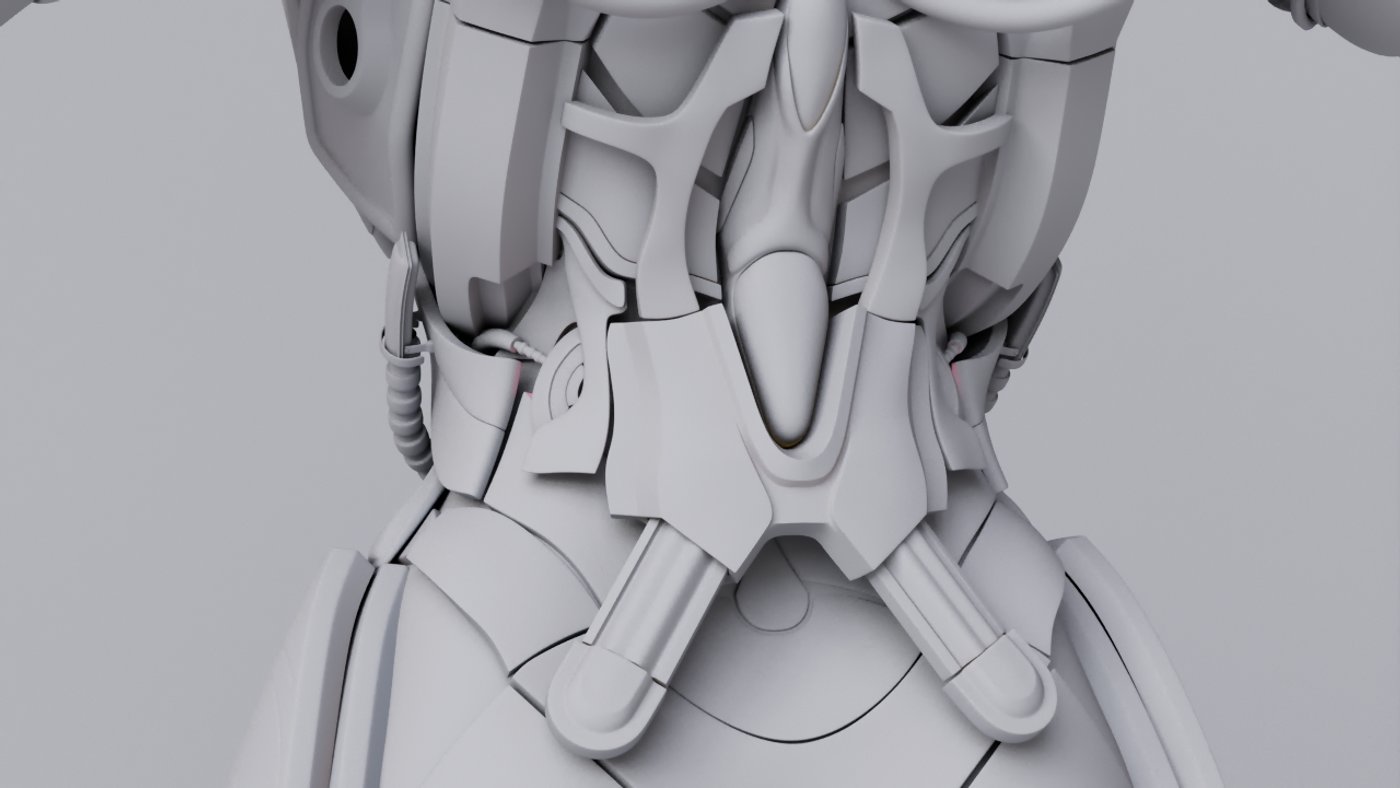
Because the main reference was sometimes hard to read and on top only showed parts of the full body, I spent a lot of time designing the character myself. While coming up with shapes and flow, I tried to keep my ideas as close as possible to the overall feeling of the initial reference. I decided to use ZBrush to sculpt the organic and hard surface parts to keep the flexibility of changing shapes on the fly.
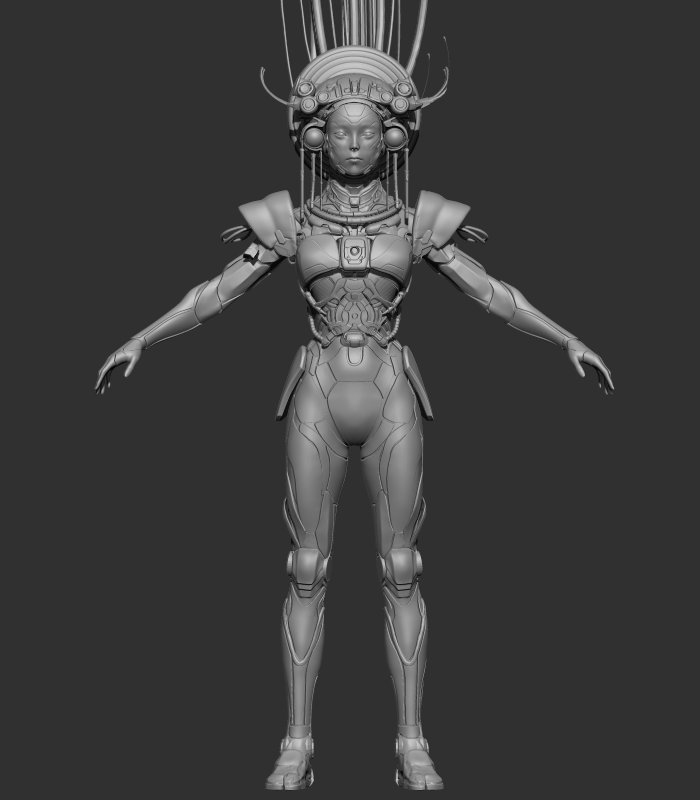
Time efficiency played a major role in this project. That's why I minimized the time I spent on parts that would later be covered by her kimono.
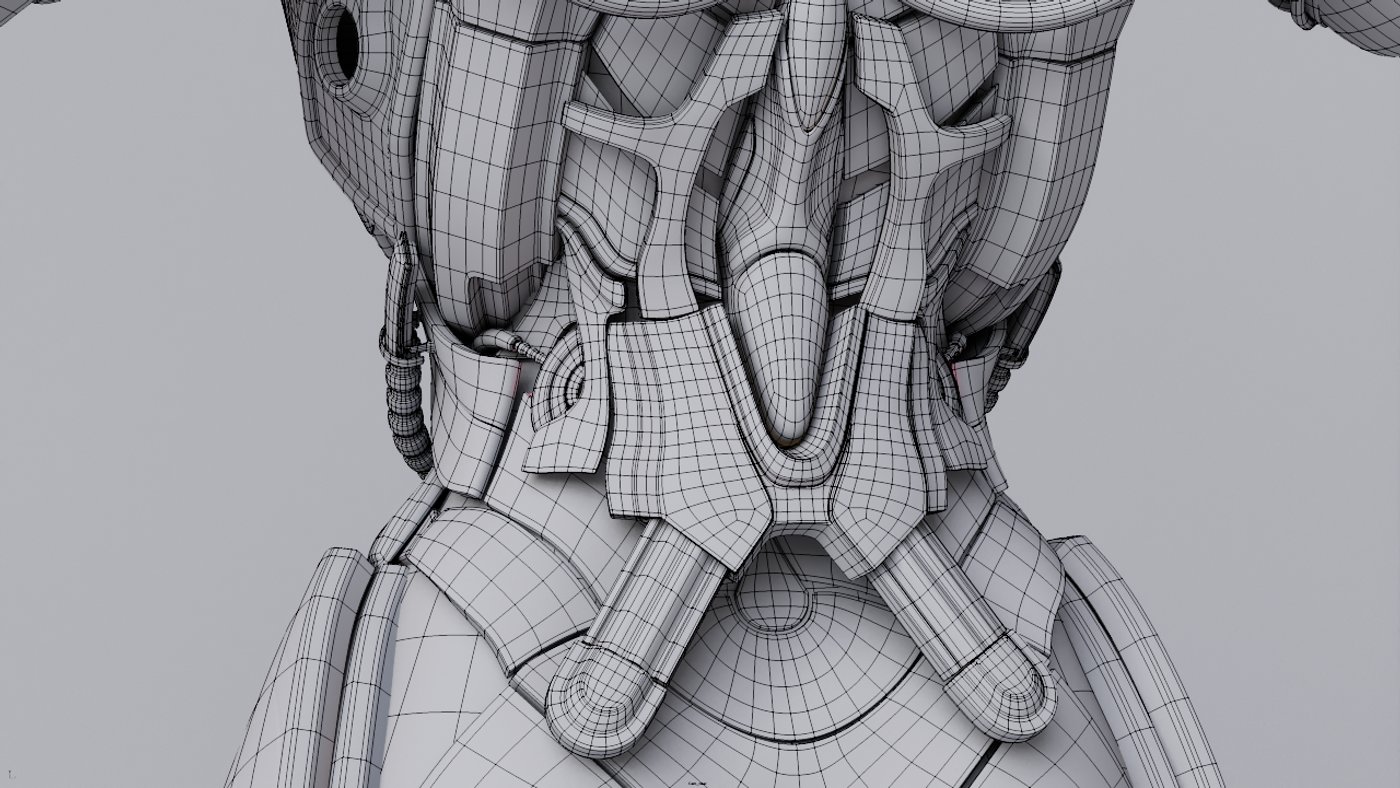
This was my finished block out from ZBrush:


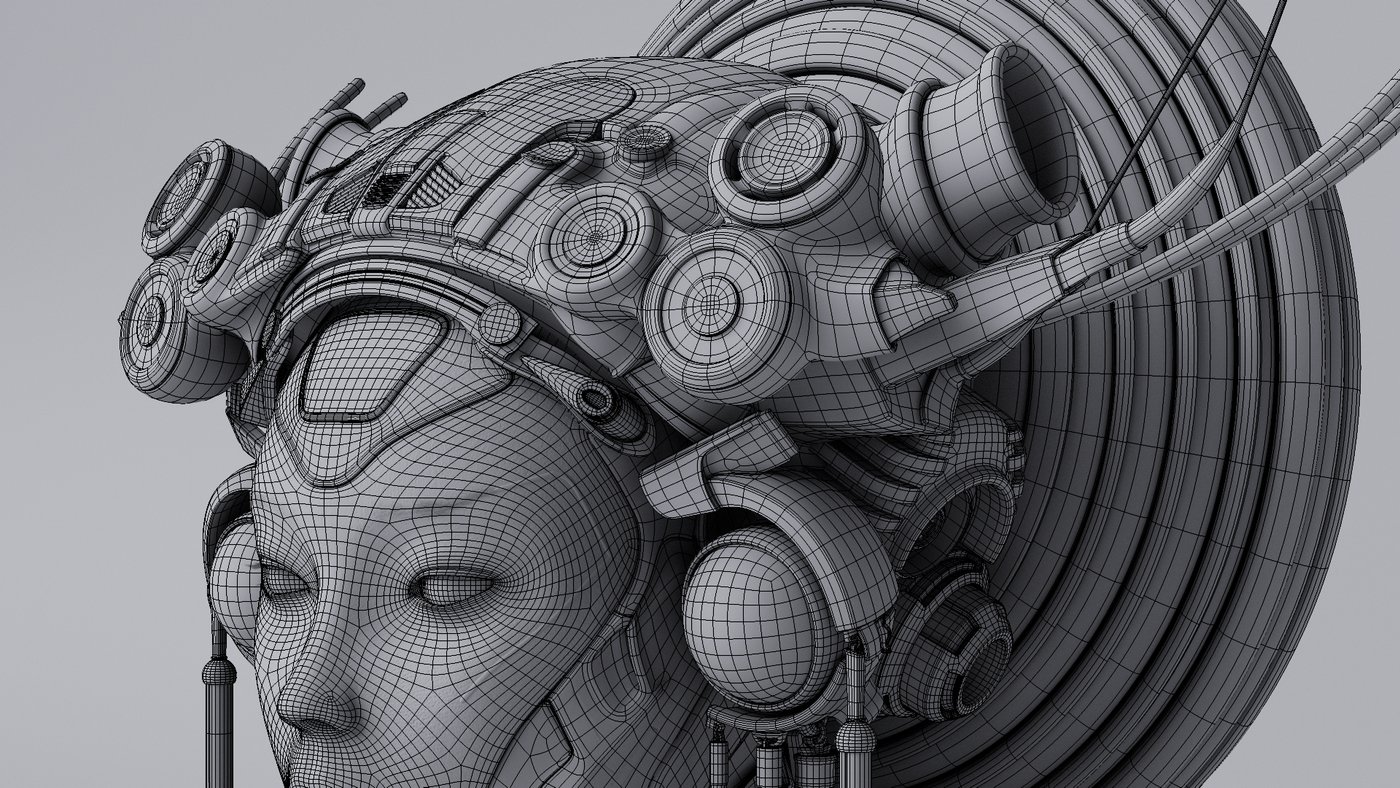
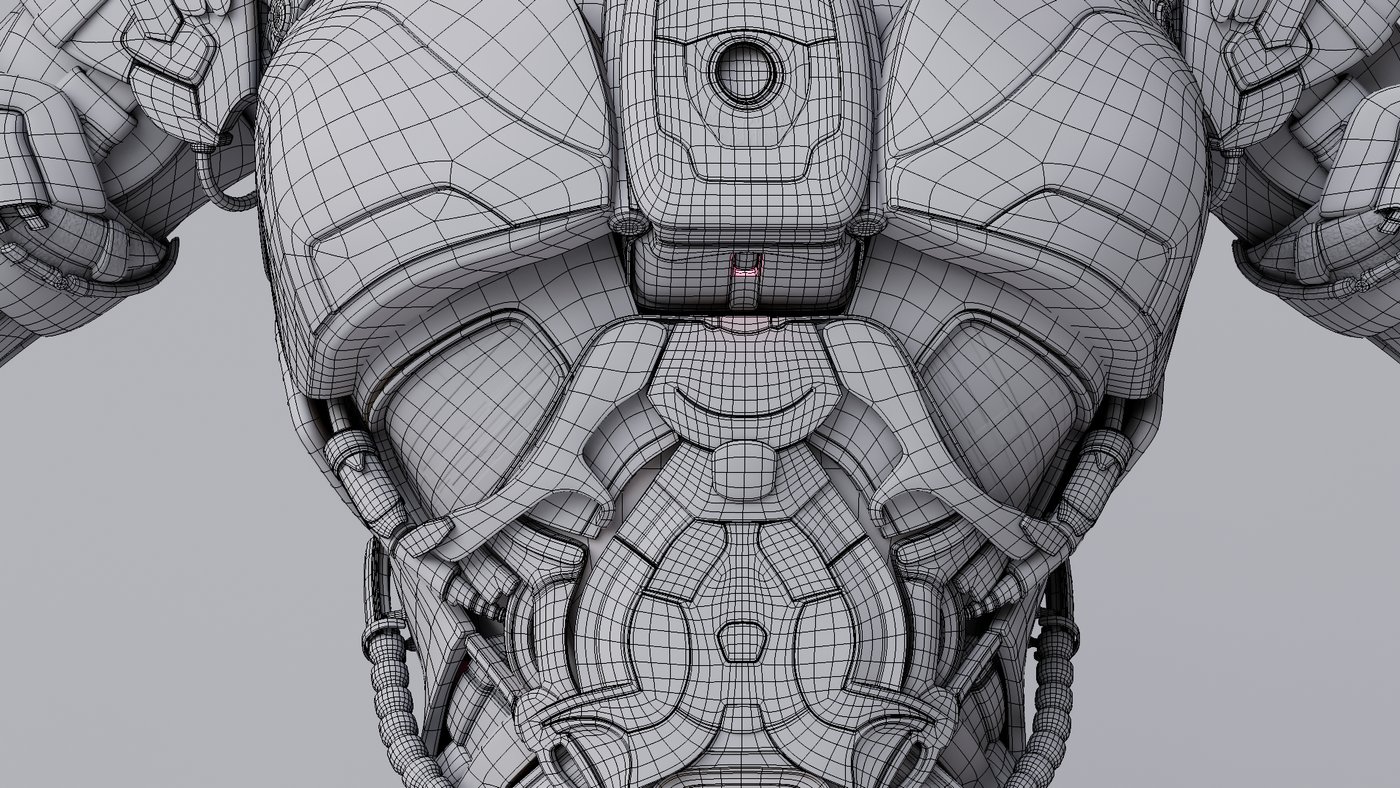
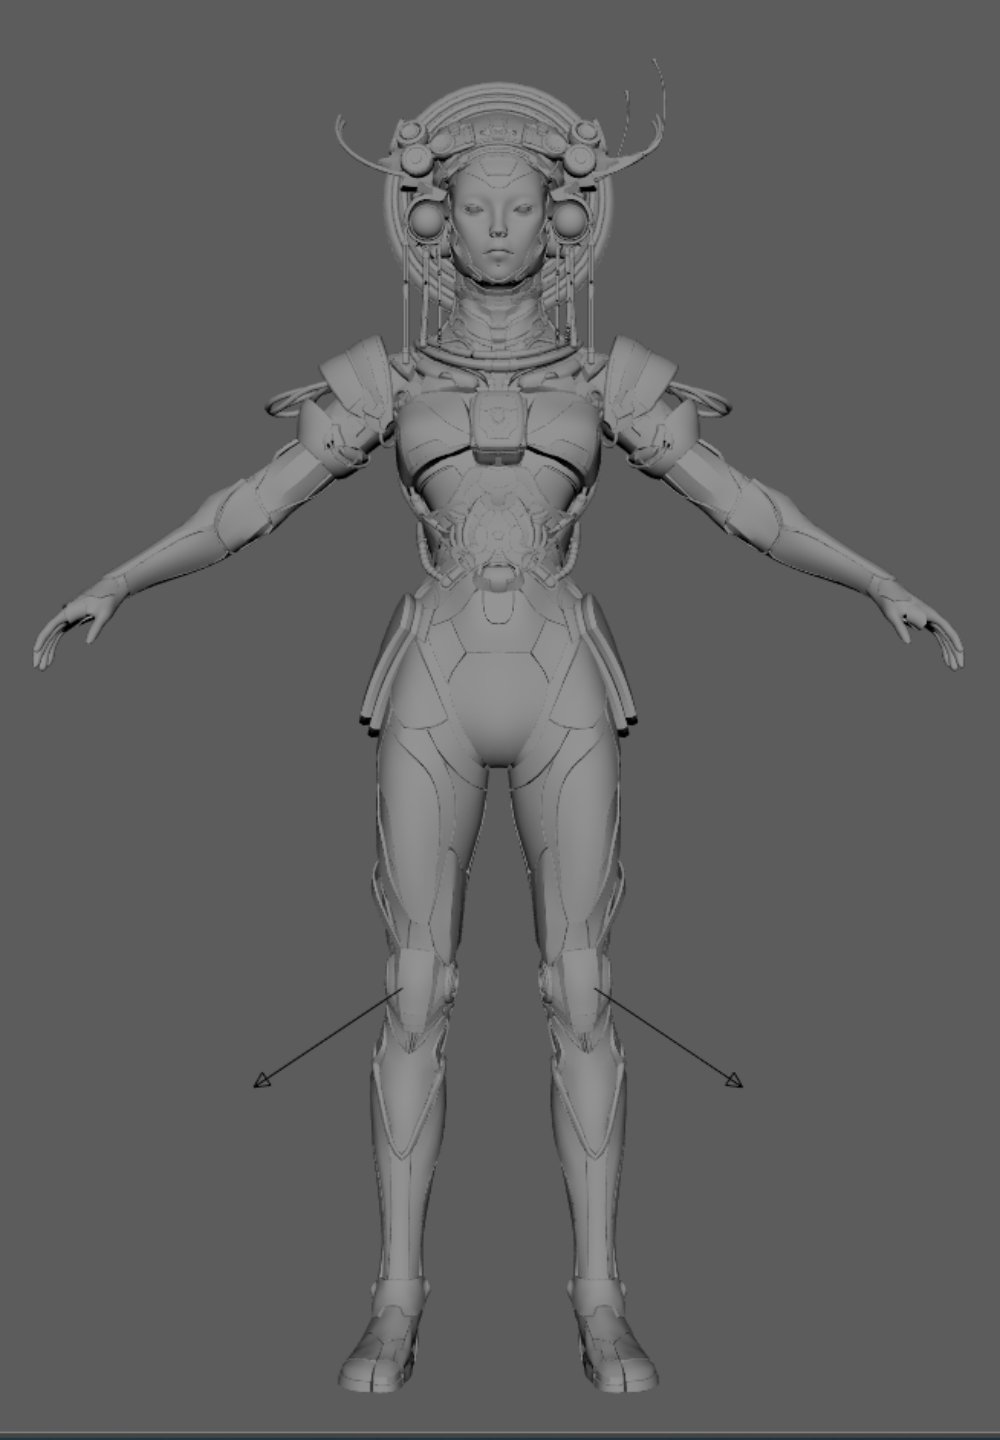
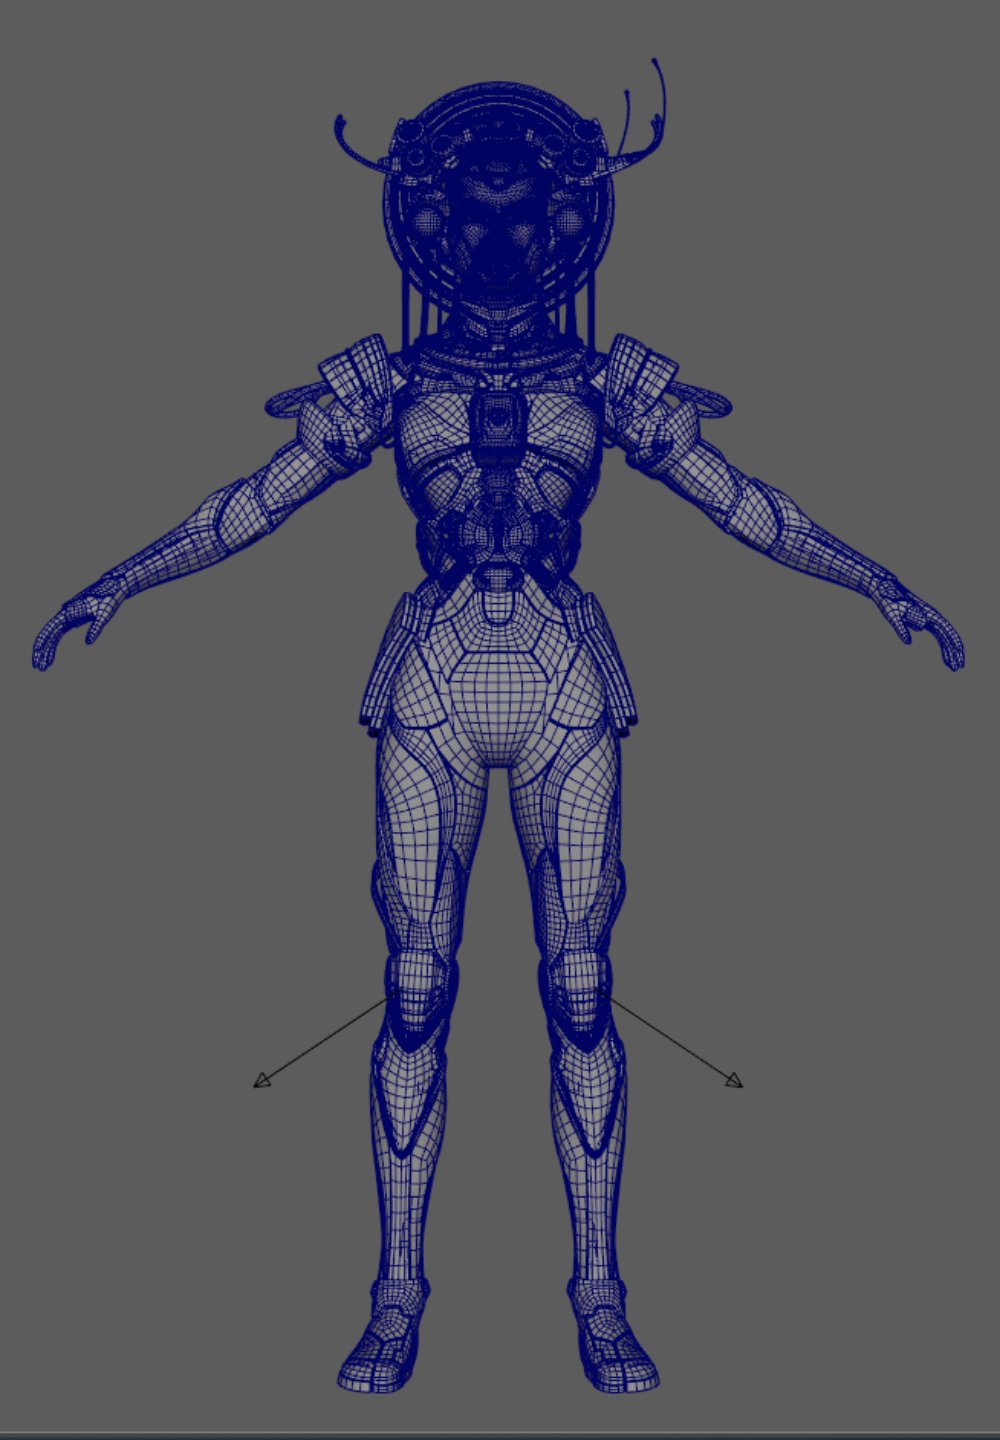
After importing the decimated mesh into Maya, I started retopoligizing, cleaning, and finalizing all the parts.
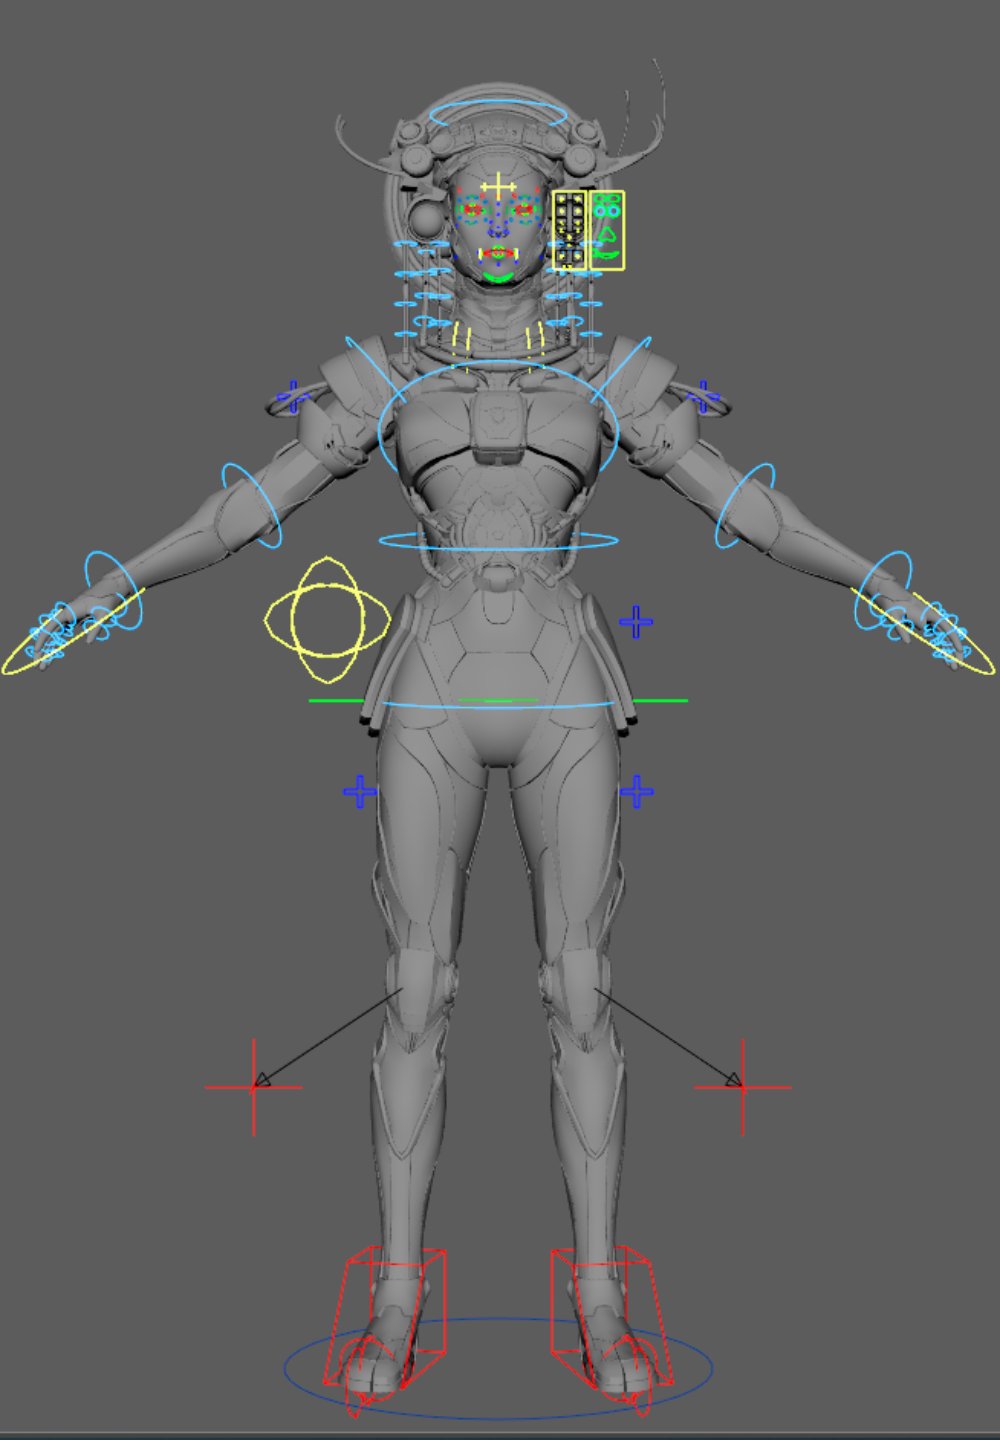
Even though I didn't intend to animate the character, I still rigged her to keep a clean pipeline and the possibility of easier tweaks and reworks. Also, having easier control in the posing stage was a plus point.
For Rigging, I used the Advanced Skeleton Tool for the base and facial rig to avoid repetitive workflows. Then, I added some extra joints and made some skin weight and controller adjustments.
During the process, I came across multiple movability issues with the design I had made. So I went back and forth. Adjusting the model and updating the rig.
It is far from perfect, but it was good enough for posing and left me the opportunity to reuse the asset in future projects.

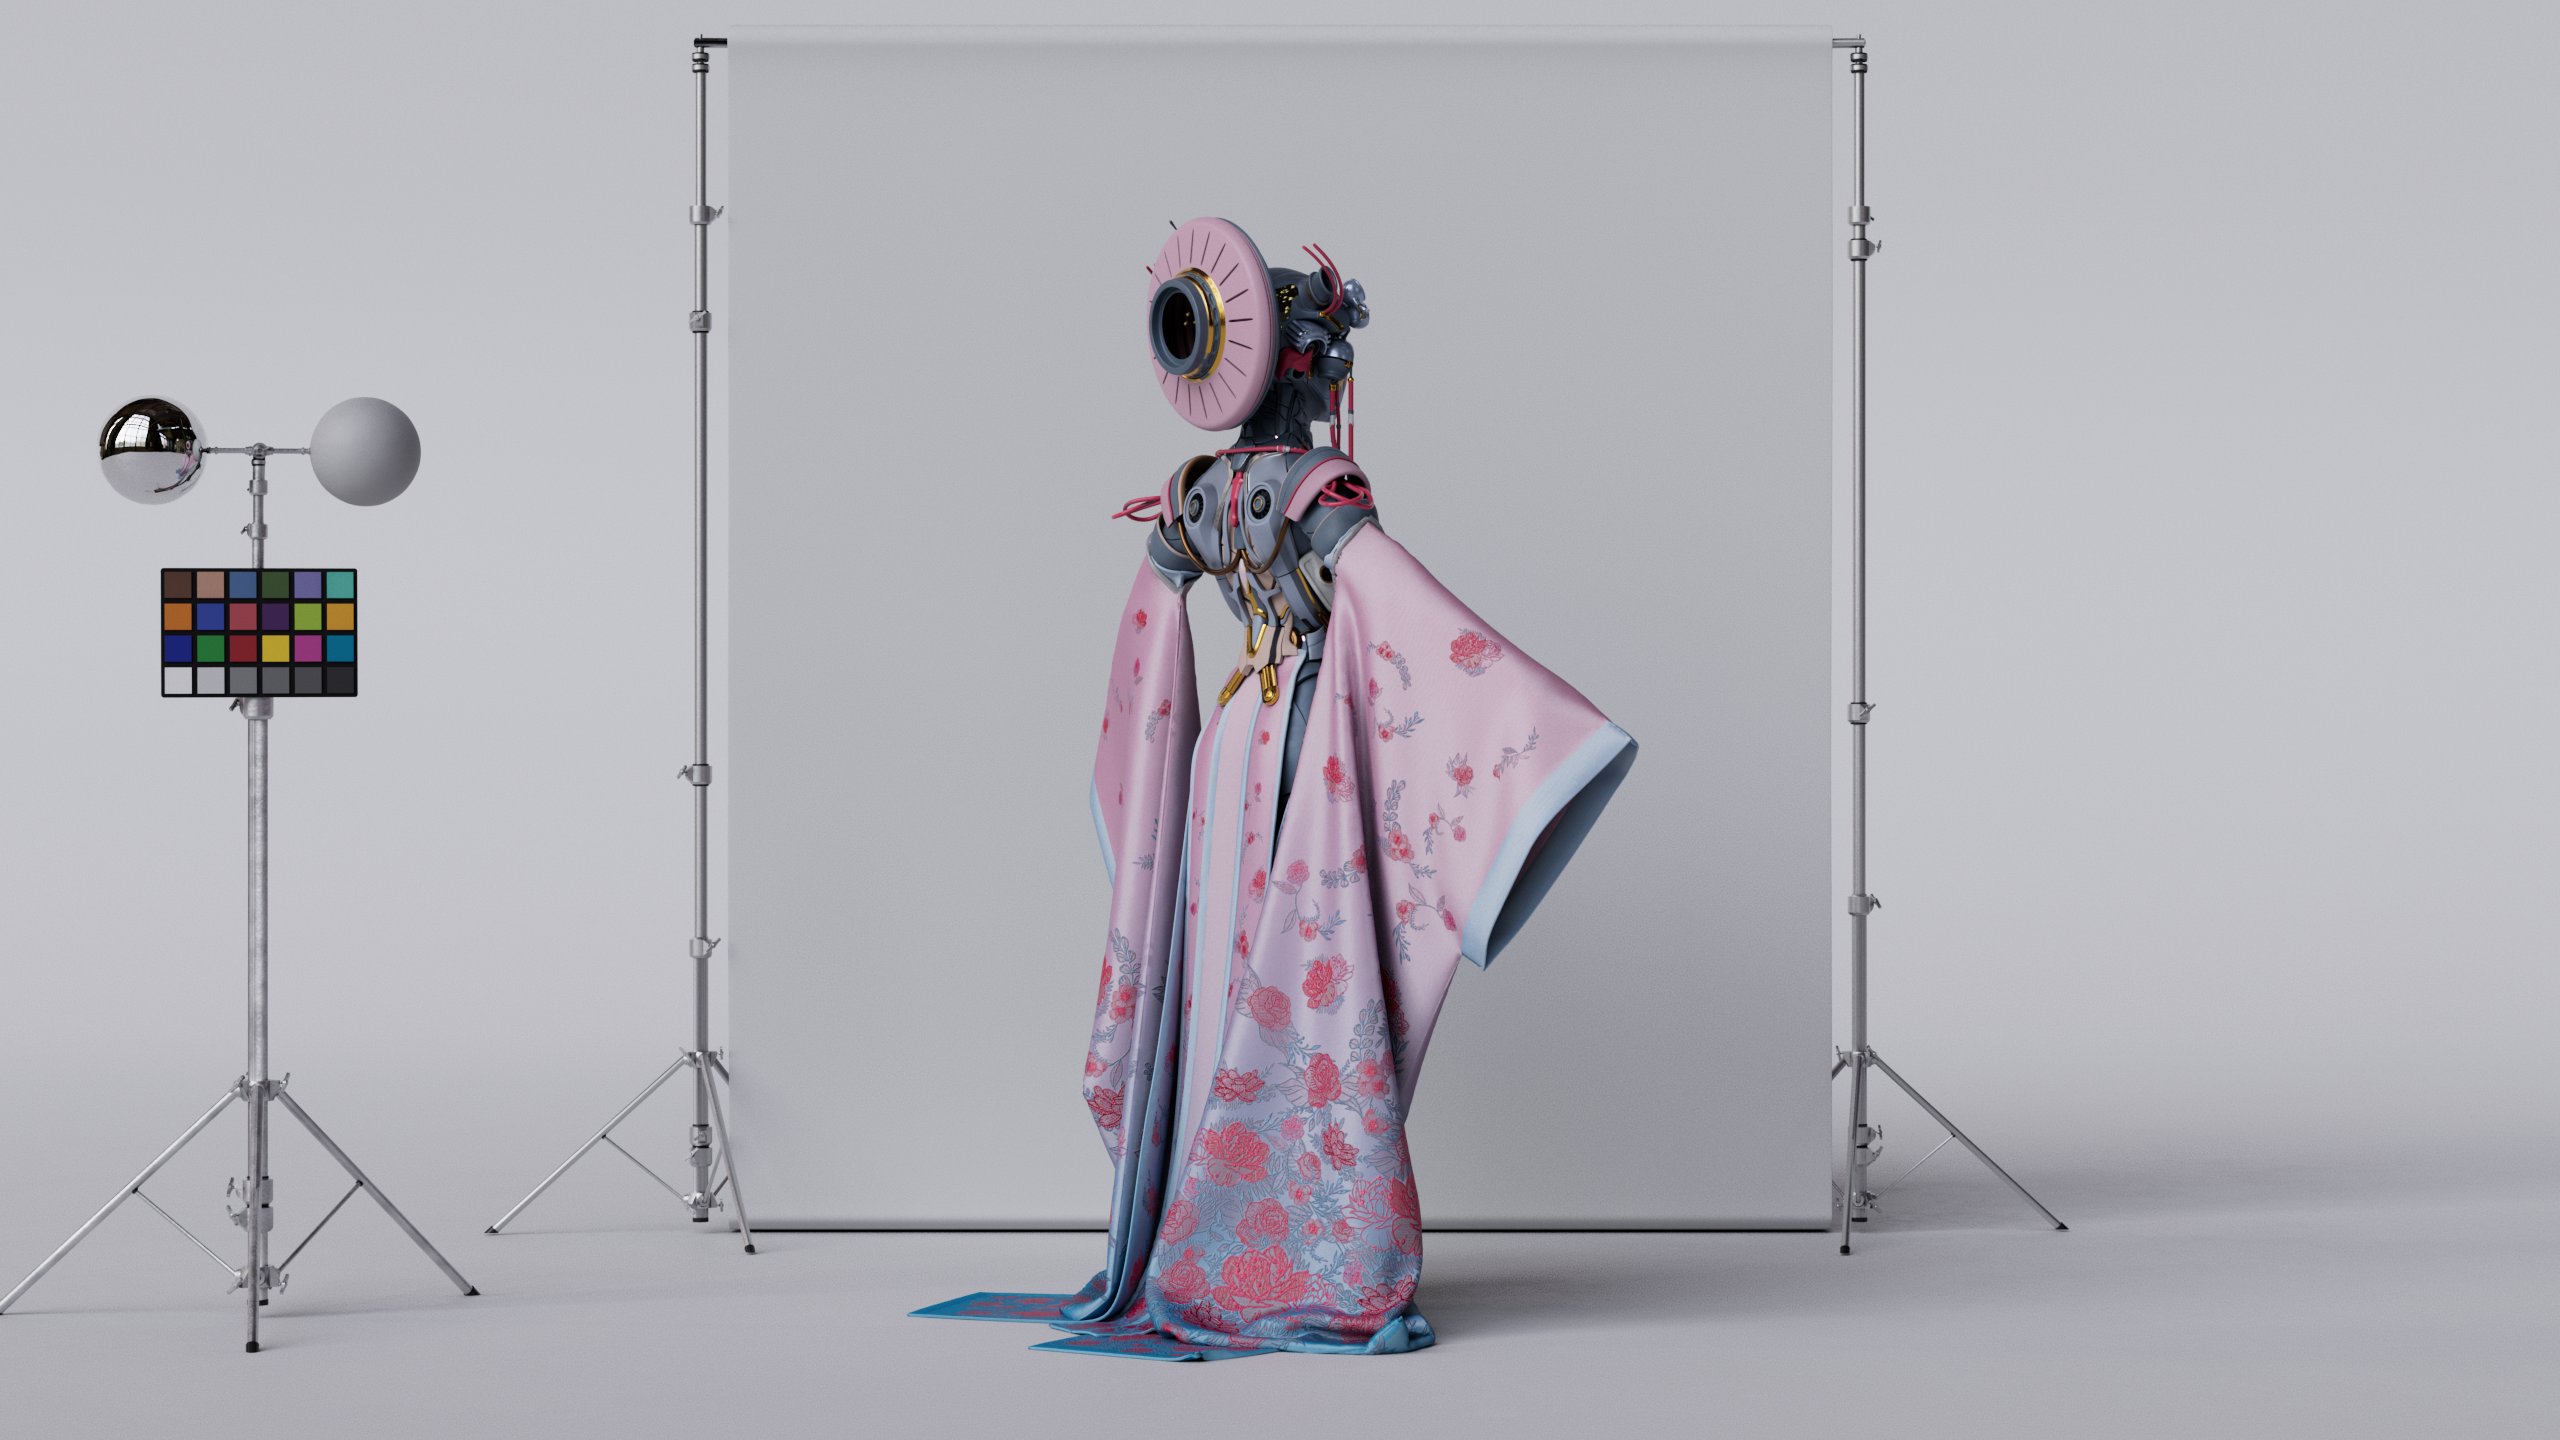
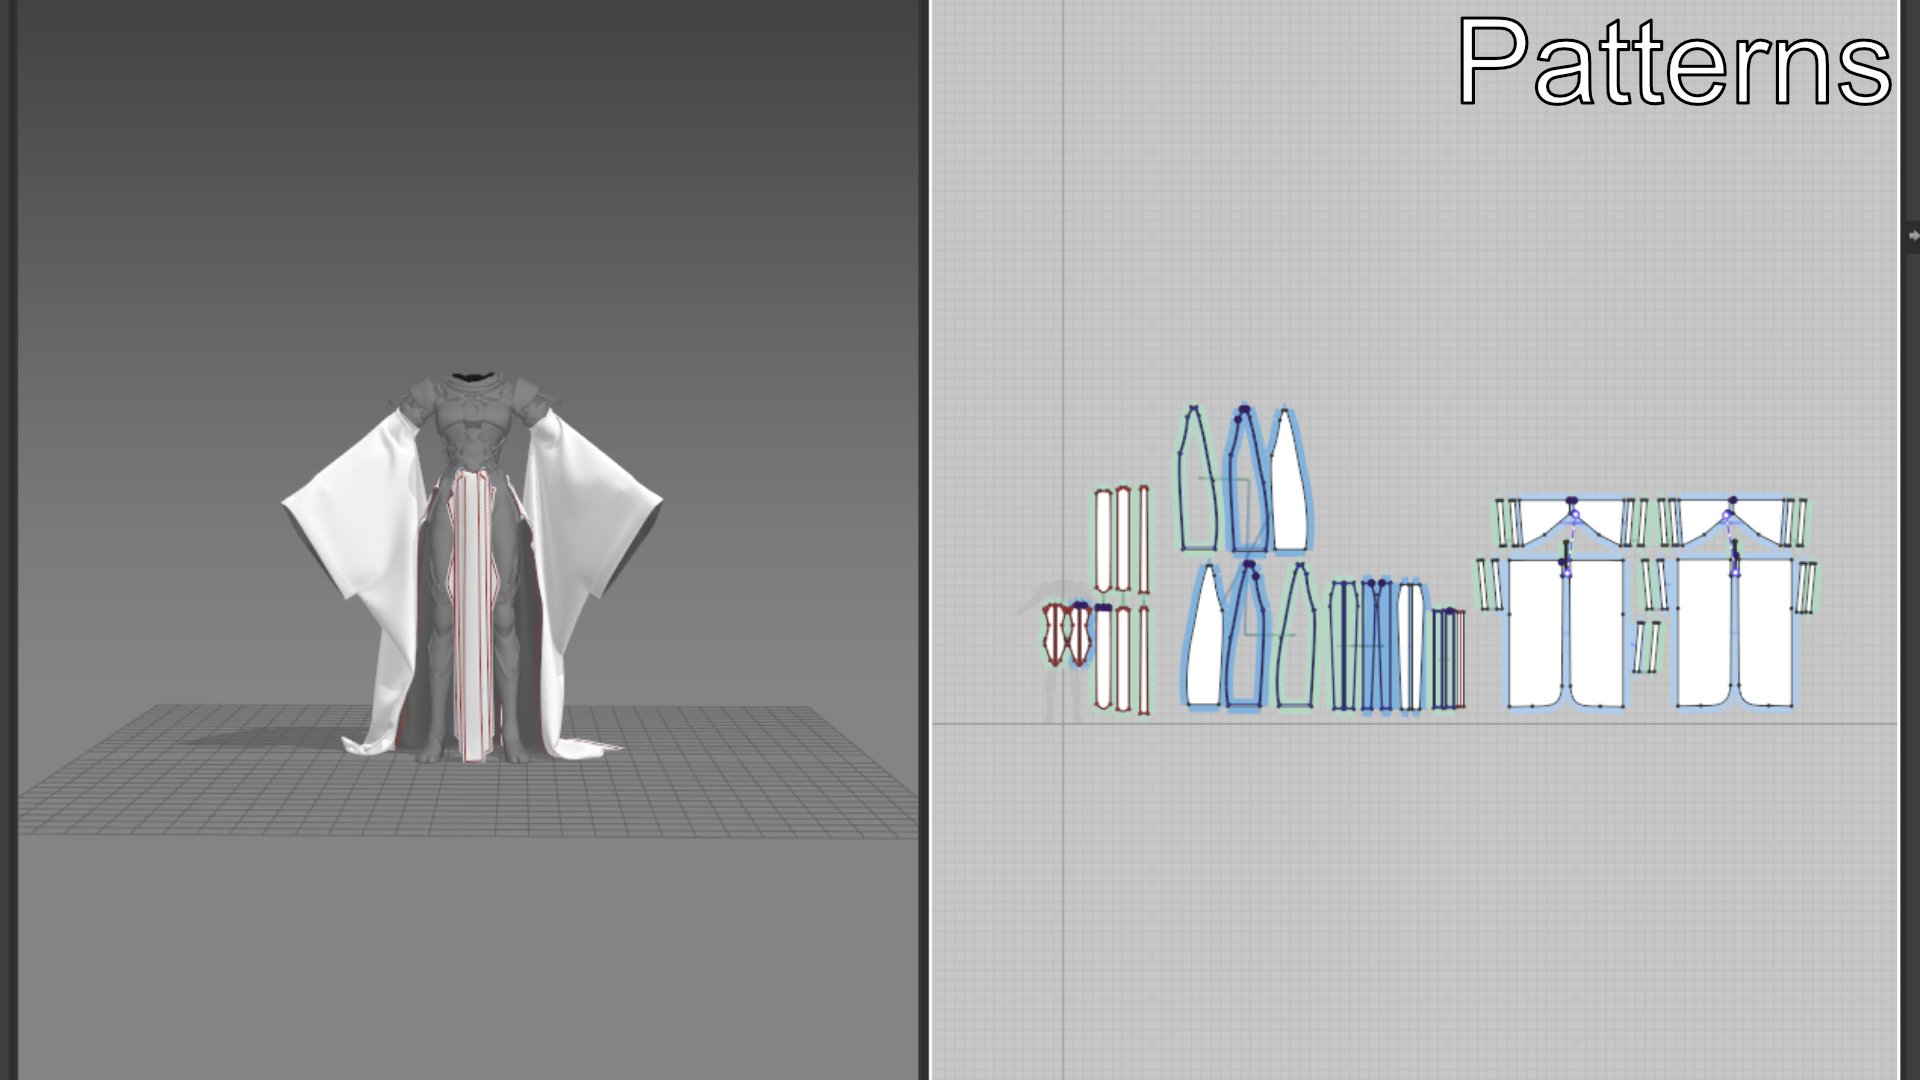
For the Cloth Creation, I went into Marvelous Designer.
I created a proxy character mesh for Marvelous Designer to ensure an easy and smooth workflow.
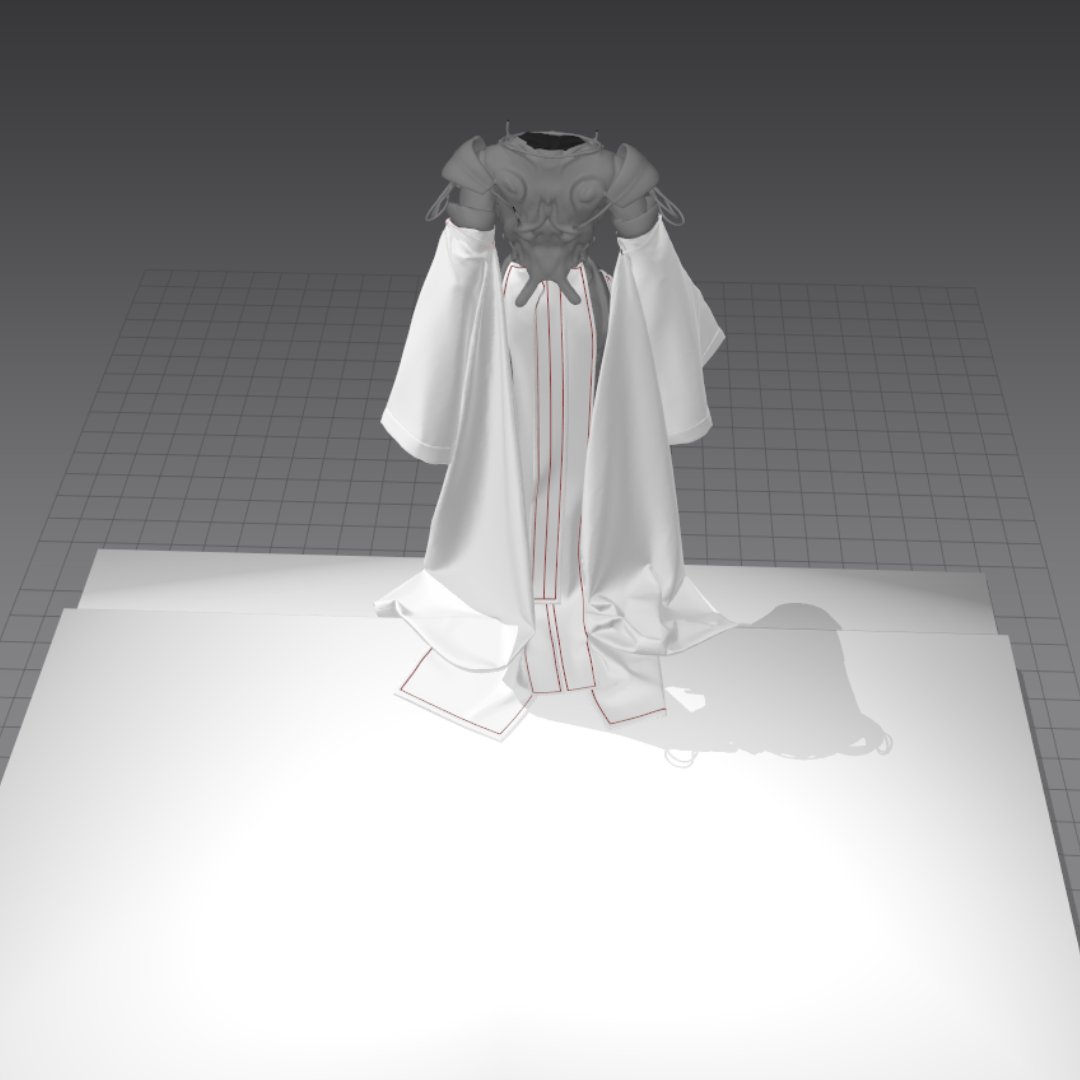
For the Kimono itself, I tried to keep it as close as possible to the main reference while having typical Kimono Designs as my second reference.
Fun fact: The length of the sleeves tells, if the woman is married or not. For festivals and celebrations, they are even longer.


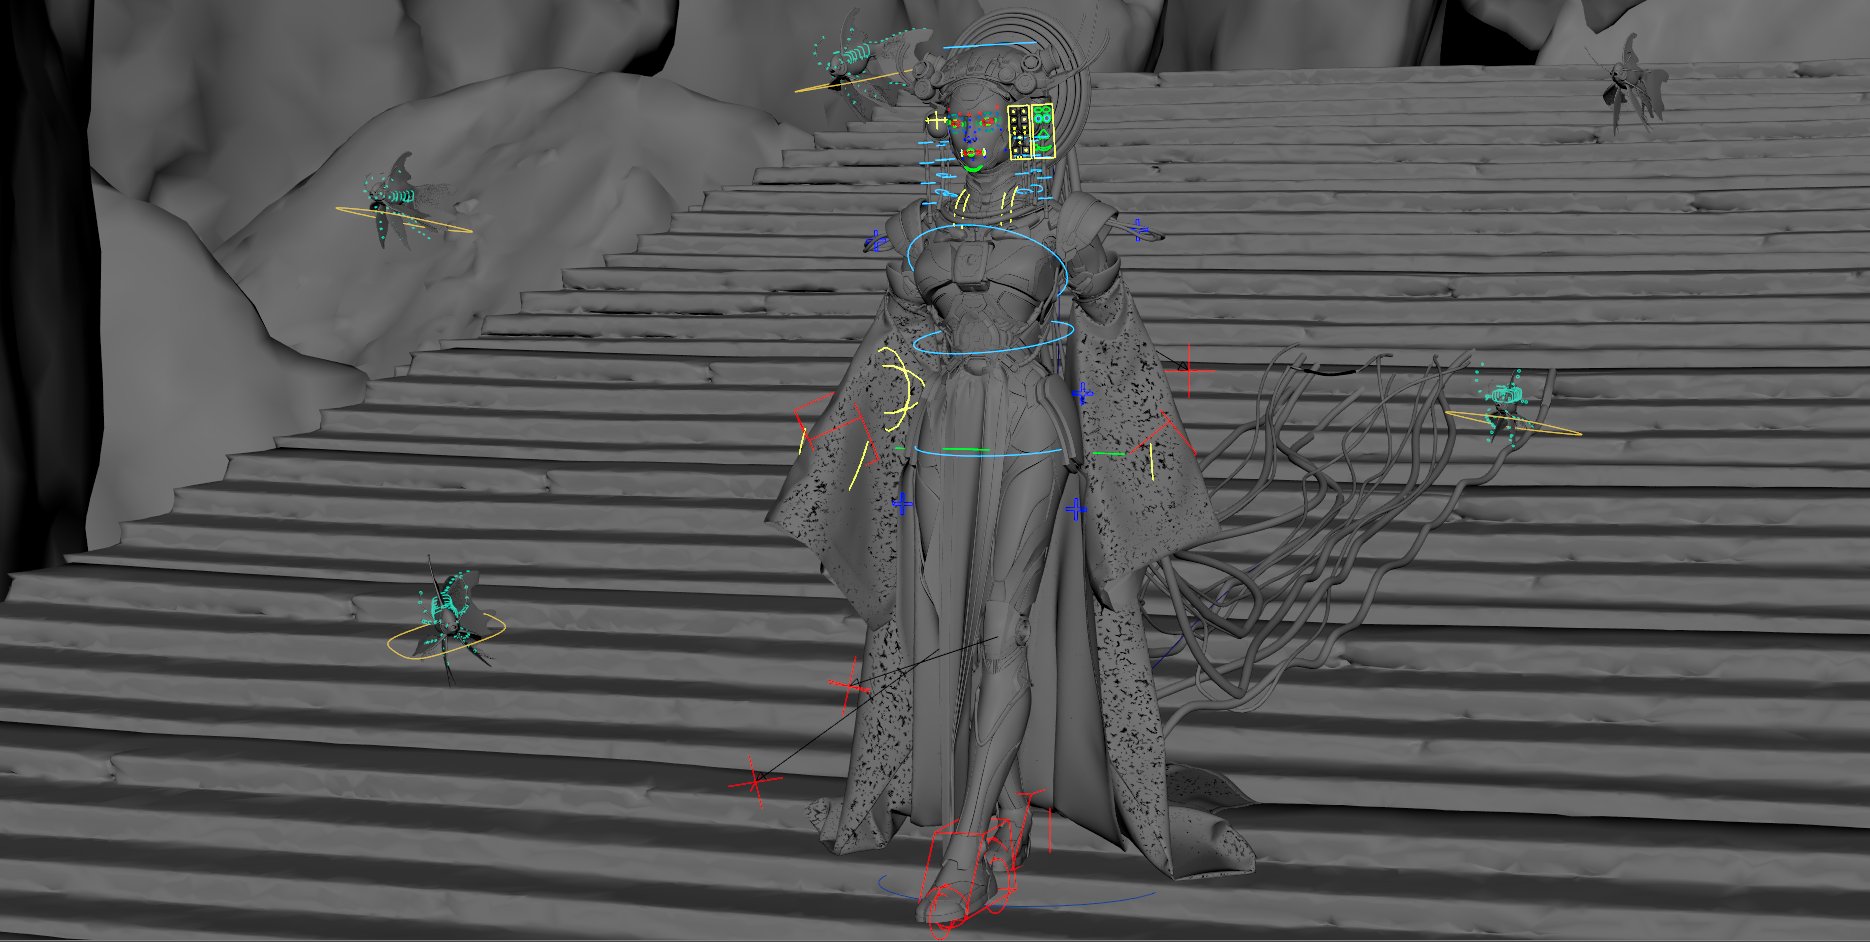
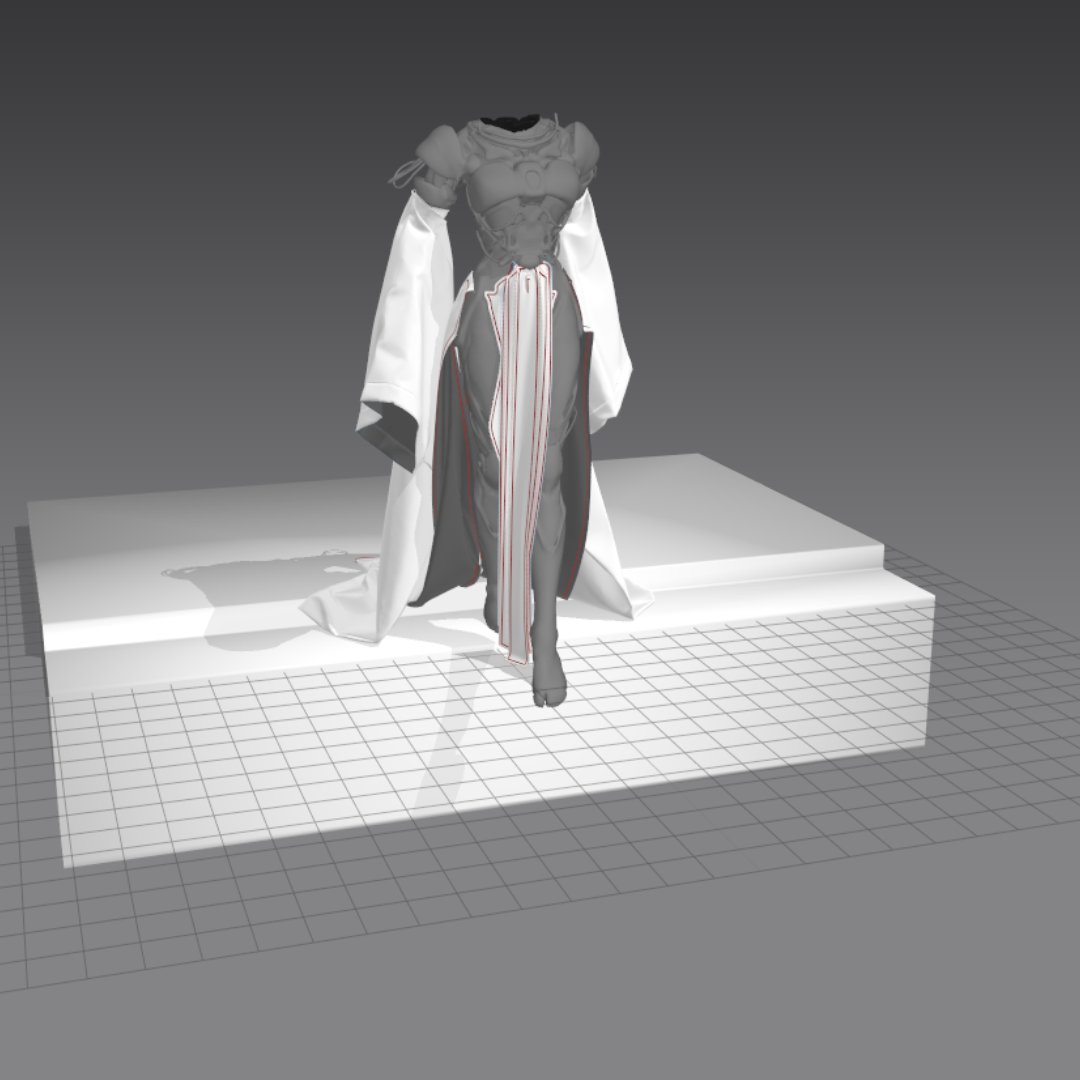
Because I rigged the character and the proxy mesh with the same skin weights, it was easy to import animation or Morph Target into Marvelous.
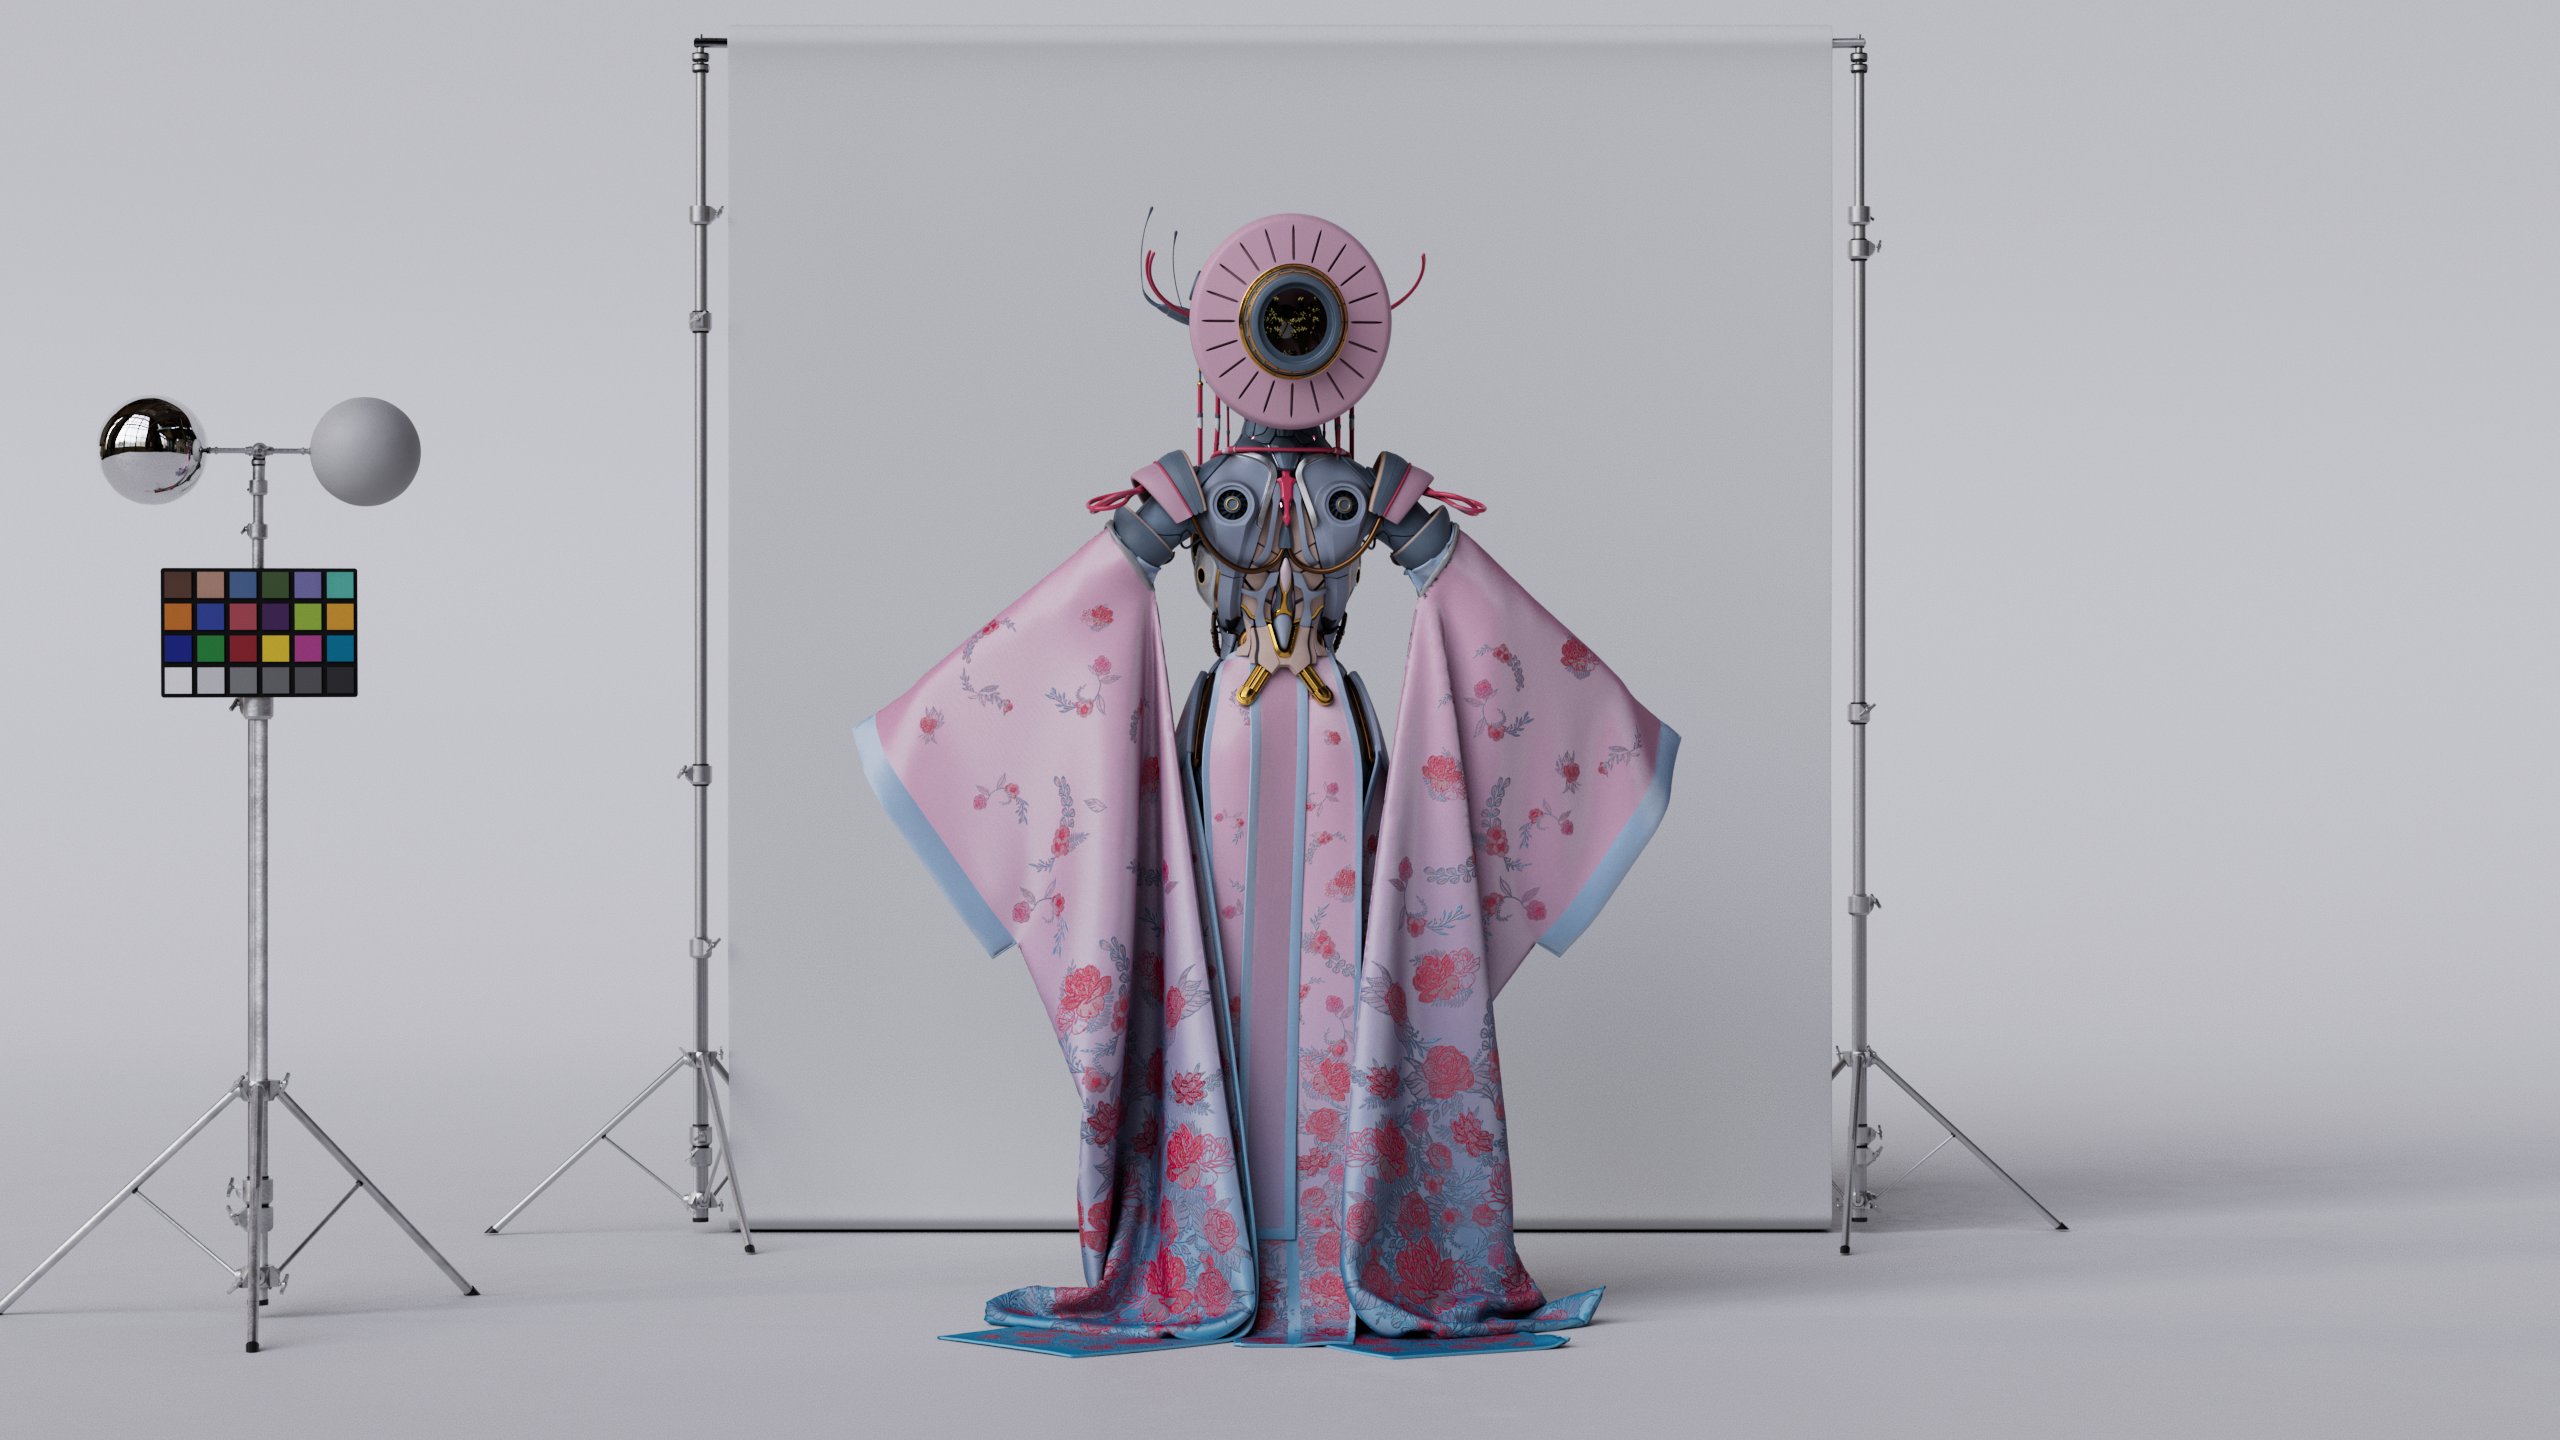
So, I set up the final presentation scene, posed the asset, and exported the poxy mesh as Morph Target into Marvelous. To ensure that the cloth collided with the environment, I also imported a proxy mesh of the stairs into Marvelous as a second character.


Texturing Breakdown
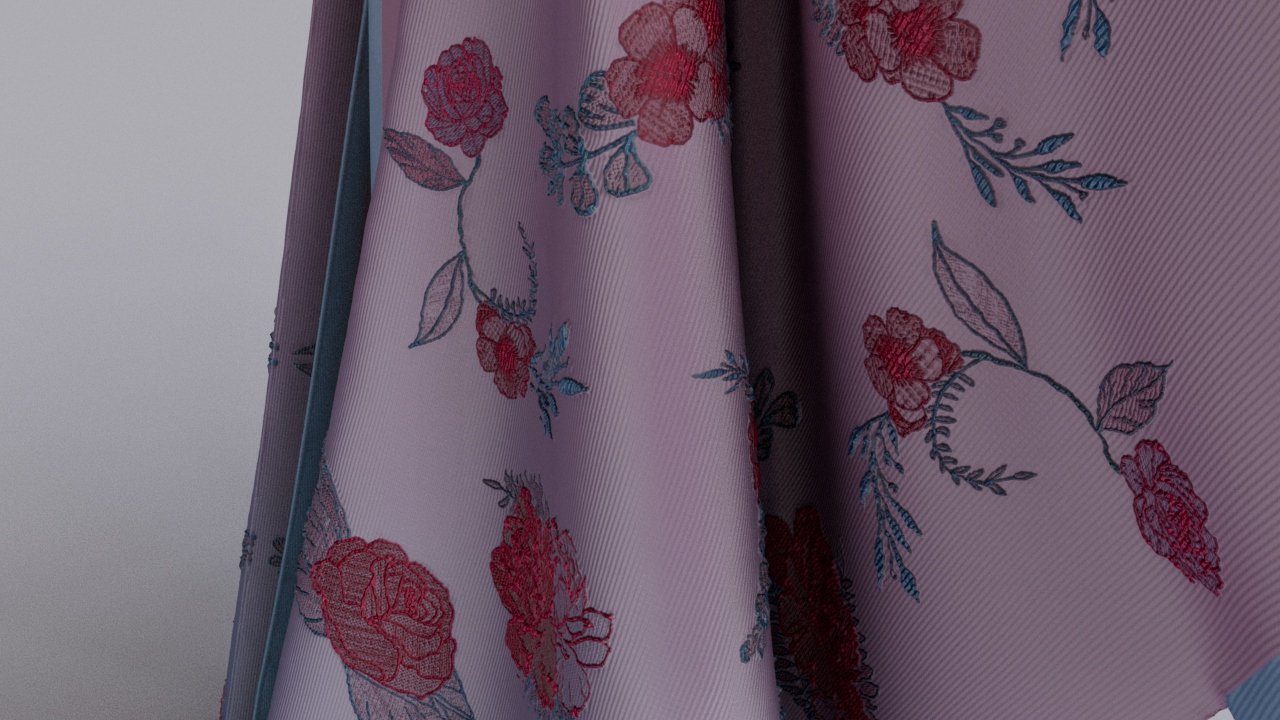
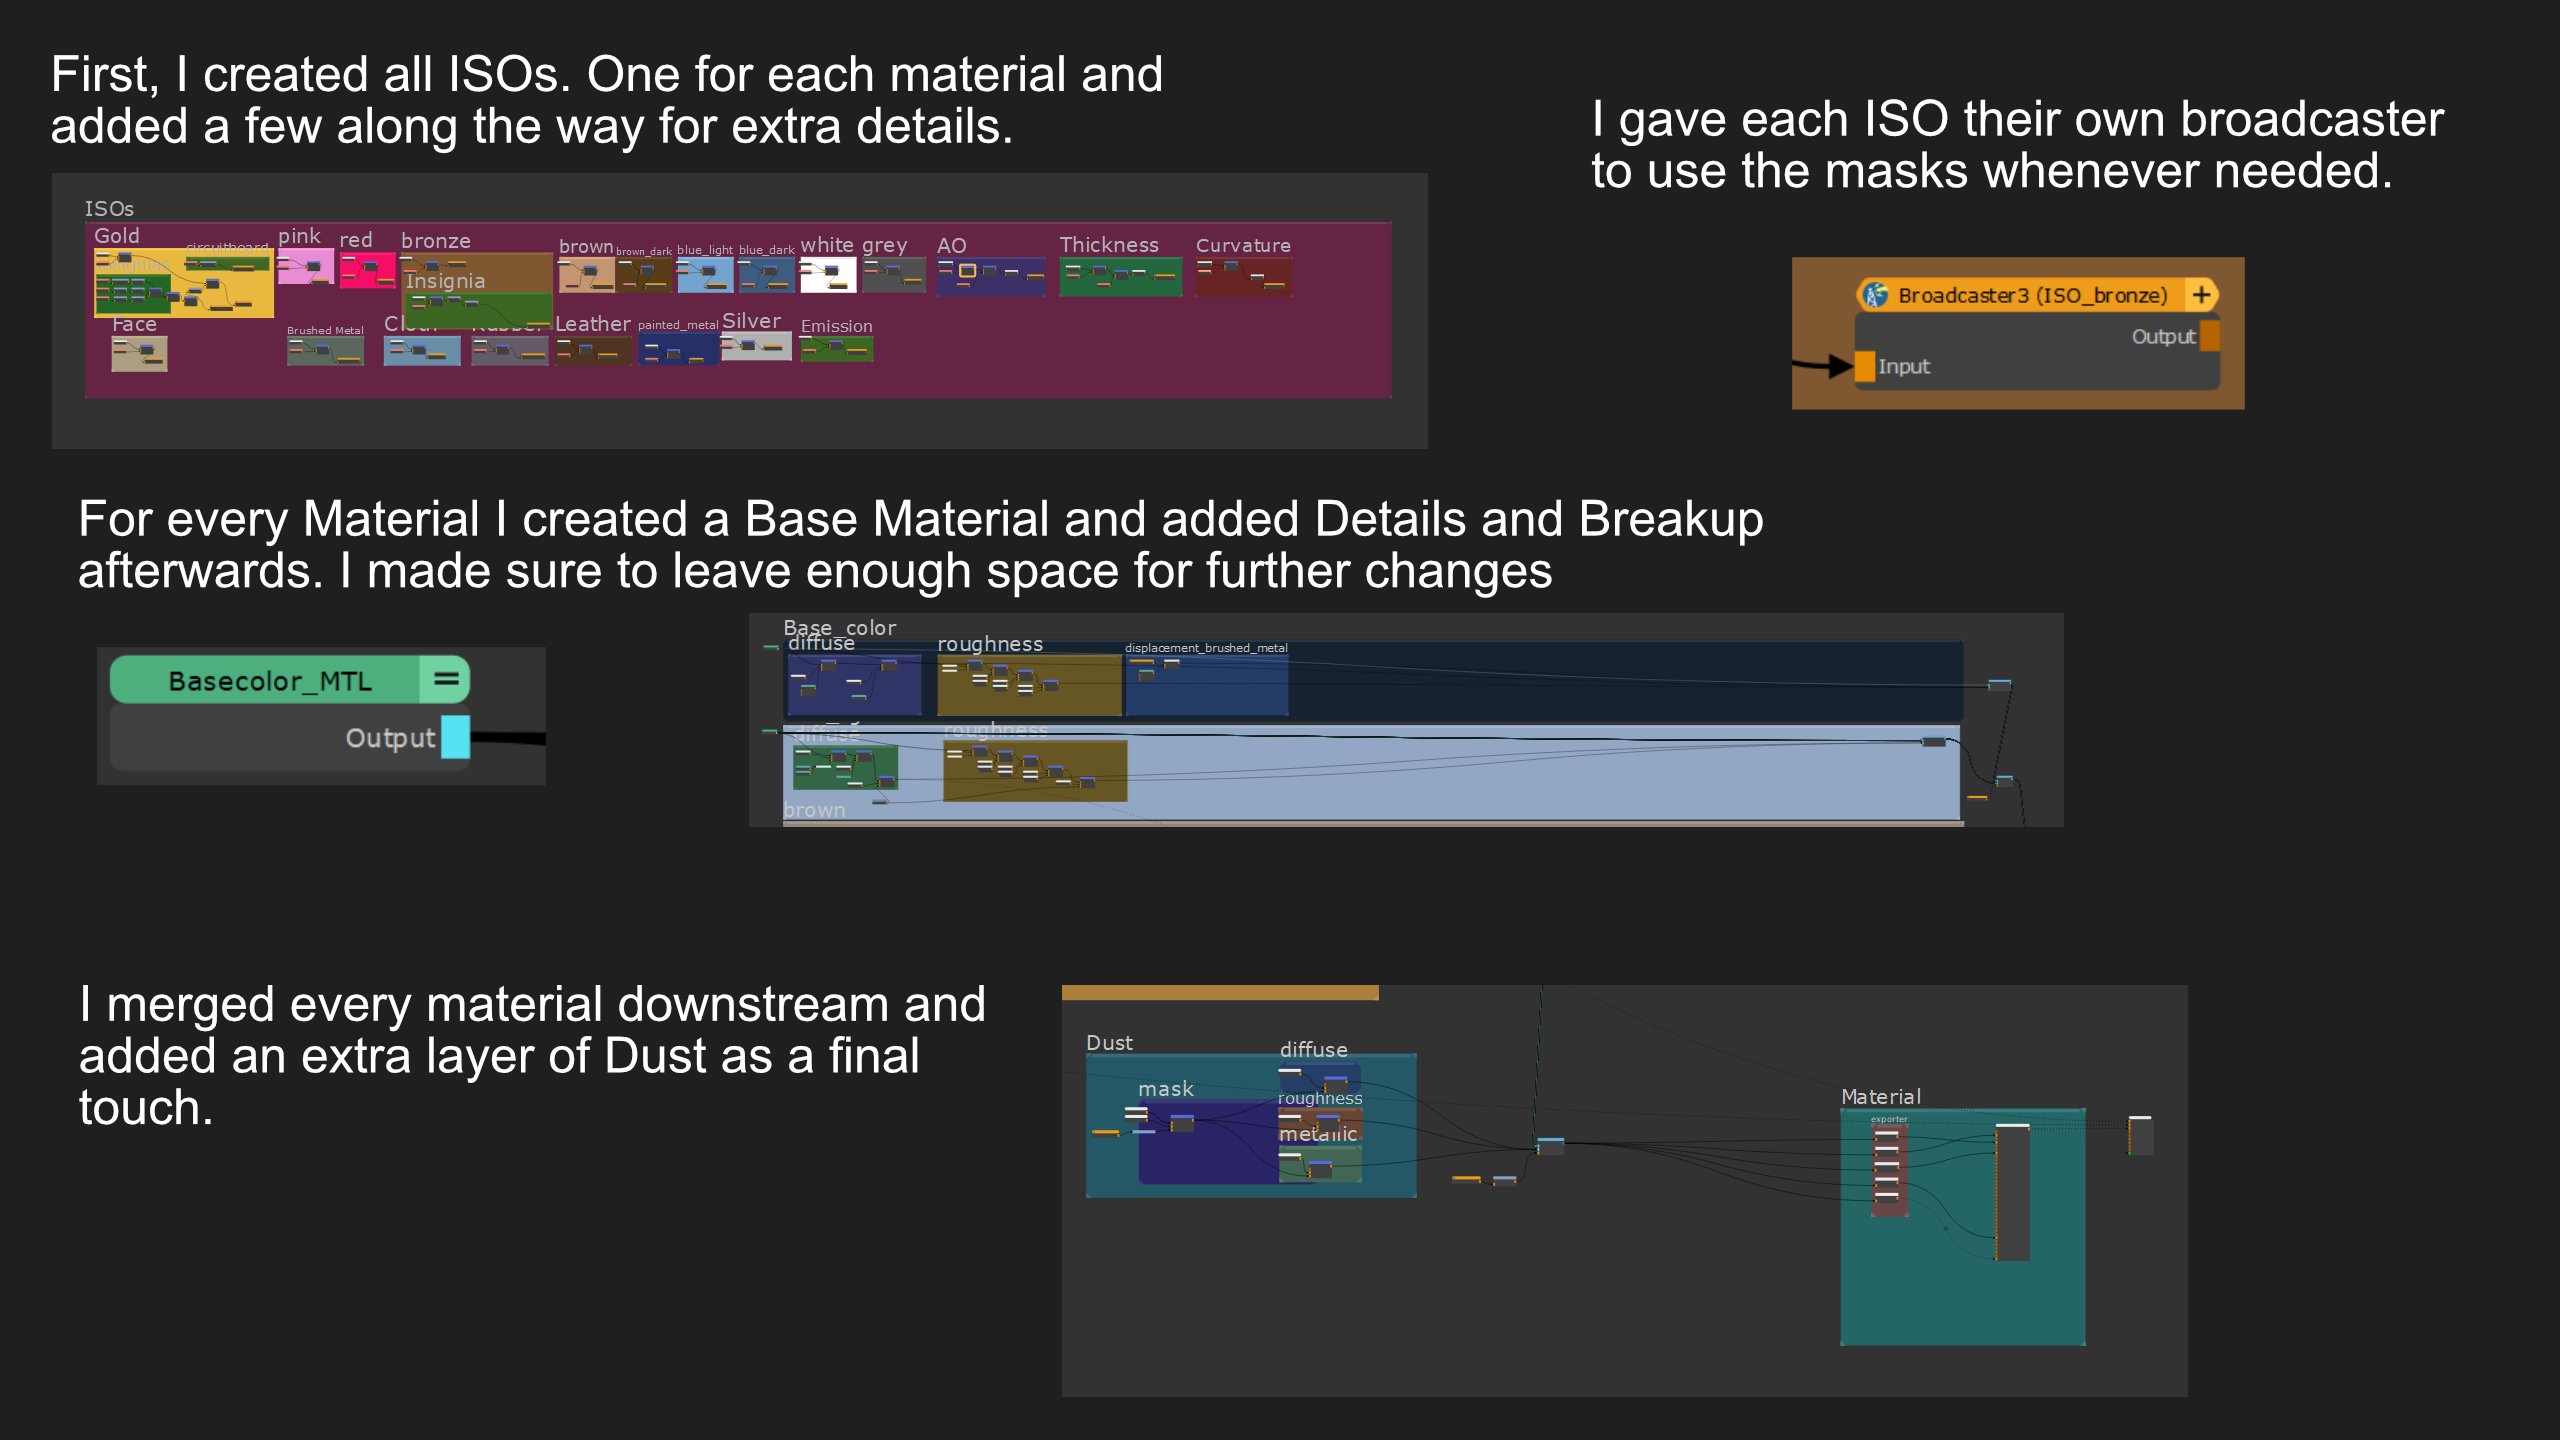
For the Kimono textures, I decide to use an embroidery Substance Painter set from Artstation.
Sadly, they came as Substance Material, which gave a lot of control over each embroidery but made it tedious to use multiple embroideries, as I would've had to change every setting for every flower by hand without the possibility of duplicating.
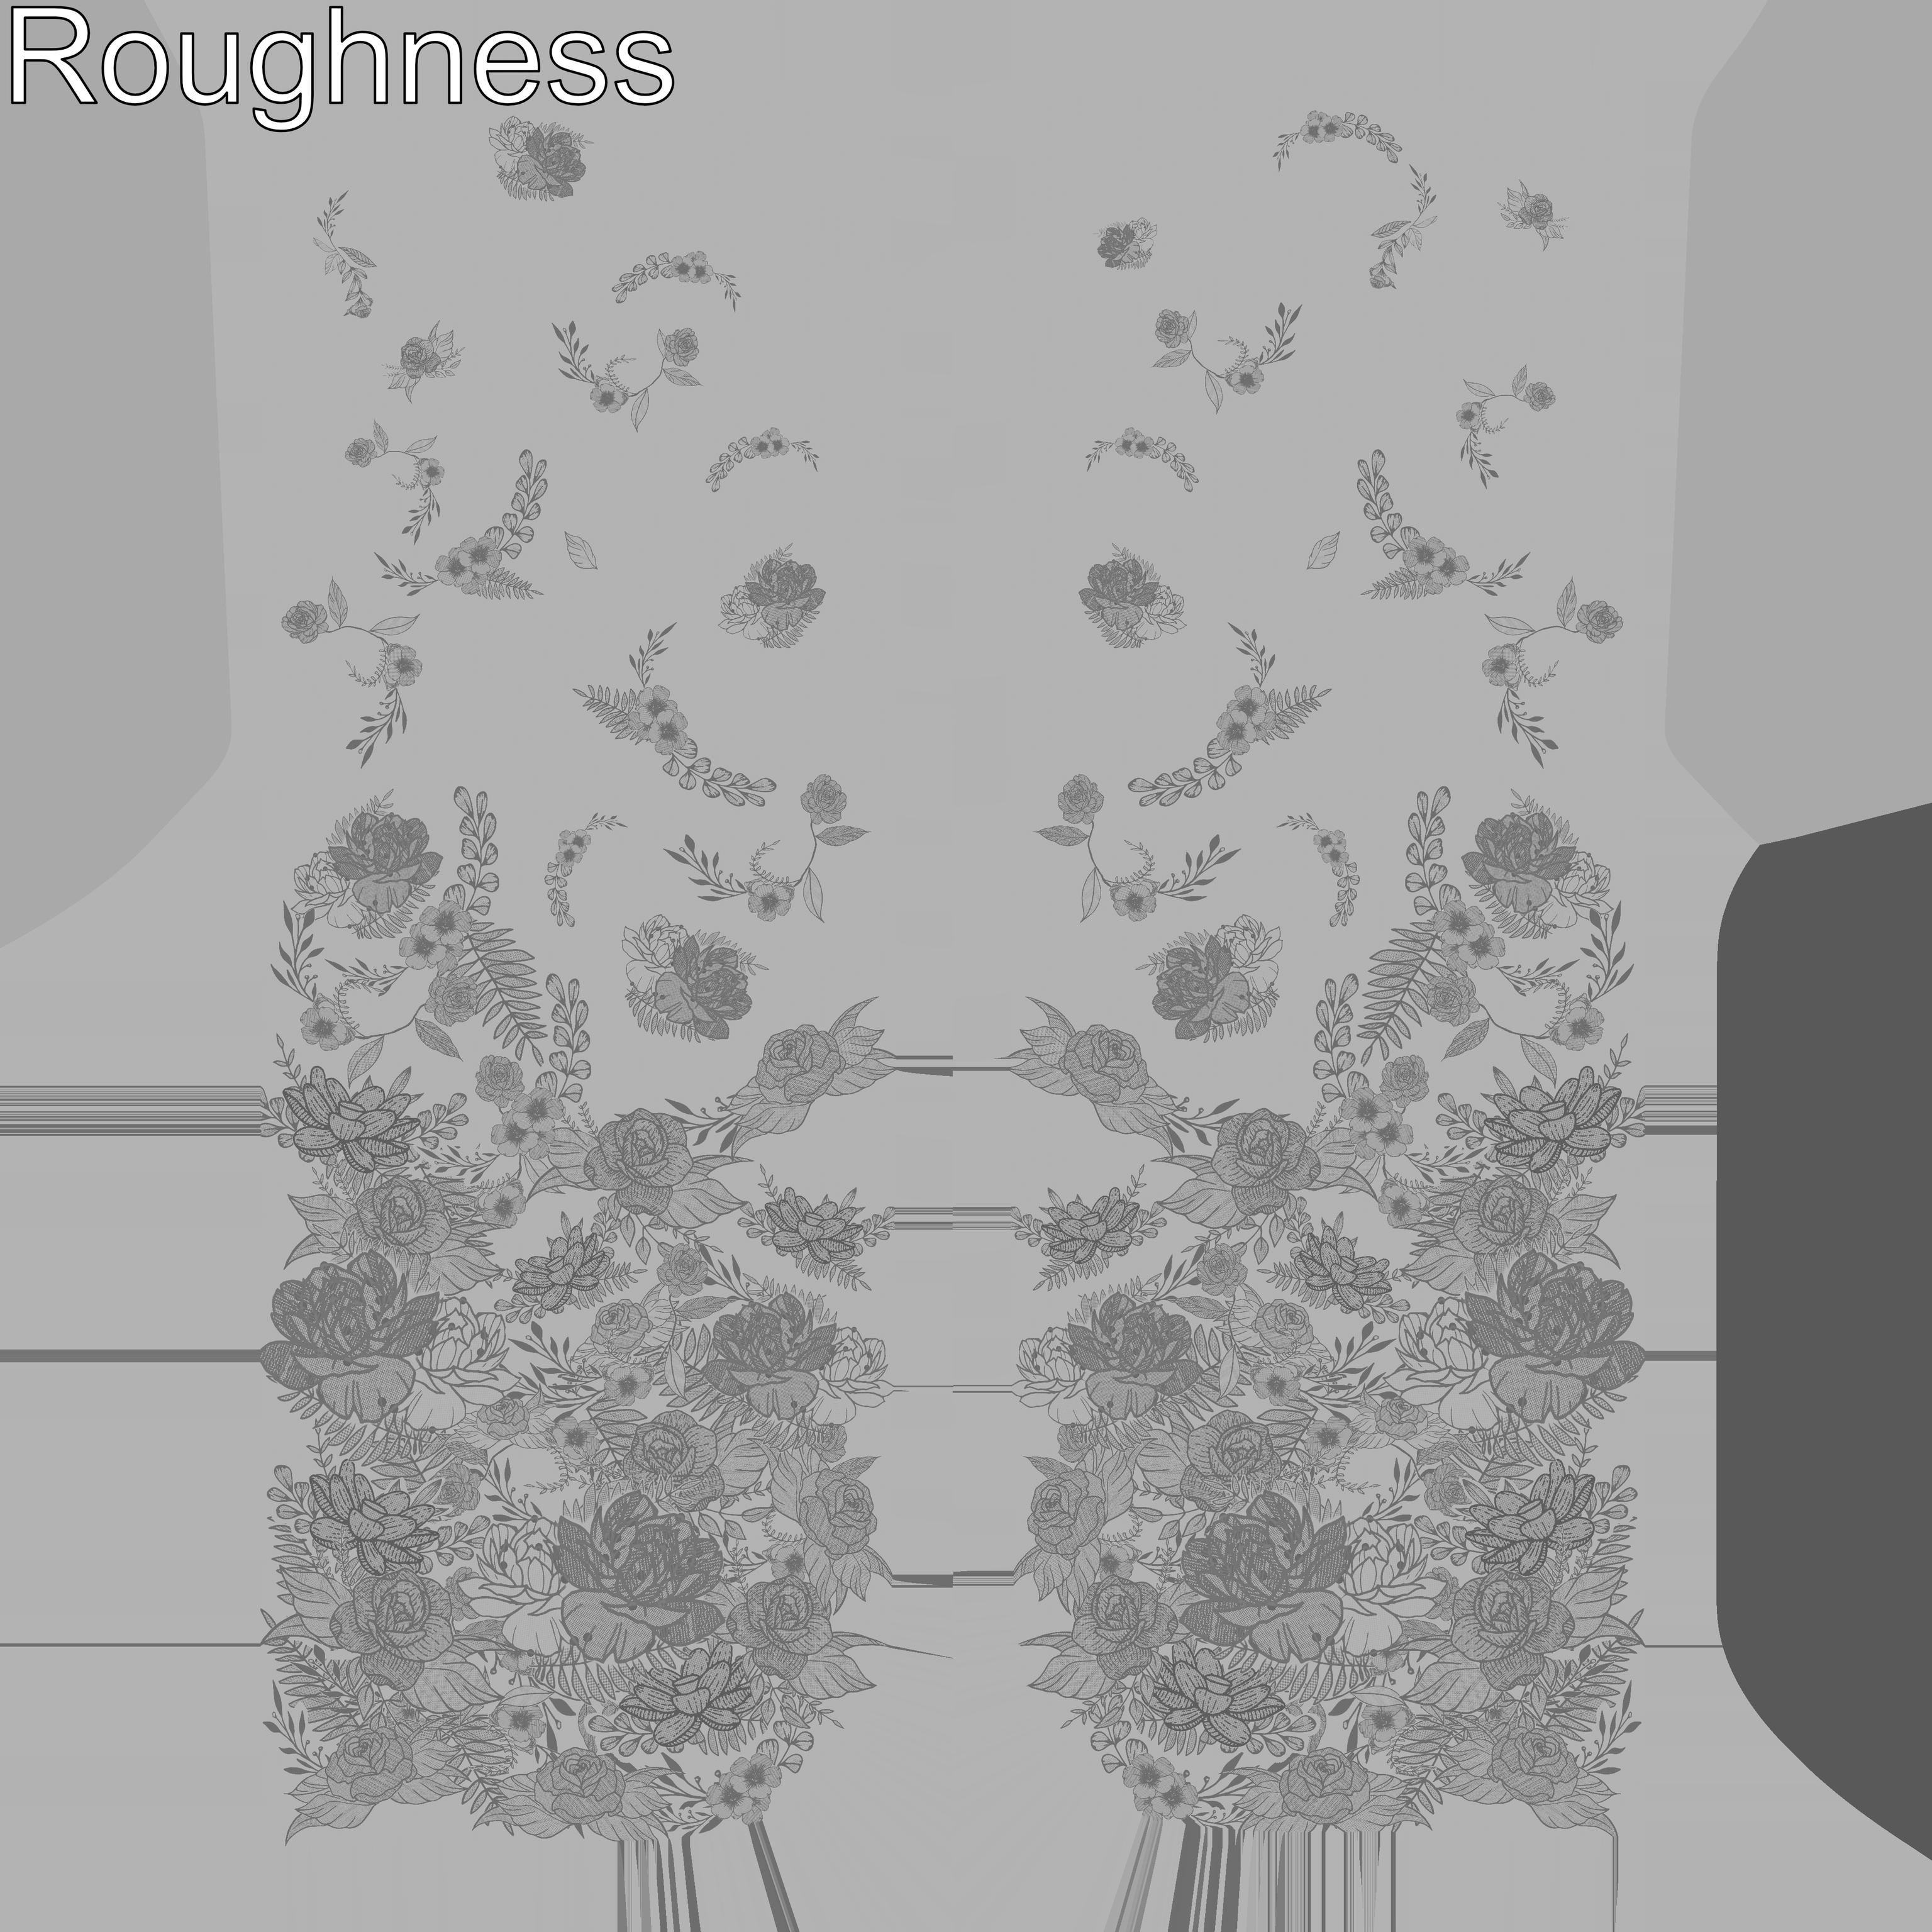
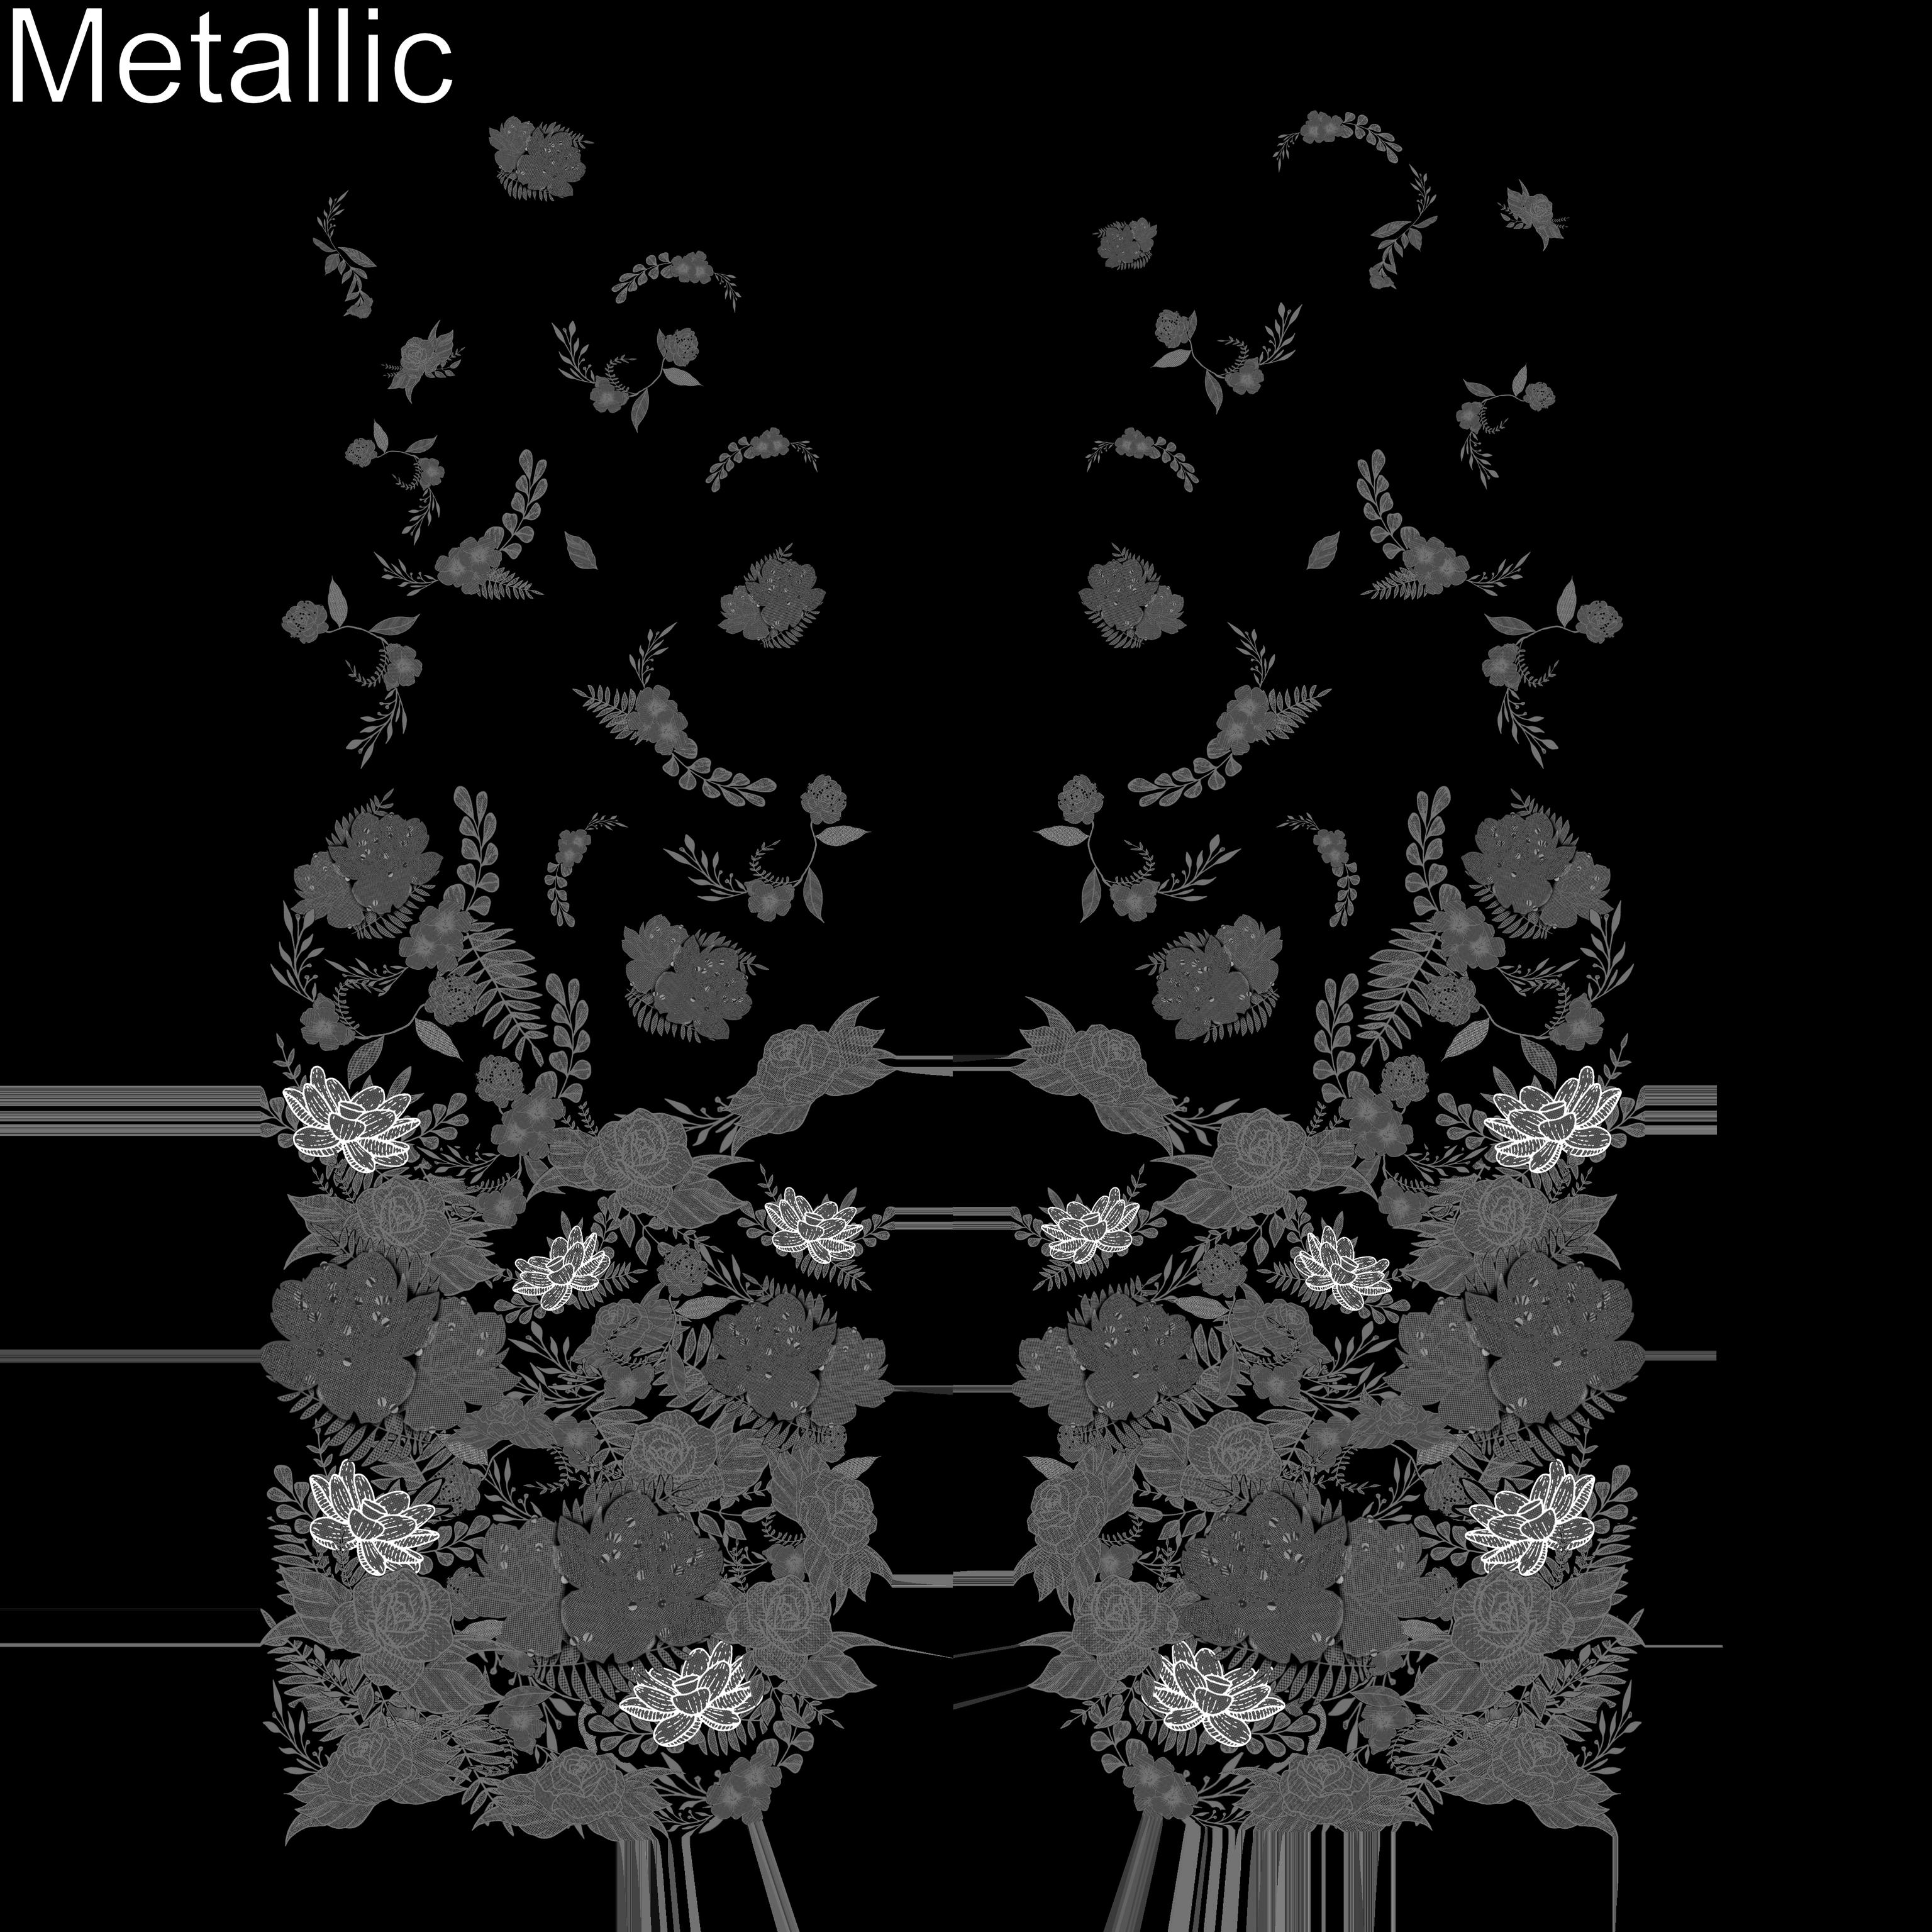
Therefore, I decided to place all embroids on 1 texture map, with the settings that I wanted for each, and brought them into Affinity Photo. To keep information like roughness, normal, and height, I imported also these maps, cut each embroidery with a macro out of the 4 maps, and grouped them.
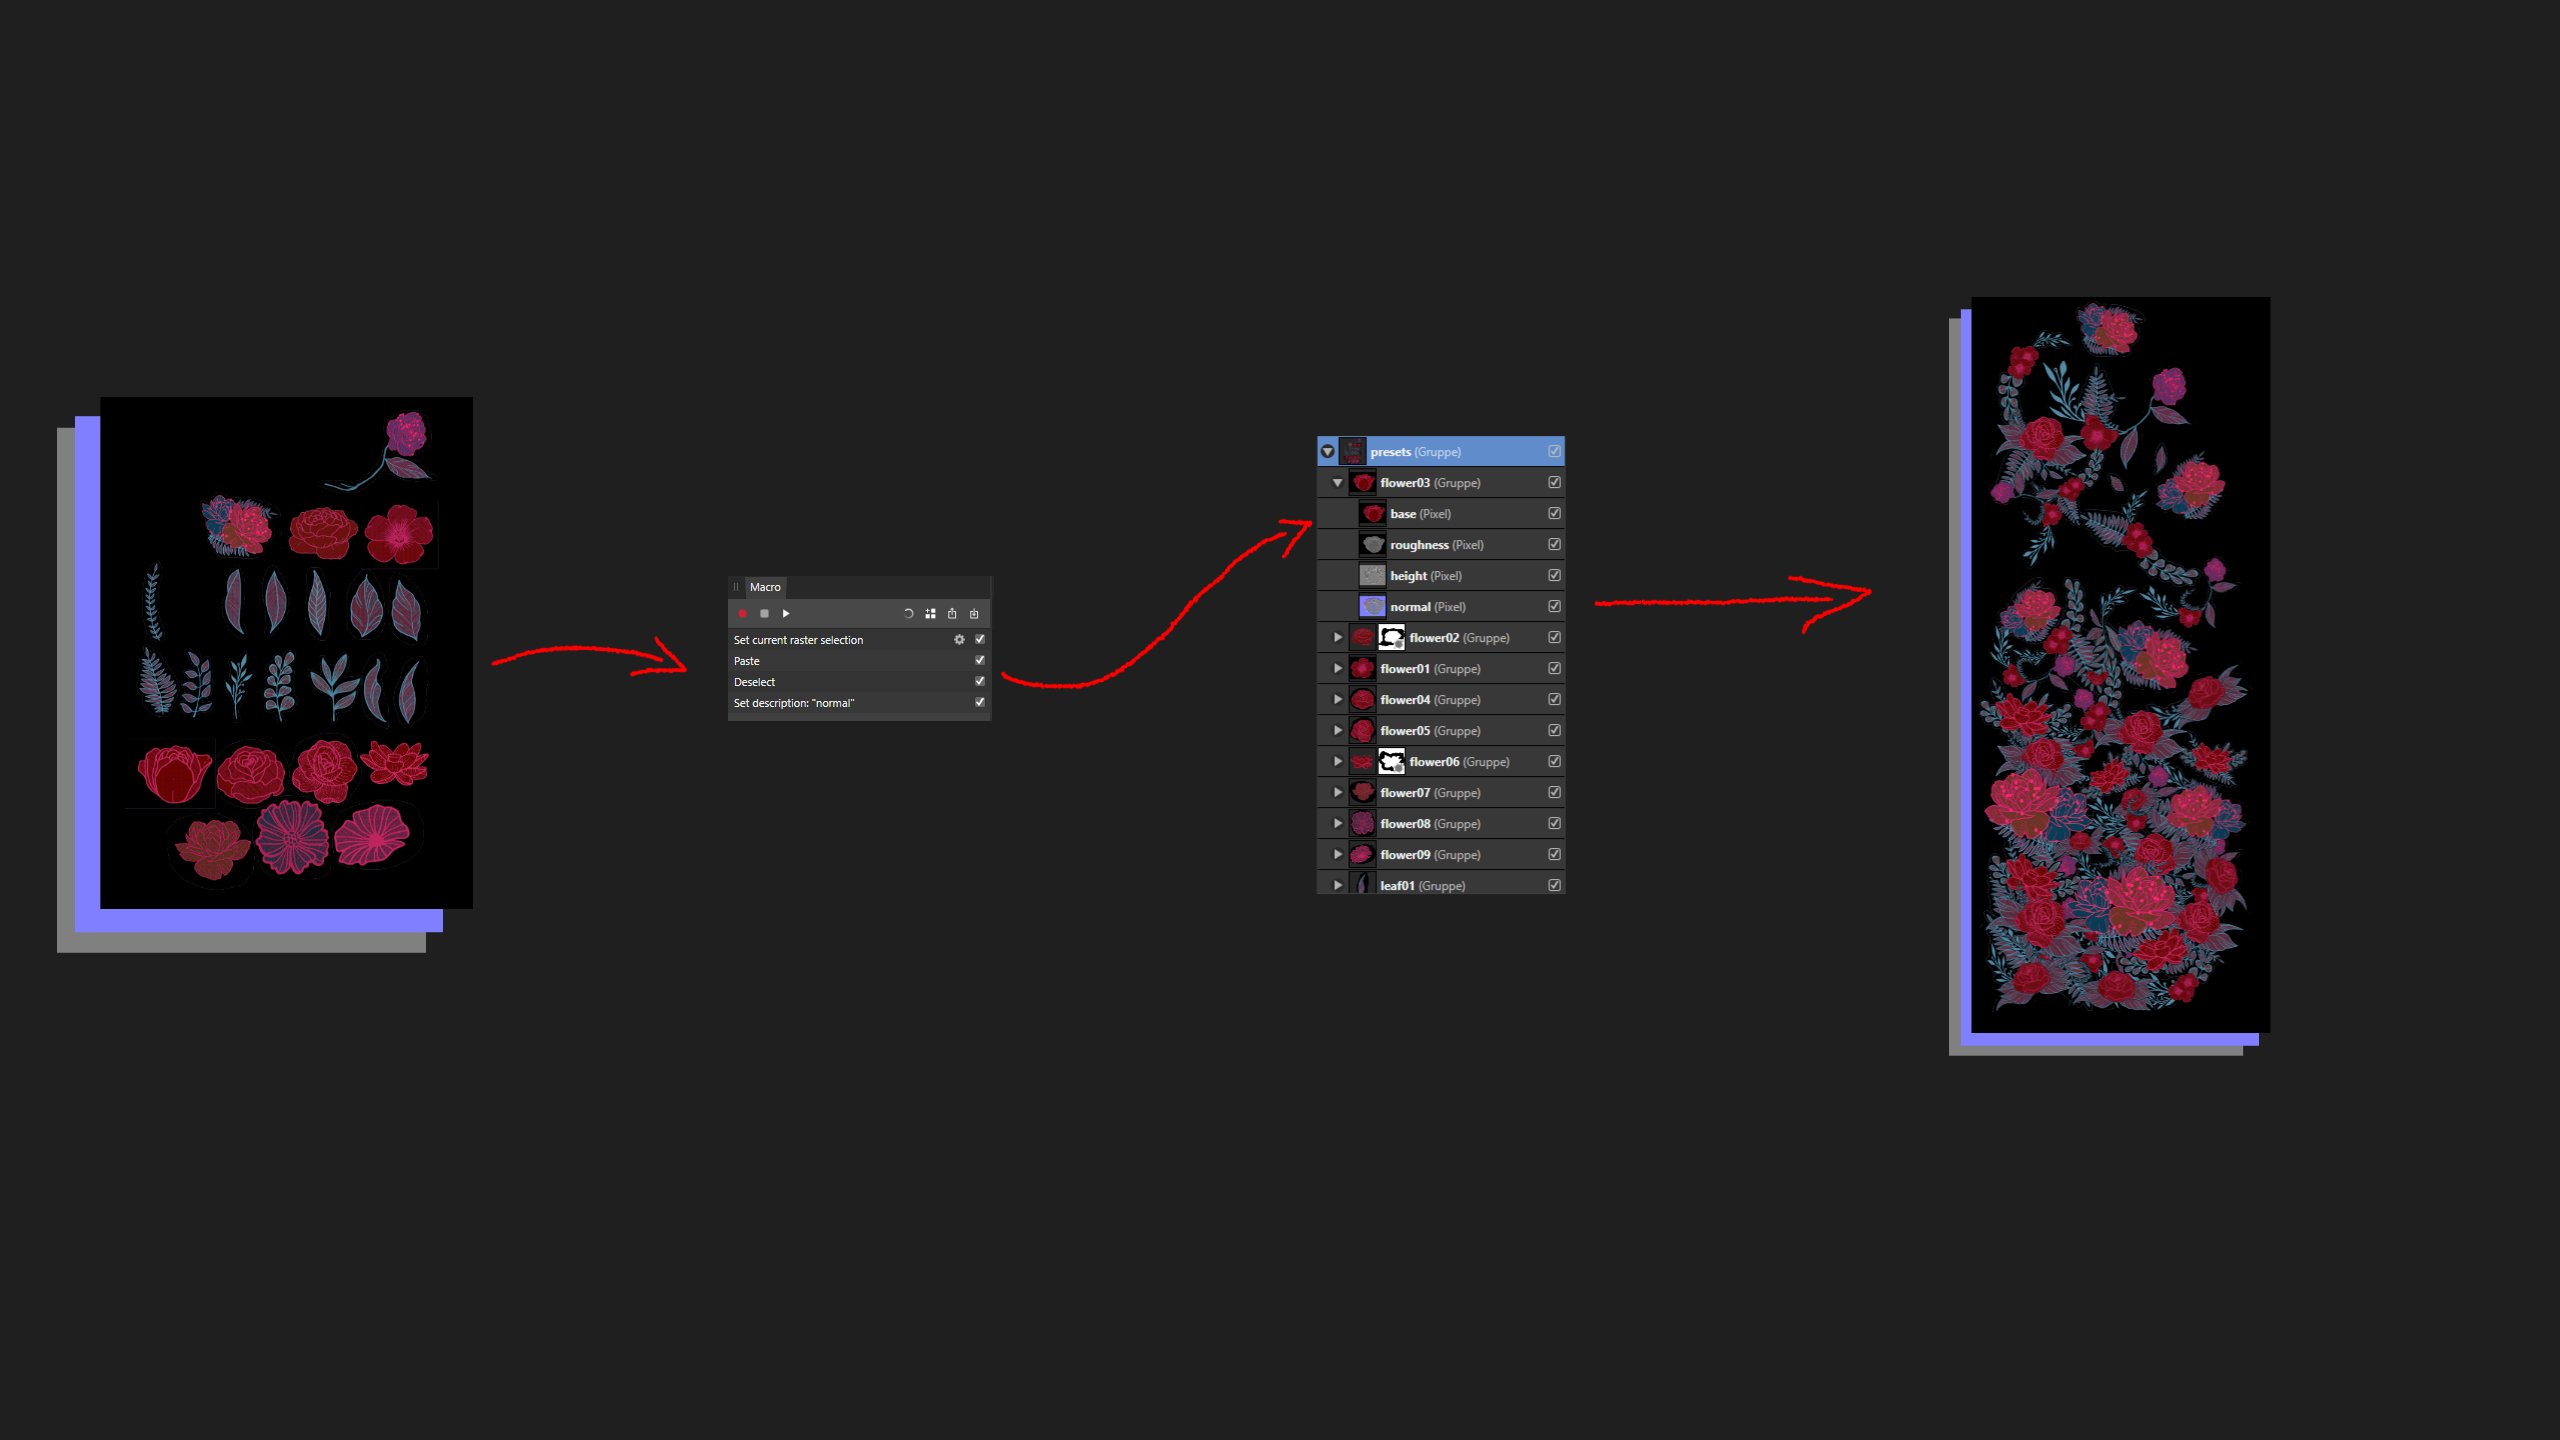
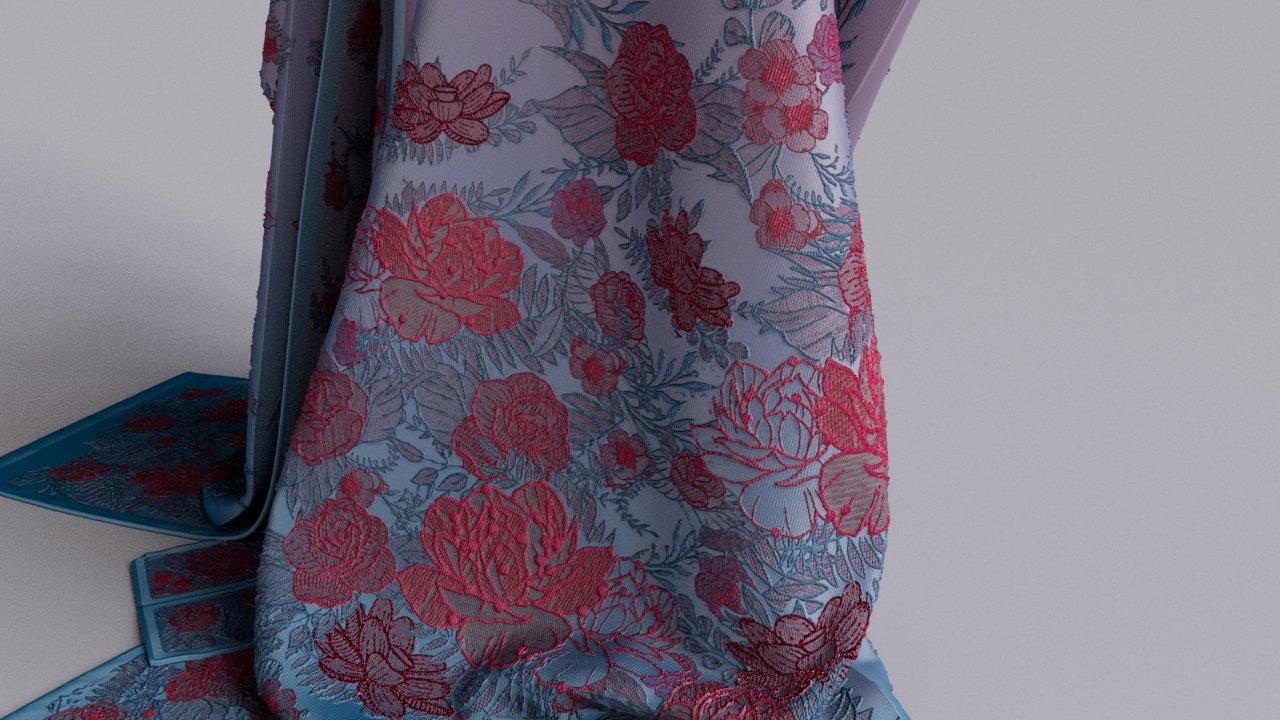
To achieve the final look, I went into Mari, textured the cloth, and added the information from the embroideries.


For the character asset, I decided to go for texturing in Mari, as it had a lot of pieces that took many UV Shells.
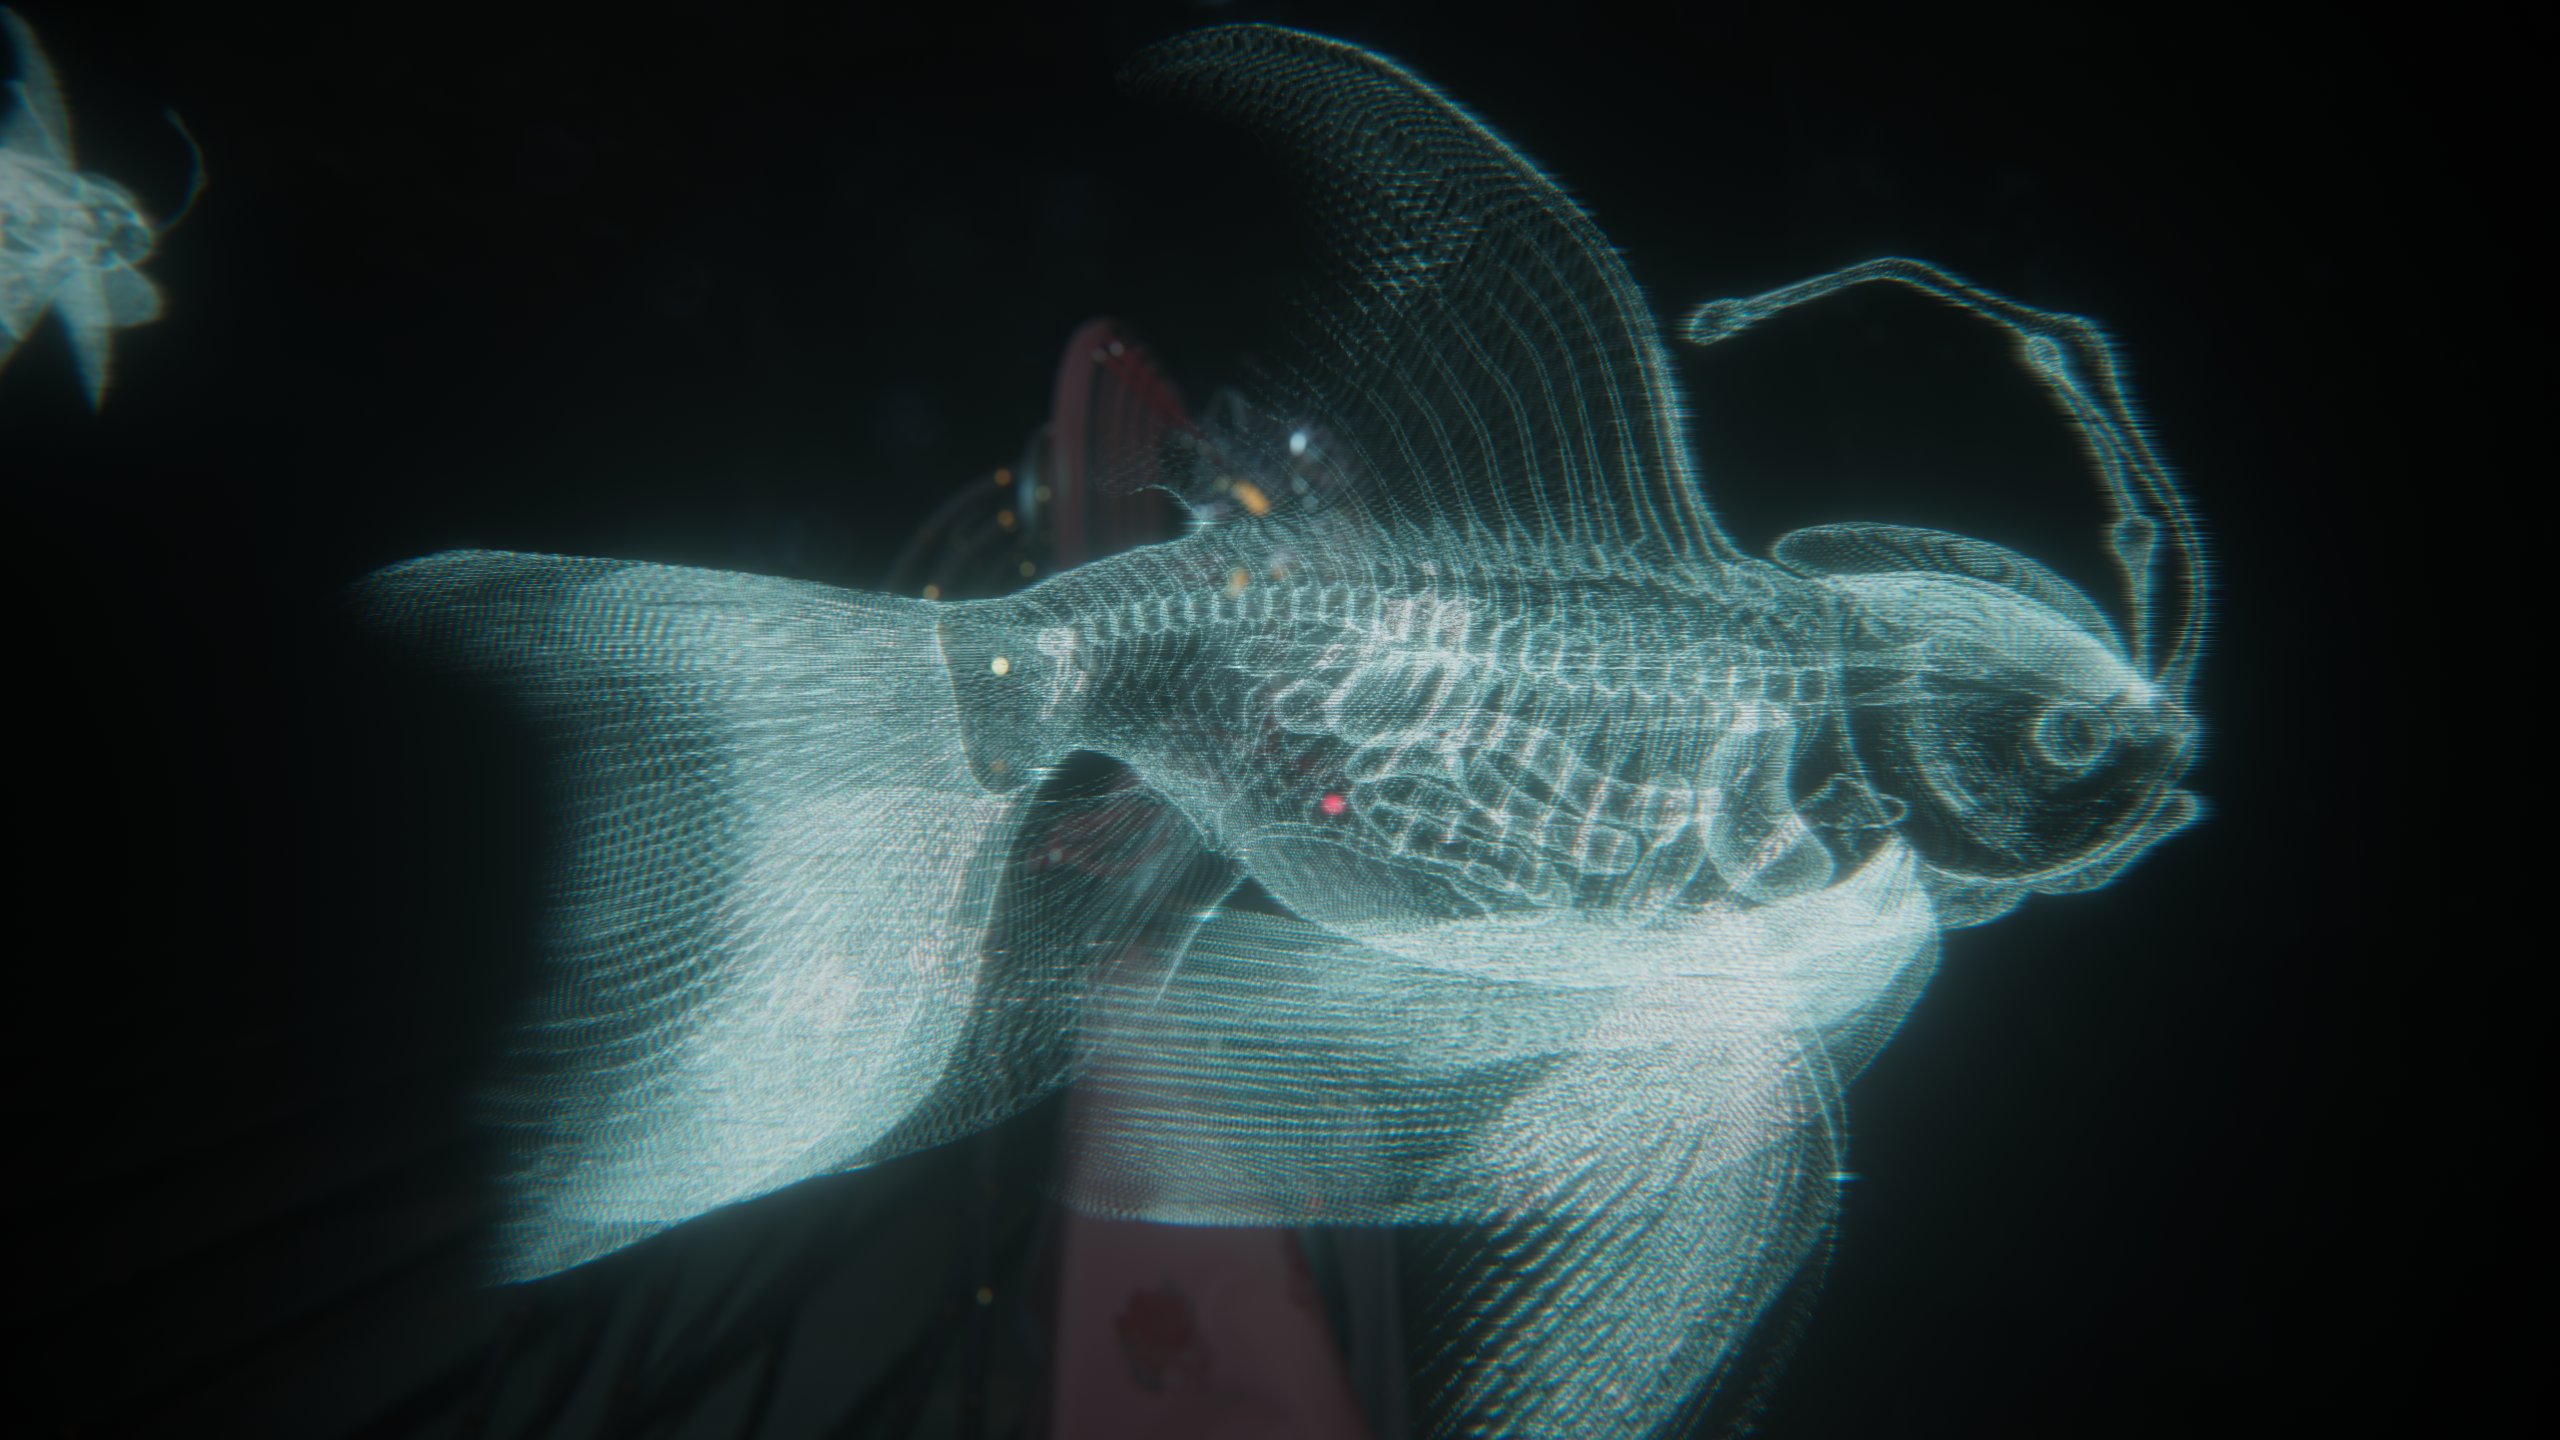
For the scene to not feel that empty, I wanted to add something that would give this project some more character. As I was exploring different ideas I came to the idea to use the fish, an older project that I did during my studies.
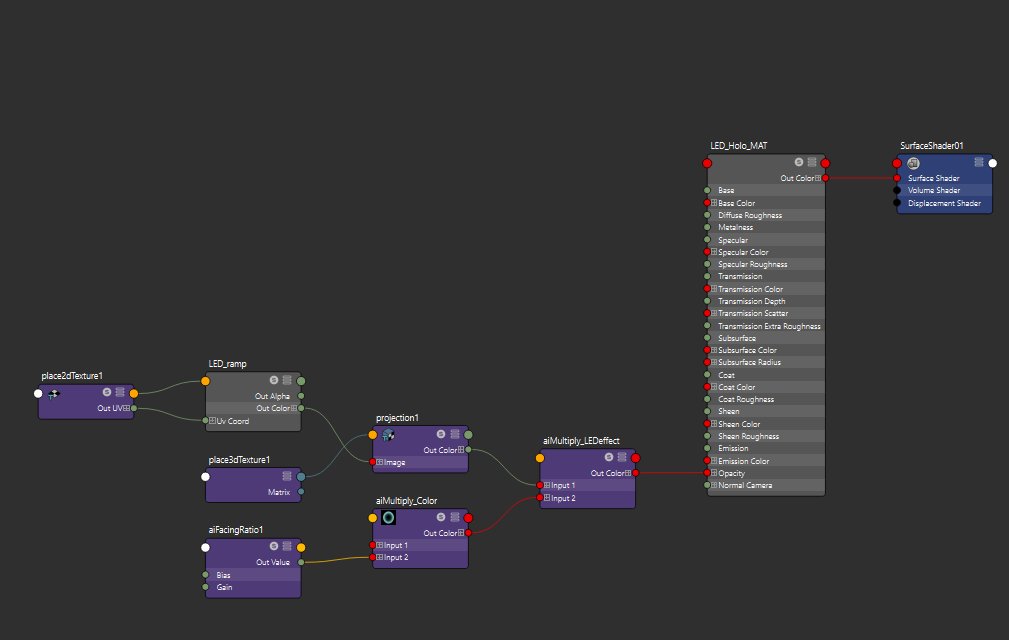
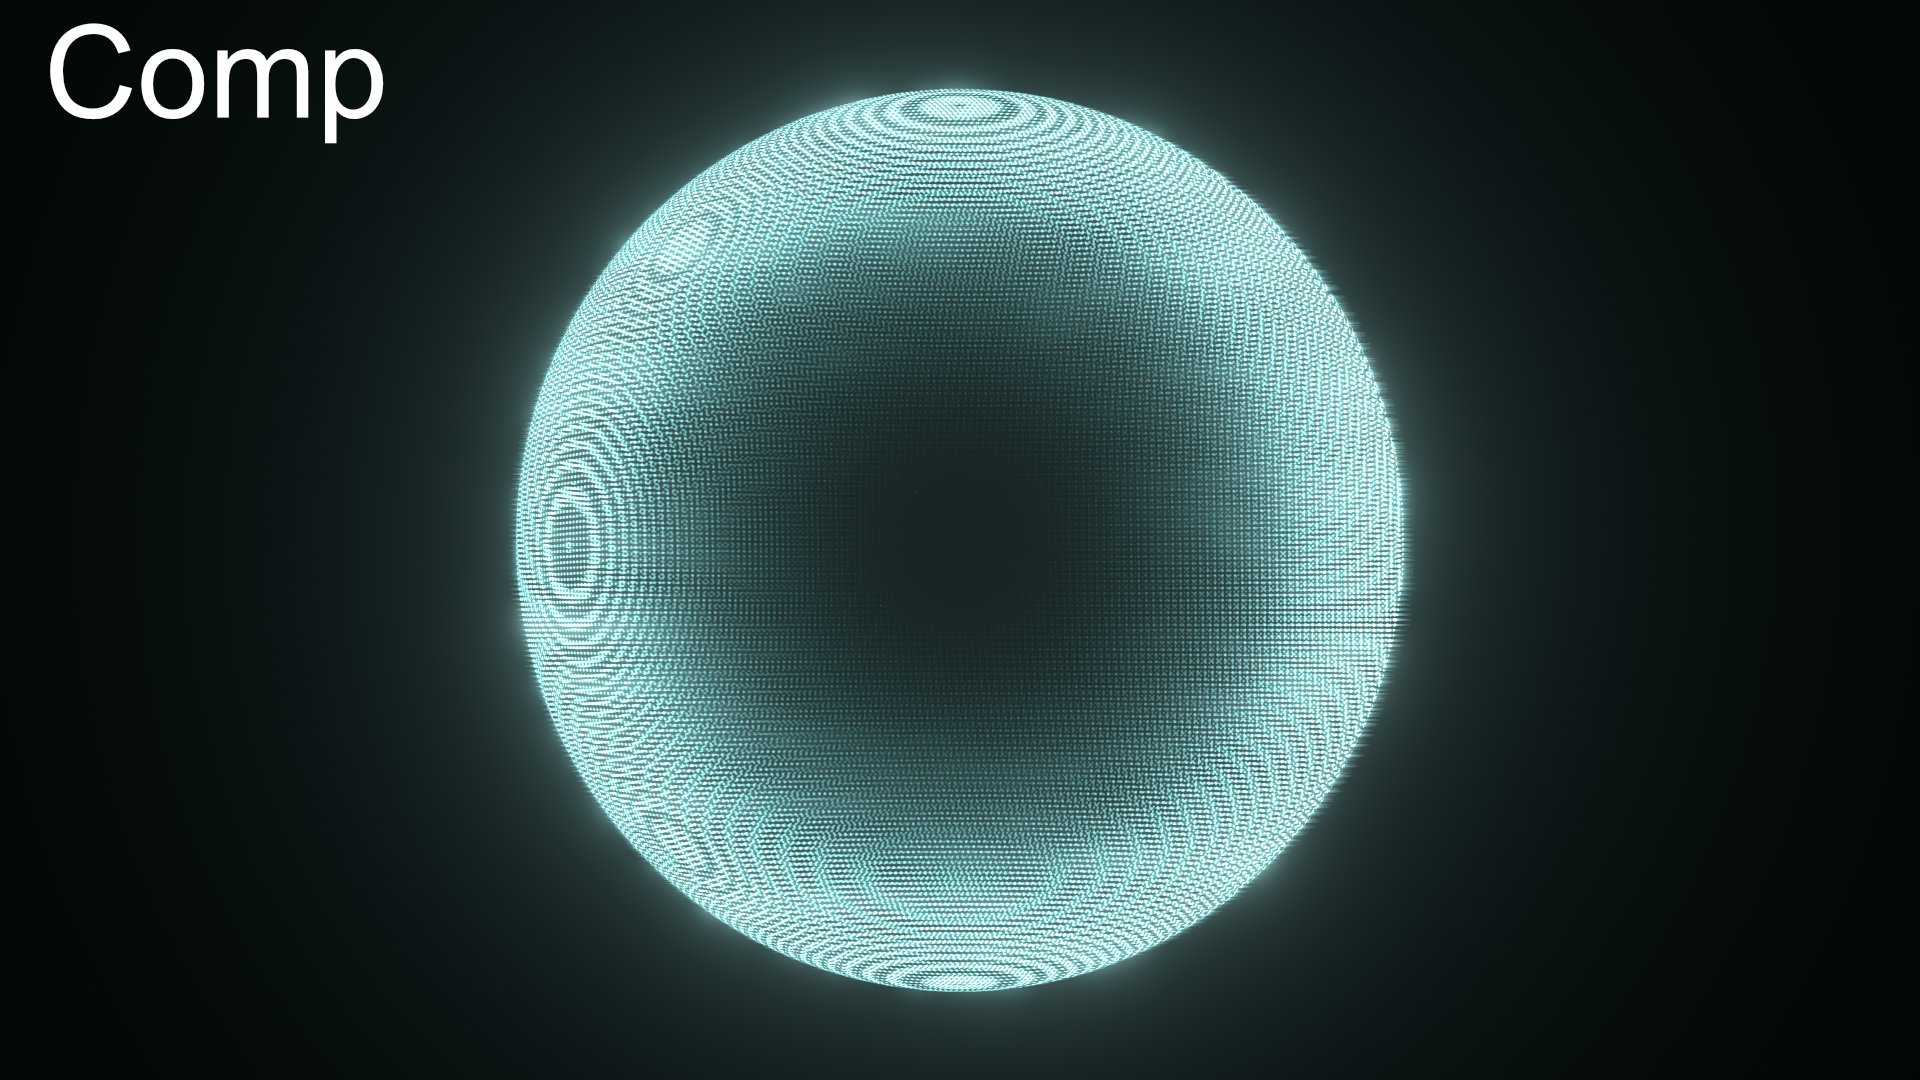
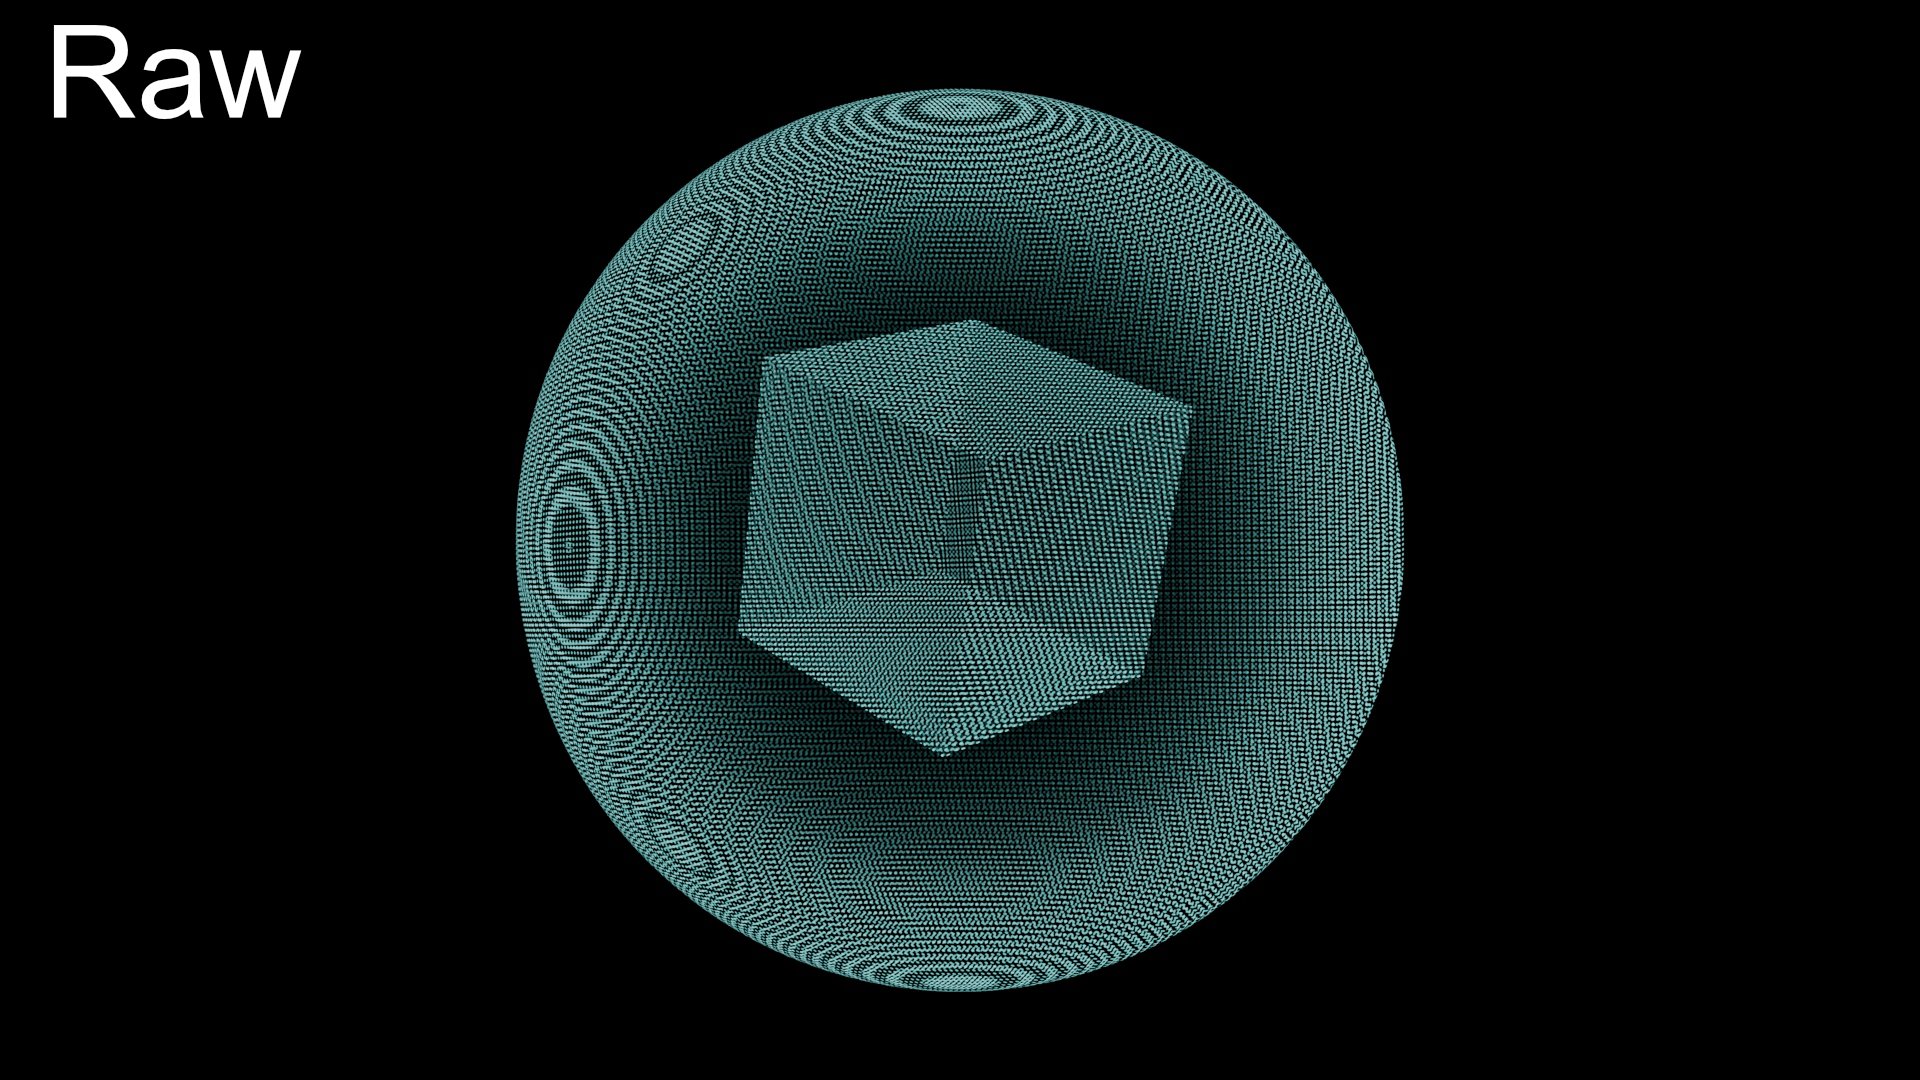
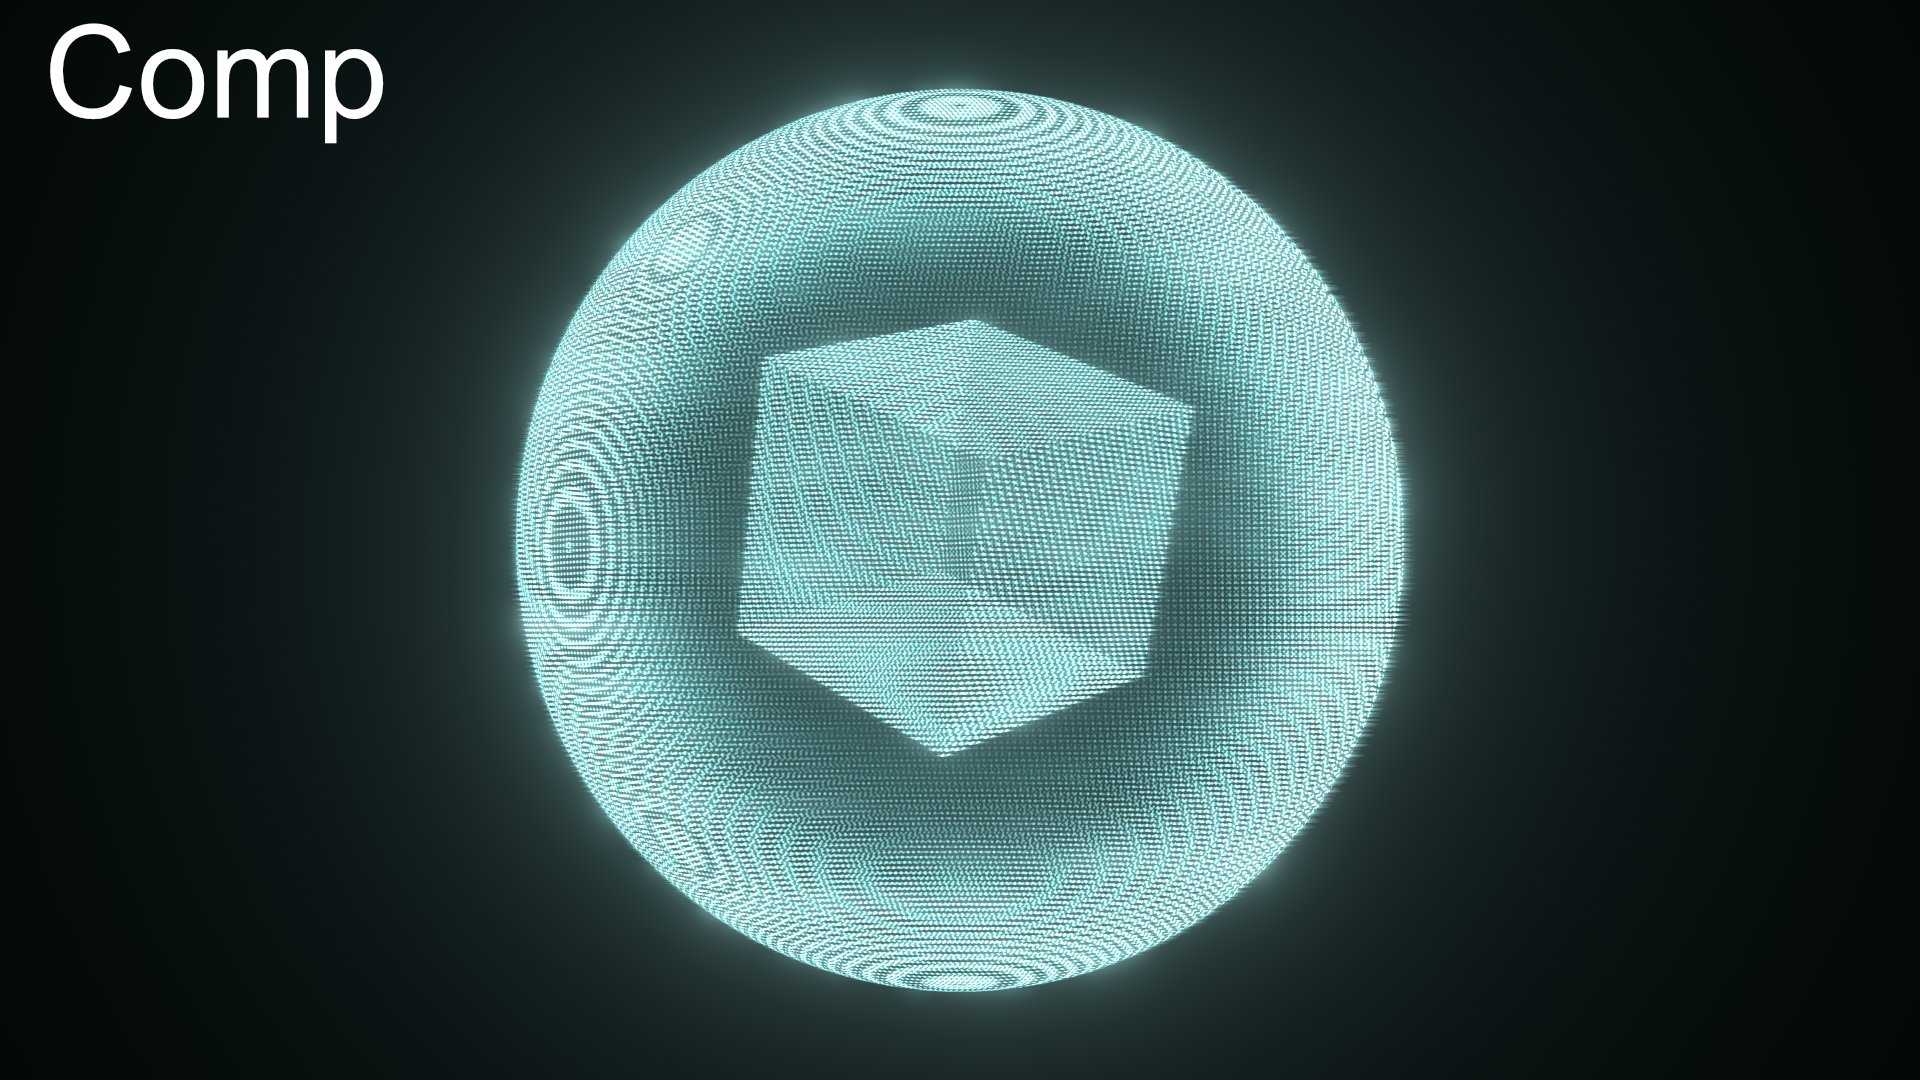
To make him fit into the scene, I created a simple procedural LED Holo Shader.
For the LED effect, I used a circular ramp with high repetition and added some noise.
This imitated the thousands of small LEDs that are sitting on a screen.
If you ever recorded your screen with a camera, you might be familiar with this effect.
I then 3D projected this effect onto the object and multiplied it with an aiFacingRatio Node to get a transparent Holo look.

Conclusion
This project was a real challenge. Designing entire body parts while maintaining the style of the main reference was tough and demanded a lot of time and effort. However, it also gave me valuable insights into the crucial aspects of a concept and how to tackle large tasks.
When it comes to the AI workflow, I didn't find it particularly impactful, but it did aid me in overcoming the initial hurdle of starting from scratch. It provided a foundation to build upon. Additionally, I believe that with advancements in AI, it might be possible to create decent base meshes soon, especially for simpler tasks.
Project "Holy Sheep" - Breakdown
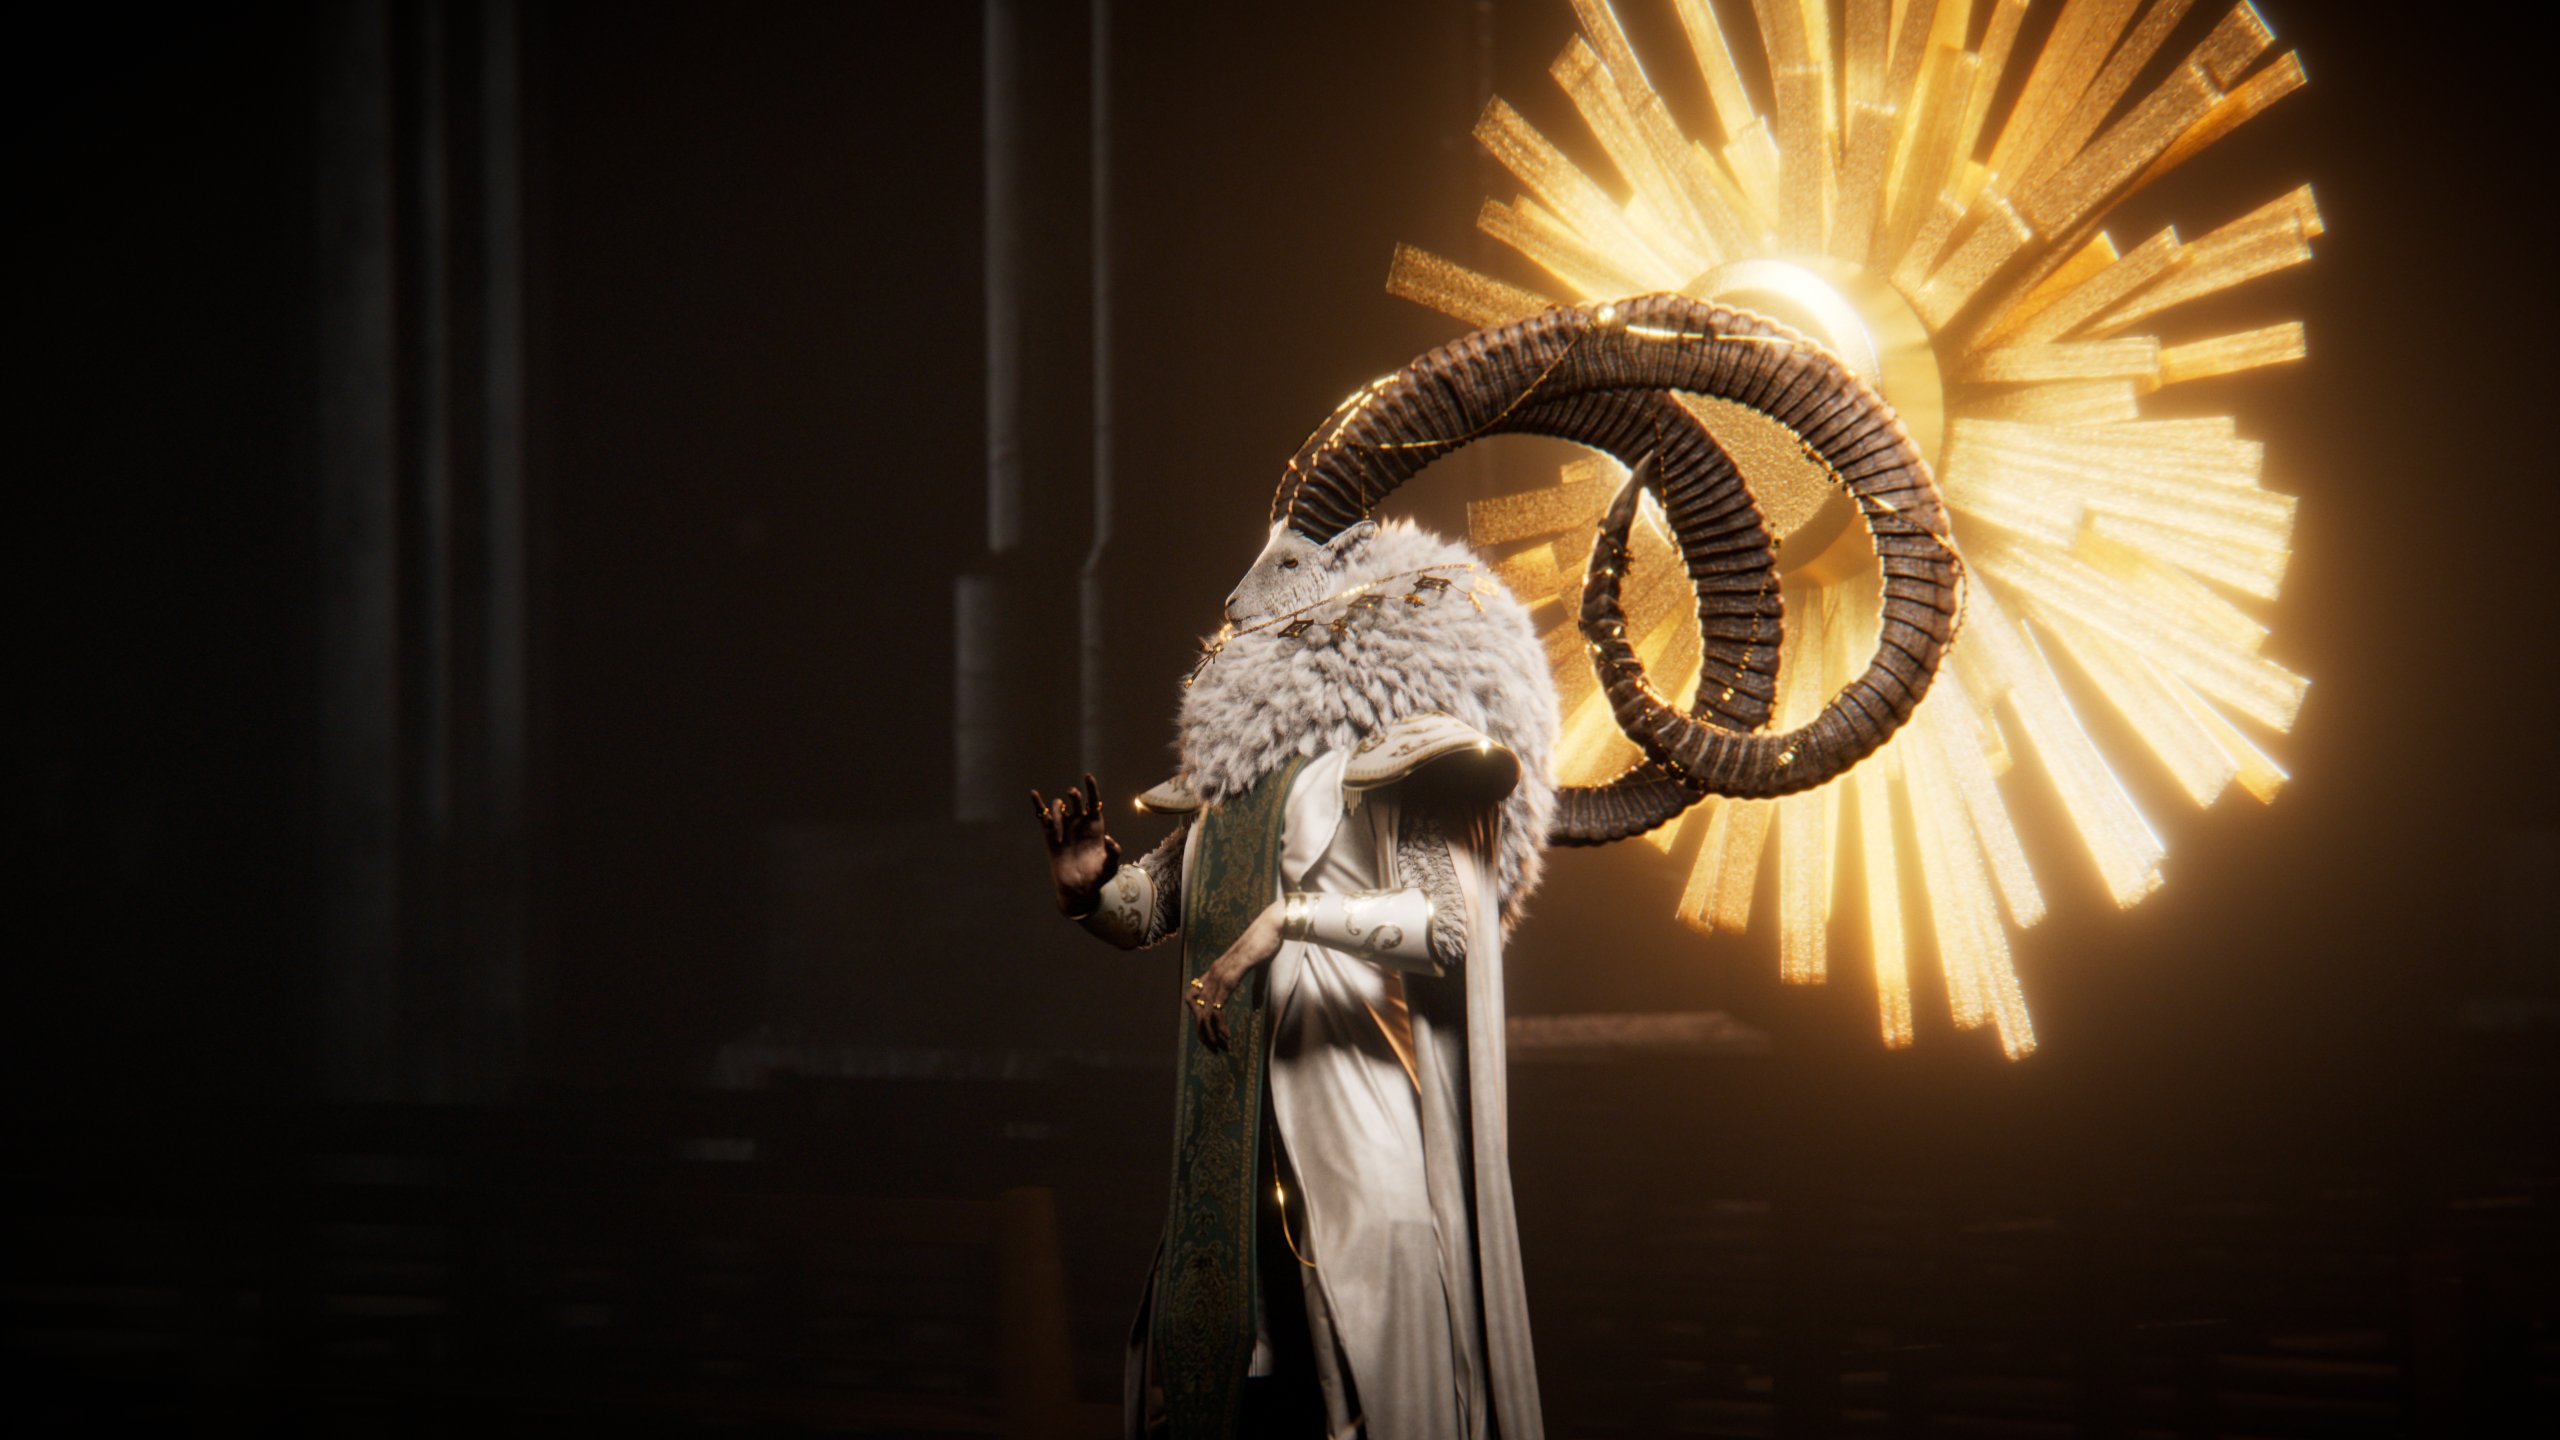
My main focus for this project was to learn about complex workflows that included Grooming with Multi-Layer Geometry.
I wanted to explore how a character with multiple layers of geometry with a groom in between would have to be created to work in a non-destructive workflow. Ready to be animated and simulated.
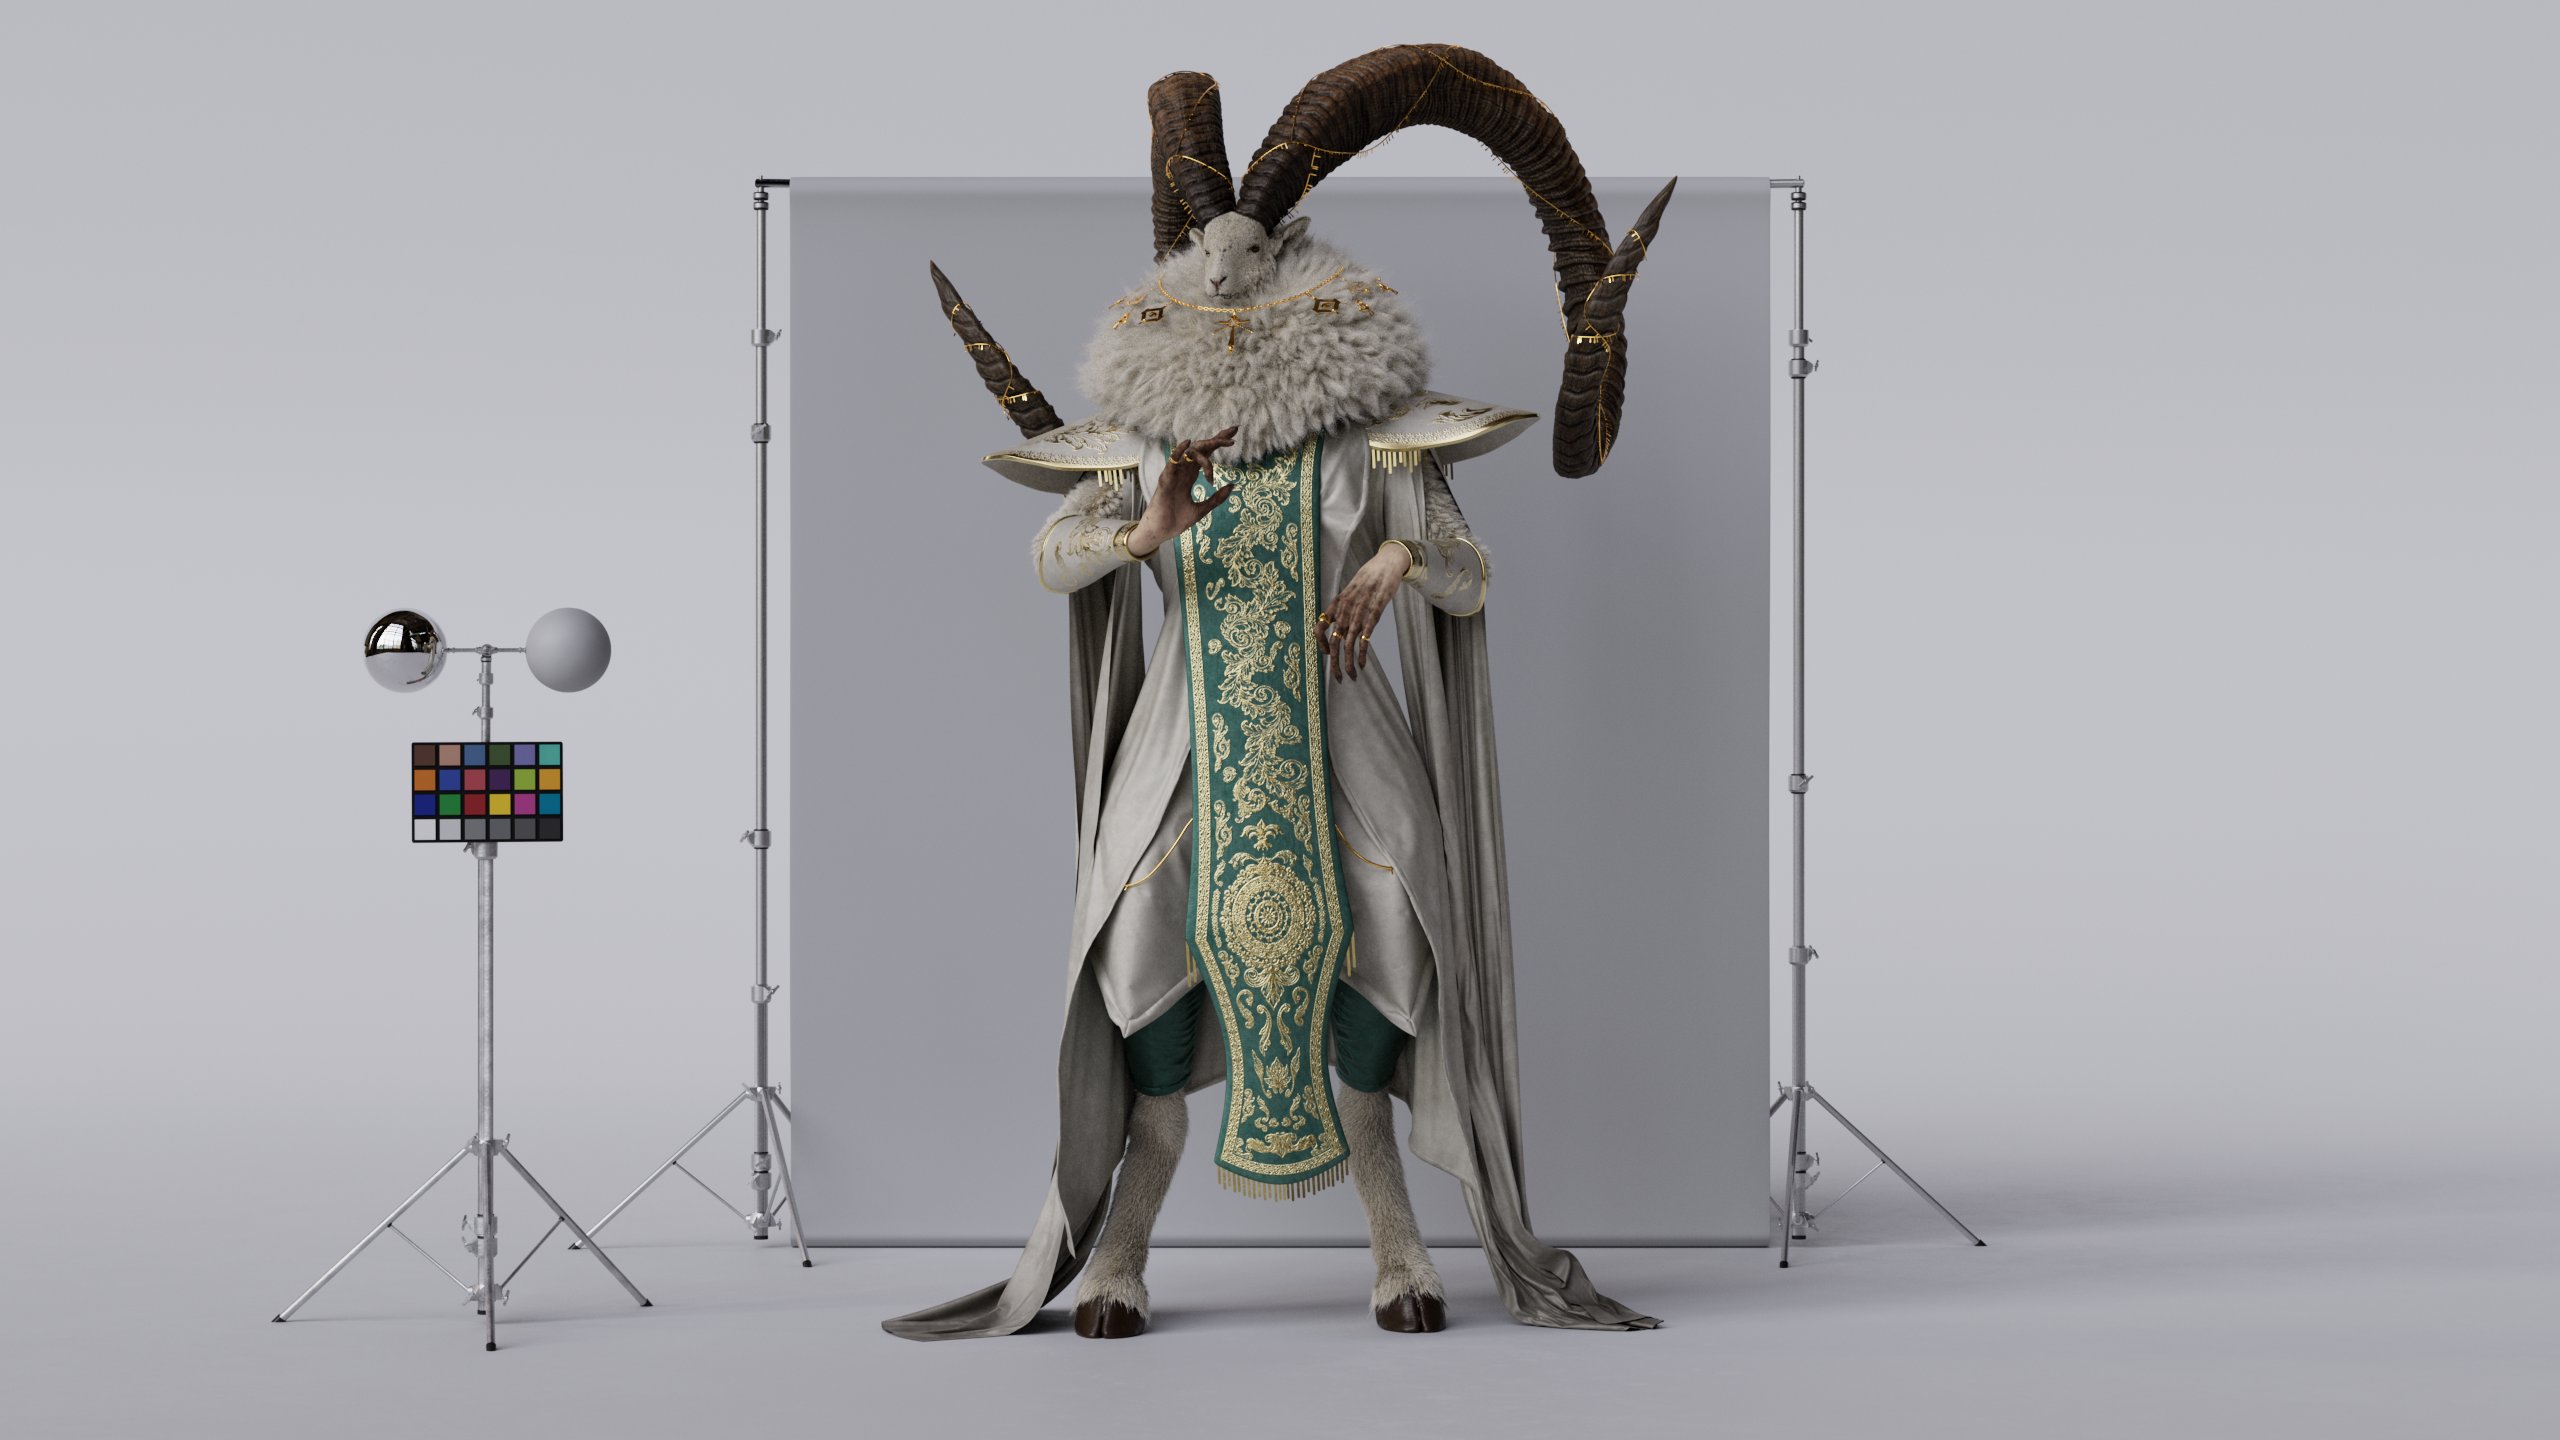


Main concept by Kyoung Hwan Kim.


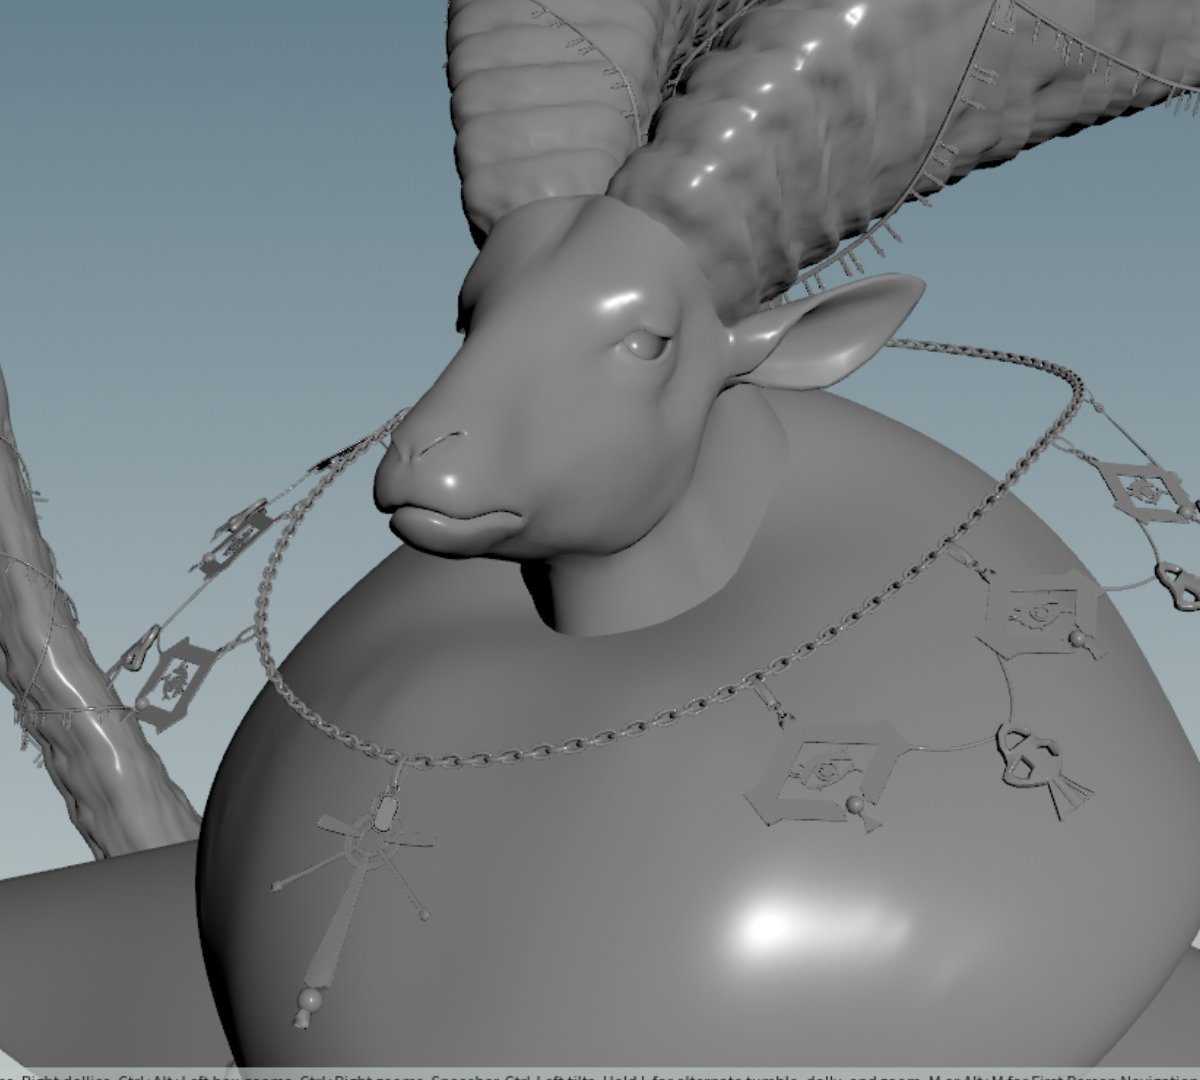
Modeling Breakdown
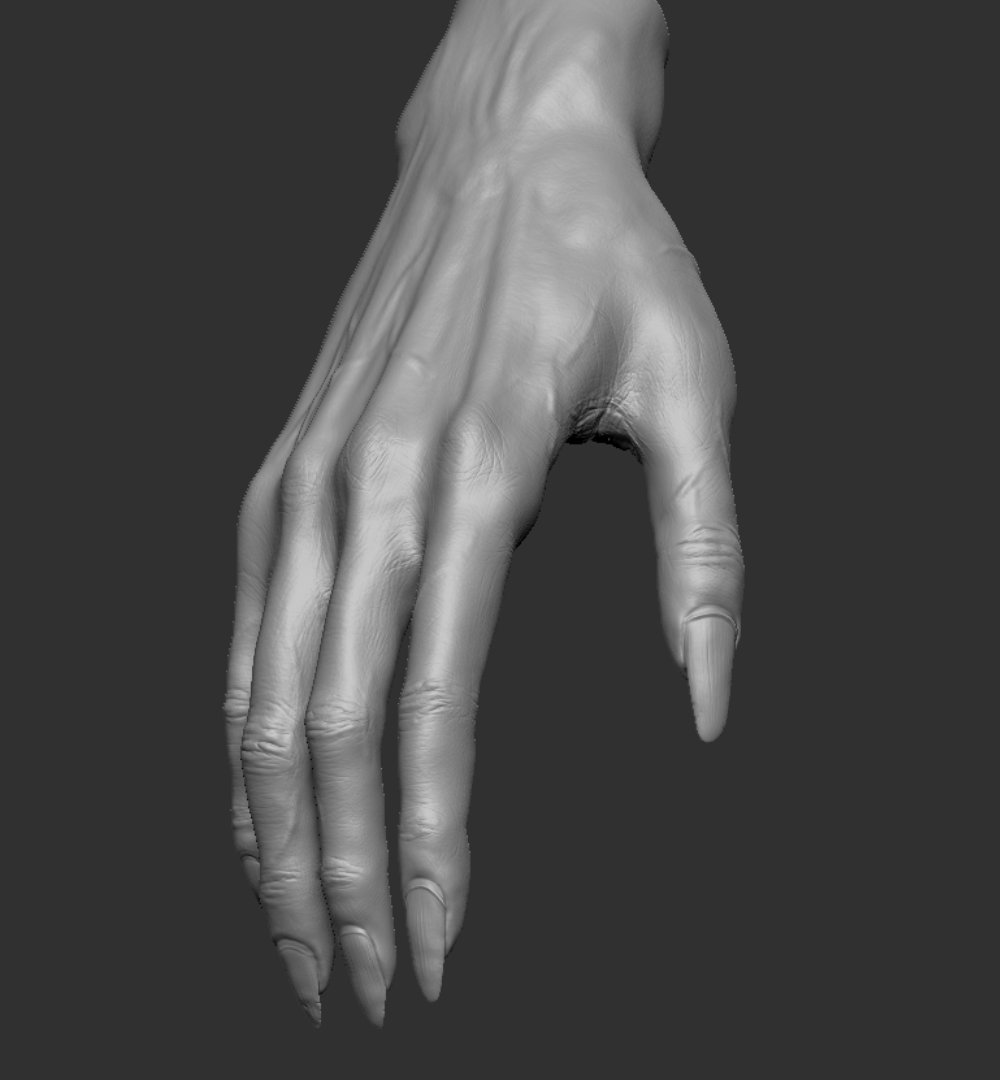
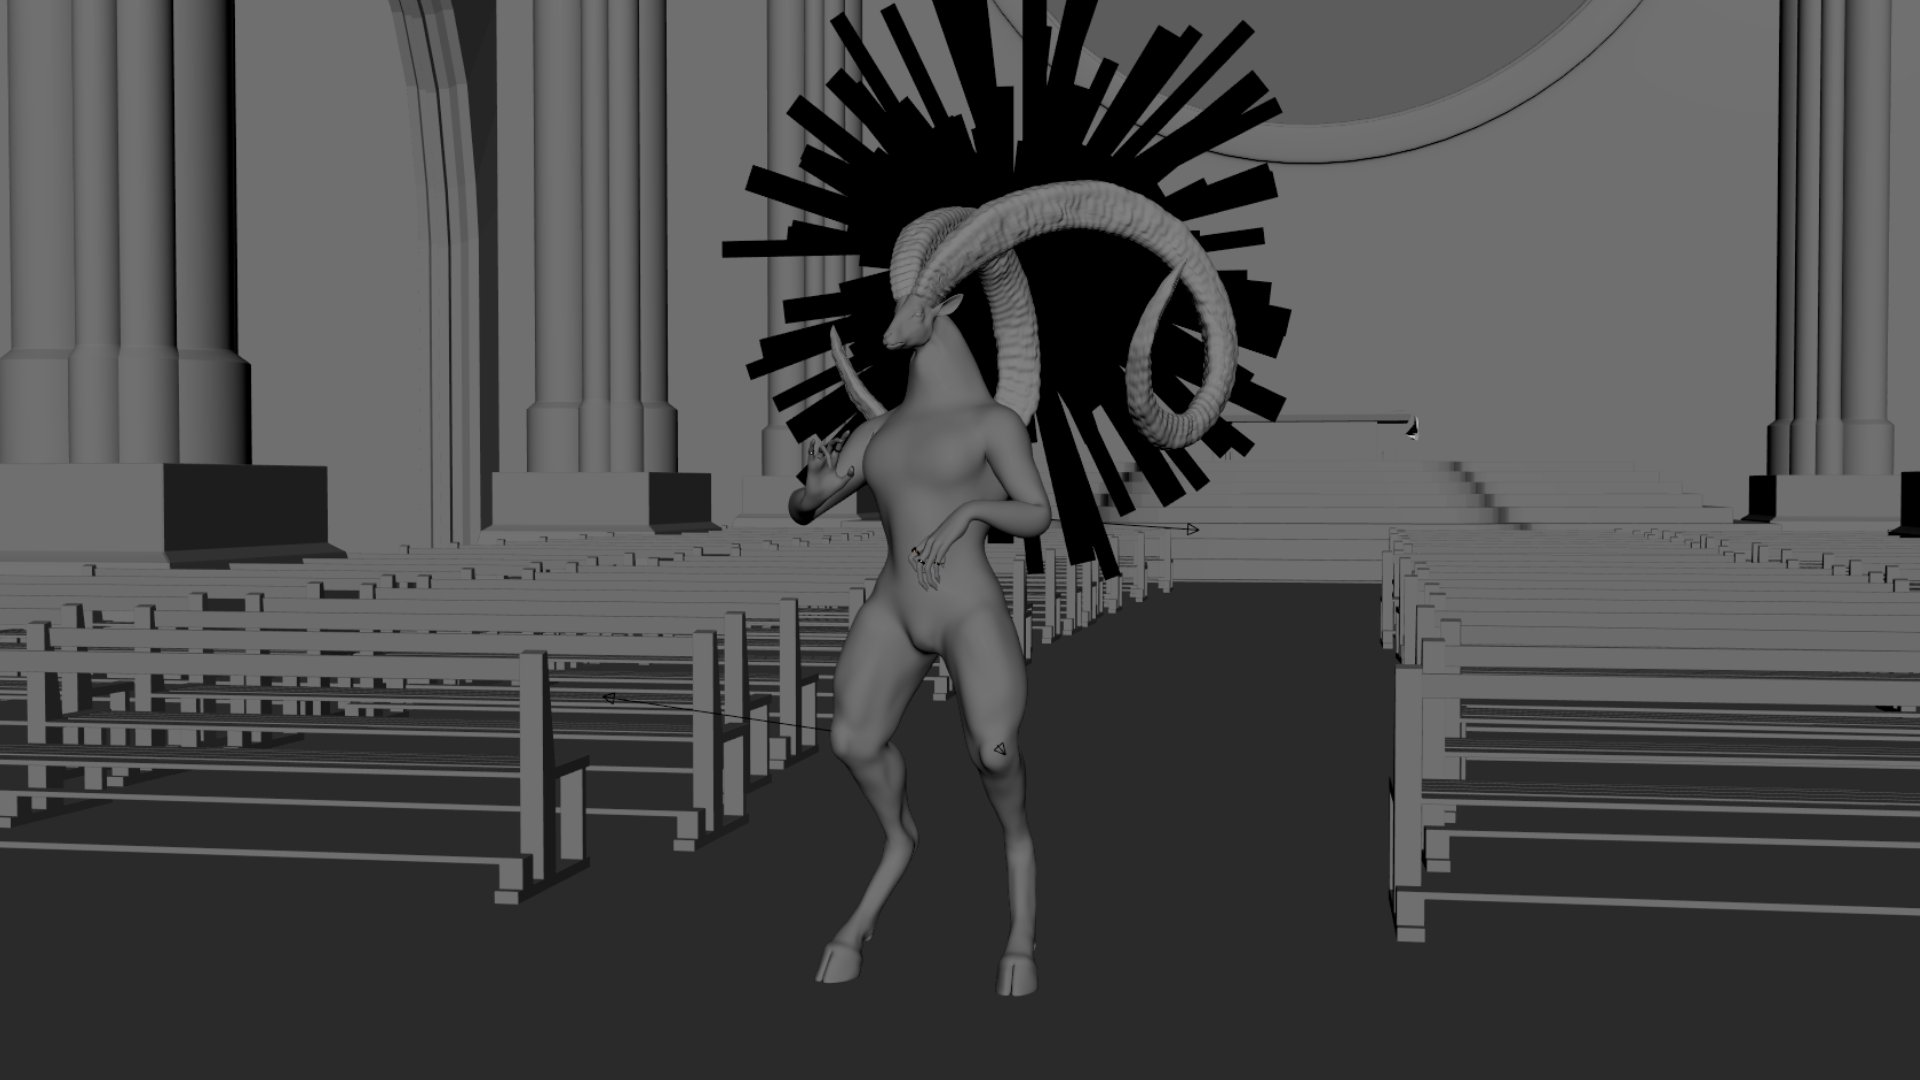
To get a sense of the anatomy beneath the layer of cloth and fur, I did a quick sketch-over to visualize the underlying shapes.
During the Detail phase, I focused mainly on the parts that would be visible later on. I spared less attention to detail on the areas covered by fur and cloth, streamlining my workflow for efficiency.


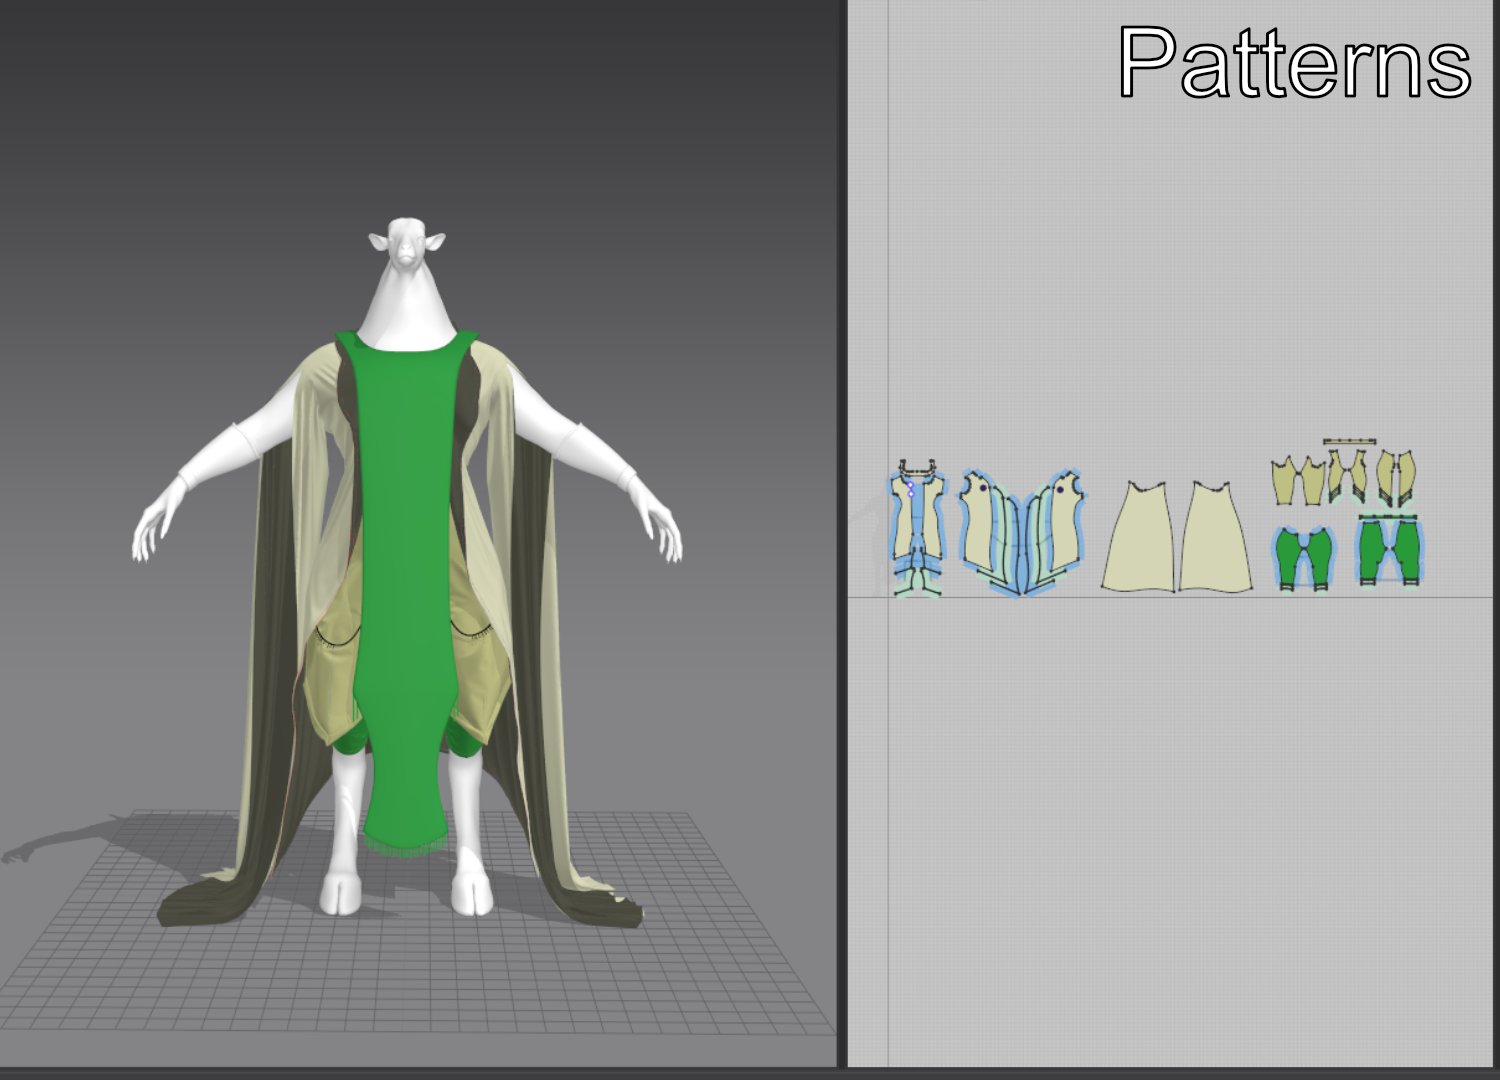
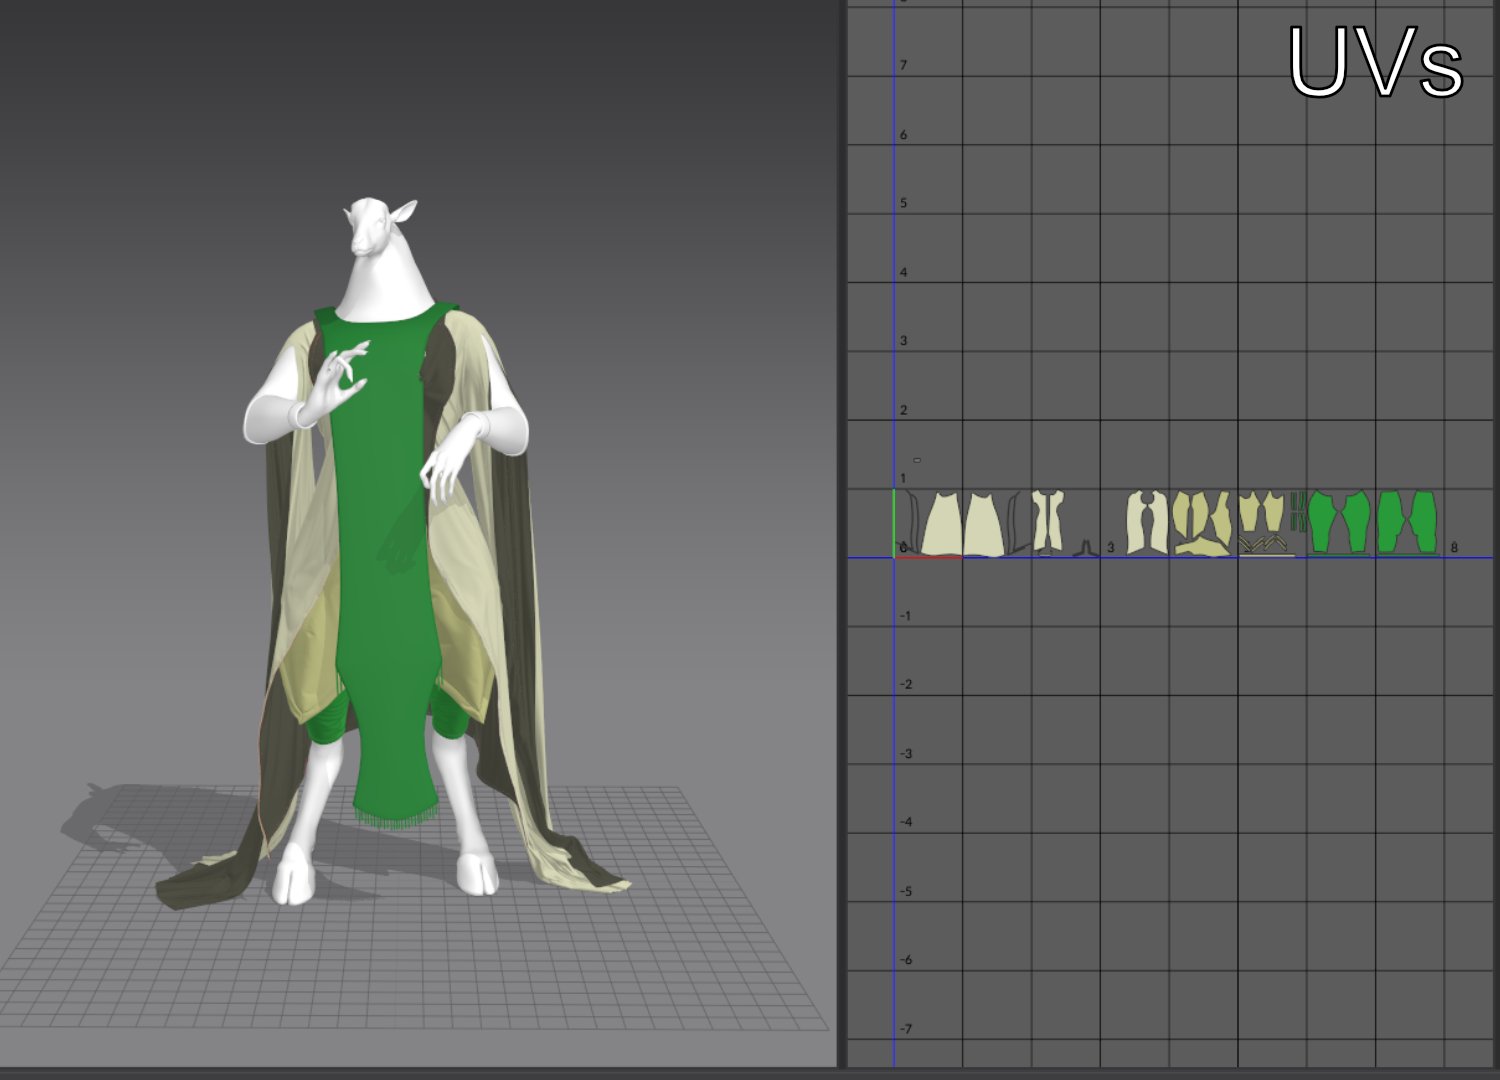
For the cloth, I created a proxy character mesh with extra volume around areas like torso, arms, and legs to imitate the groom. This gave enough space later on for the guides to settle under.
Then, I imported this into Marvelous Designer and created the clothes, trying to imitate the concept as closely as possible.
Texturing Breakdown
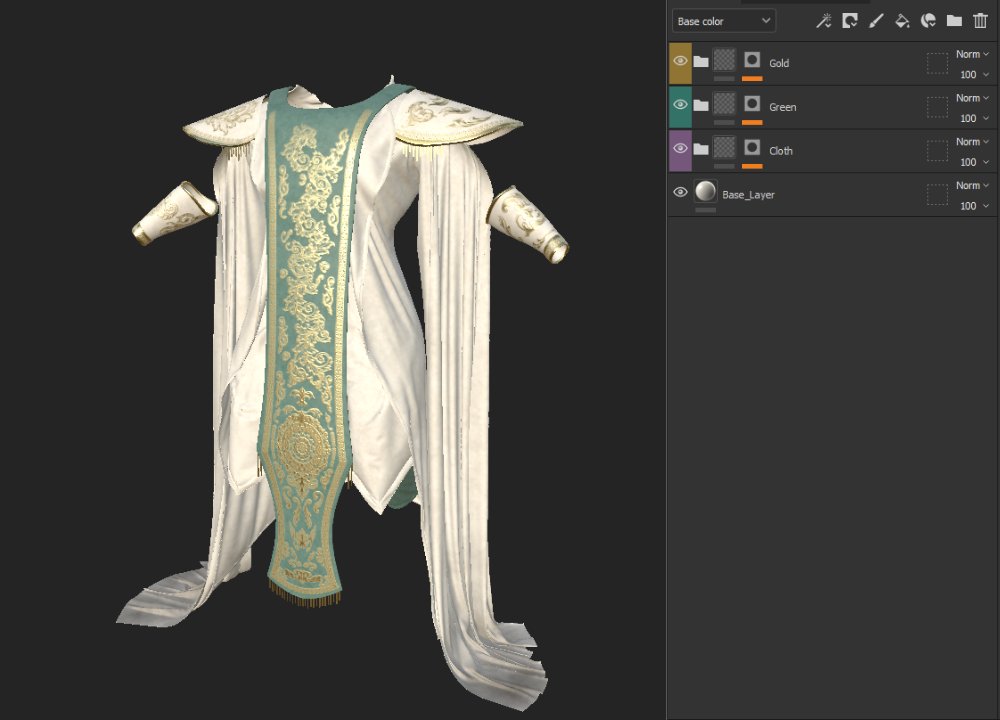
For texturing, I chose to combine Mari and Substance Painter in my workflow. Mari provides detailed control over each step, while Substance Painter is quicker for achieving fast results.
Therefore, I made the ornaments with the help of an ornament Alpha package from Artstation in Mari, exported them as a Mask, and combined them with my textures from Substance Painter to achieve the final result.

Groom Breakdown
I decided to start with a base geo for the neck to reduce the point count for guides and groom. It also made it easier to create a procedural guide system.

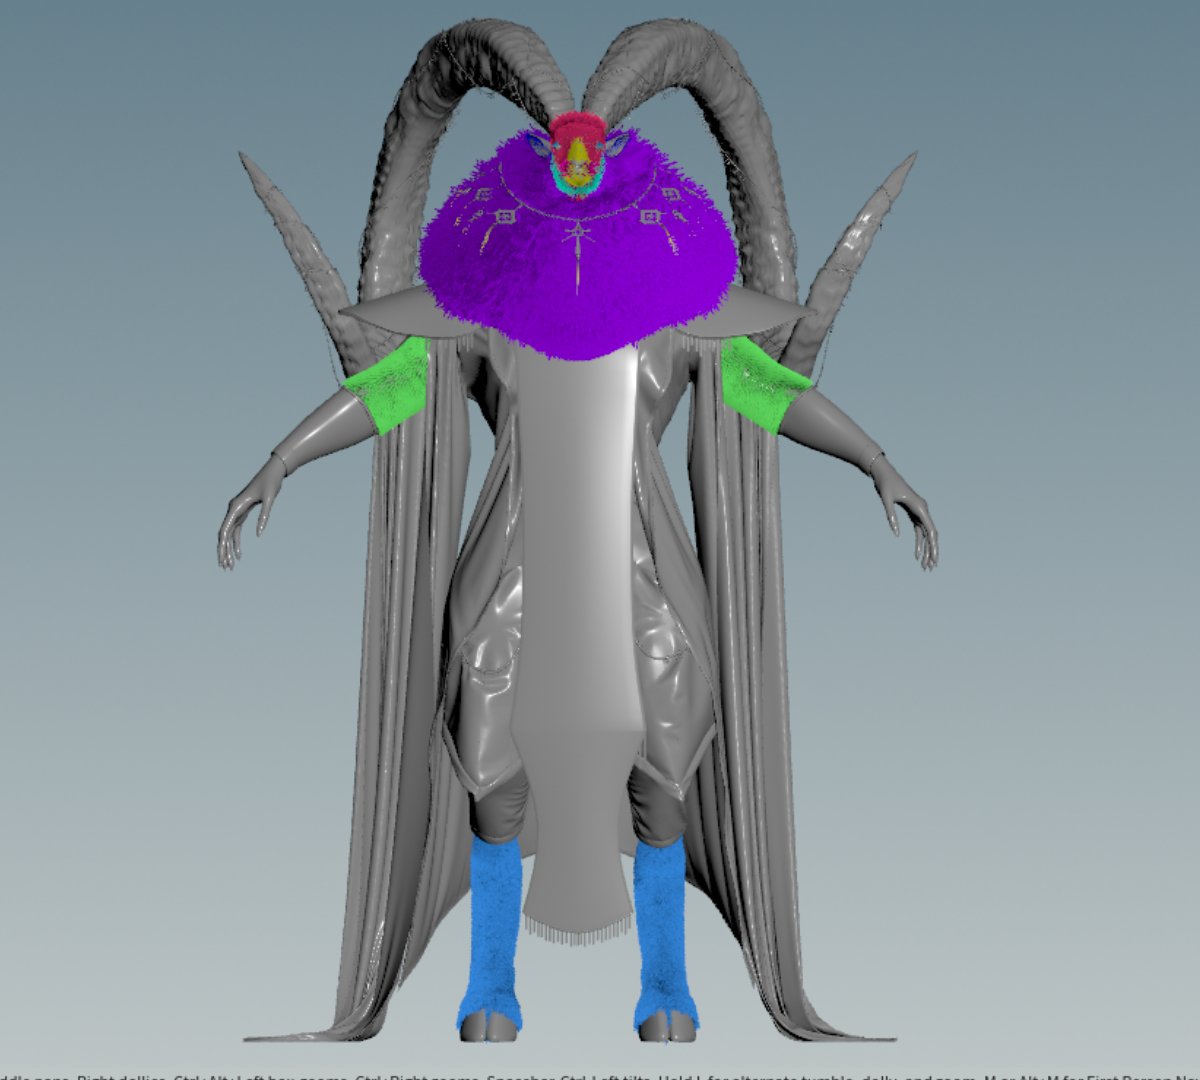
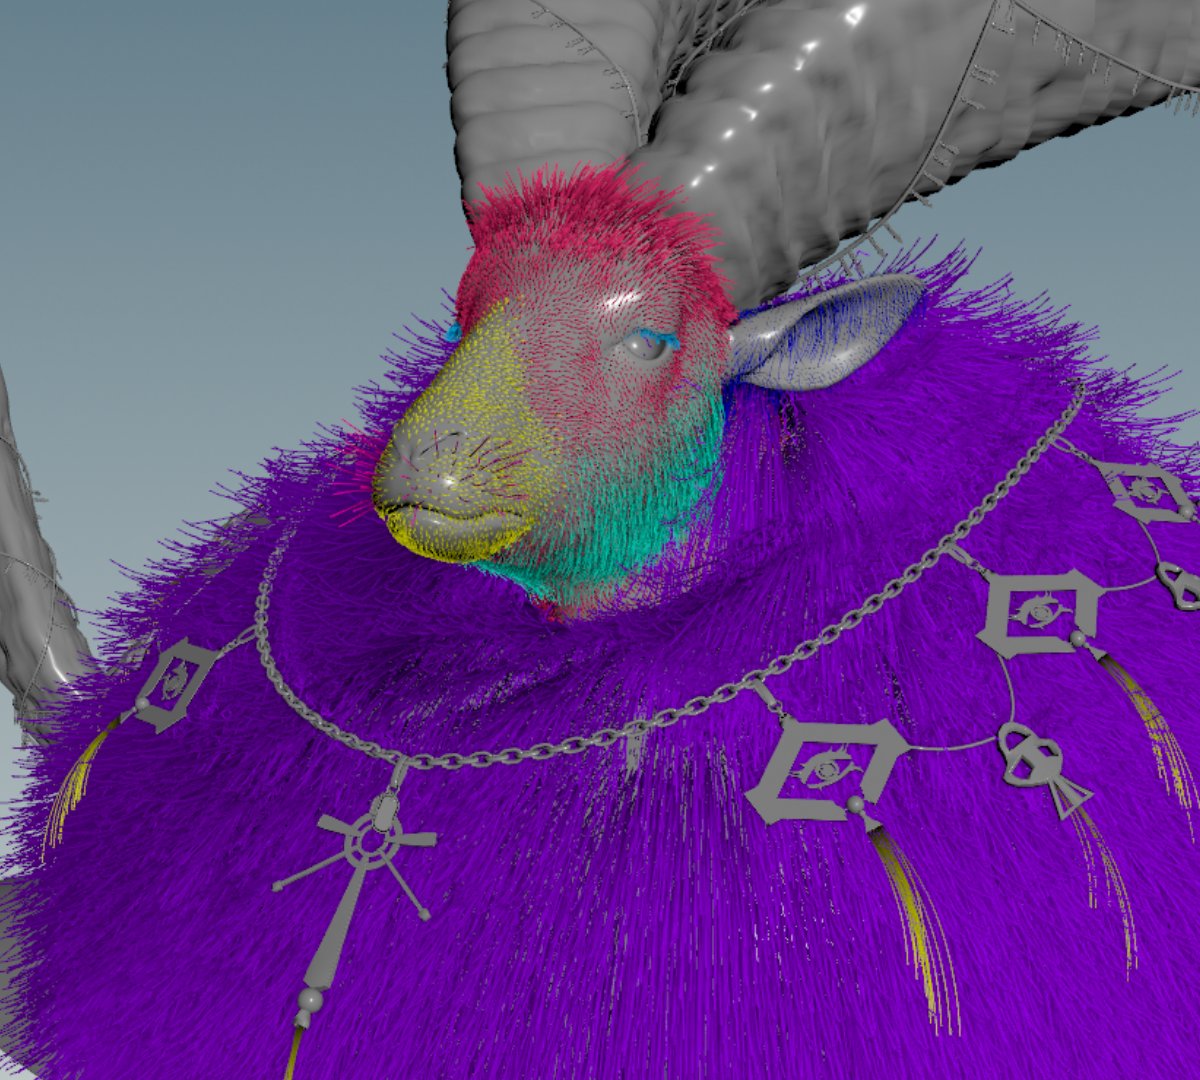
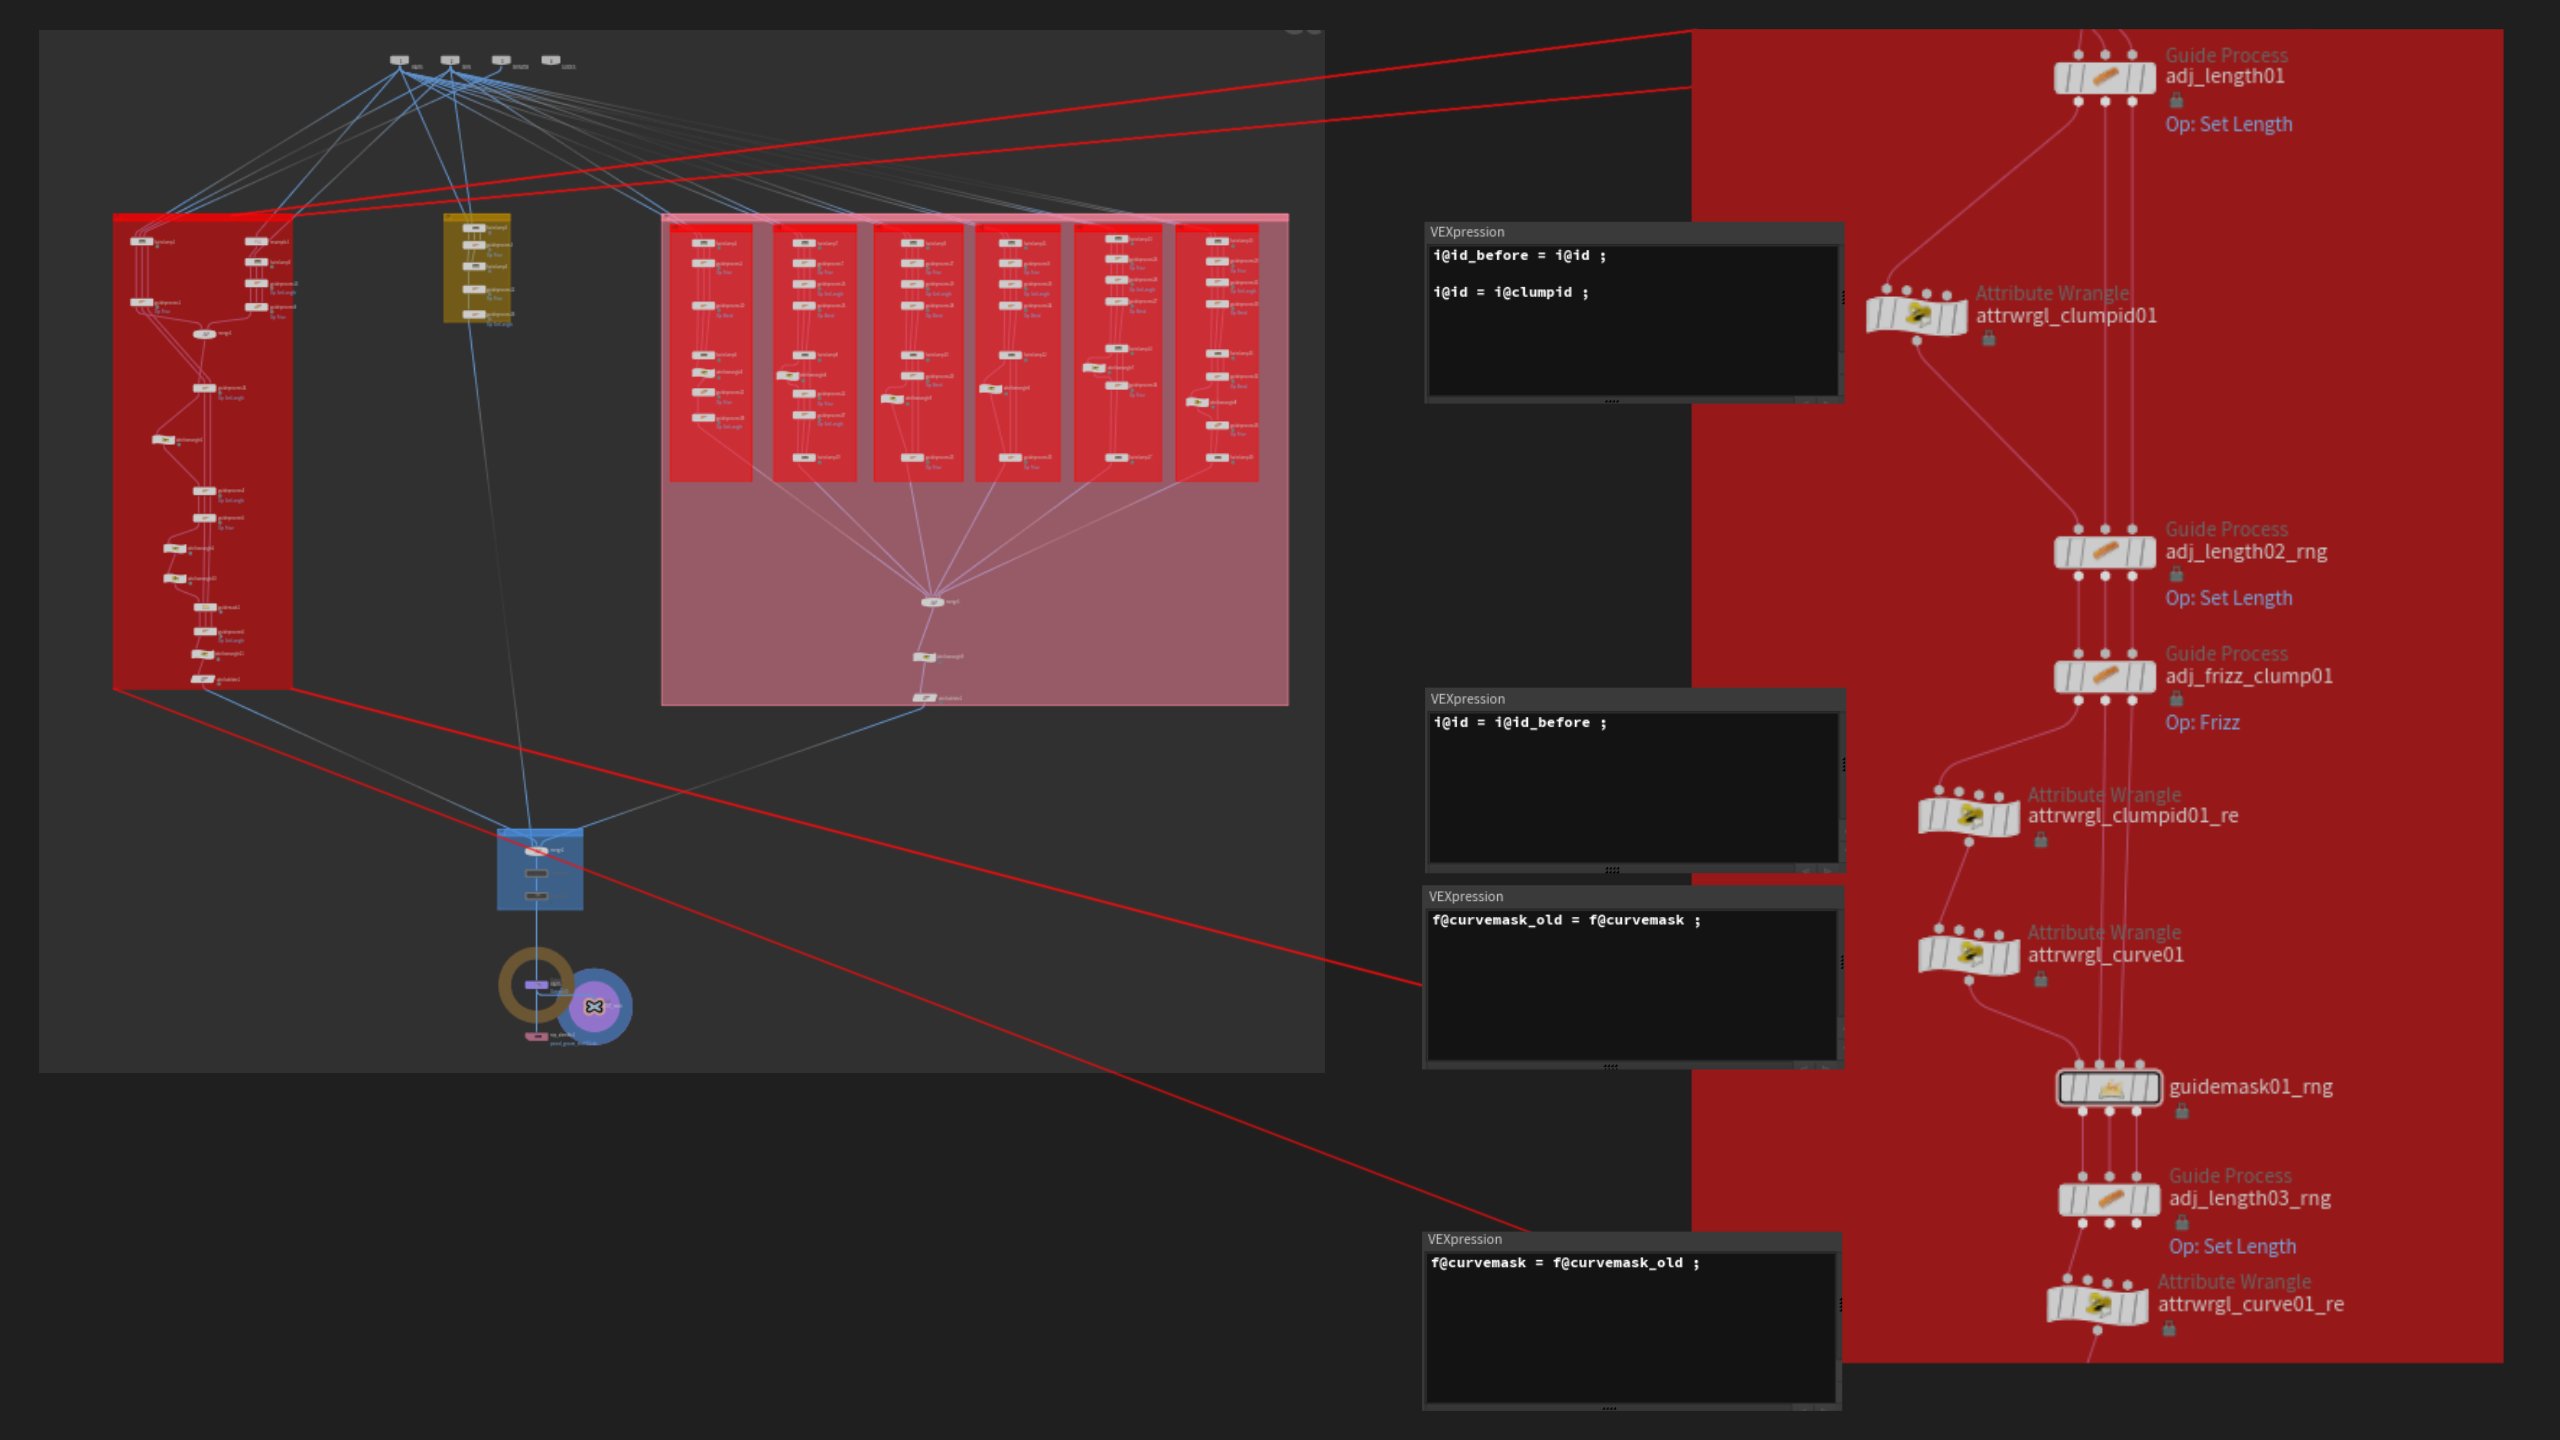
Because I anticipated a heavy groom system and performance issues within Houdini, I decided to split the groom into several guide systems. This helped me optimize the workflow and maintain efficiency throughout the process.
To achieve a wool-like groom, I created a multi-layer clump system and used Attribute Wrangler Nodes to gain more control over the clumps.
This way, I could randomize the length of each clump and add frizz to clumps instead of single hairs.
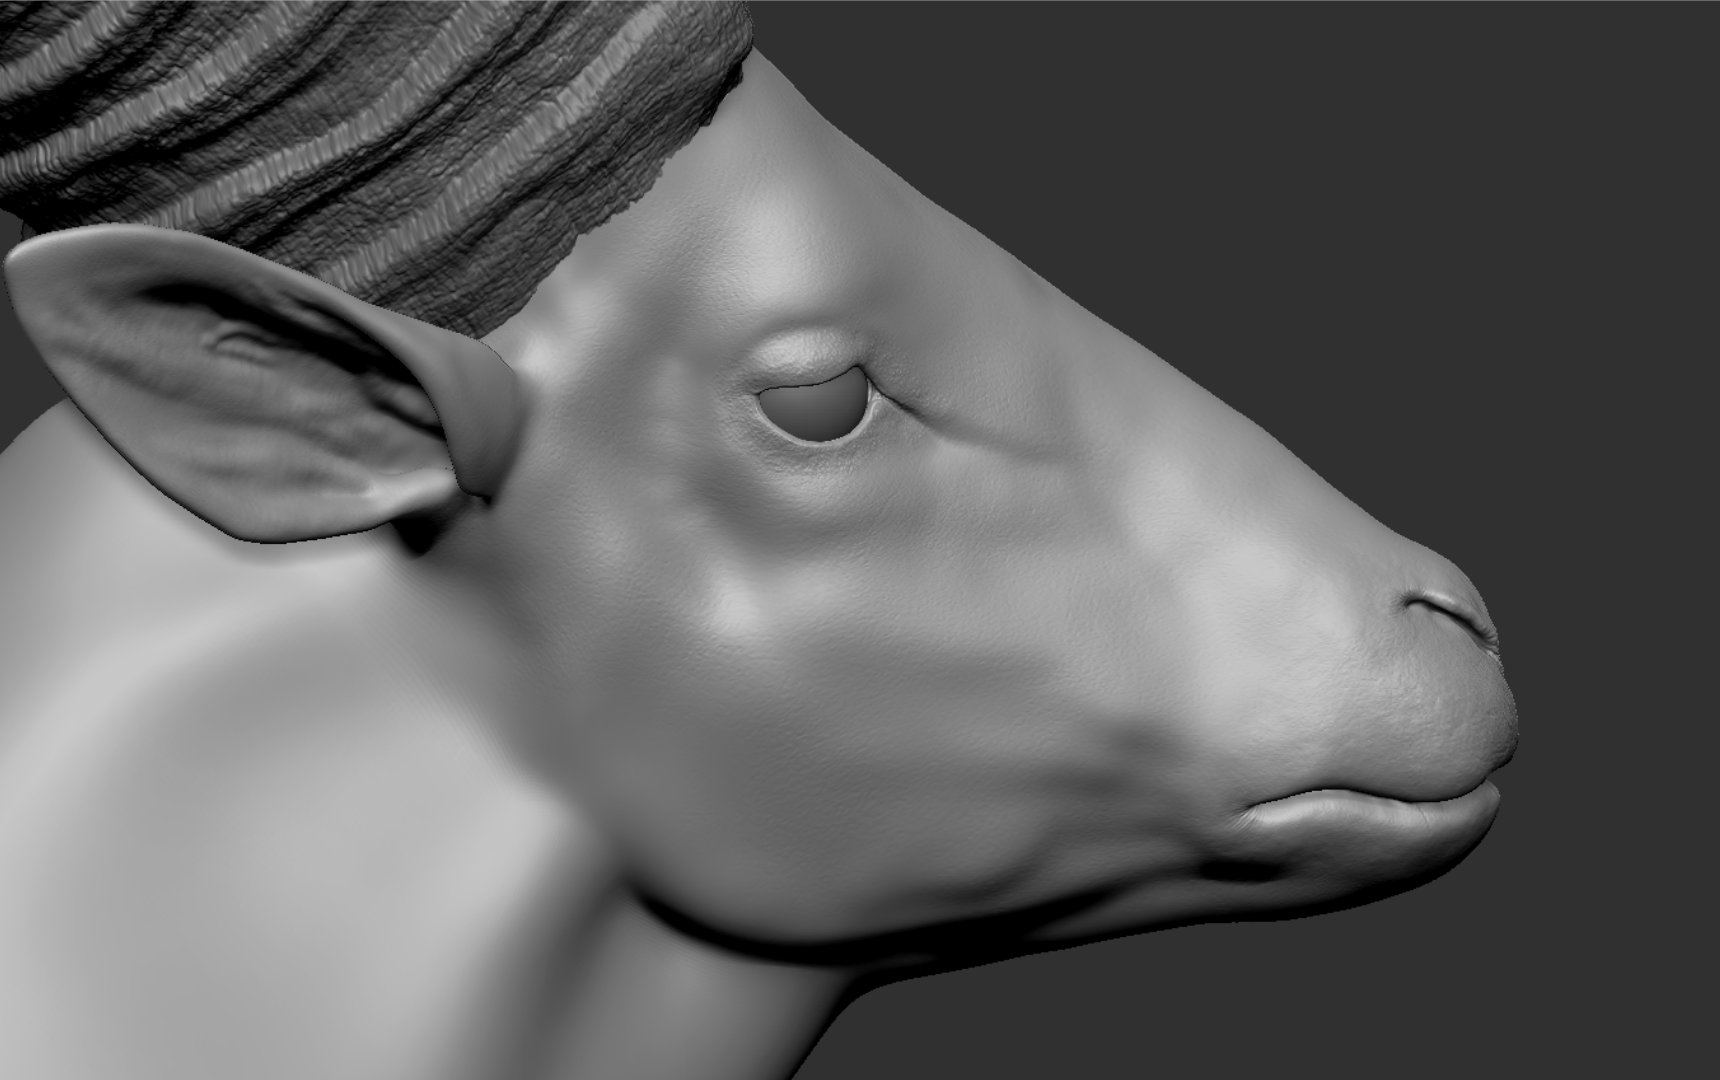
For the eye, I sculpted the iris first and then went with a procedural shader for the iris and cornea.
It was a little tricky to achieve a realistic look, as the sheep's eye is anatomically very similar to a human one, but has a different shaped pupil.

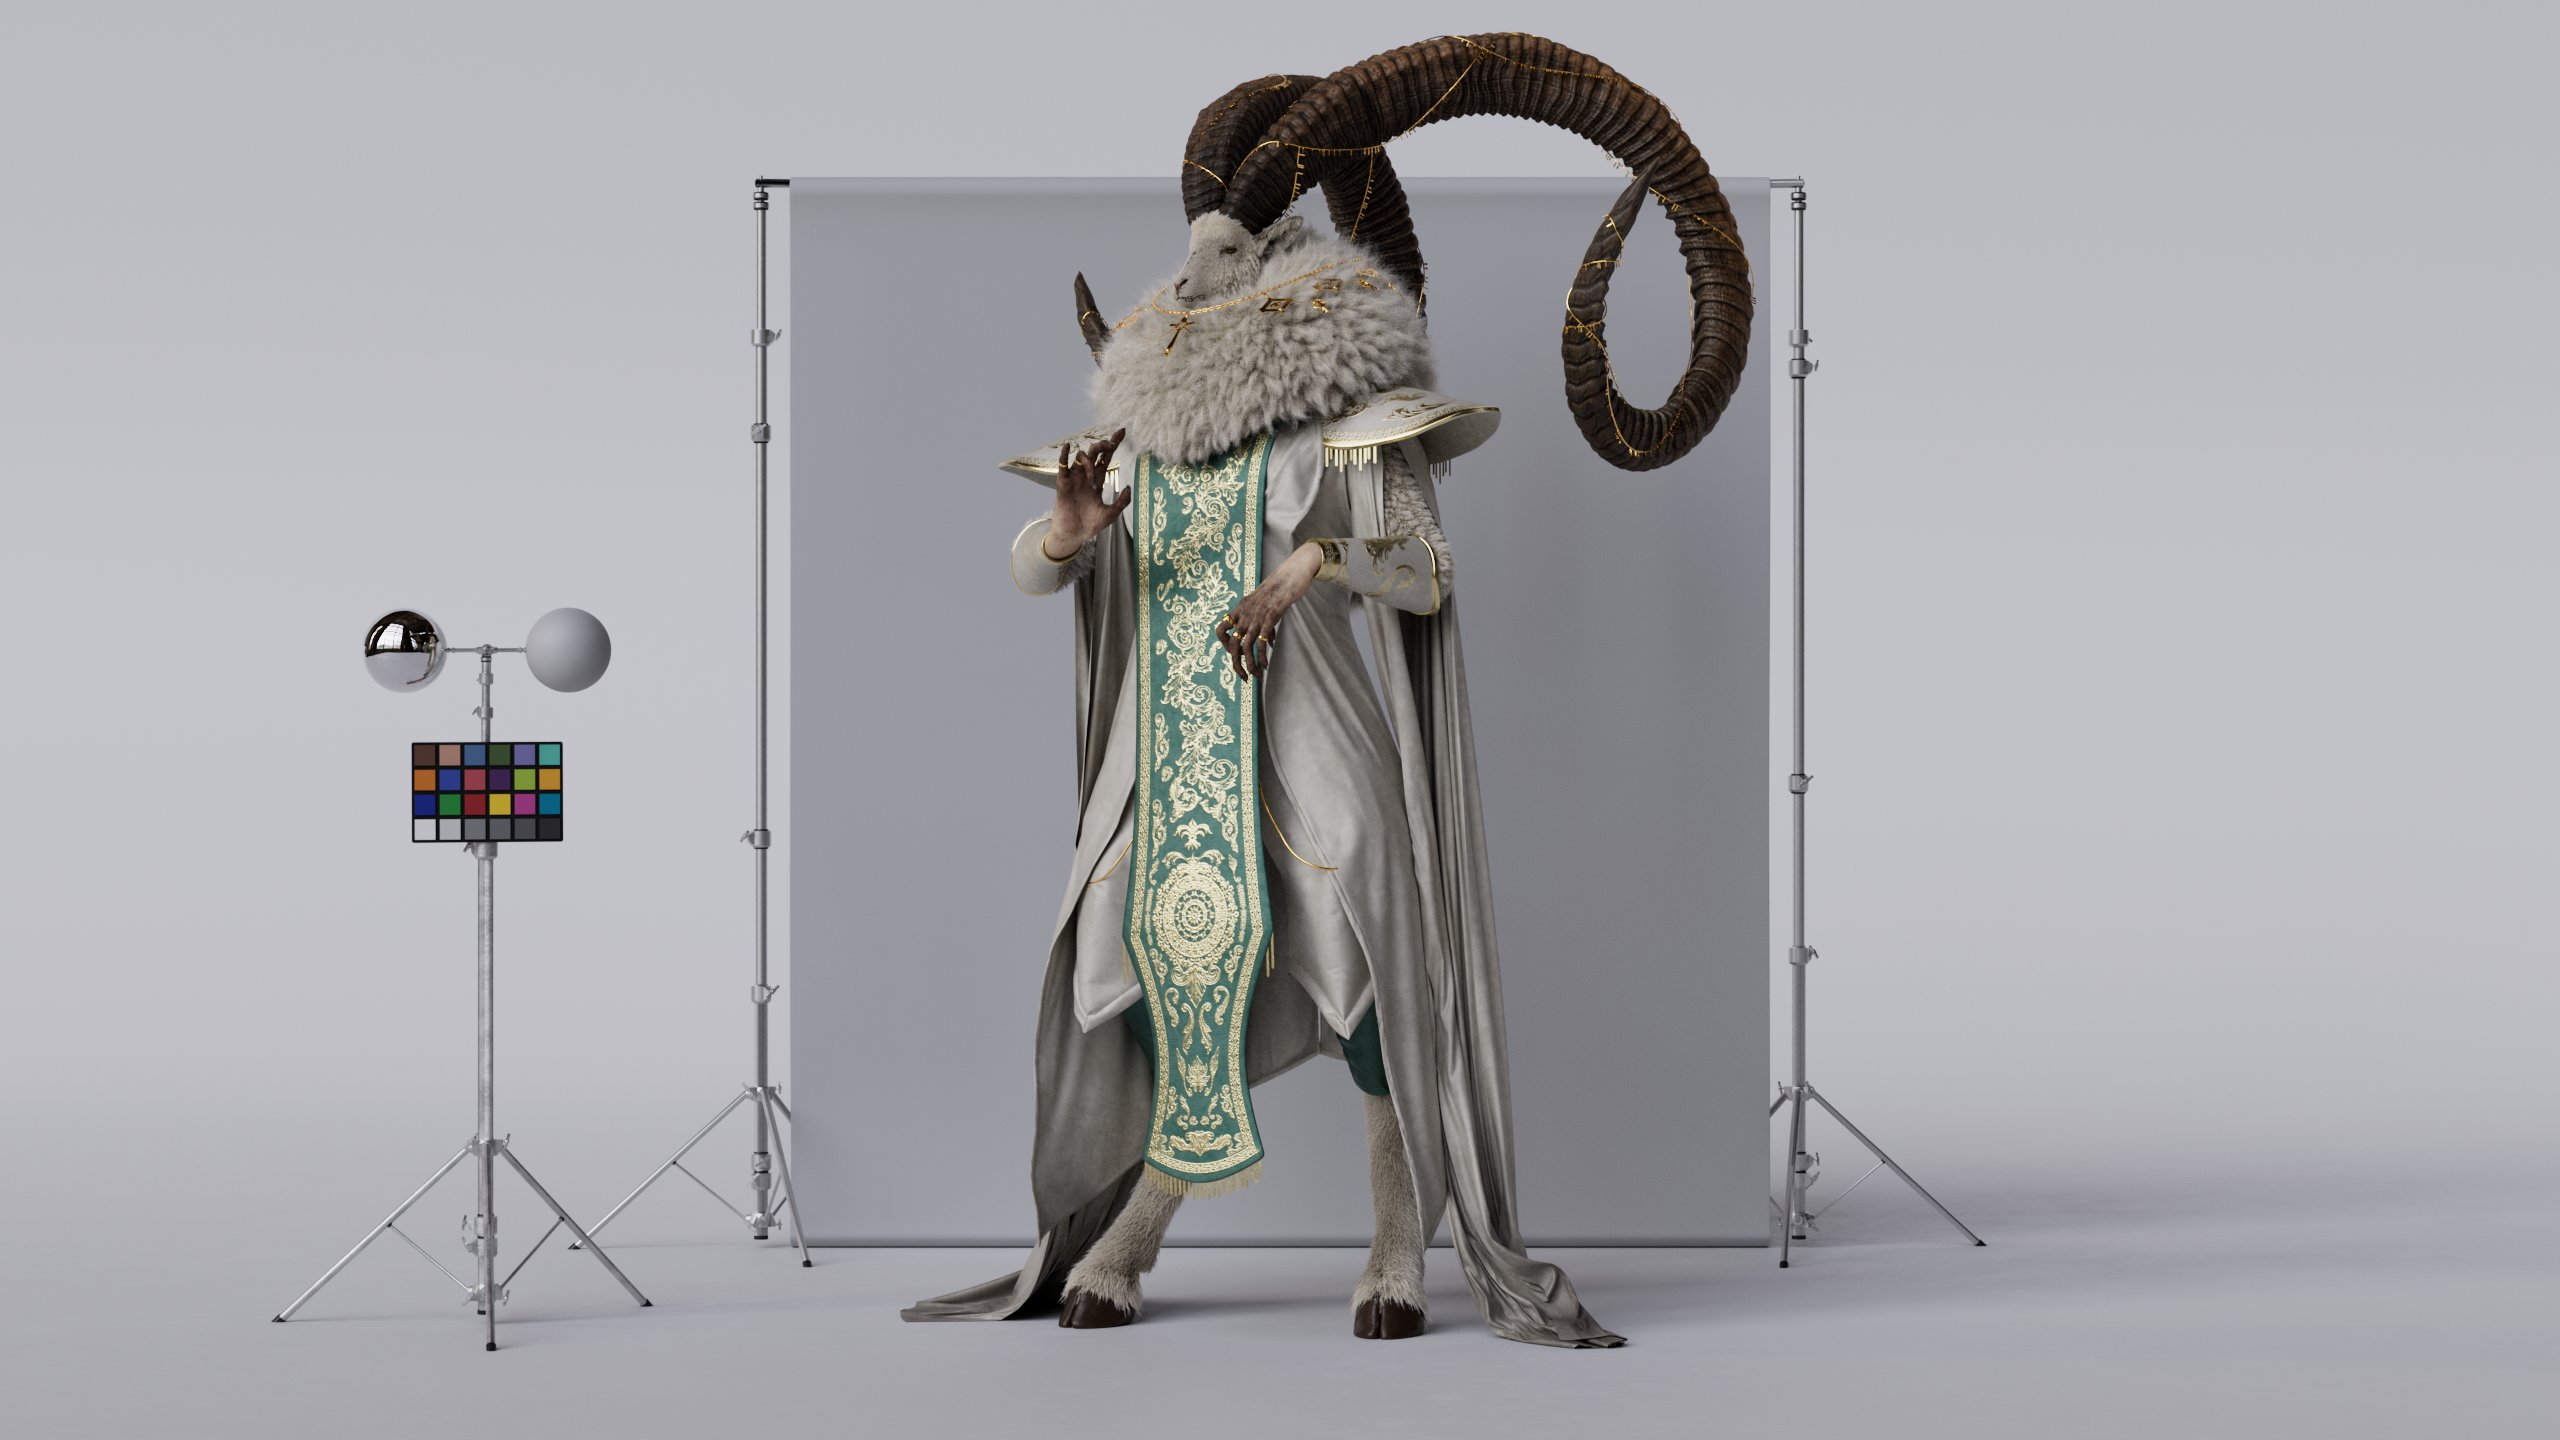
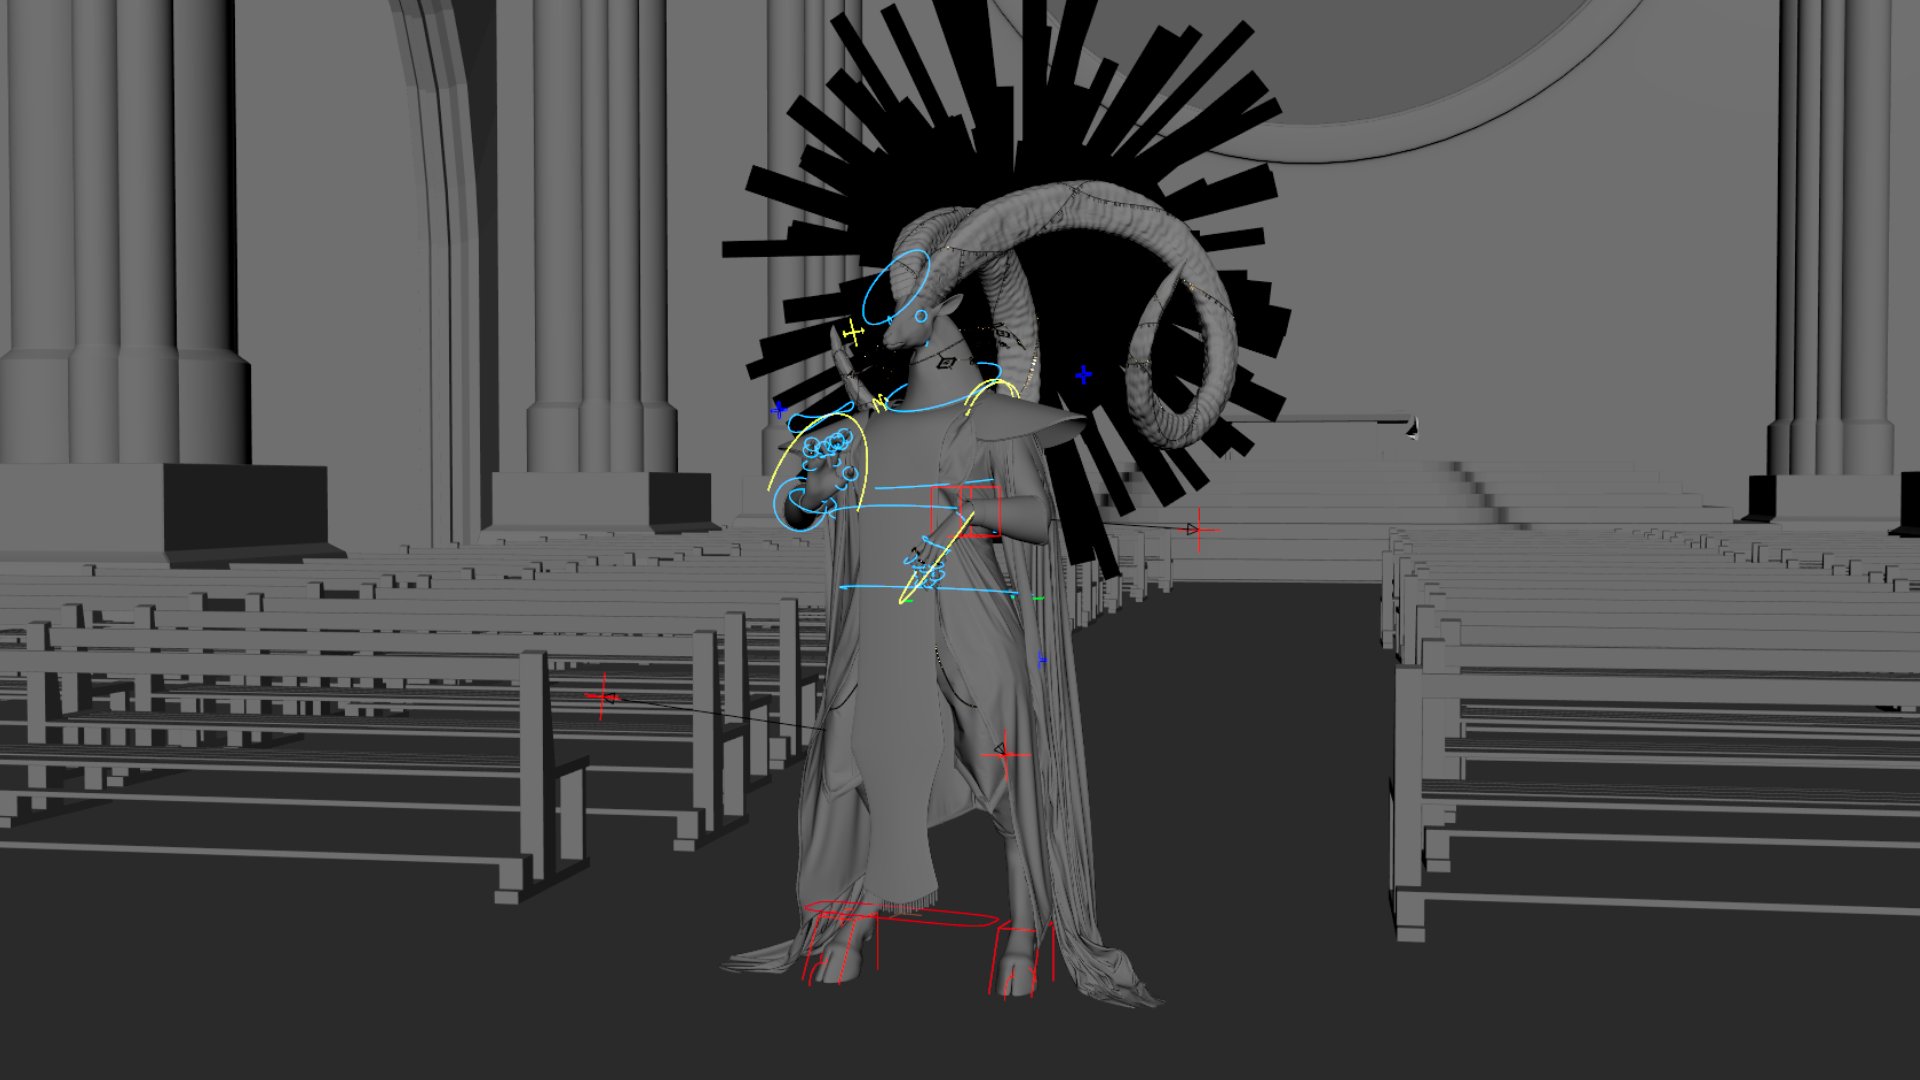
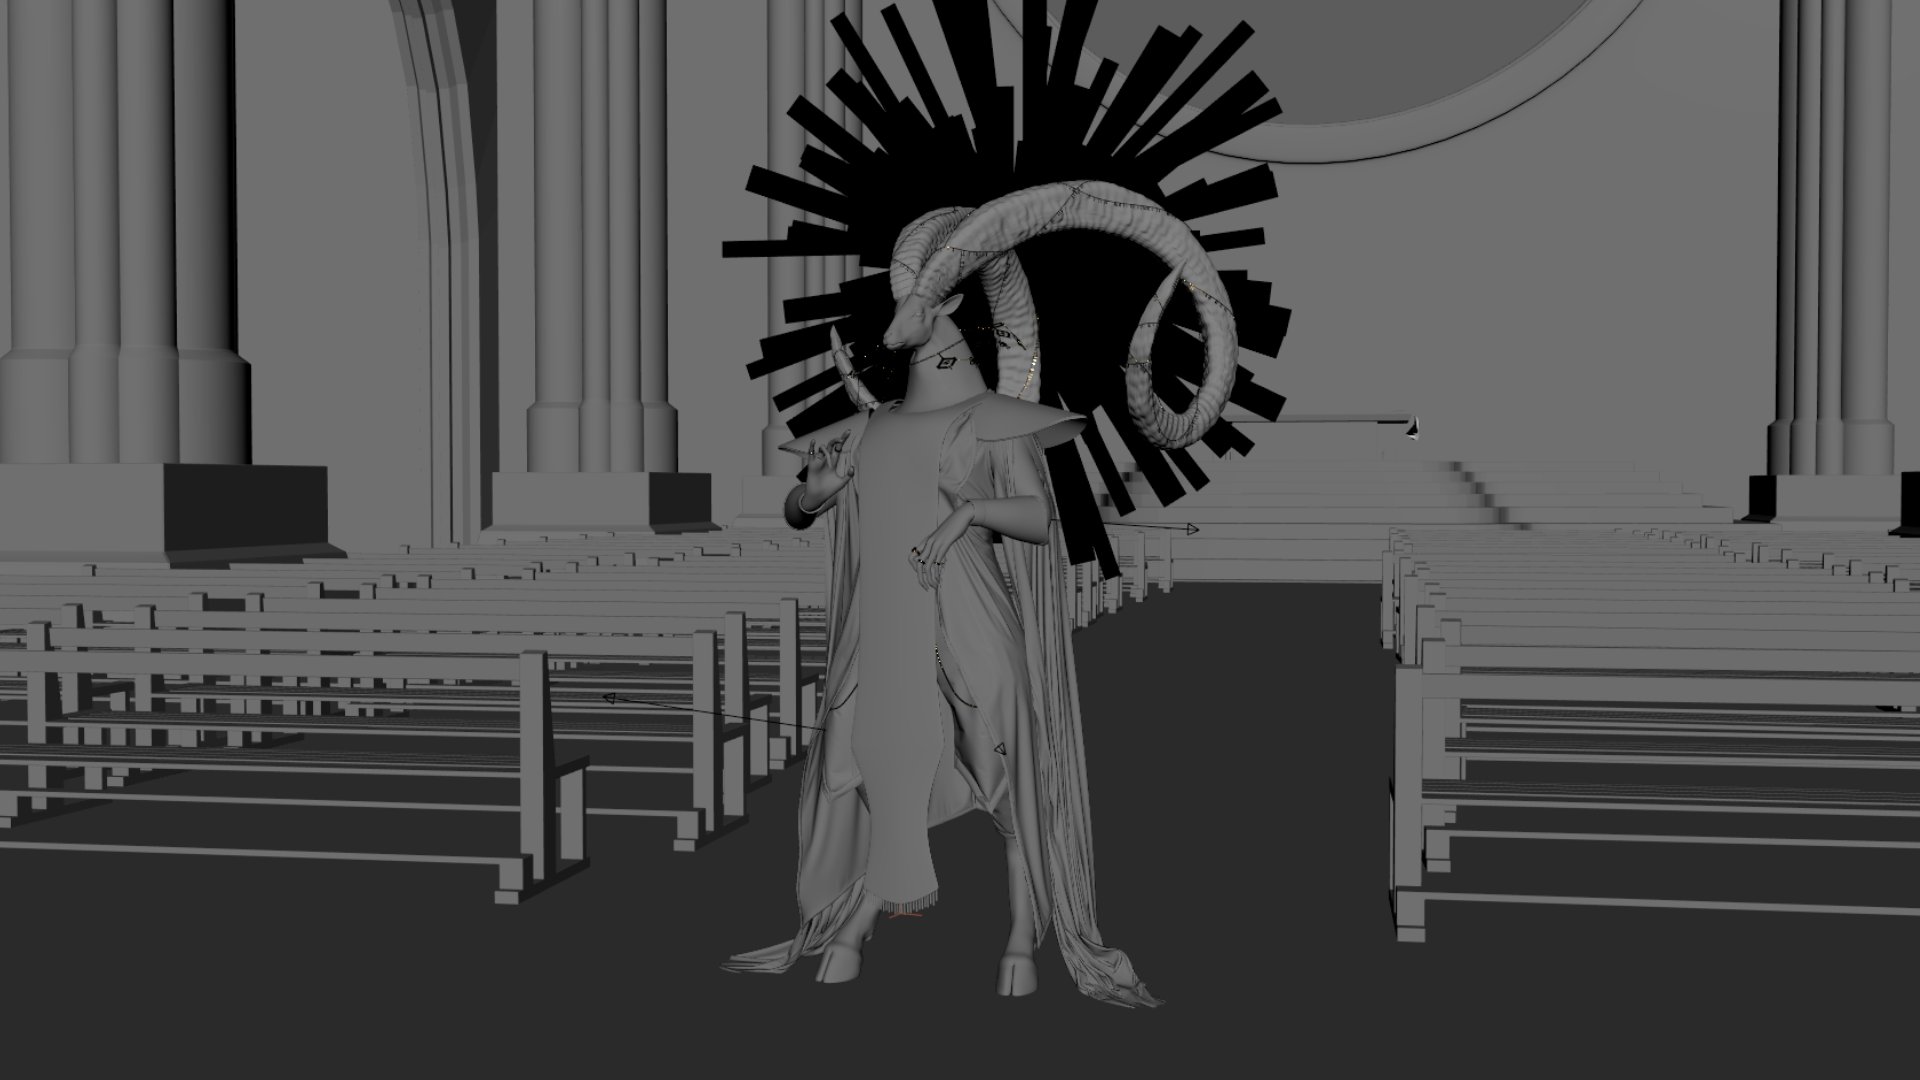
Posing & Staging
As the character was rigged and ready to be simulated, it was fairly easy to pose the sheep. I chose to imitate the pose from the concept, as I loved the initial pose and the feeling it carried with.
I chose a church as the environment because what could be more fitting for a "holy sheep"?
Conclusion
This project was fun and offered many challenges to overcome and learn from.
I still see a lot of space for improvement. Not only for modeling but also the pipeline sometimes felt unoptimized and not completely reliant.
If I were to start this project again, I'd explore the USD Workflow and Houdini Solaris, as I think it offers more options and control. Additionally, I'd consider simulating cloth and groom together in Houdini, rather than using two separate programs.
Project 3 - Breakdown
For this project I had 2 primary goals. First, I wanted to create a weapon model, that would be as close as possible to real-life reference. And second, combining the skills I've learned so far within a short time span, to see how much I've progressed during my studies.
Additionally, it was a project I've been eager to tackle since the beginning of my journey as a 3D artist.


Modeling Breakdown
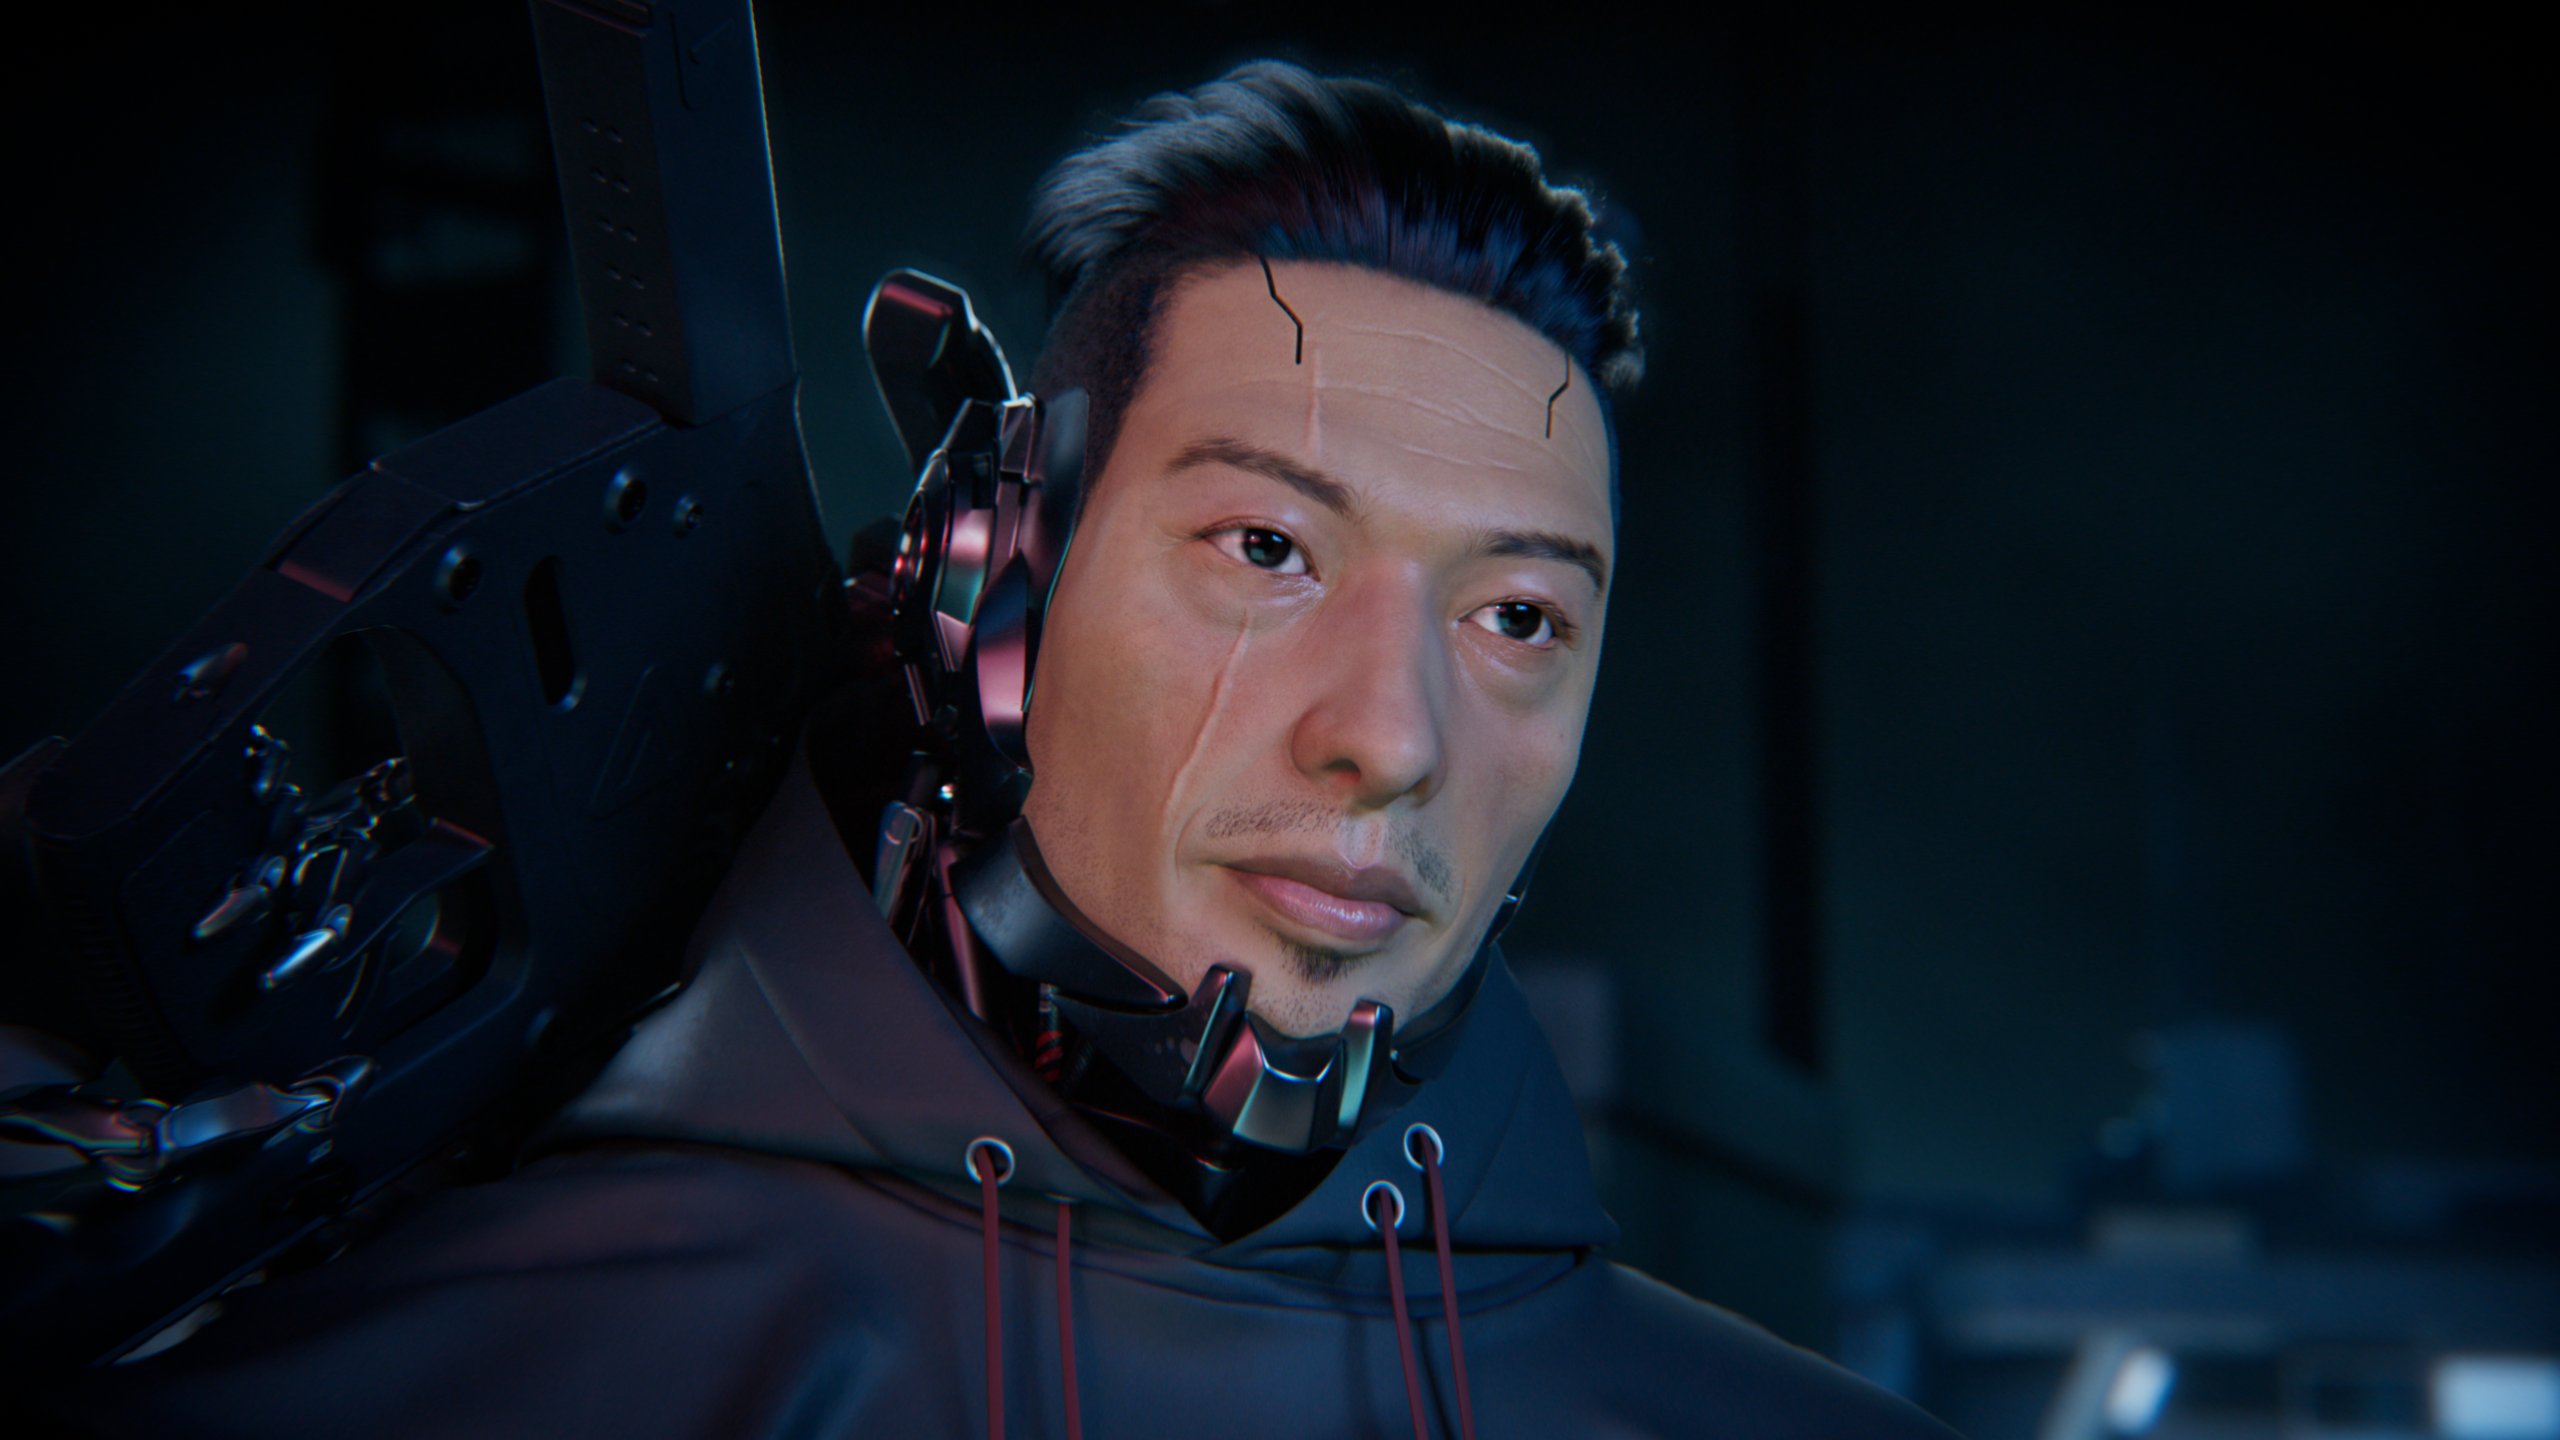
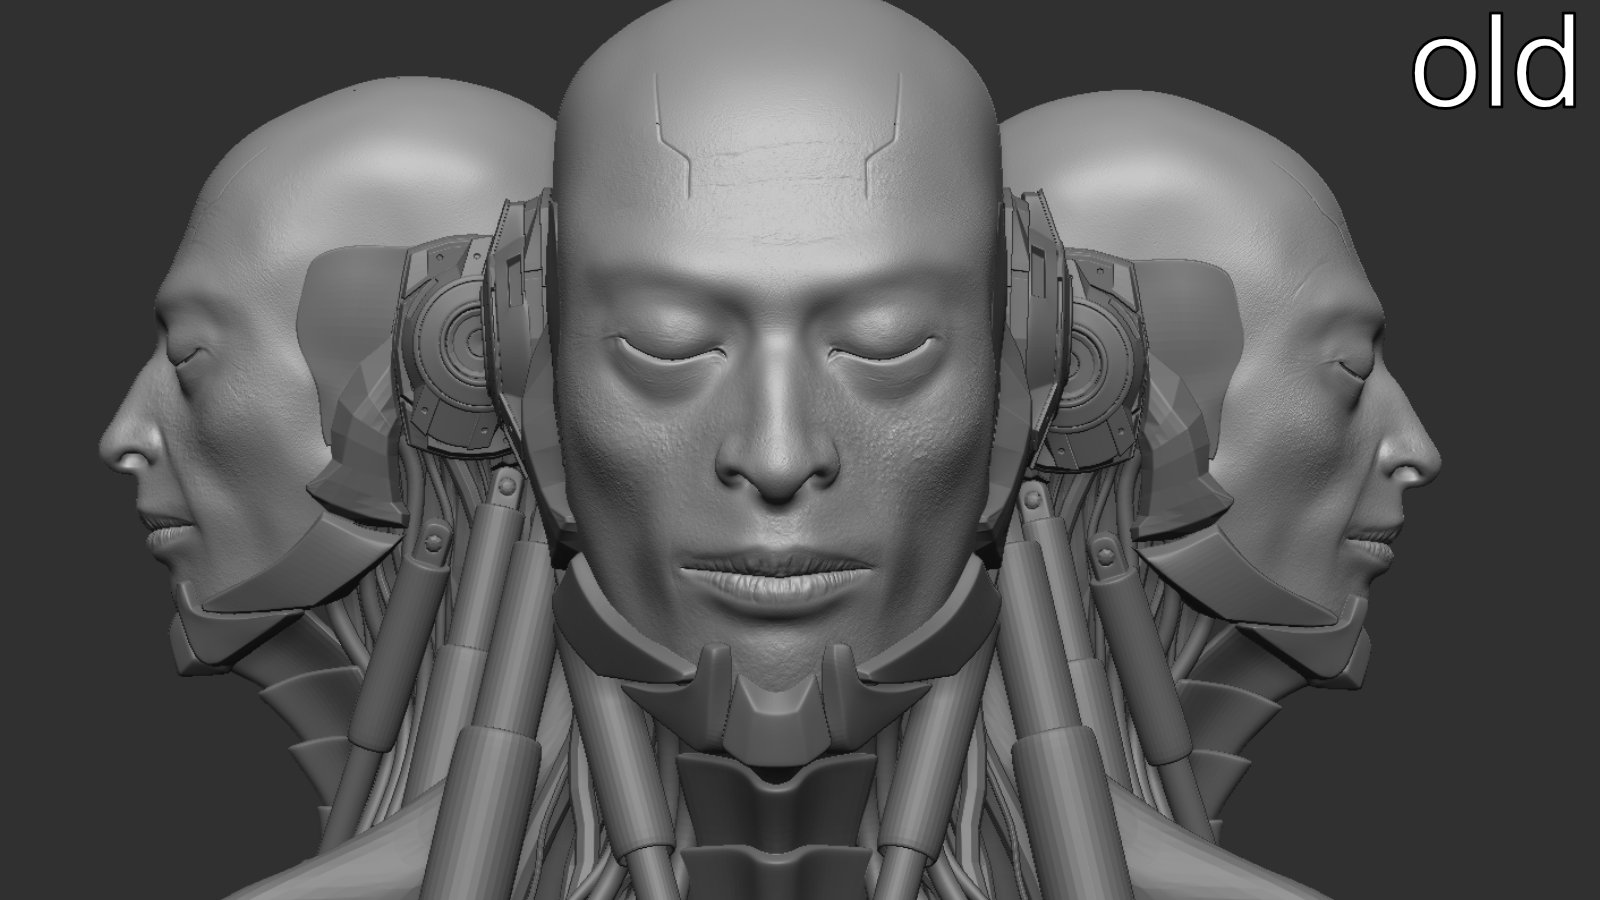
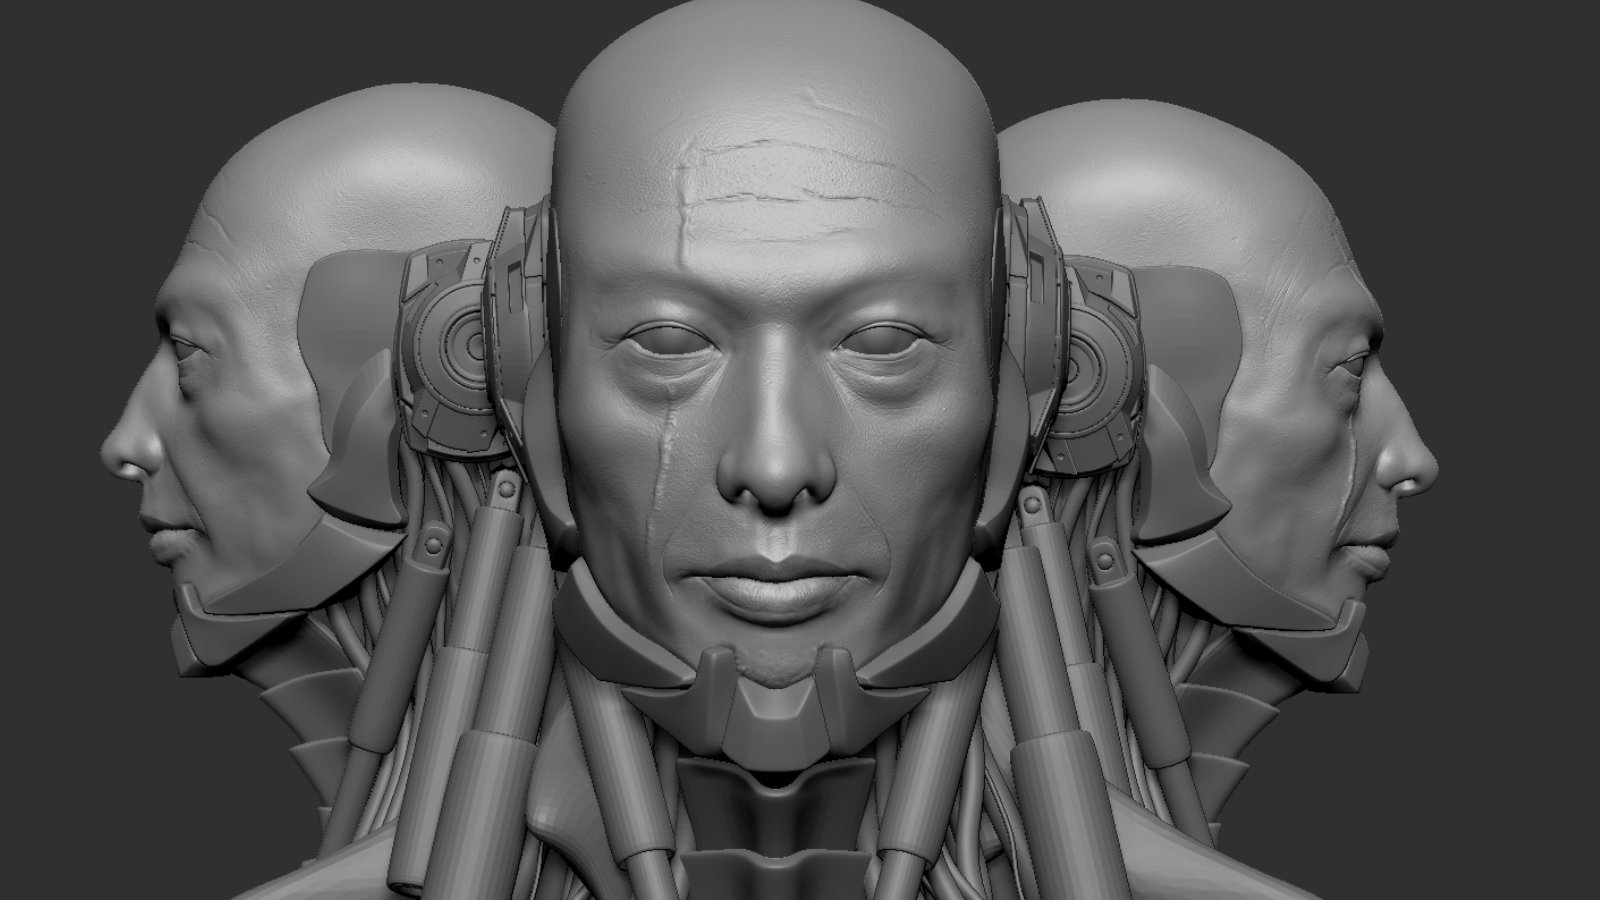
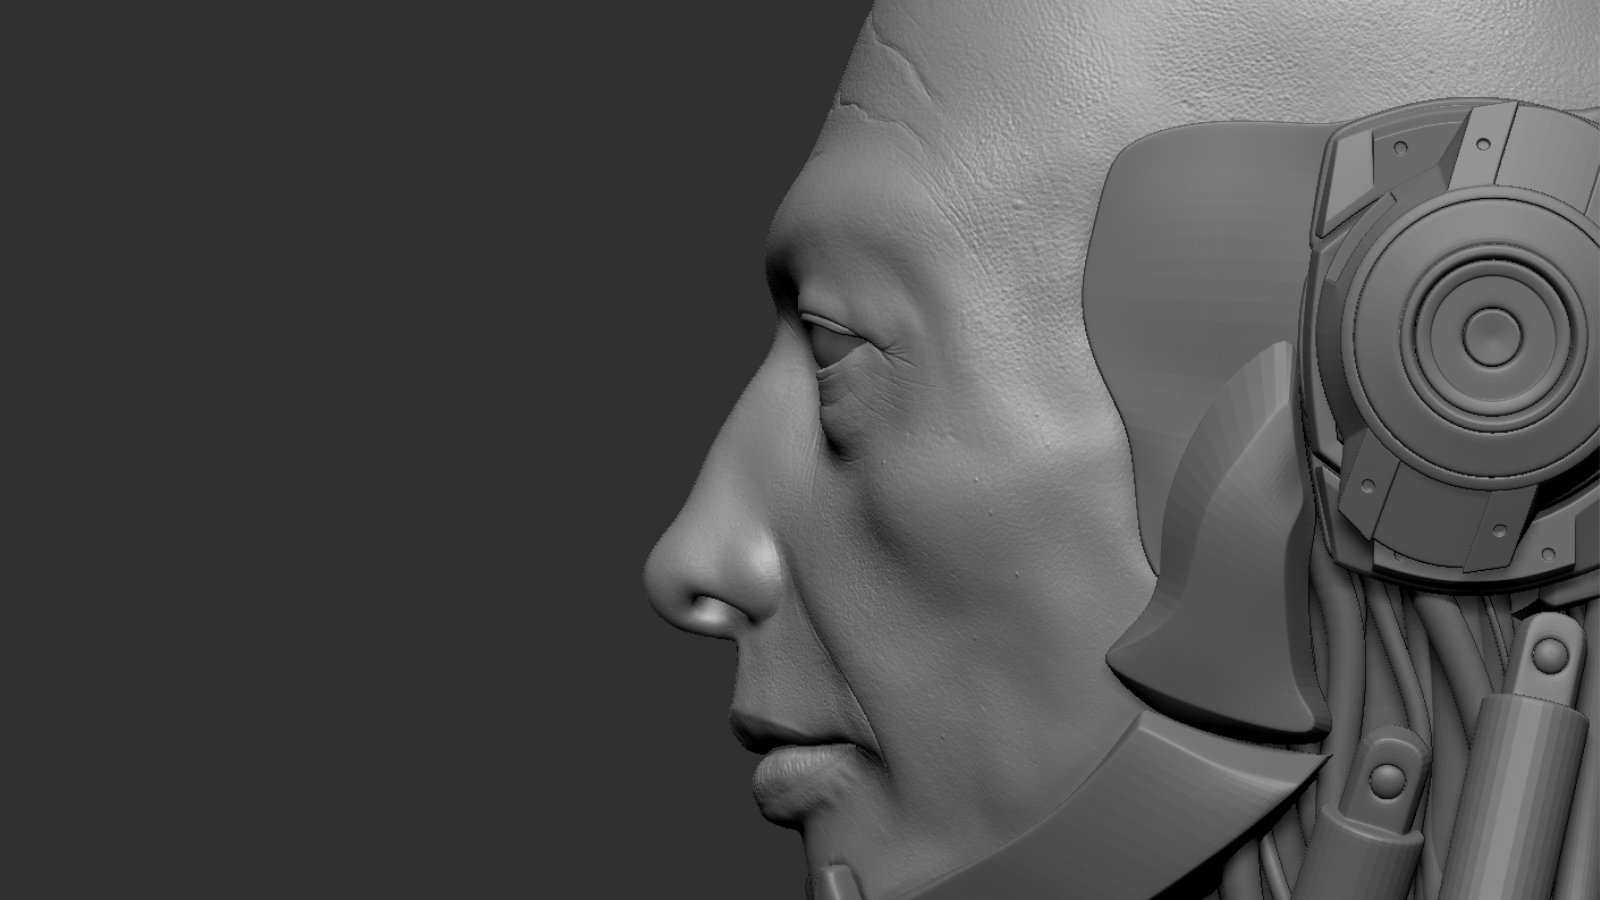
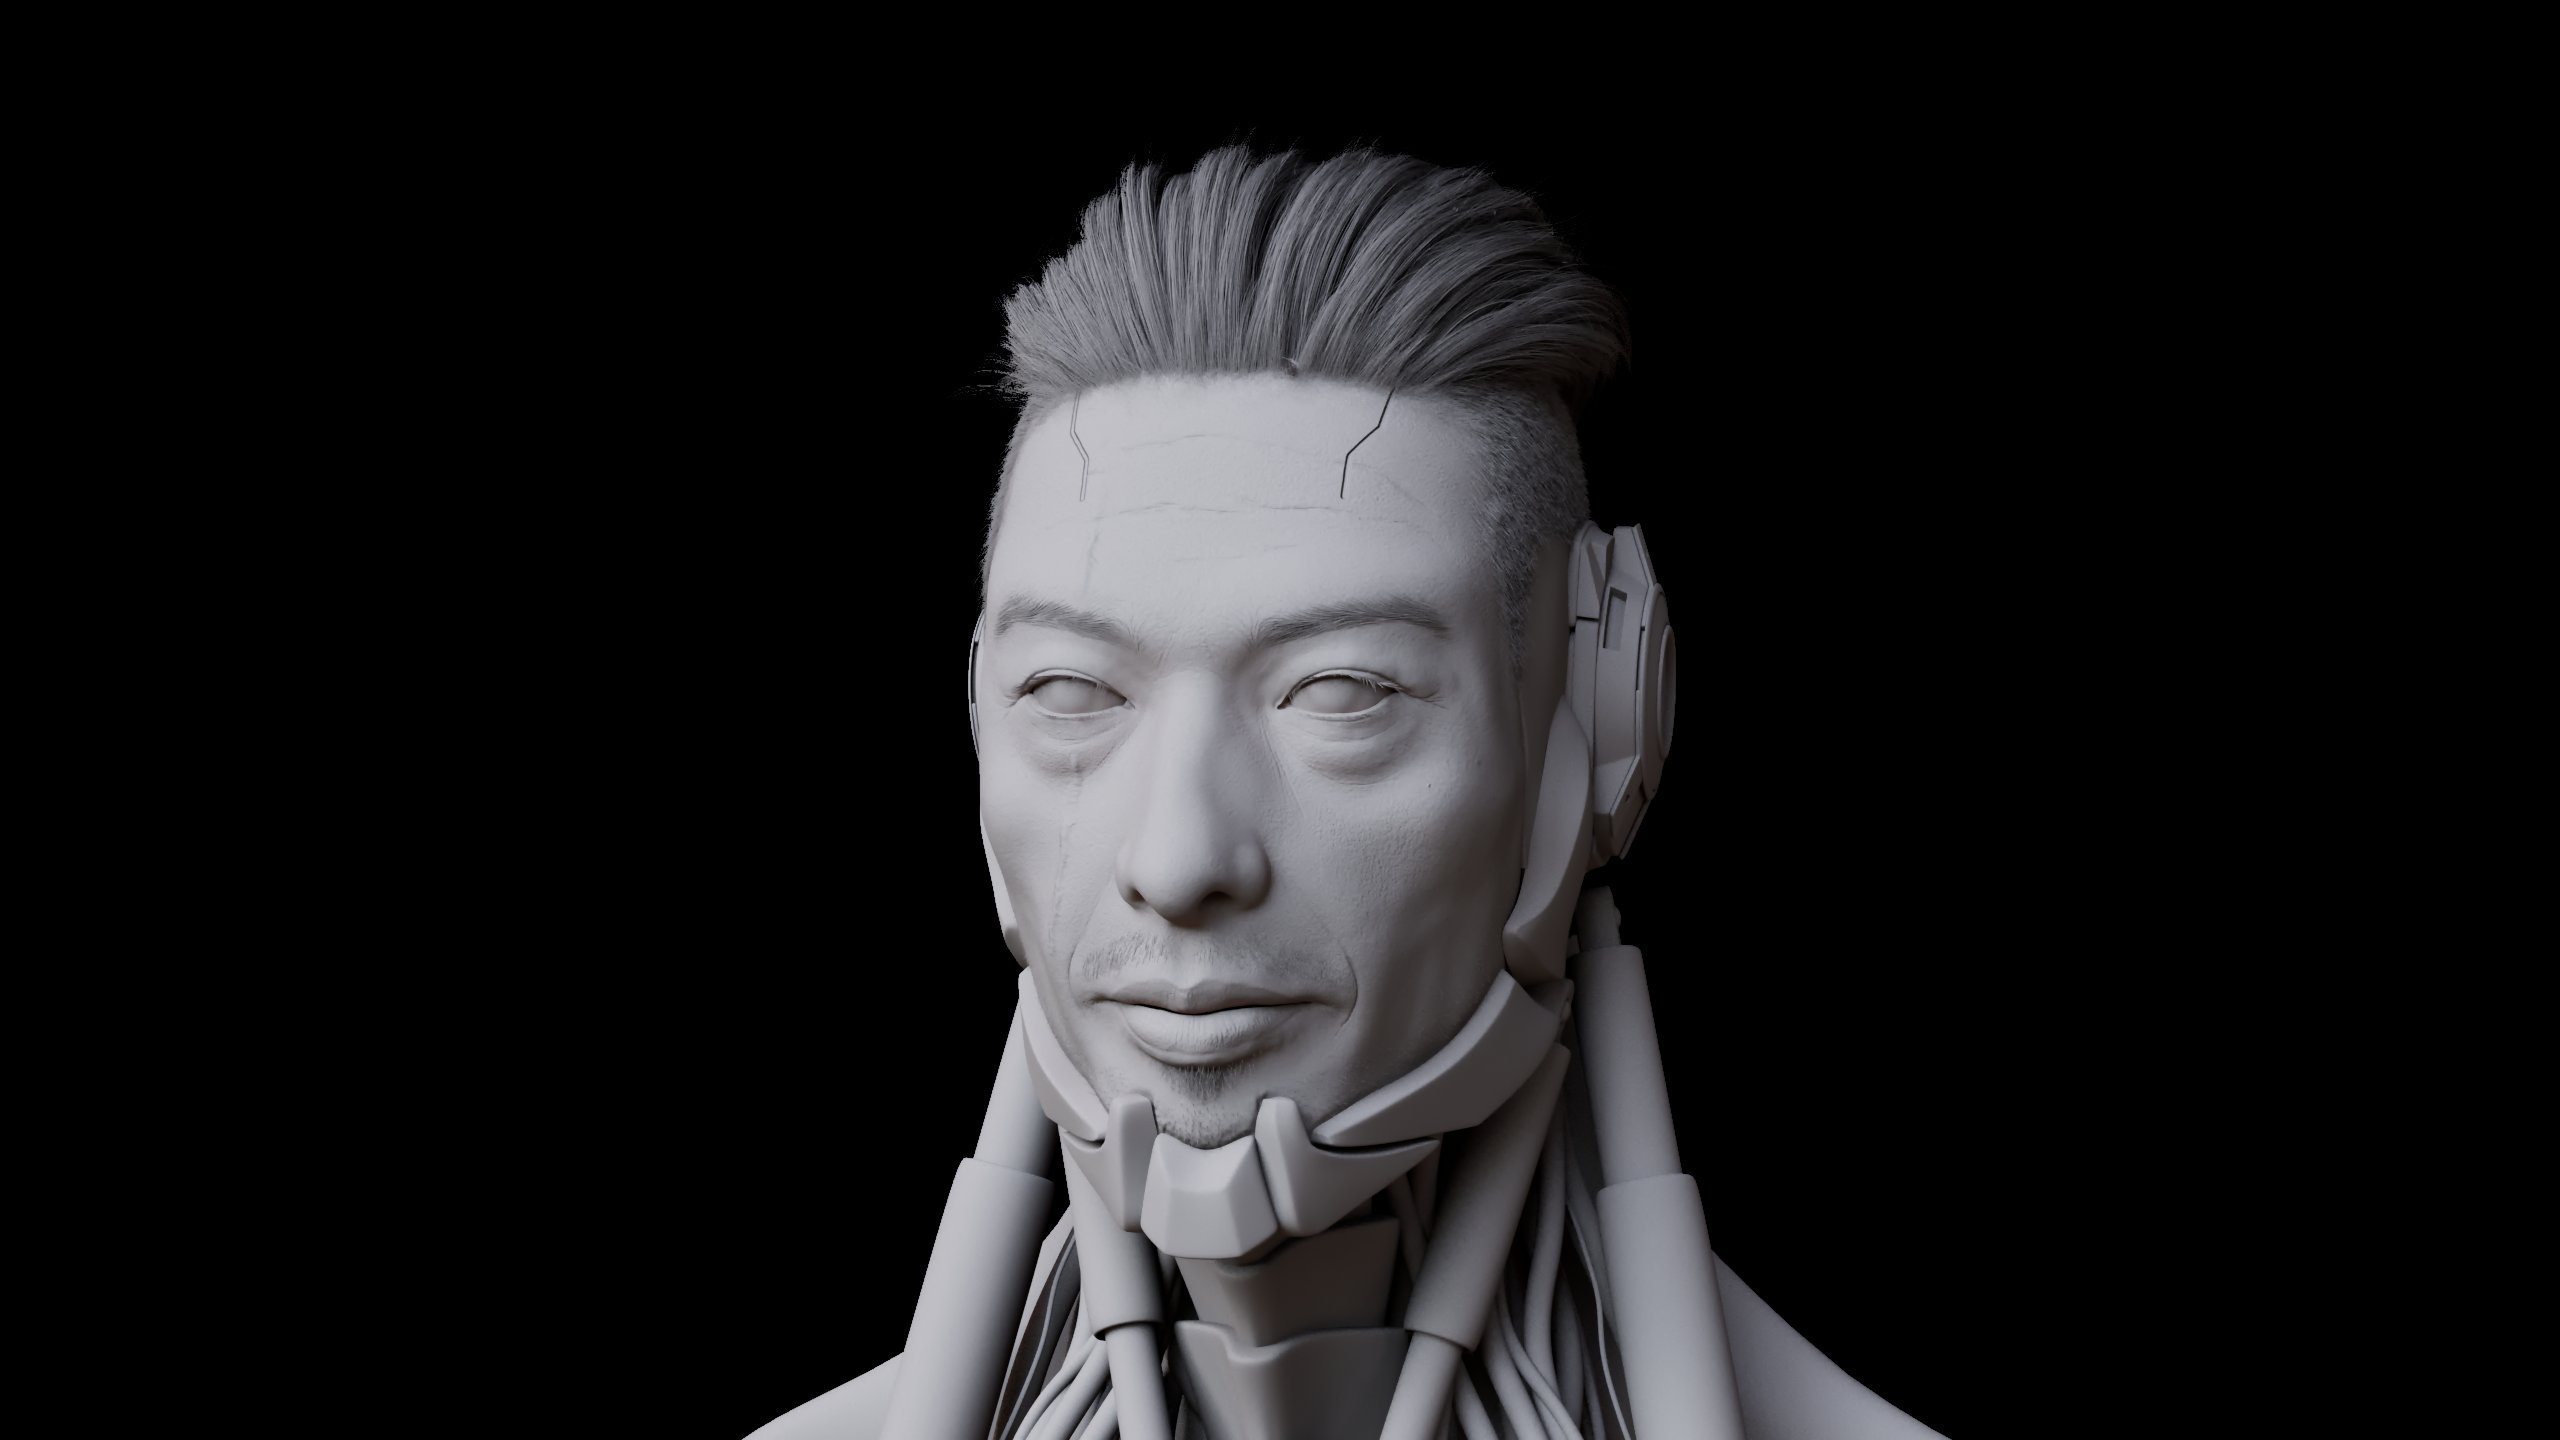
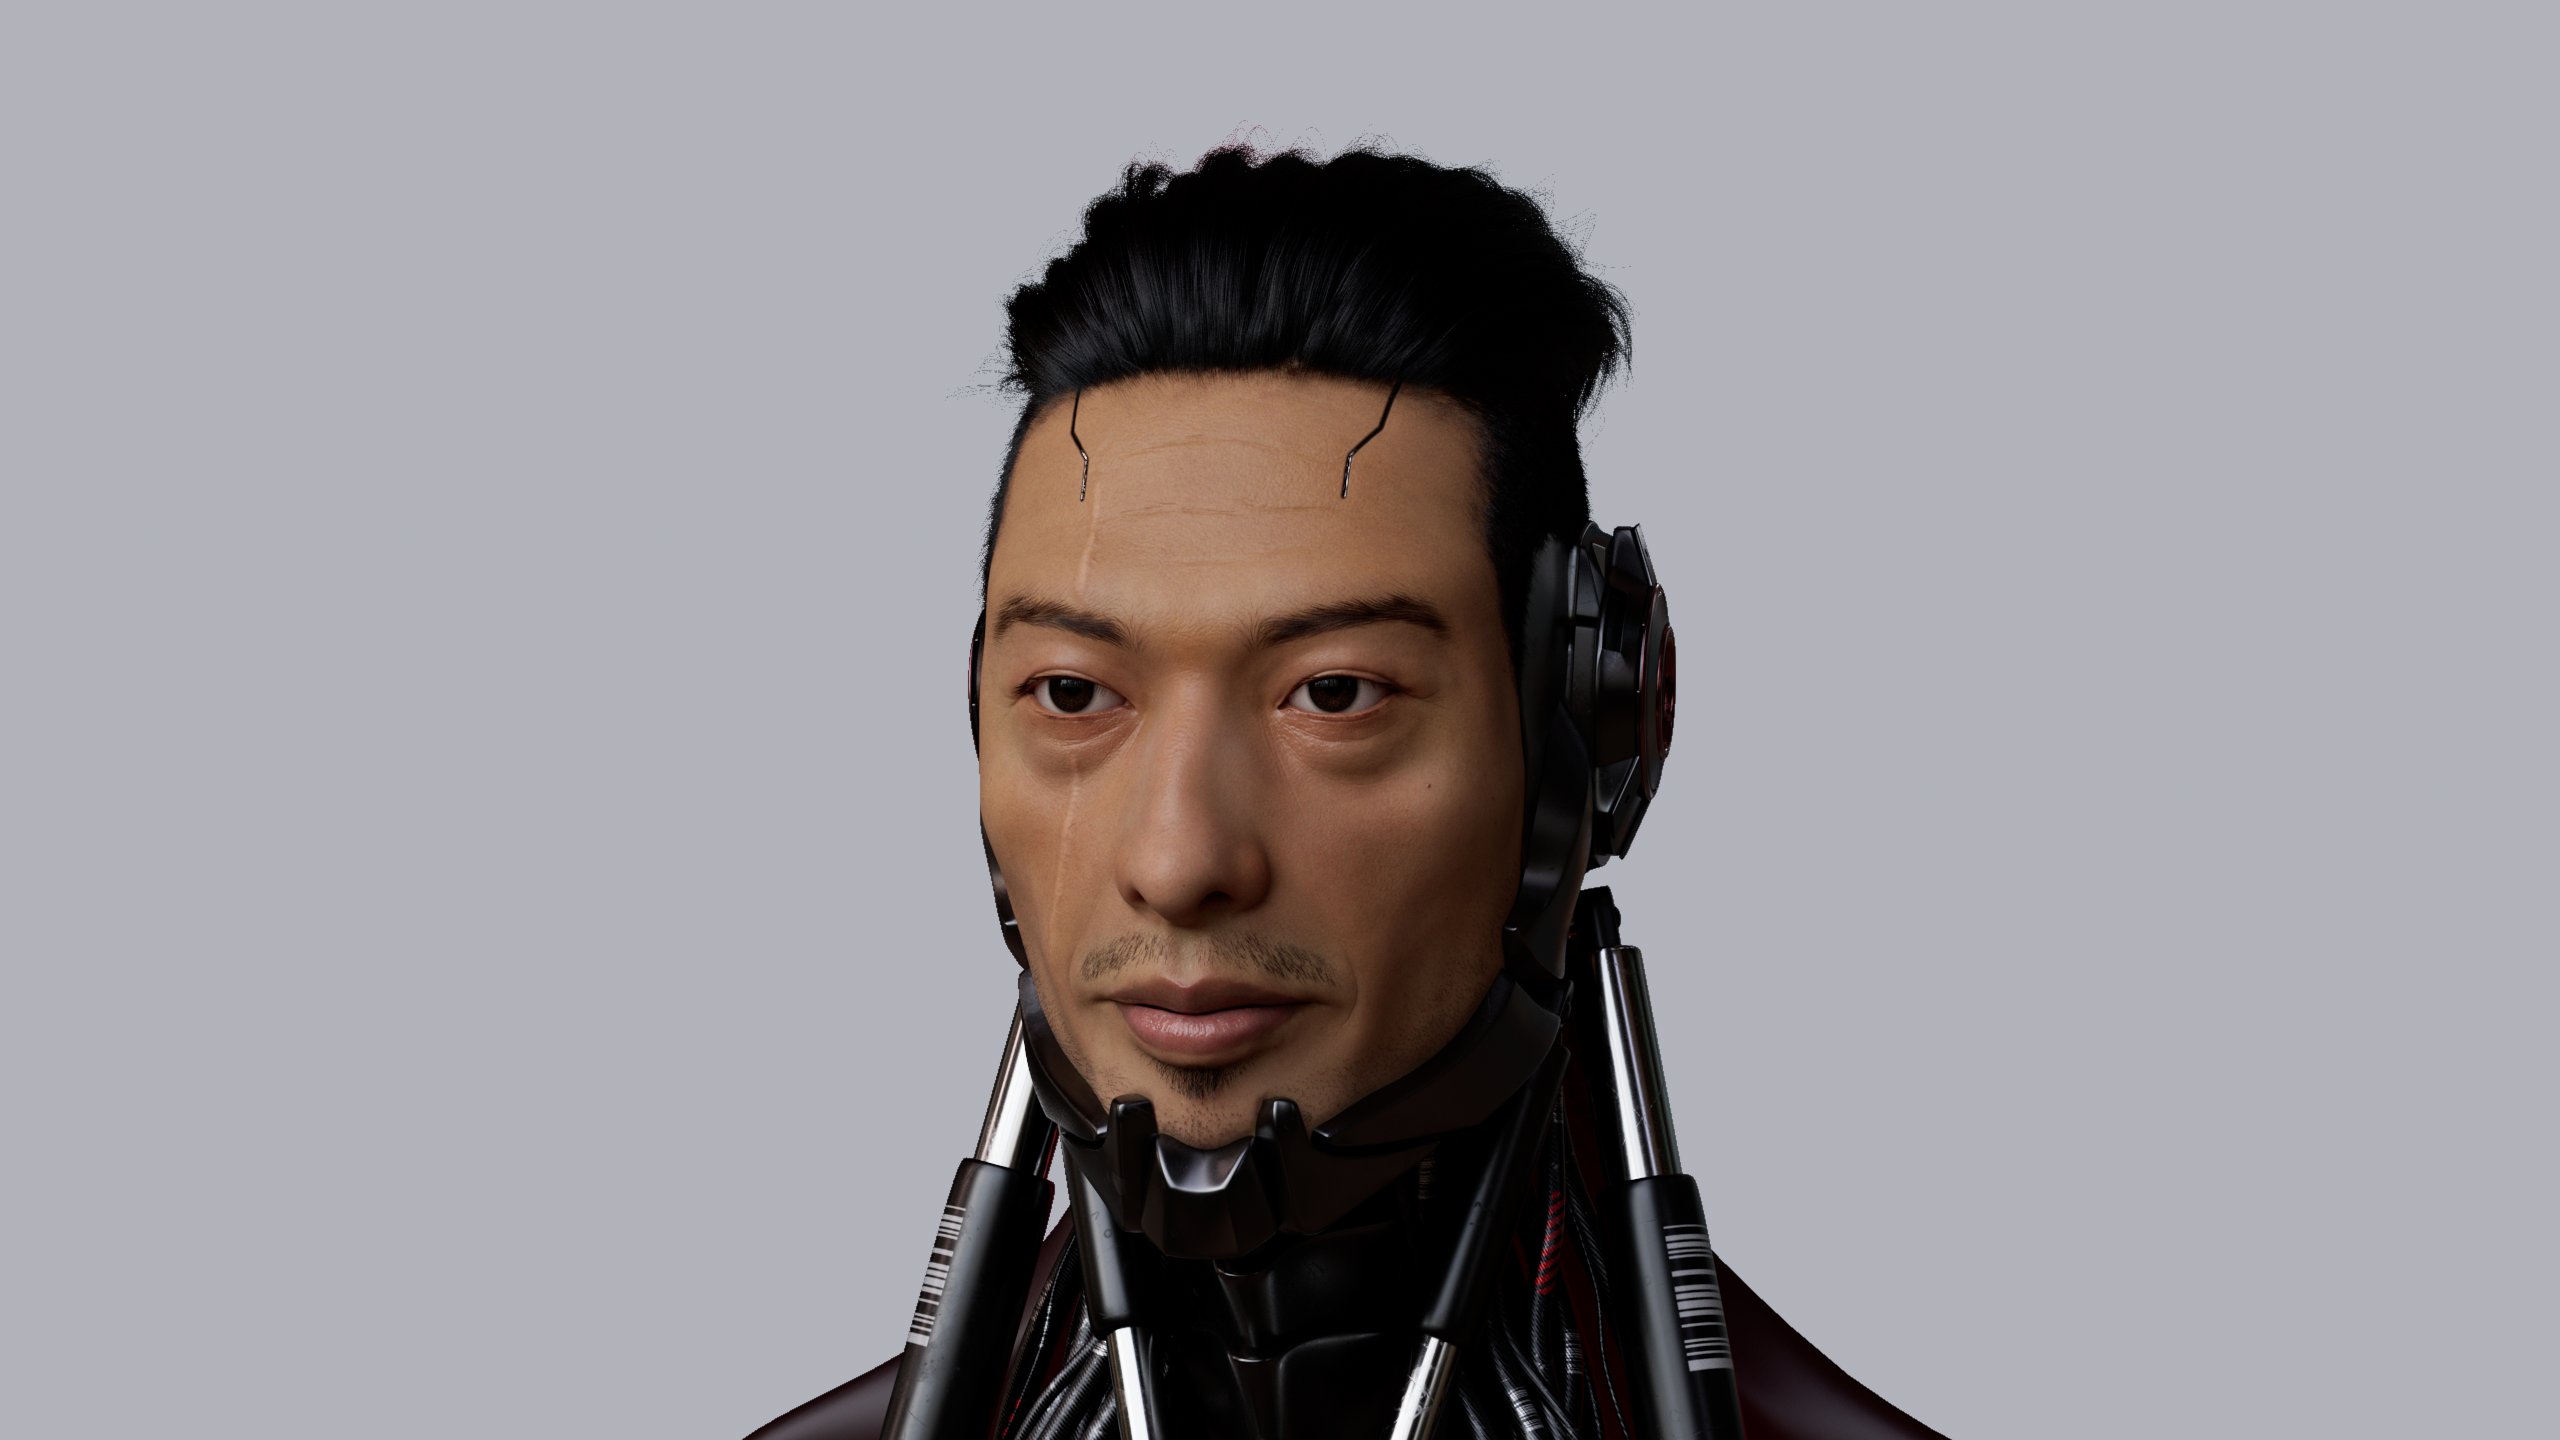
For the face, I chose Hiroyuki Sanada as my main reference. Since I aimed to sculpt for only 4 days, I incorporated some of his facial features without aiming for an exact likeness.
Initially, I used a bust I created early in my studies as a base. However, being my first try at a realistic human head, it still had a lot of flaws. However, it granted me a valuable perspective on my progression and improvement over the last year.


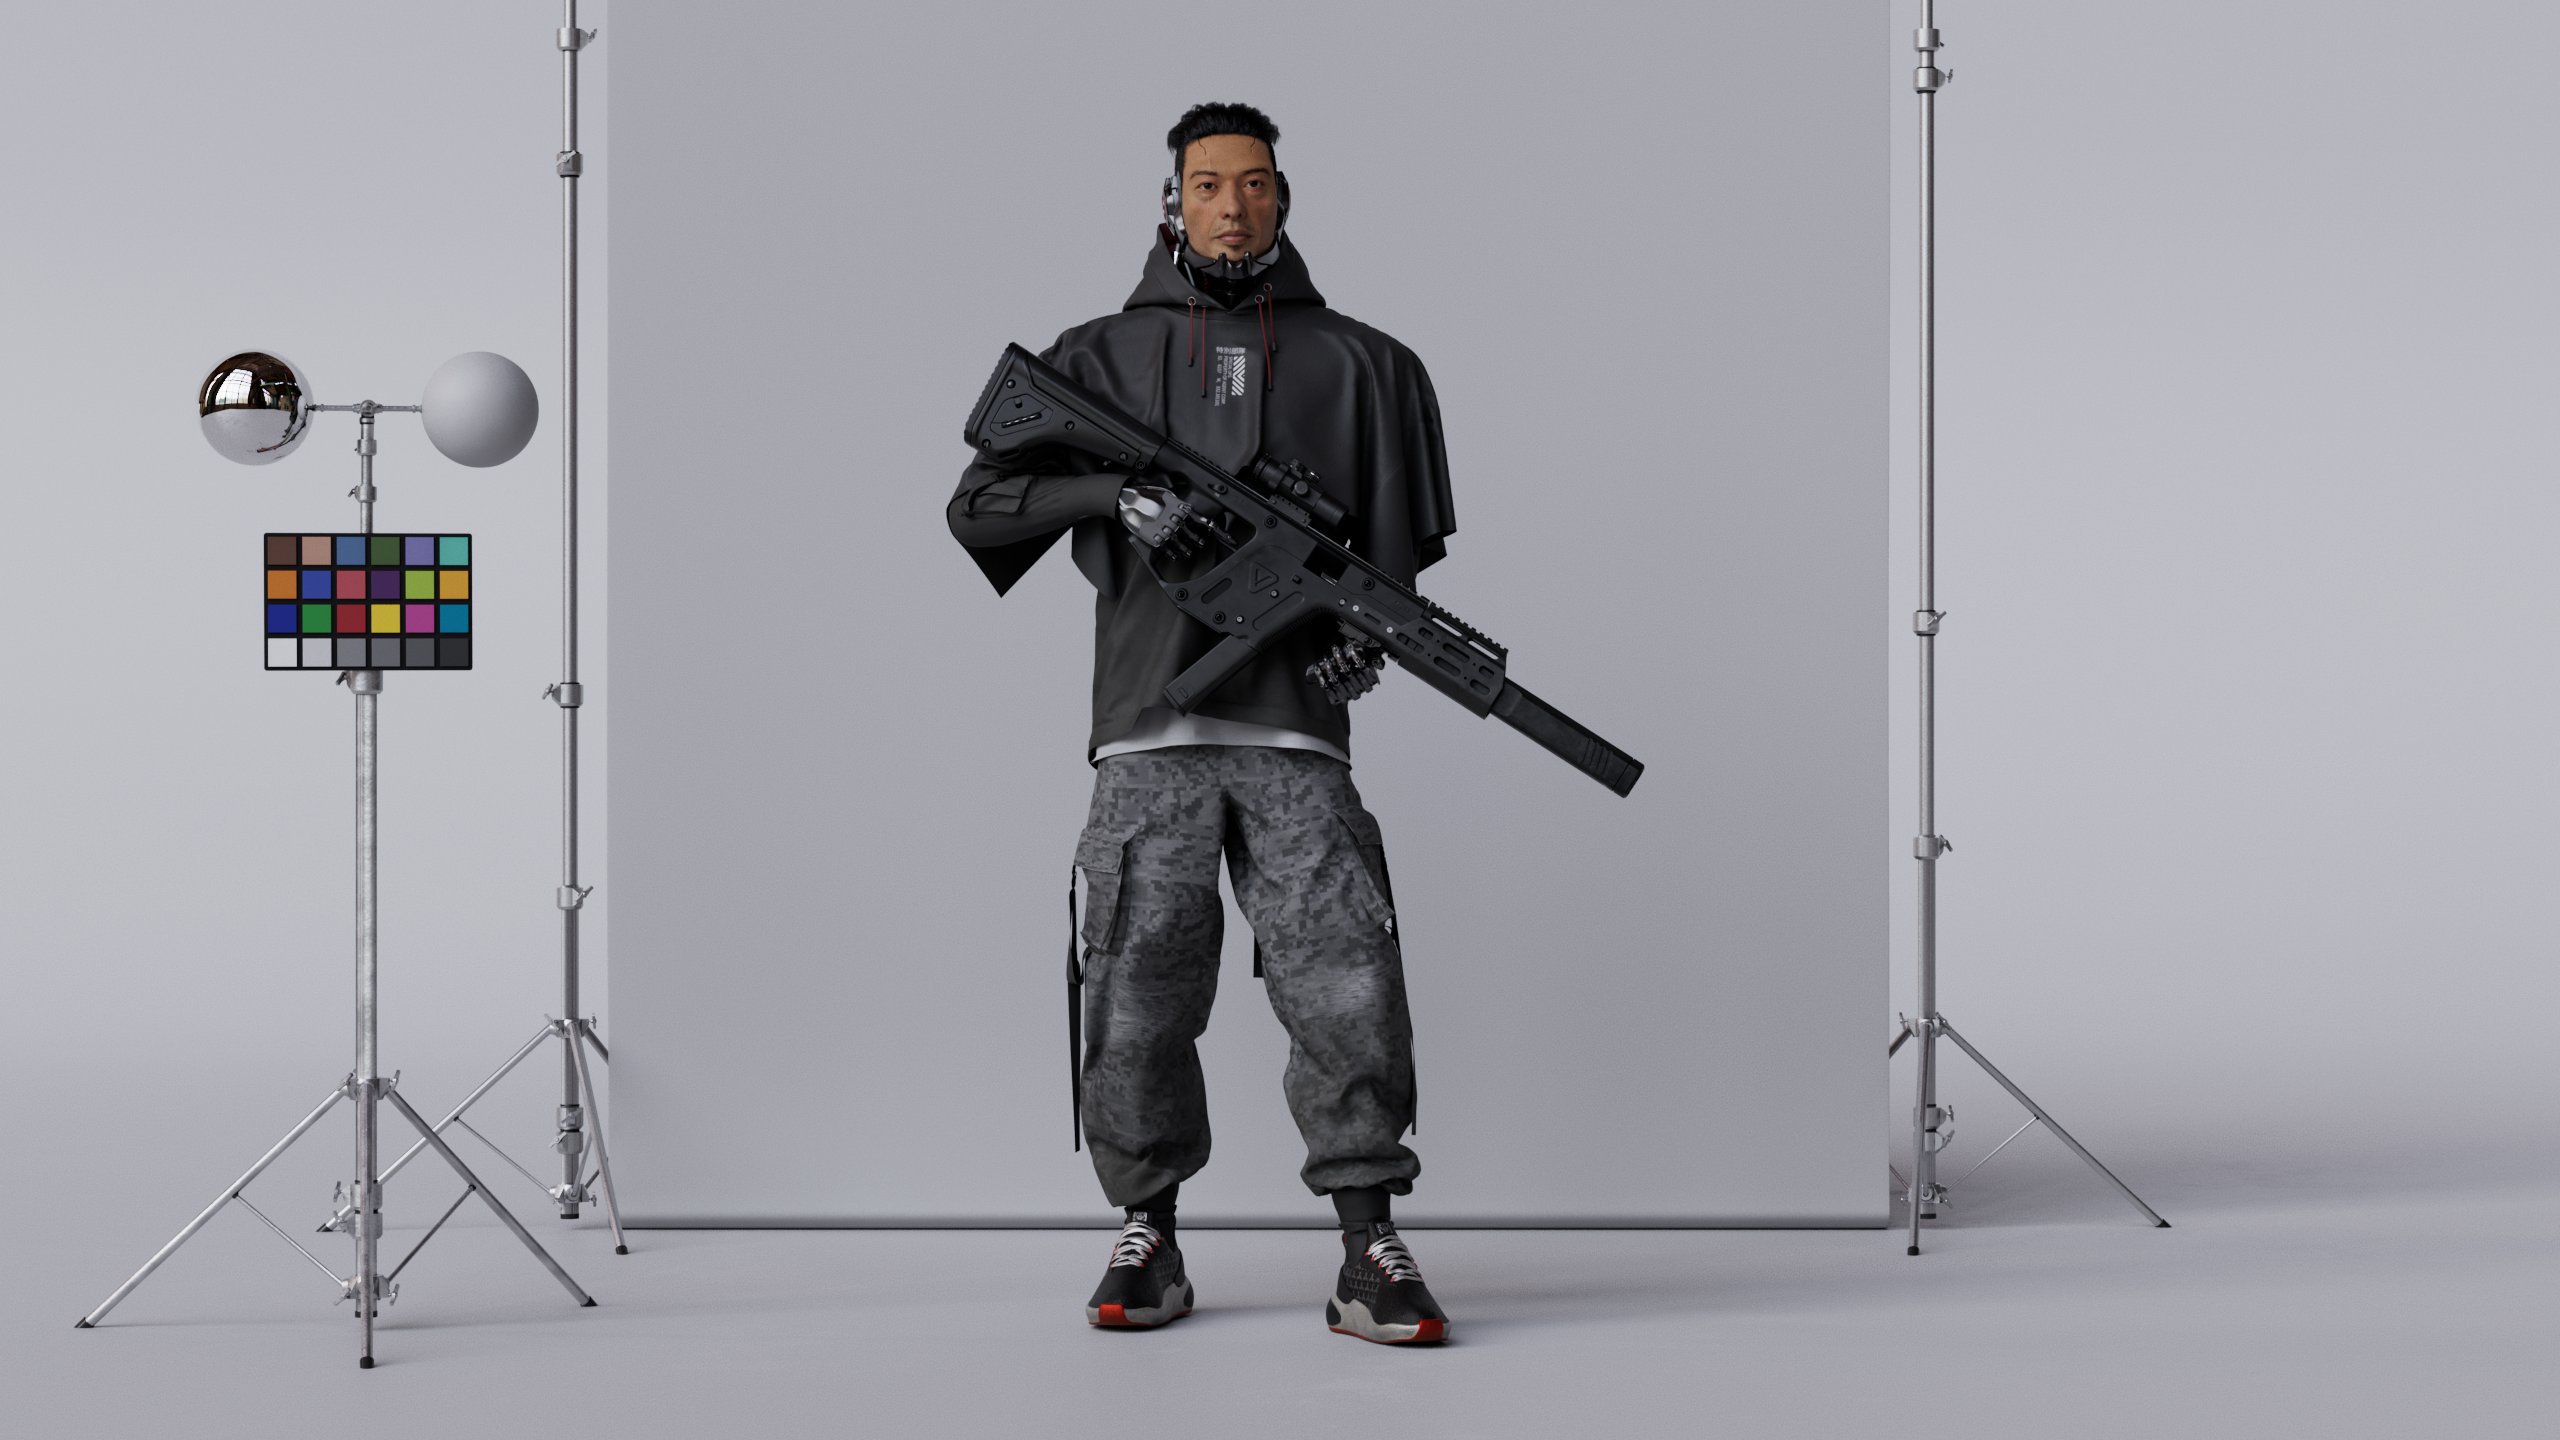
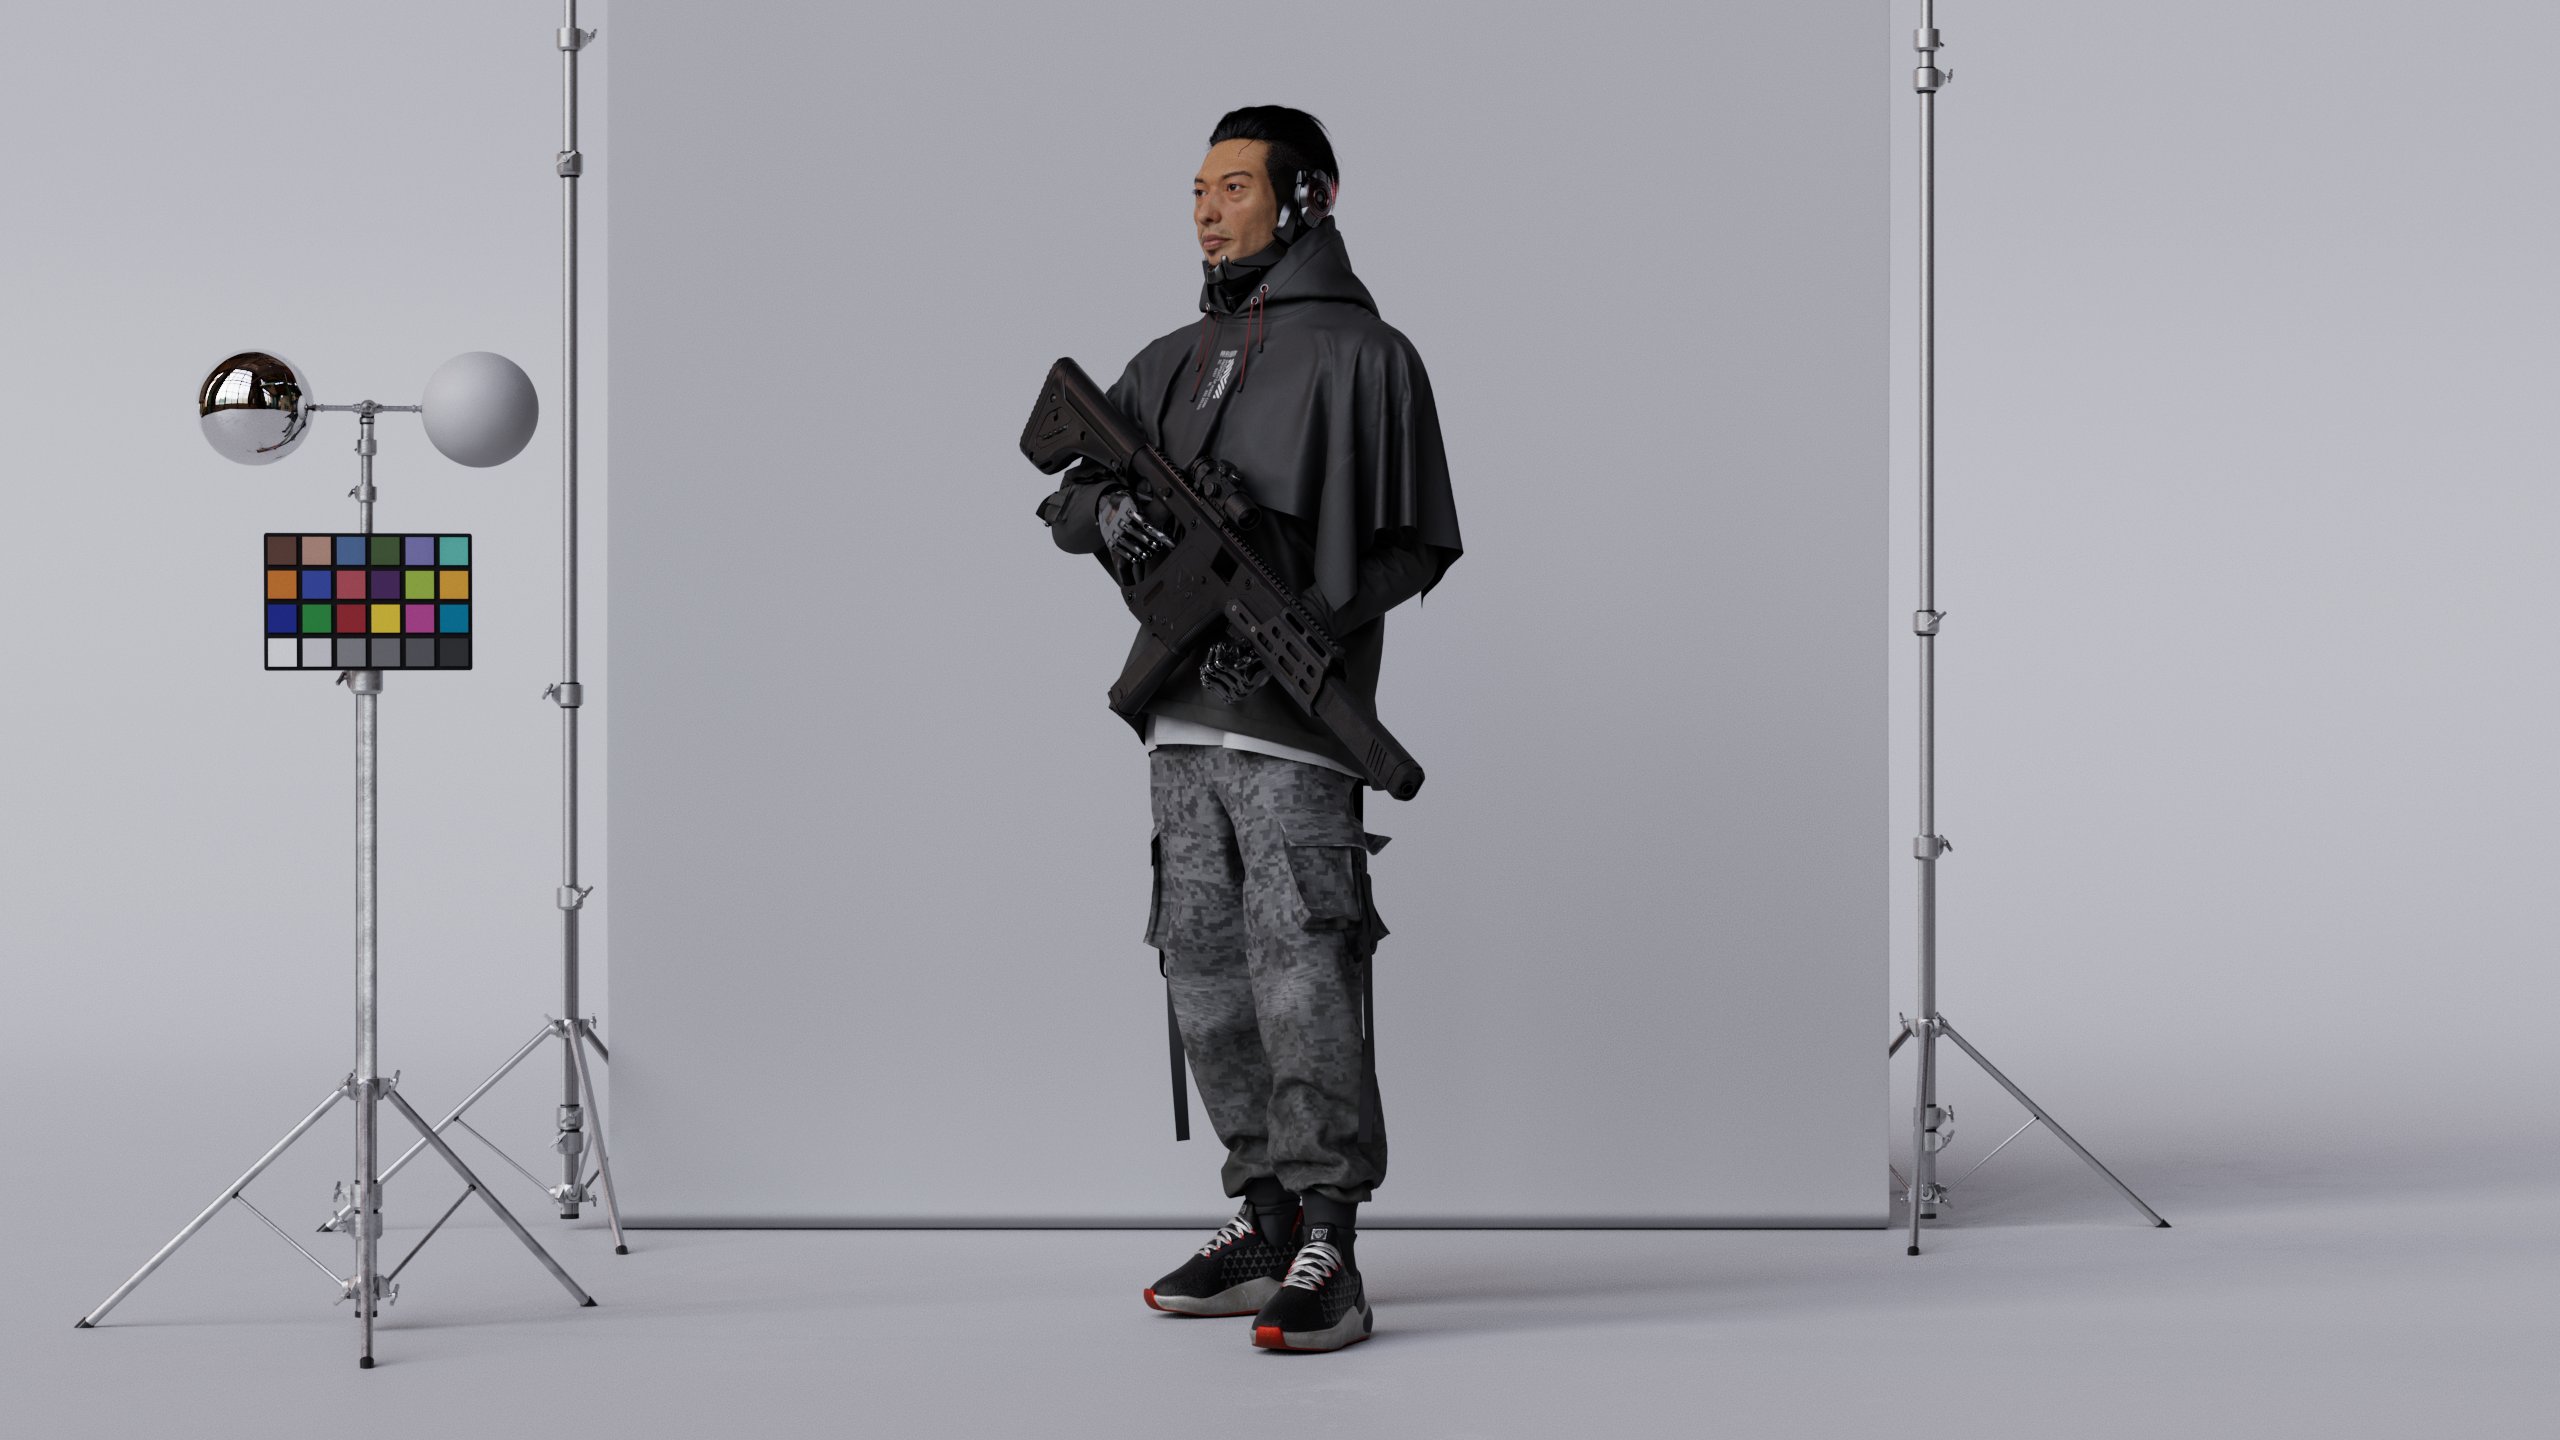
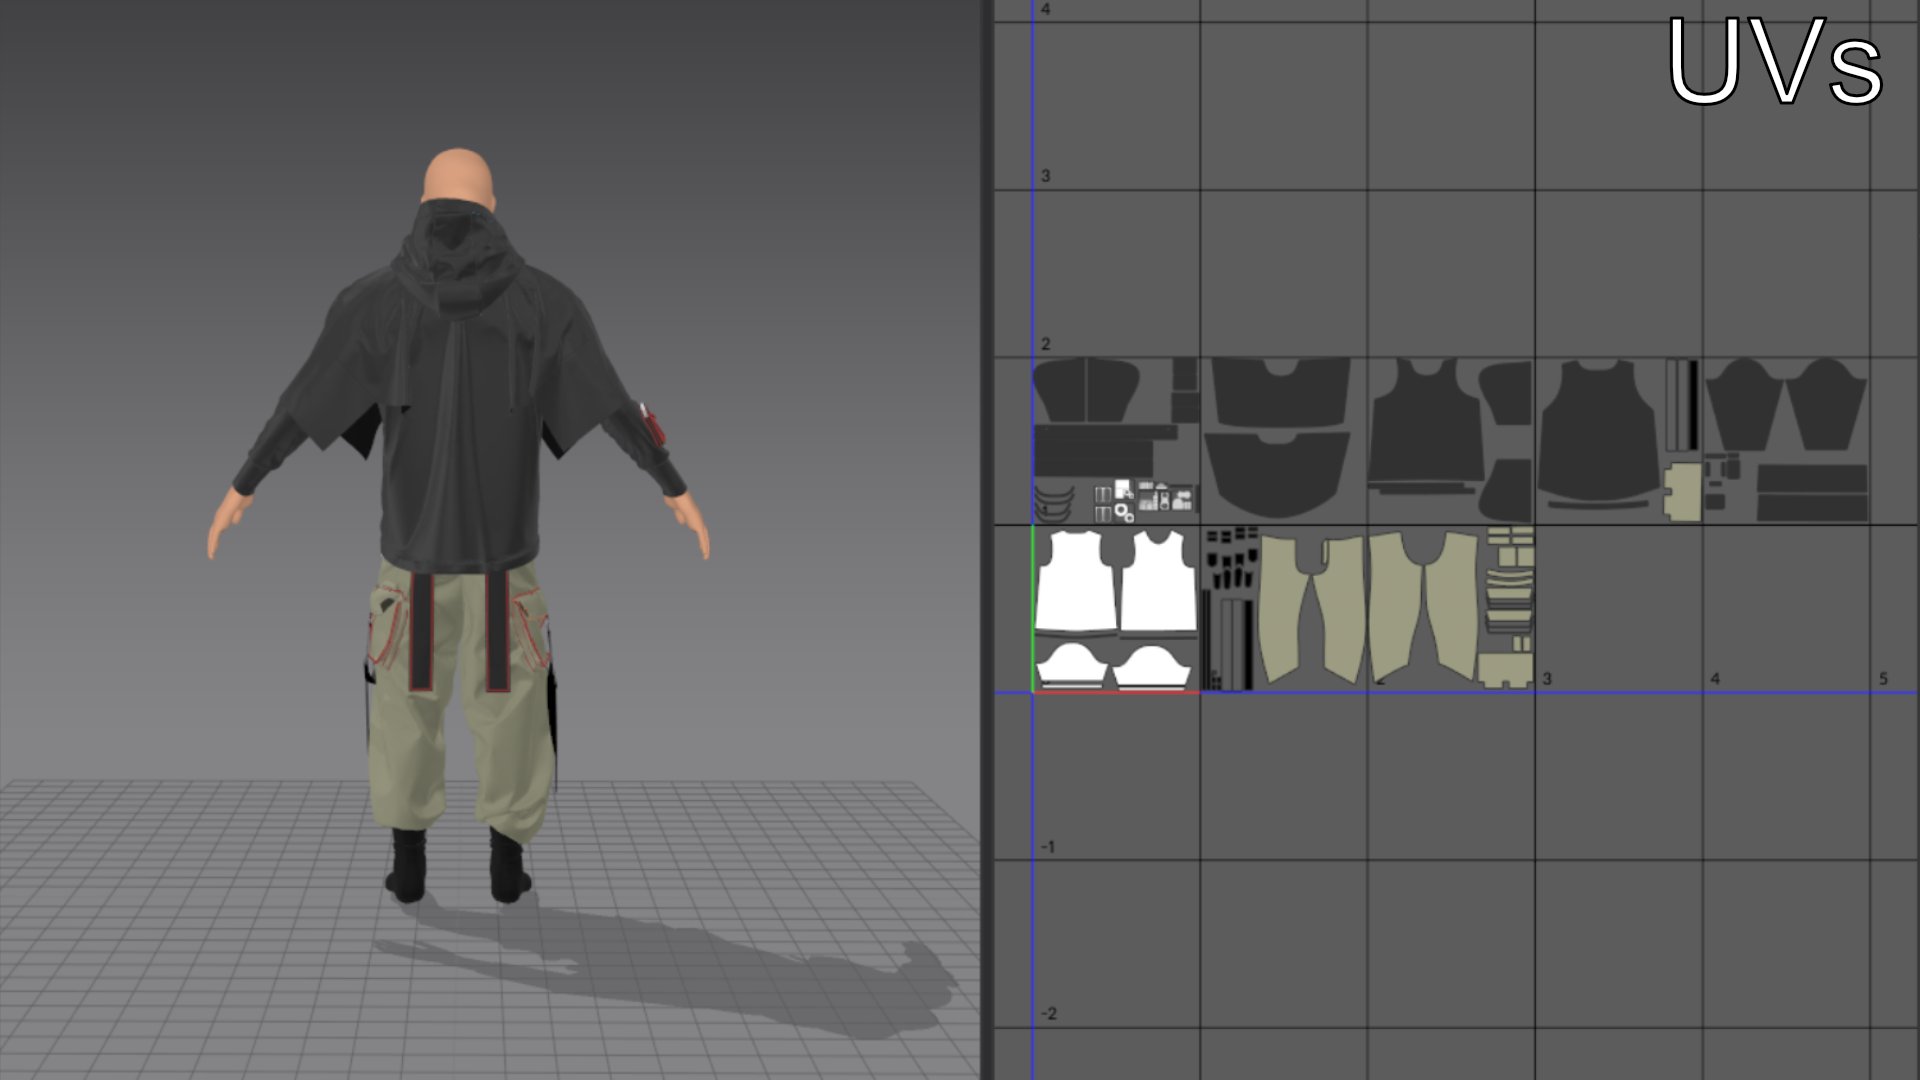
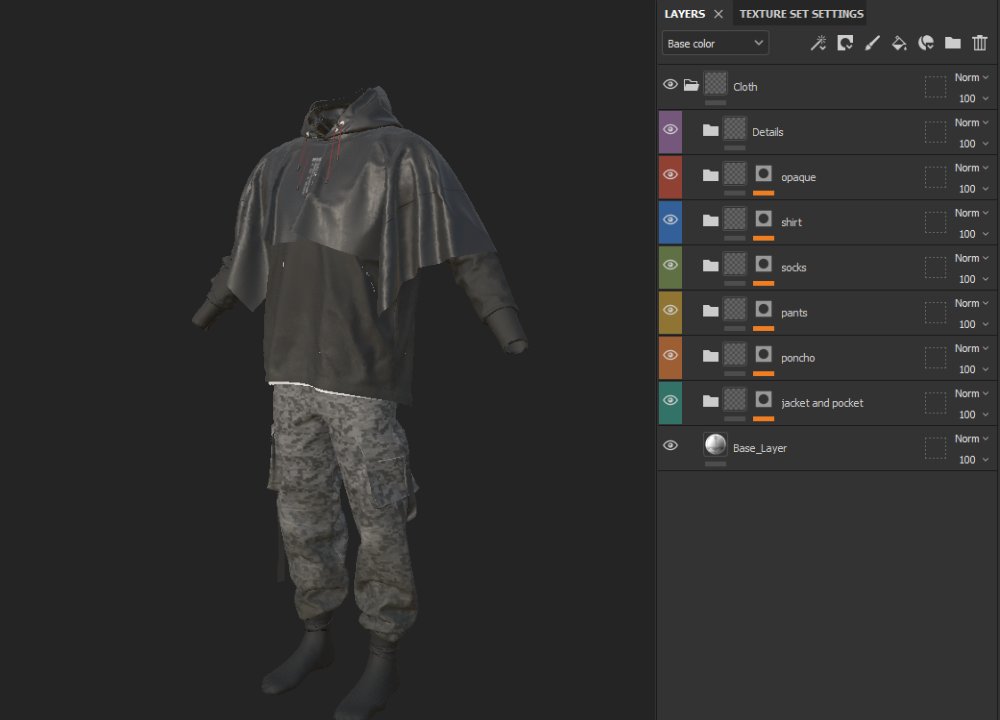
For the clothes of this character, I opted for a futuristic techwear look.
I aimed for a blend of functionality, comfort, and futuristic flair in fashion.
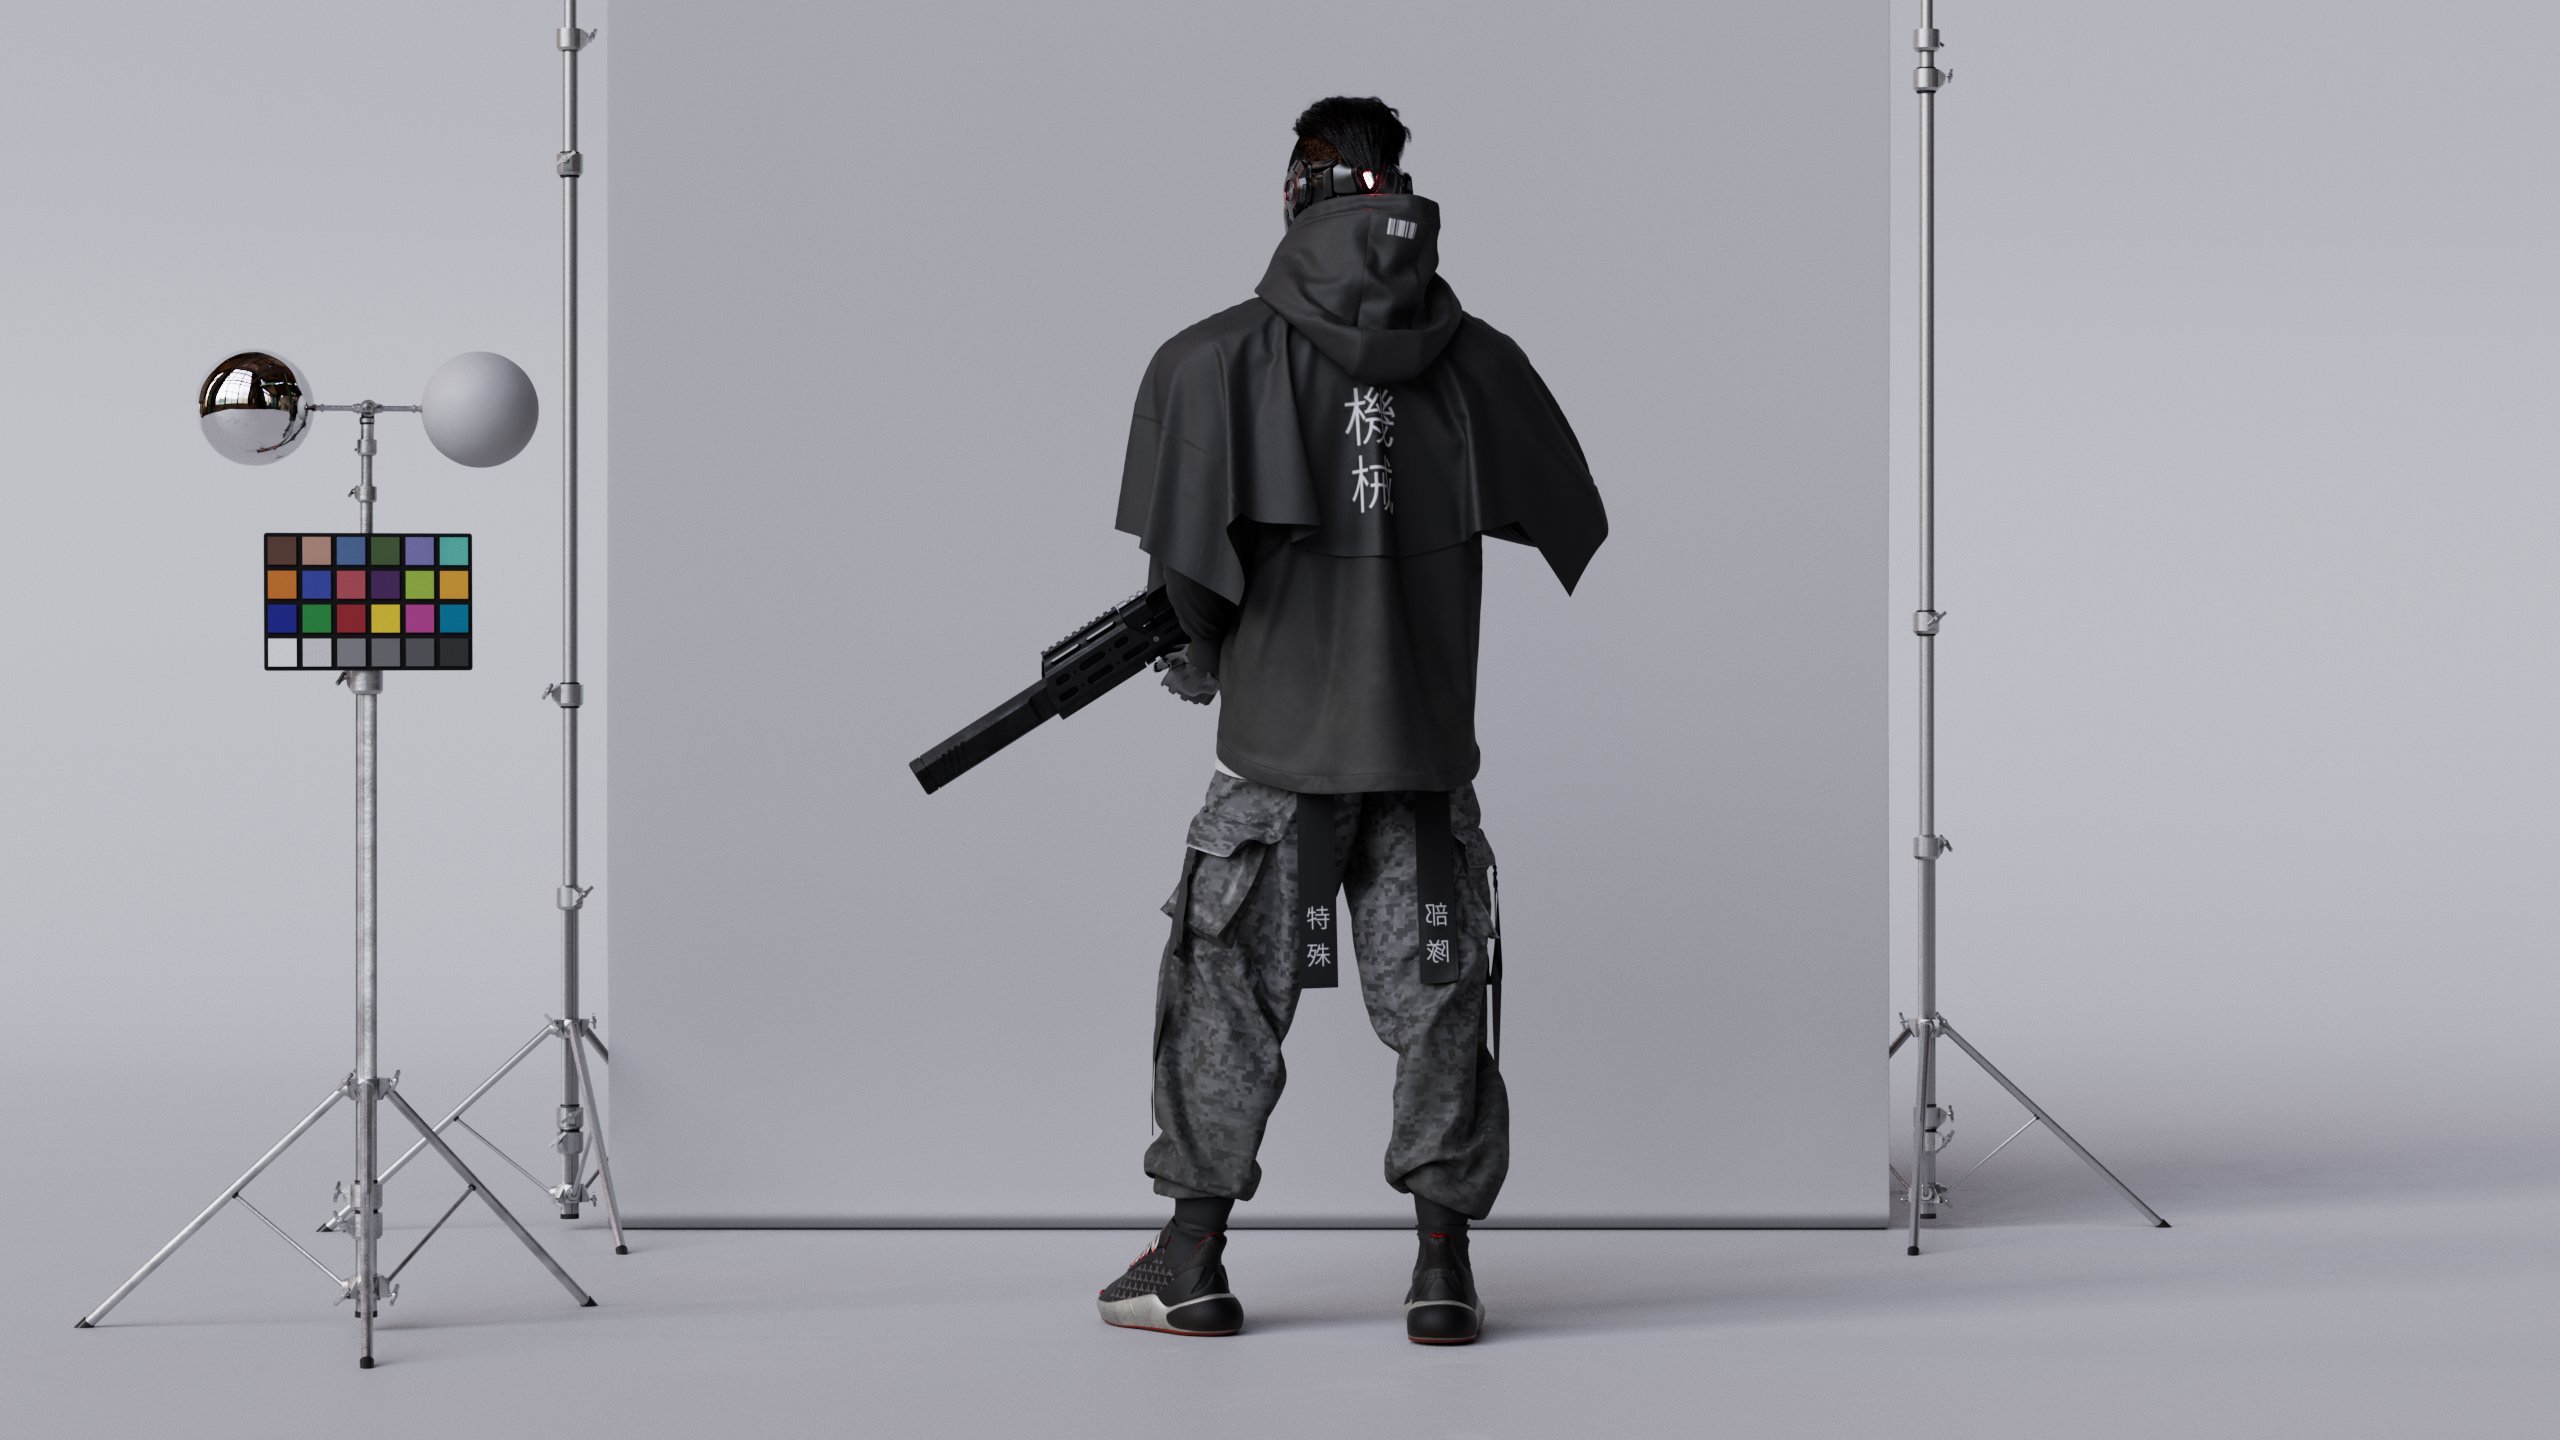
Therefore, I chose oversized cargo pants and this Poncho-like Jacket as my main reference.
I also added additional hanging straps to emphasize the futuristic vibe.

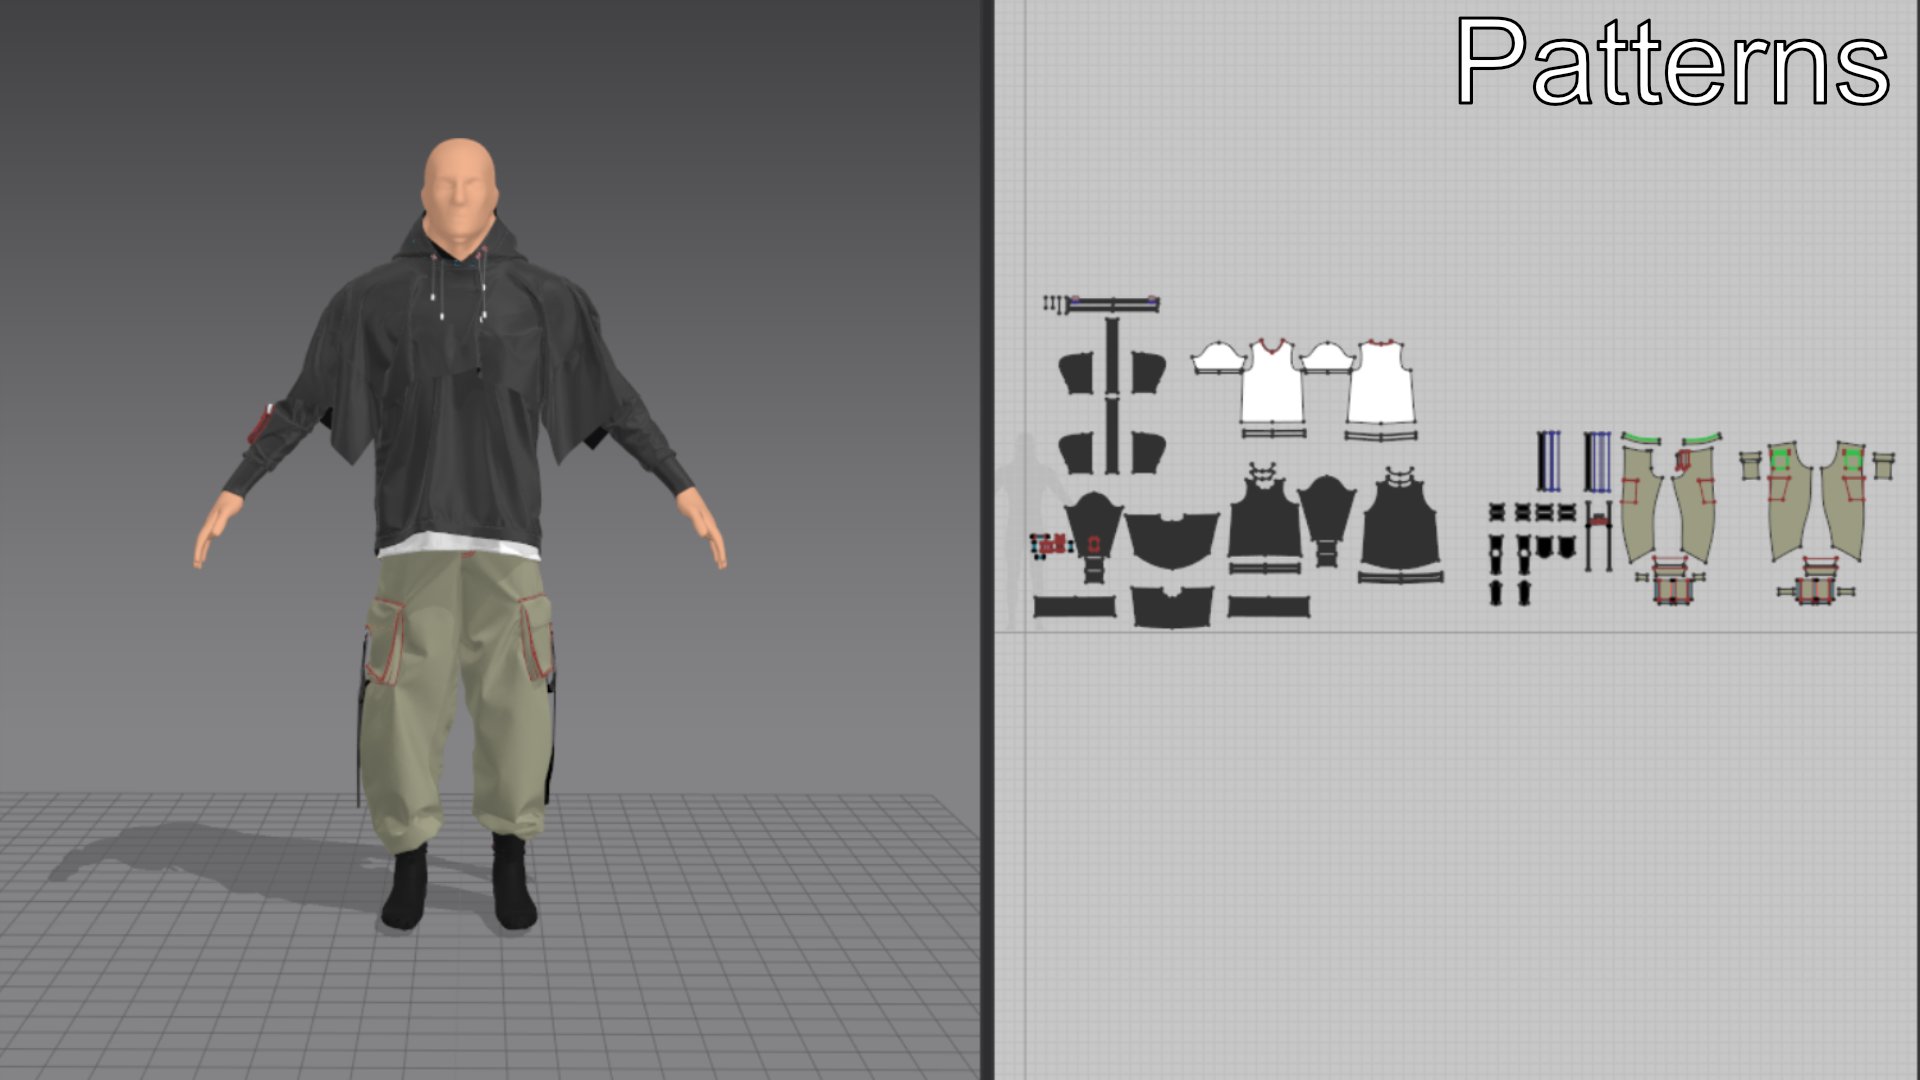
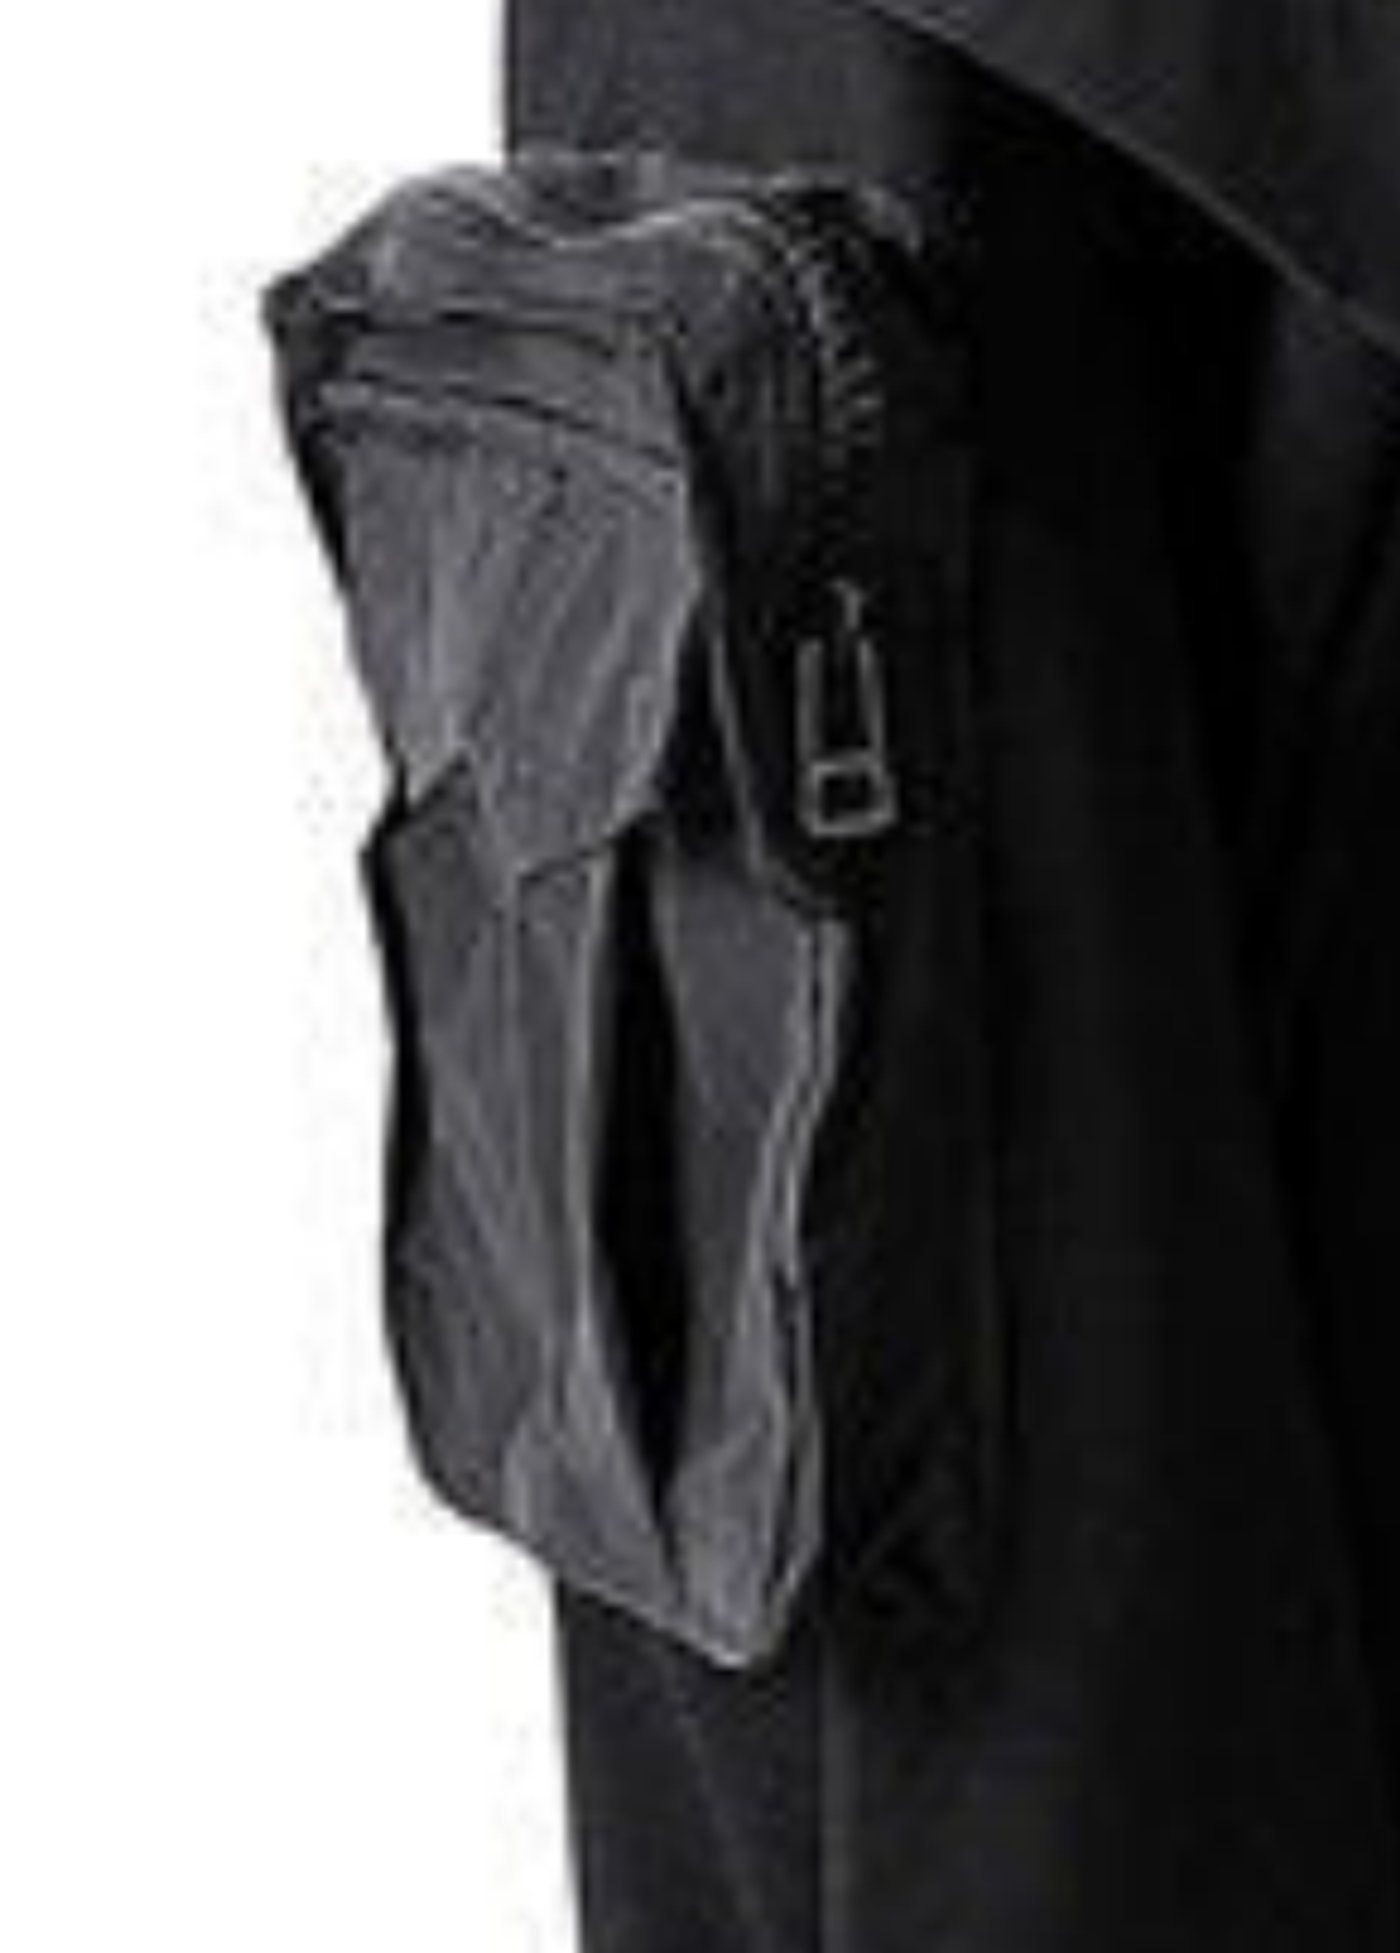
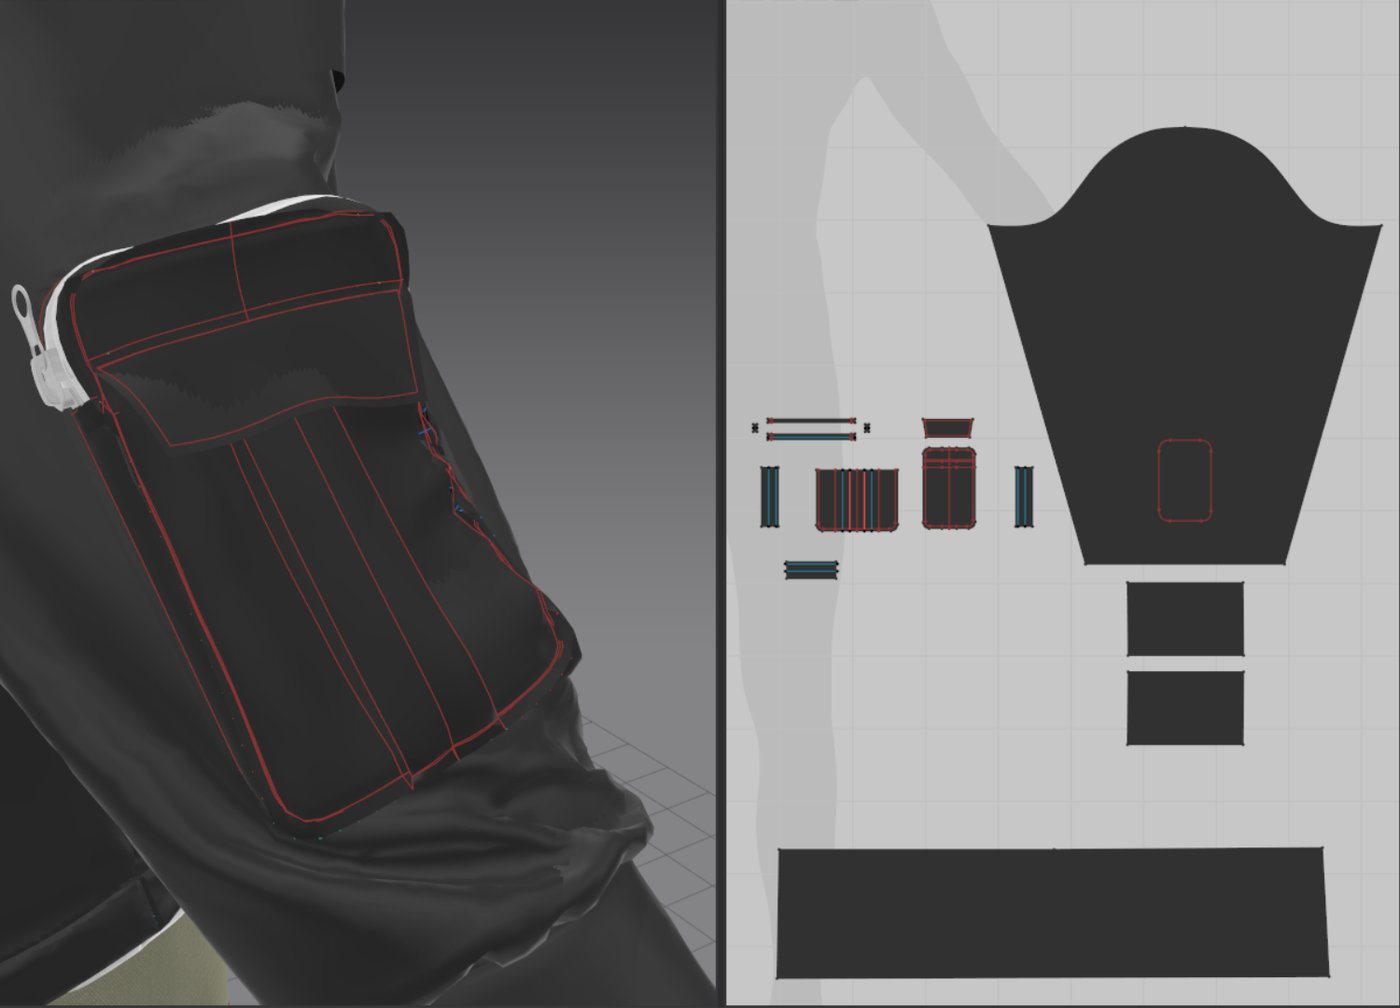
One of the trickier sections was the small cargo pocket on the right arm of the poncho jacket. It consists of a main pocket with a zipper and a smaller pocket on the outside. I began by creating the larger pocket, followed by adding the zipper, and then layered on the smaller pocket.
Texturing Breakdown
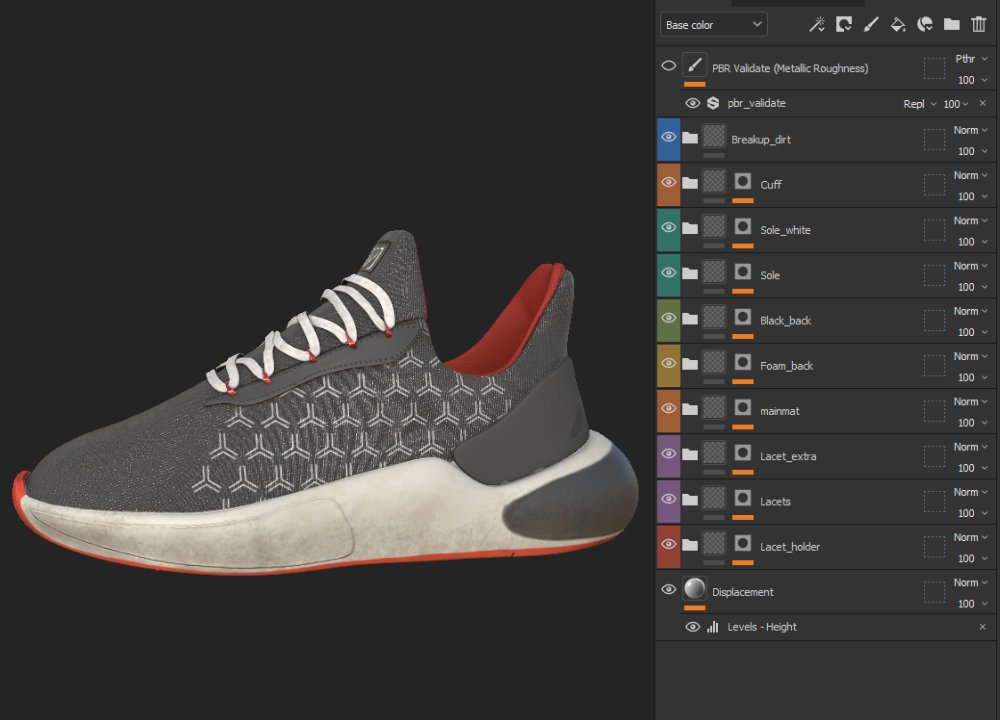
For the clothes and shoes, I decided to texture in Substance Painter. Throughout the process, I ensured to periodically check the PBR Validate Material, as it maintained consistency and realism in my textures.
The pre-existing masks and alphas provided by SP assisted me in achieving good results within a reasonable timeframe.
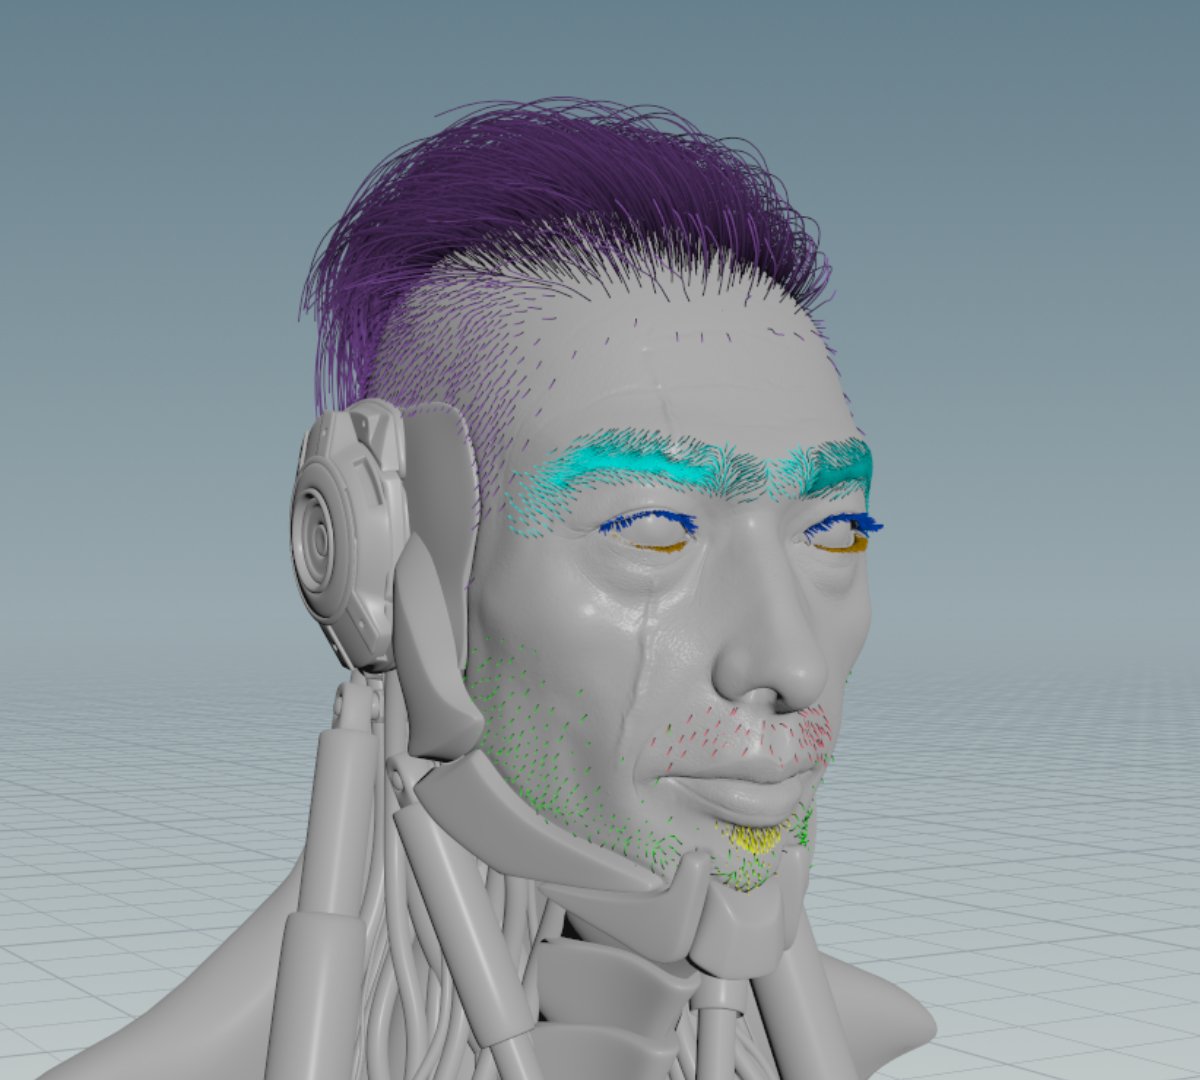
Groom Breakdown
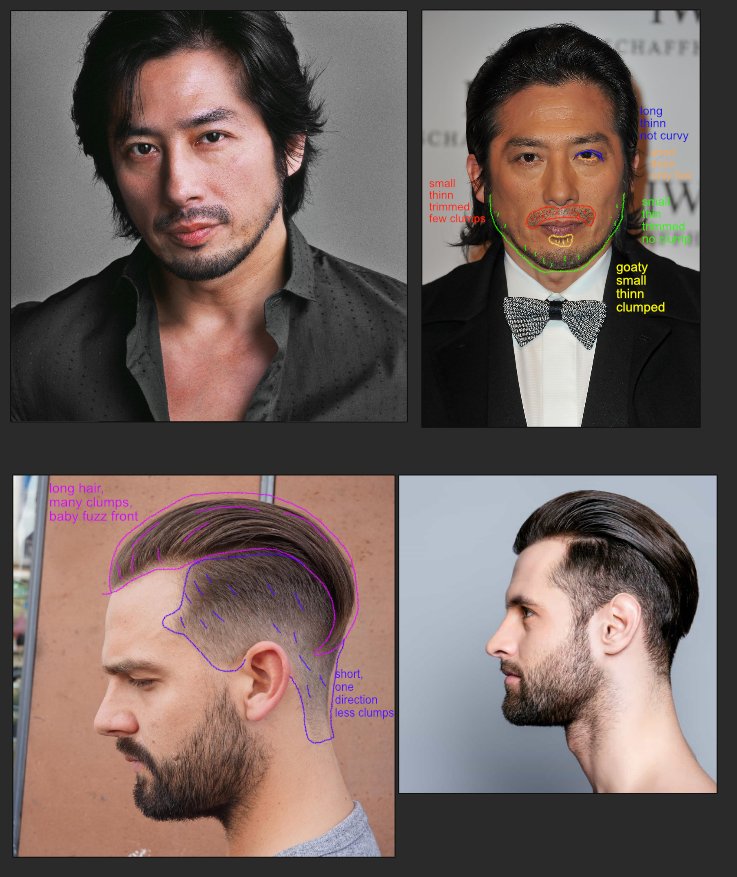
I decided on a long hair undercut style featuring dense, sturdy hair, mirroring the natural look of Asian hair. Drawing inspiration from Hiroyuki Sanada, I added facial hair. Since I replaced the chin line with hard-surface pieces, I kept the beard groom minimal, considering surgical replacement with robotic parts might reduce hair growth intensity in that area.

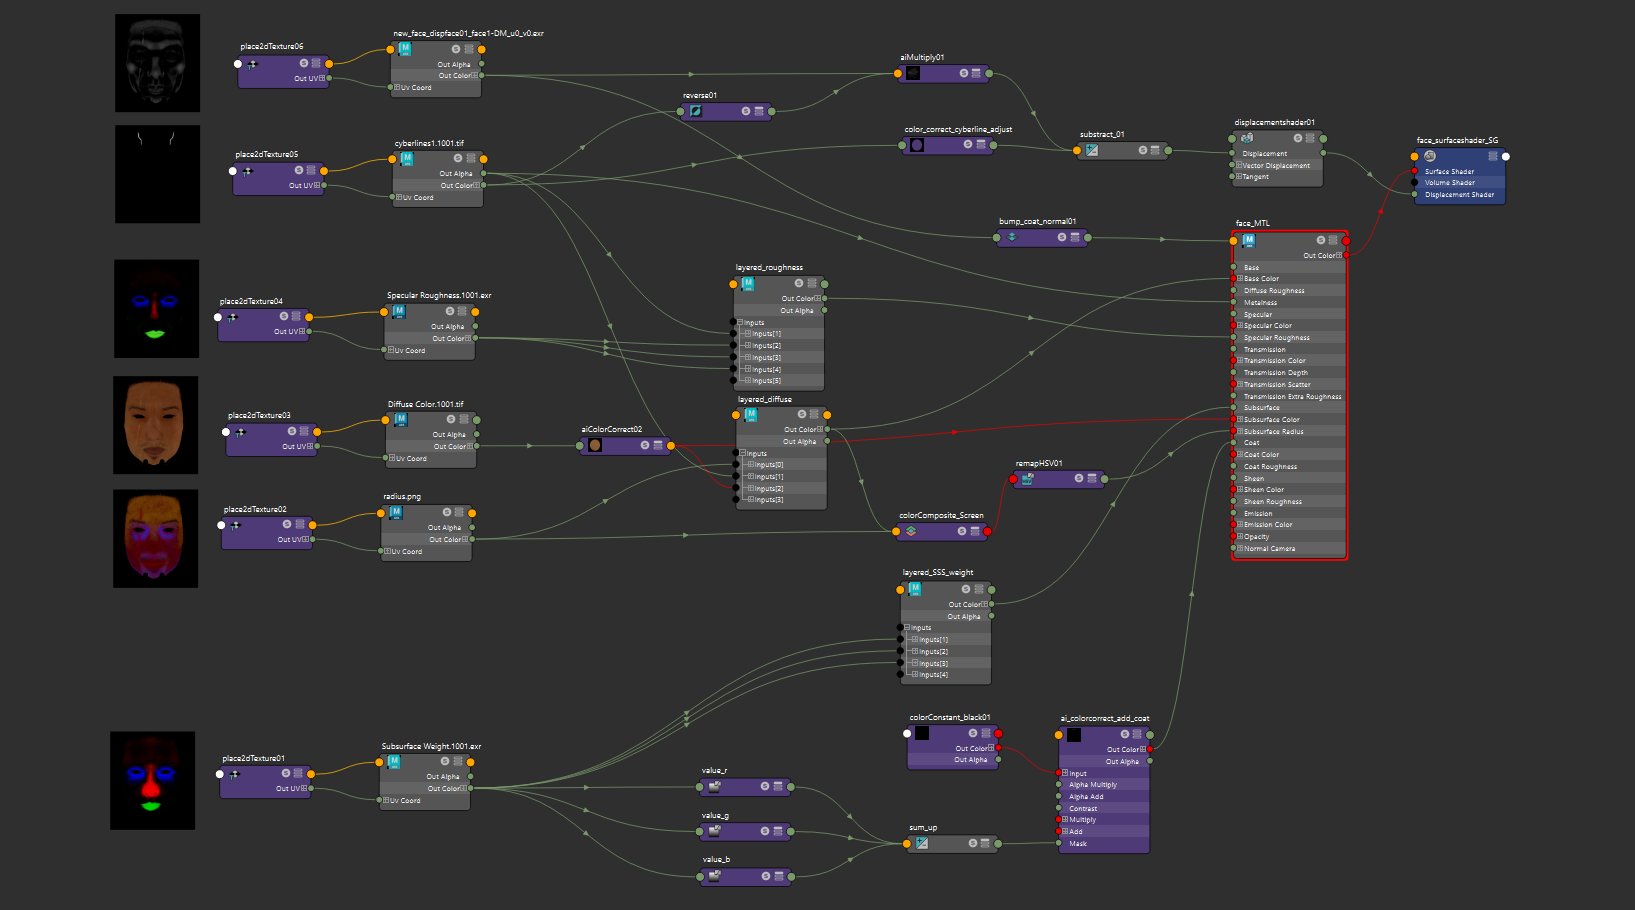
Lookdev/Shading
I kept everything as controllable as possible during the texturing process to have an easier time while shading.
To achieve this, I generated multiple masks and merged them into one map using R, G, and B channels for export. This approach saved storage space and resulted in faster reading times.

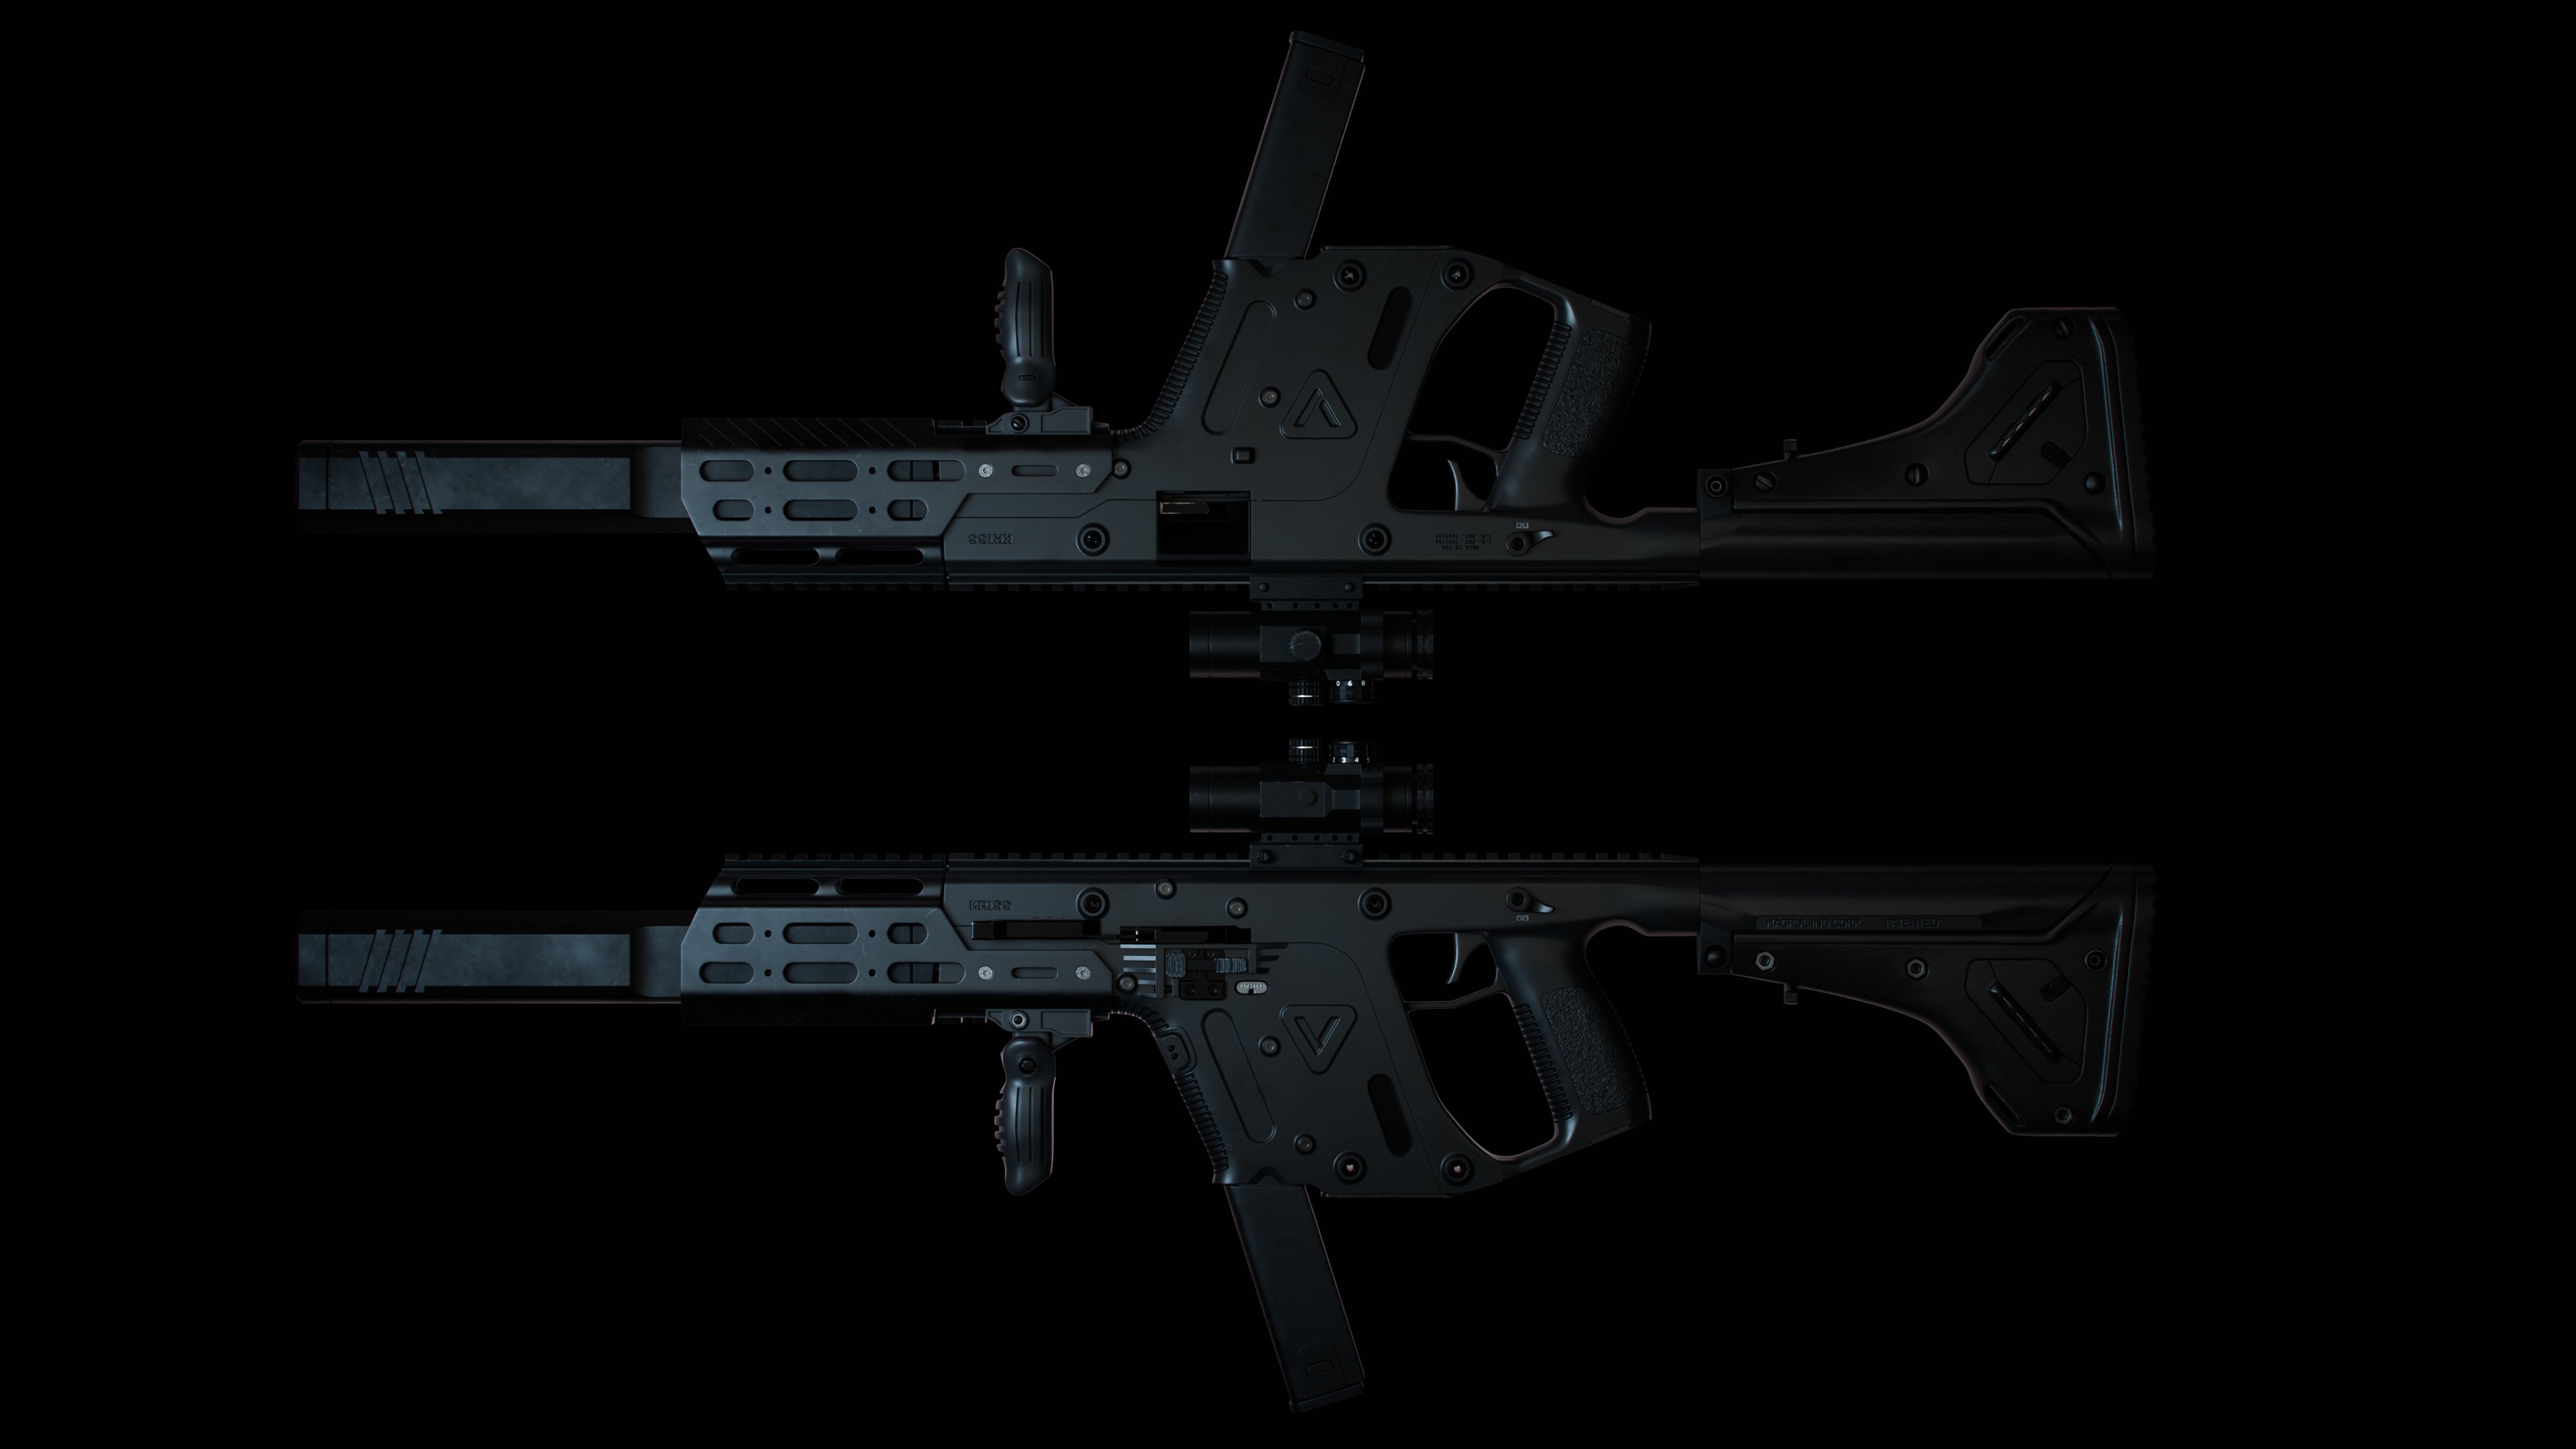
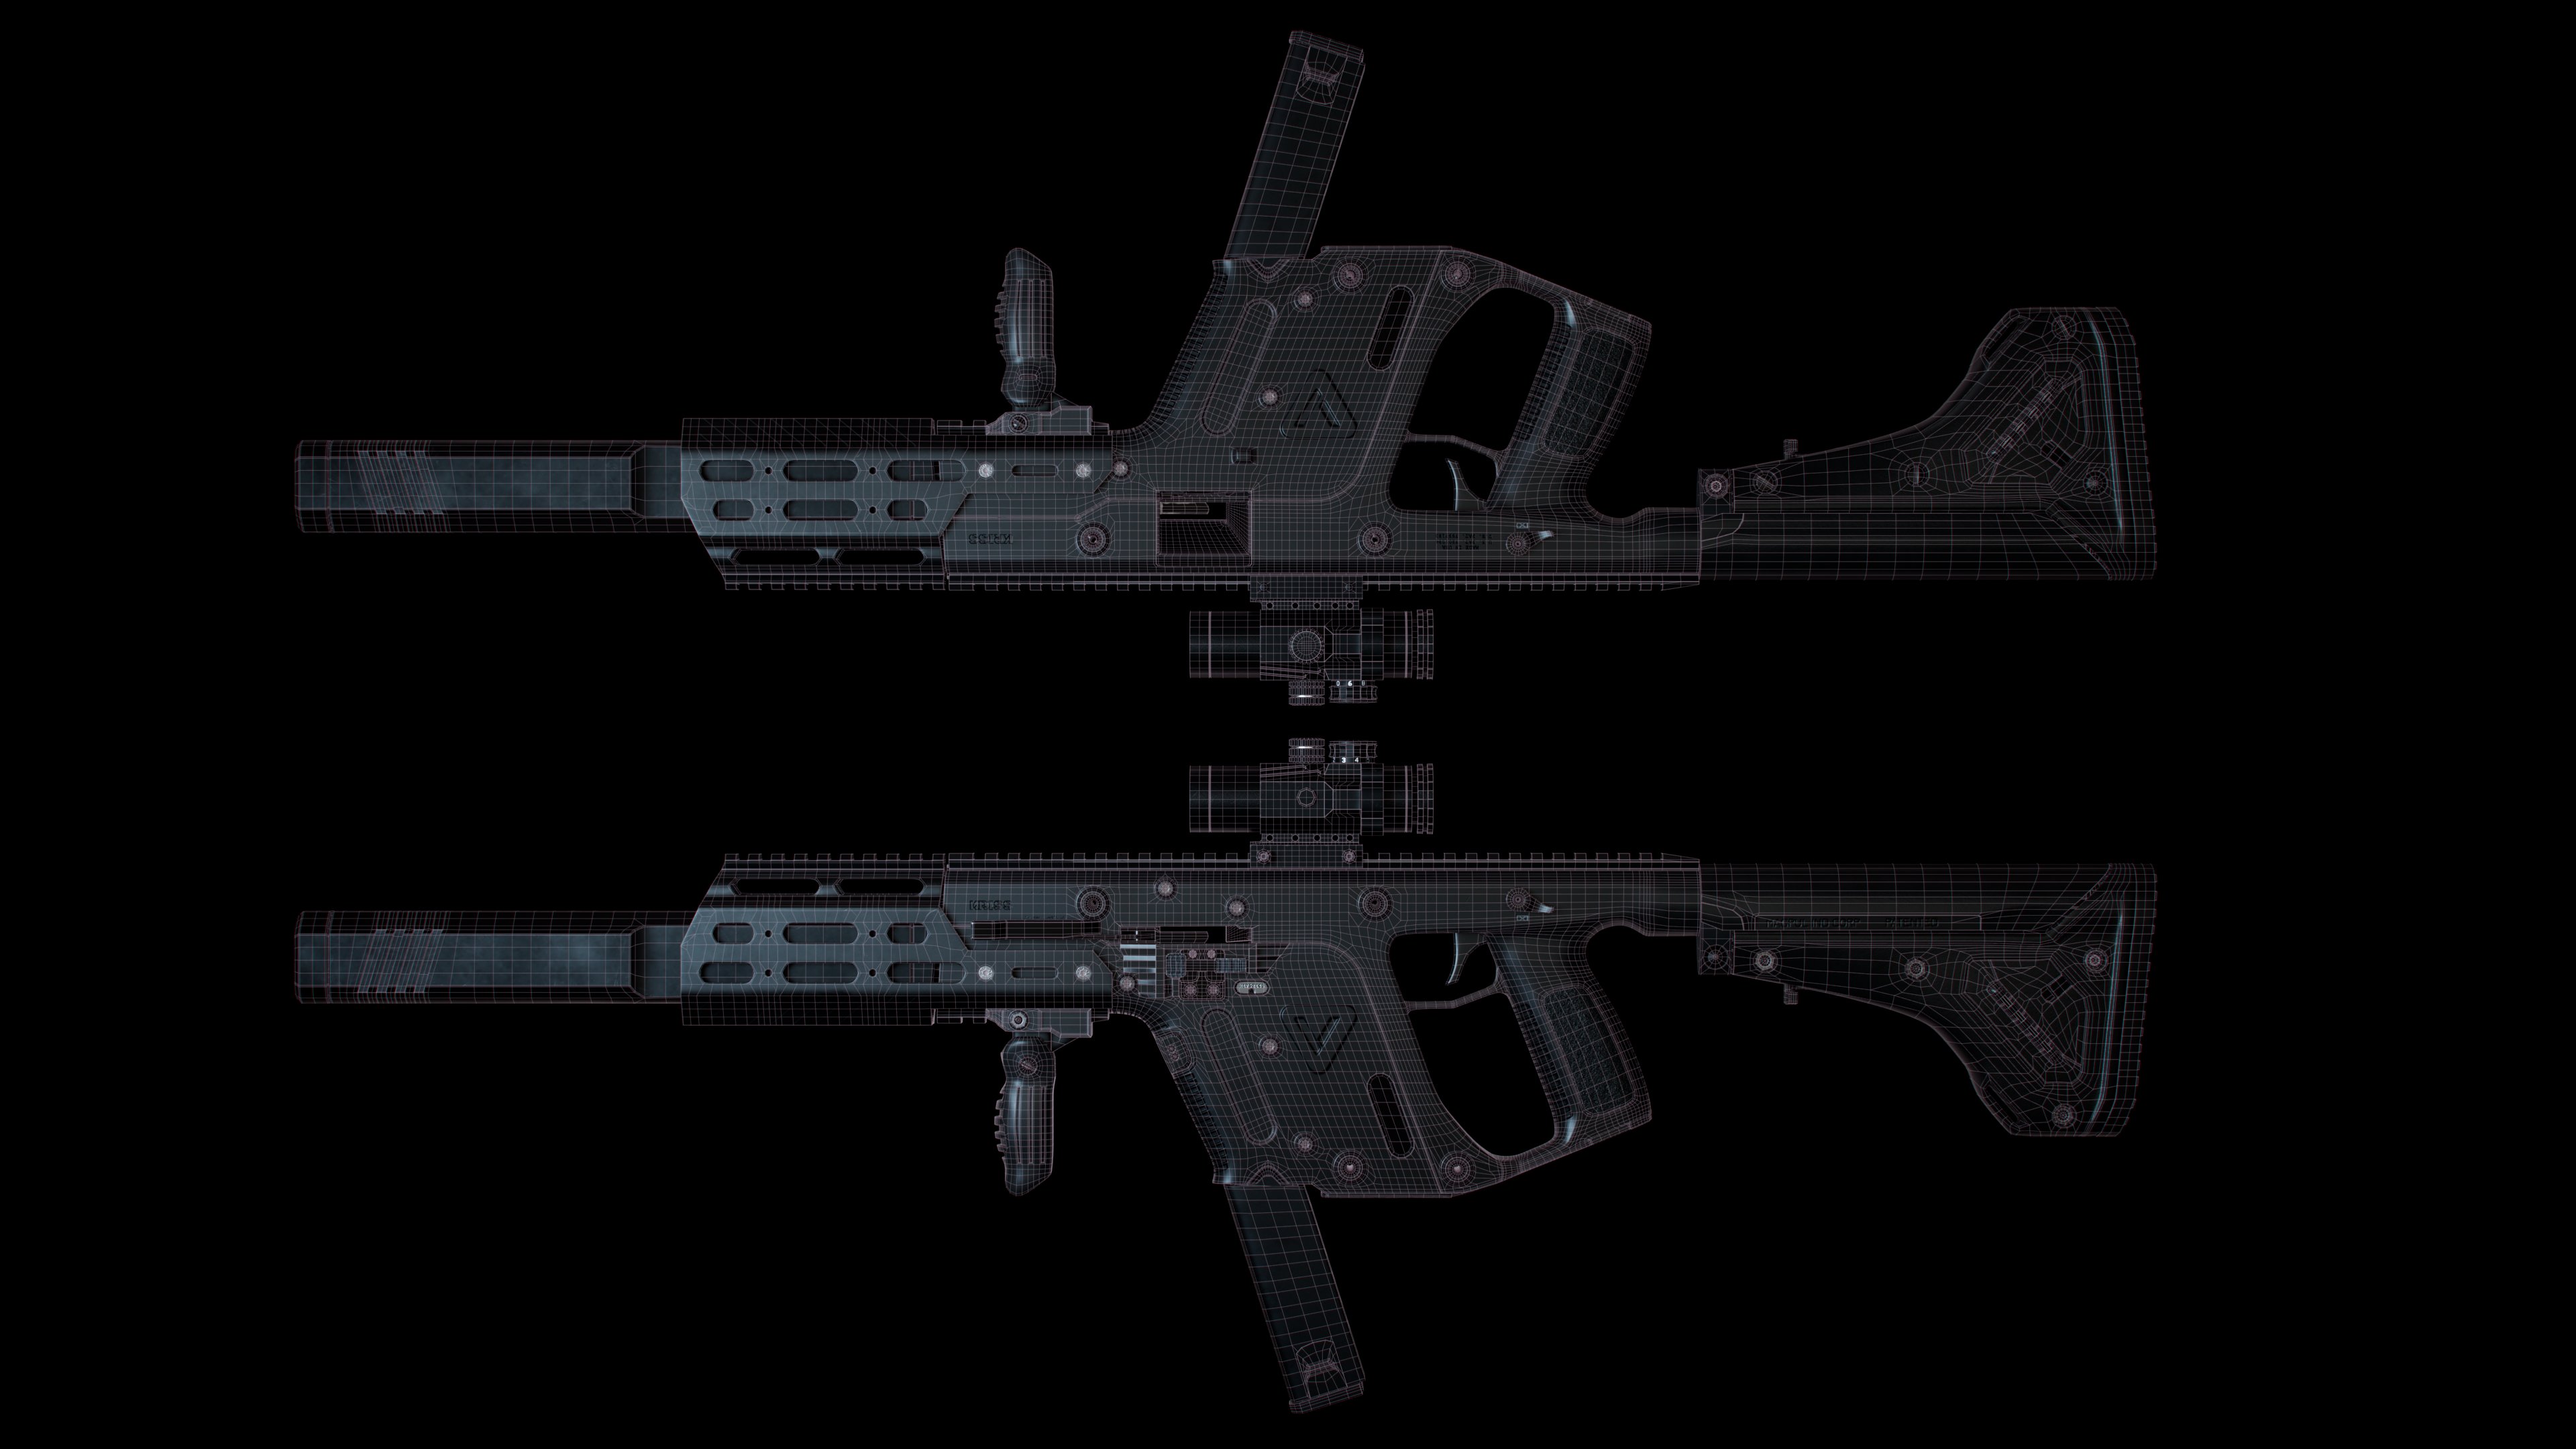
The Weapon - Kriss Vector
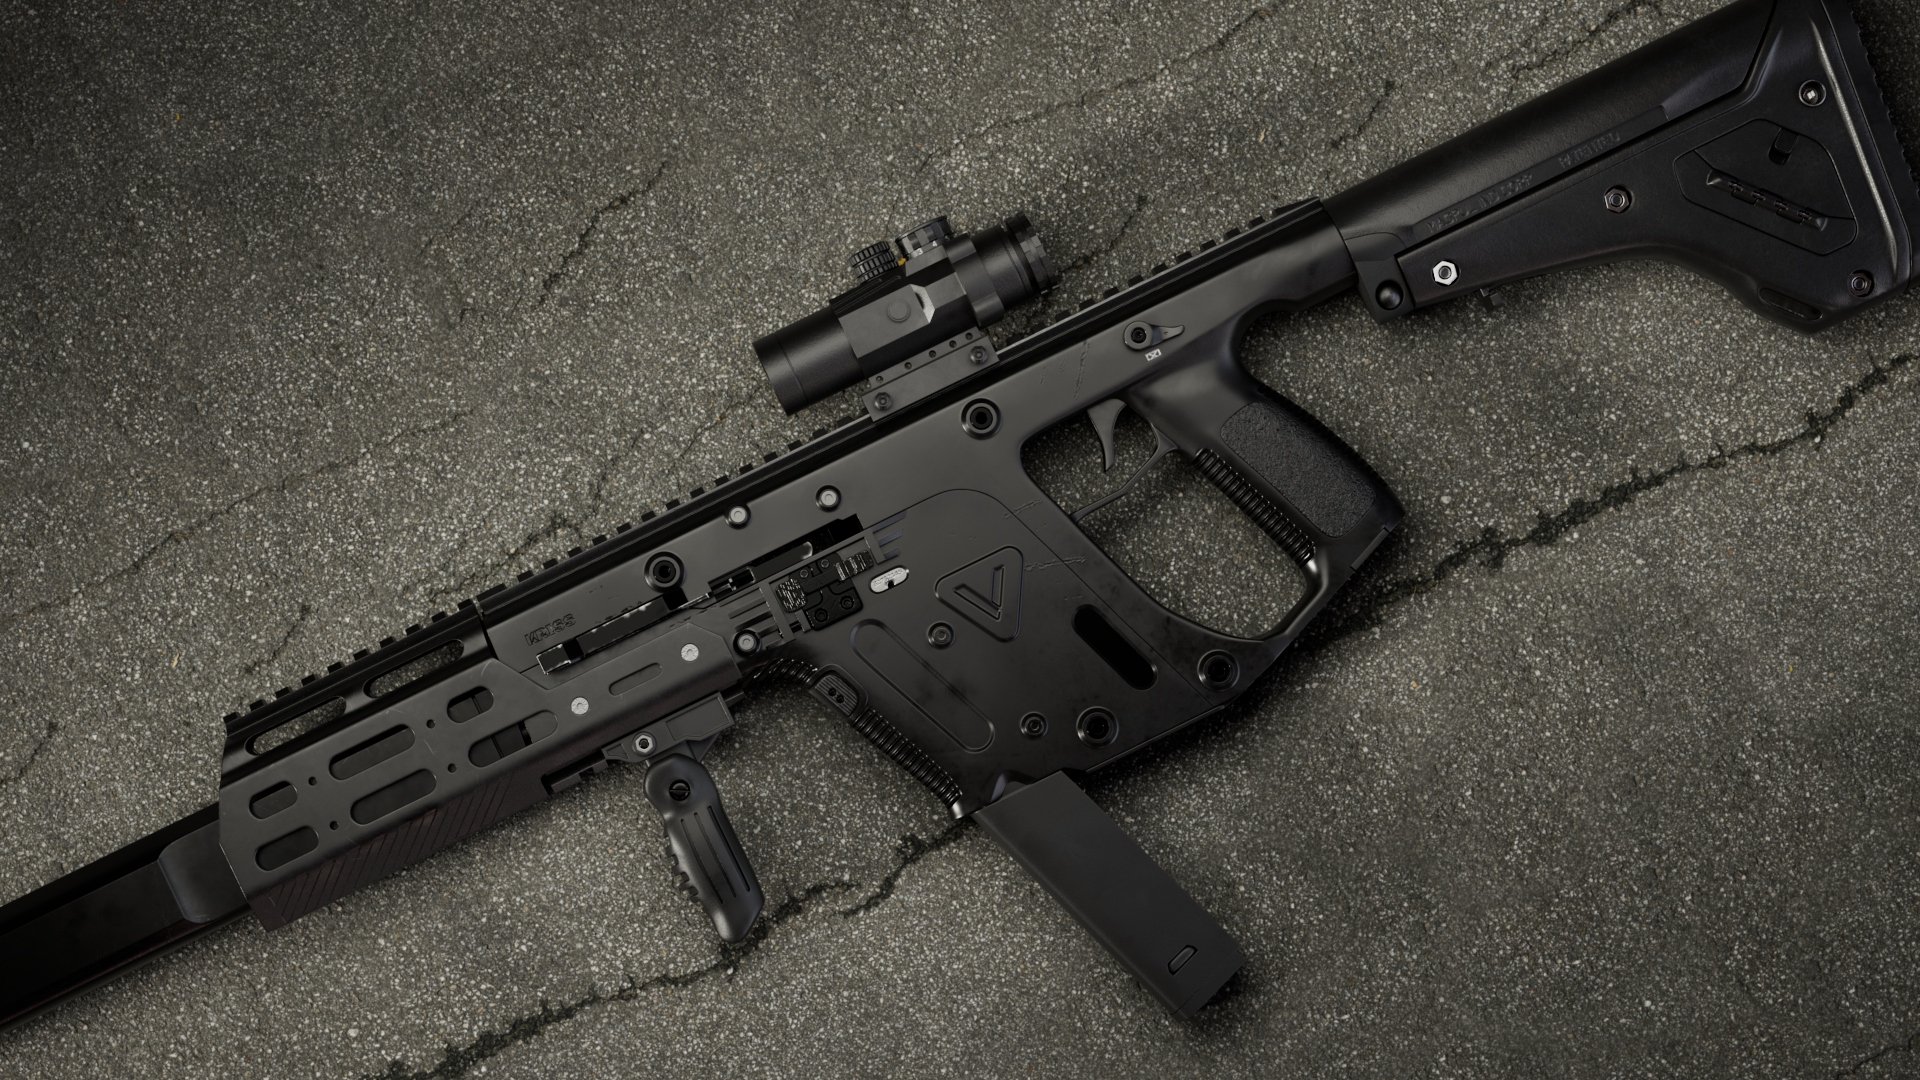
The Kriss Vector was important for me as it was my first 1:1 model. I aimed to match it as closely as possible to its real-life counterpart.
Throughout this project, I gained valuable insights into reference gathering and closely aligning my work with it. I learned techniques for matching various reference perspectives and developed an eye for detail along the way.

Top: Real Picture, Bot: 3D Asset
For comparison purposes, I tried to match the lighting and presentation of a real-life Kriss Vector.
Notice, that I modeled different Attachments than shown on the top half of the image.
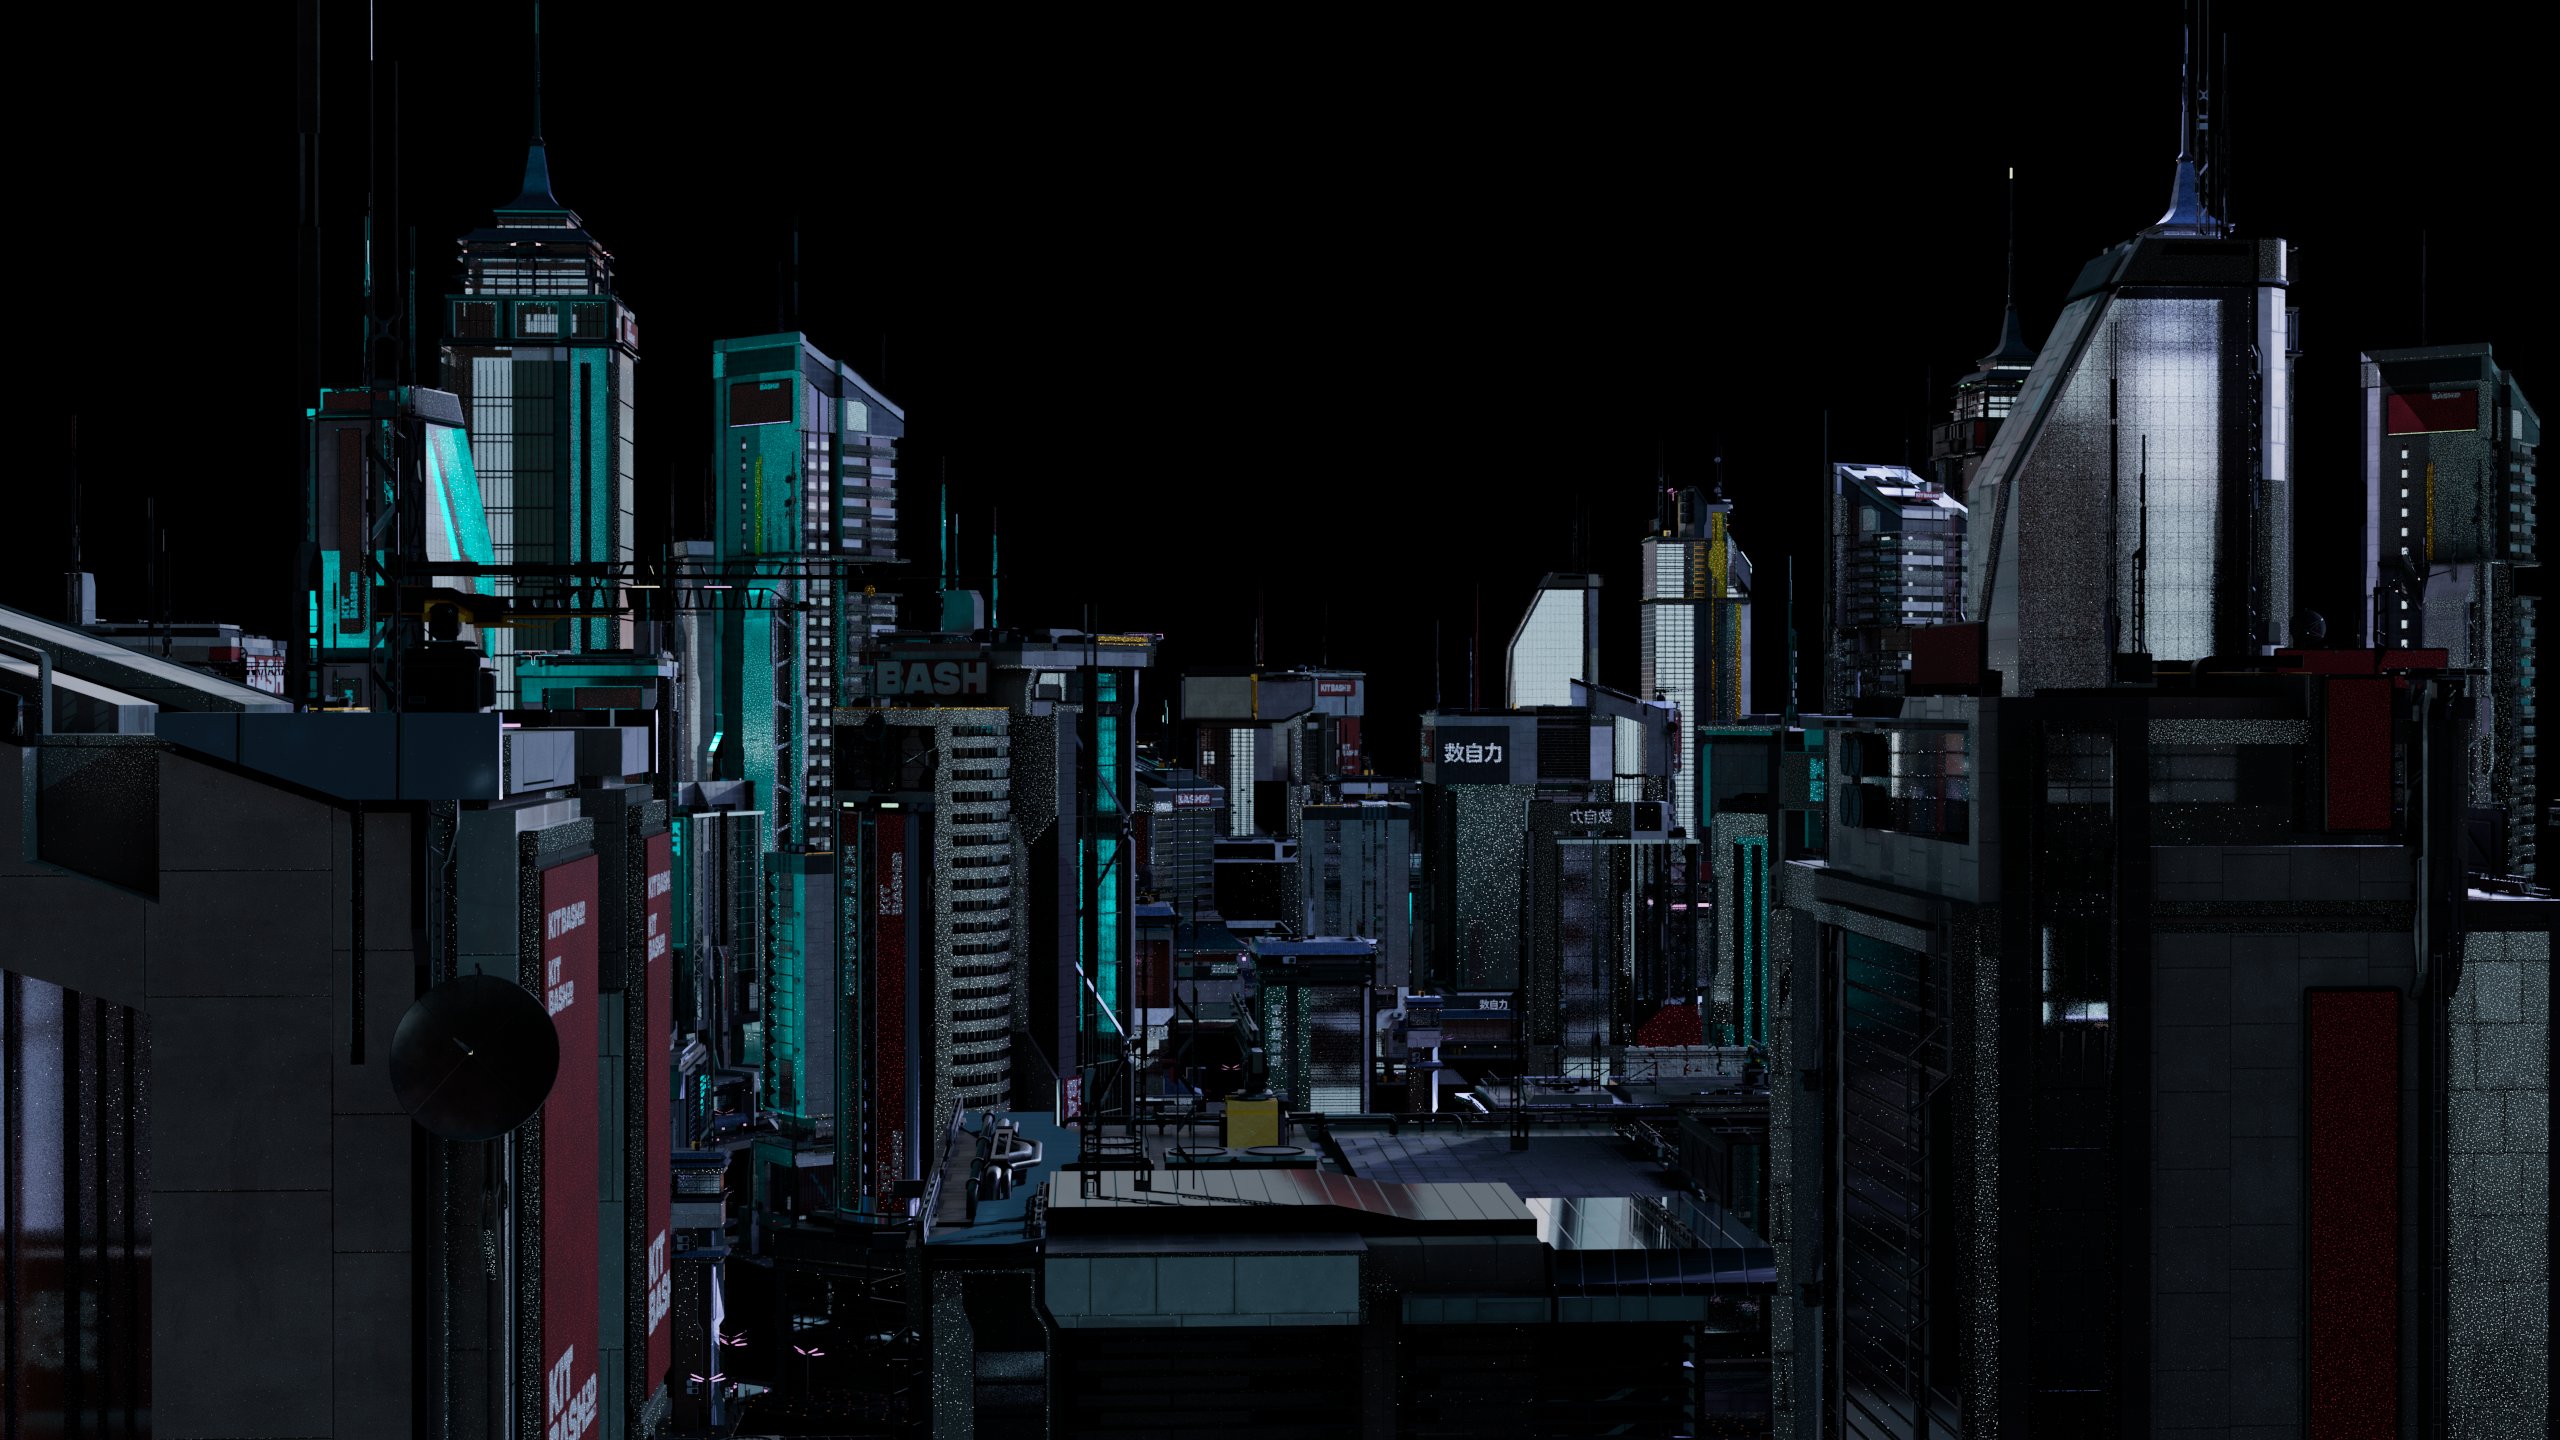
Environment & Compositing Breakdown
For the environment, I used a kitbash Set with sci-fi buildings.
I arranged them strategically to direct the viewer's eyes toward the center of the picture.
Then, I modeled and textured a small rooftop for the character to stand on and positioned him on the corner of the building so that I had another 2 guidelines that led into the middle of the picture.
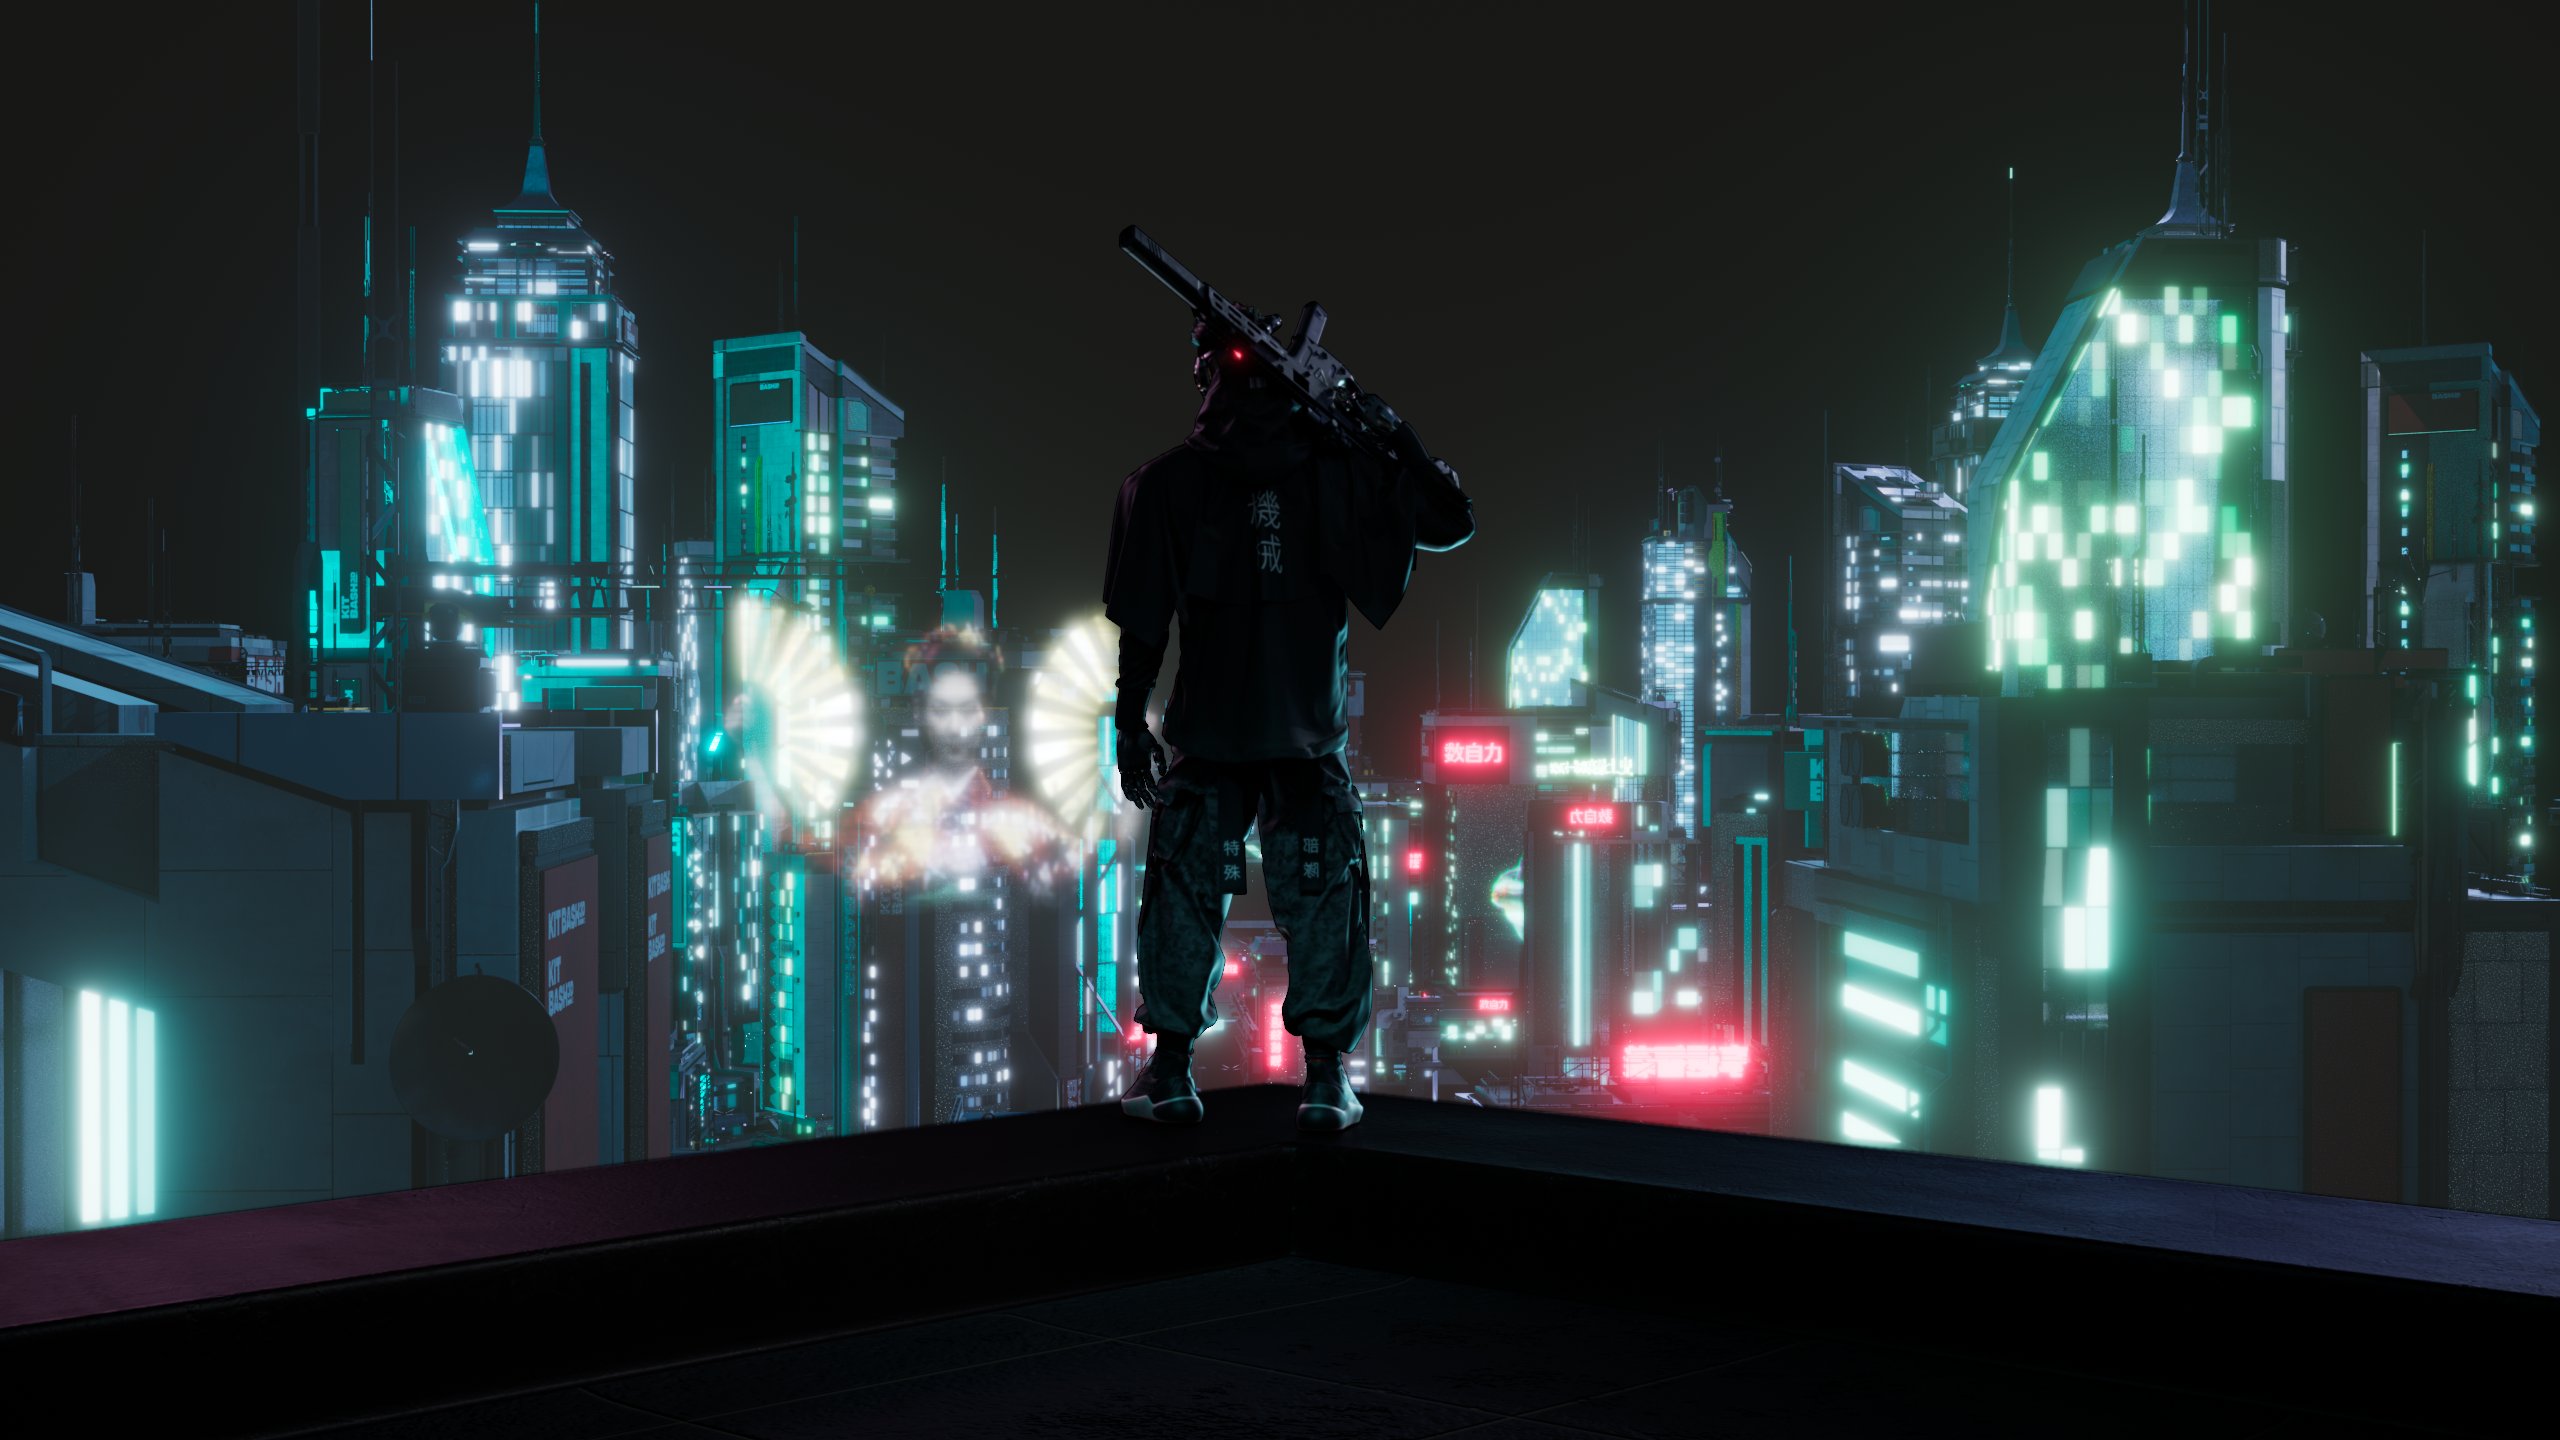
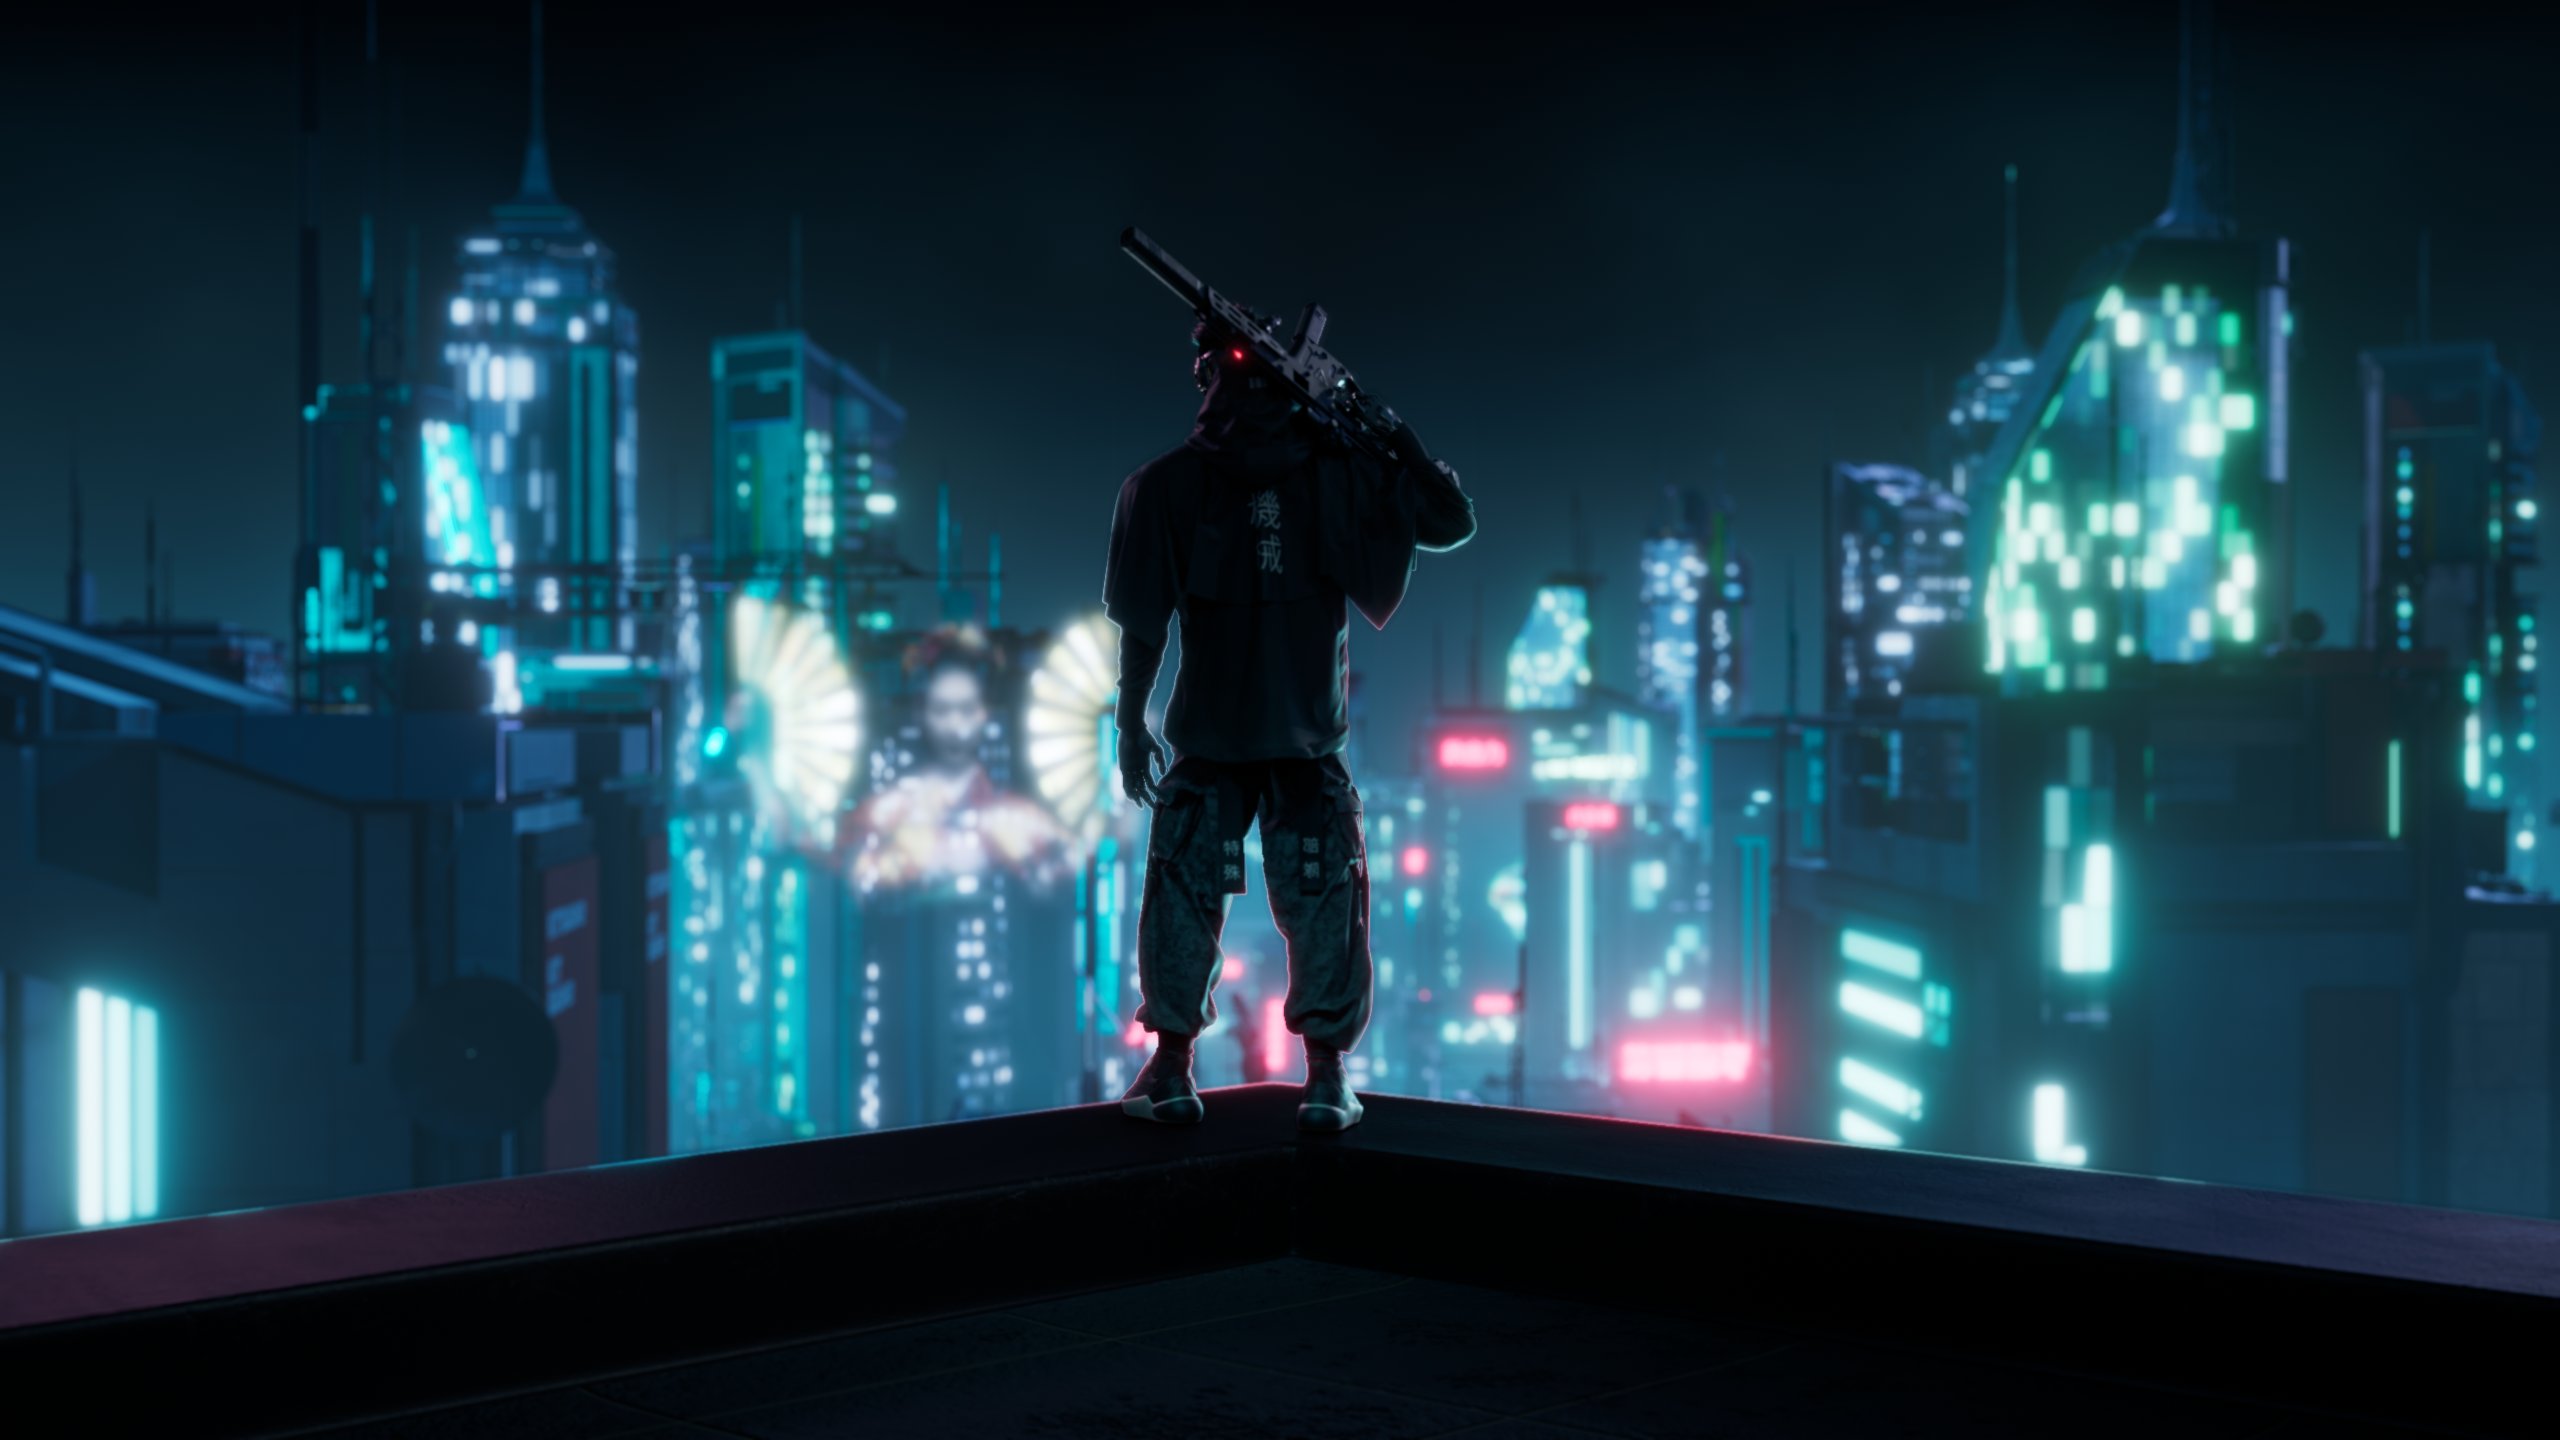
For the Compositing, I first rendered the Buildings with simple lighting. After, I made a second Render-pass that included just the glasses of all buildings. I used a shader override together with an aiColorJitter node, which I plugged into the emission channel. This gave me a perfect controllable mask in Nuke to add lights with different colors and values.
I added 3D plates with additional created Holograms and the character layer.
Next, I gave the shot more depth by adding ambient fog, and clouds.
For the final polish, I color-graded the entire scene and implemented camera and lens effects such as grain, vignette, and lens distortion.

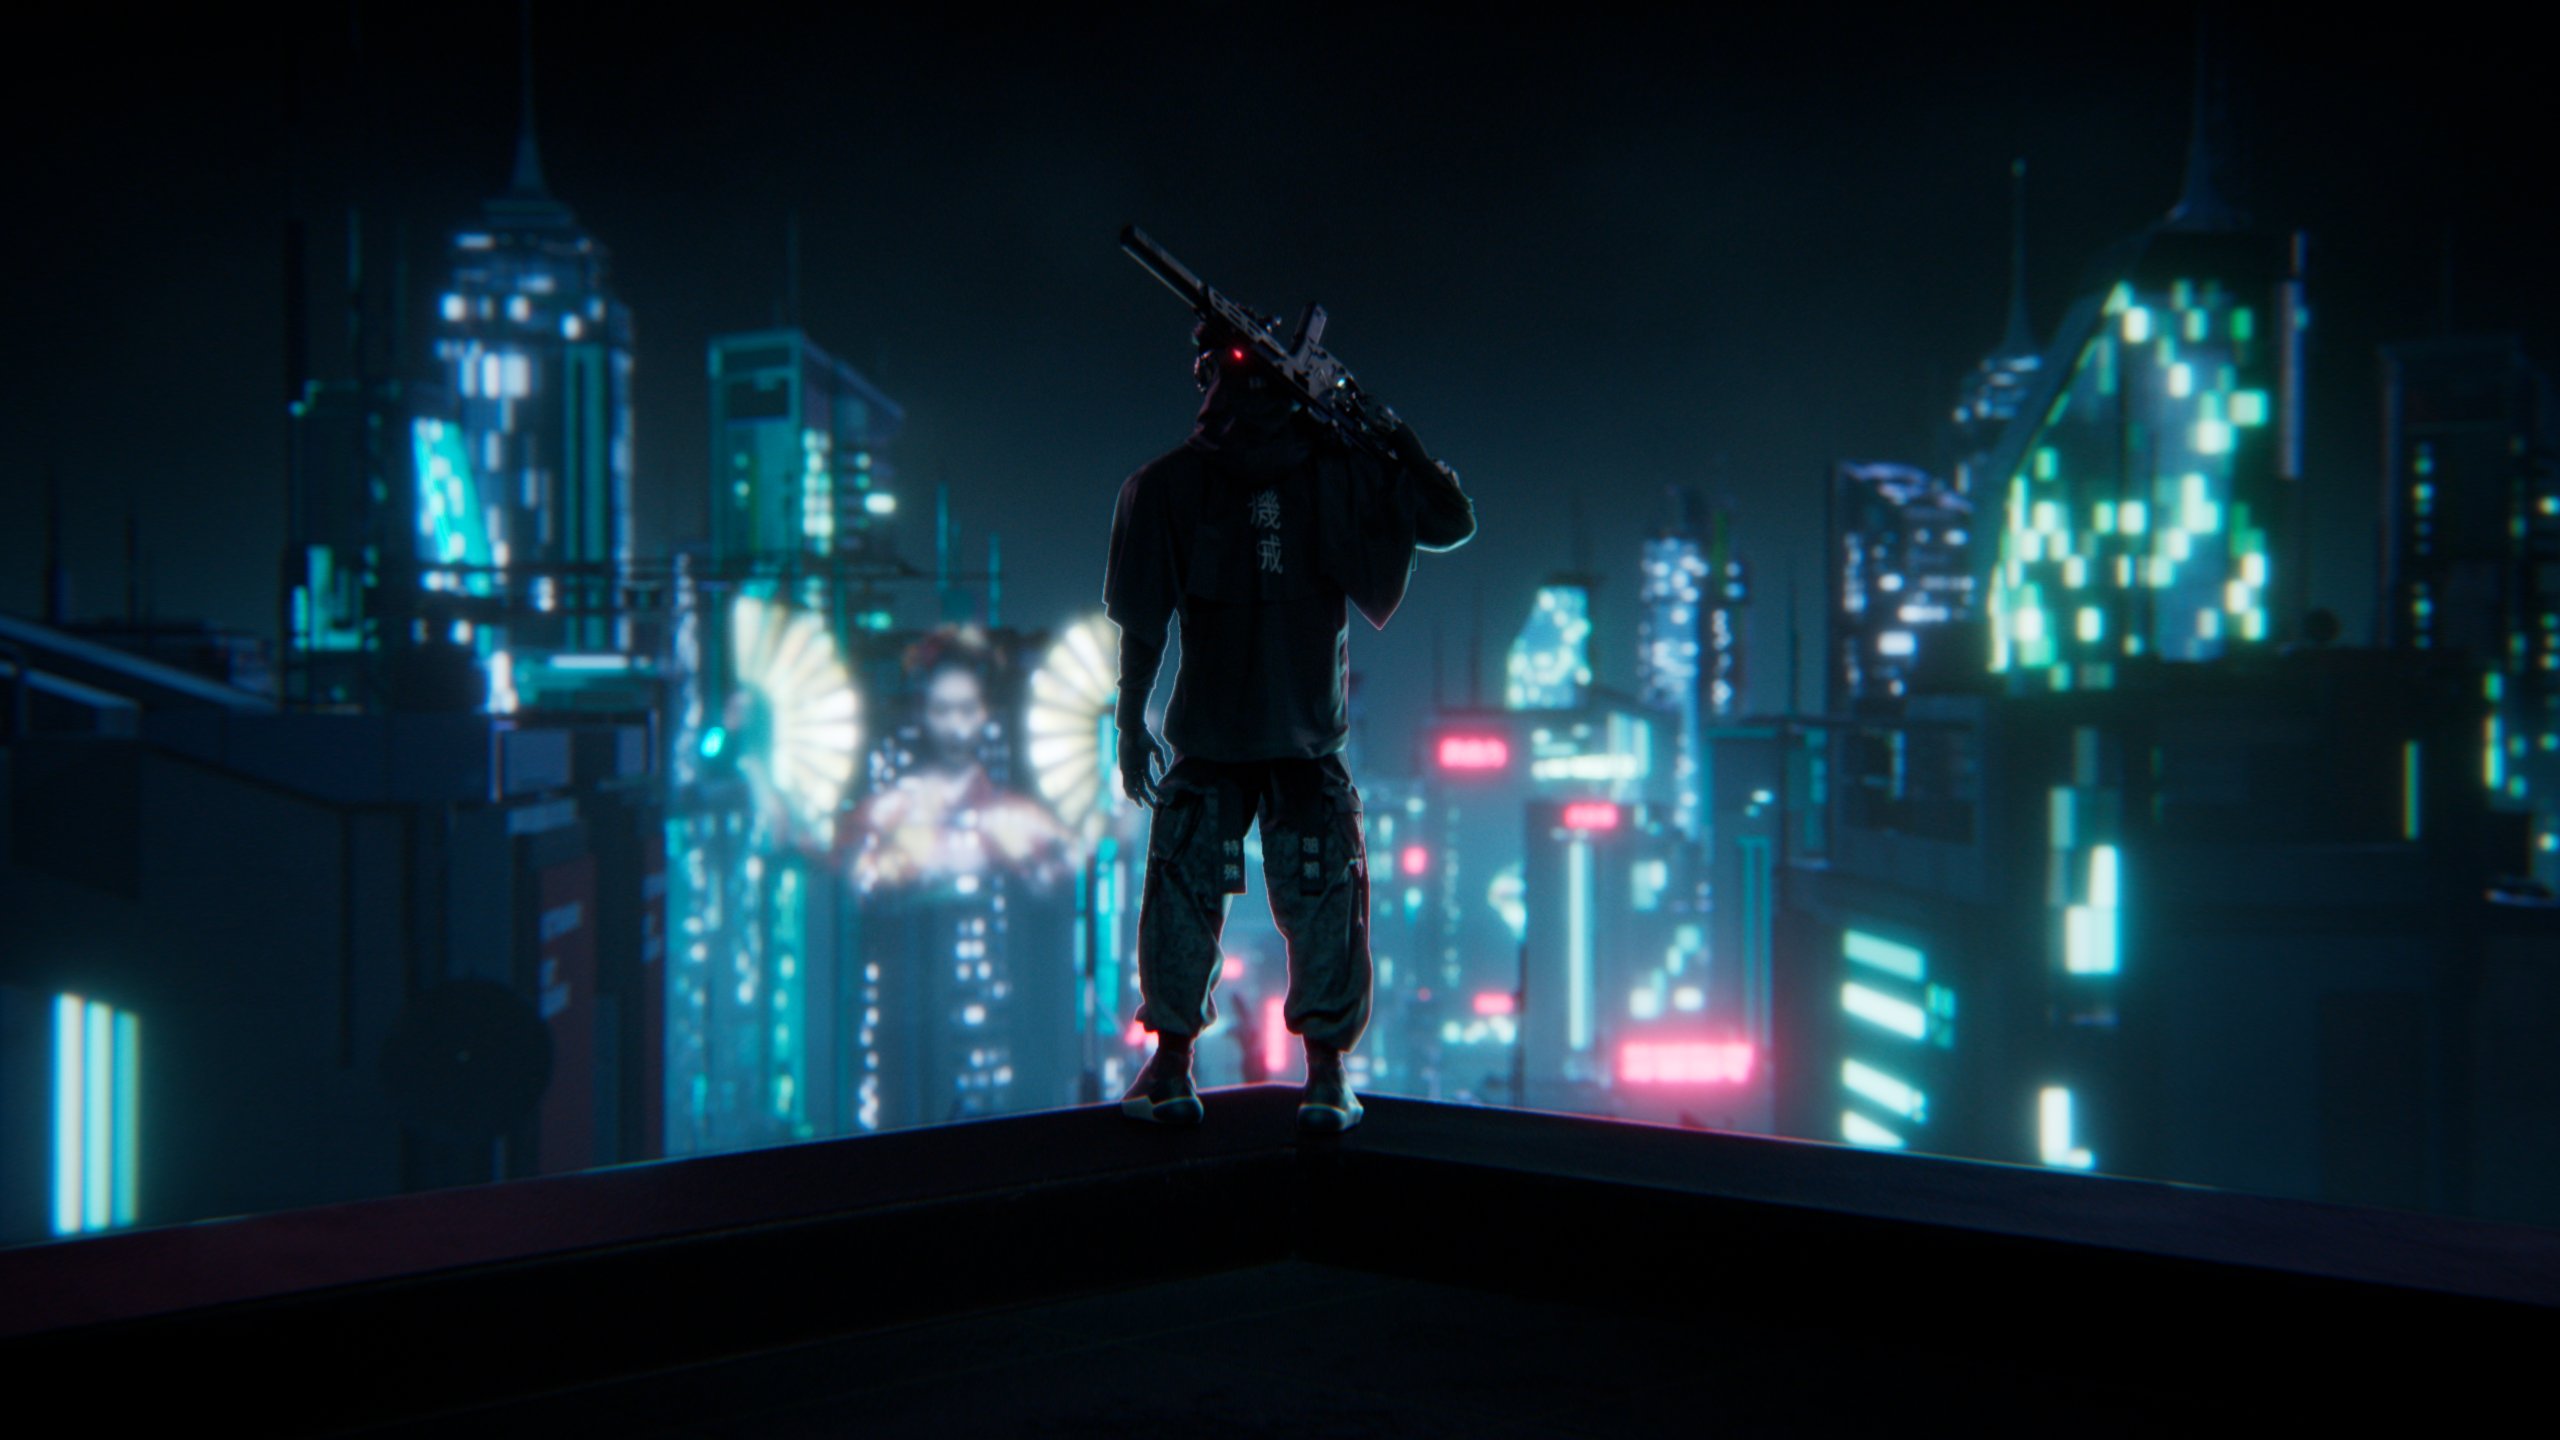
Conclusion
Setting tight deadlines for myself was a valuable lesson. It helped me grasp what I could accomplish in a short period. Having a clear idea of the time needed for each aspect is crucial for planning bigger projects.
Overall, I'm pleased with the result, even though there's always room for improvement and growth.
Thank you for reading this far and for your interest in my projects.
It was fun to go through them again and explain my process and thoughts behind them.
Please feel free to comment and leave your feedback on what I could improve or what you might think about my workflow. I'd appreciate it.
Cheers,
Niklas


Comments (7)