
Wild Bunny


Hey there! I'm Lukas and my recent project follows a wild bunny in search for food. Im sure you'll love this little fella.
Wild Bunny
Welcome to my 3D project featuring a lovable bunny! I've spent a lot of time and love bringing this character to life. I'm happy to announce that this bunny is one of the best projects that I made so far and certain that it will catch your heart.
This bunny is more than just a cute character - it's a complex creation that demonstrates my skills as a 3D artist.
So dive with me into the project, where I explain a bit more of the process and the challenges that I had to overcome to get to its current state.
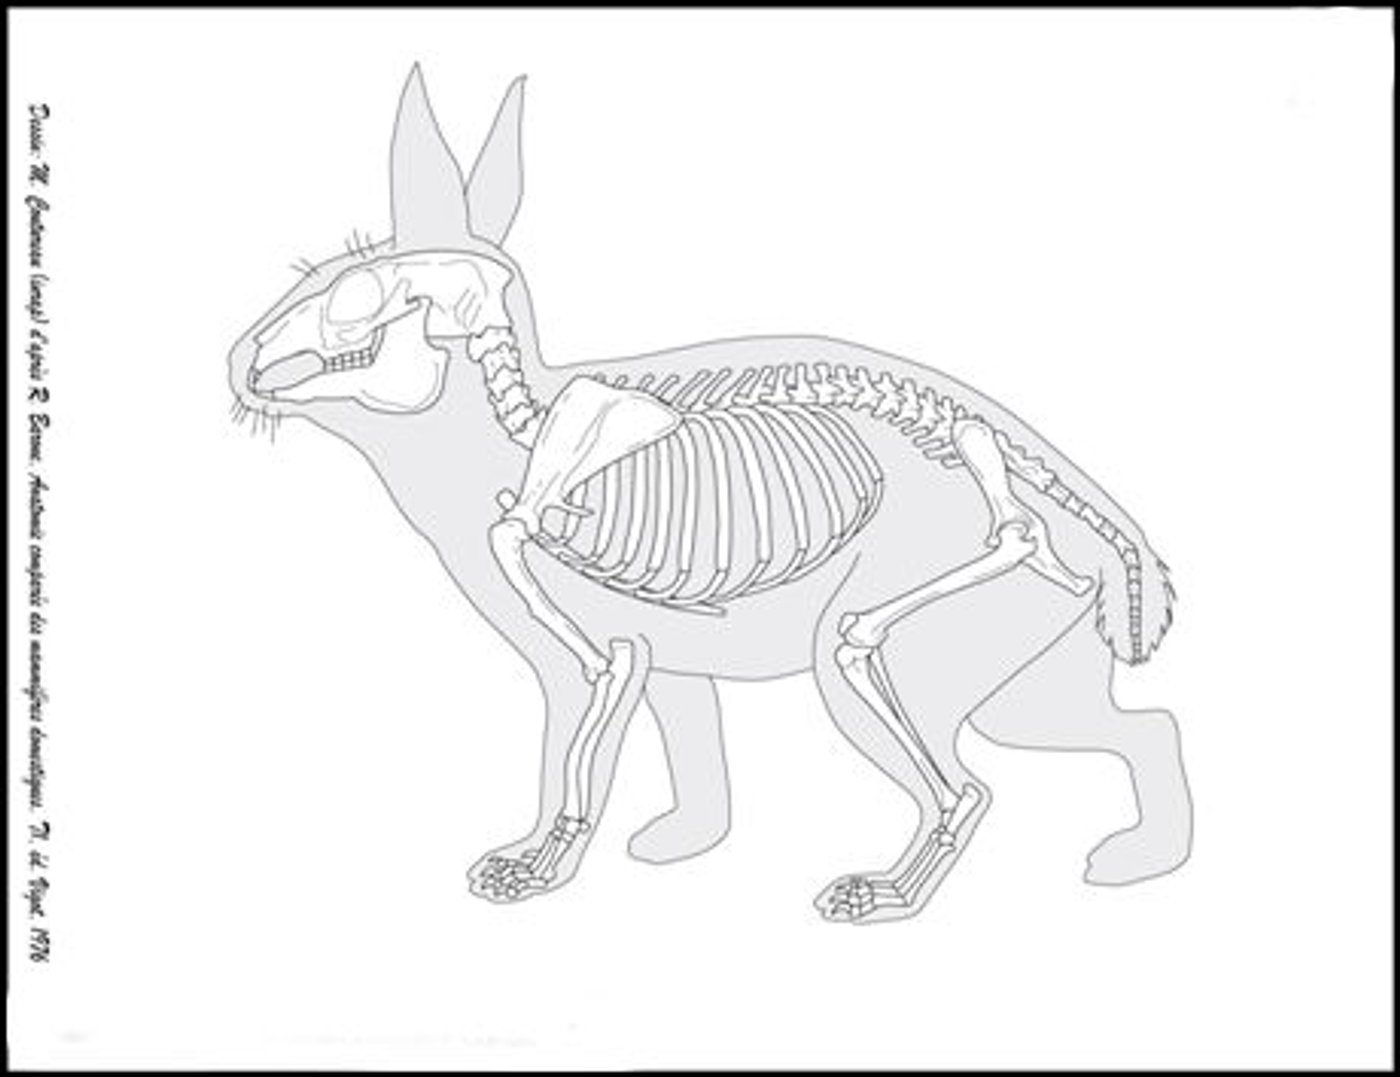
Model and Textures
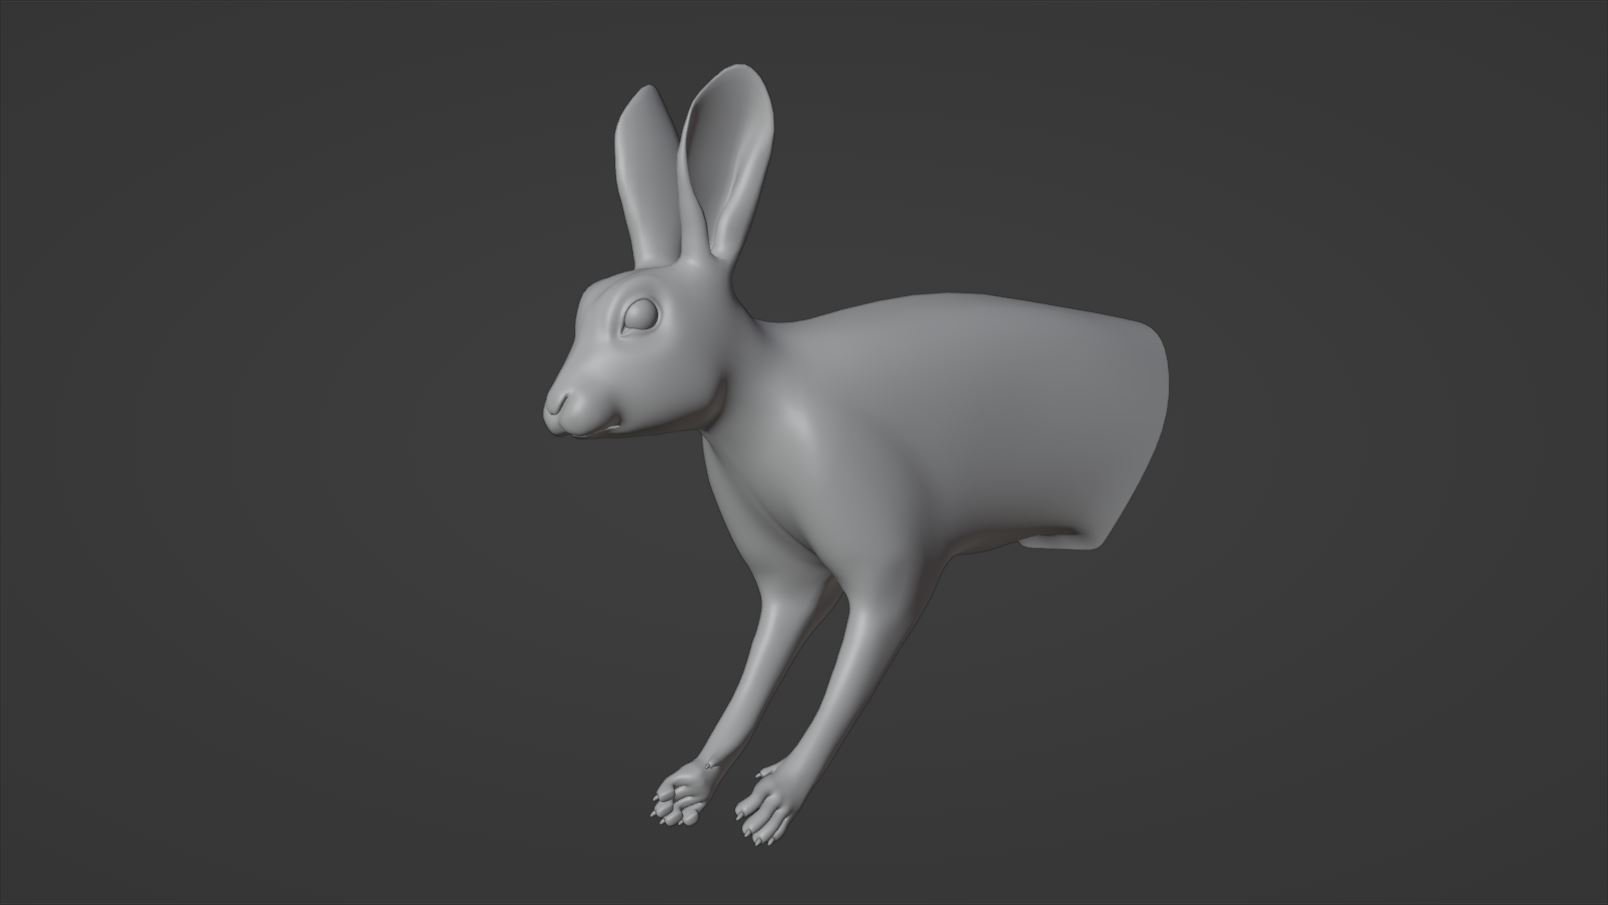
My project began with nailing down the base shape of the bunny, which I achieved using the software Blender. In order to optimize my workflow and focus on the most crucial elements, I chose to model only the front of the bunny, as I knew that the back wouldn't be visible. Here you can see the clay render, the wireframe with seams and the UDIMs.


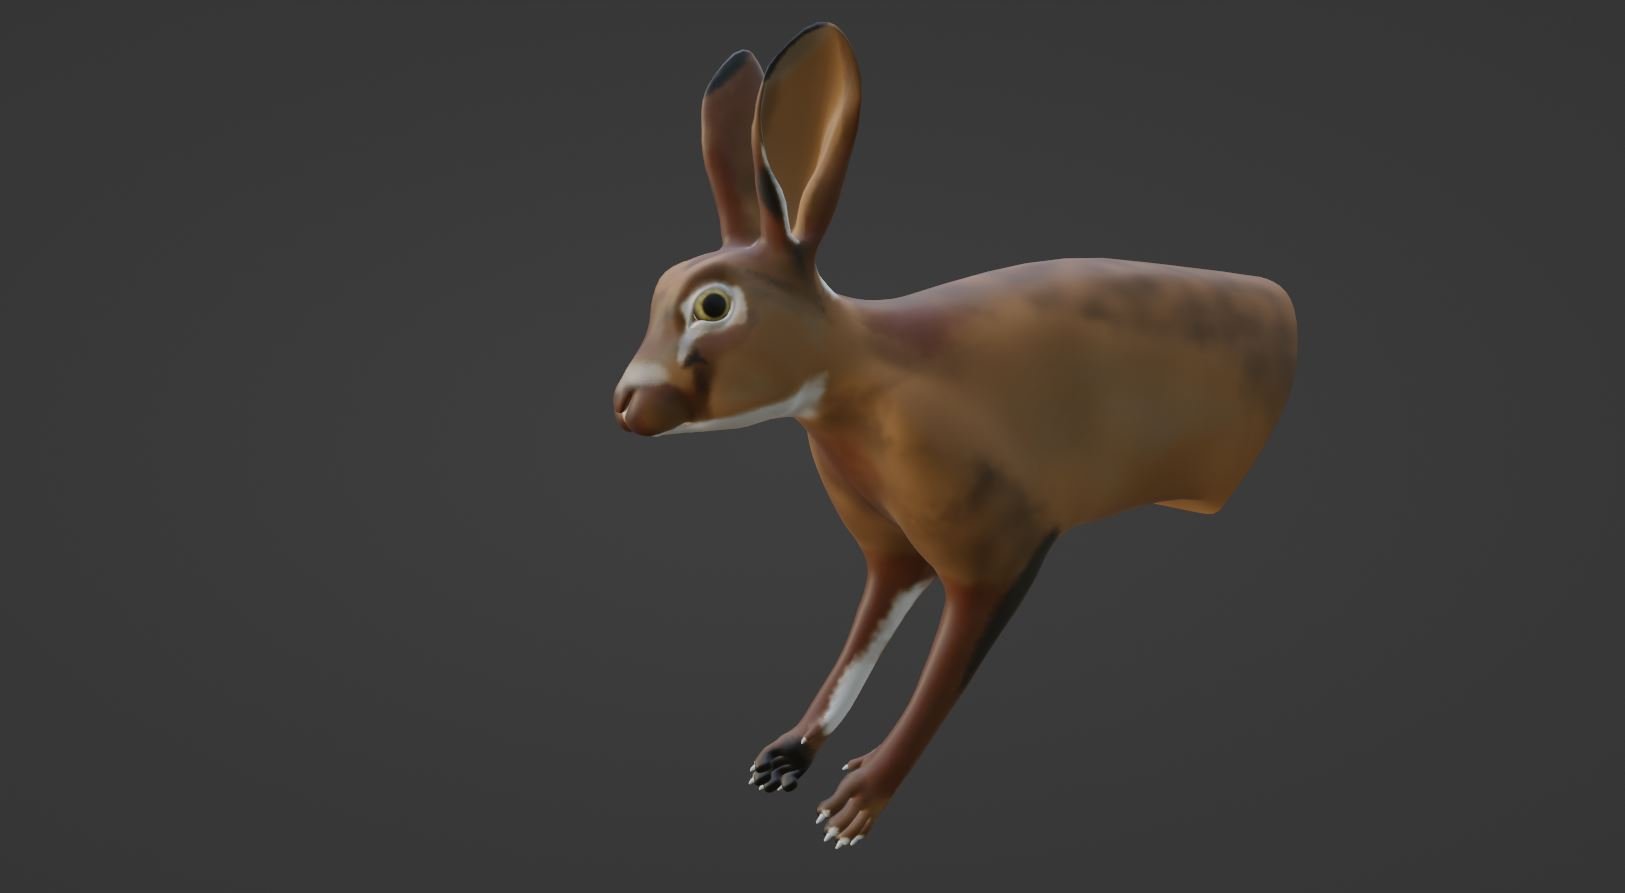
After that, I textured the skin in Mari. It was a fairly simple texture because the groom adds the micro details and finishes the look of the bunny.

Rigging and animation
Maya was a good tool for rigging and animating my bunny, with both processes going seamlessly compared to some of the other steps. After rigging the bunny, I used ngSkinTool for weight painting and added special abilities to the rig. For example attributes for eyes open/close, ik/fk switch for the feet and a nose twitching attribute. For the animation, I took a reference-based approach, studying various movements and expressions and using my rig to match them as closely as possible, resulting in a lifelike and dynamic character.
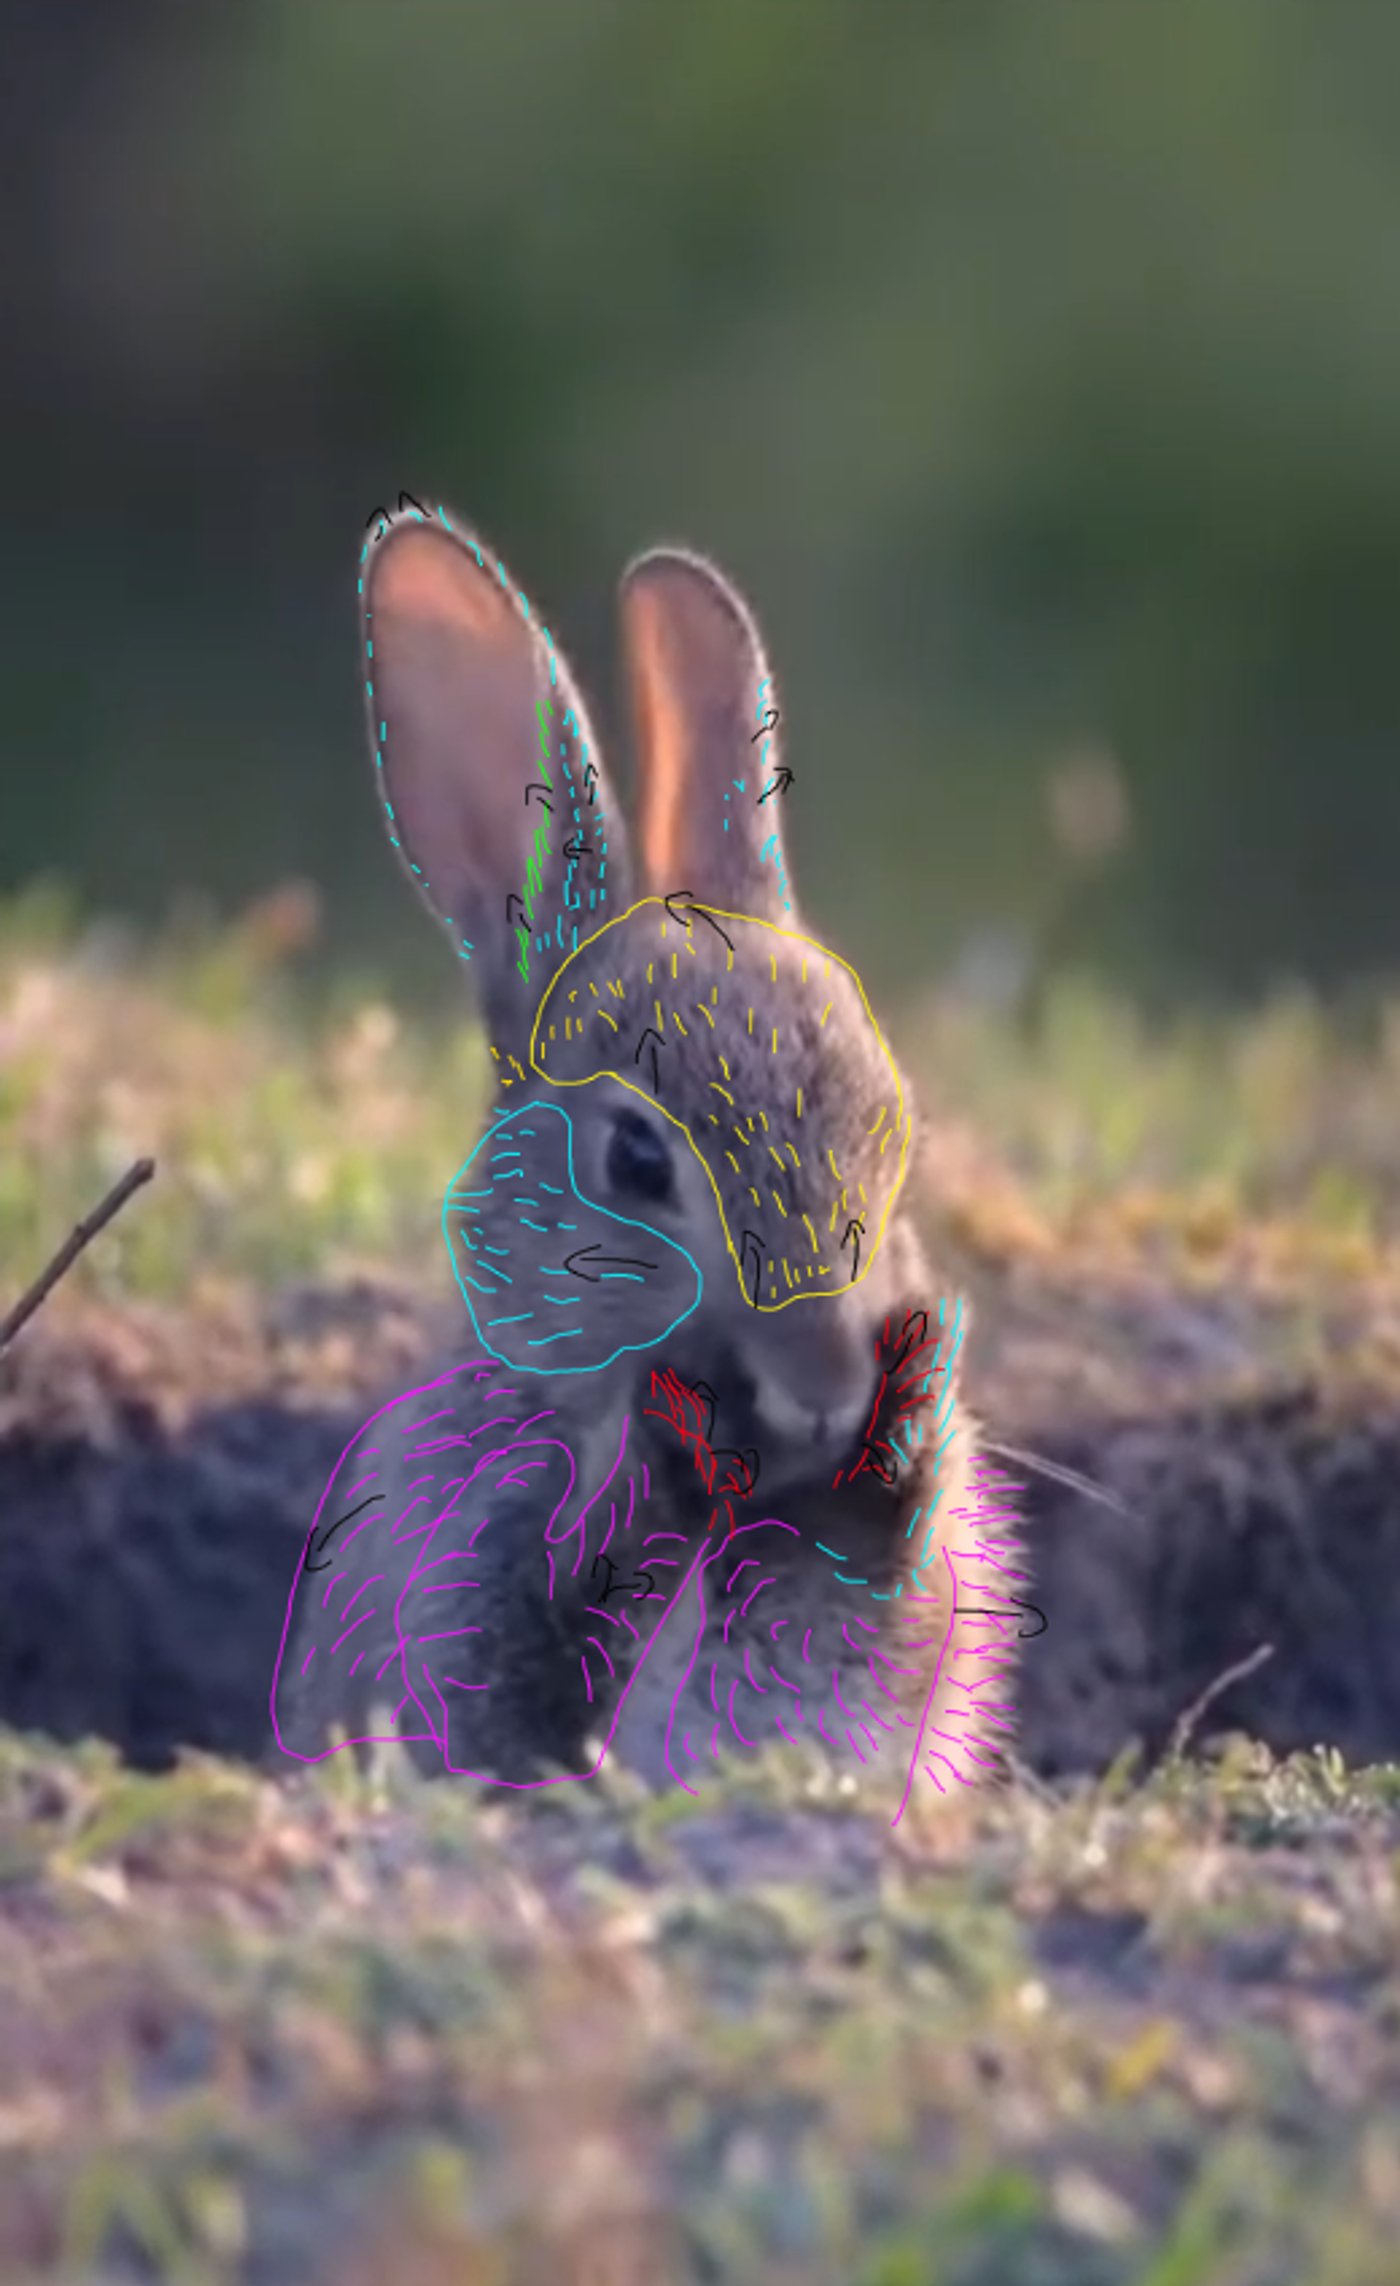
Grooming
The grooming was the hardest part of this project, as it was my first time creating a groomed character, but also the first time using Houdini in general for a bigger project. While it took some effort to fine-tune the details, I have to credit the reference images for providing the backbone of this groom. By using references as my guide, I was able to bring my character to life, ensuring that it not only looked like my reference images but also possessed its unique personality and flair. Here is a turntable of the finished groom.
Rendering in Unreal
With this project, I took a deeper look at Unreal Engine, especially using it as a renderer. I did everything from building the environment, binding my groom to the rigged and animated model and even simulating my fur in real-time. Unreal did an excellent job although it was tricky to get used to the different interfaces and methods where it differs from common render engines such as Maya Arnold and Vray.
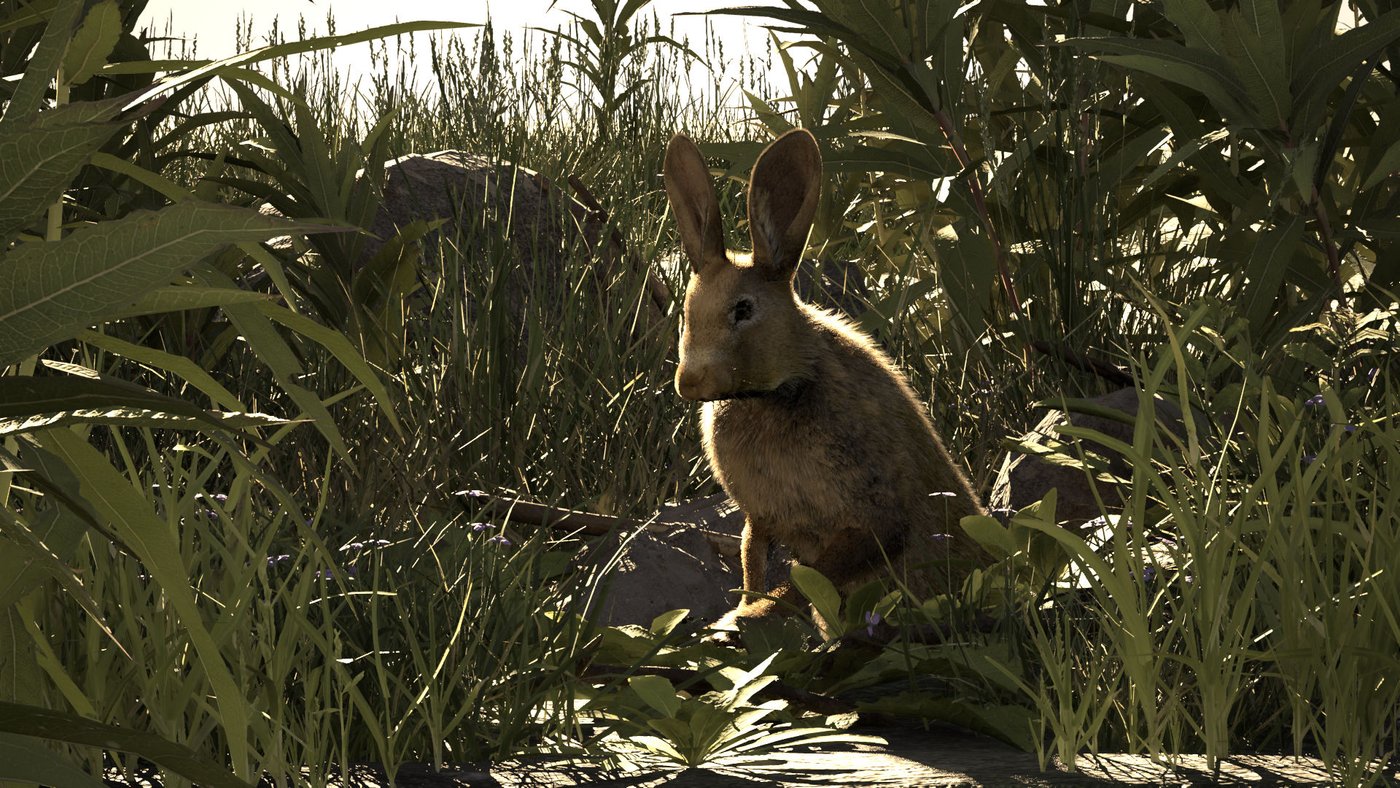
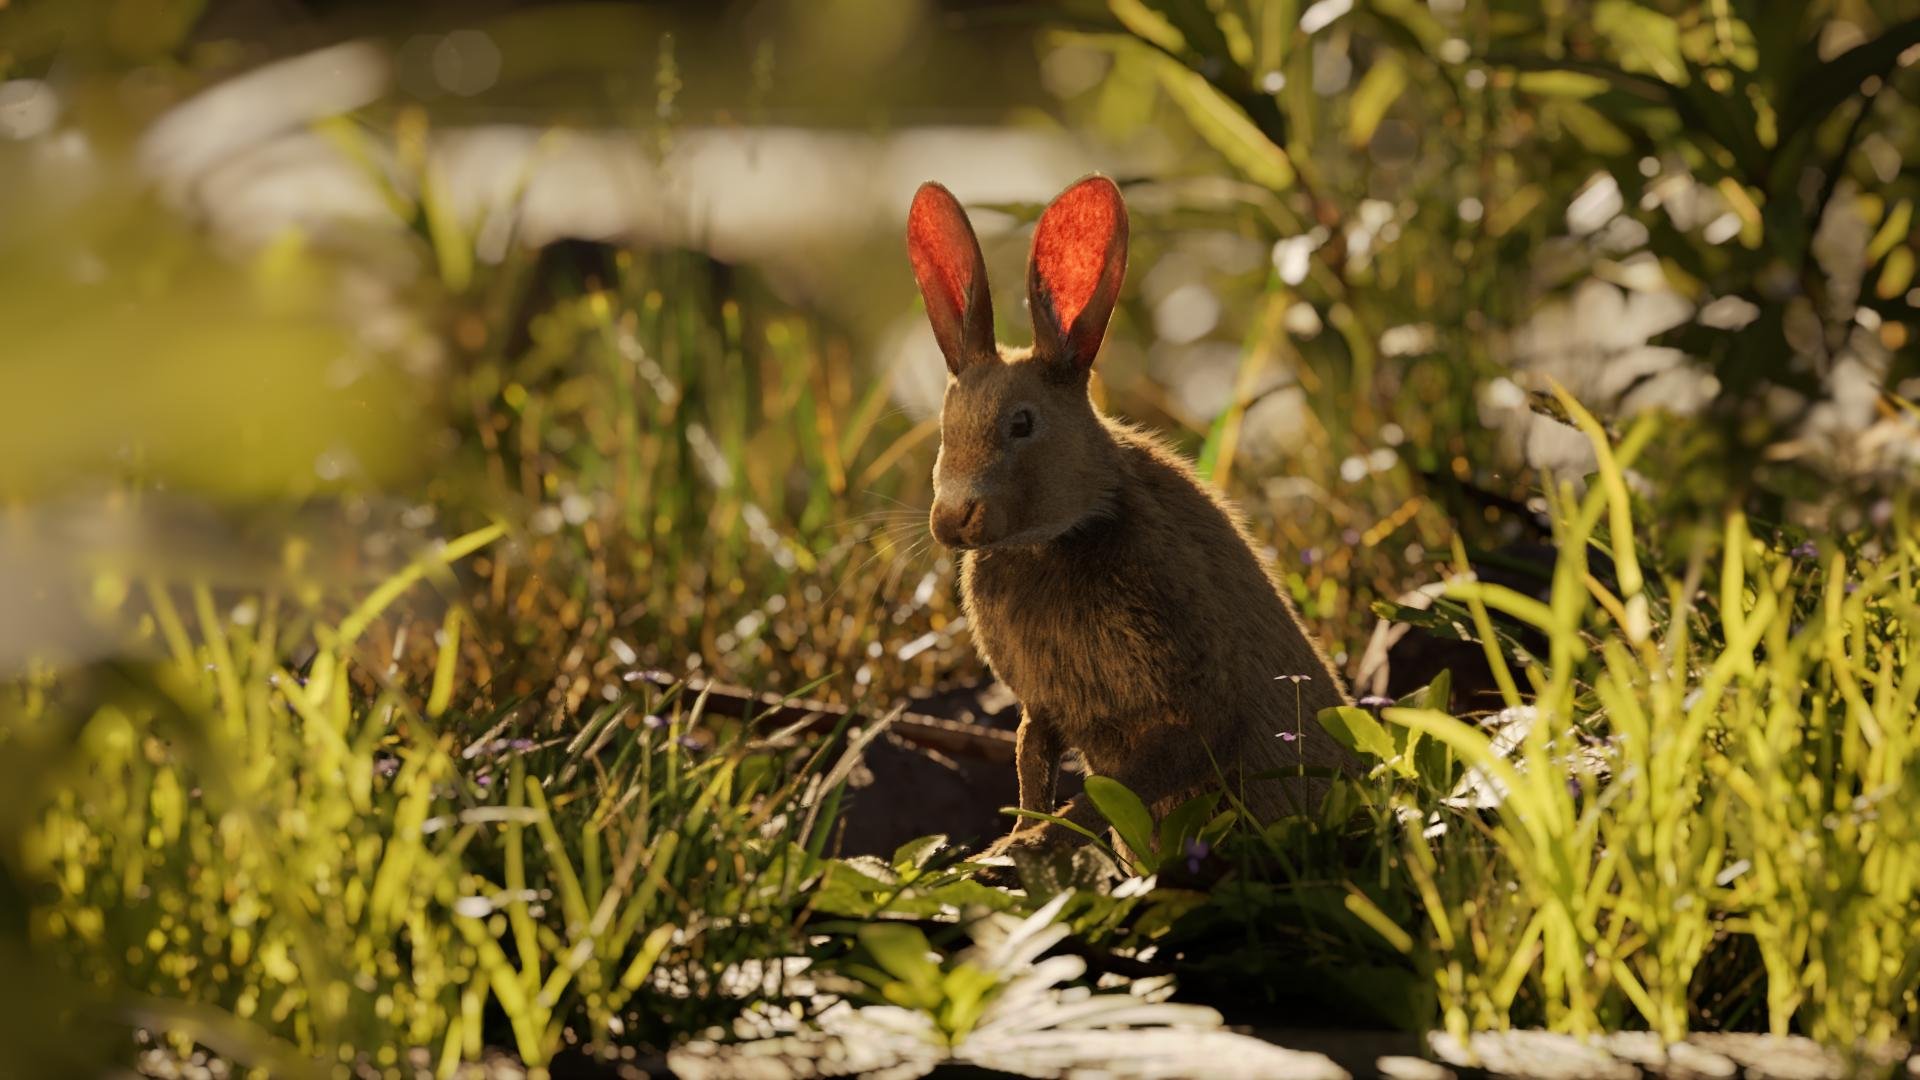
I wanted to render it with Lumen due to the fast render time but quickly realized that the path tracer gave me more accurate results. Here you can see a side-by-side comparison of the bunny rendered with Lumen and with Path Tracer.
Lumen Path Tracer

Comp Breakdown
By using compositing, I was able to elevate my project to the next level and truly bring it to life. Using the software Nuke, I've been able to add depth and dimensionality and enhance the overall visual impact of my work. Check out the short breakdown below to see just how much of a difference compositing can make, taking my project from good to awesome.


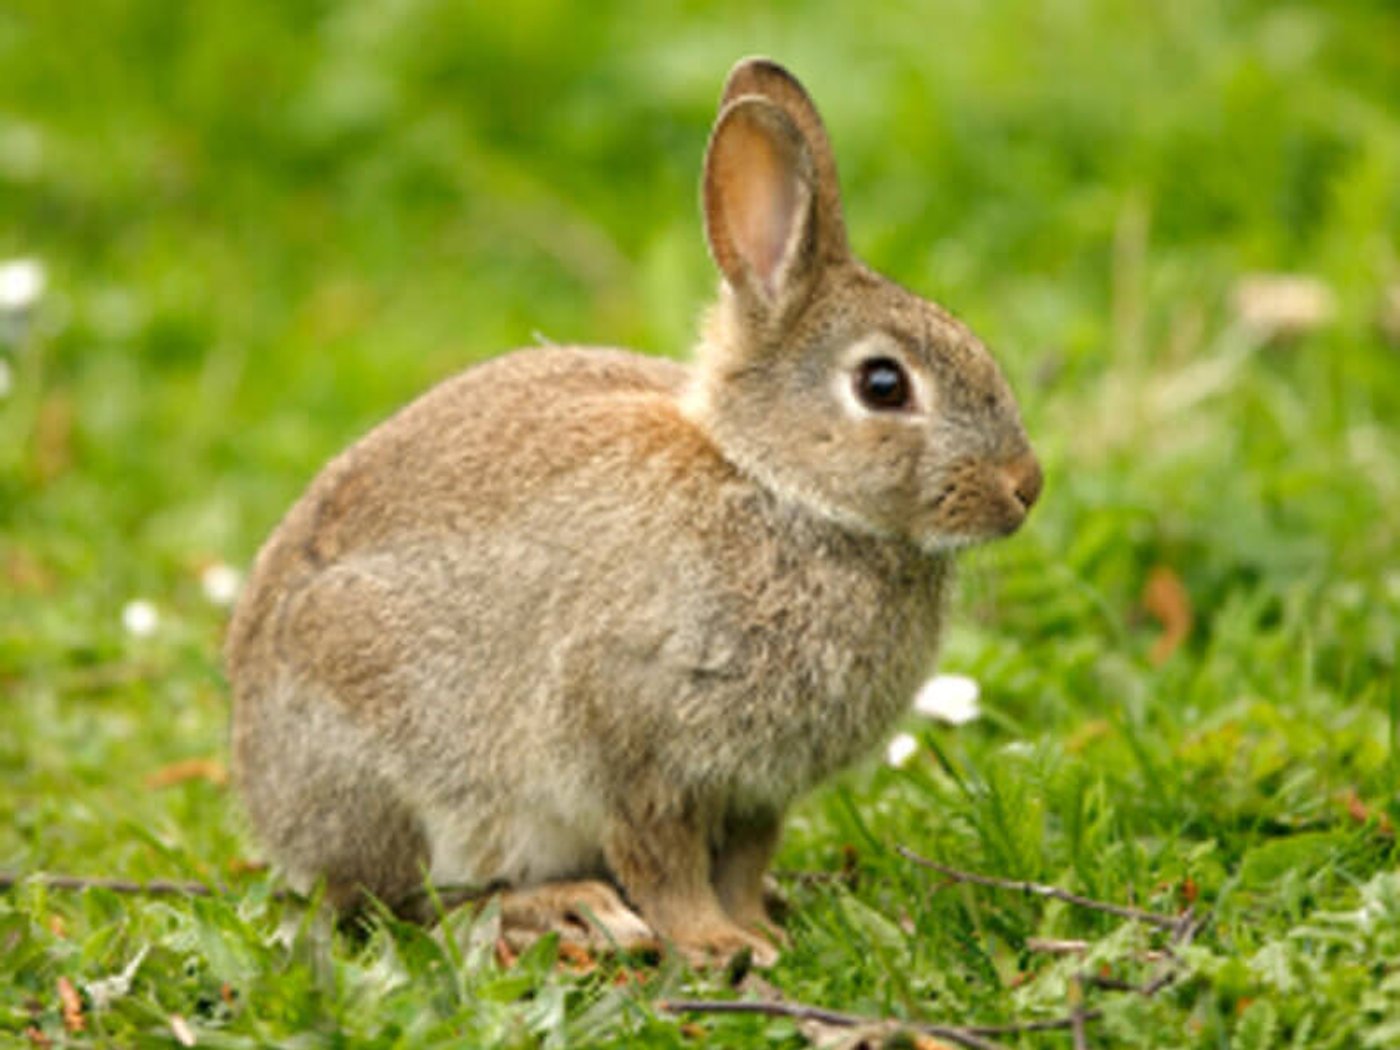
Reference
Reference pictures are the most important step to creating a character, that actually looked like it belongs in the real world. By using references, I was able to create a character that not only looked believable but felt like it could exist in our world. These were the pictures, that were the most helpful in my process as they served as a foundation for everything from texture mapping to shading and lighting.


Thoughts and things I learned
Reflecting on my project and comparing it to its earlier stages, I'm thrilled with the transformation that has taken place. There were some parts of the project I would've done differently or things I liked to add. For example, vegetation moving in the wind or using Unreal Engine for simulation in the first place, instead of trying to simulate in Houdini - which gave me a headache, especially with the bunny.
But other than that I wouldn't change the workflow that I used. I know, I would be able to do something similar way faster now. I still have a lot to learn but I loved every bit of diving into new workflows and technology.
Thank you for taking your time and checking out my project! I hope you liked it and feedback is always appreciated!


Comments (8)