
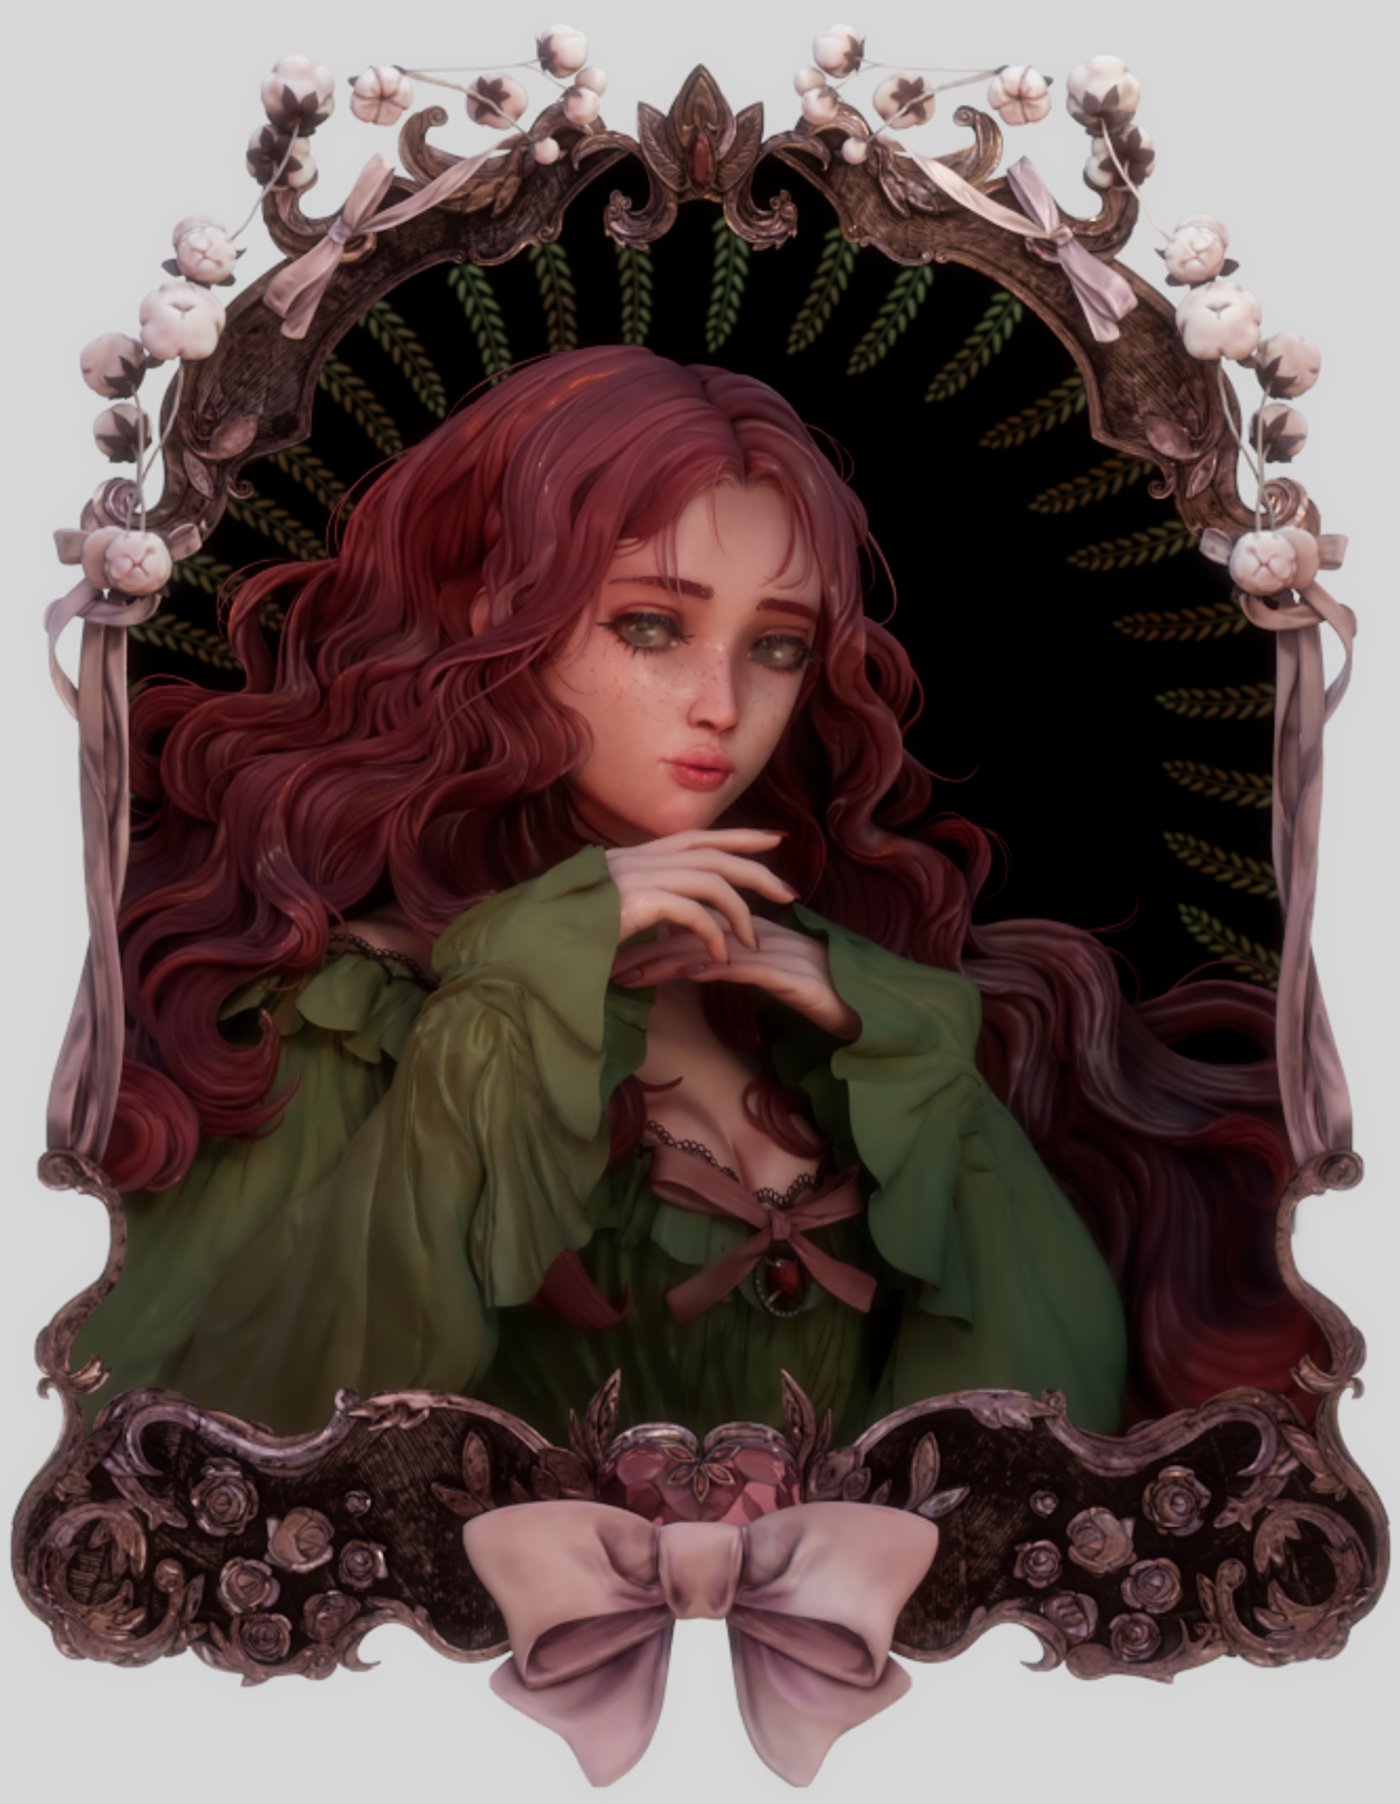
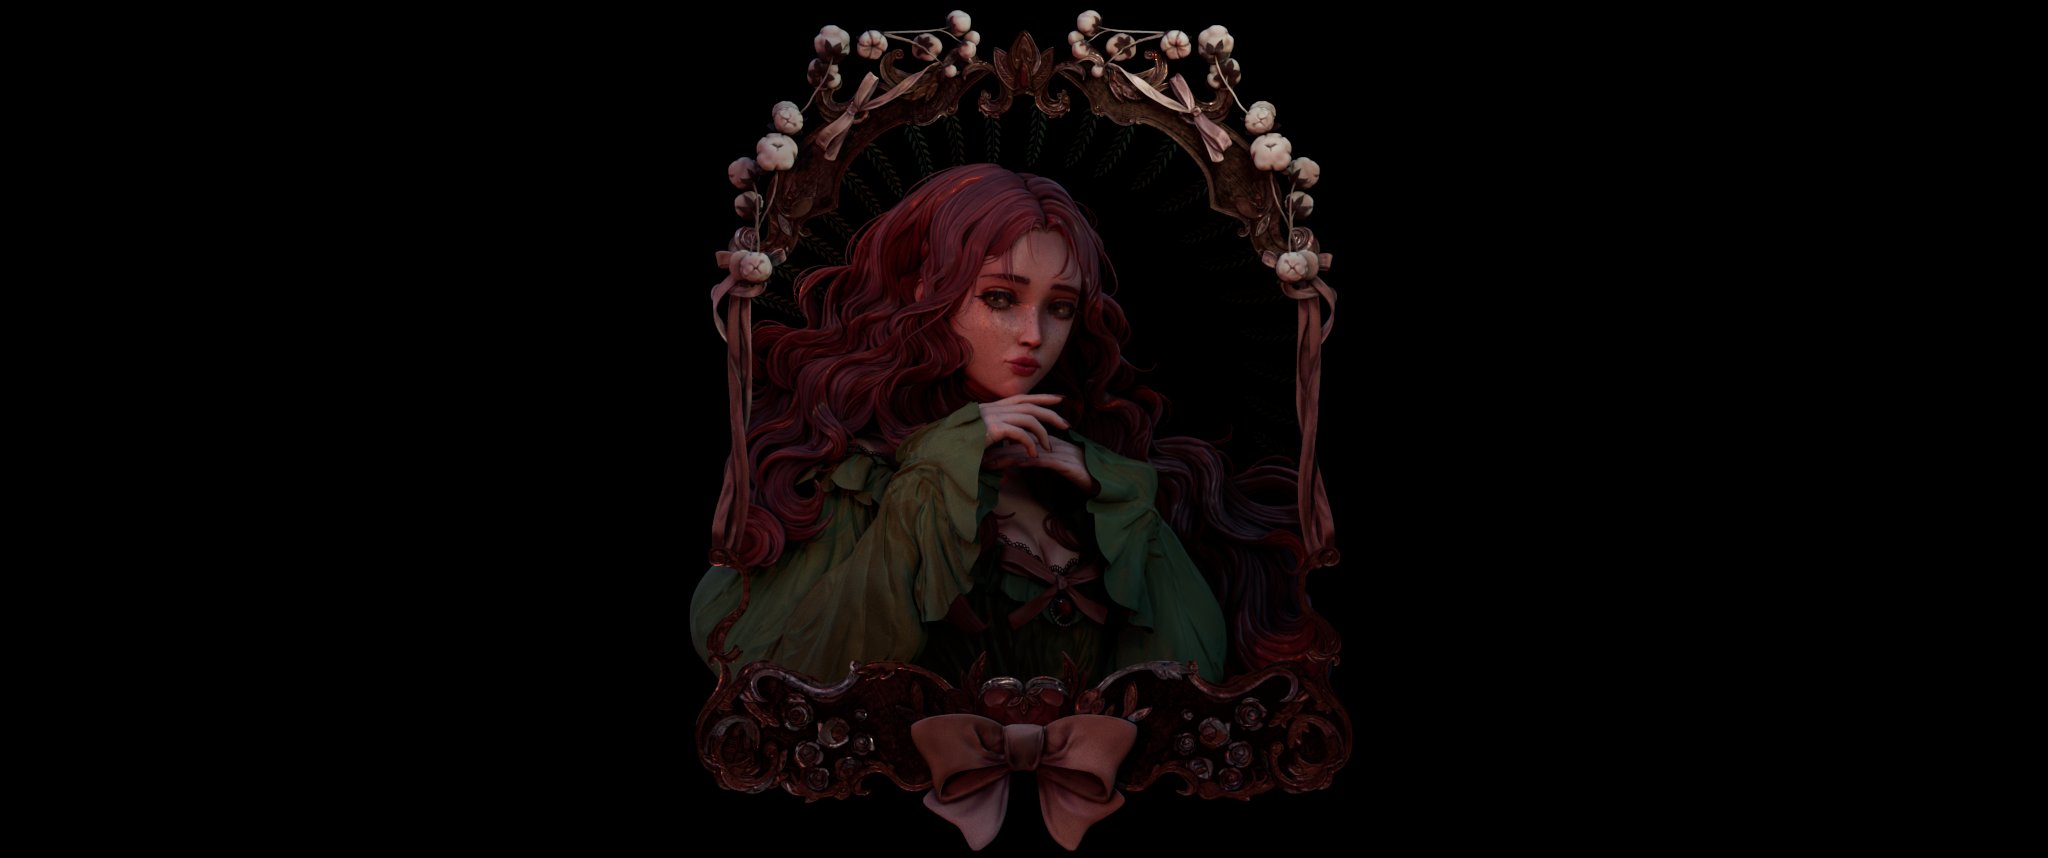
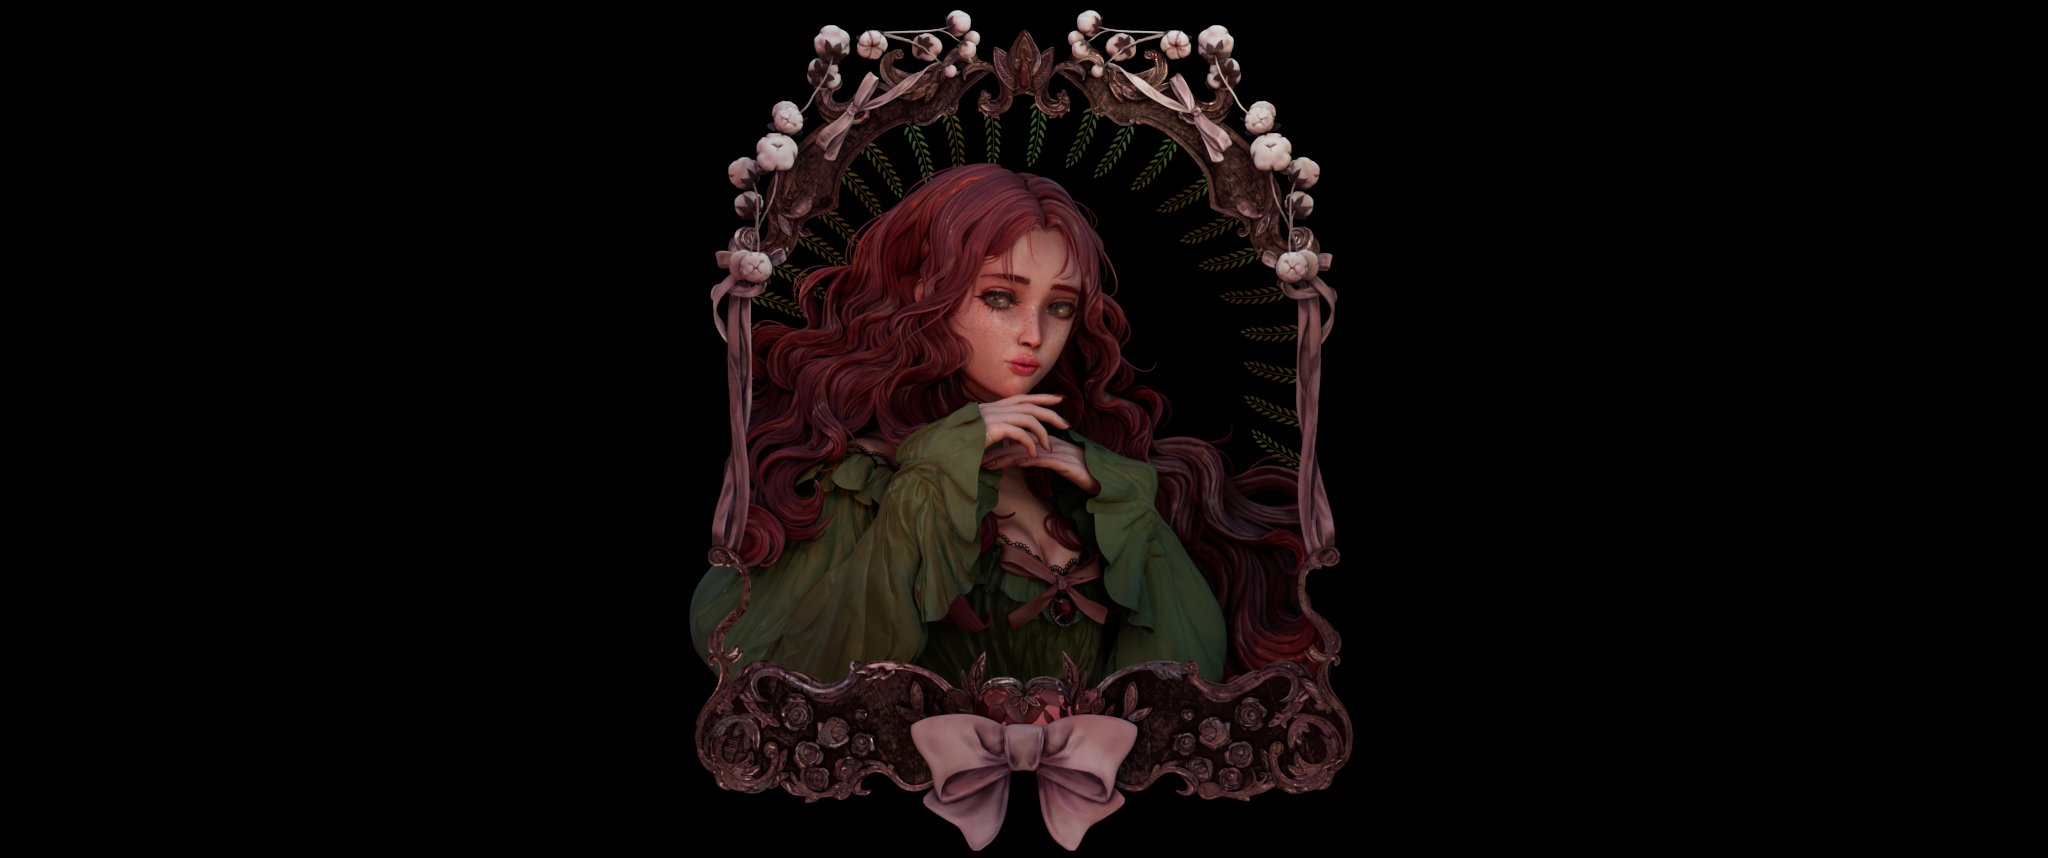
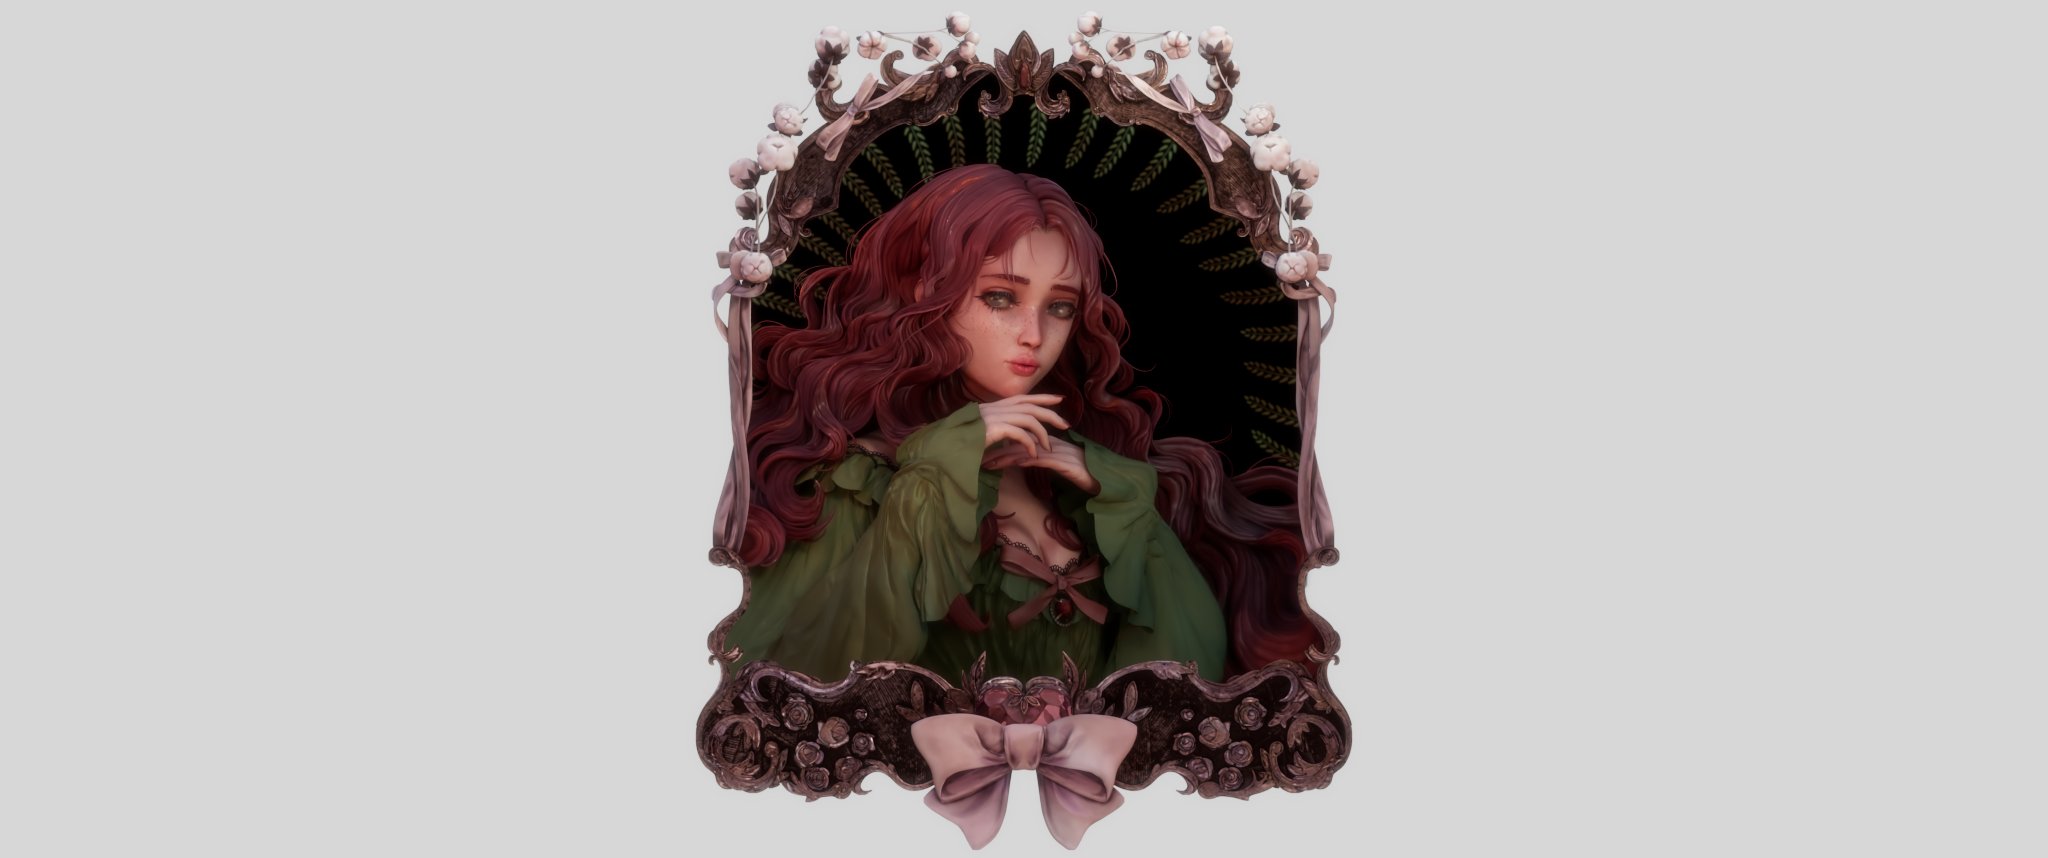
Caught in a Picture
Here's a breakdown of my latest demoreel sculpt, fresh off the digital sculpting table! I put a lot of hard work and passion into this piece, and I'm excited to share it with you. Take a peek and let me know what you think!
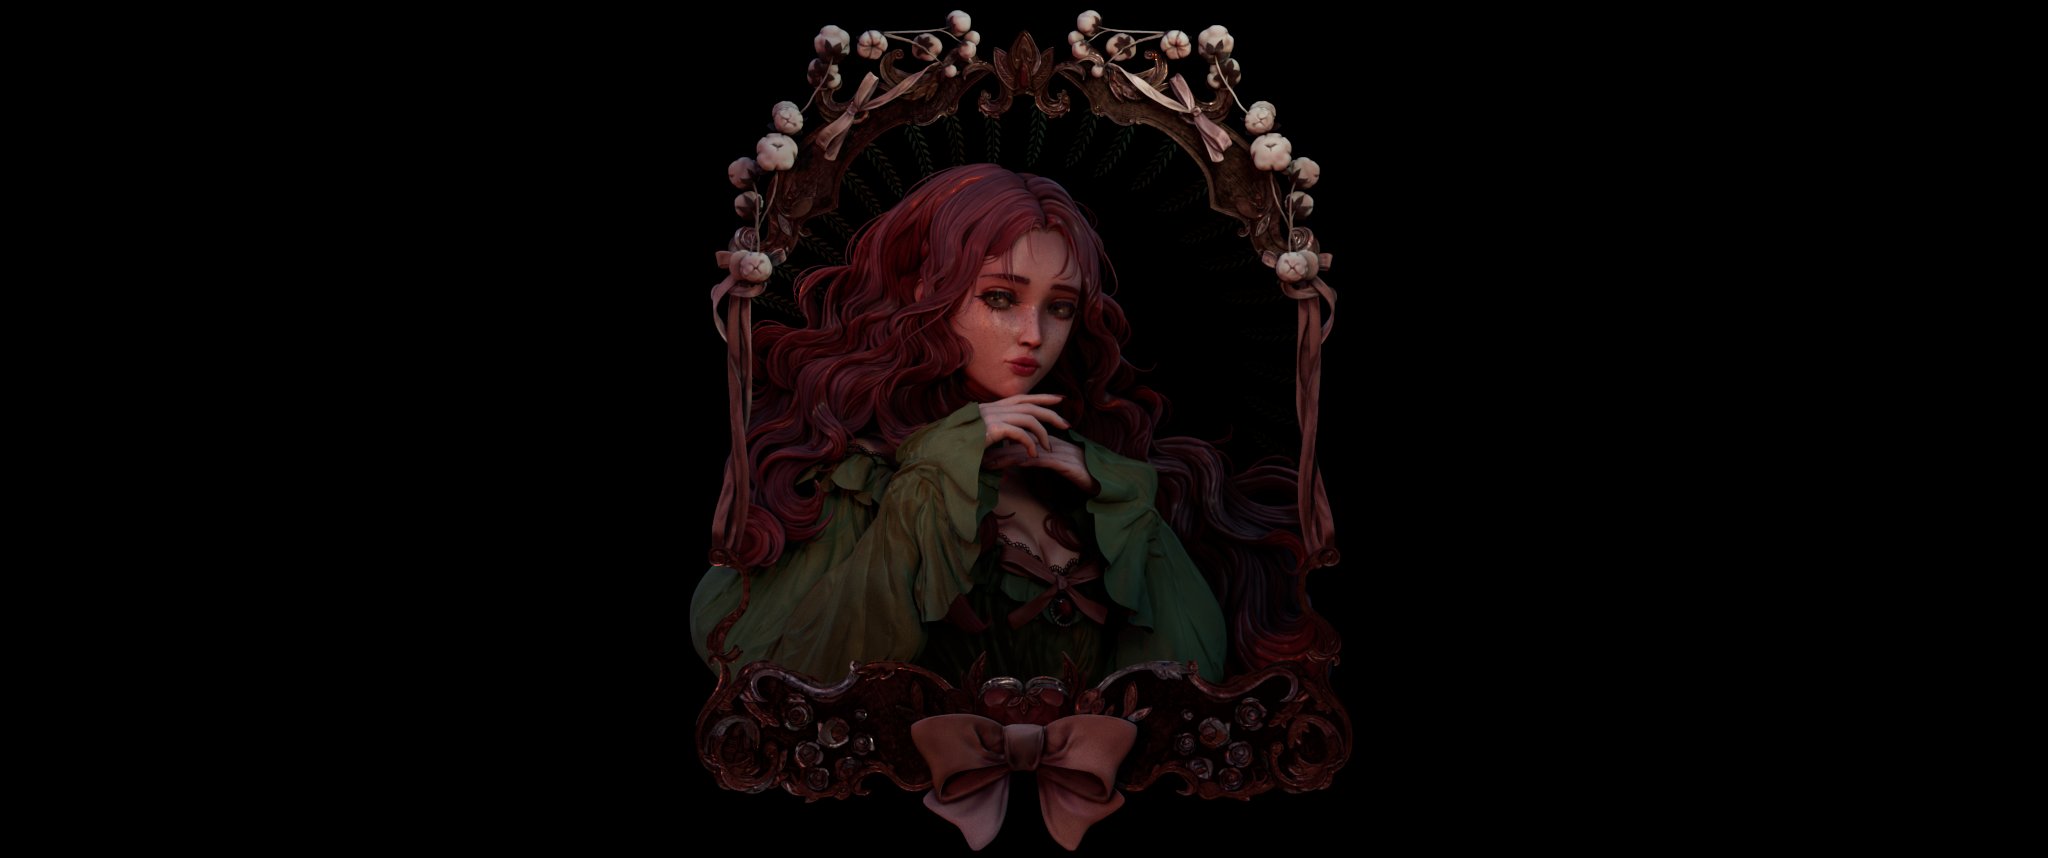
Caught in a Picture
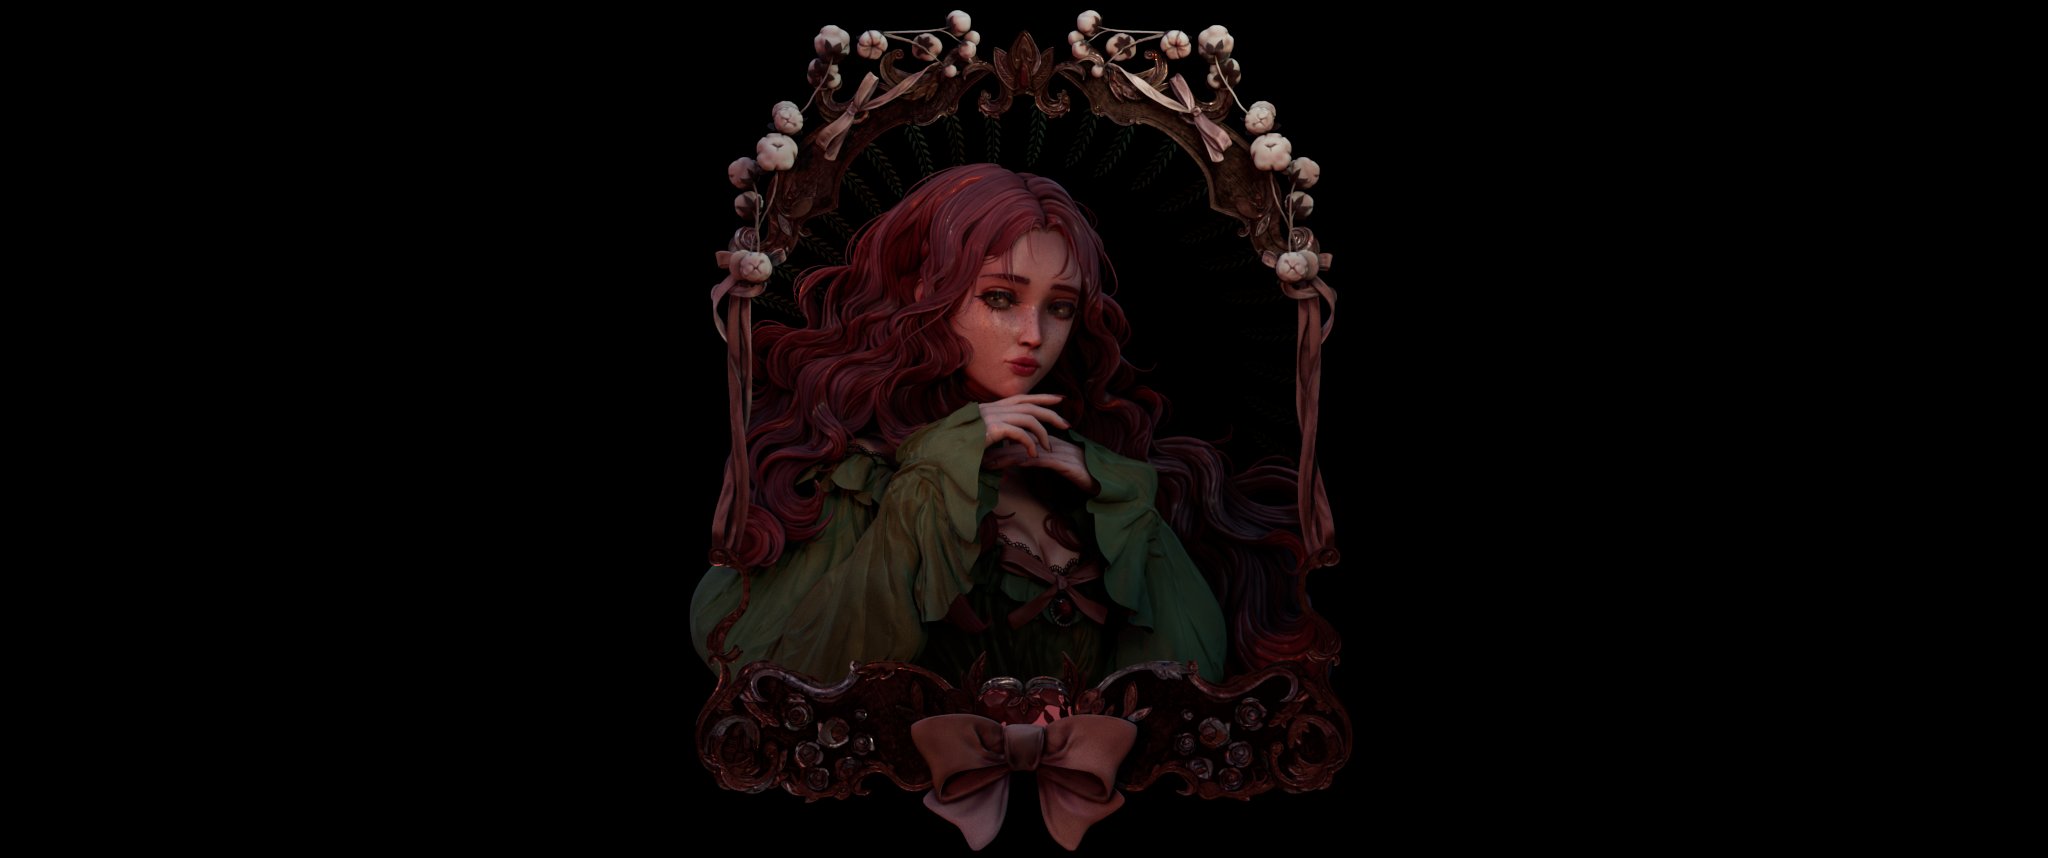
Caught in a Picture
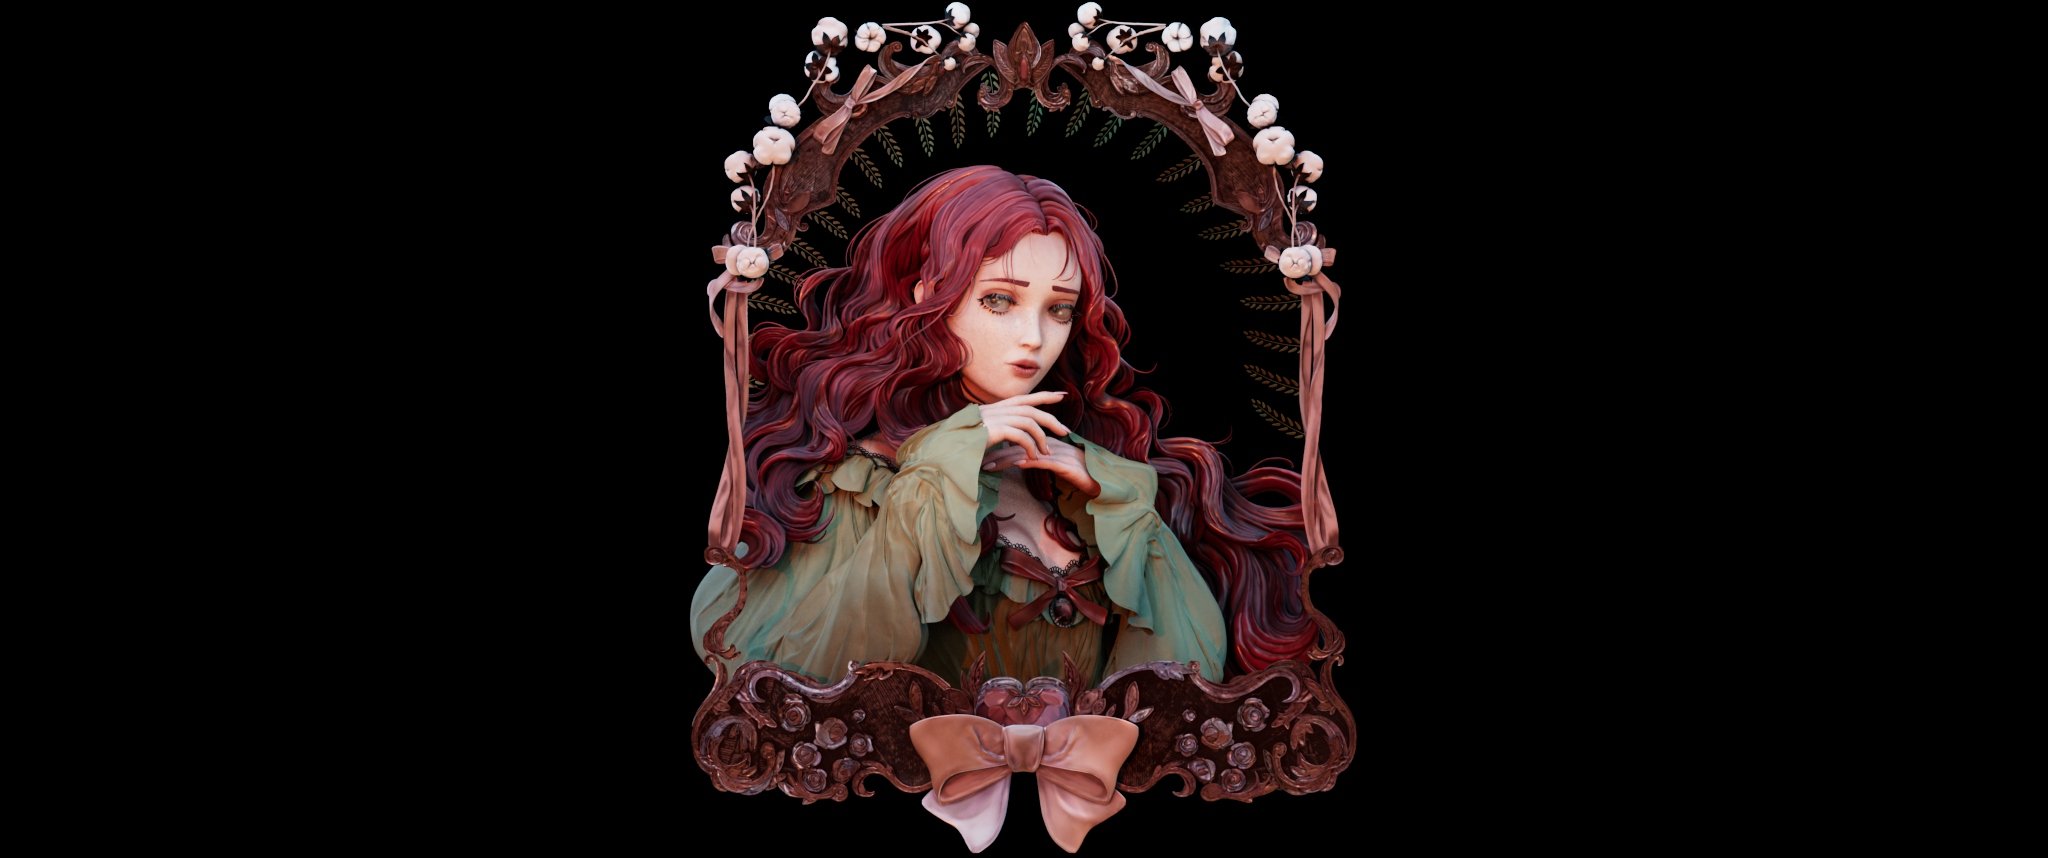
My project, titled 'Caught in a Picture' centered around a portrait of a young girl within an ornate frame. It captures a frozen moment that sparks curiosity. I've refined my skills in modeling and texturing, shaping this project to my growth.
Beyond being a project, 'Caught in a Picture' symbolizes my dedication to creativity. Join me on this journey, as we dive into the story behind 'Caught in a Picture.'
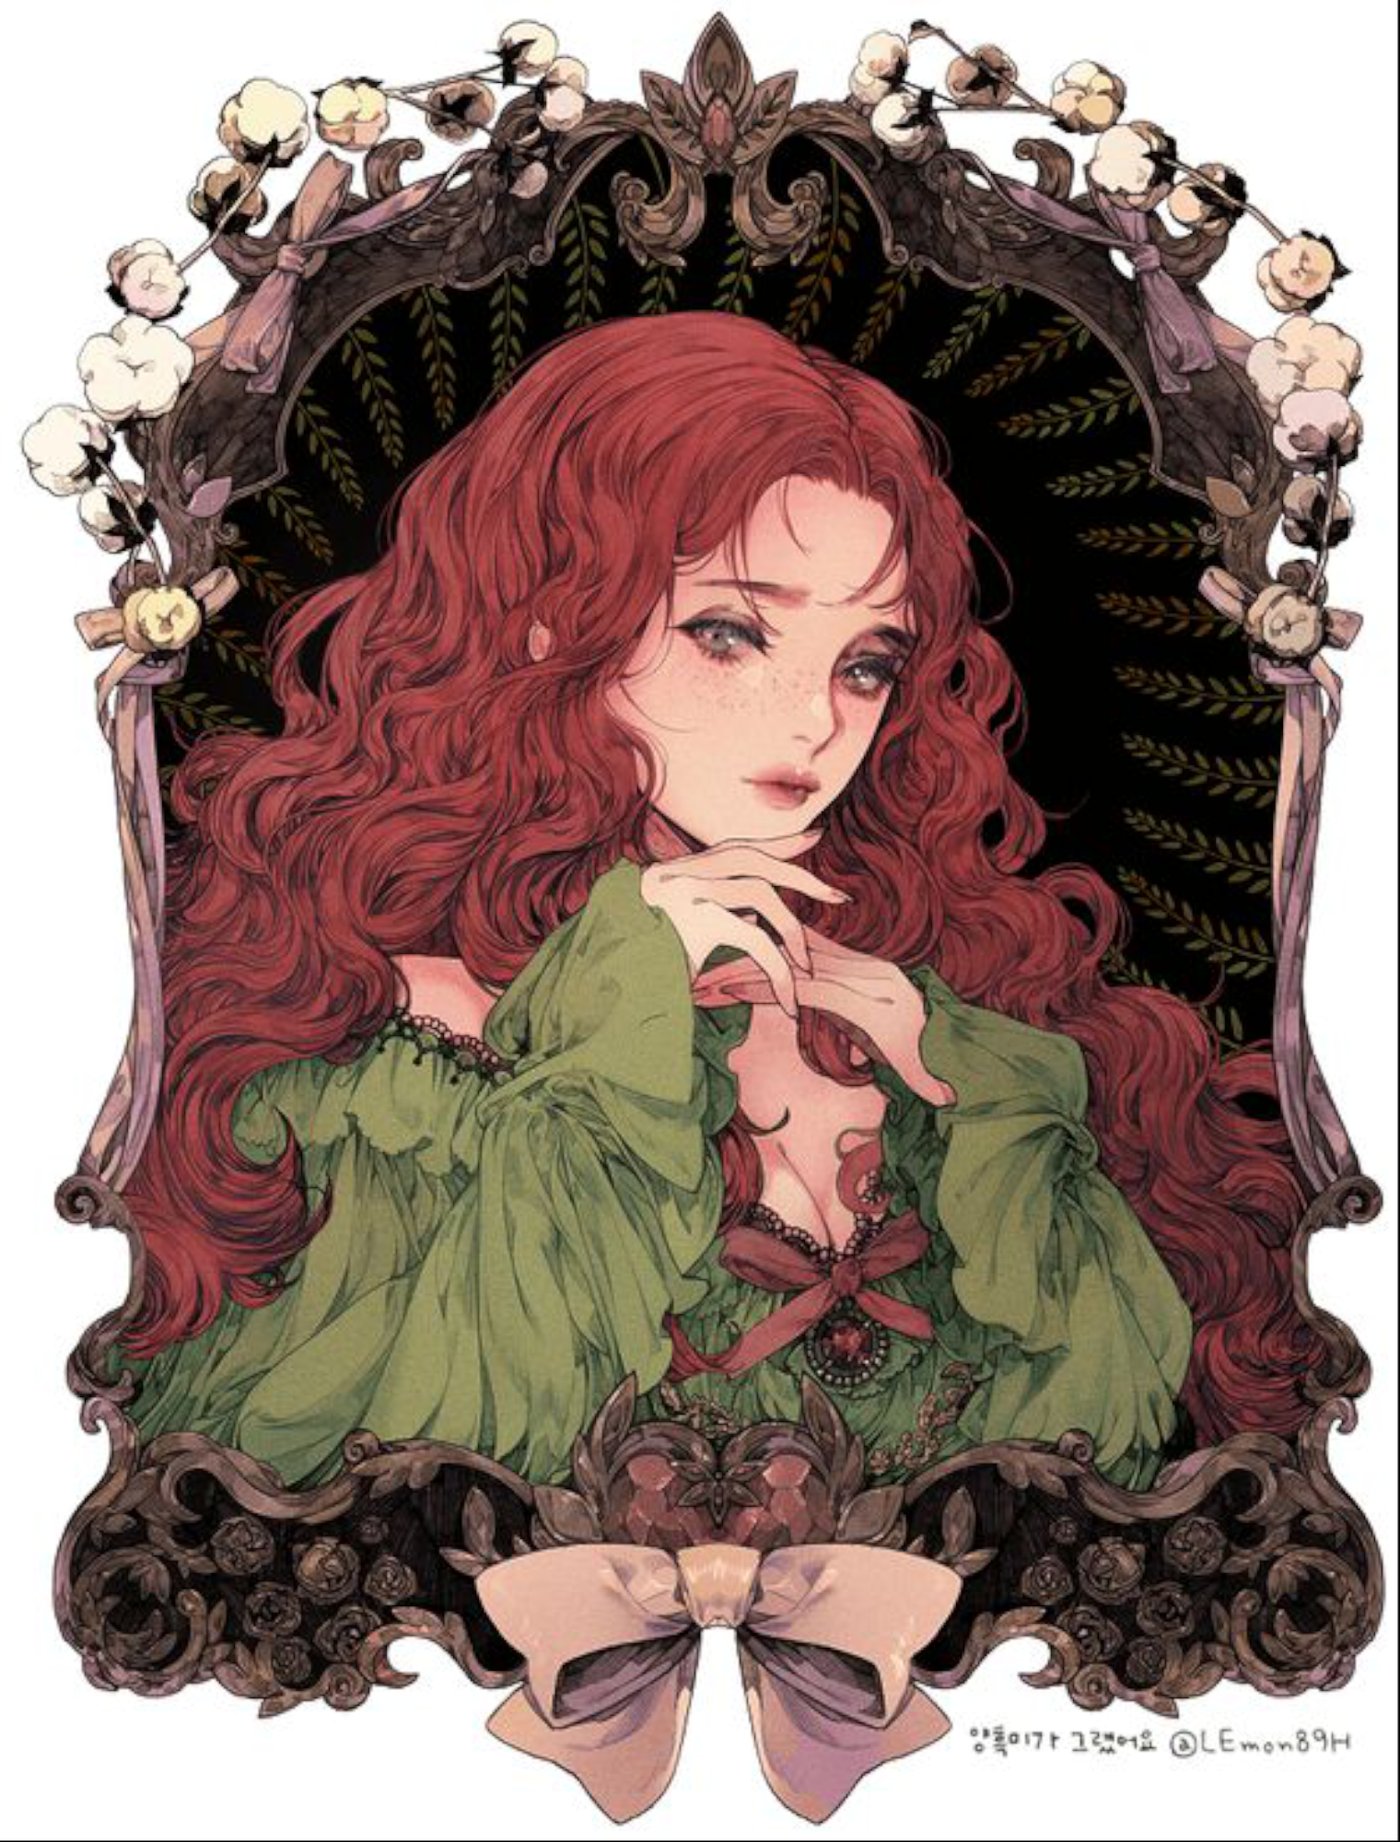
Reference
When I came across the concept art of this captivating character, I felt inspiration. It sparked the idea to bring her to life in 3D. This project became a labor of passion. Pushing me to explore my creative boundaries and resulting in a beautiful piece of art. And it all began with a single image that sparked my imagination.
I only needed references for her facial features, body, and skin.
Concept Art: lemon89h

Modeling
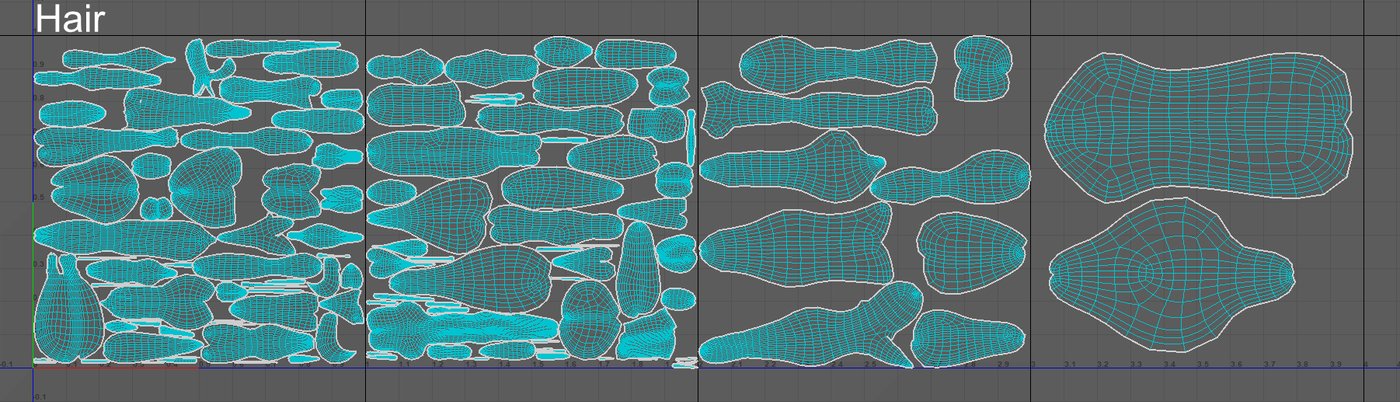
I had an amazing time modeling all the small details and ornaments of my latest project. The whole process was a real challenge, especially when it came to the hair. Instead of using XGen, I wanted to show off my modeling skills. Which meant I had to put in a lot of extra effort to get the hair right.
For efficiency, I began by placing the character in symmetry and focused on most of the displacement work at that stage. After this I moved on to the rigging phase with ZBrush to put her into the desired pose.


With the pose locked in, I was finally able to give her all the extra details. It was a lot of hard work, but the end result was worth it. I had created a stunning 3D model that captured the essence of the original concept art.
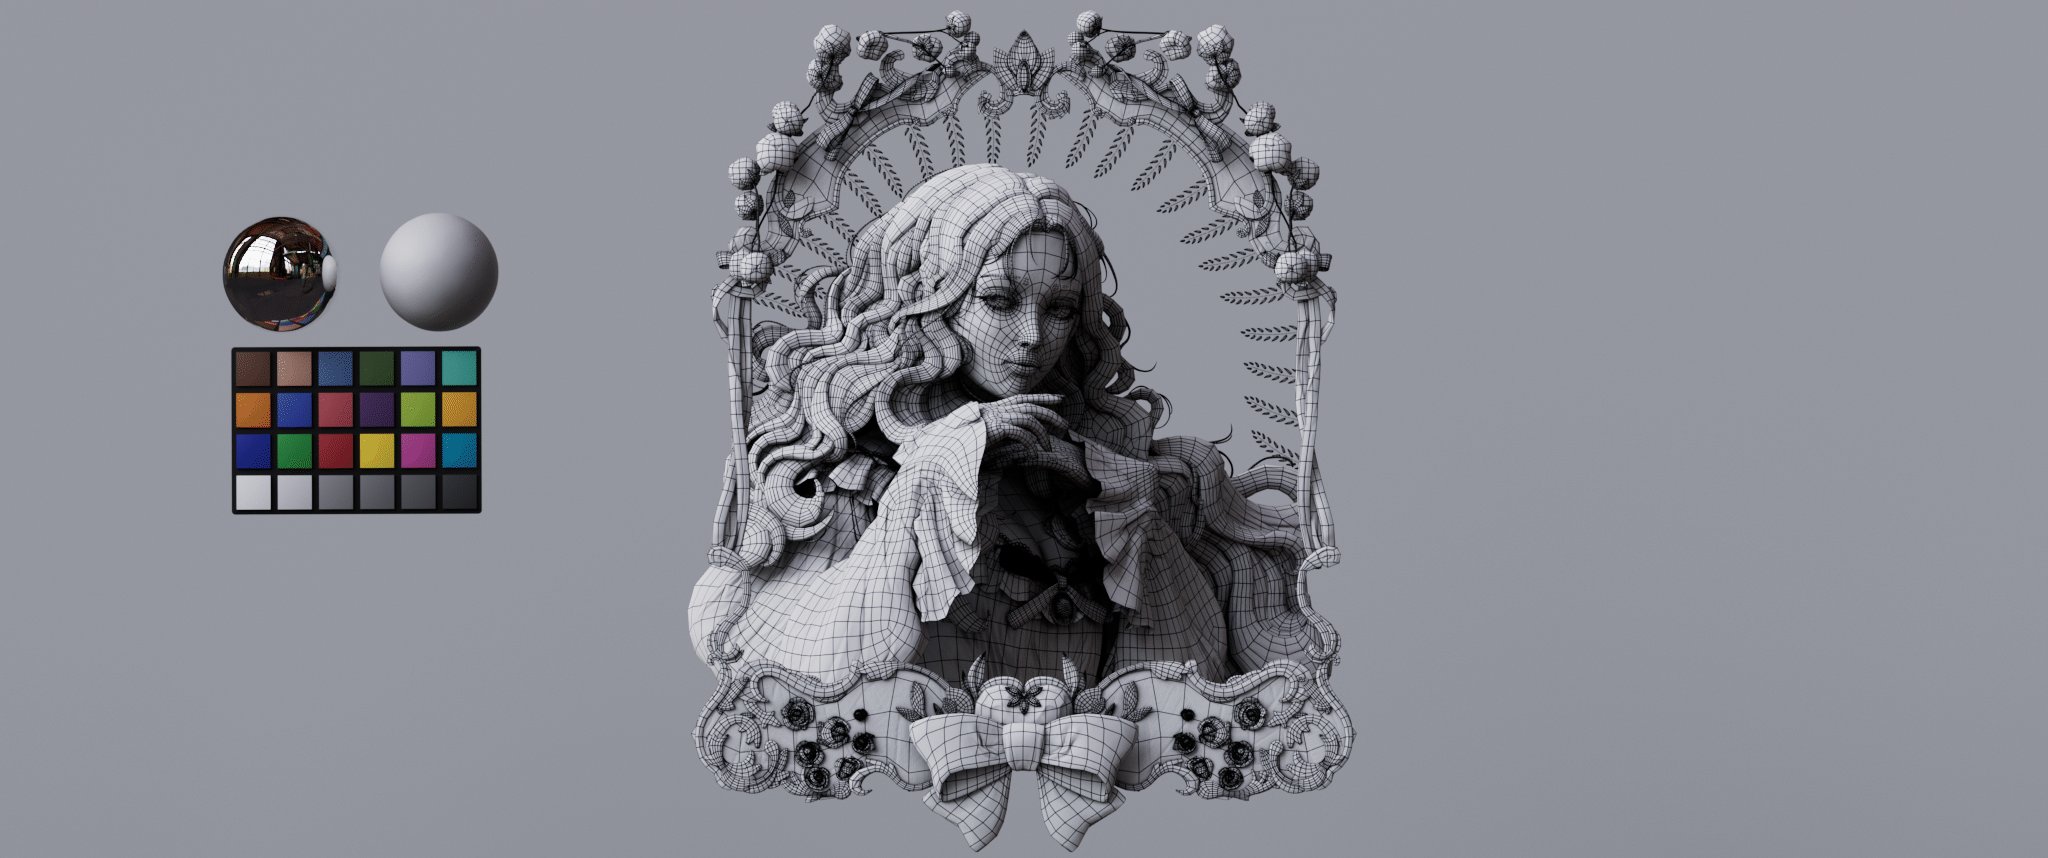
Details


I tried using hair brushes to create a basic shape. Then, I focused on making it look like the hair had volume with natural-looking interactions. Adding intricate details was crucial for achieving a realistic and appealing hair model.
Modeling the folds and wrinkles of the clothes was also a fun and satisfying part of the process. I took great care to study the reference images to create a realistic and believable effect.
It was a bit tricky at first. As I had to balance between creating the right amount of folds without overdoing it and making the clothes look too stiff. Yet, after some trial and error, I was able to achieve the perfect balance and create the desired effect.
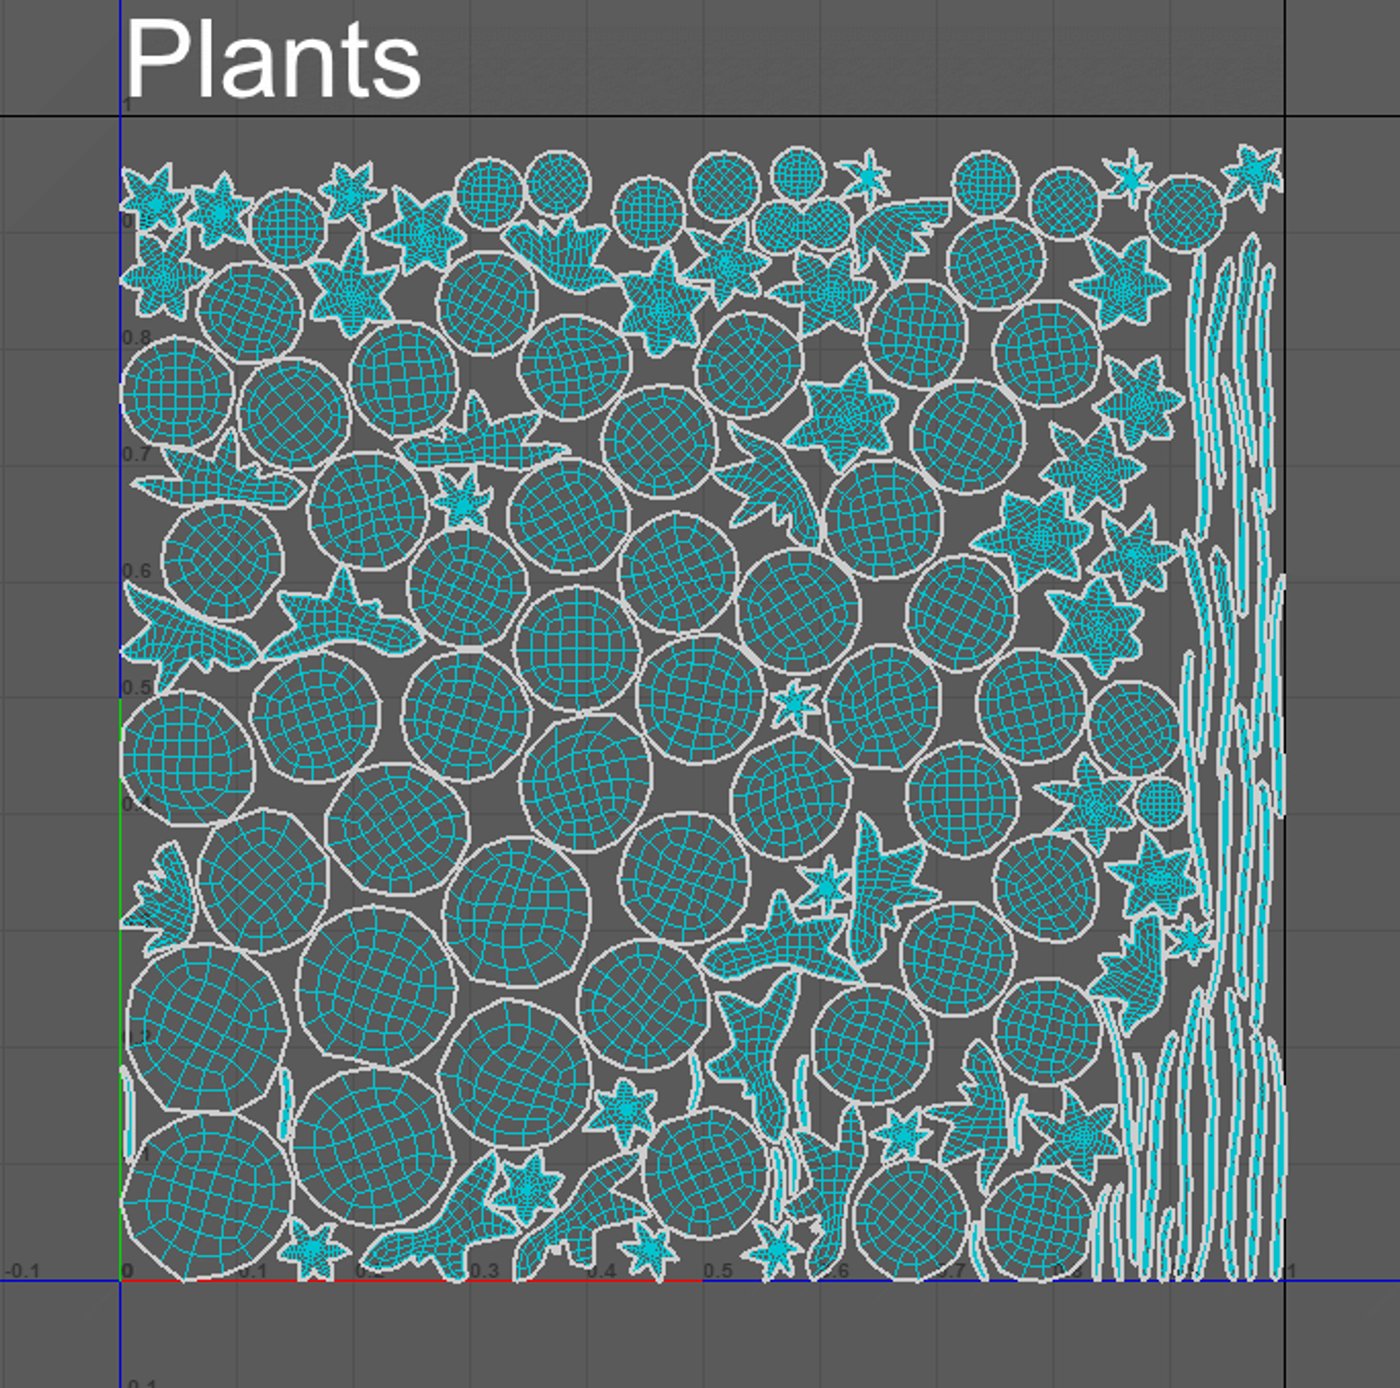
I had a lot of fun working on the framework of the 3D model, but it came with its own set of challenges. There were quite a few intricate details that I had to create, which added a level of complexity to the process.
Overall, the entire modeling process was a real challenge, but also a rewarding experience. I'm thrilled with the final outcome.


Turntable


Beauty/Ambient Occlusion/Wireframe


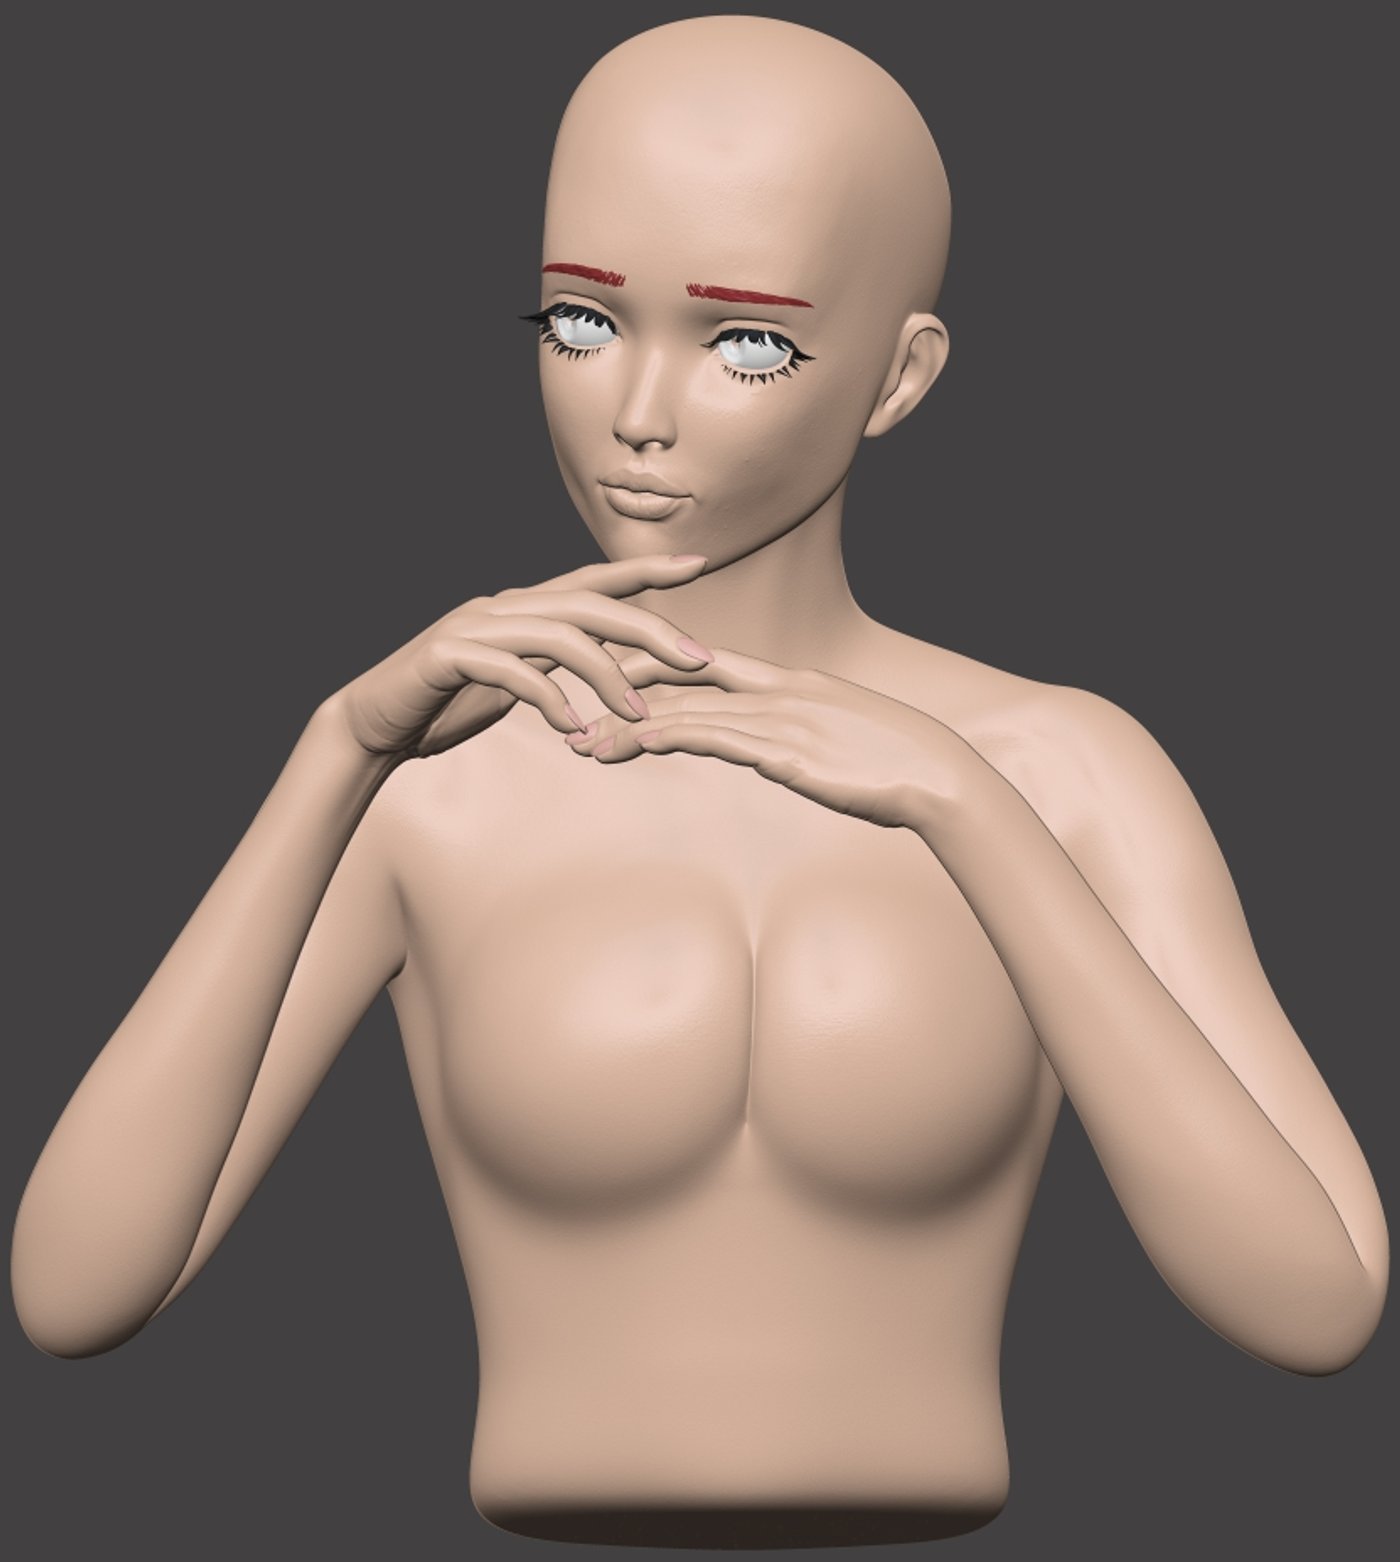
Hands
Modeling the hands was both rewarding and intricate. I focused on shaping each finger and palm, ensuring natural proportions. Adding realism meant crafting knuckles, tendons, and skin texture. I carved wrinkles, creases, and subtle veins with precision. Nails received attention with careful shaping and translucent details. These details brought the hands to life, infusing them with emotion and depth, enriching the entire piece.

Backside of the body
During the project, I decided not to model the character's back as it wouldn't be visible in the final render.
For detailed modeling projects, balancing efficiency and quality is crucial. Finding ways to streamline the process without sacrificing the end result is the key. In this case, skipping the back part of the character allowed me to focus my energy and resources on the parts that matter.
Since I handled the entire project, I knew how everything would interact. (Camera positioning and perspective) So even without modeling the back part, I was still able to create a beautiful and believable character that met all my expectations.

Typolopy
Designing the body was smoother due to my prior experience from a previous project. But, adding more details and refining the topology was a time-consuming process.
To speed up the process, I utilized the ZBrush retopology tool and performed a clean-up on Maya. While this saved me some time, it was still a challenging process to get the topology right.

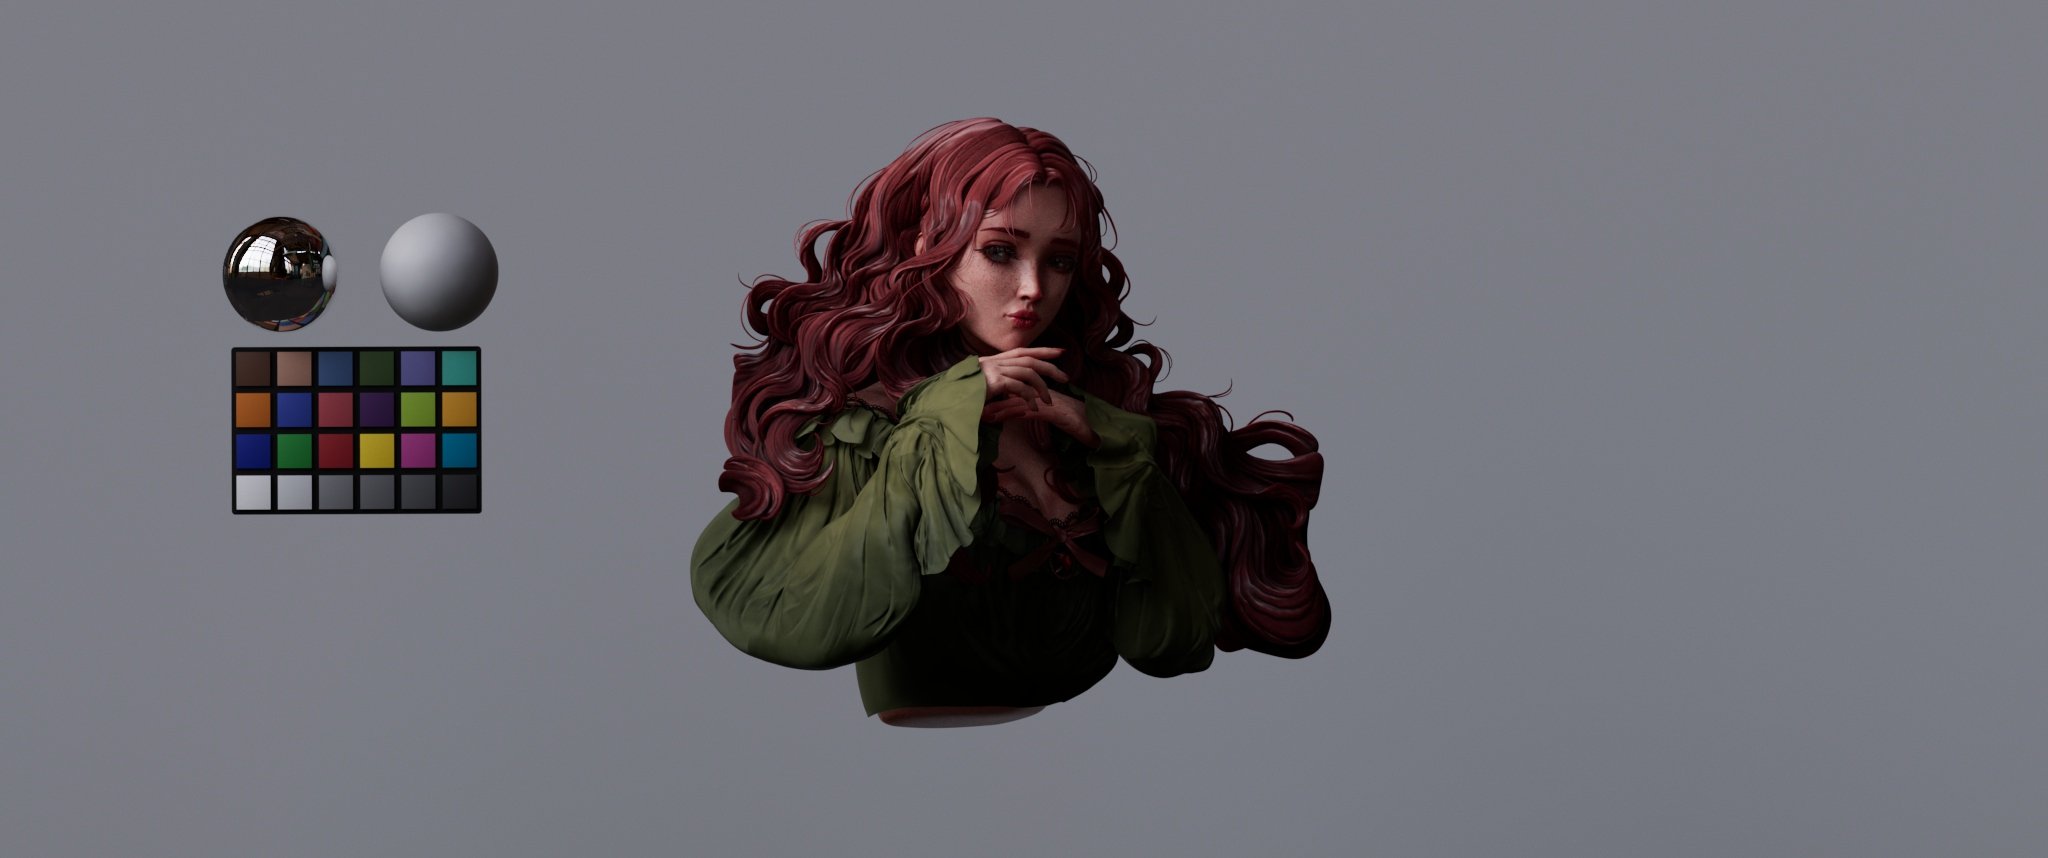
Texturing
Texturing was a highlight and Substance Painter was the perfect tool for this project. It allowed me to create textures that were both realistic and detailed.
I particularly enjoyed hand-painting most of the textures. Which gave me the flexibility to bring out the character's unique features. The skin texture needed a soft look to match the model's elegant appearance. Her cute freckles and red glossy lips were also given careful attention to ensure they looked natural. It added to the charm of the character. It allowed me to bring out the character's unique features and add a personal touch to the project.
The texturing process was enjoyable. It allowed for the creation of a character with intricate details that made her even more captivating.


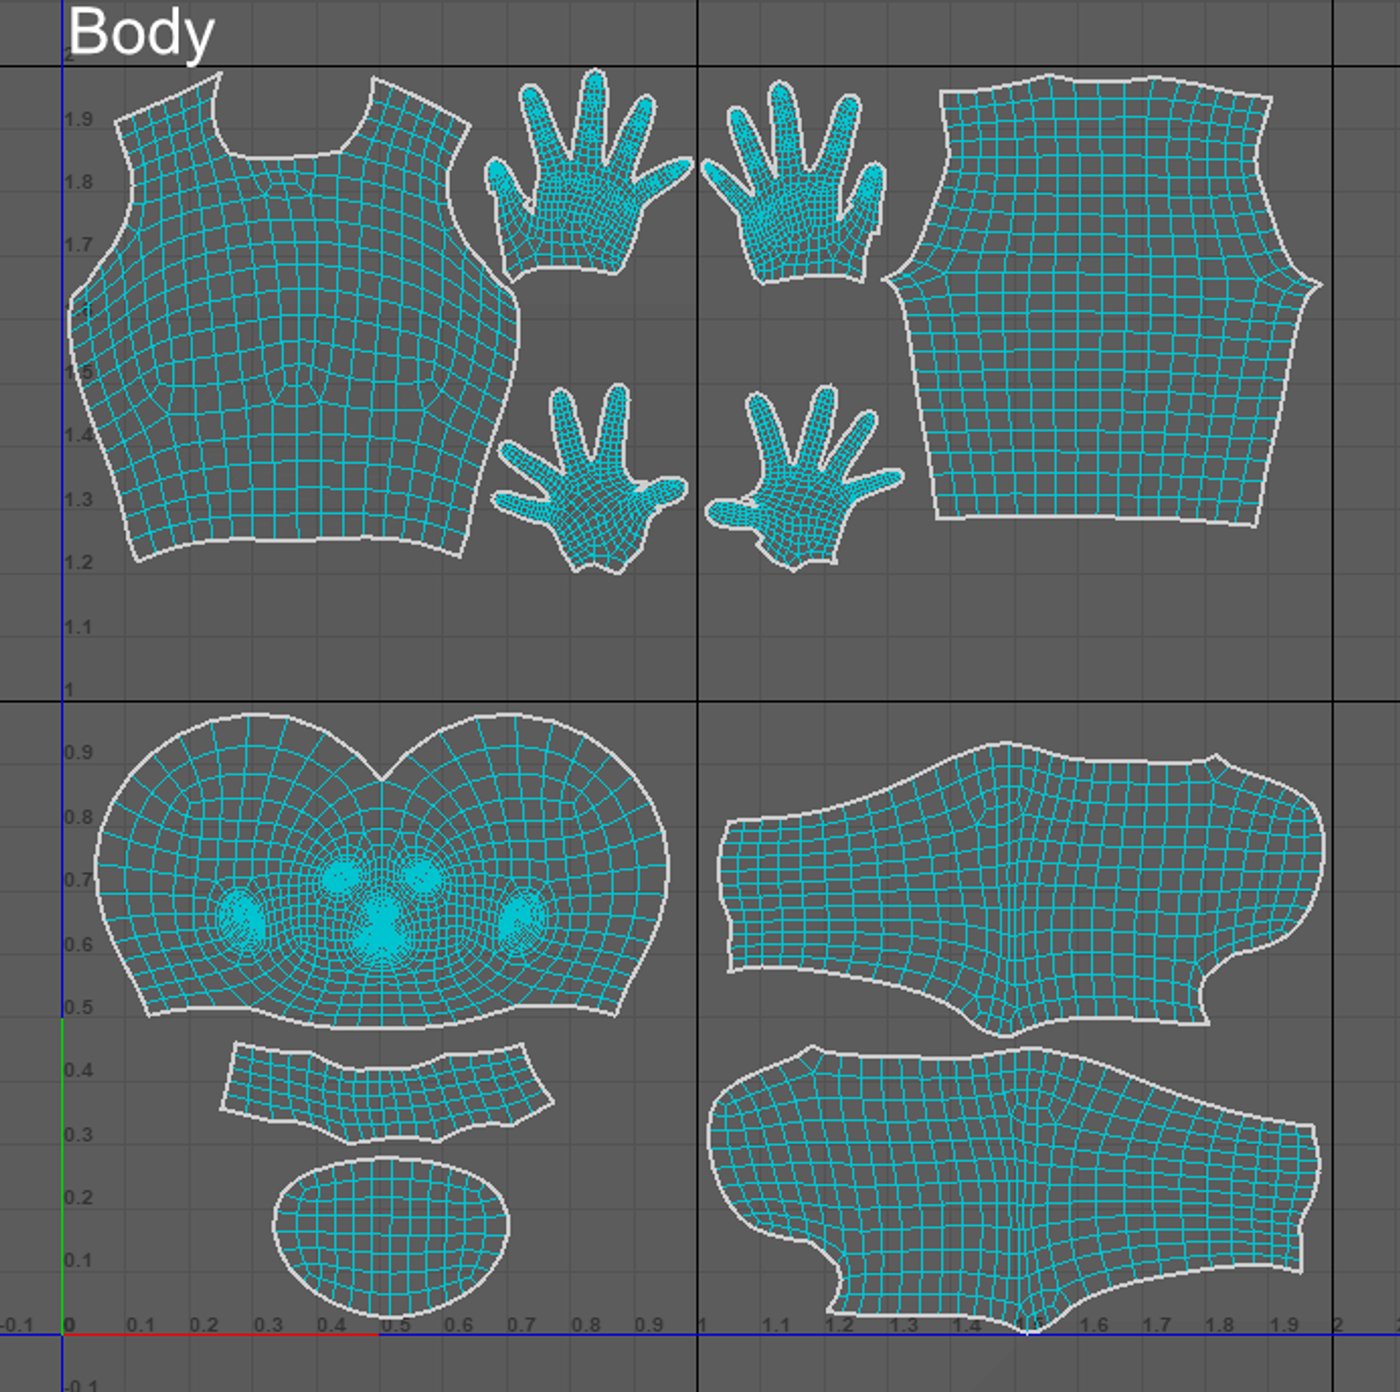
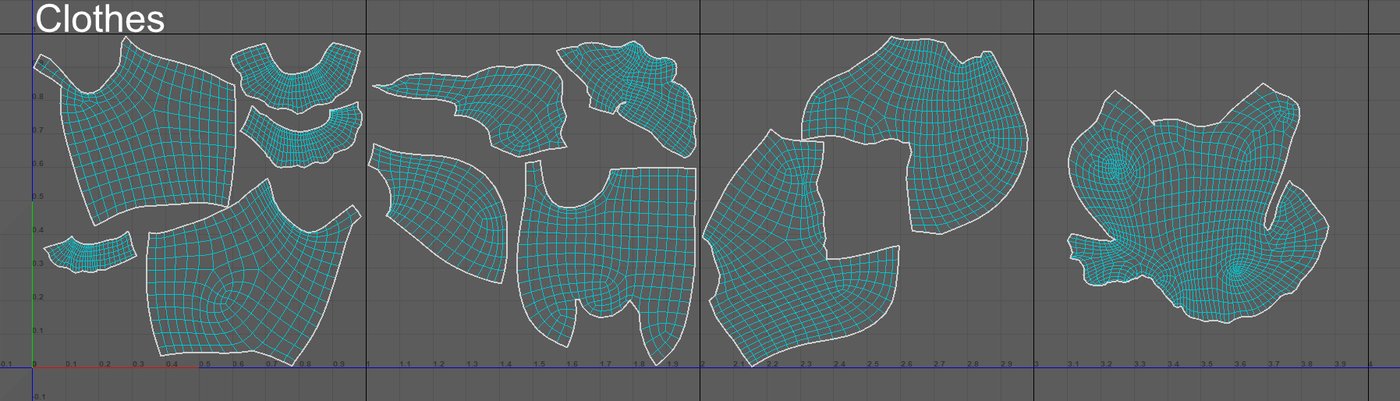
UV's
UV unwrapping was a real challenge for this 3D model due to its intricate details. It took a lot of effort to ensure that all parts of the character were well mapped to their respective UV space. But the end result was worth it.
The final render highlighted her distinctive features, including her freckles and smooth skin.


Lighting
I wanted to share my process of adding lighting to my 3D model. It was a lot of trial and error, but it was also enjoyable. In the beginning, the lighting looked terrible. As I familiarized myself with ACES (Academy Color Encoding System), the lighting improved, achieving a more natural and appealing look. ACES is a standardized color management system used in digital media creation. It ensures consistent and accurate color representation across devices and platforms, including software like Maya.
I'm grateful for the previous project that helped me learn a bit about ACES from the lighting artist. Working with ACES was a bit challenging, but it was worth it in the end.

Step by Step
I also want to guide you through the step-by-step process of how I incorporated lighting into my model. This way you can follow the change and grasp each element's role in shaping the visual impression.


Compositing
In the final step of the compositing process, I made some small adjustments to the model. I removed the side parts to create the illusion of her sitting within the image. Additionally, I used a glow effect and applied color adjustments to enhance the final composition. I also decided to use a white background to create a cleaner look. It was a simple but necessary step to bring the entire project together and achieve the desired result.


Comments (1)