
Phil Laschewski | Environment Artist | CG Generalist

Welcome to my entry for this year's Rookie Awards! Featuring two new projects, I'll take you on a little journey through the creation process of my reel. I'm excited to share these projects with you and look forward to potential opportunities that might arise from this year's entry. Enjoy!
Phil Laschewski | Environment Artist | CG Generalist
About Me
Hi there! My name is Phil. Having graduated in April of last year from PIXL VISN | media arts academy, I’ve been looking forward to finding my entrance into the VFX industry. Since then, I was able to add two more projects to my reel. In this year’s entry, I’d like to focus on these projects and explore them in depth. I hope you’ll enjoy!

Beyond The Track
This project marks the first addition to my reel after graduating. The idea came from an original video series from Red Bull, in which Formula 1 cars explore unconventional places like cities and countrysides across the world. What captured me at first was the fast-paced nature of these videos. Being edited with many rapid cuts, intense music, and the F1 car racing past the camera, the series was very exciting to watch.
With this project, I wanted to capture the essence of these videos, the fast-paced editing, and the same excitement that I got while watching the series. Additionally, this type of project would enable me to focus on one complex set of hero assets while being able to work with them in the context of different environments.
For this project, I decided to recreate one of the city locations and one desert-like steppe environment, seen in these videos, while adding a third location, the racetrack, for the last shot as I liked the idea of the F1 car returning 'home'. I chose to settle on a mix between trying to recreate and match some of my favourite shots as closely as possible, within the timeframe I had set for myself, while also creating some shots and camera angles on my own that would fit the editing of the project.

Reference
Finding good references always lays the foundation for every project. With this project, it was no different. First of all, with the aim of matching some shots very closely, I had to gather and analyze the shots I wanted to recreate. Understanding the camera position and movement, editing style, and selection of environments was critical to achieving the same sense of excitement as in the original series. This also included composition, lighting, and key aspects of the scenery, like streets, foliage, and buildings.
Next to that, the reference was also critical for the creation of the Formula 1 car, steering wheel and helmet. With the helmet and many parts of the Formula 1 car consisting of complex and organic shapes, it was important to gather references for these assets from as many different angles as possible to understand the shapes correctly and match their real-life counterparts.
Reference was also used in texturing to match the design of the F1 car and the helmet, including the logo placement and design for each. Another critical point for good reference was in look development. While the general look of the assets is very clean in the original series, it was also important to add micro details in the form of specks of dirt and dust, scratches, fingerprints, and similar, to add the necessary realism when inspecting the assets closely. Following is a small extract of the key references that I used in creating this project.

Environment – City
Starting off with the city environment, I used the second shot, where the complete street would be visible, as my main reference for creating this environment. Initially, I began blocking out the path and size of the main road within the Solaris context in Houdini. This included blocking out the rough placement of the F1 car, ensuring everything was to scale, and positioning the camera accordingly. After establishing the general composition and confirming that everything was heading in the right direction, I continued refining the scene. Beginning with the street and rails and continuing with the sidewalks and buildings.
Some of the more unique buildings, such as the one in the front right with its large glass windows, the black building on the left, the reflective skyscraper, and some other background buildings that were important for the general look of the shot, I created on my own with fundamental modeling techniques directly in Houdini. The other buildings were assembled using different assets from the Quixel Megascans library. I chose different parts from their library, imported and prepared each part, and assembled the remaining buildings together, occasionally needing to modify pieces and creating and adjusting their shaders to better match the reference.
Continuing to utilize their library, the next step was to dress the sidewalks and scatter cardboard boxes and similar objects on the street. One of the last steps involved adding the background cars, for which I mostly used models from TurboSquid. This was followed by finalizing the lighting, Formula 1 car, camera and background cars animation, shader tweaks, ensuring that I'd be able to control the car lights later in compositing, rendering, and, lastly, compositing.


Environment – Steppe
The general process for this environment stayed relatively the same, except for switching the city building out for more of a focus on scattering the foliage. I started off with analyzing the variety of plants and their location in the reference, then continued with searching for matching foliage. In this example, the different patches of bushes and plants were quite elongated, parallel to the road and following the direction the car and camera were moving in.
With the scattering techniques used in this project being very similar to those of my previous project, I'll not delve deeper into this here. If you’d like to have that more in-depth, step-by-step look at how I usually assemble my scenes and handle the scattering, I’d encourage you to have a look at my last year’s entry for The Rookies.


Environment – Racetrack
For the last environment, I kitbashed together several of the Megascans assets to create the barriers. Then, I moved on to creating the curbs and scattering the grass along the track's run-off area. Scattering taller grass near the barriers and shorter grass in areas that would typically be mowed. I also scattered small pebbles across the road to add more realism. The next steps involved lighting and rendering.
For compositing, with a similar approach as in the previous shots, I started with color corrections, the sky, light wrap, glow, and motion blur. Continuing with various lens effects including lens distortion, chromatic aberration, halation and lens dirt. Finishing with camera shake, grain, vignette, and combining different LUTs to achieve the desired look.


Houdini Digital Asset – Tool For Converting Assets into USD
As the environments required the use and testing of various assets from the Megascans library, I decided to create a little tool, a Houdini Digital Asset, to simplify and accelerate the process of converting these assets into USD and importing them into the Solaris context in Houdini.
To create a USD asset, you start by setting a name and save path for the new asset. Next, input the folder location of the Megascans asset that you want to convert, noting that the last part of the folder name is often the same as the suffix used for the textures. You can then adjust the resolution to match the downloaded textures and modify the number of variants based on the available quantity with the asset and whether you want to limit the number of variants.
If I were to further work on this tool, simplifying this process further would probably be my first priority. Ideally, the HDA would automatically detect the suffixes and resolution, requiring only the folder location.
This HDA also creates a proxy version of the asset, which includes a USD preview shader and the possibility to reduce the polygon count as needed. After setting these parameters, you are ready to convert the textures into ACEScg and perform basic shader tweaks directly in the HDA using a MaterialX shader. Finally, you are ready to save your USD asset to the disk, create a thumbnail, and, if you want, add it to an asset gallery.
This setup utilizes the Component Builder as a foundation and is further extended with said features, built to work with the folder structures used when downloading Megascans assets. The folder structures for downloaded assets from the Megascans library can vary between assets. Categories such as 3D Assets and 3D Plants, for example, have different structures from each other, with even additional outliers from them, making it necessary to have different versions of this HDA. However, this isn't as significant of a problem since this setup is easily editable to accommodate the different folder structures, requiring only minor adjustments in the first stage of importing the asset and separating the variants.
Assets
All of the assets were created in Maya, starting off with setting up the reference and then moving on to modeling the Formula 1 car, steering wheel and helmet. Ensuring that my models are subdivision-ready, matching their real-world scale, free of intersecting geometry, and overall, consist of clean topology. Aiming to match the reference as closely as possible in shape and degree of detail, creating a believable asset in the process.
After modeling is done, I continue with UV unwrapping each asset. For that, I'm staying in Maya and making sure to unwrap every asset efficiently, creating as few seams as possible and ensuring that they are in spots that won’t affect the texturing process. At the same time, I make sure that each asset has a fitting and consistent texel density and is free of any stretching or distortion.
For the texturing process, I switched to Mari. As the assets were supposed to have a very clean look, most of the time in Mari was spent creating all the different designs and logos that cover the assets. Using projections and painting parts of the design by hand to achieve this.
For the last step in creating the assets, I went back to Maya. There, I developed the final look by creating various shaders in Arnold. Using tileables, procedural techniques, and regular shader settings to create different materials such as the fabric inside the helmet, carbon parts, the tires, the transparent plastic parts, and the iridescent helmet visor. The visor was especially interesting to create, using the facing ratio and an RGB Ramp in Arnold to drive the color of the coat. I finished by combining and tweaking different grunge maps to add final details and realism with scratches, specks of dirt, and fingerprints.


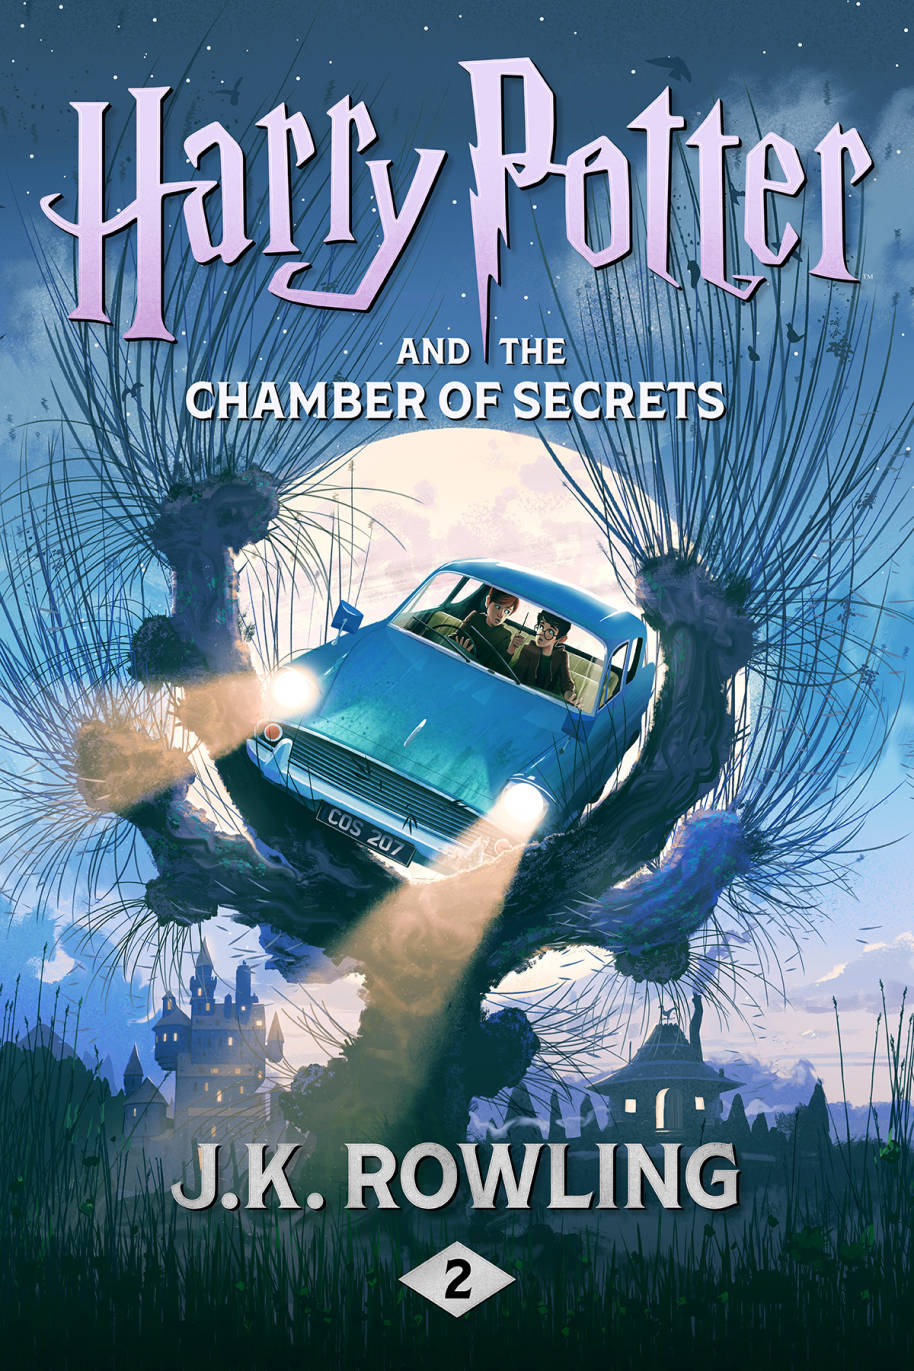
The Whomping Willow
The idea for this project came from one of the cover arts for 'Harry Potter and the Chamber of Secrets.' I really liked the design and the idea of recreating it in 3D. Having the moon in the background also gave me the opportunity to steer the shot more towards a mysterious, eerie direction.
Besides creating another complex asset with the Ford Anglia 105E from beginning to end, I was able to expand my knowledge of SpeedTree. Creating the Whomping Willow itself and learning more about the tools and techniques available in SpeedTree to art direct and design a hero tree. Utilizing features like hand drawing the twisting trunks, creating the pollarded look of at the end of the big branches, using decals, and more. Working with references throughout the process to capture the look of the Whomping Willow, creating a mix between real-life pollarded willow trees and the movie reference.
After finishing the Whomping Willow in SpeedTree, I further improved the asset with shading in Houdini. For that, I created masks based on ambient occlusion and direction to add additional layers of detail for dirt and small twigs collecting in cavities, and for moss growing on one side of the tree. Finishing with the scattering of fallen leaves on the Ford Anglia and the Whomping Willow itself.

Journey Through The Snow
For the sake of completion, I’d also like to briefly mention the first project that I created for this reel, which also marked my first-ever entry into The Rookies last year.
If you’d like to see the full, detailed breakdown of this project, I'd encourage you to take a look at my entry from last year. There I described my process of creating this project in depth.

And that's another wrap!
I hope that you enjoyed my entry for this year’s The Rookies and got a more in-depth look into how I created these projects. With everything that I learned along the way this past year, I definitely feel more ready for the industry than ever before.
On that note, I’d also like to add that I’m currently actively looking for opportunities as a junior, trainee, or intern. I would love to finally be part of a bigger picture, finding a place where I can continue to learn and improve further. Working together with other awesome individuals, creating stunning visuals to be proud of. If you know of such a place, I'd love to hear from you!
While I’m currently located in North Rhine-Westphalia, Germany, I’m very open to relocating to the UK or other parts of Germany.
That being said, I genuinely thank you for taking your time and looking at my entry!
~ Phil Laschewski


Comments (1)