
Library
This was a 3D project I did recreating a print by Yyish applying skills I had and learning some new ones.
Library

The idea for this project was to demonstrate what skills I have, to show them in my demo reel and acquire some new ones through this journey.
It all began when I saw this amazing print of Yyish on Pinterest. I wanted to recreate it but with a more cartoon look by changing some shapes. So I started looking for some references for cartoon building and plants.
Among others, I chose some pics from Jasmin Habezai-Fekri, Tatiana Devos, Jourdan Tuffan and some keyframes from Up as references.


A hard task was to find each type of plant and find a stylized look for each one. I gathered more references and tried to keep the main characteristics and change their shape or color.

One of the main goals I set for this project was to create all props from 0 with quad topology.
Beginning with a proxy of all the scenes, after that I separated each prop on a different scene to later reference them in the main scene, as in a production.
I was worried about the high quantity of topology I might be ending with for the plants so It was extra challenging deciding where to sacrifice shape for low geometry.


I also wanted to practice some sculpting so I gave some more detail to a couple of props.

Another goal I had was to make all the textures by myself, using Adobe Substance Painter.
I did some base materials that I reused for all props, tweaking or changing them and setting new layers so they where ready to export.


I've always wanted to learn some new render engines. This was a perfect opportunity! I decided to use Renderman in this project!
It was hard!
I had never self-taught myself a software before. I learned the importance of setting namespaces to references, making new shaders and solving some render issues along the way.
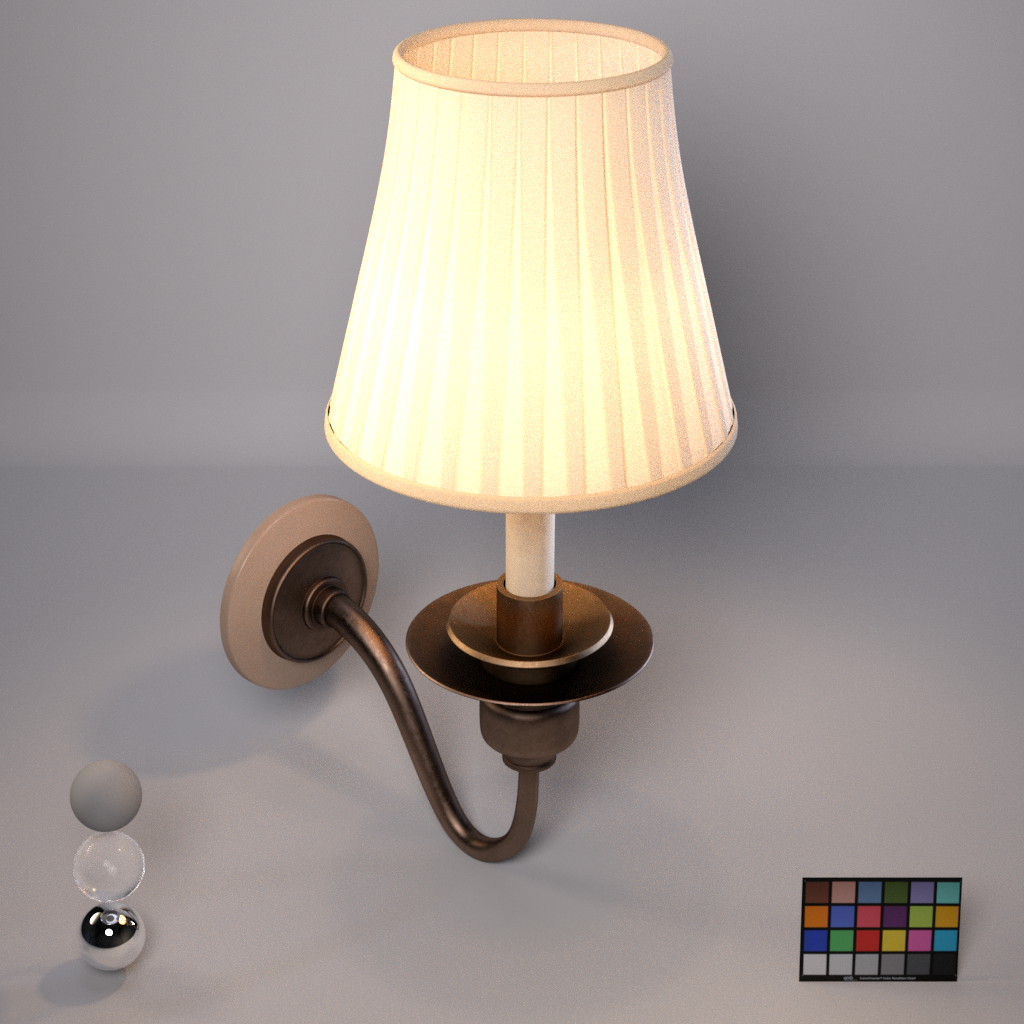
I prepared a LookDev scene where I could check the materials I previously made in Painter and adjust some parameters.


Now what was left was Lighting, Render and Compositing.
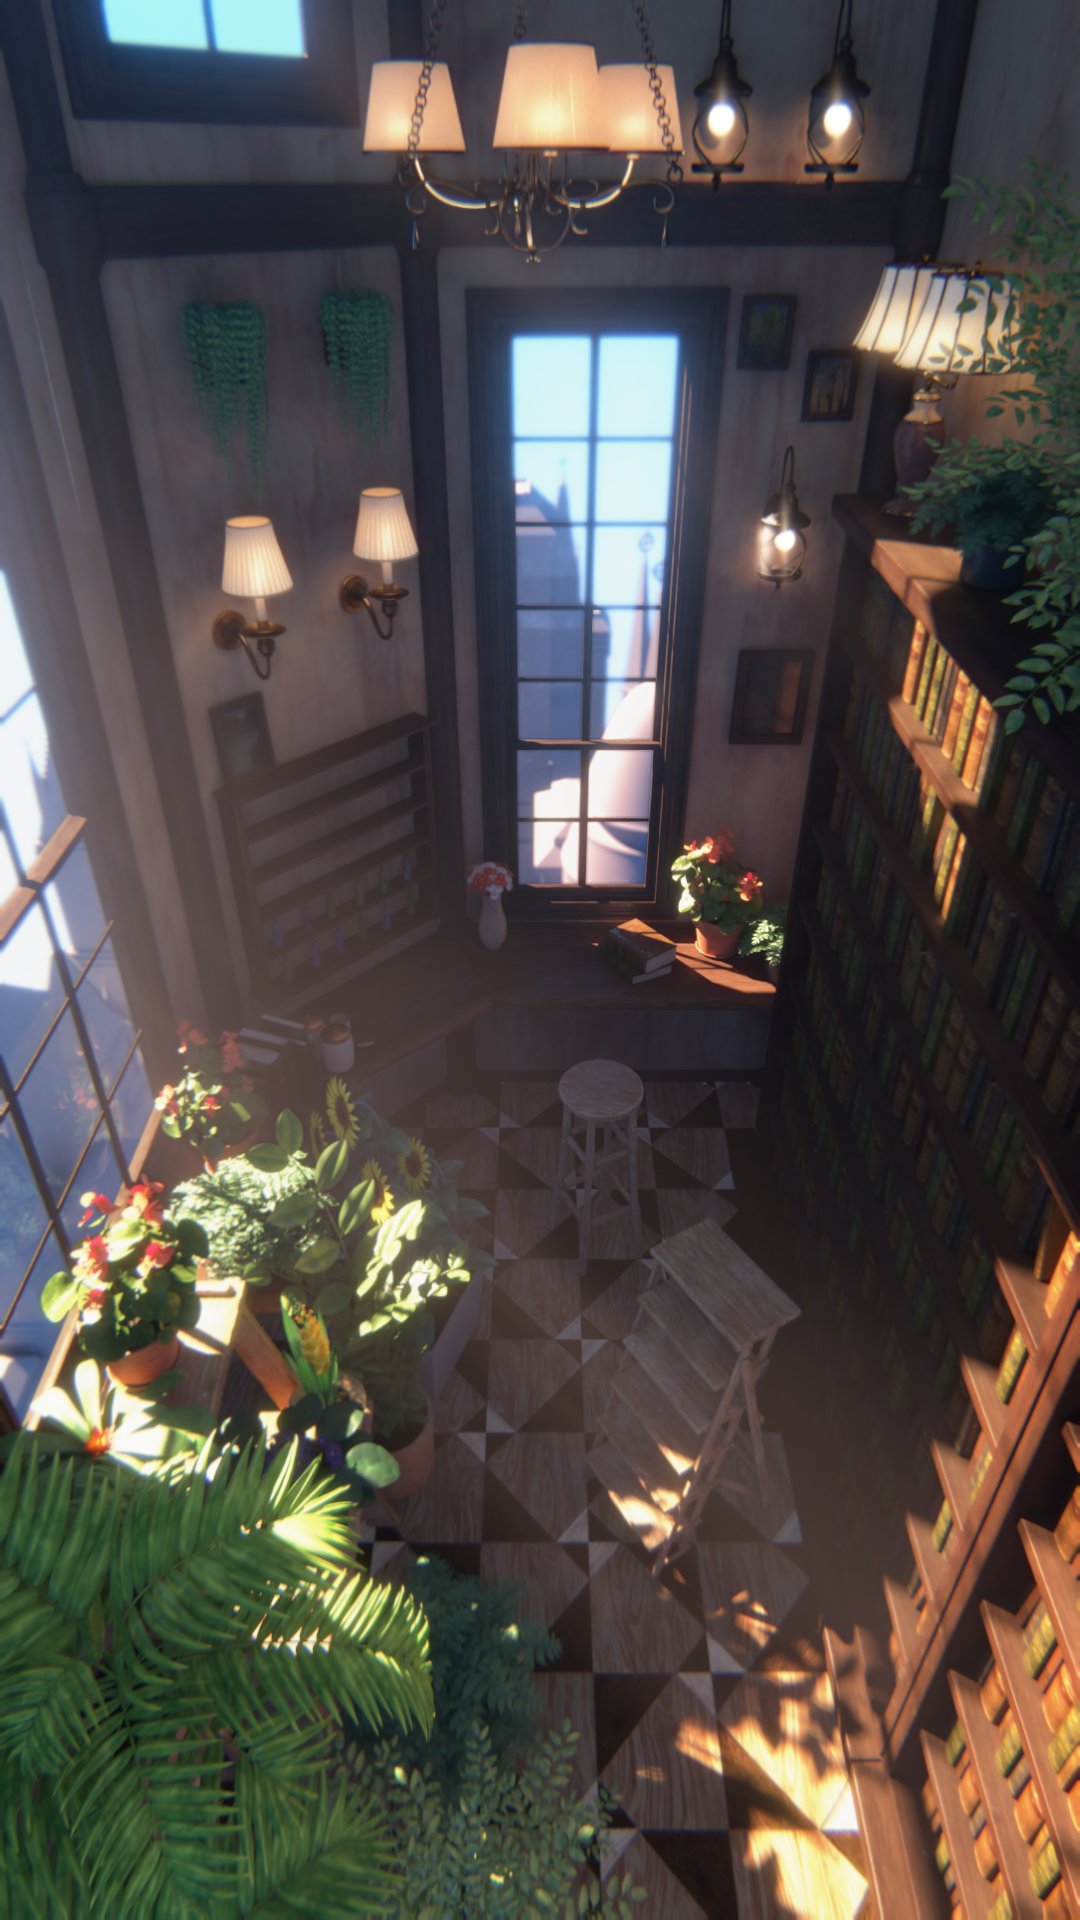
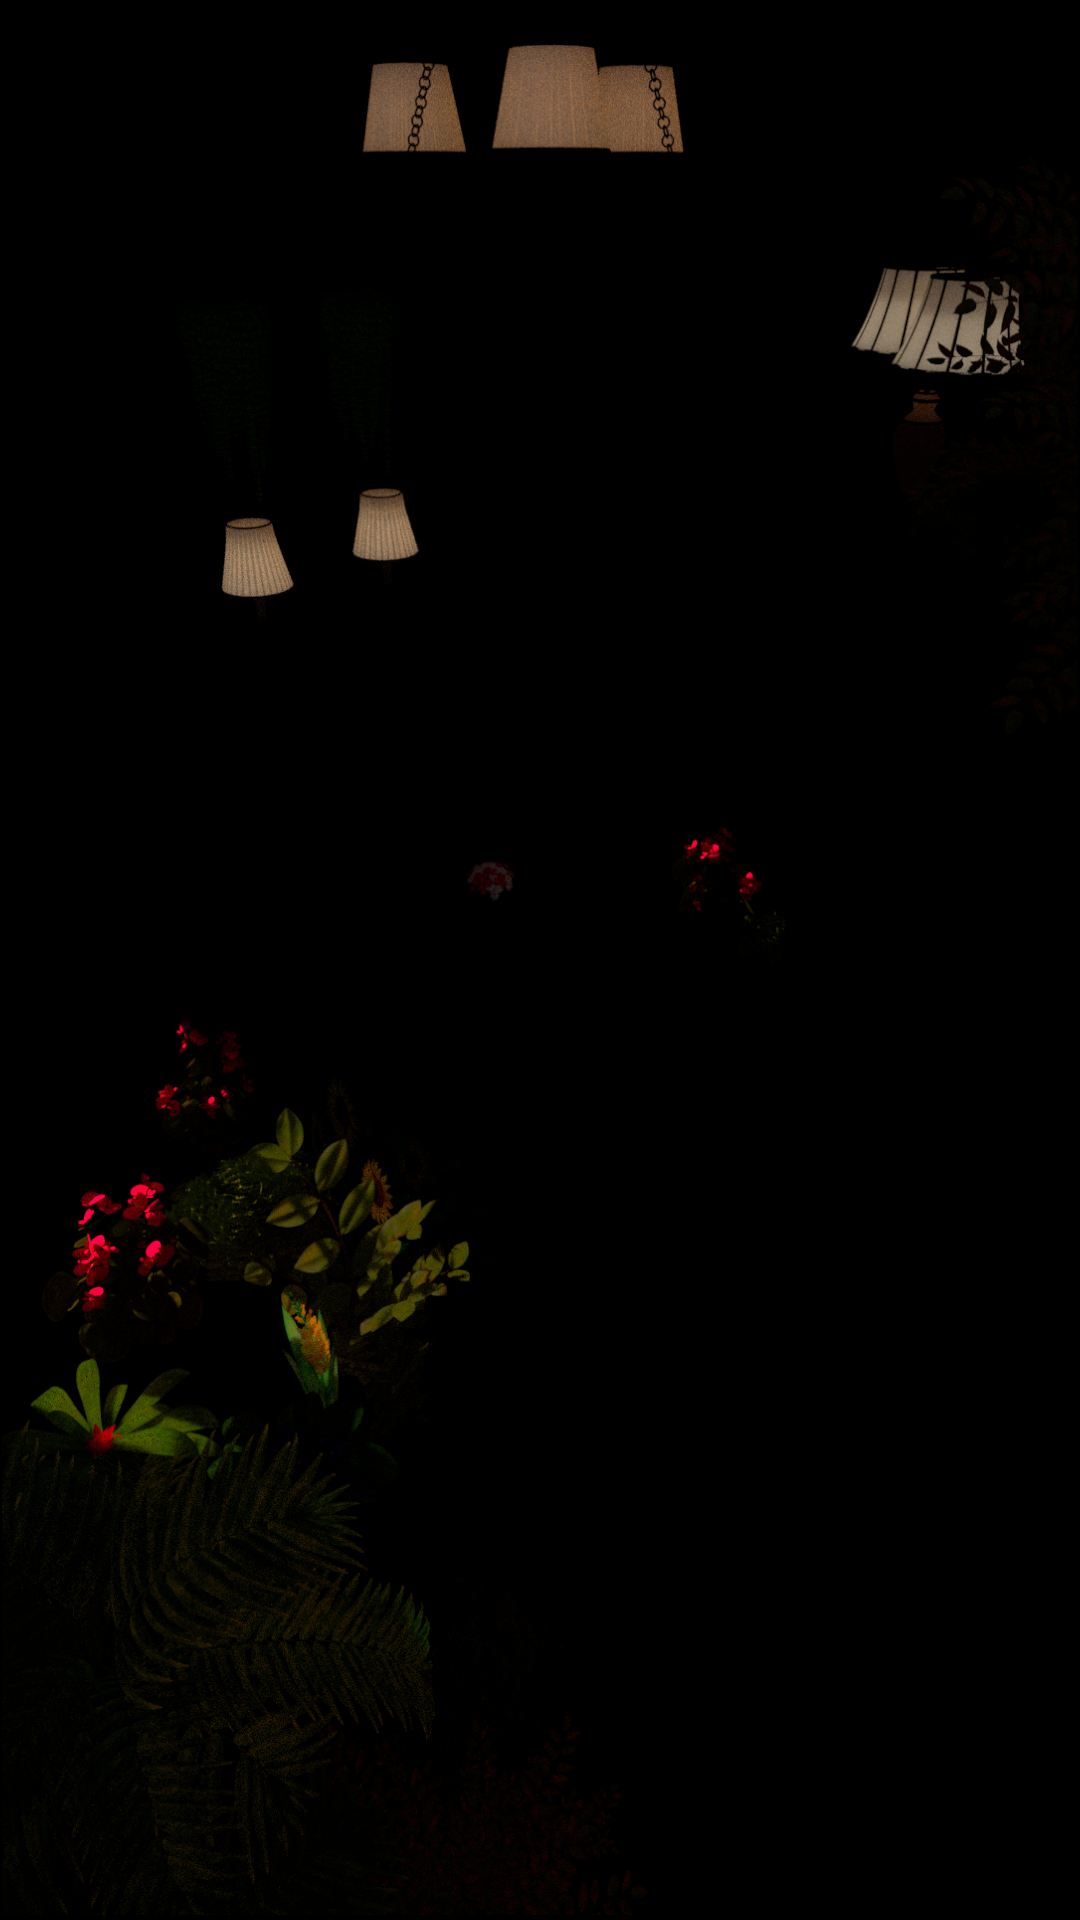
The lighting I used for this scene was a couple of directional light for the sun and its glow. A SkyDoom where I used a custom IBL map that I created it in Nuke. A Fill Light for iluminating the dark spots of the interior. And the Lamps where I give a more realistic look on the lights I decided to apply IES profiles on each light bulb.


I wanted to set some haze coming through the window and some good rays from the sun as in the painting. I learned how volumetric worked in Renderman and set a Layer in Maya where I overwrote everything with a black material to use it in compositing.
As I just learned how volumetrics worked in Renderman, setting some VDB for the sky cloud was easy enough. I had never used VDB so I was a bit sceptical to use them but it worked fine.


I contacted Francesco Giroldini's Patreon to have some support on Lighting and Compositing. I learned how to do some gizmos like Exponential Glow and a Chromatic Split and with his feedback, I could approach a more looking-a-like look for my render.


I am still working on it but this is my result so far!


Comments (0)
This project doesn't have any comments yet.