
Arcane Fanart 3D model - Powder
A fanart model of Powder from Arcane I created as a student at RMIT
Arcane Fanart 3D model - Powder
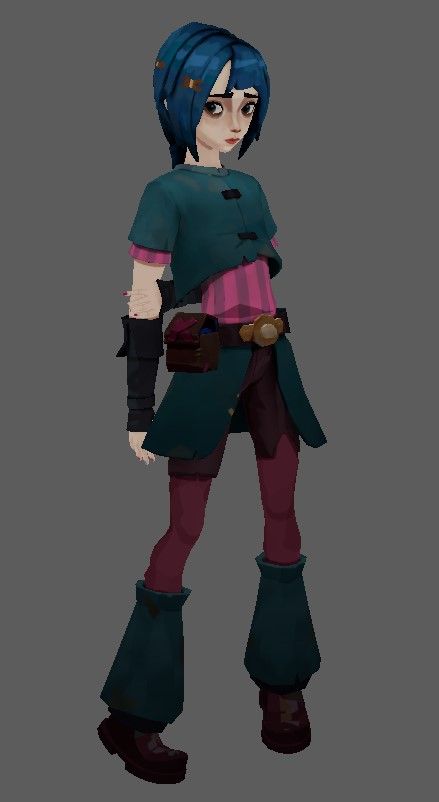
This is a project that I made for my specialization subject of final year at RMIT studying Bachelor of Design (Games). I chose an Arcane fan art made by PENPEN GAO from Artstation as my main source of reference. Working on the project was a great learning experience as I got to learn a lot about making a 3D character from start to finish as well as creating hand-painted texture. I am really thankful to my teacher (Irina Rus from RMIT) who helped me see my problem and improve upon them.

Blocking and detailing (Zbrush):
The character was first blocked out in Zbrush by using primitive shape to establish the overall basic forms and proportions . The detailing step took me quite a long time to do because I was experimenting with different methods to make object while ensuring that they were transferrable from Zbrush to Maya for retopologizing.
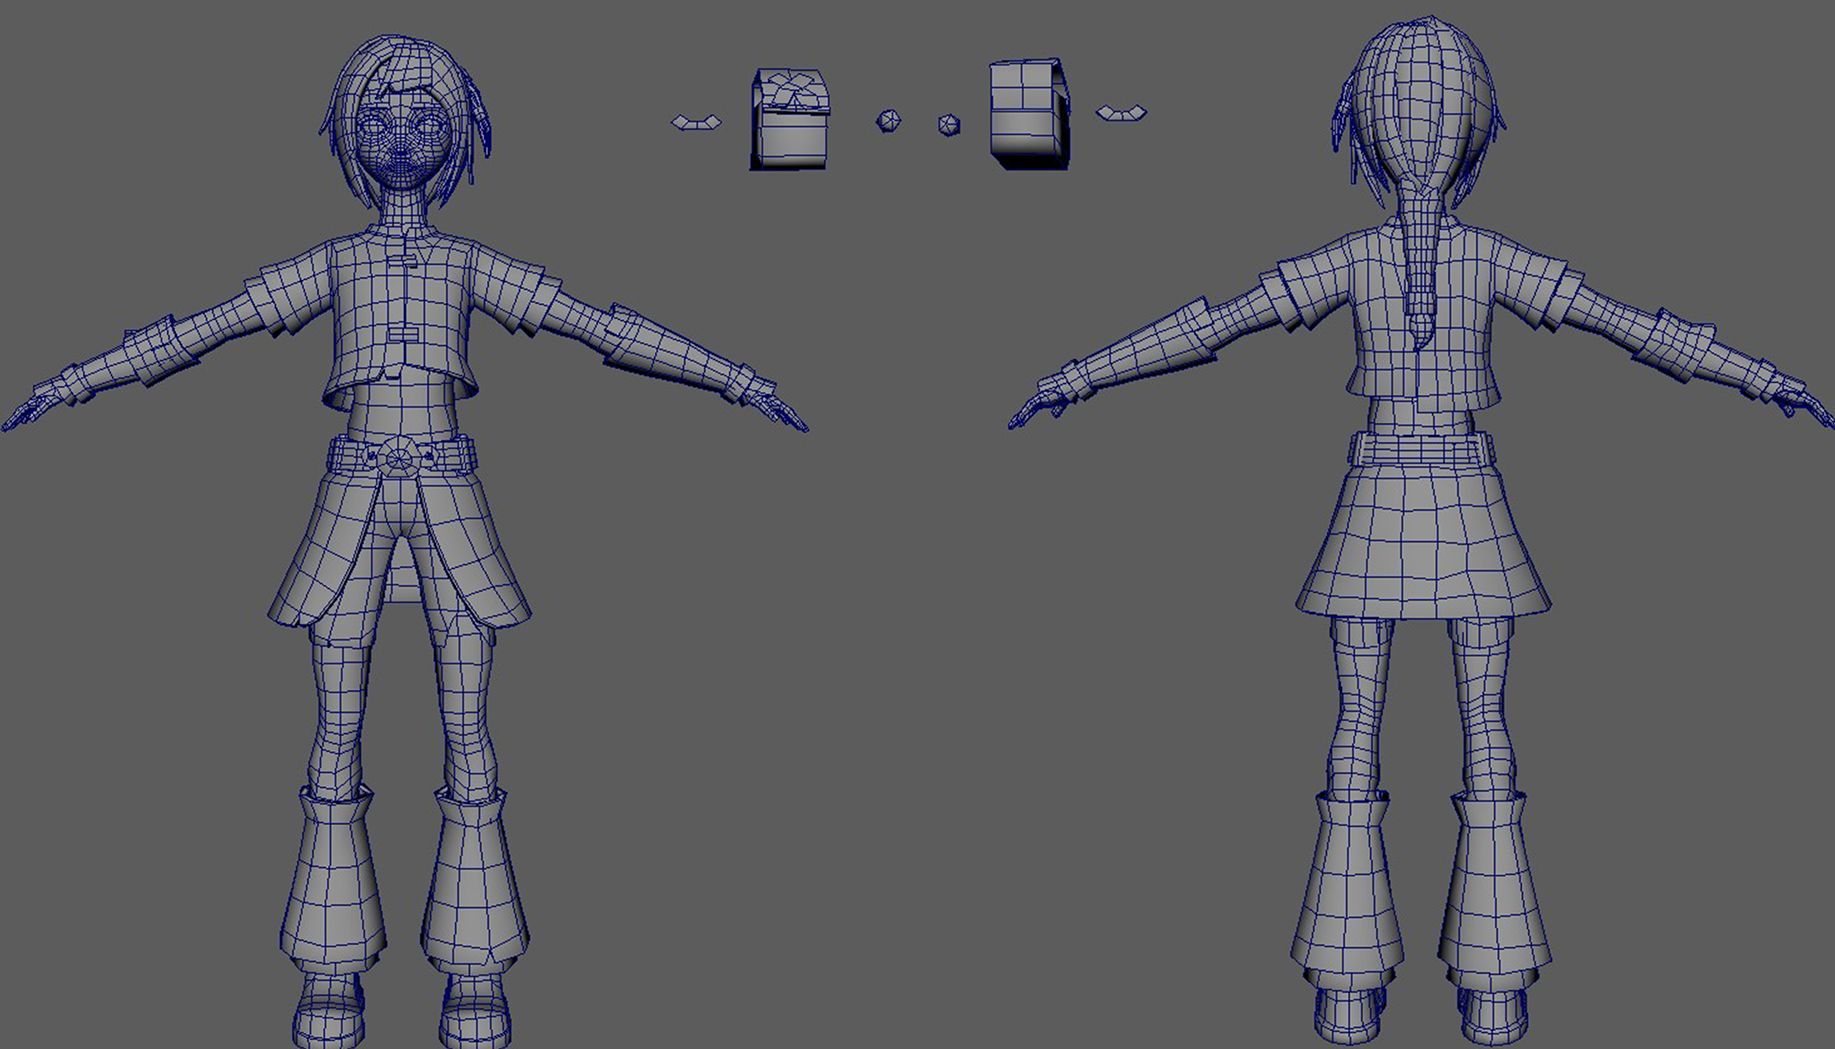
Retopologizing and UVing (Maya):
The high-poly character model was then imported into Maya for retopologizing. Everything was straight forward but I had to keep in mind the edge loops around area that usually rotates of the character. After that comes UV unwrapping, because I was going make 3 texture maps with resolution of 1024 X 1024, I made a mistake of not optimizing the UV space at first so I went back and redid the UVs. By doing that, I was able to save more spaces for shells that needed more details while putting the remaining ones in the corner.


Rigging and posing:
I used Mixamo to rig my character and later input it into Maya for some small adjustments.
For posing, I posed my character based on one of pose in the fanart of PENPEN GAO. I chose this pose because I felt that it describes the character’s characteristic a lot in which the character is half-scare half-shy. When posing, I made sure that the pose does look good from all direction so there were little changes but I was still able to keep the energy of the pose.
Texturing:
Because I was focusing on hand-painted texture, I decided to only use the base color texture maps for my character. Using the reference as a guideline to texture really helped me to unify everything.
One of the most important steps that I always used when texturing was to add variations to the flat color which is the same as mimicking how real-life coloring looks. This was achieved by using a fill layer with cell 4 and other filters. This step plays a huge role in my texturing process as it allowed me to create stunning brush strokes with a few clicks and not having to do everything manually.


Lighting and Look Development:
When setting up the lights, instead of usual three-point lighting, I added an extra one from the top down as I found it more interesting and made each object's shape stand out more. When doing the lighting, I based it on Zaun atmosphere which is where Powder comes from. A base was also added to give more context to the character.


Conclusion:
I experienced lots of challenges when going through the projects. But it was an amazing experience that I was able to make a character from start to finish as this is my first time making one. Making hand-painted texture has been a subject I love to do because while it contains lots of personal marks, it also requires quite an amount of time to make a perfect one. Once again, I am really thankful to my teacher who helped me with the project.


Comments (0)
This project doesn't have any comments yet.