
3D Game Environment Art Showcase


This is a collection of my recent 3D Environment Art projects. It shows my progression from 2022 after completing my MA Game Art course at Escape Studios. I have taken the time to revisit old projects and join new challenges. I hope you enjoy my work!
3D Game Environment Art Showcase
3D Game Environment Art Showcase - Rookies Awards 2023
Hello everyone! I'm excited to share two of my recent 3D Environment Art projects created in Unreal Engine 5.
I would like to start by thanking everyone who has given me support and feedback especially my instructor, Christian Avigni.

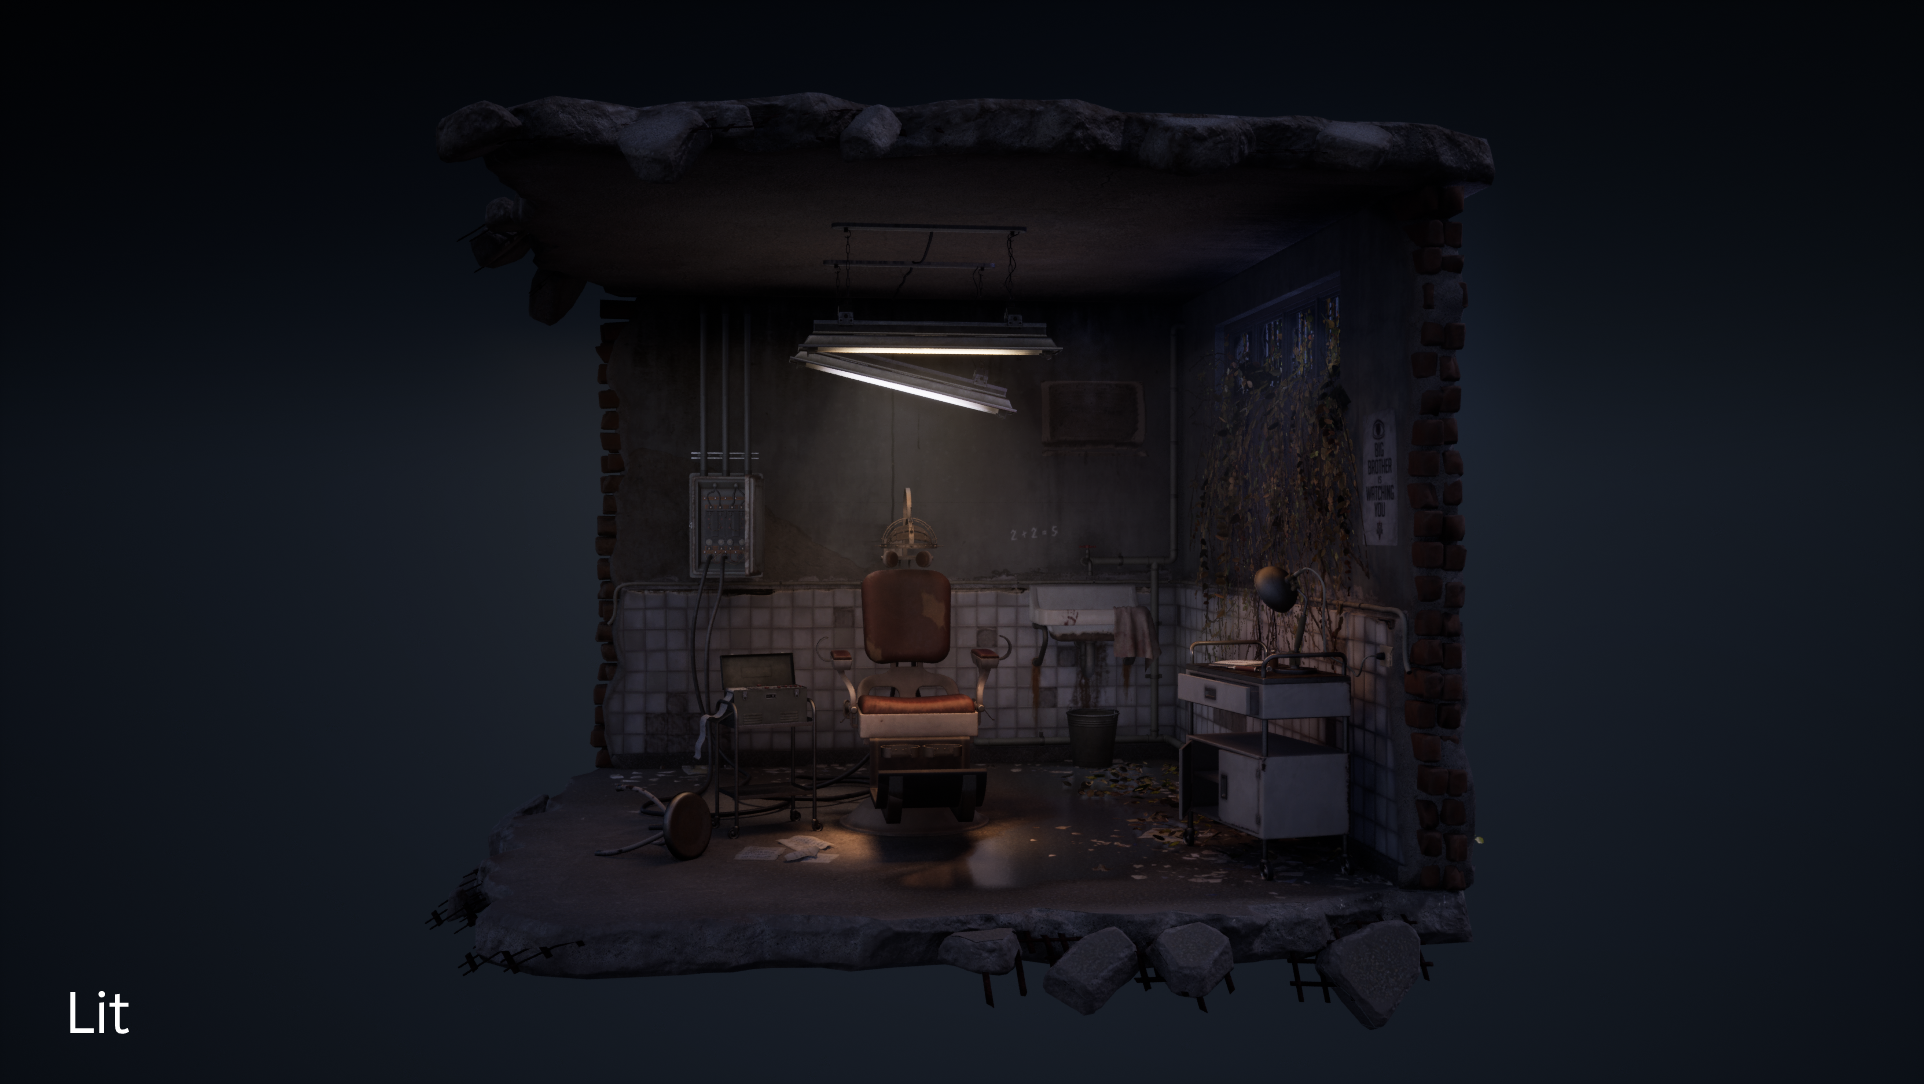
First Project: Room 101 - Abandoned 1984 Inspired Diorama
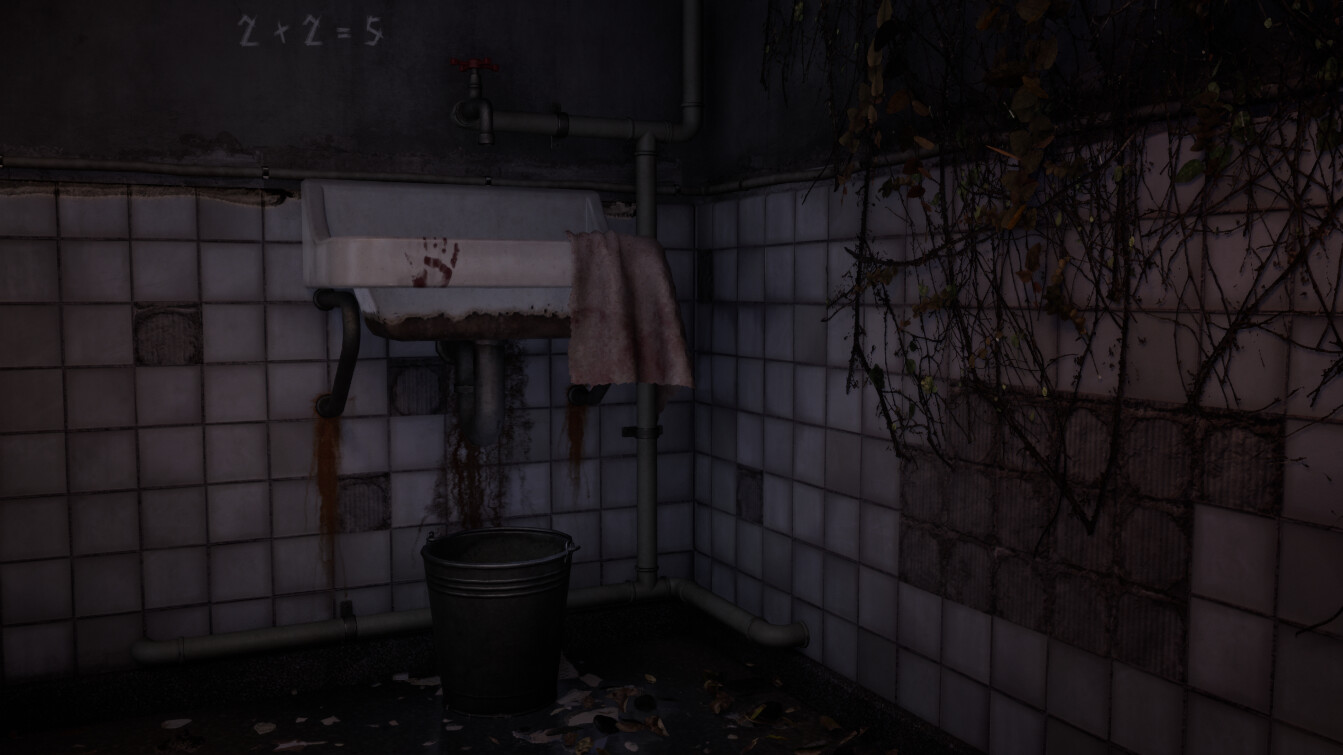
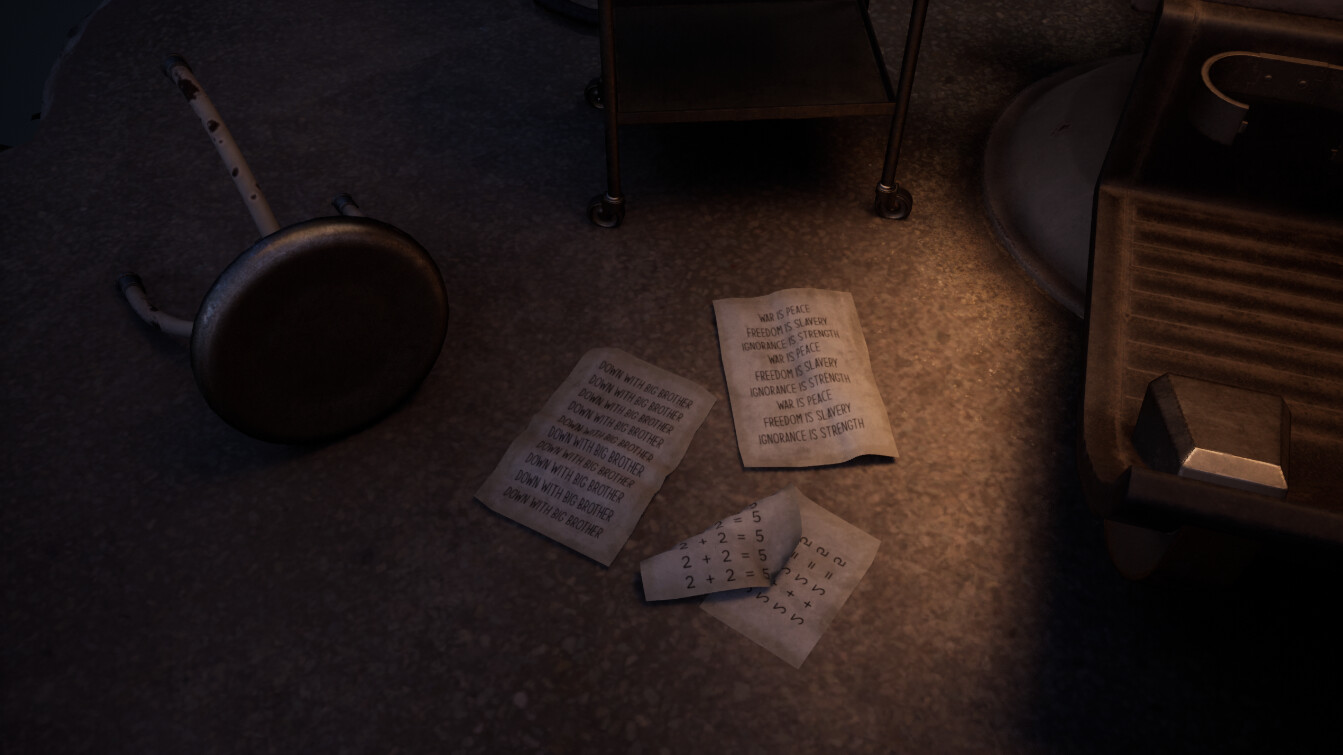
This is an individual project I worked on during my time studying at Escape Studios. It was inspired by George Orwell's dystopian novel, 1984. It is set in an abandoned brainwashing room. This is where people suspected of thought crime used to be arrested and brainwashed.
Initially, I created this project during my second module in my MA Game Art course. We were tasked to create a small diorama in Unreal Engine 4. Recently, I decided to revisit and revamp the project using Unreal Engine 5, specifically to harness the power of Lumen and Nanite technologies. Throughout this process, I actively applied the feedback I received and utilized the new skills and techniques I've acquired since the project's initial creation.


From Old to New
This is a side-by-side comparison that shows the progress of the project from its state during my studies to the revisited version done later in Unreal Engine 5.
One of the main goals I had for redoing the project was to improve my sculpting skills, create tiling materials in Substance Designer, and learn new techniques for modeling and texturing. I also wanted to focus on environmental storytelling through set dressing and lighting.


Project Breakdown


Environment
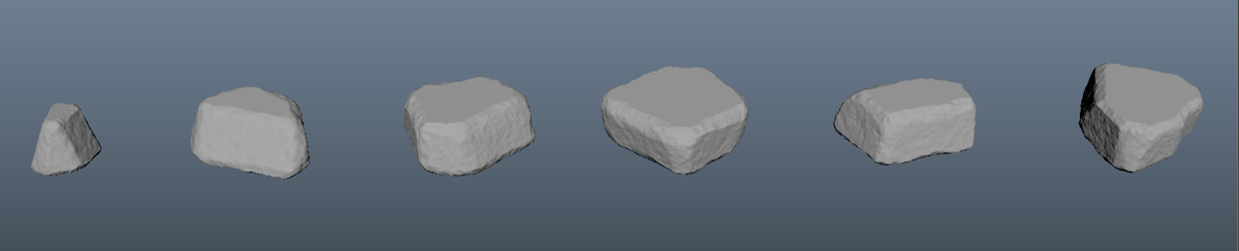
I sculpted the damaged environment pieces in ZBrush, and utilized shaders in Unreal to create RGBA texture masks. Additionally, I created tiling textures for the plaster, tiles, and grout using Substance Designer and developed a blend material shader in Unreal for vertex painting. Finally, I used Megascans for the remaining tiling textures, decals, and foliage.
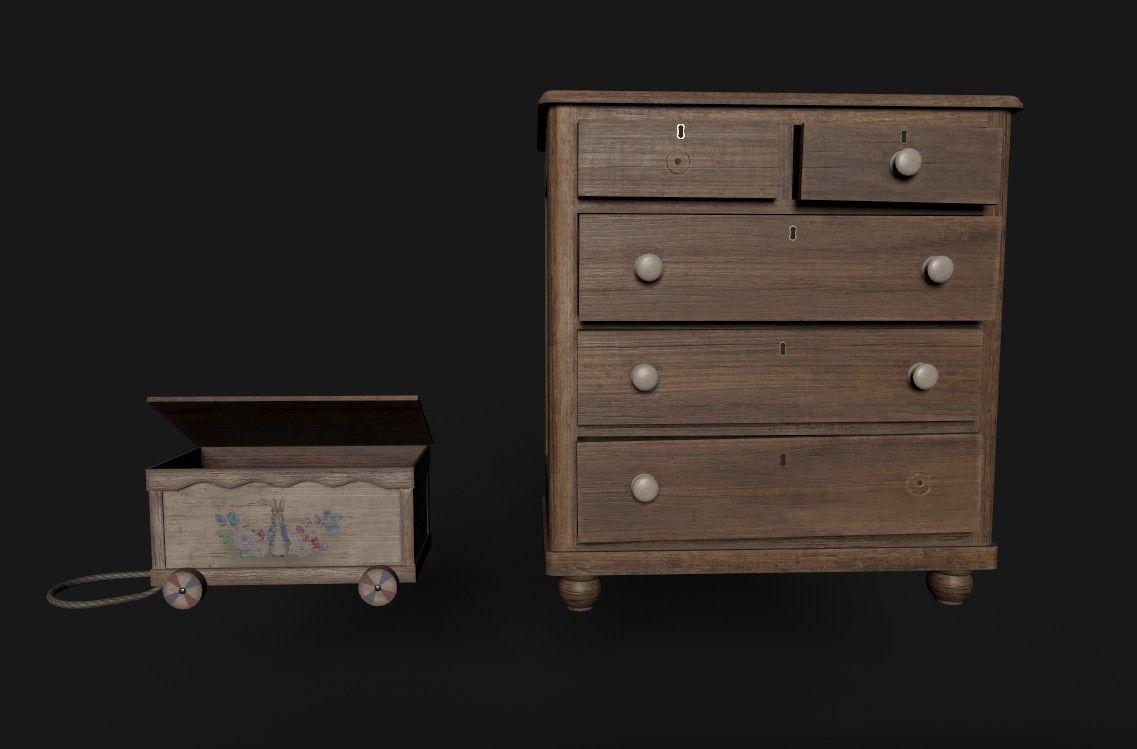
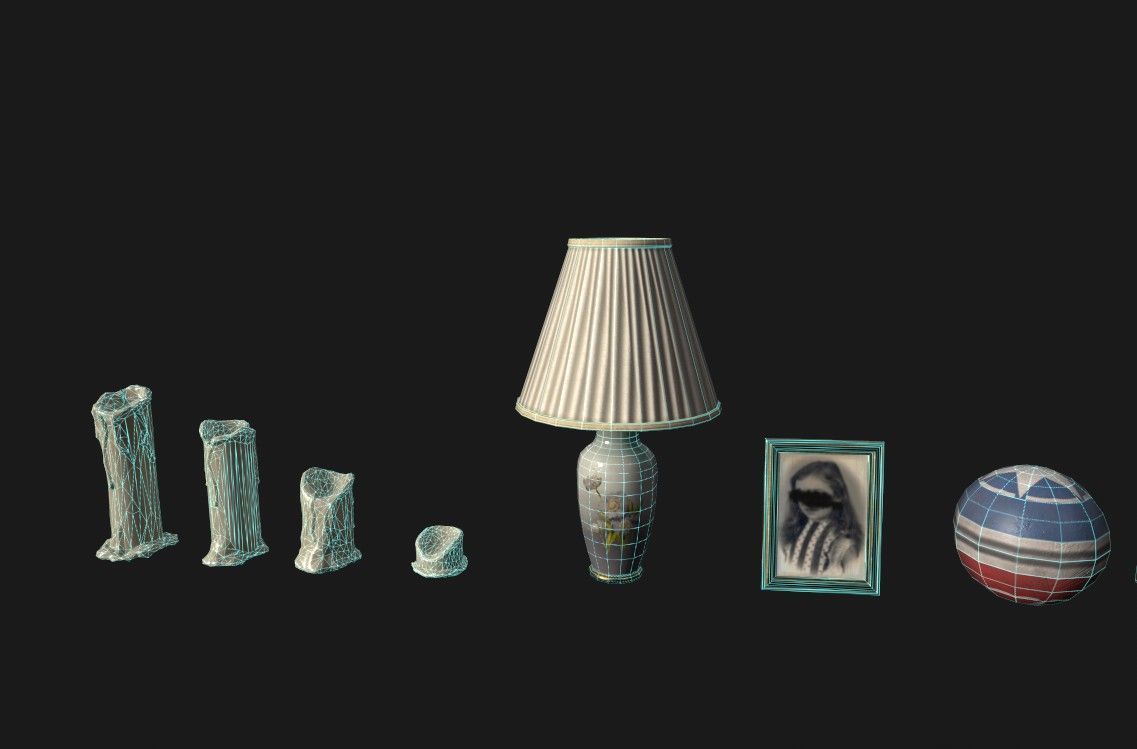
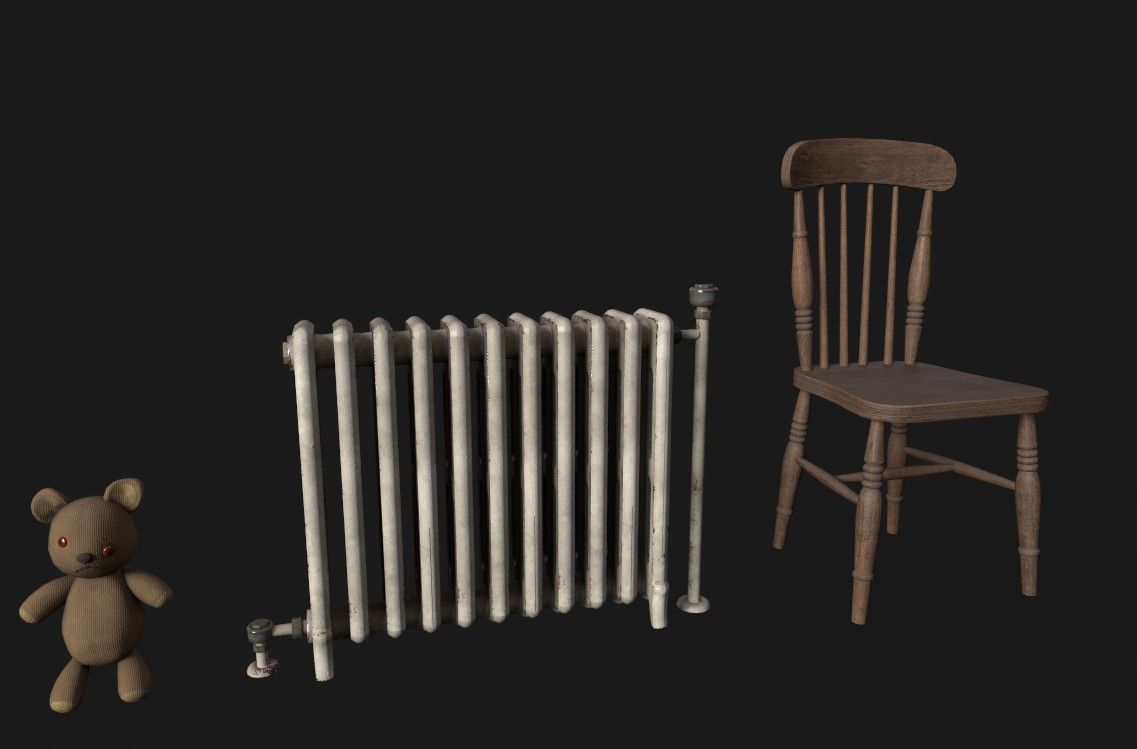
Props
I created all the props using subdivisional modeling in Maya, and baked and textured them using Substance Painter. To increase efficiency and maintain consistency in the environment, I created a smart material library to be reused on all the props.
Stencils were created using photoshop to add wear and tear details such as the rust and peeling leather effects.
All props use 2K textures. Grouped props are all packed together and use one texture set.
Creating Damaged Walls and Floor
I created the low poly version inside of Maya and exported them to Zbrush to sculpt damage details.


Tiling Materials in Substance Designer
One of the main feedback I got on the old version of the project, was that my tiling materials were not blending correctly using vertex painting, due to the fact that I simply used two different materials from Megascans. The main example was when I tried to create a broken tile effect with some grout showing behind. It was clear that the tiles and grout did not fit on one another.
I decided that in the revisited version, I will improve my skills in Substance Designer to create my own Wall tiles, grout, and painted plaster materials.


Master Materials in Unreal Engine 5
My main challenge was figuring out a way to apply both the trim sheet on the undamaged section of the wall and the broken details on the damaged edges. I created an RGBA mask after baking the low poly wall with the high poly damaged details in Substance painter. I used this mask inside of a master material along with the trim sheet to determine which areas will have the baked normal details and/or dirt.
Another challenge I faced was creating a blend material for the wall tiles. I found that when using vertex painting, the transition of the broken tiles was either too sharp or too smooth. It didn't look realistic as the tiles should be completely removed. I ended up creating a mask in Substance Painter and using that to remove the tiles and show the grout material.
RGBA Mask and Normal Bake


Material Blend with Puddle and RGBA Mask


References


Second Project: Let's Play - Exp points Nightmare Challenge
This is an individual project I worked on as part of the Exp points Nightmare Challenge.
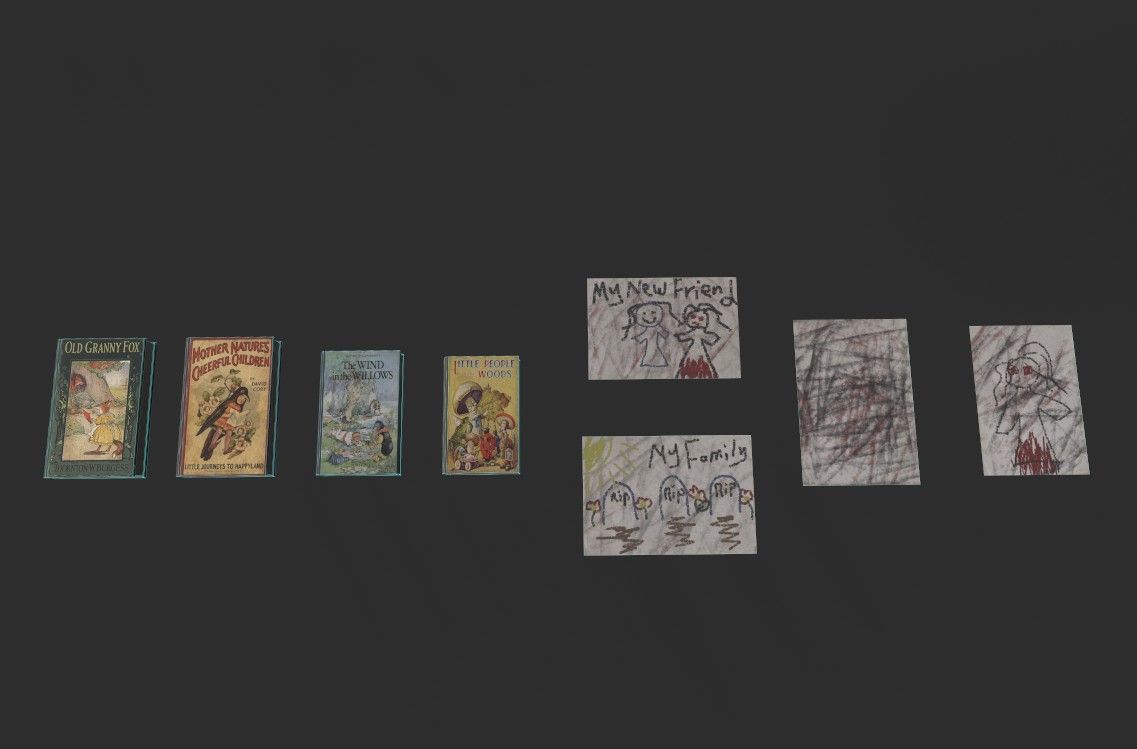
I wanted to create a creepy child's bedroom. I took inspiration from Resident Evil 7: Biohazard to create the environment. My goal was to create an eerie mood and focus on storytelling and set dressing.


Project Breakdown
I created a modular kit for the environment and used tiling textures, which I have downloaded and tweaked using Substance Painter. All the props were created by using Subdivisional modeling in Maya or sclupting ZBrush to create the high poly for the props and baked and textured them in Substance Painter.
Decals were used from Megascans.


Blockout


Progress


References

Thank you for viewing my 3D Environment Art Showcase
Please feel free to check out my Portfolio on Artstation.


Comments (0)
This project doesn't have any comments yet.