
Shawn Juan | Journey of Modeling and Texturing
A selection of projects I did at the end of my time at Gnomon School of Visual Effects, Games and Animation. I've also added one additional personal side project I did at the end. Hope you guys will enjoy looking through them!
GODZILA : NISSAN R32 GTR
A challenge that I've always wanted to complete is to model a car with exterior and full interior. Thus this project is where I've achieved this goal. A lot of reference researching, modeling texturing and comping.
Made an environment with moving neon lights for it as well, felt it should be a really cool effect and touch to the scene.
----------------------------------------------------------------------------------
Modeling: Maya / Texturing: Substance Painter/ Rendering: V-ray / Comp: Nuke/ Ground and environment wall texture: Quixel Mixer
Demo reel project at GNOMON School of Visual Effects
FINAL SHOT VIDEO
BREAKDOWN
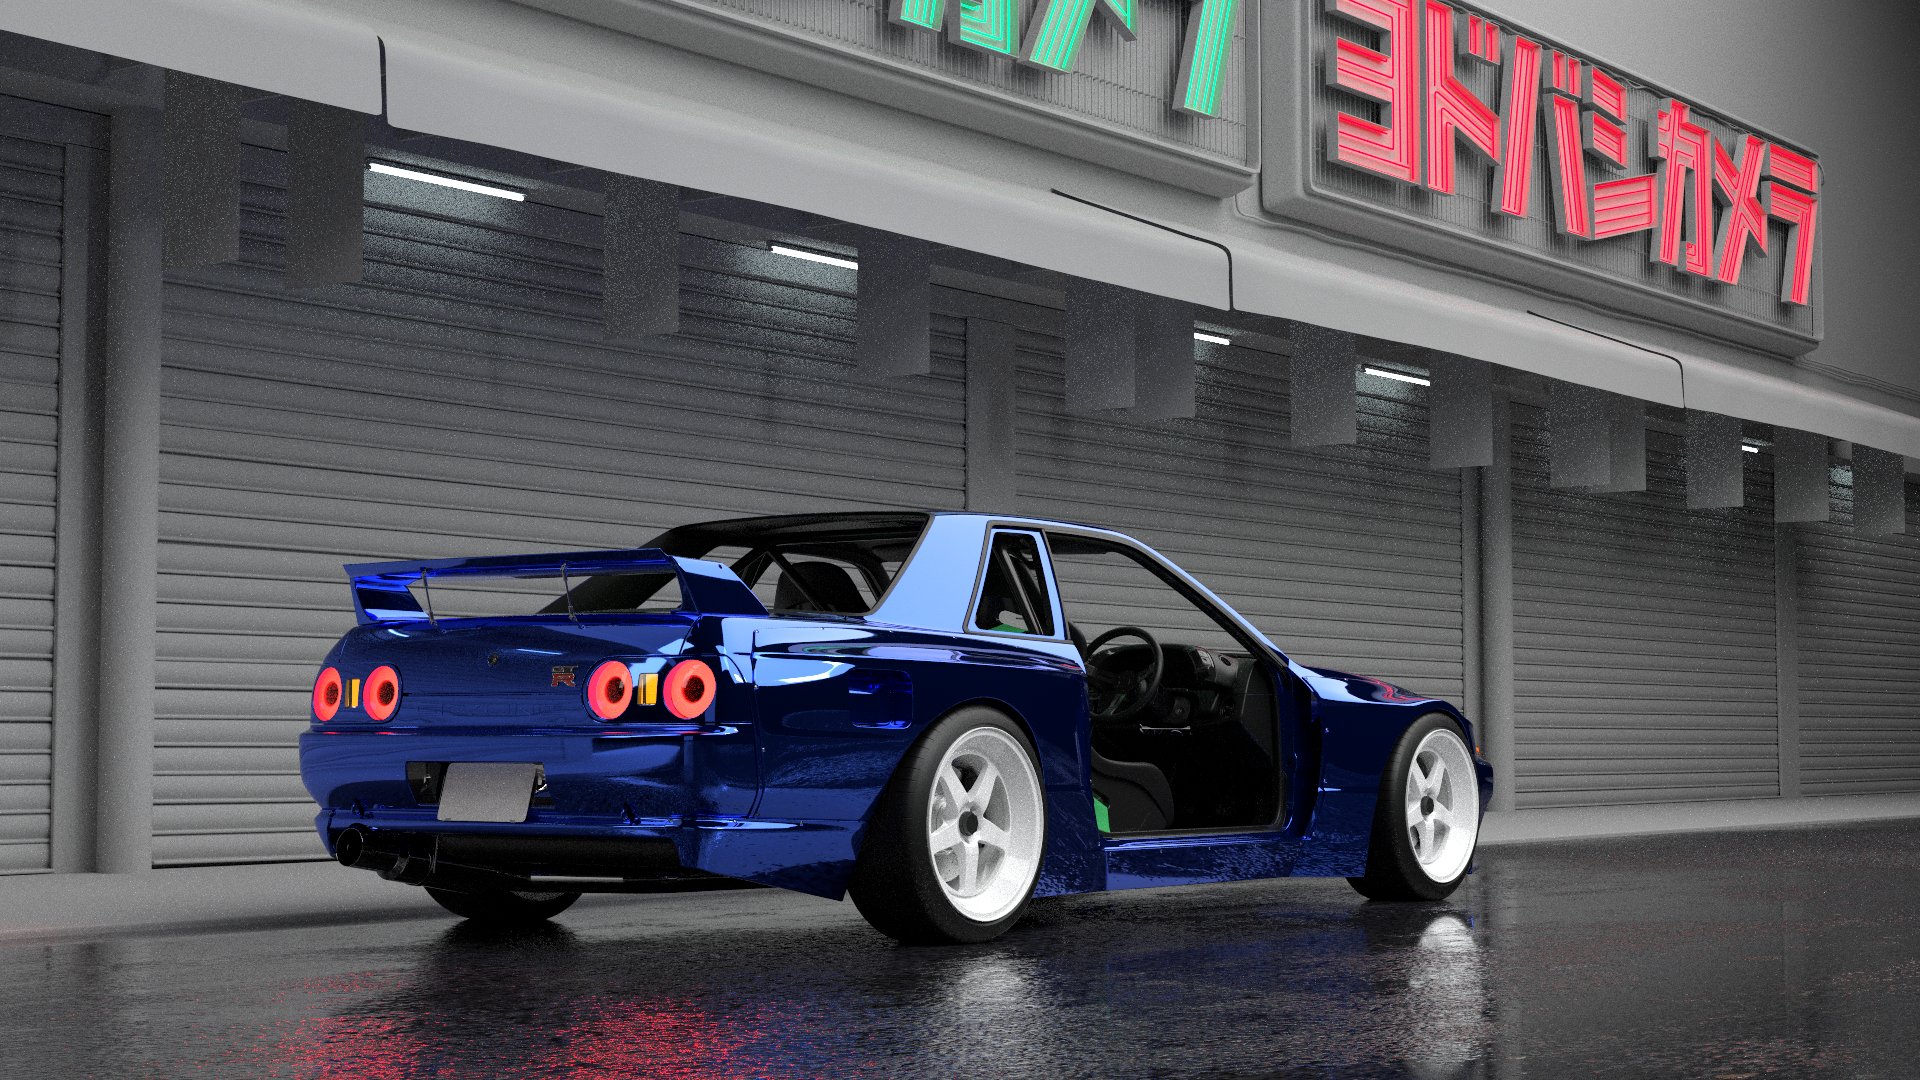
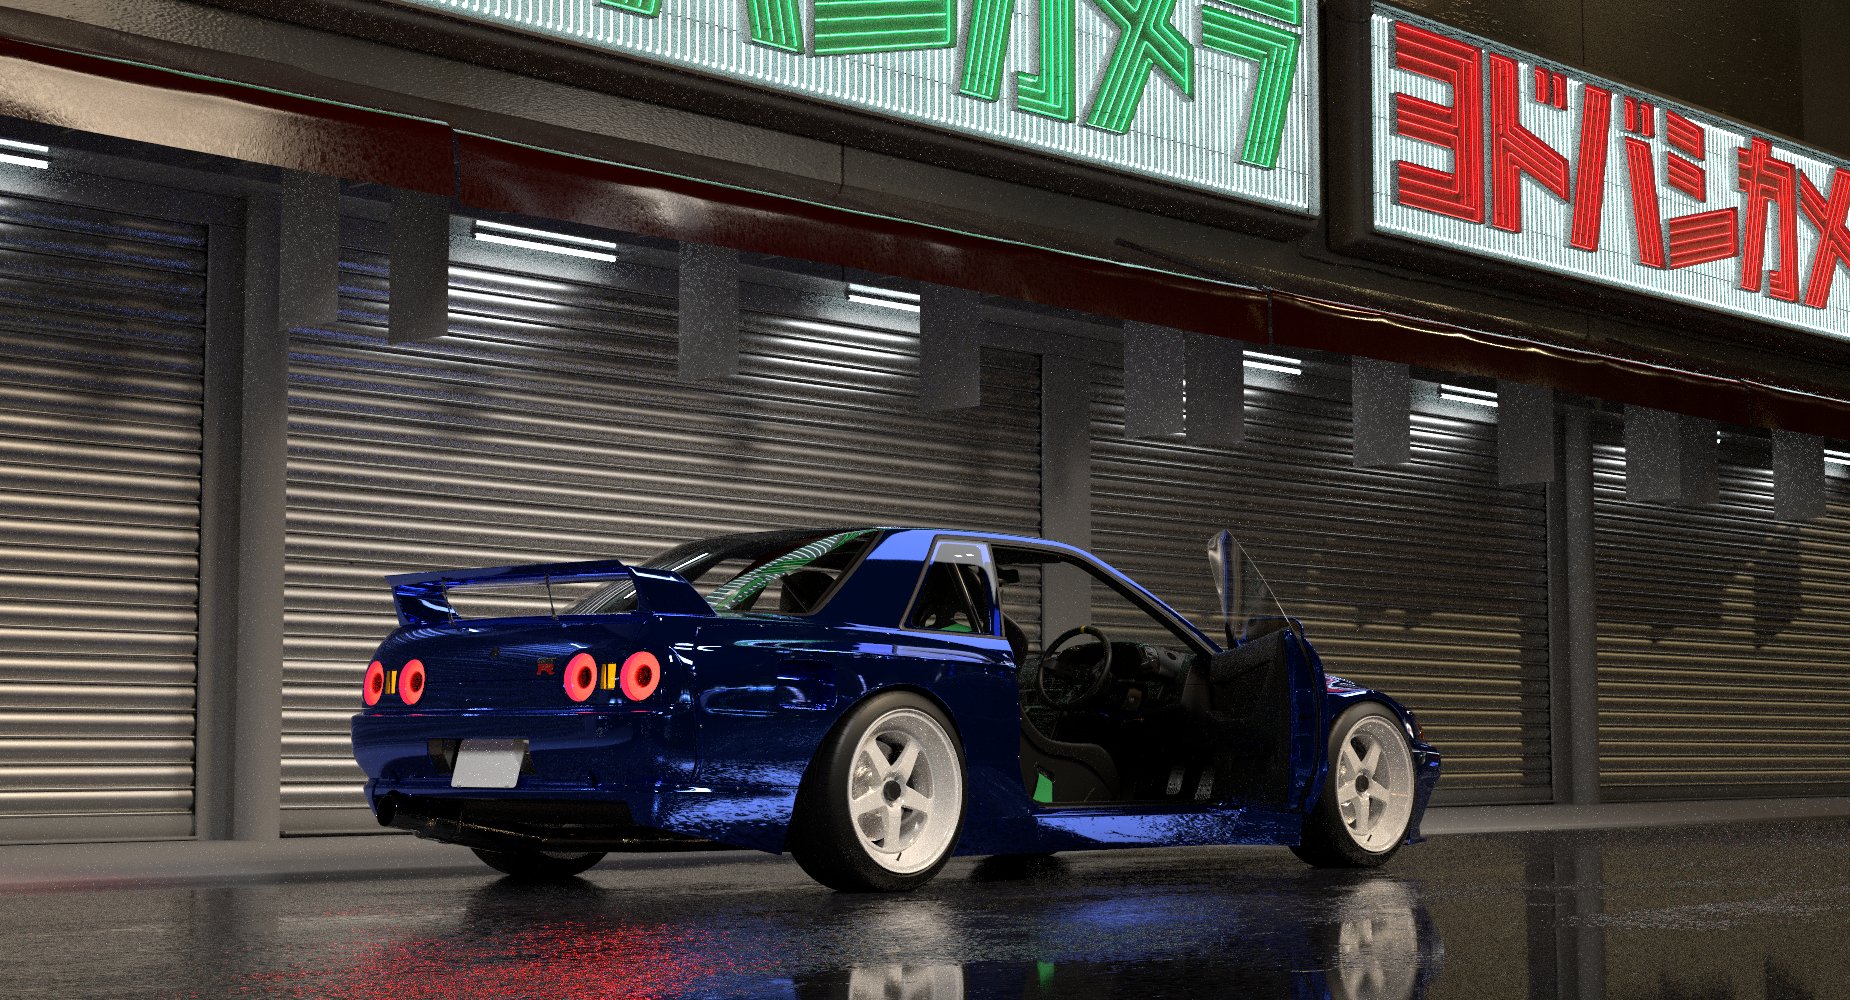
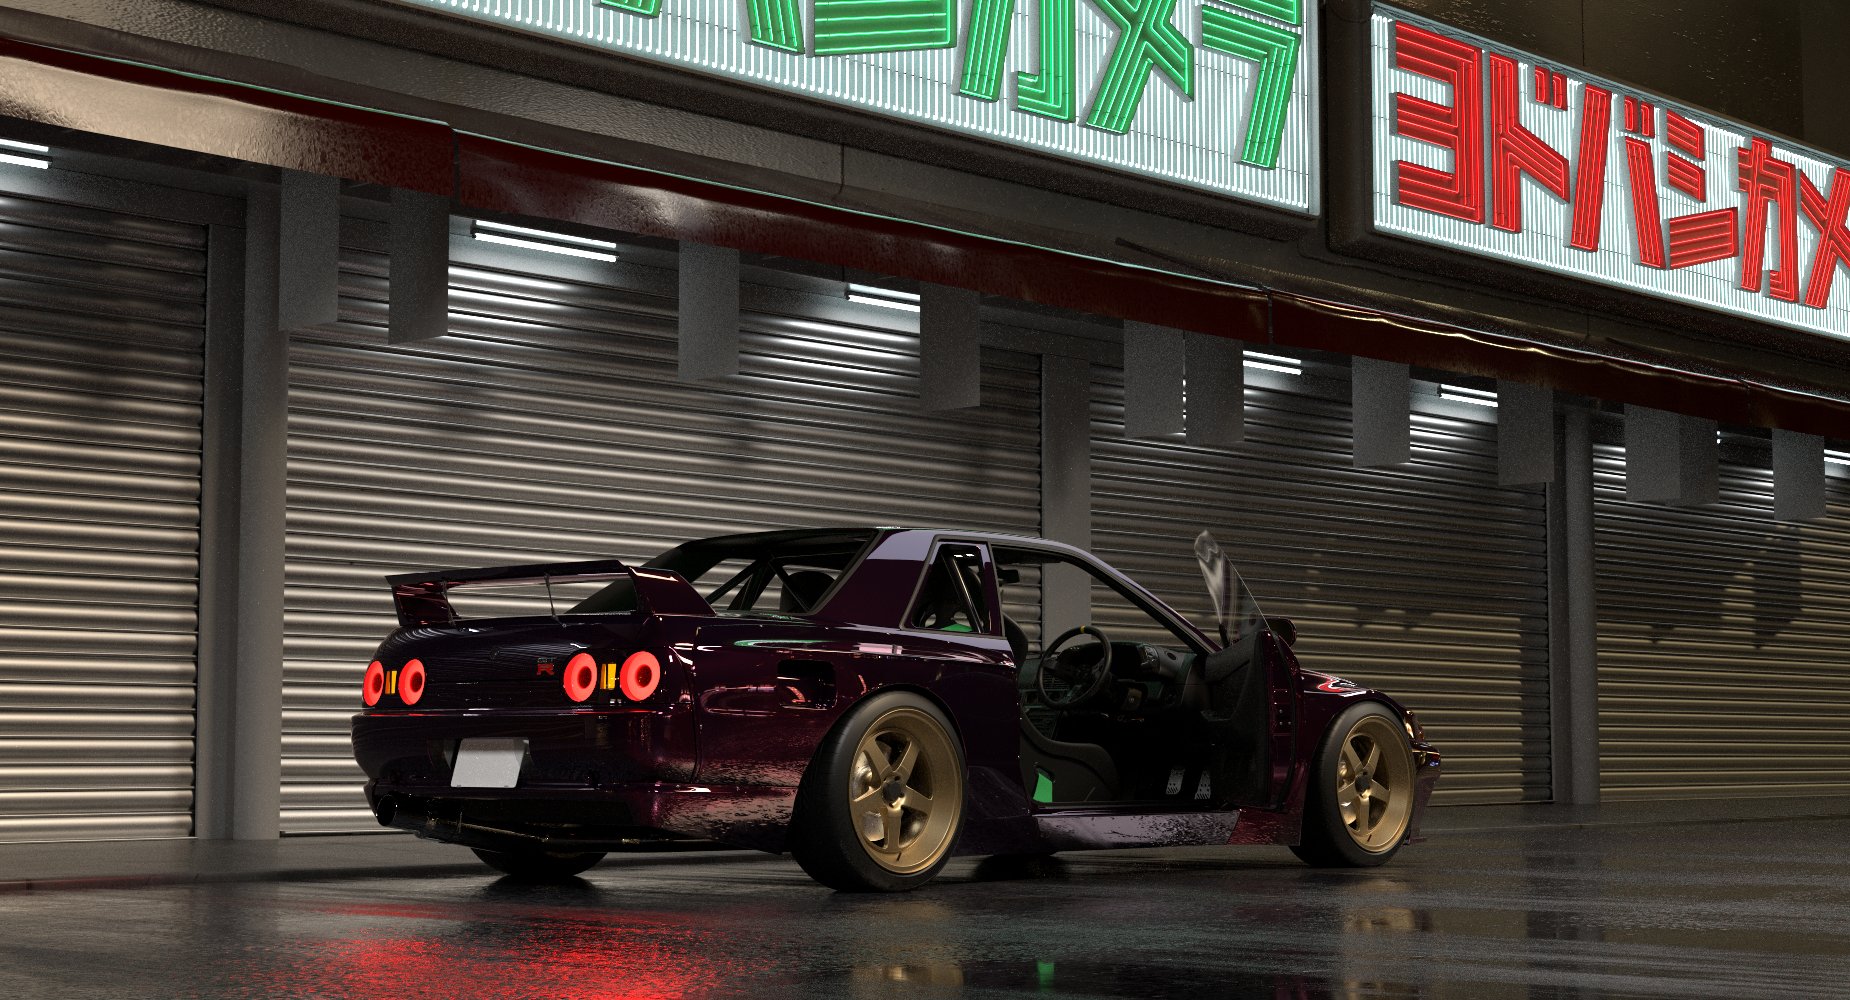
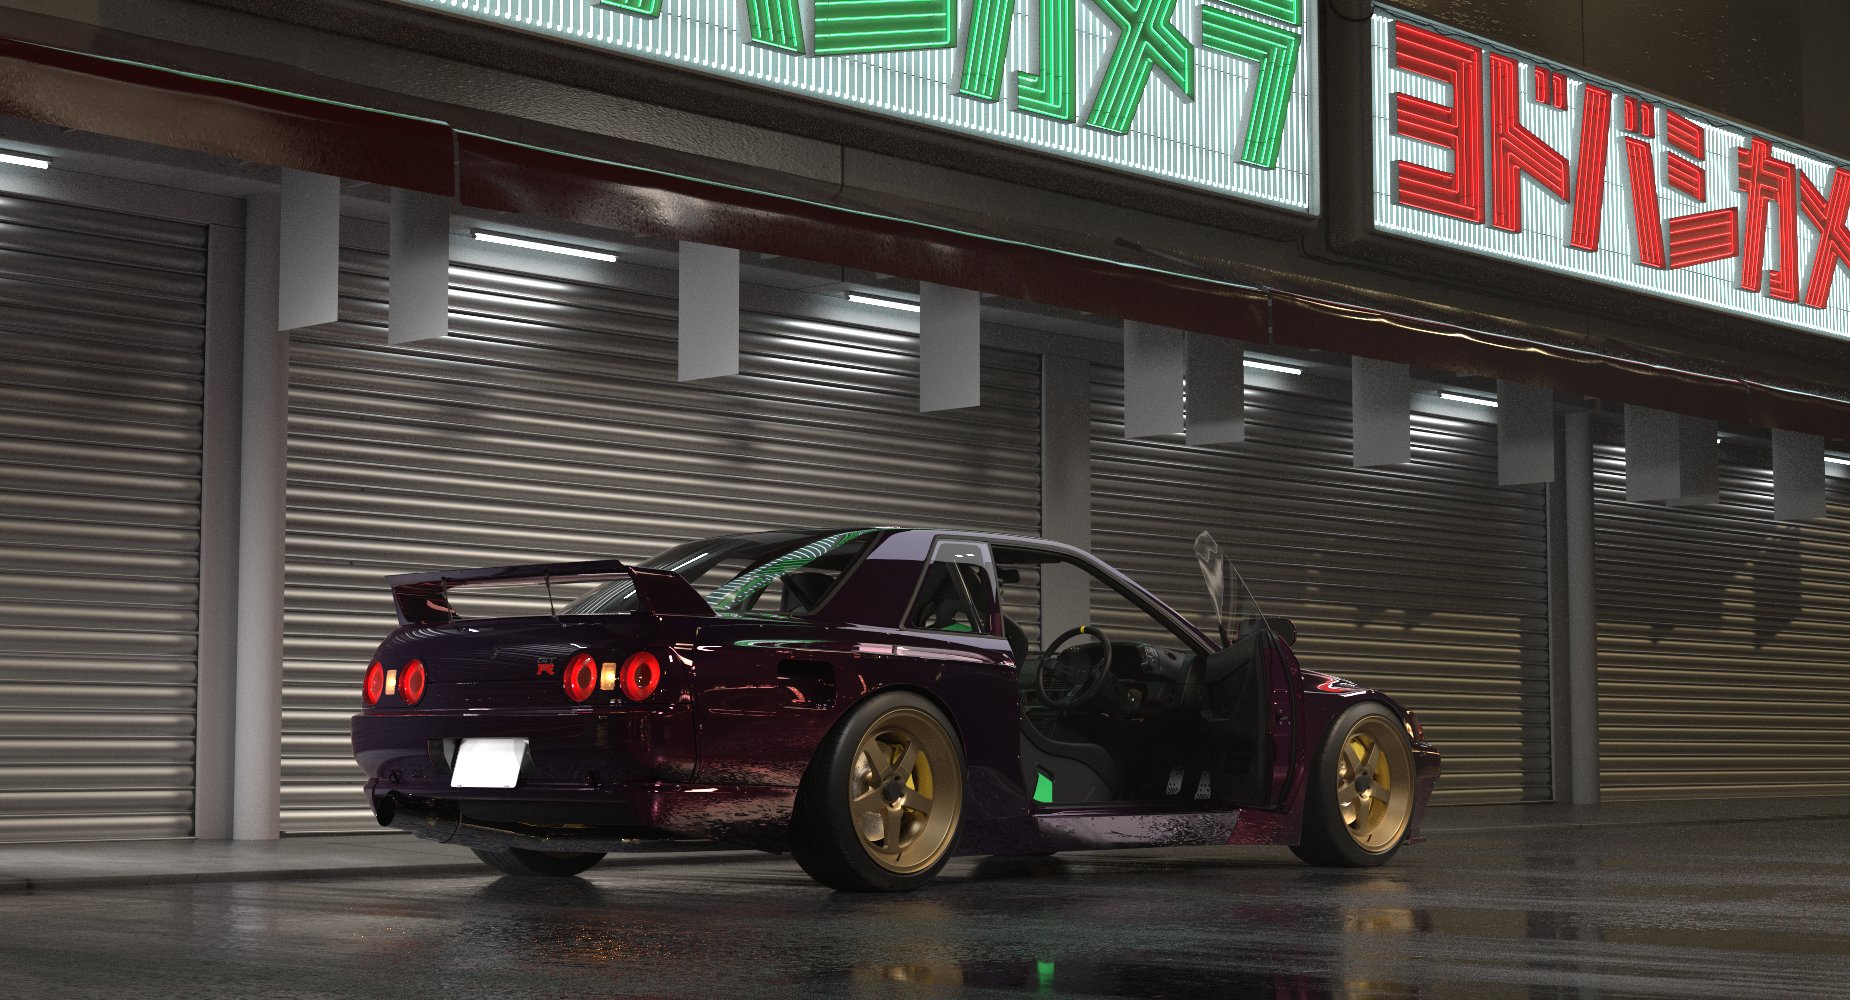
Some iteration on camera angle and lighting.
THE MOVING NEON LIGHTS
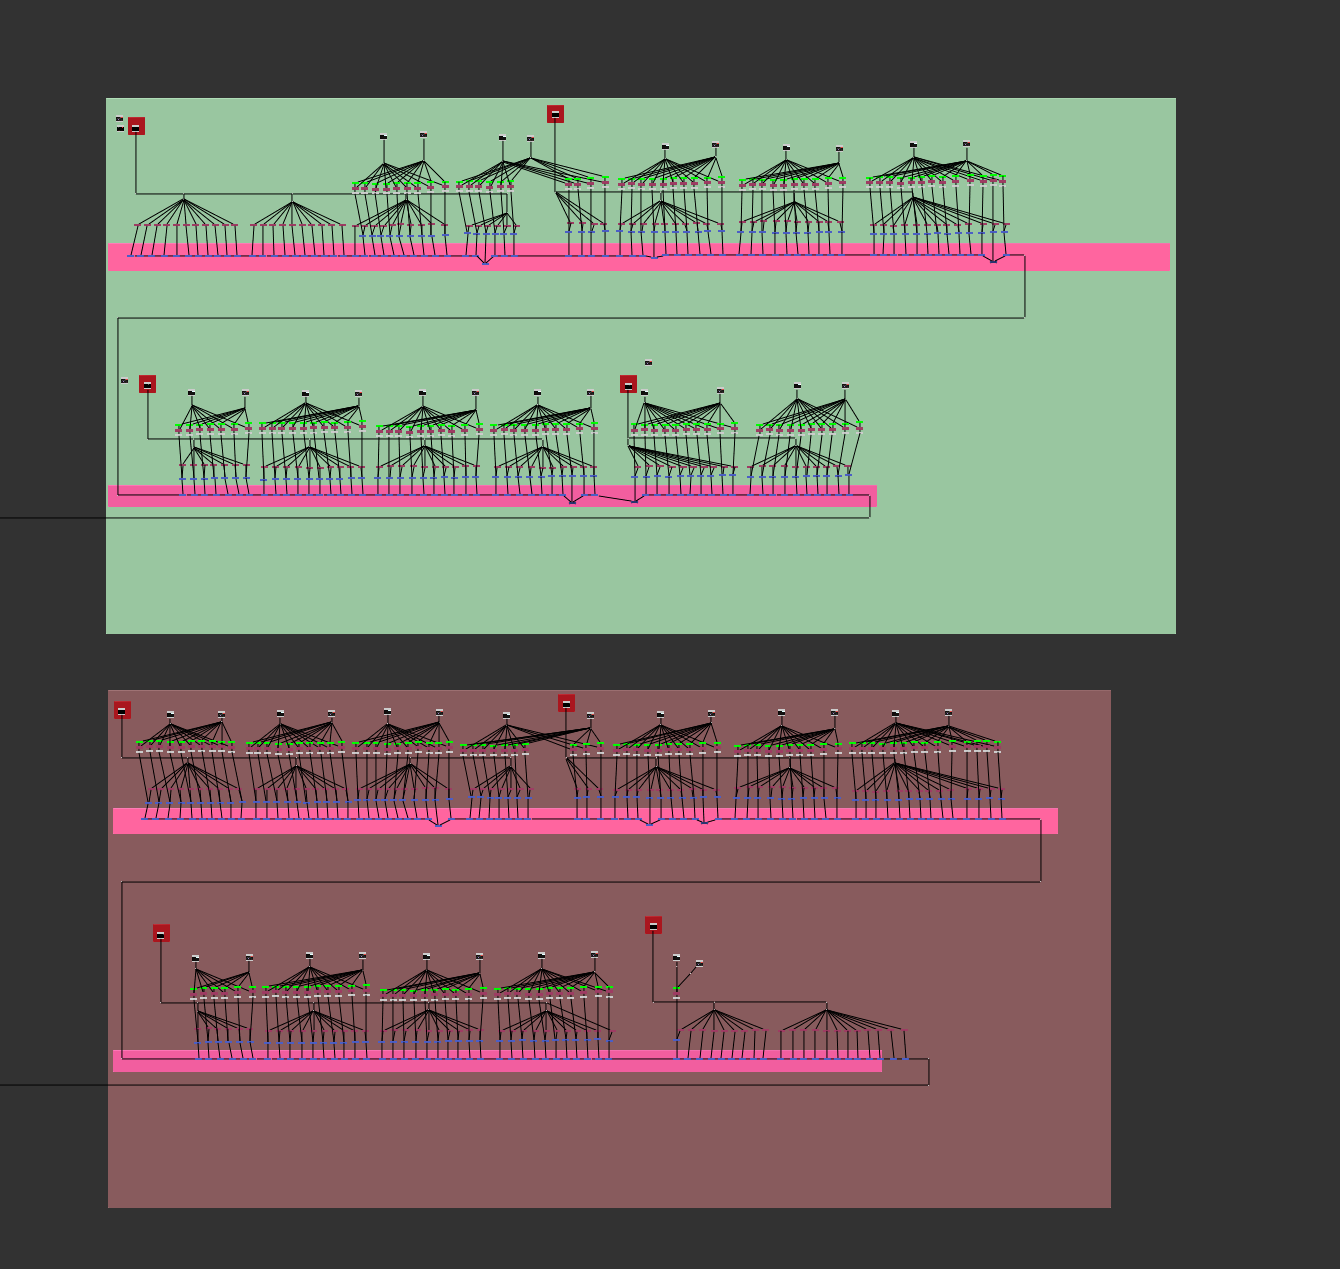
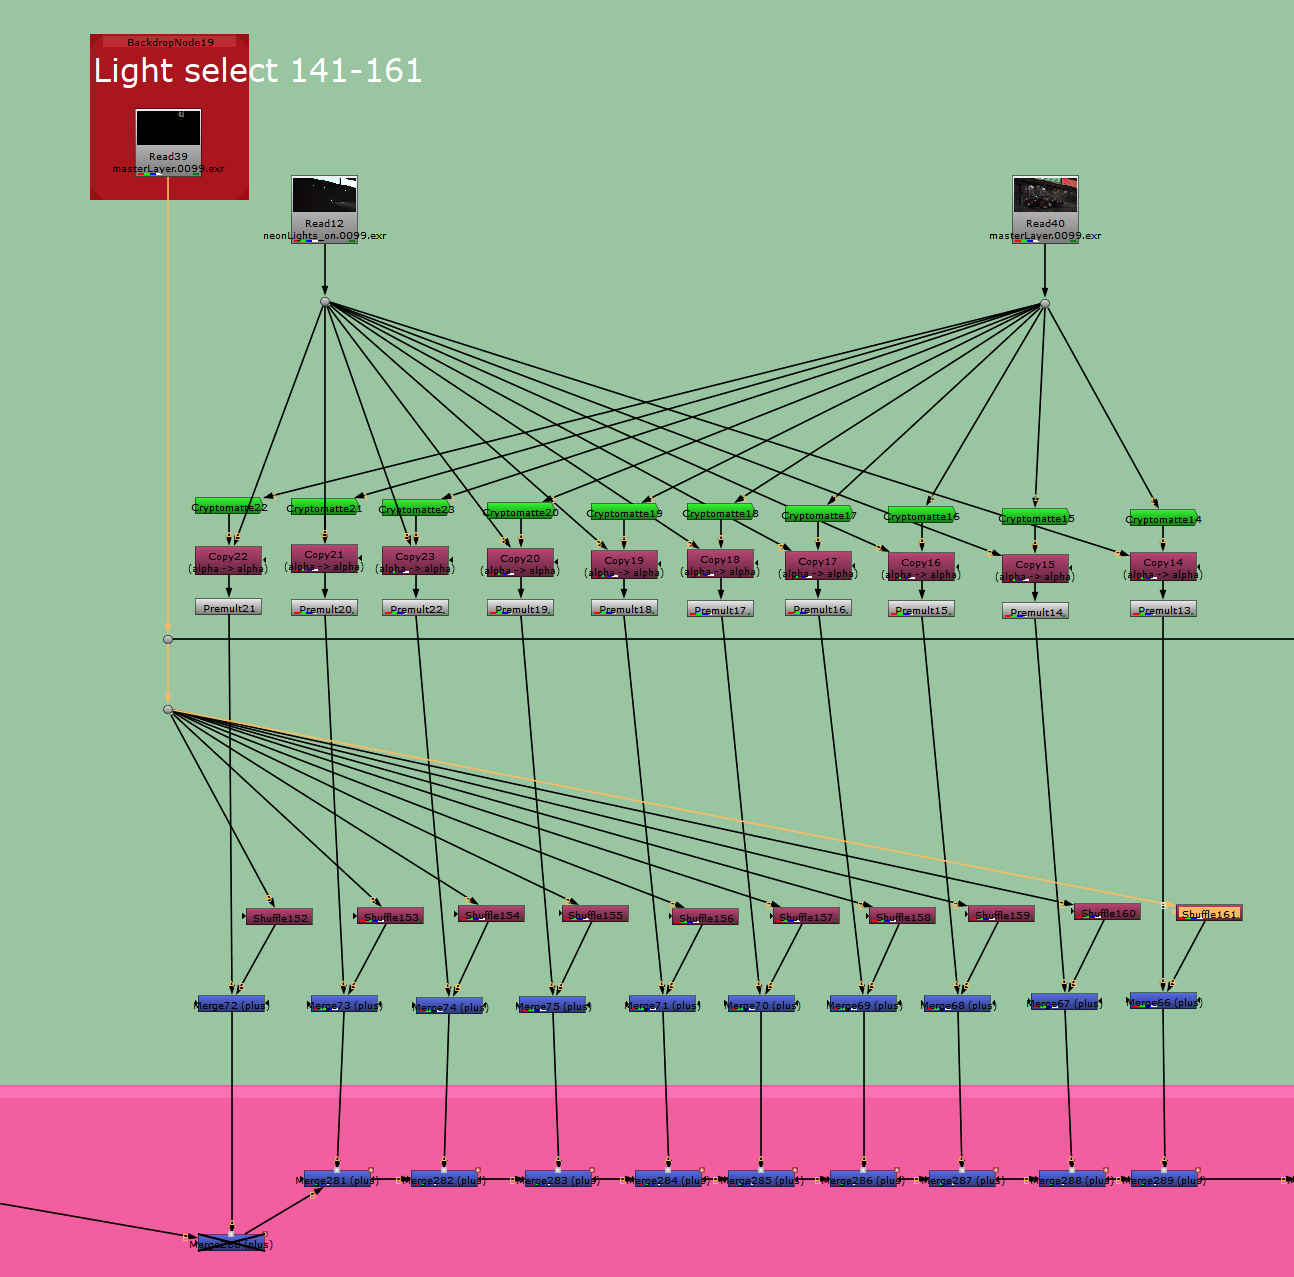
Nuke comp node network:
You can see the entire network on the left and one of the groups on the right.
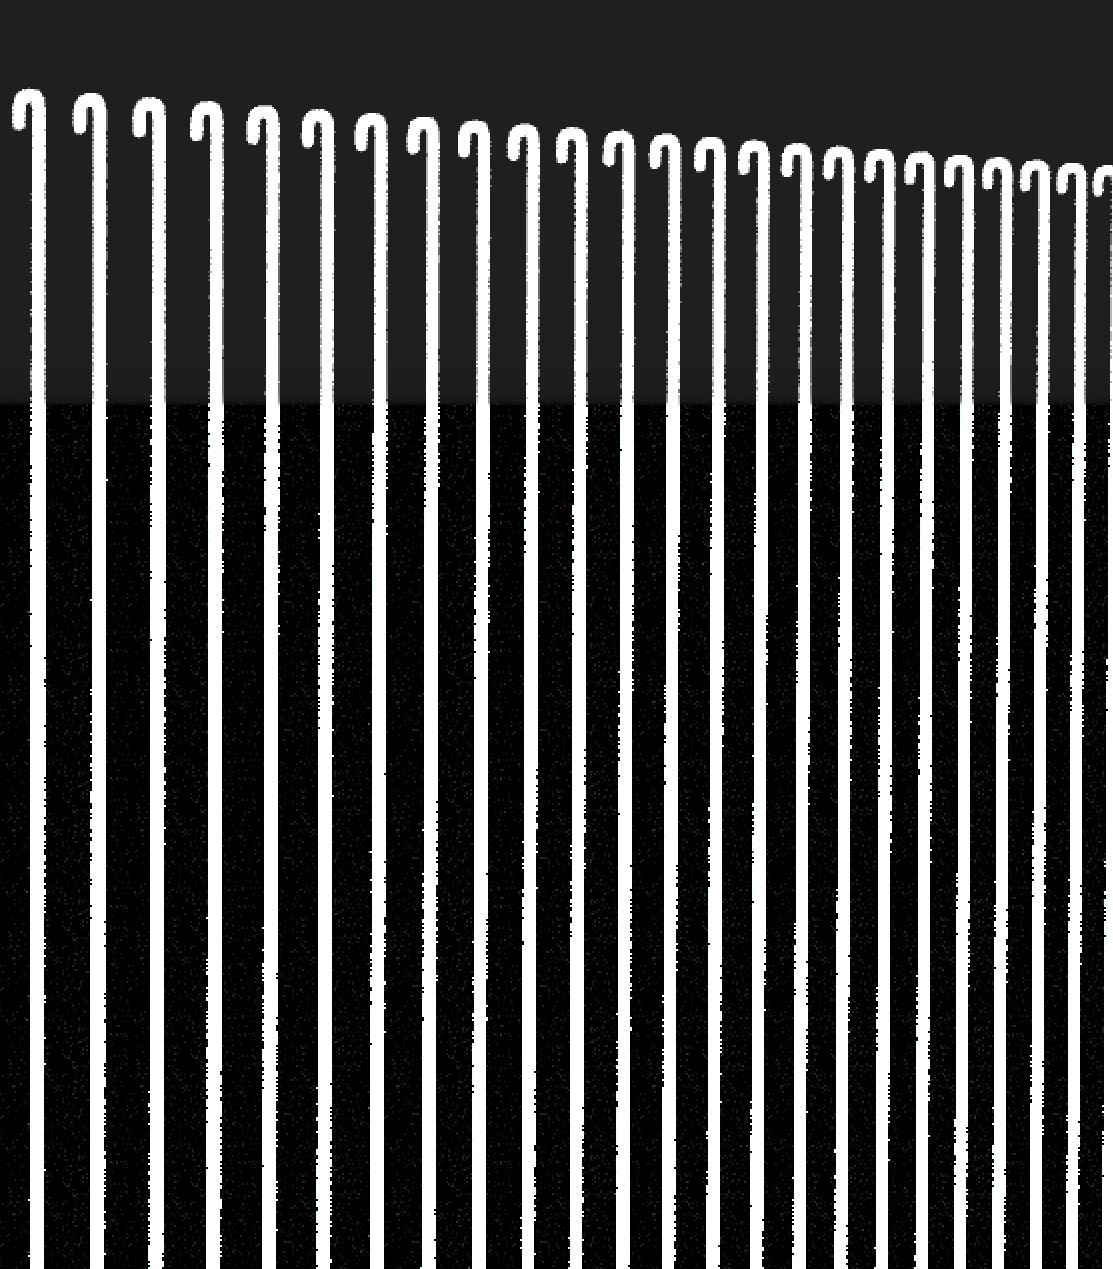
I've use 3 different footage to create this effect. 1.The entire scene footage for color ID / 2. Footage with only the Rec light for the actual glow ( I've assigned light select to each rec light ) (Bottom left) / 3. Footage with only the neon light tube mesh applied with emissive shader (Bottom right).
Merging them together and timing them to create the neon running across effect.

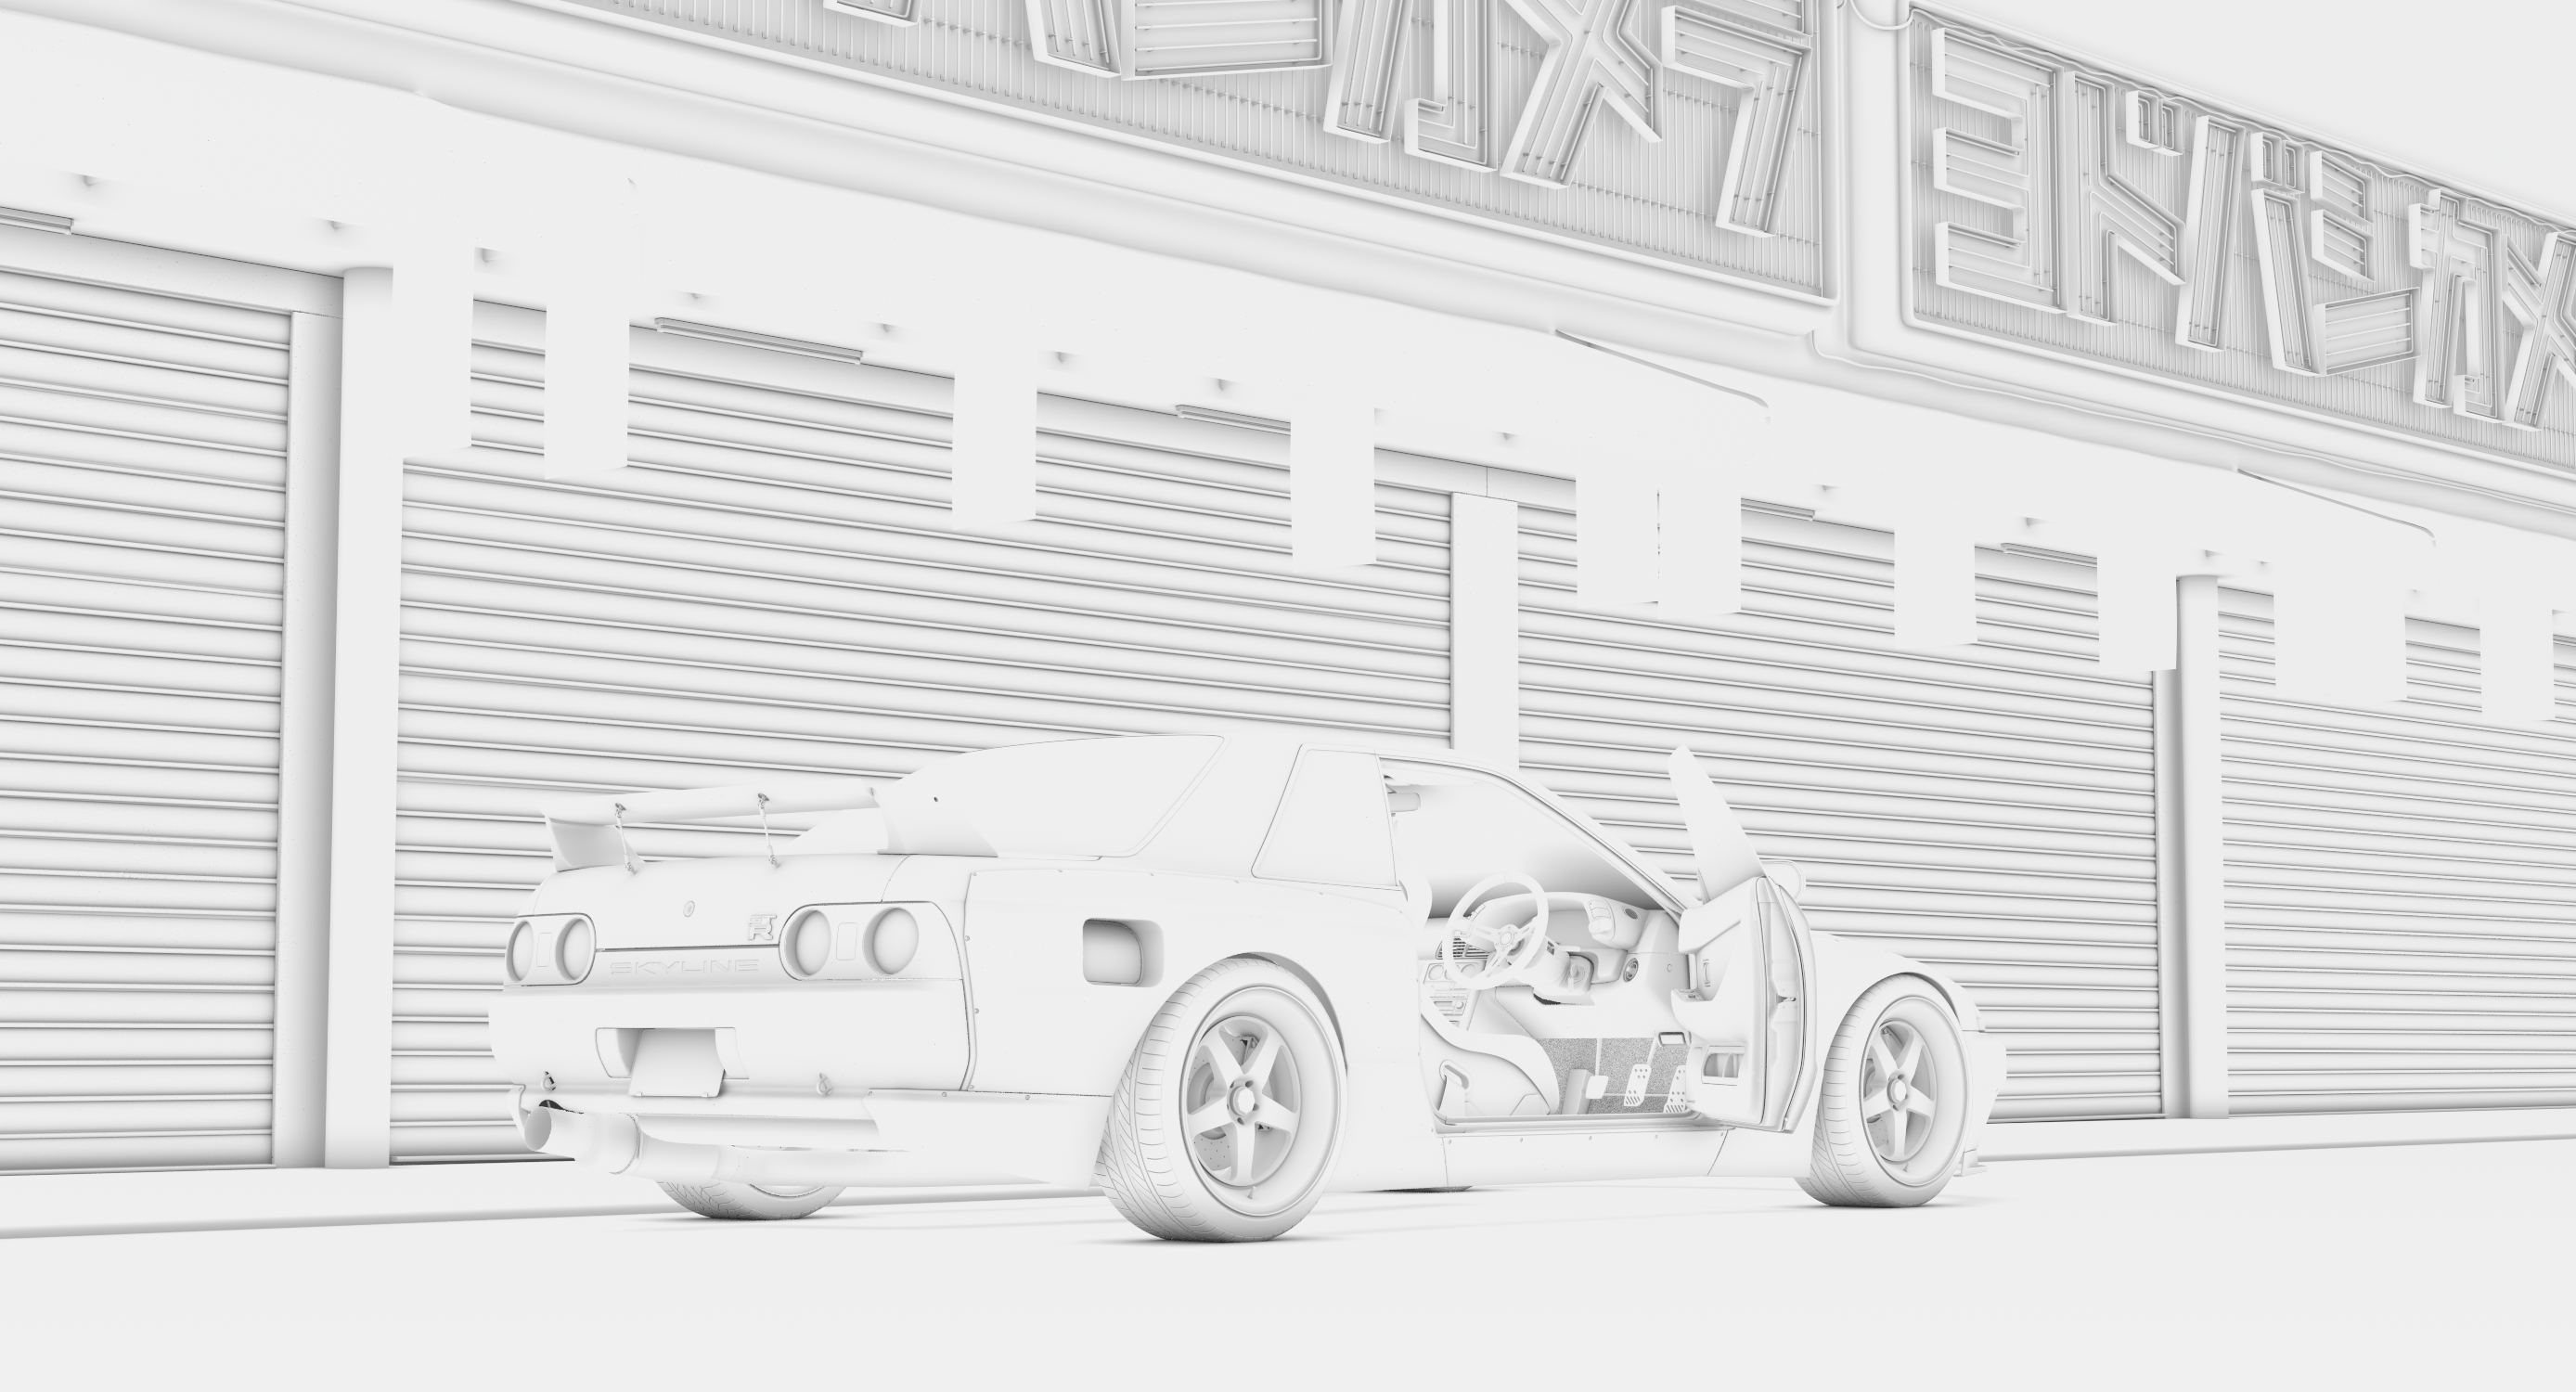
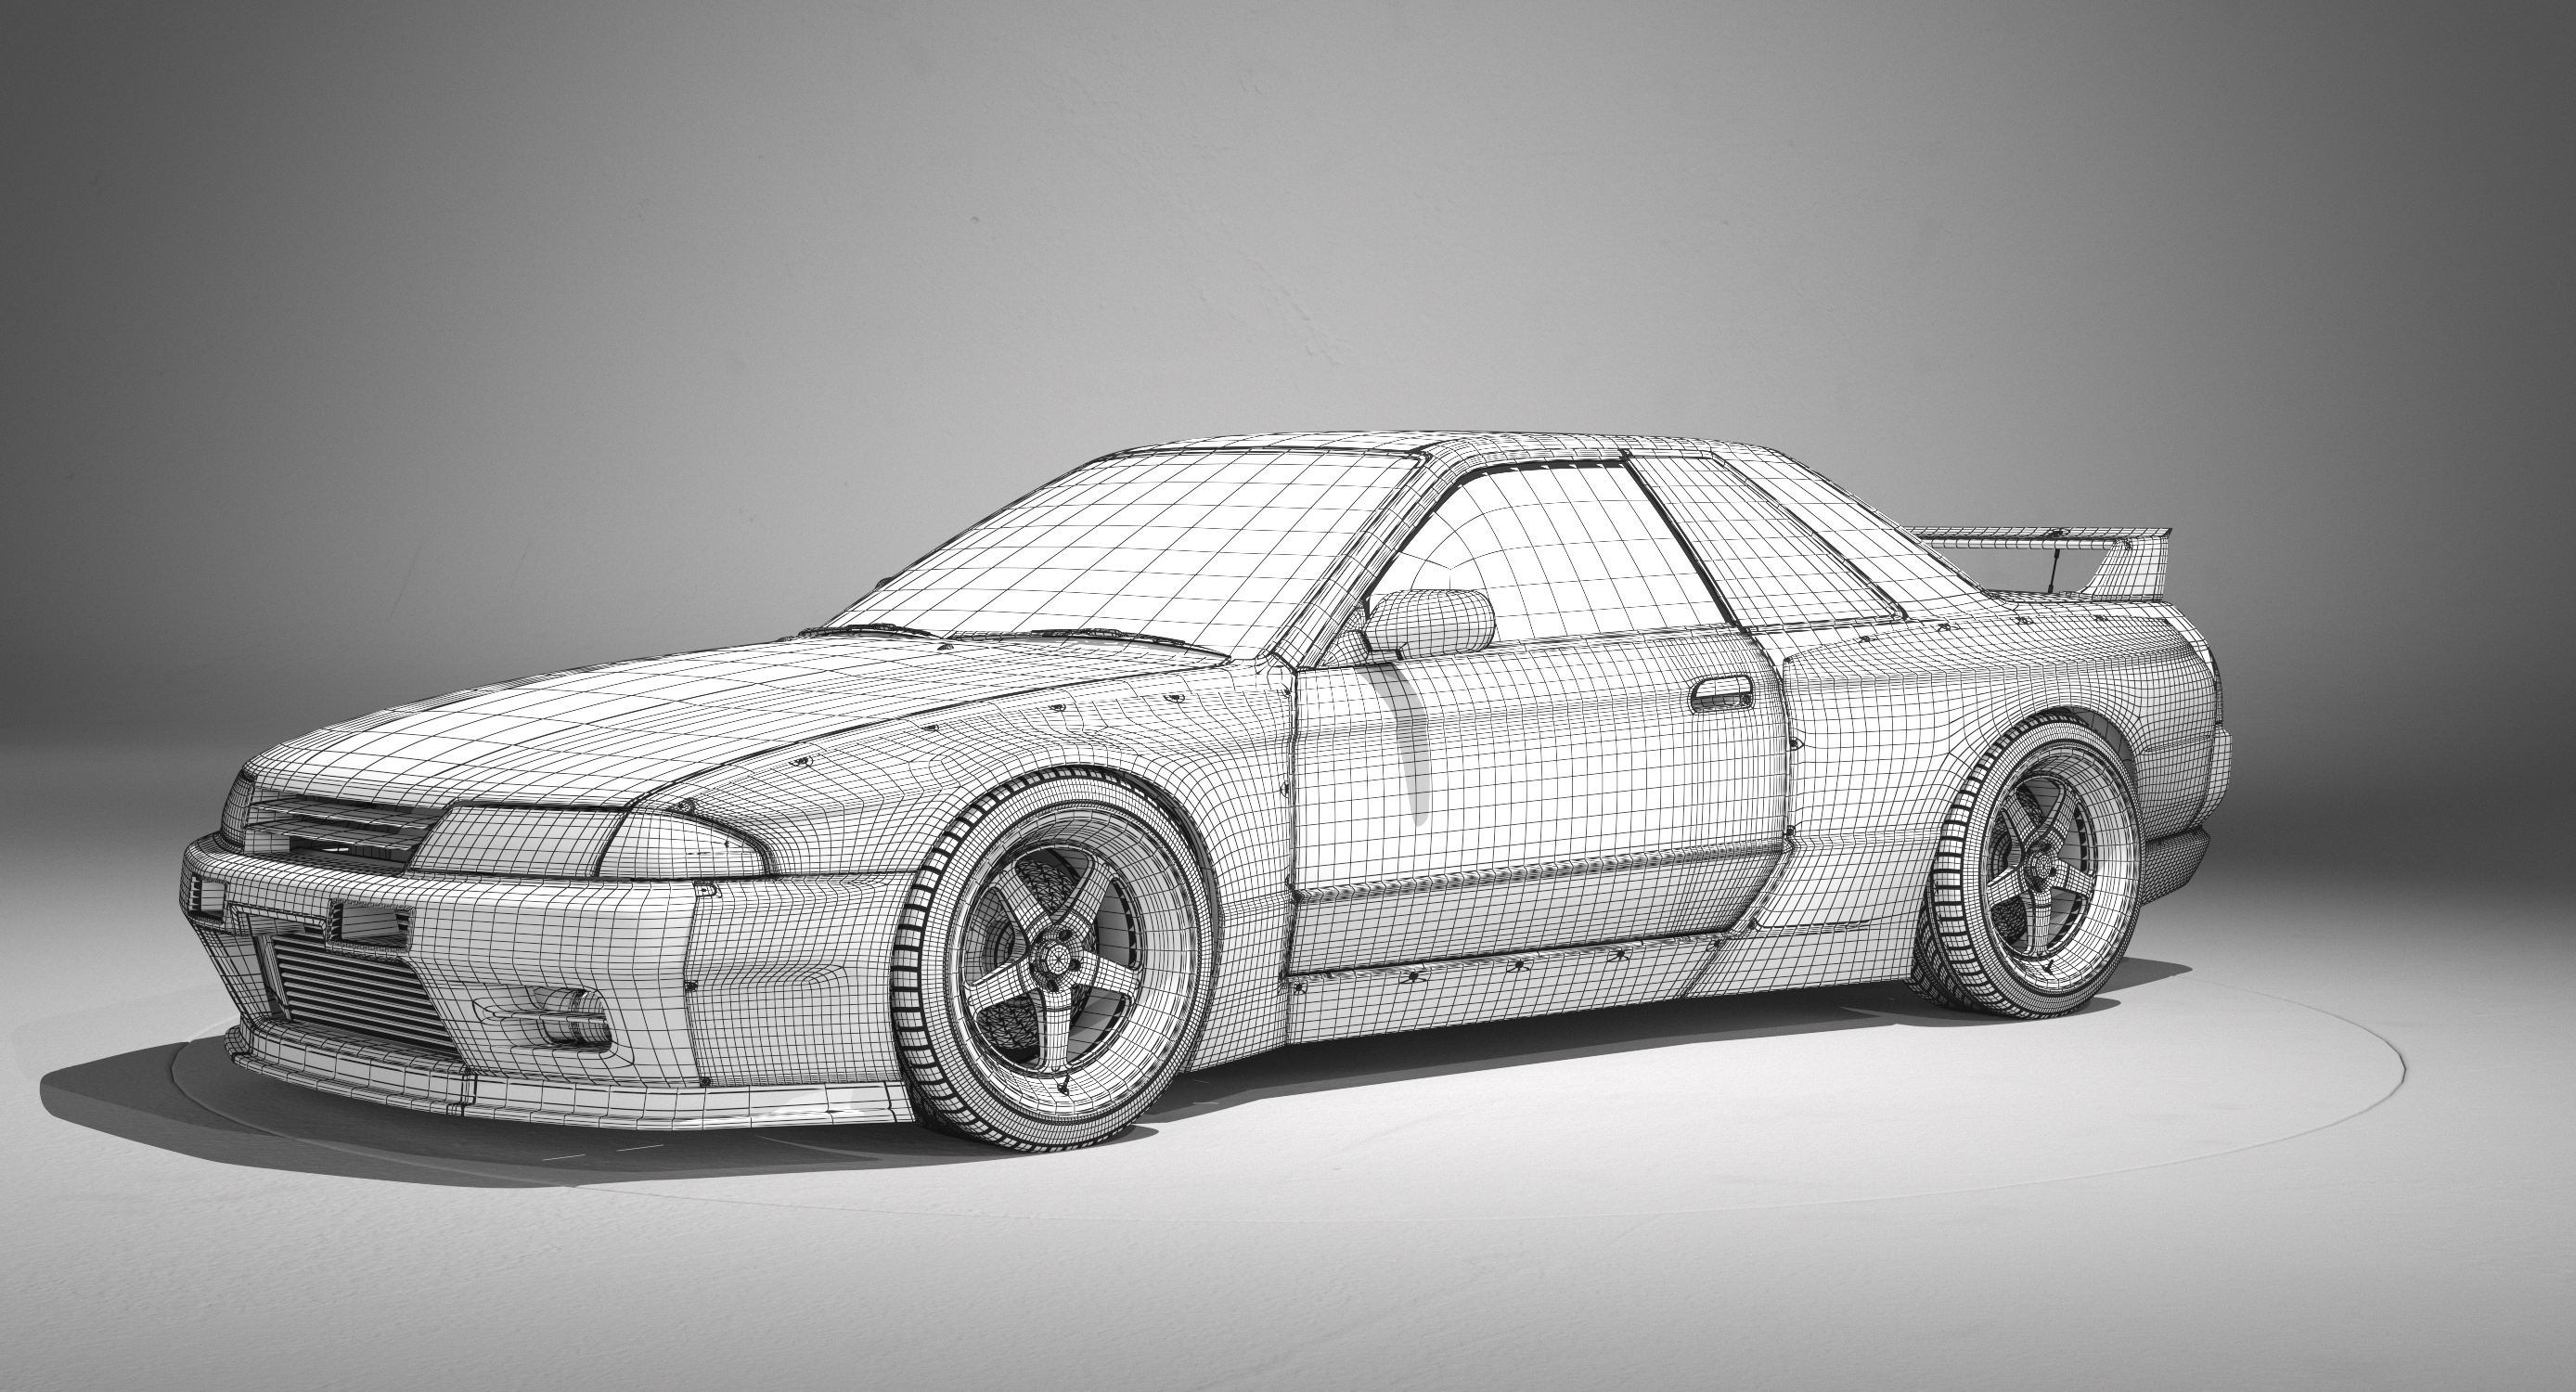
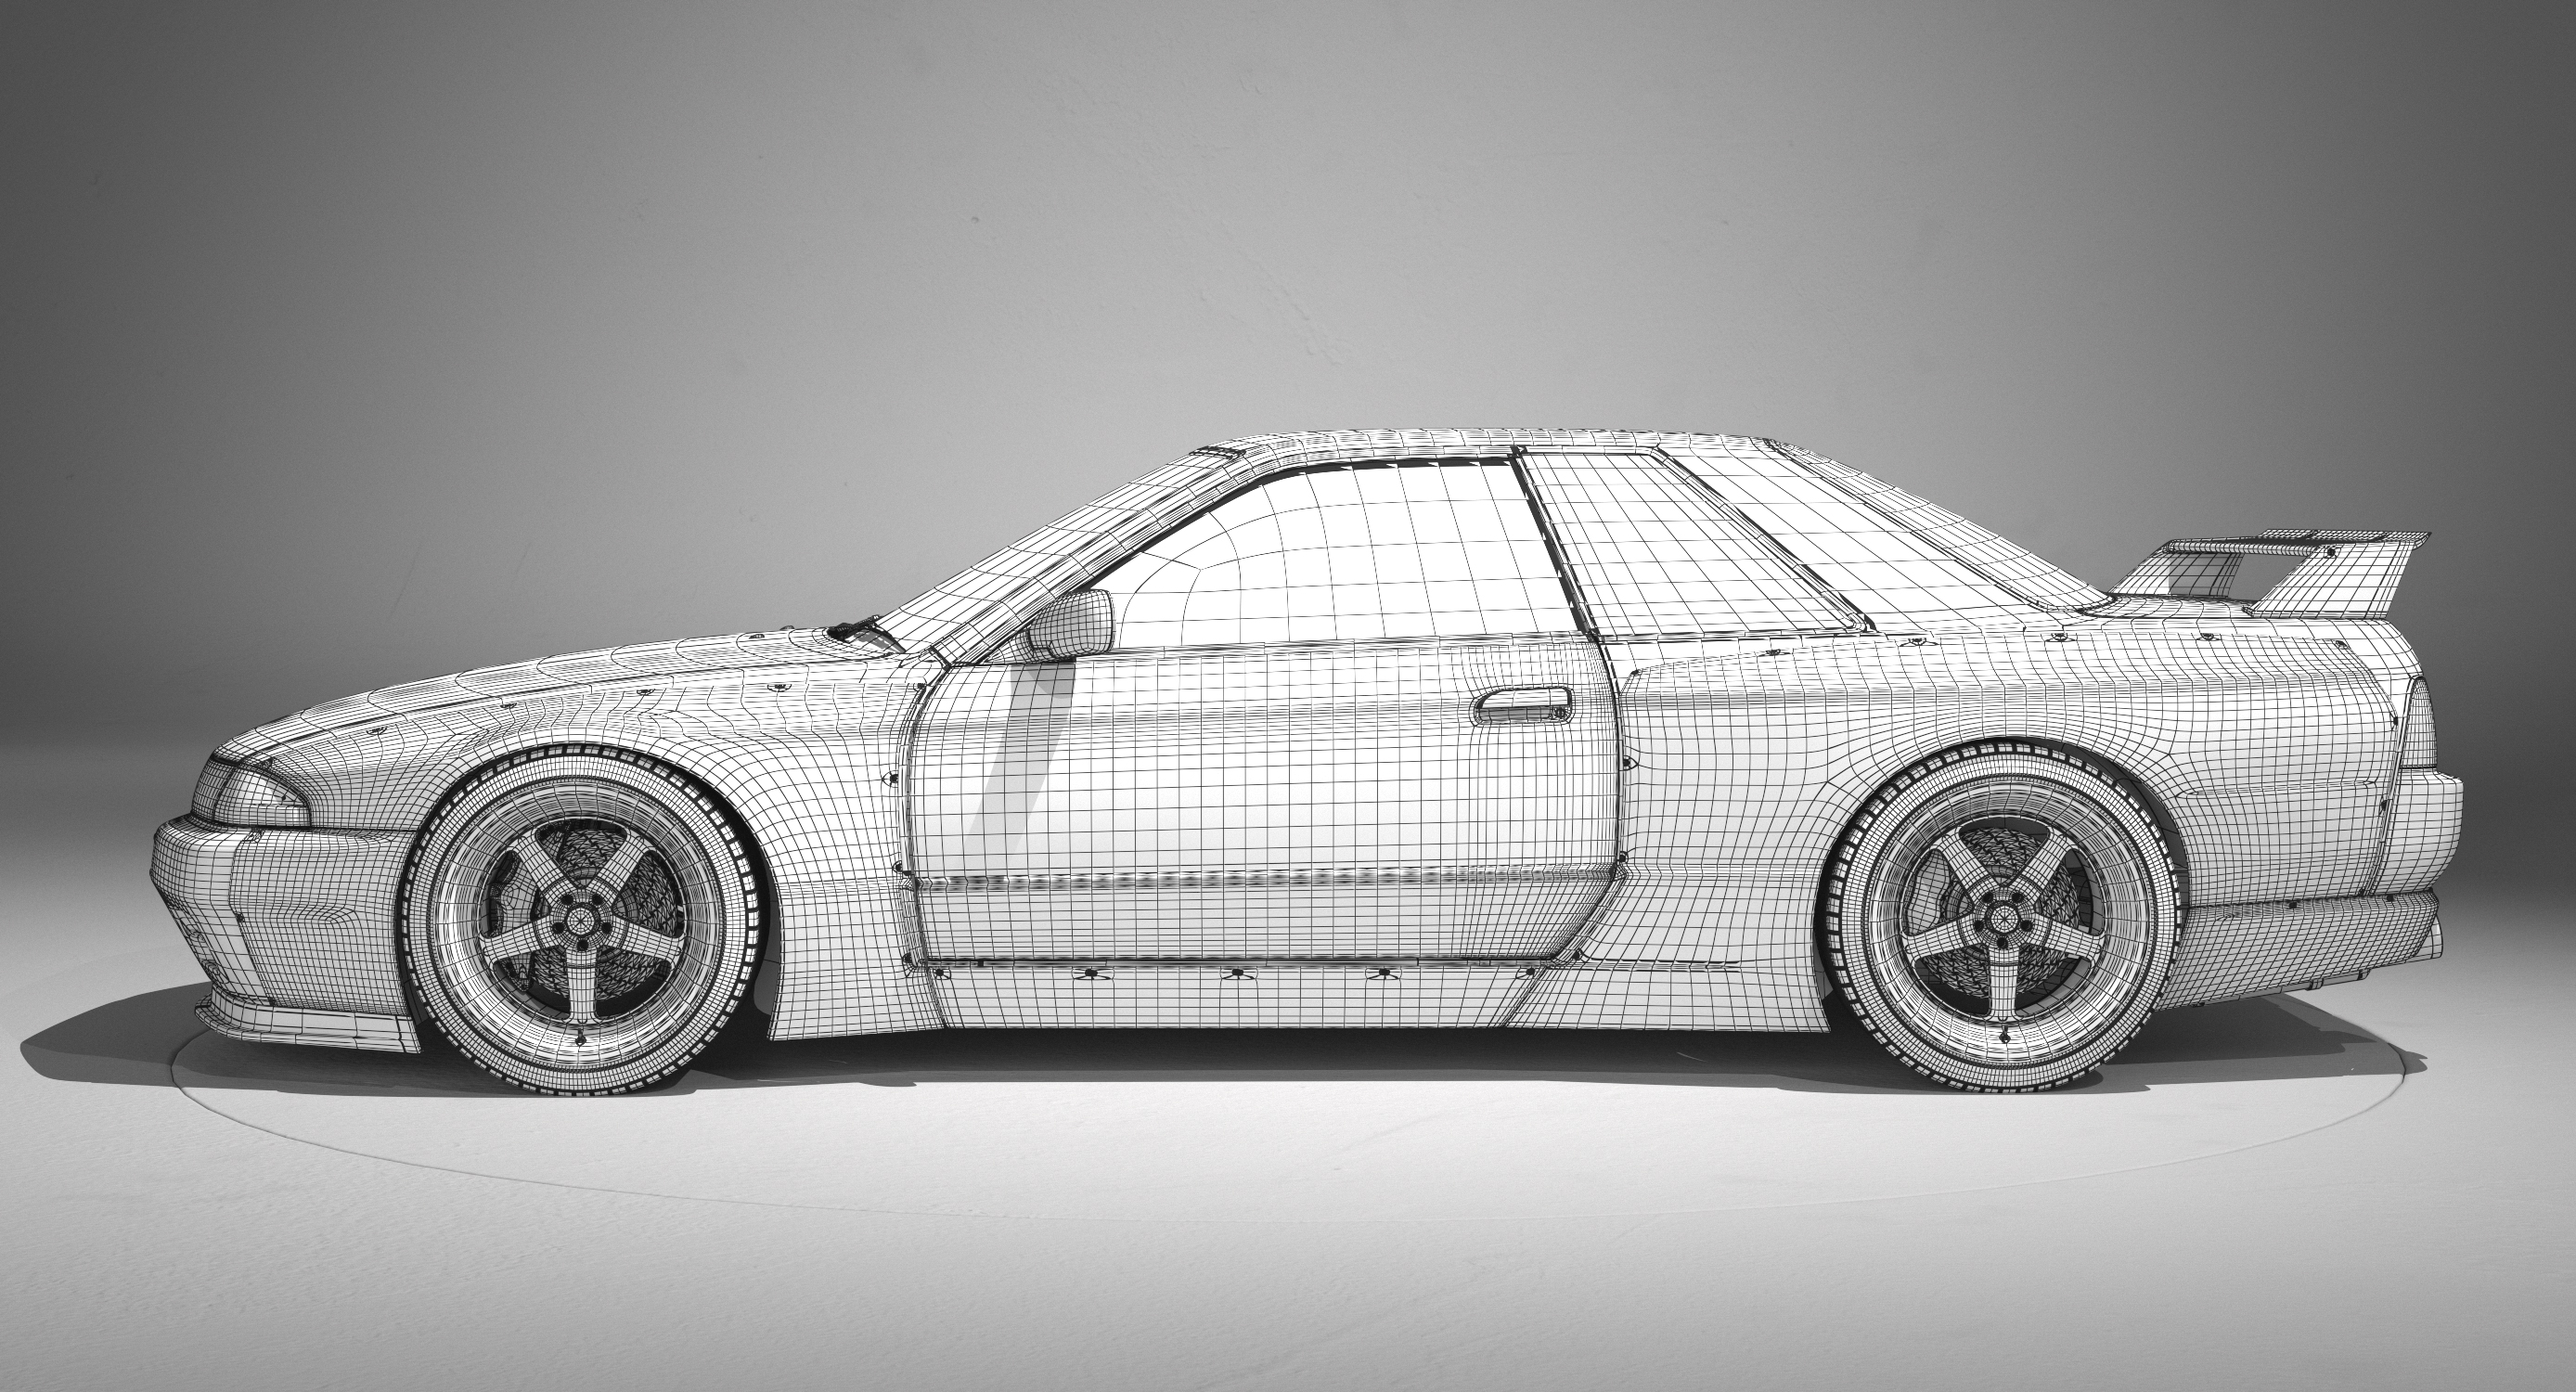
SCENE STILL FRAME / AO/ WIREFRAME


STUDIO TURNTABLE / STILL SHOTS


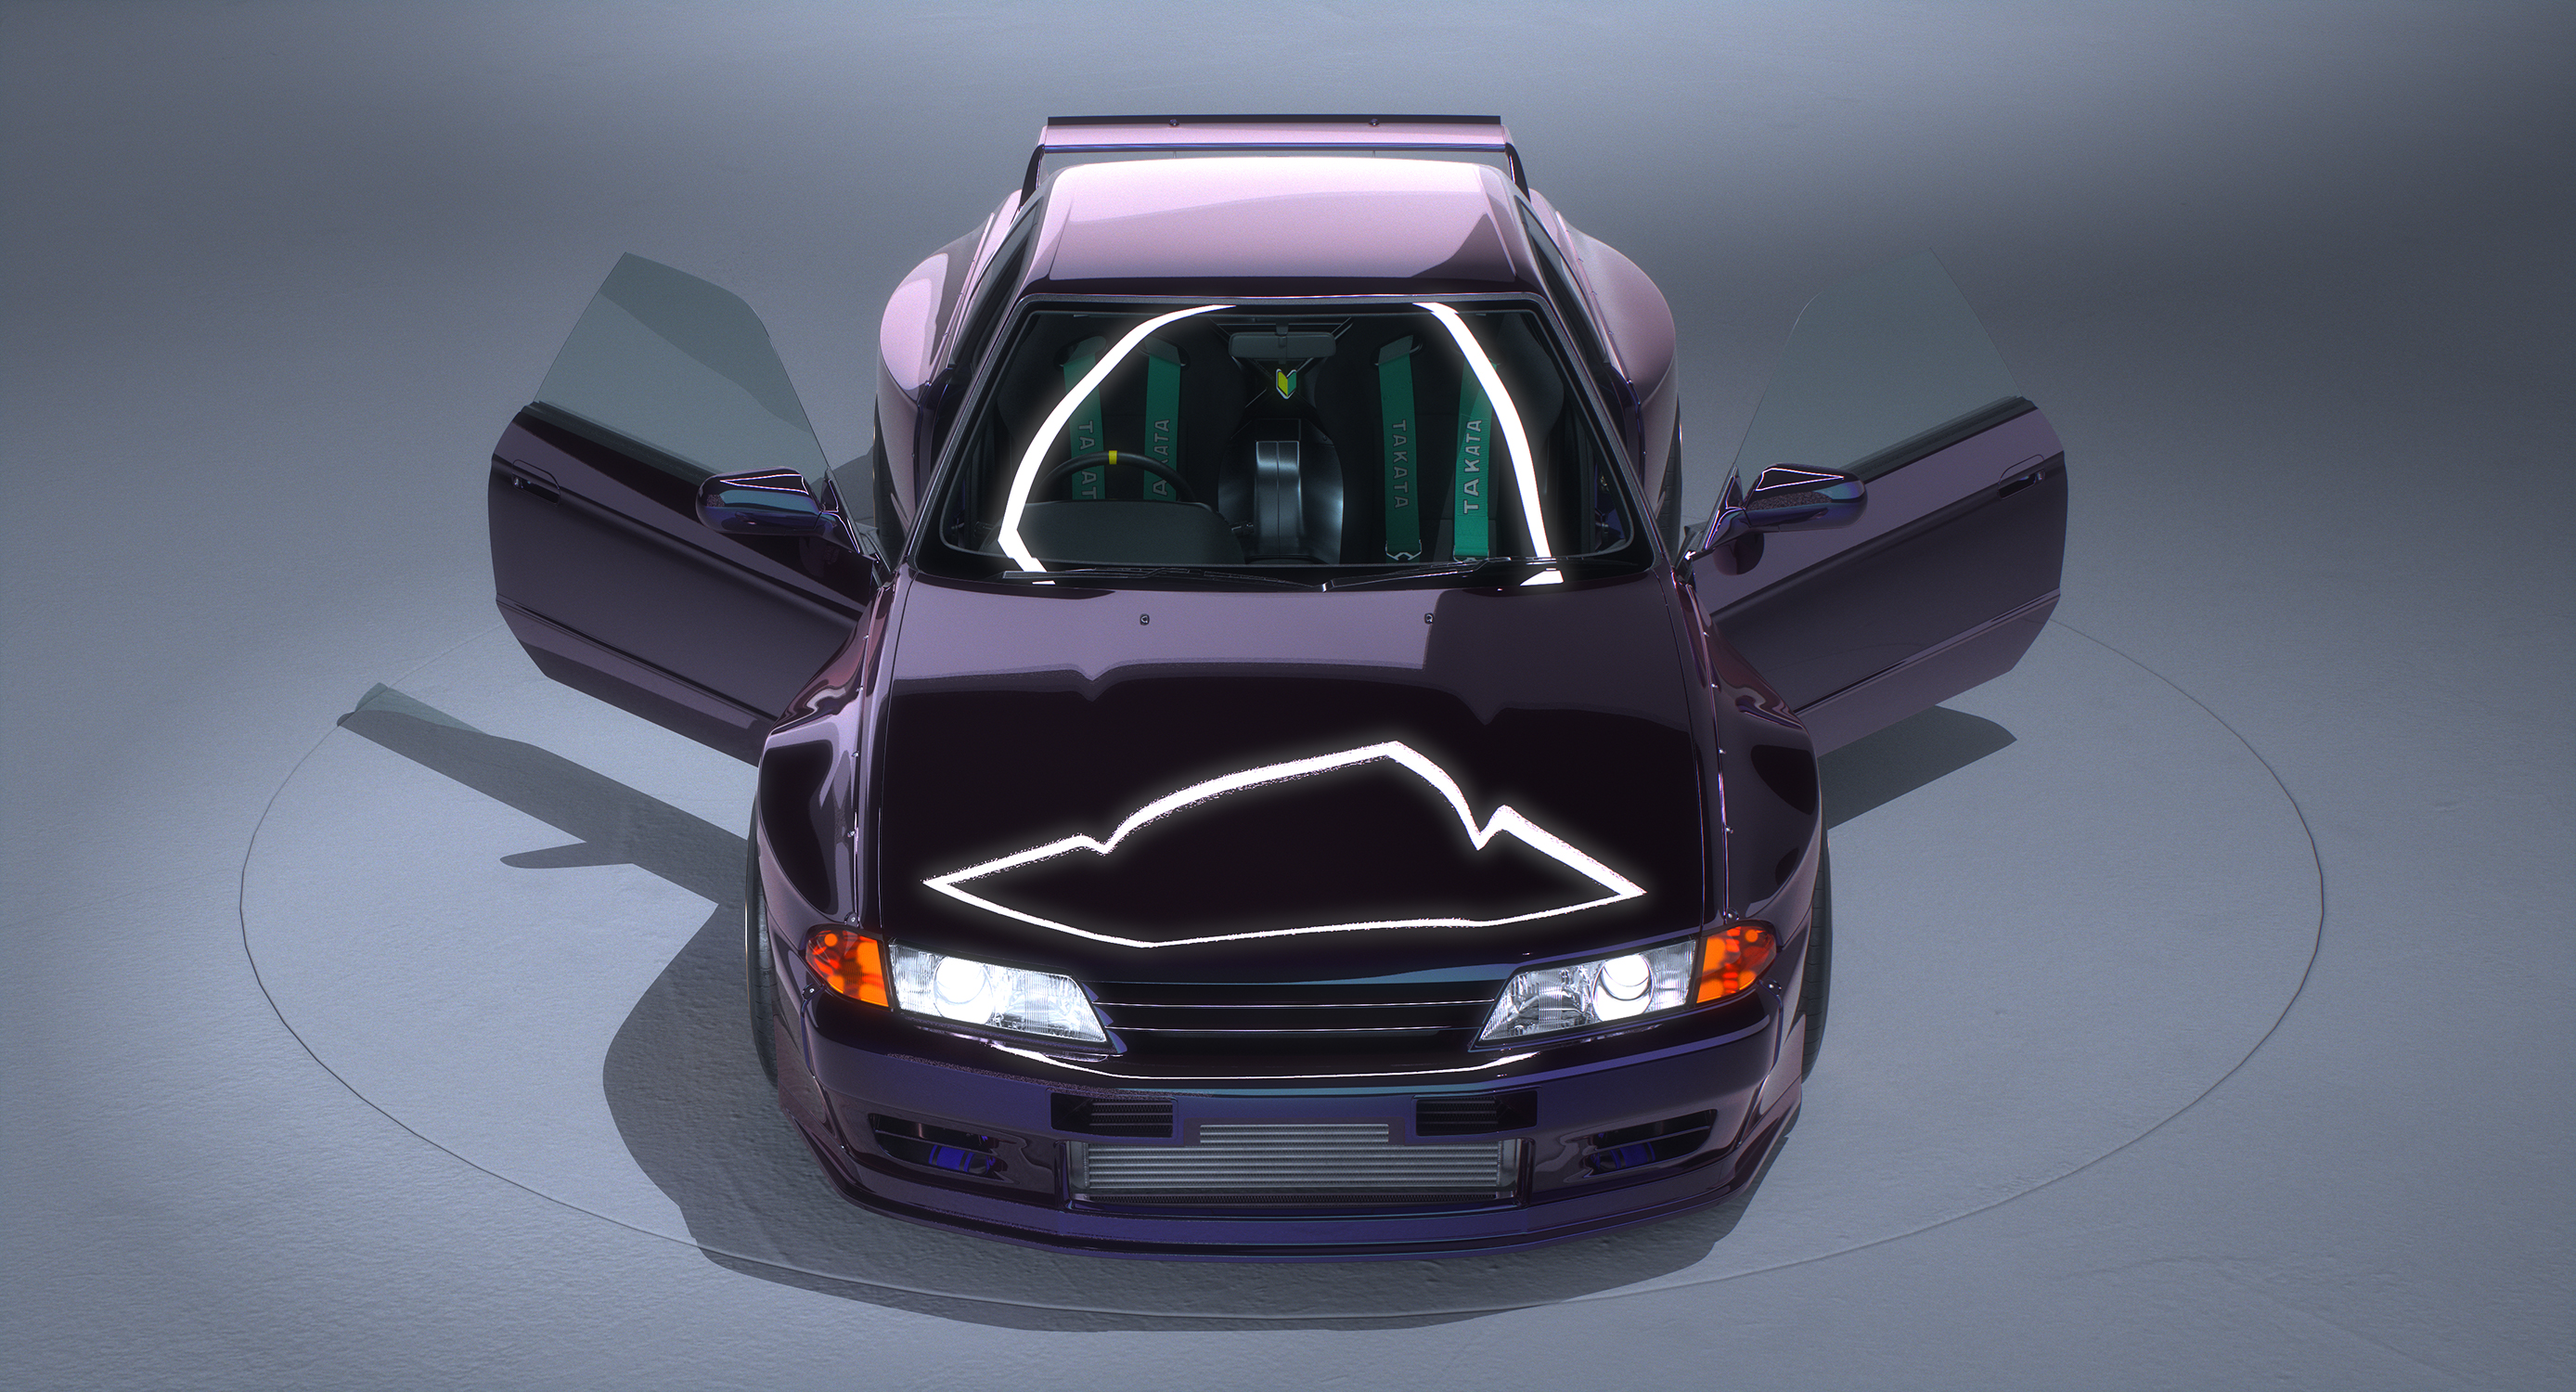
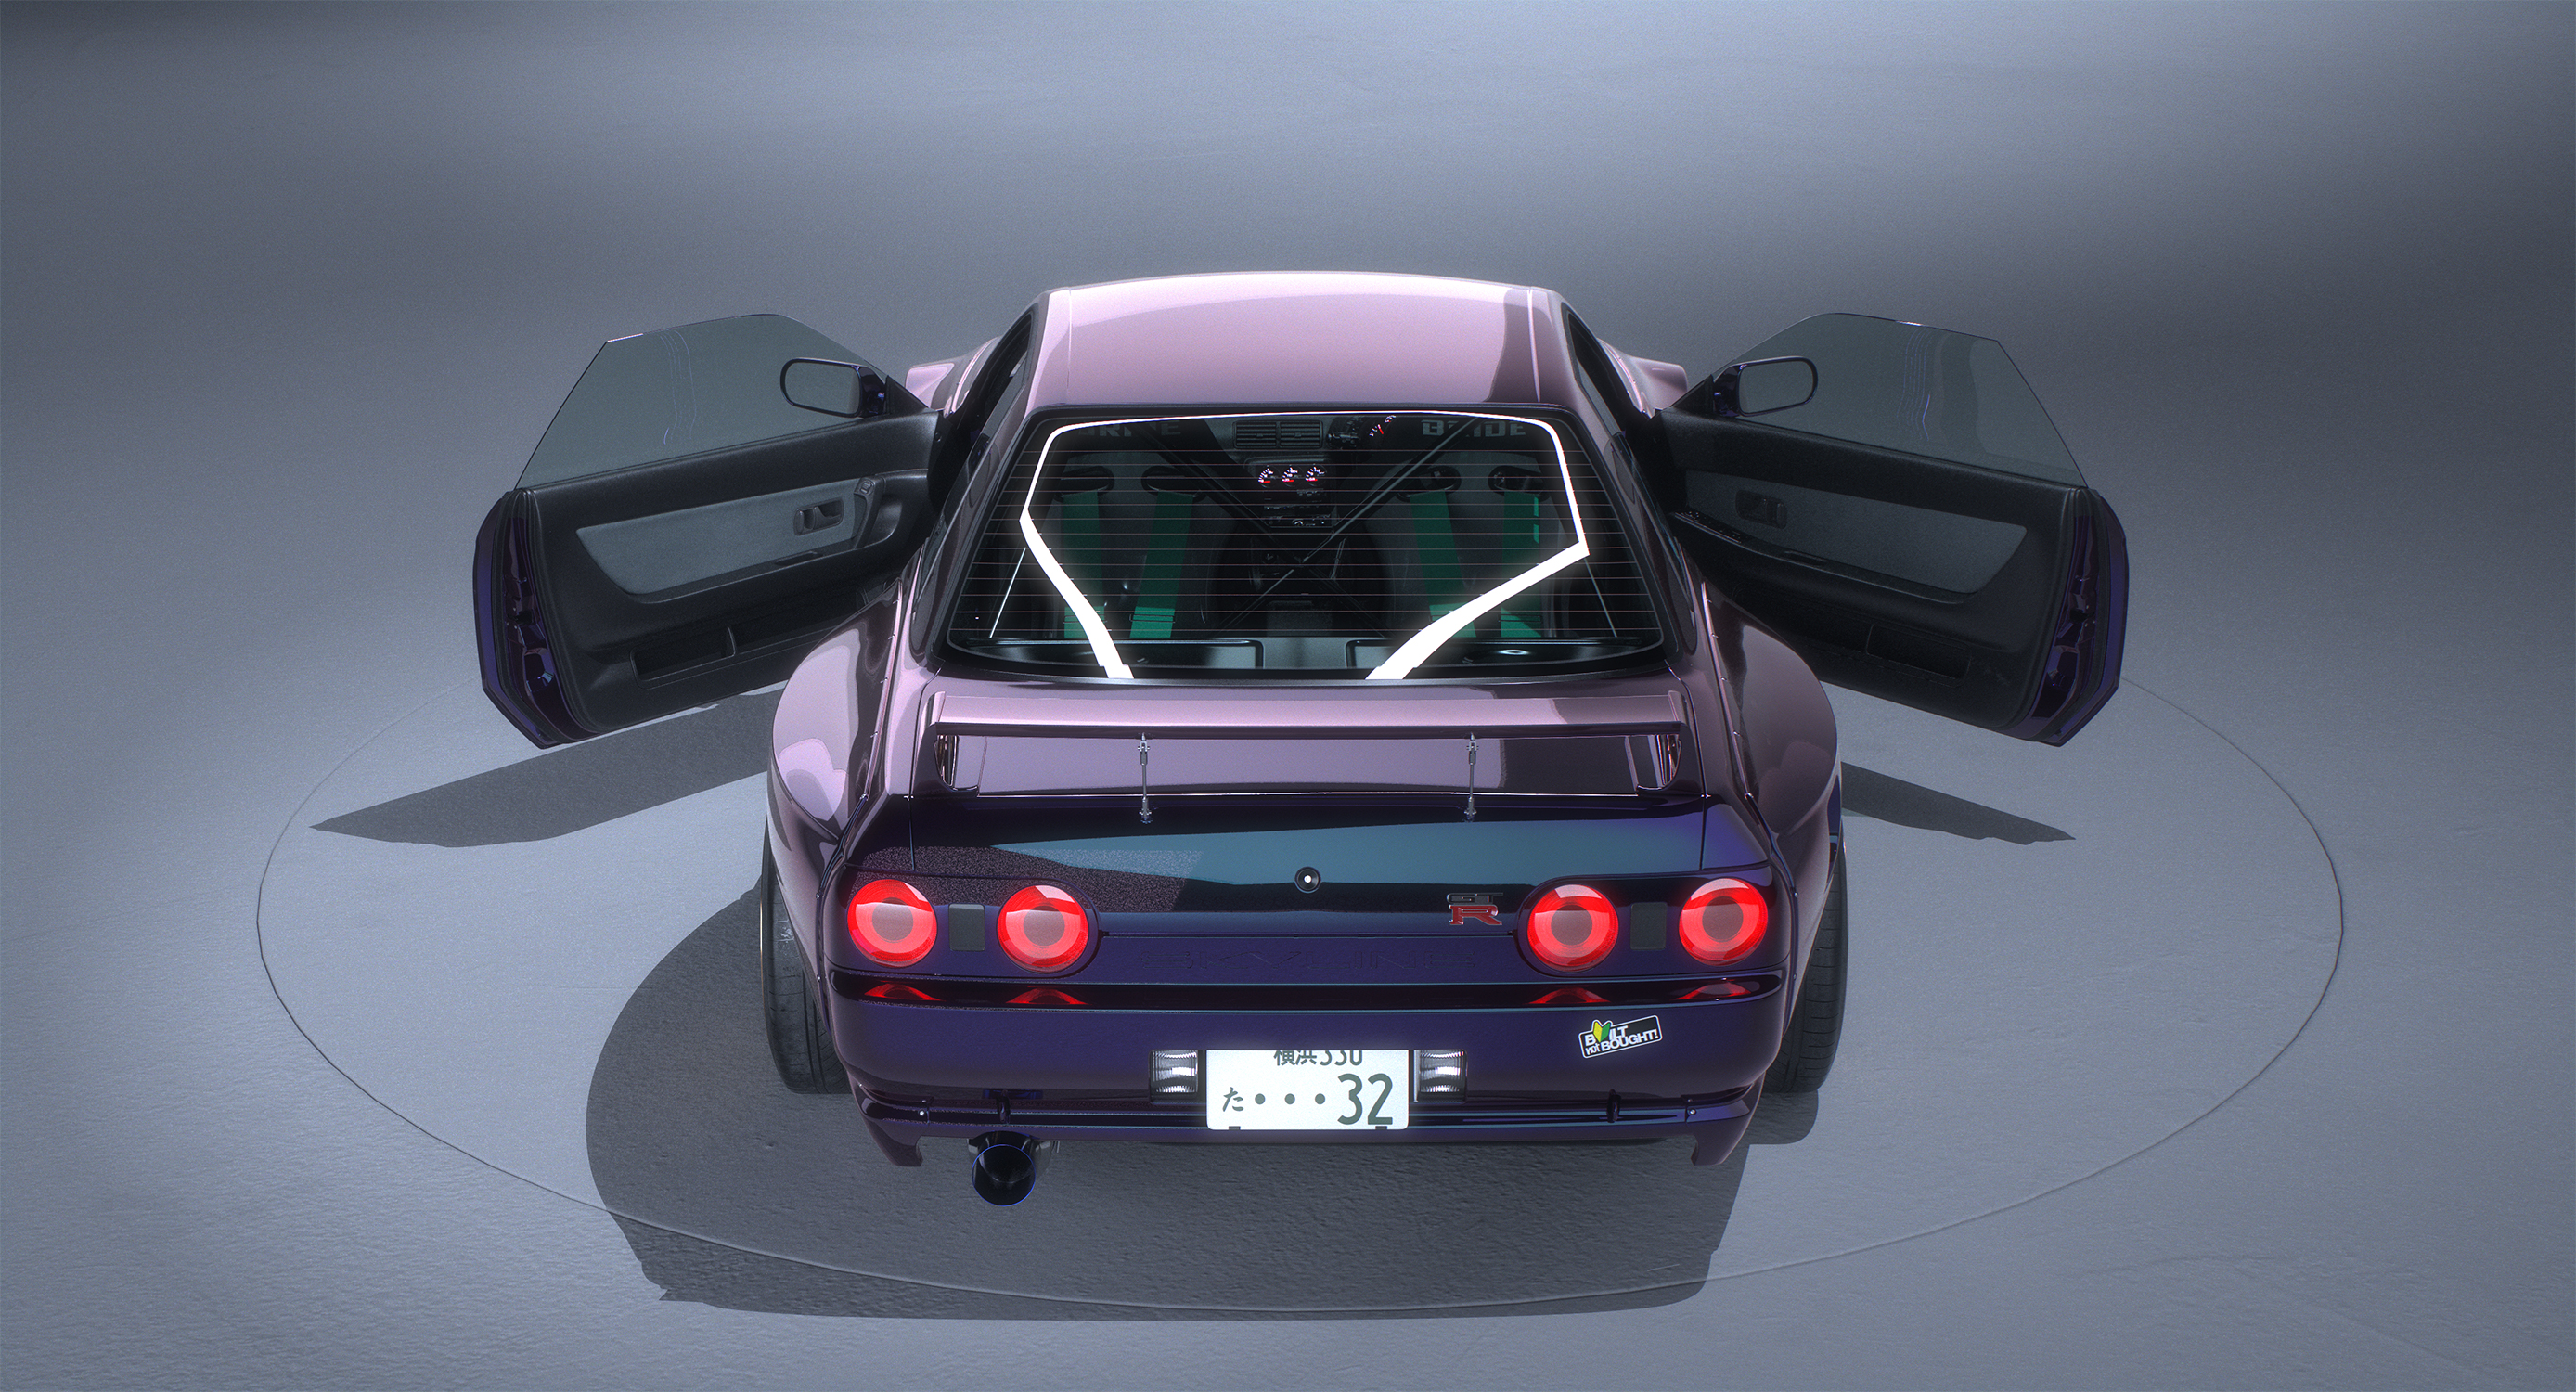
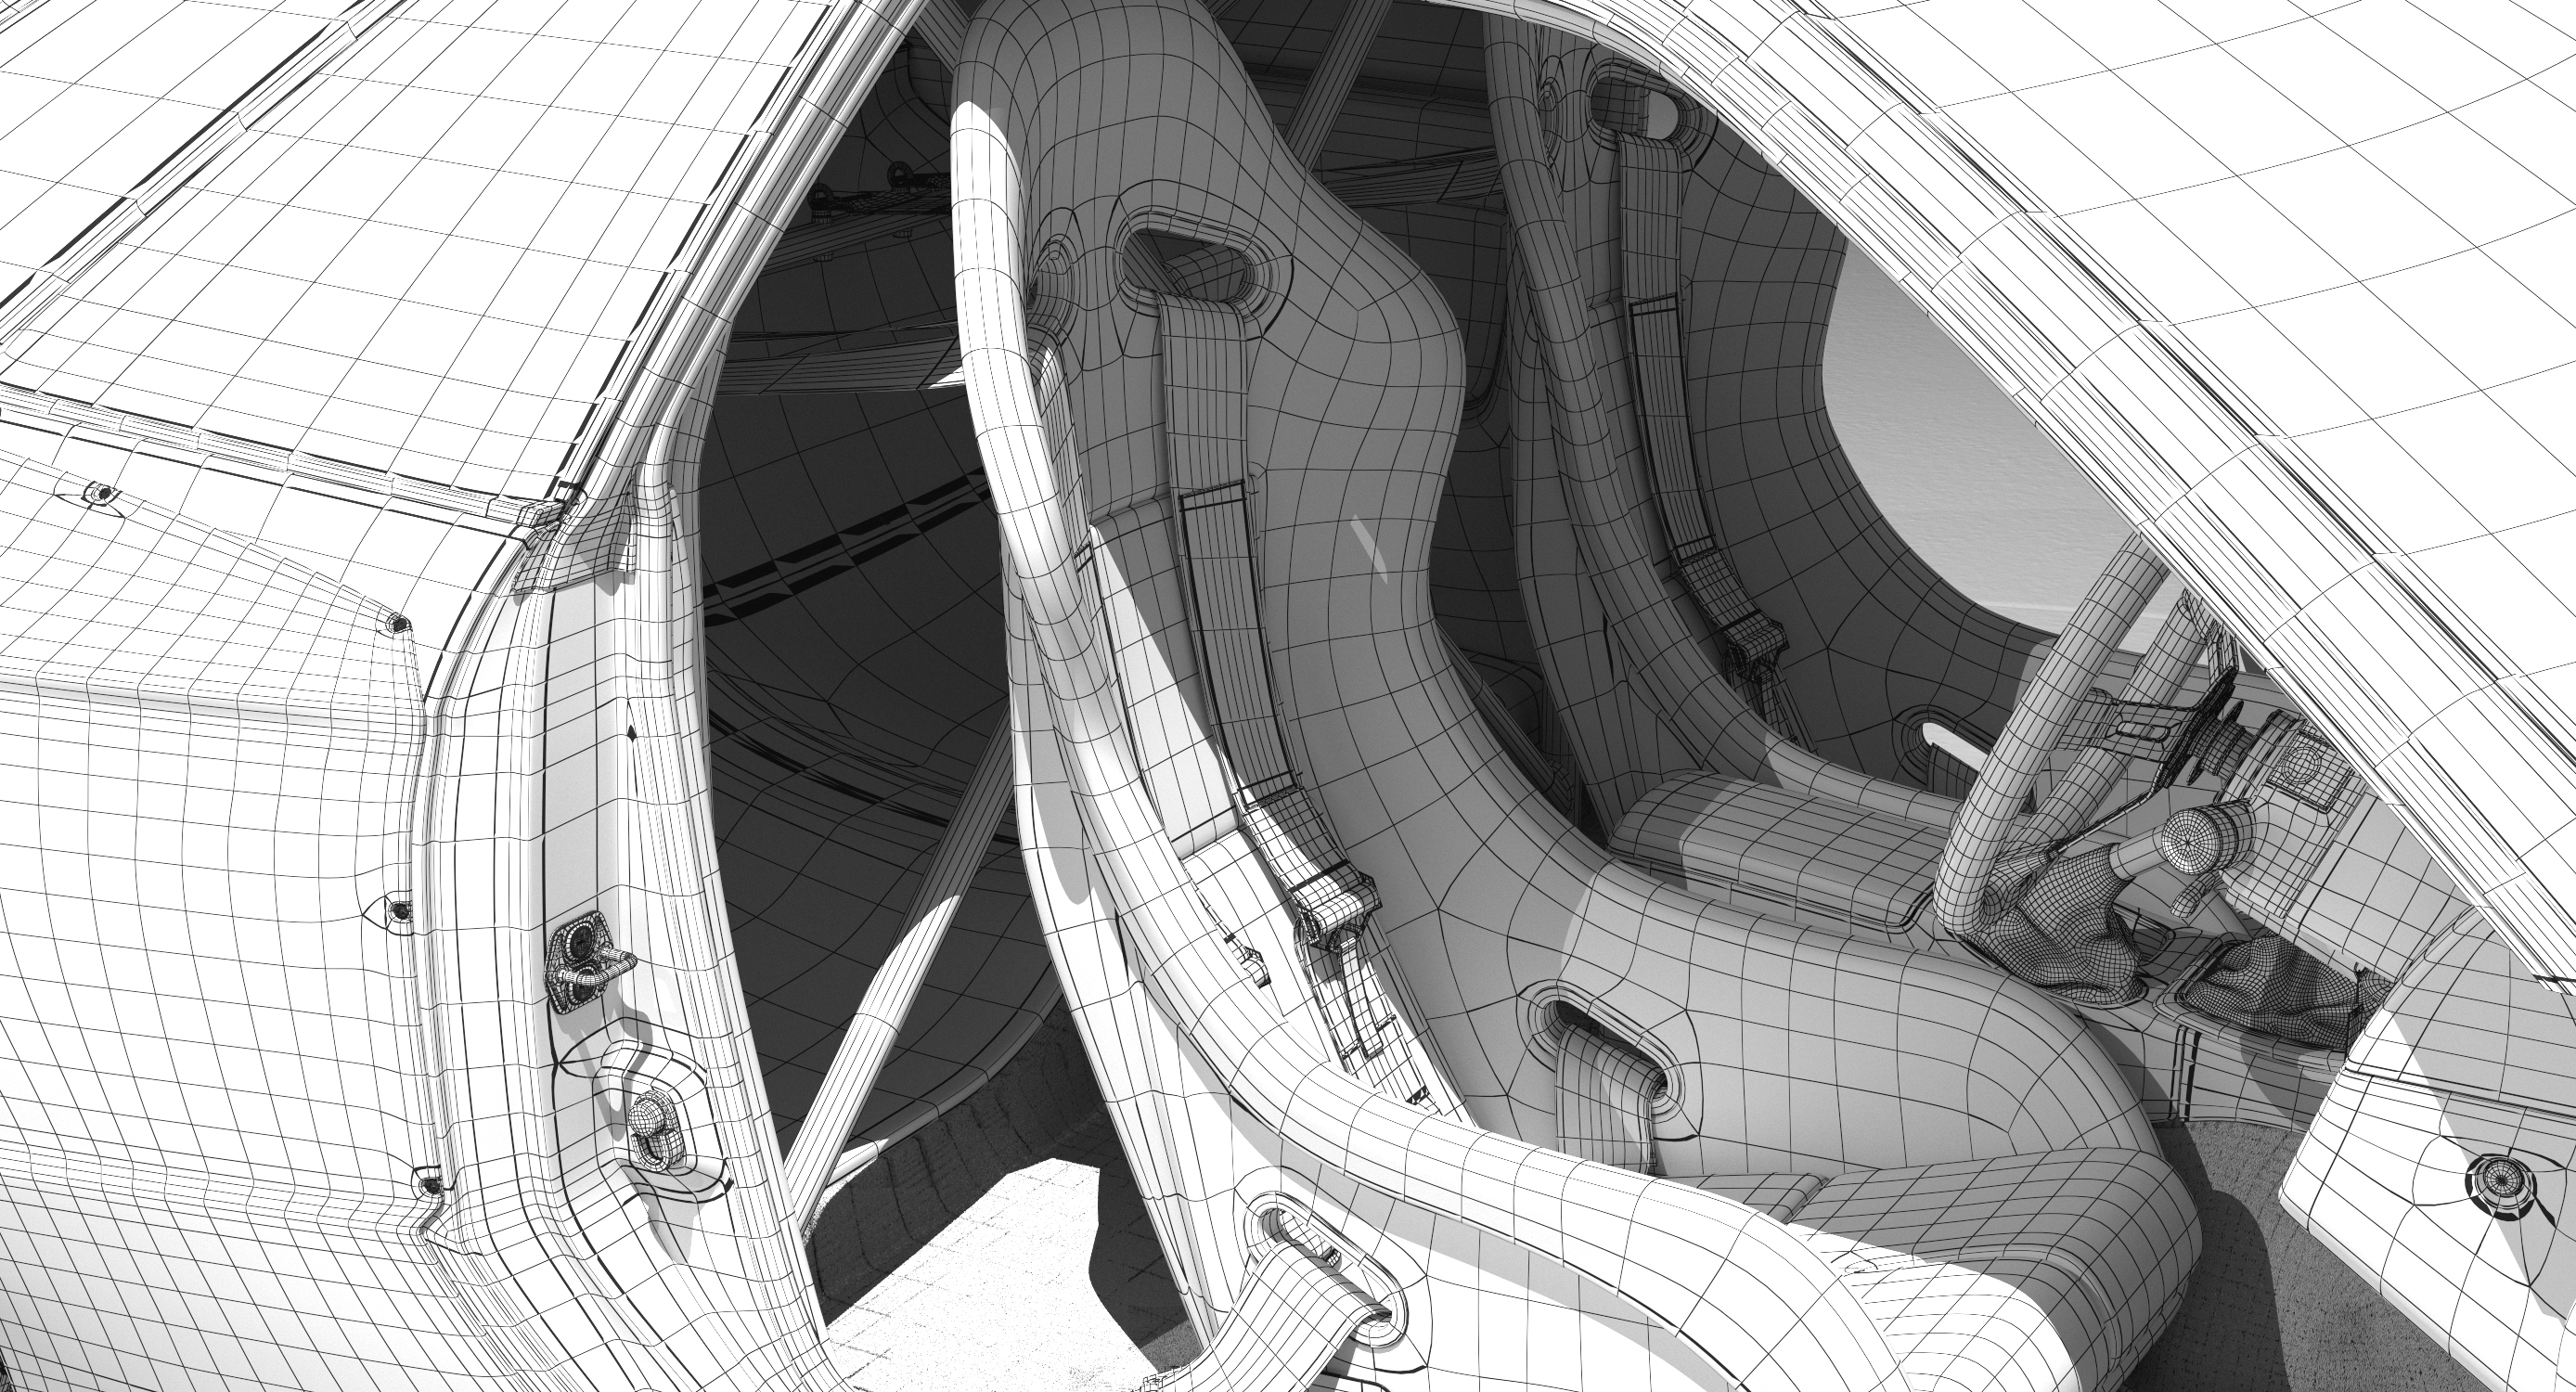
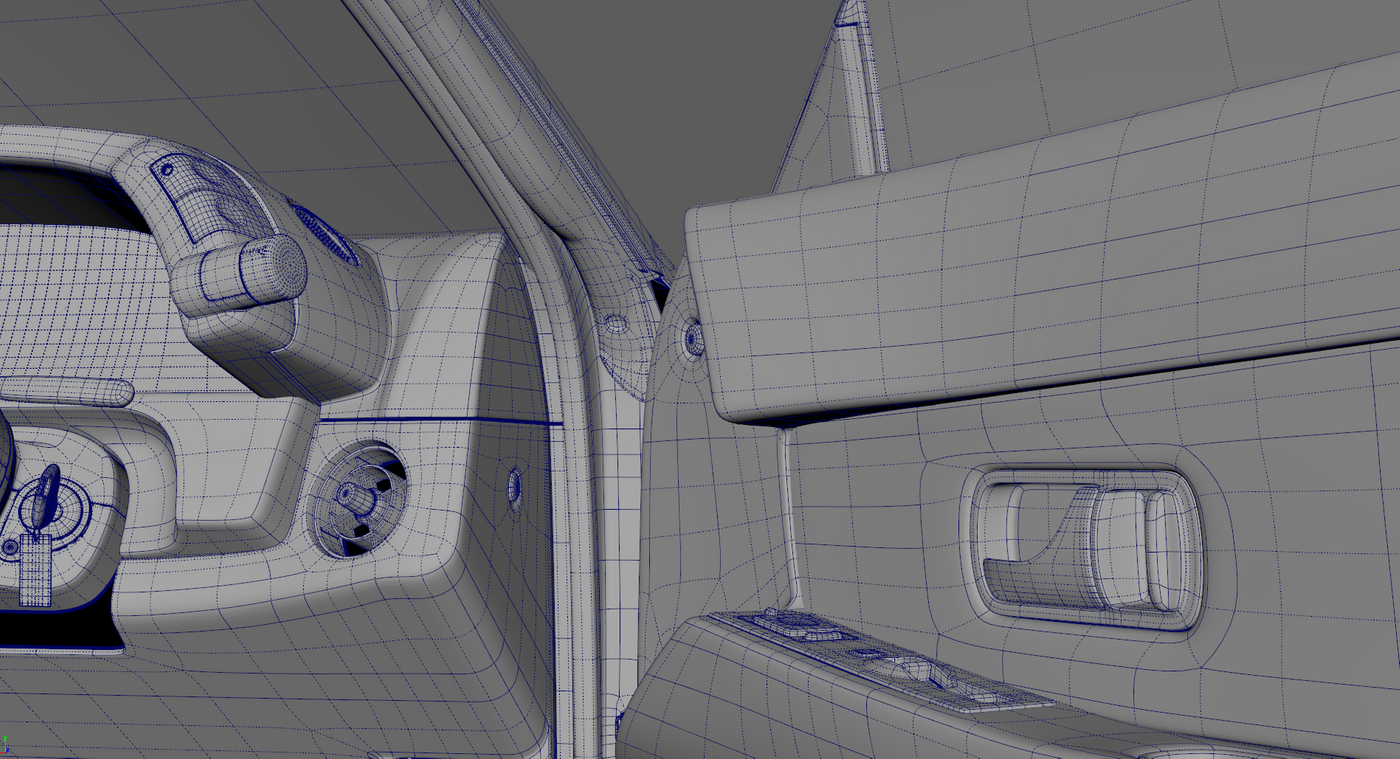
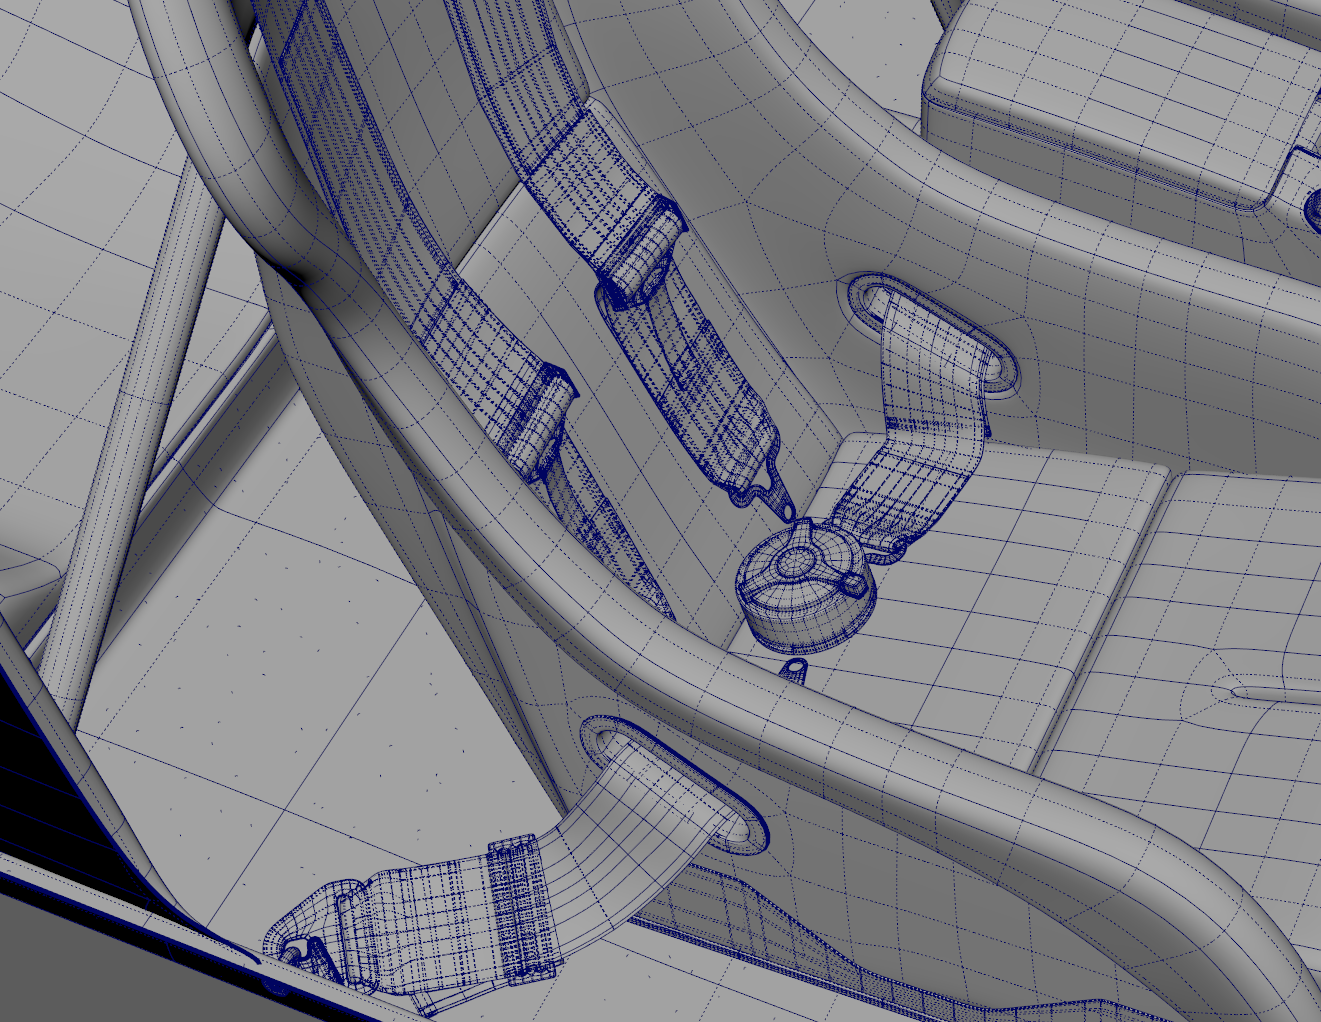
INTERIOR SHOTS
WIREFRAME


REFERENCES
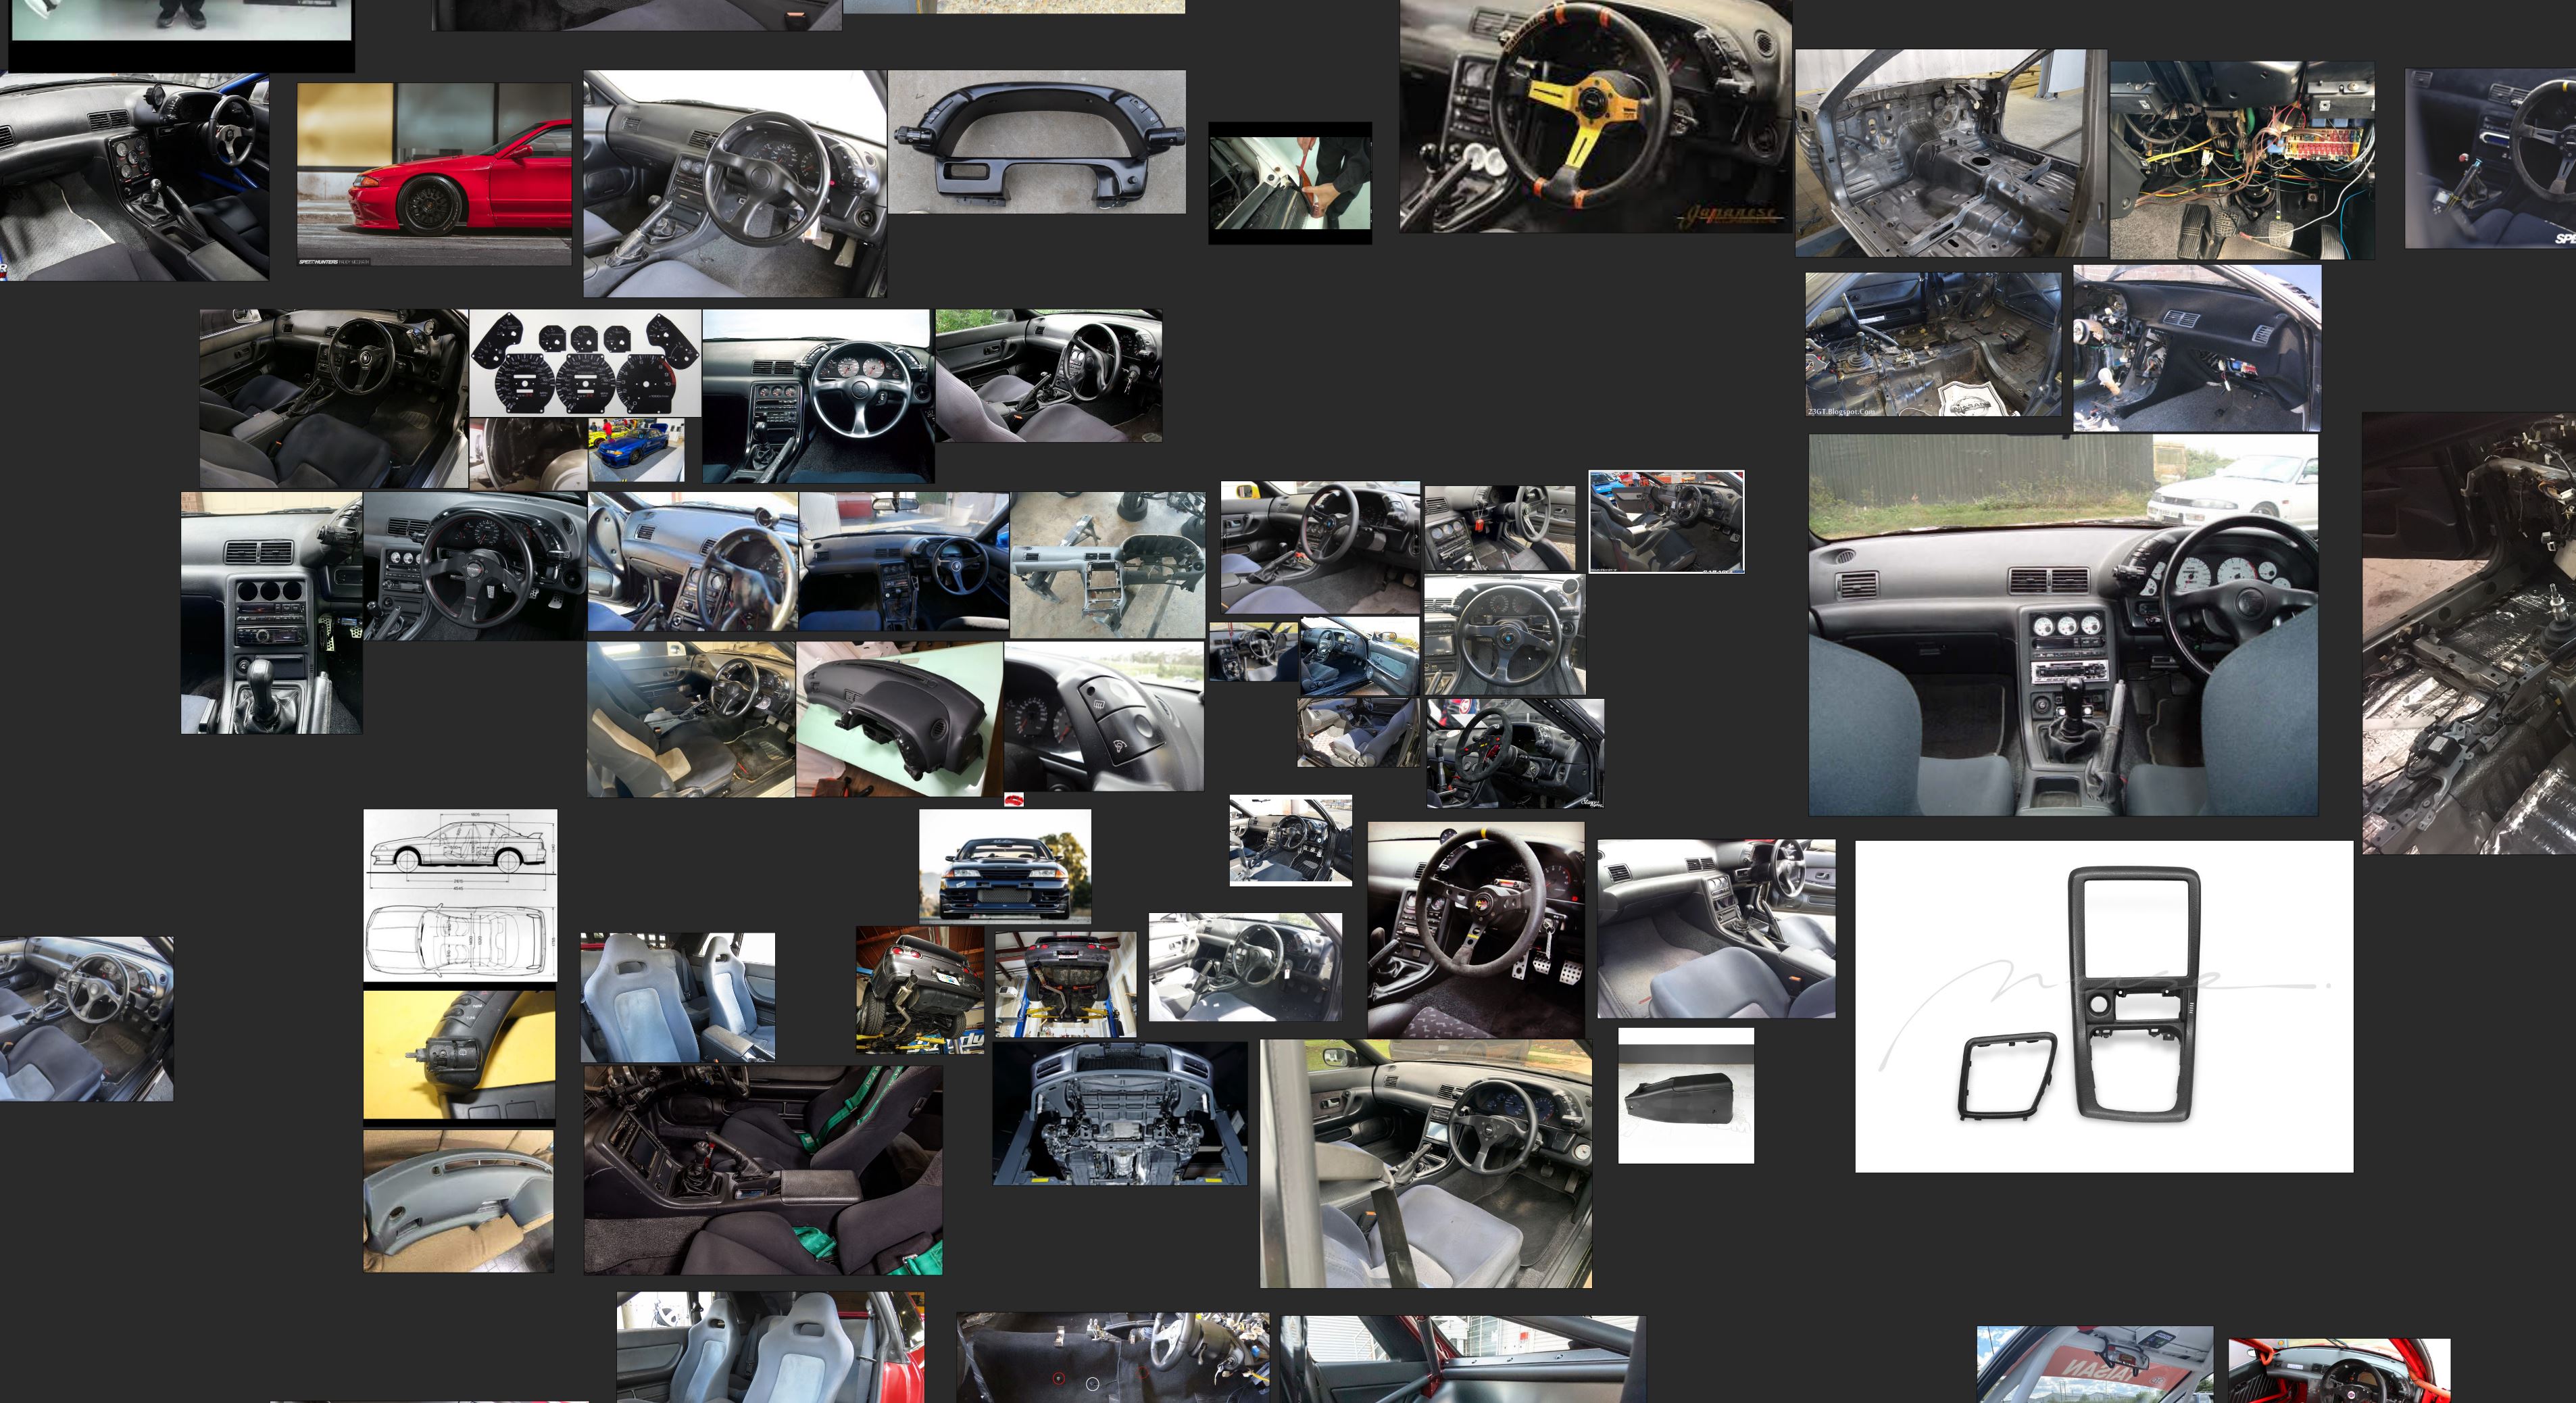
Sneak peak into my entire reference board to create this car.
Image above is within just that little section in the purple circle ( and you still have to zoom in more ) of my entire PureRef image board you see down below
This crazy board helped me a tone while modeling the car.
( Yes, I know it's quite a mess... )

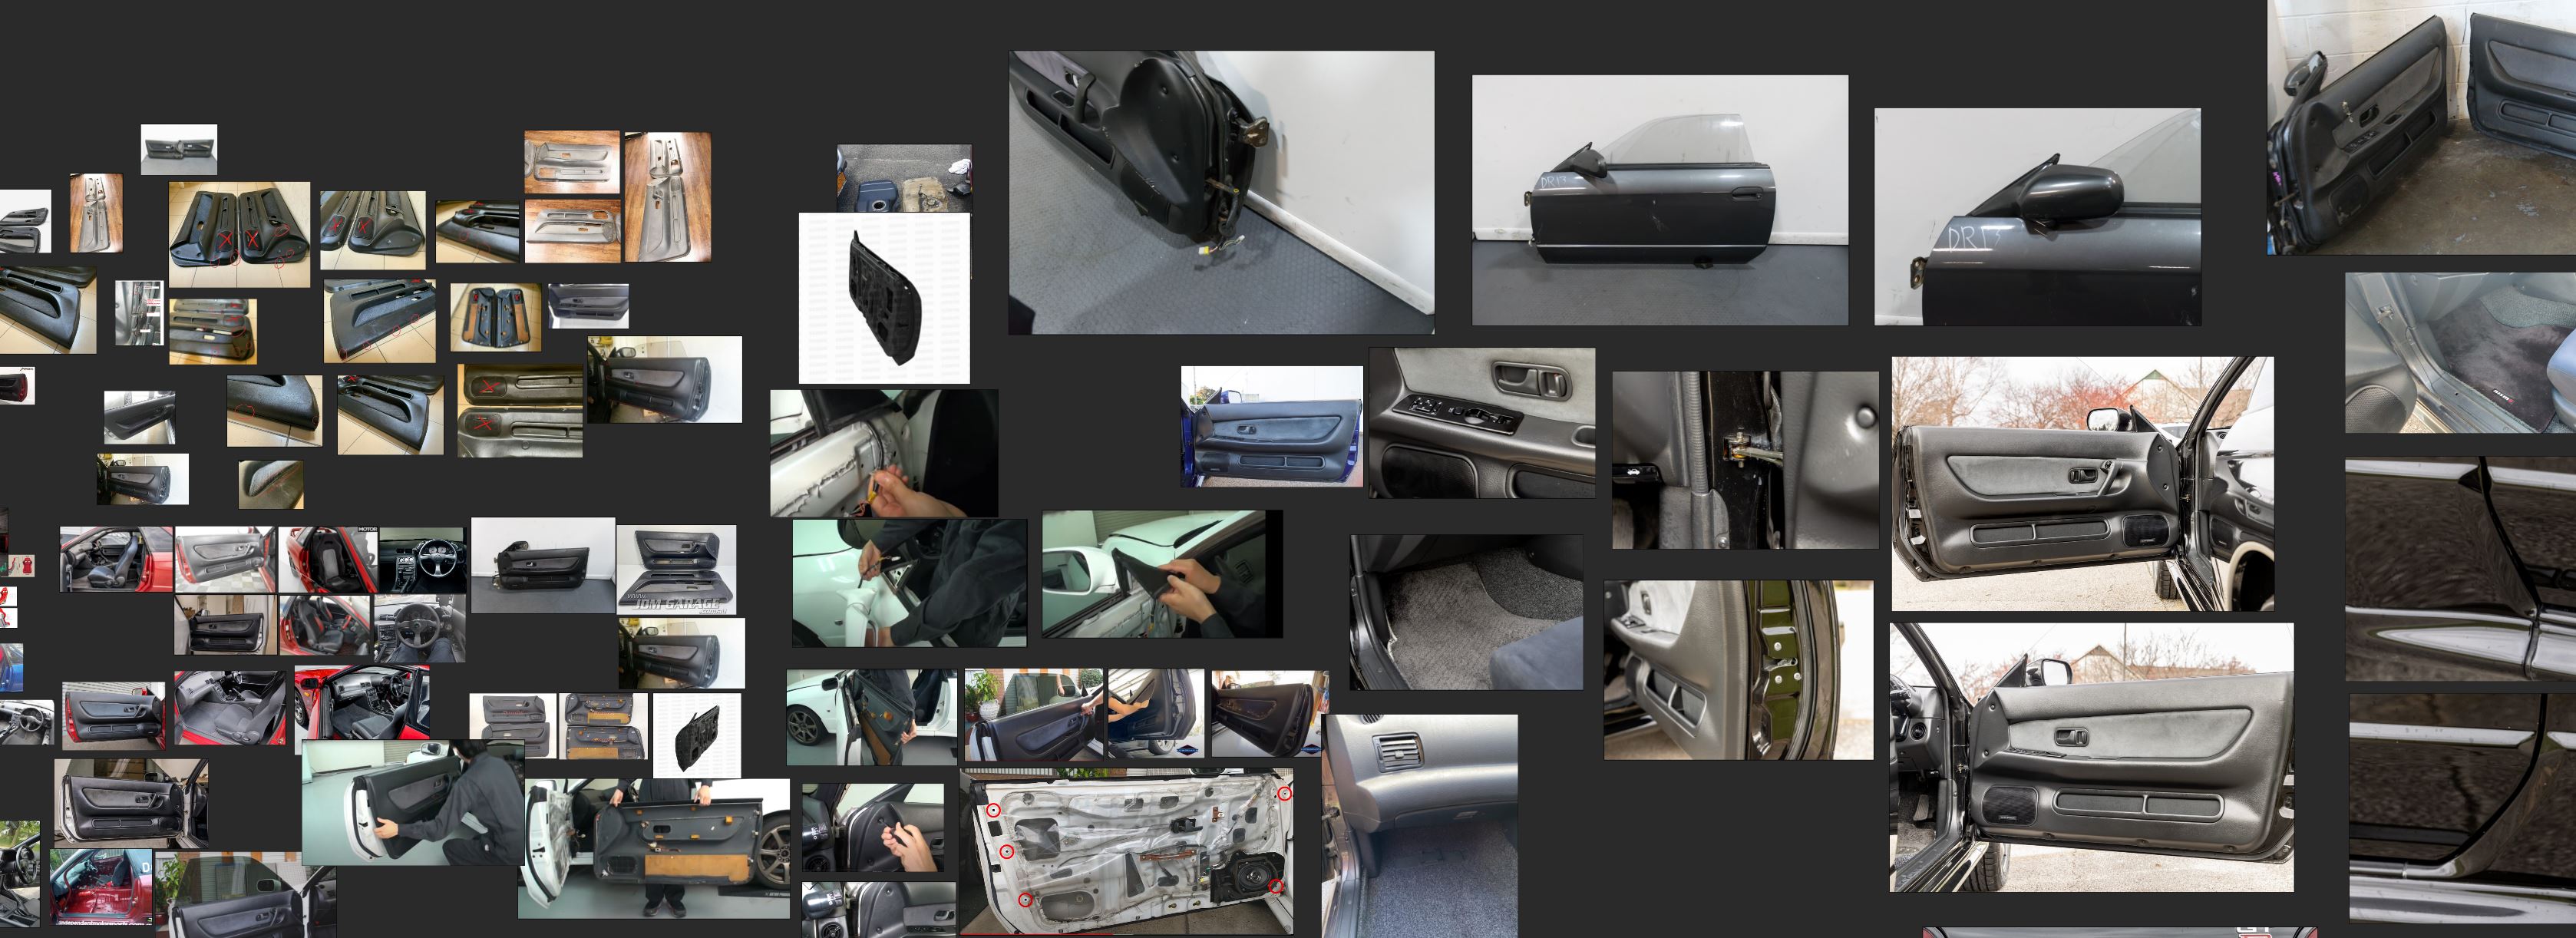
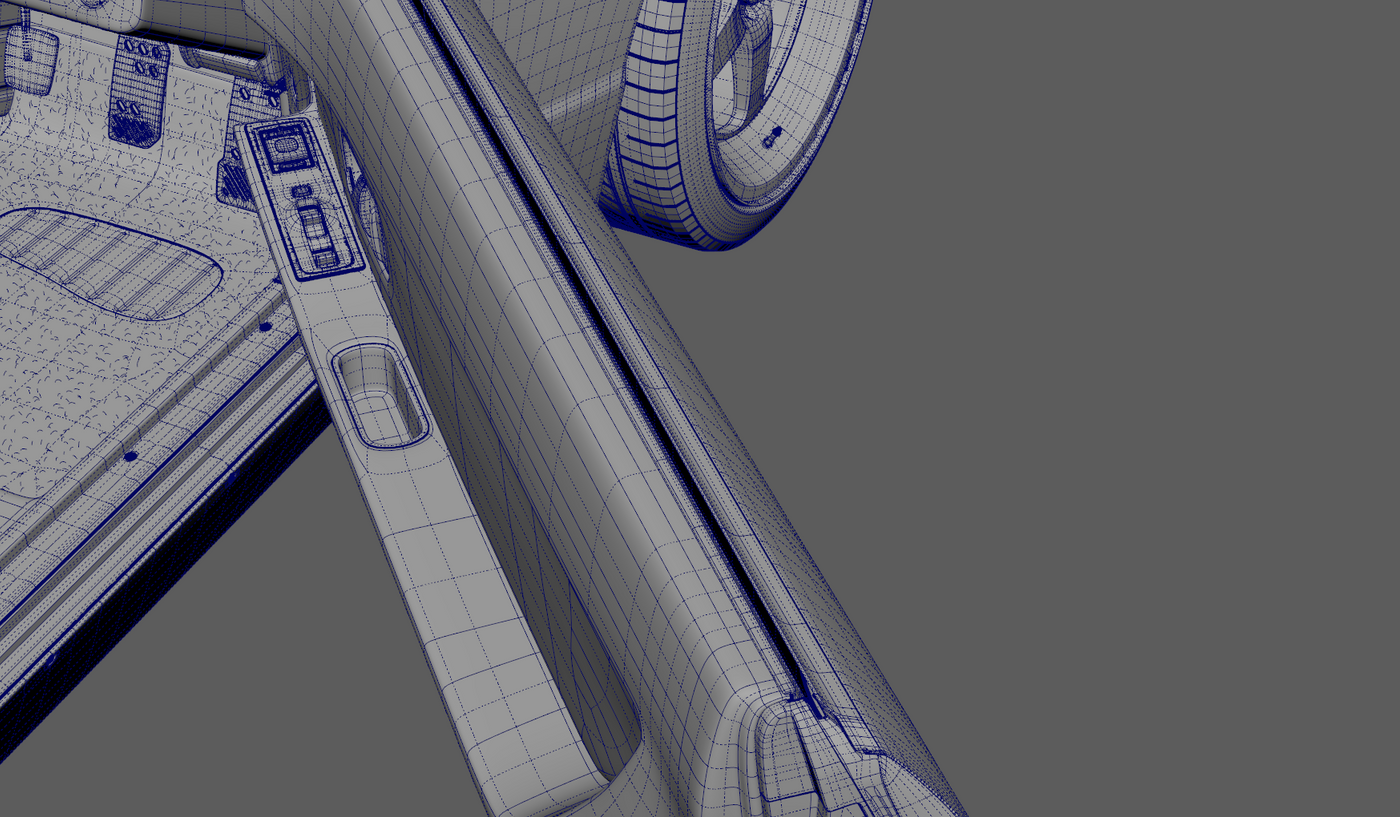
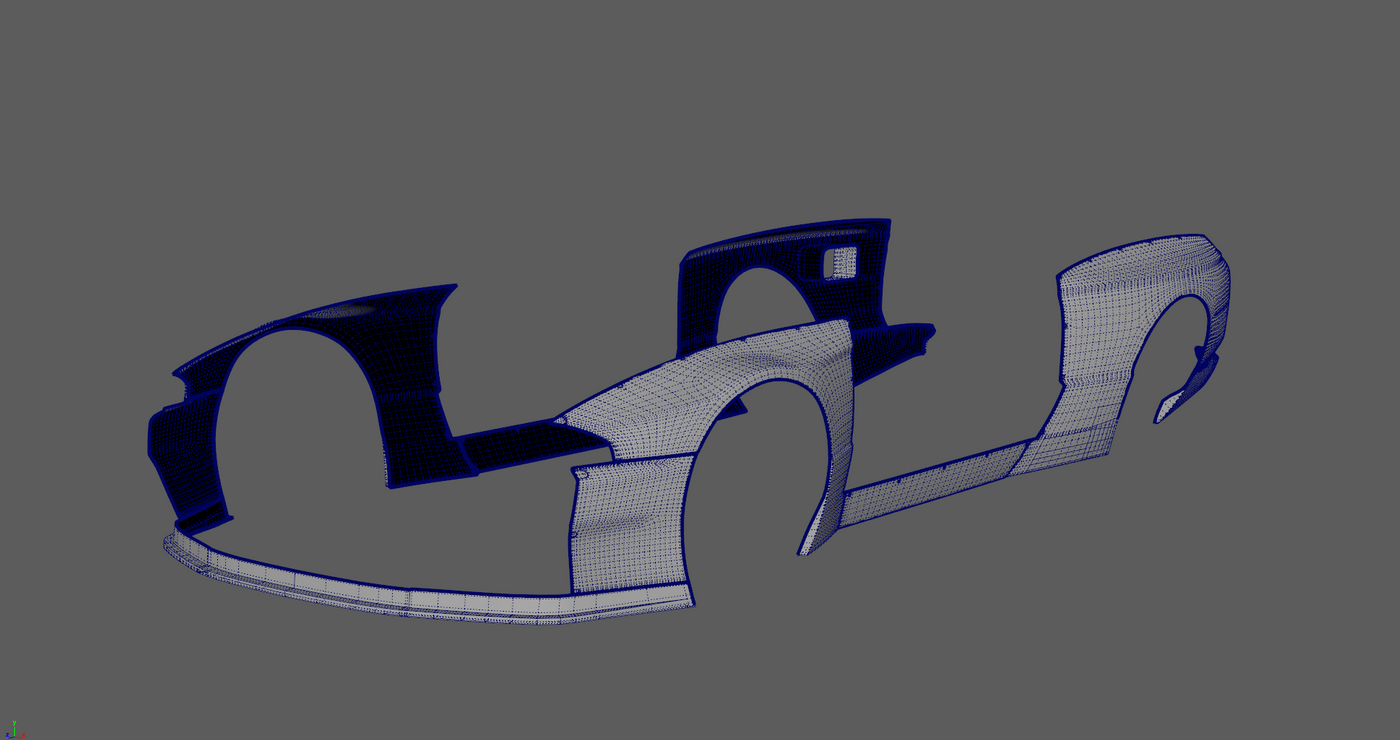
Down bellow are some of the many partes I've modeled for this car and door section reference in my reference board.
I've been insisting on getting it as close to real life as possible, thus gave me a lot headache to find the right reference I need ( sometimes need reference at weird angles to figure out the part. etc which results in an ever growing board lol )
The door in particular is the one that gave me the hardest time, since so many panels sandwitched together, and if you adjust one, the rest will have to follow along, so it was like an infinite loop for me back then.
You can see part of the reference for the door ( there's even more just for the door, and not to mention for other parts ). It'll take ages to show every reference I had for each part of the vehicle! Just want to show how many researching and reference that went into this project by using the door as an example.


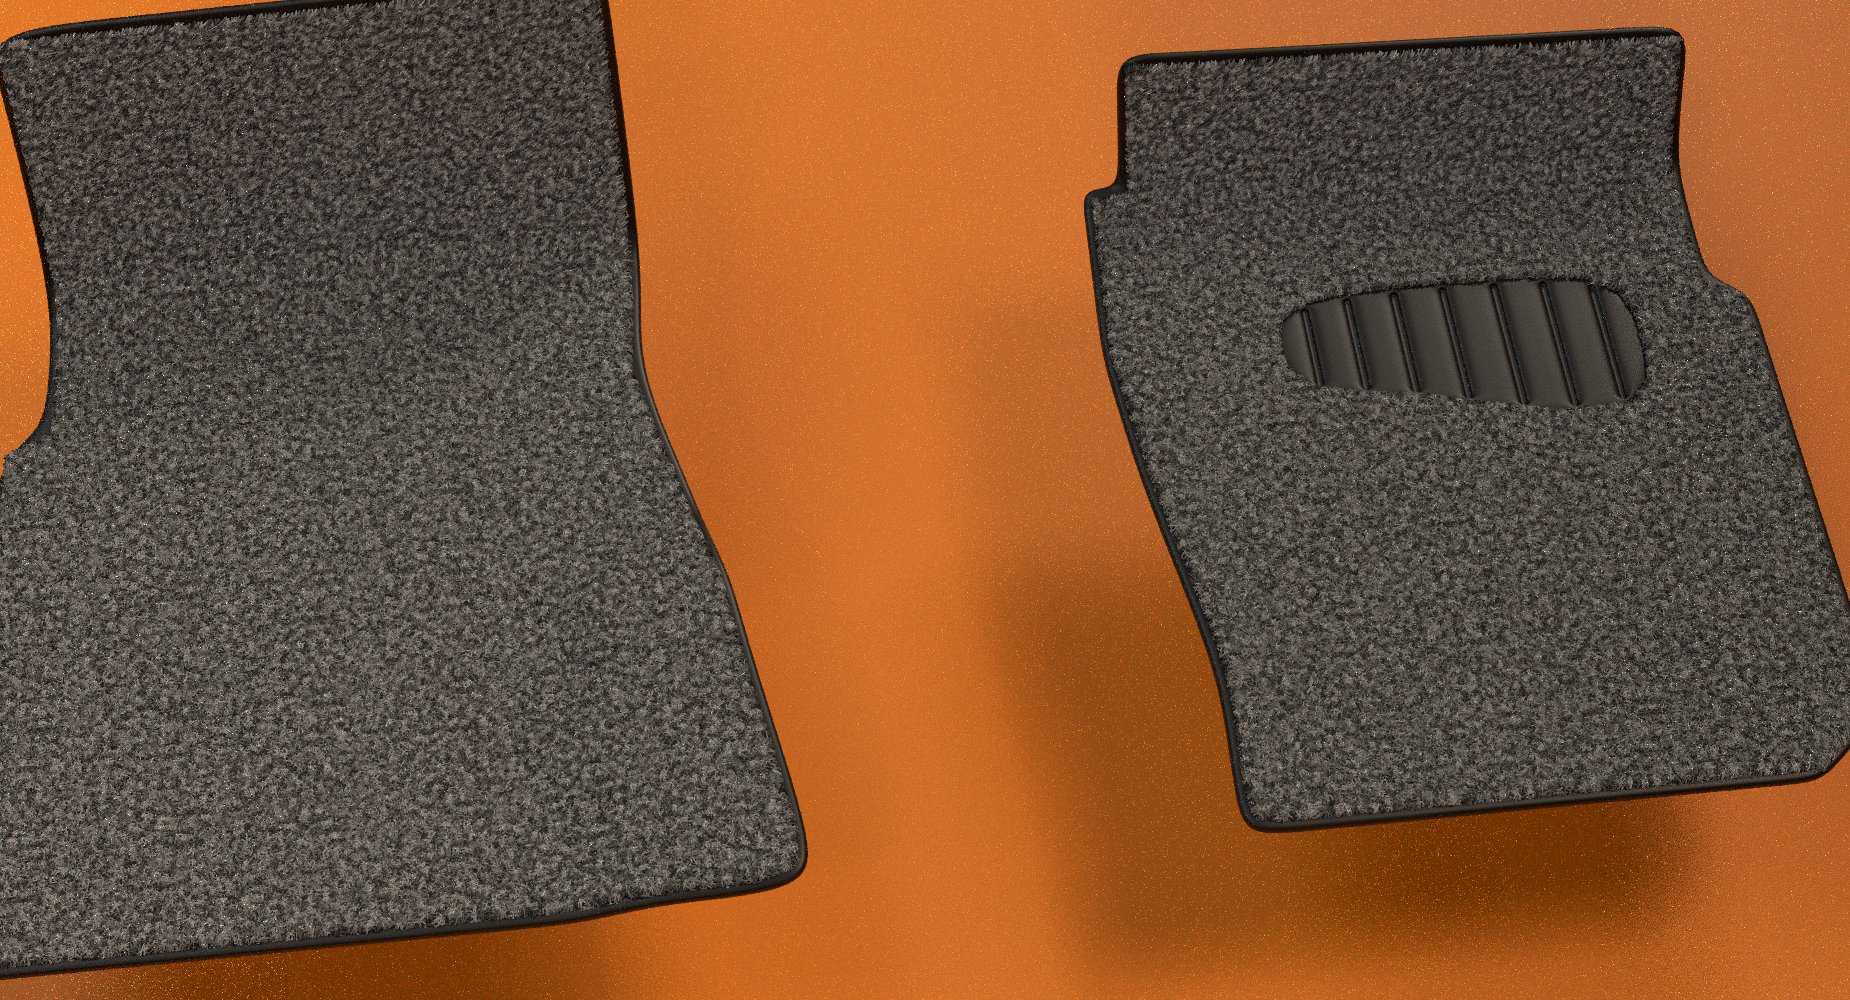

I've also modeled the floor mat and used Vray Fur to create the look.

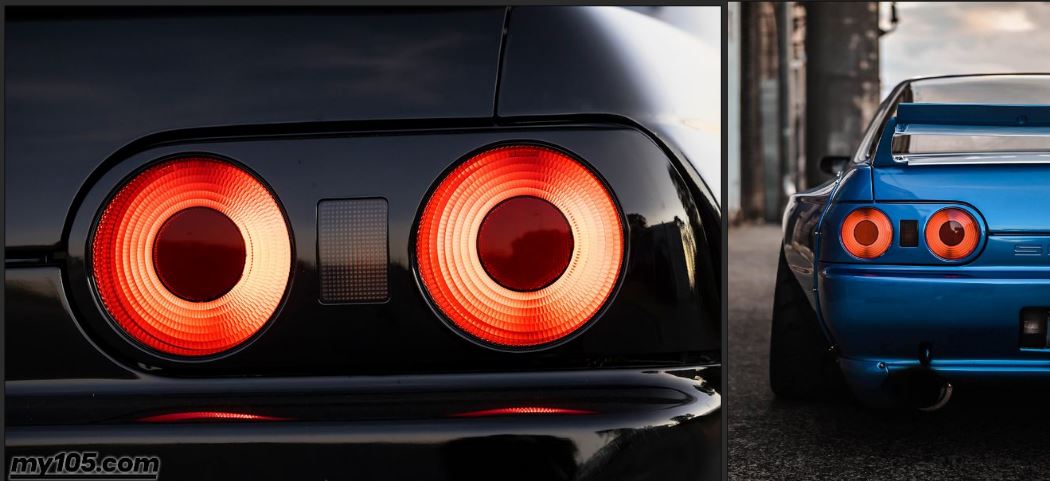
Lookdeving the tail lights (above). Wanted to make sure it lights up the way real car does, hence trying to capture the darker areas on top and bottom of the tail lights. You can see the real life reference down below.


Thought to show the texturing the background, since you can't see them in the shot because it's dark.
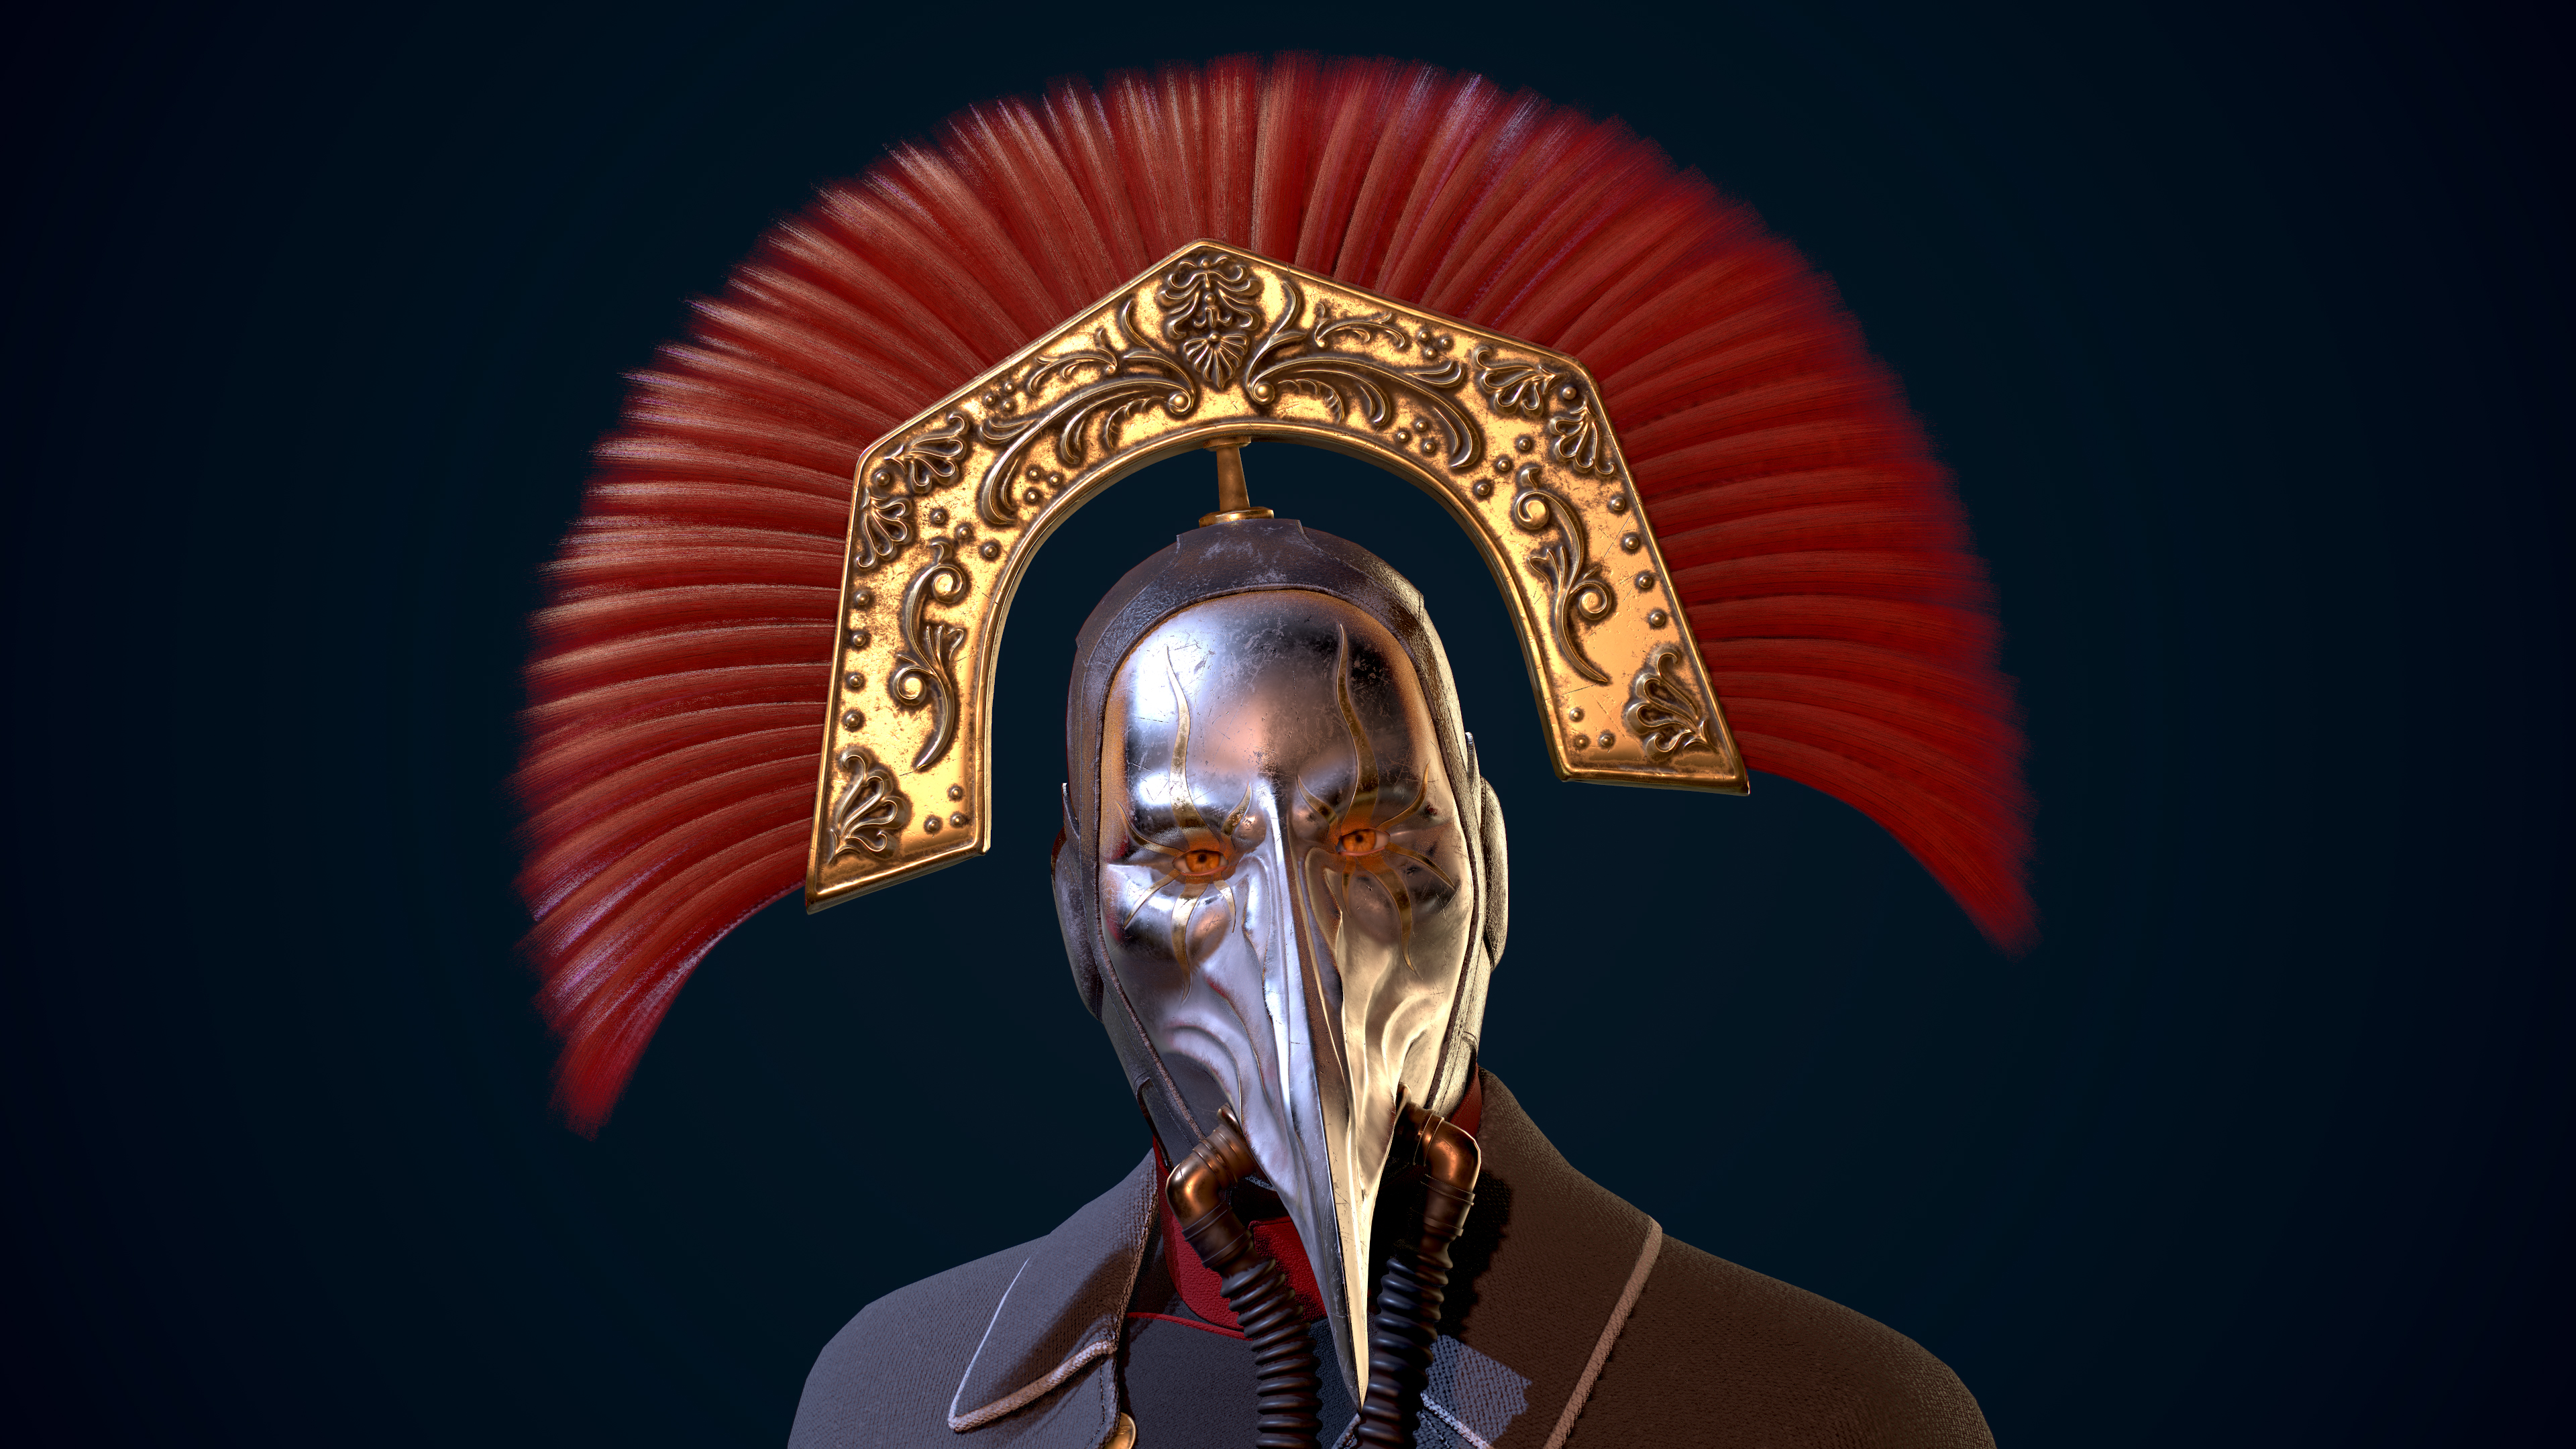
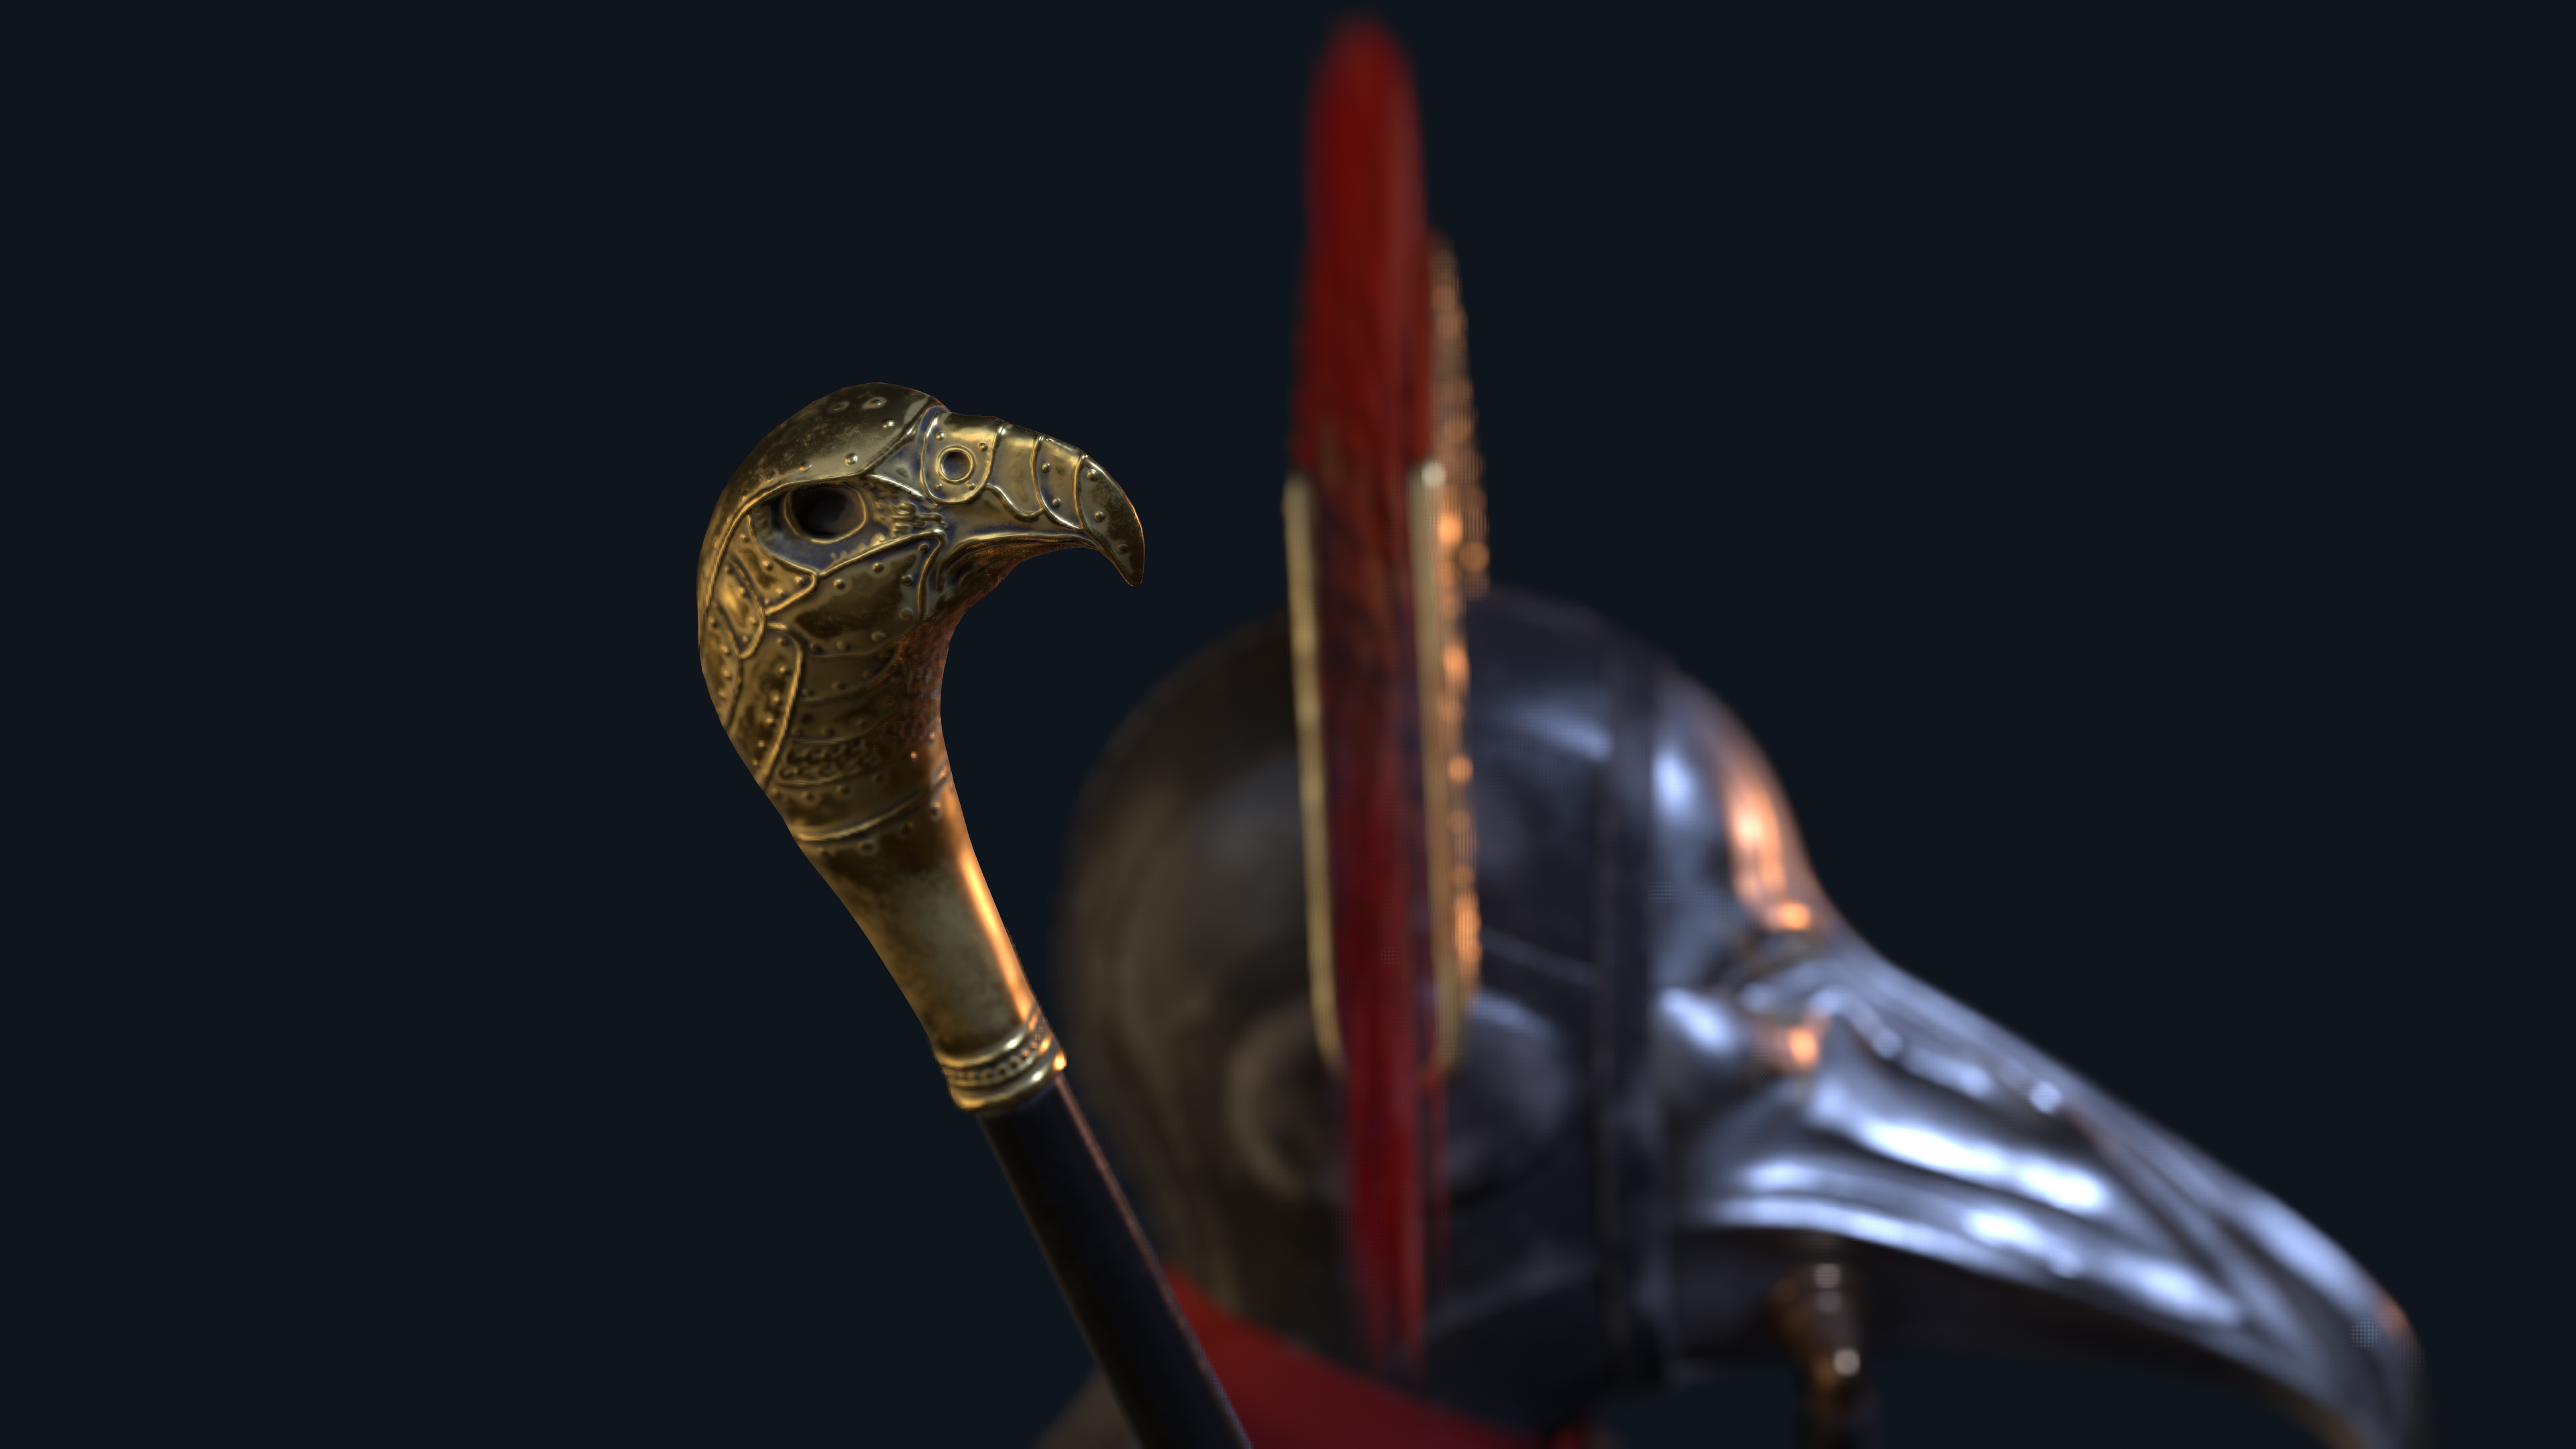
PLAGUE GENERAL
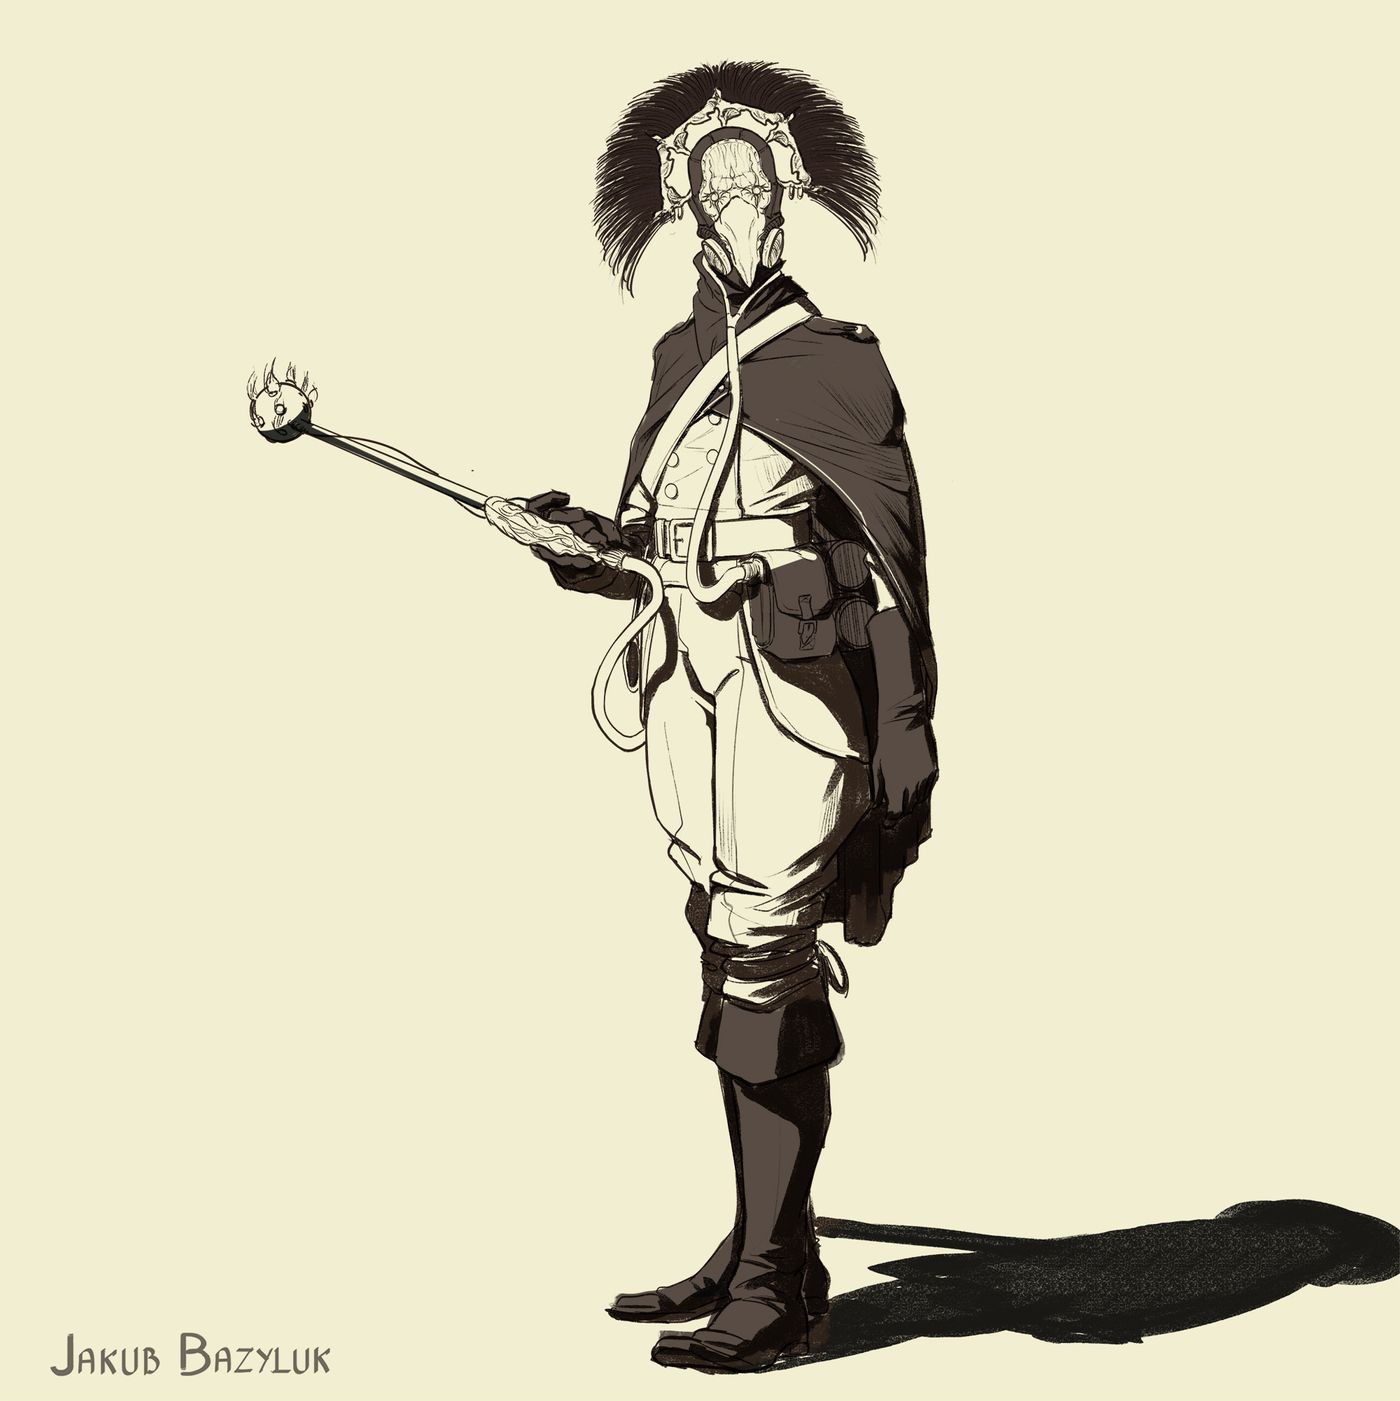
This game ready character is created based on one of Jakub Bazyluk's character design concepts. ( I'll add the final look with the concept side by side at the end )
The looks just caught my eye right away while I was looking for a concept to work on. I love how the character was posed in the concept as well hence I tried my best to capture the same feel.
-------------------------------------------------------------------------------------
Modeling: Maya & Zbrush / Texturing: Substance Painter / Rendering : Marmoset tool bag
Demo reel project at GNOMON School of Visual Effects
PLANING

Did a quick paint over the concept.
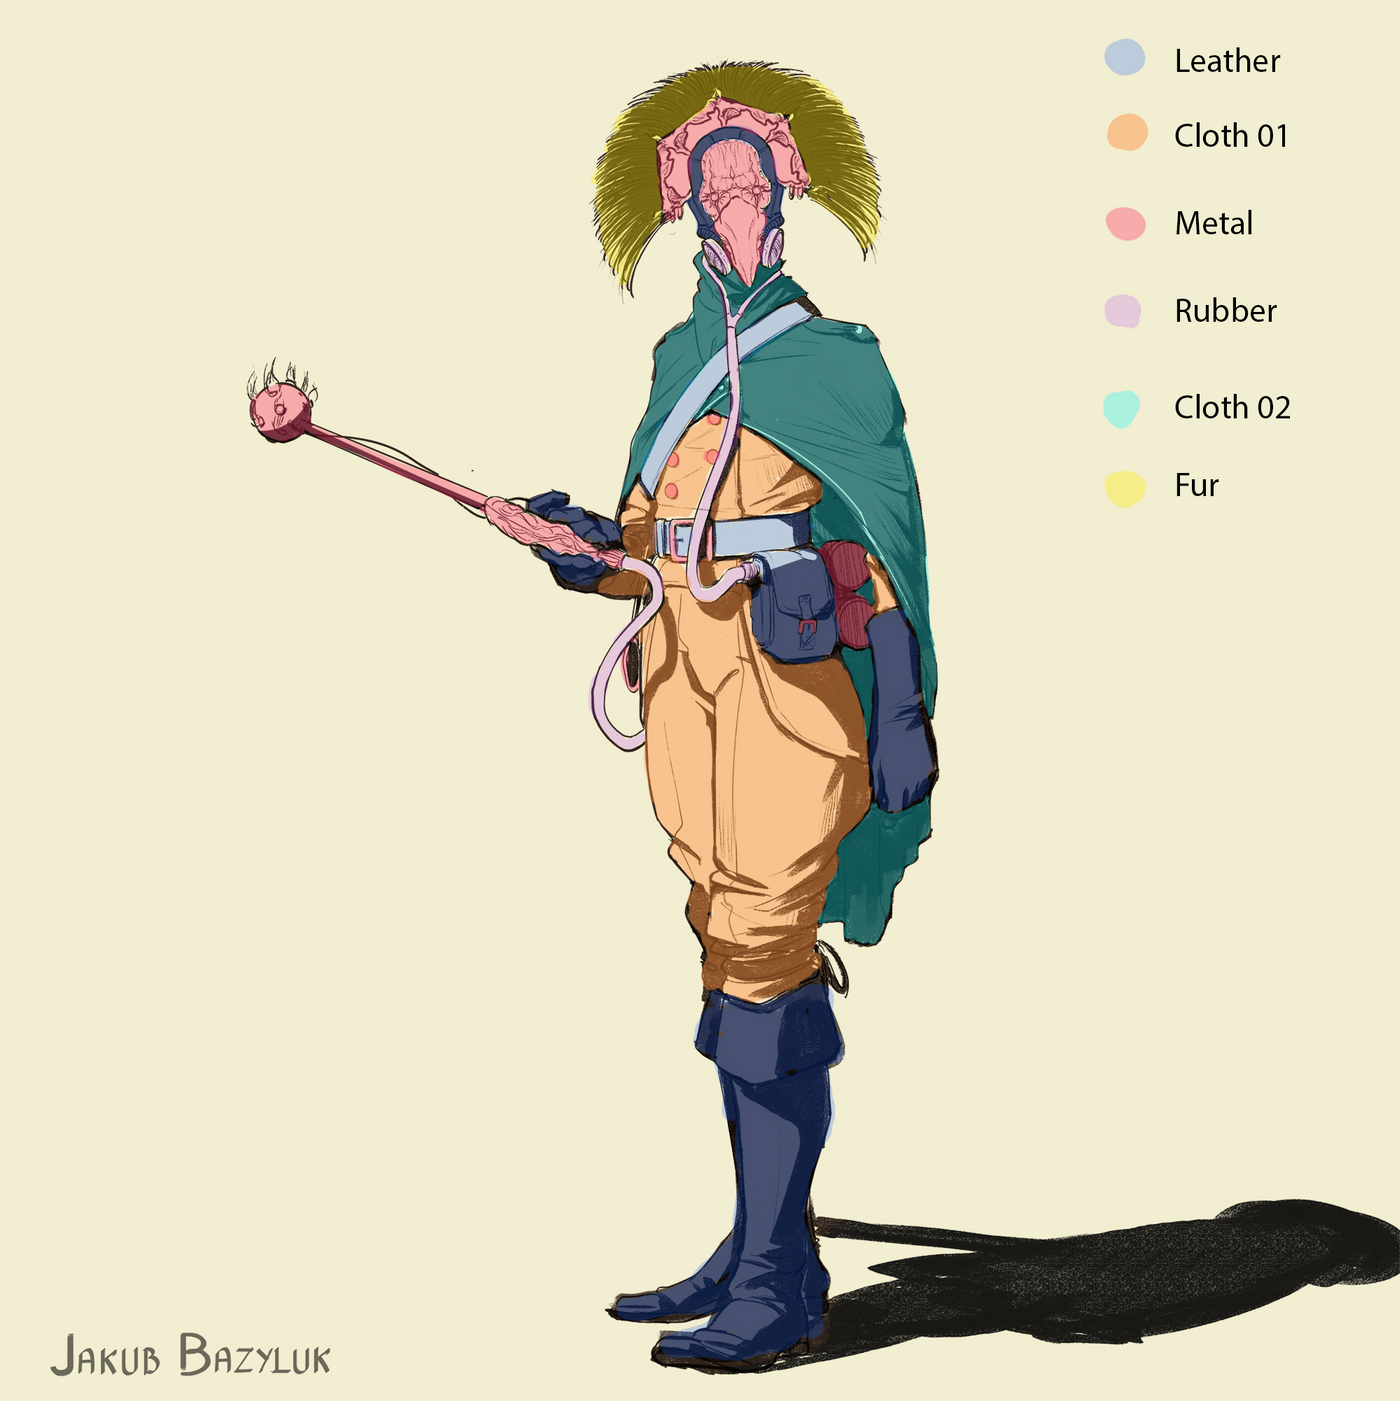
Left: material analysis
Right: figuring out the color scheme ( since it's a black and white concept )
REFERENCE

QUICK DESCRIPTION ABOUT PROGRESS:
Started the sculpting from a base mesh and posed it with gizmo and masking method.
I've created all the outfit from the base mesh in Zbrush and created the folds with a fold brush and following up with hand sculpting to art direct it a bit more to my liking.
Sculpted the seams using a seam brush ( also color ID it in zbrush for easy select later on in substance painter )
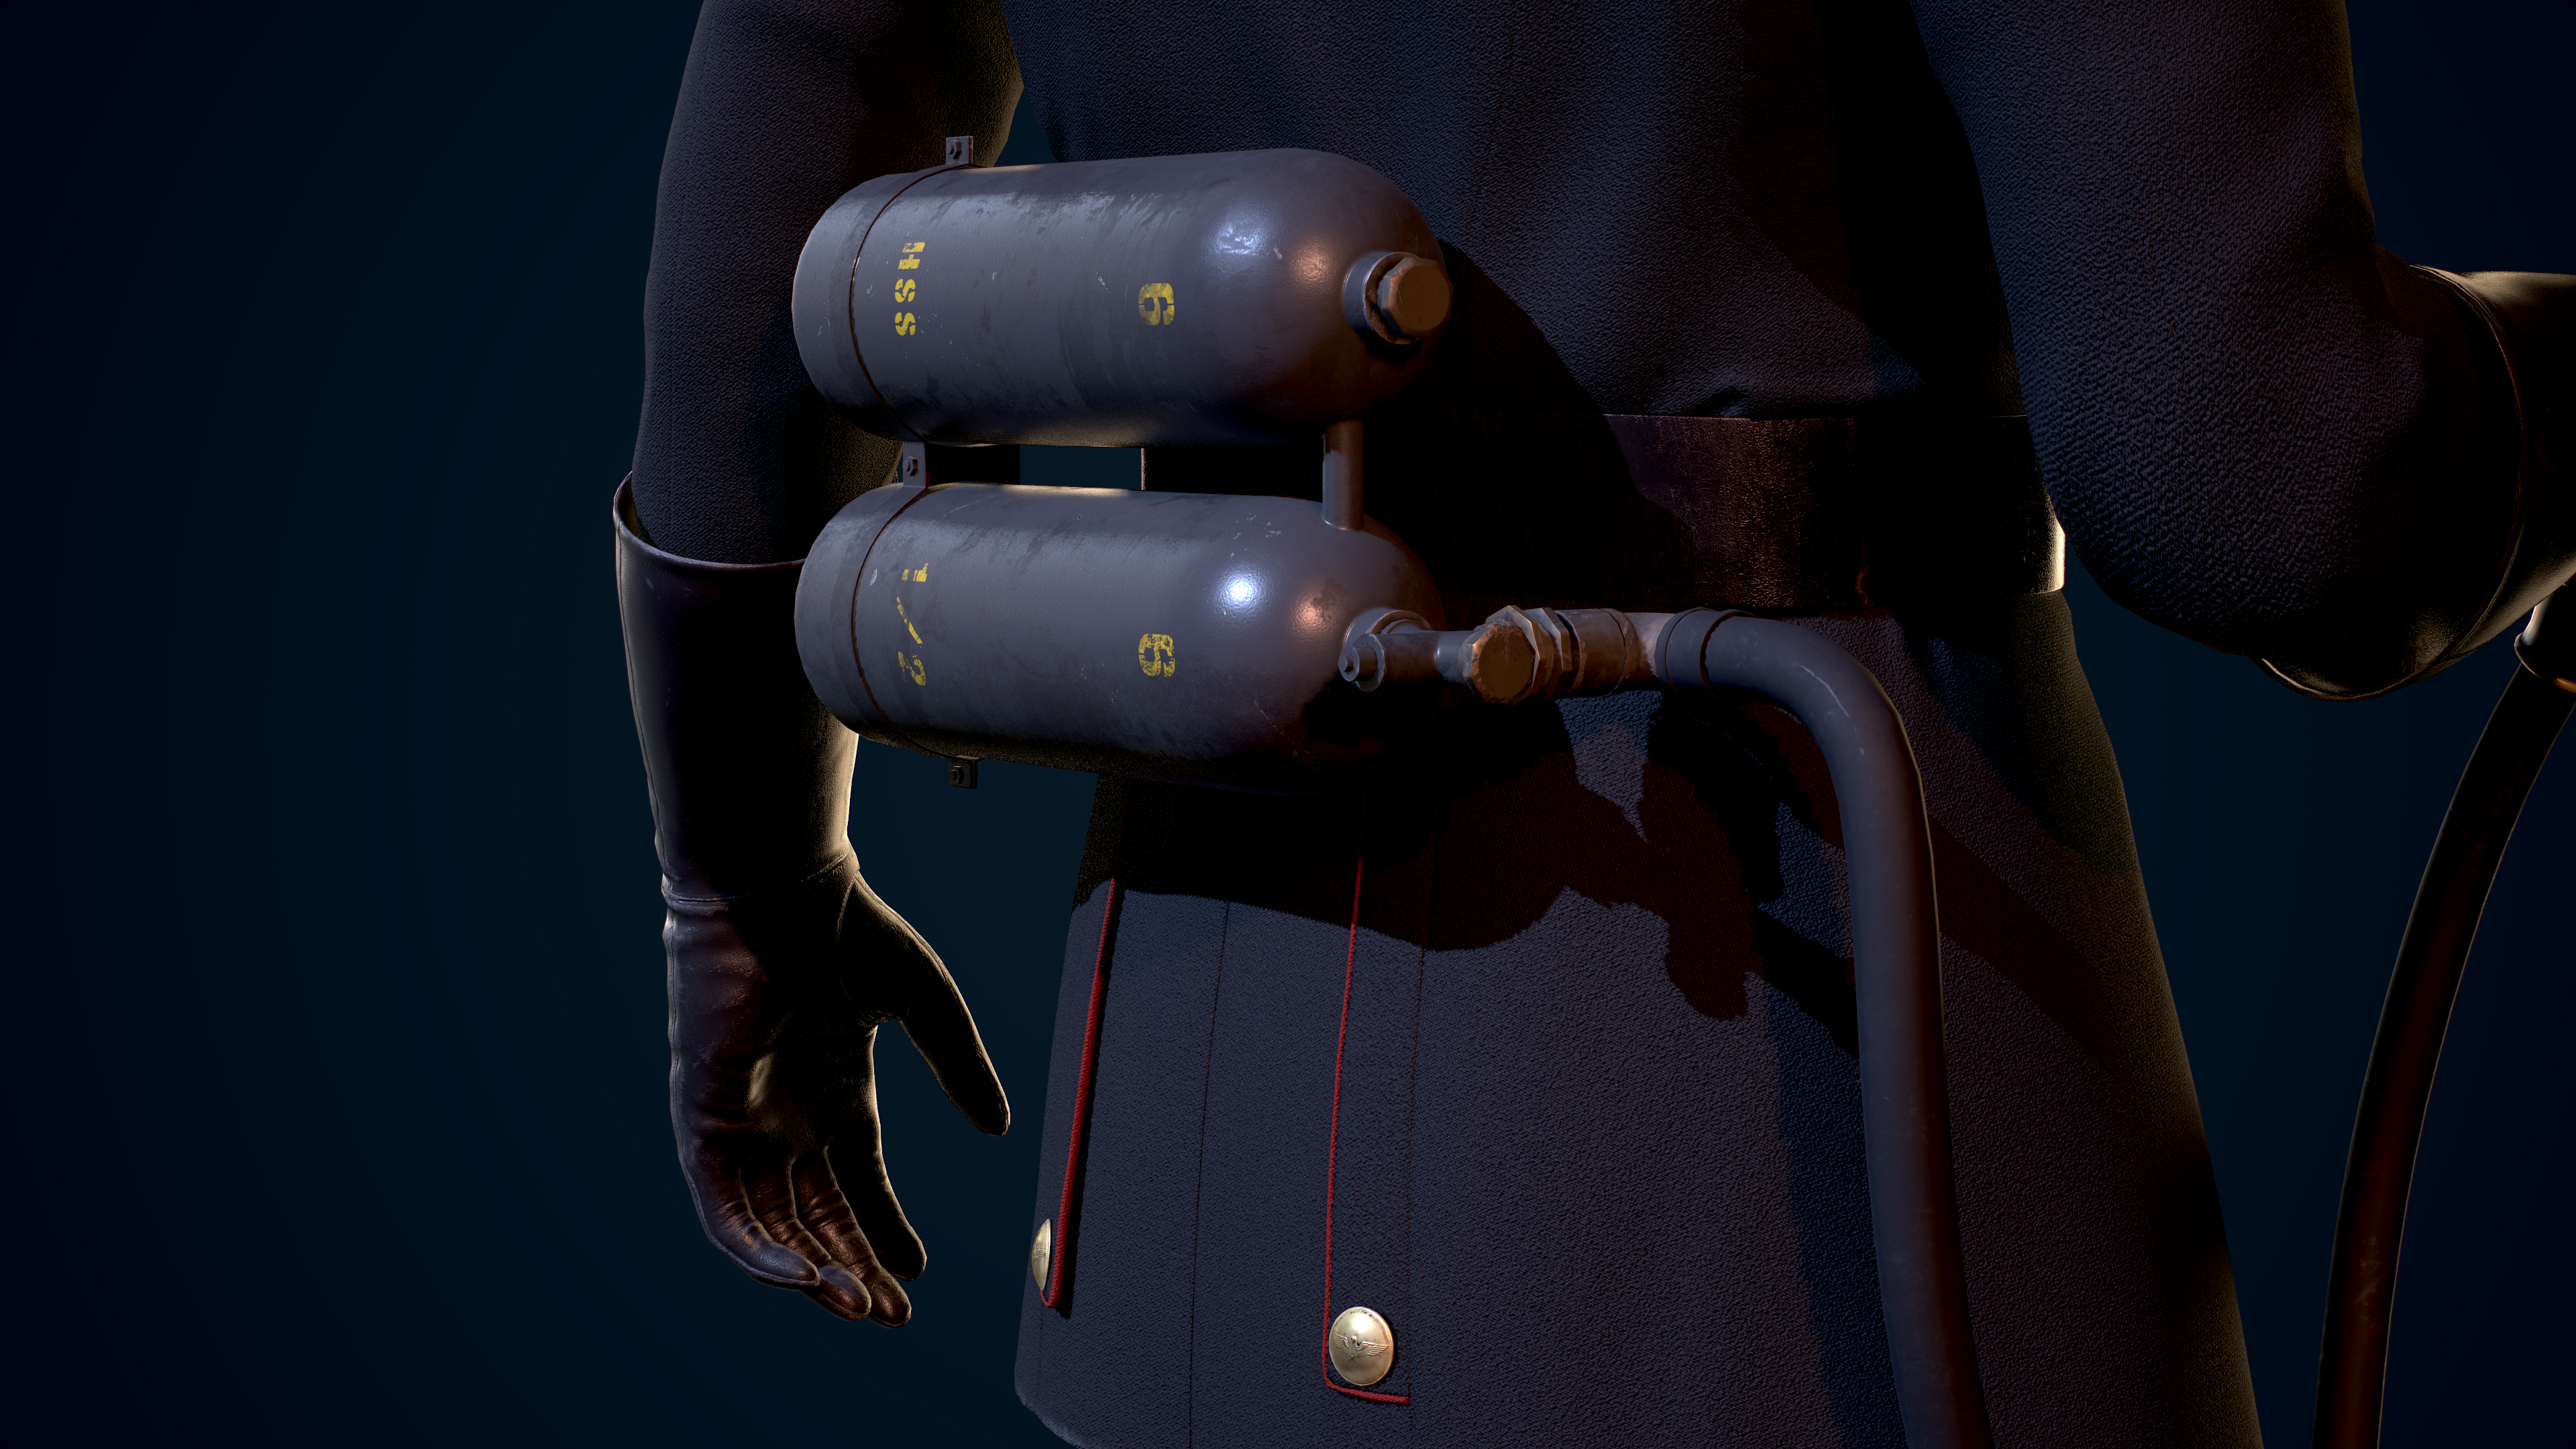
Soft material gadgets such as the leather pouch are modeled in maya then brought into zbrush for more detail sculpting.
Zremeshed everything I did in Zbrush before bringing it into maya for creating the hardsurface gadgets.
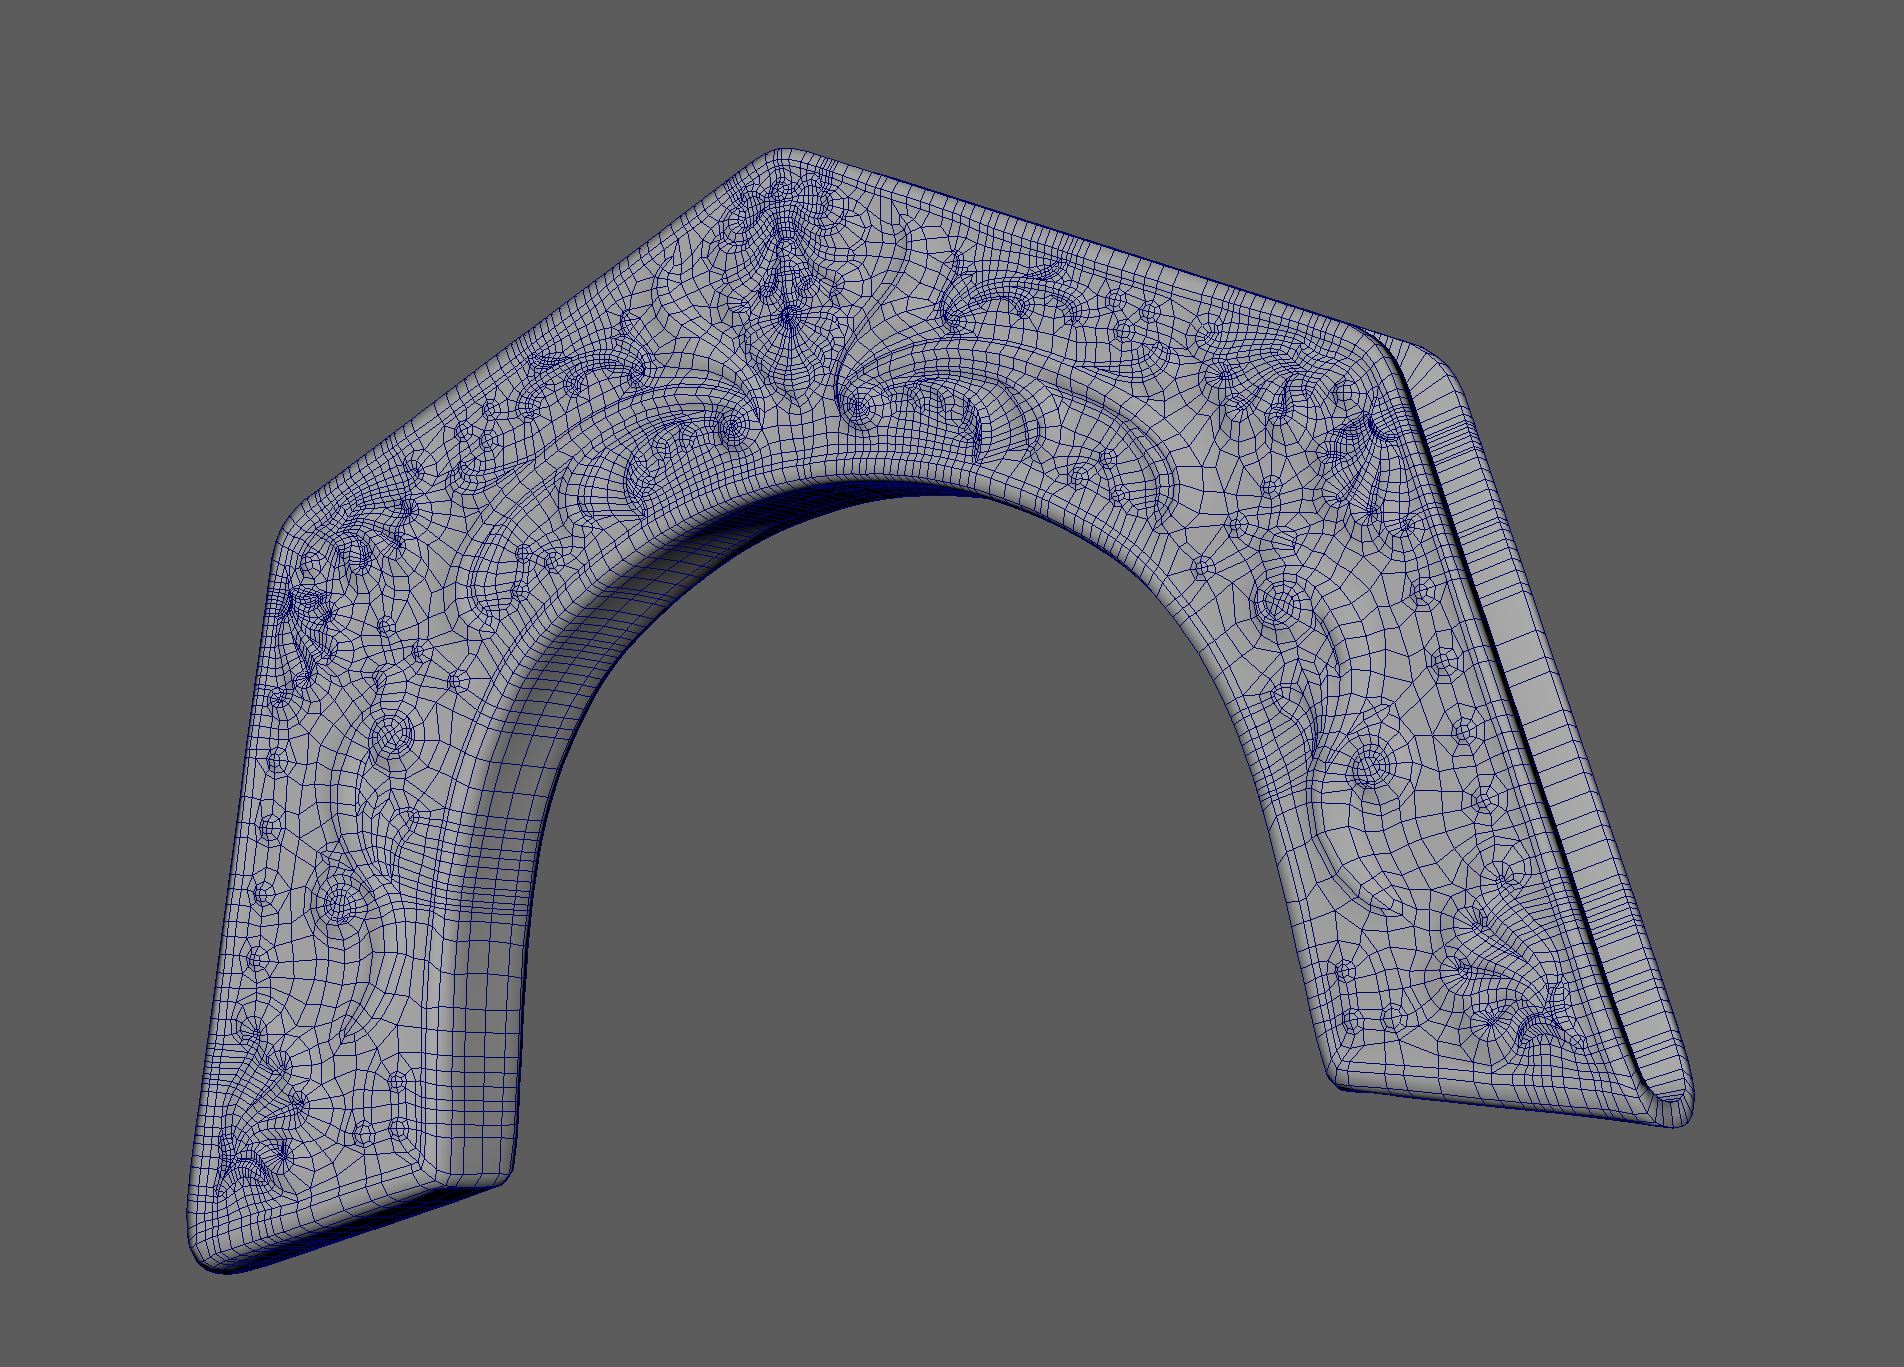
I've retopo this piece of the crown in order to have a better baking results.
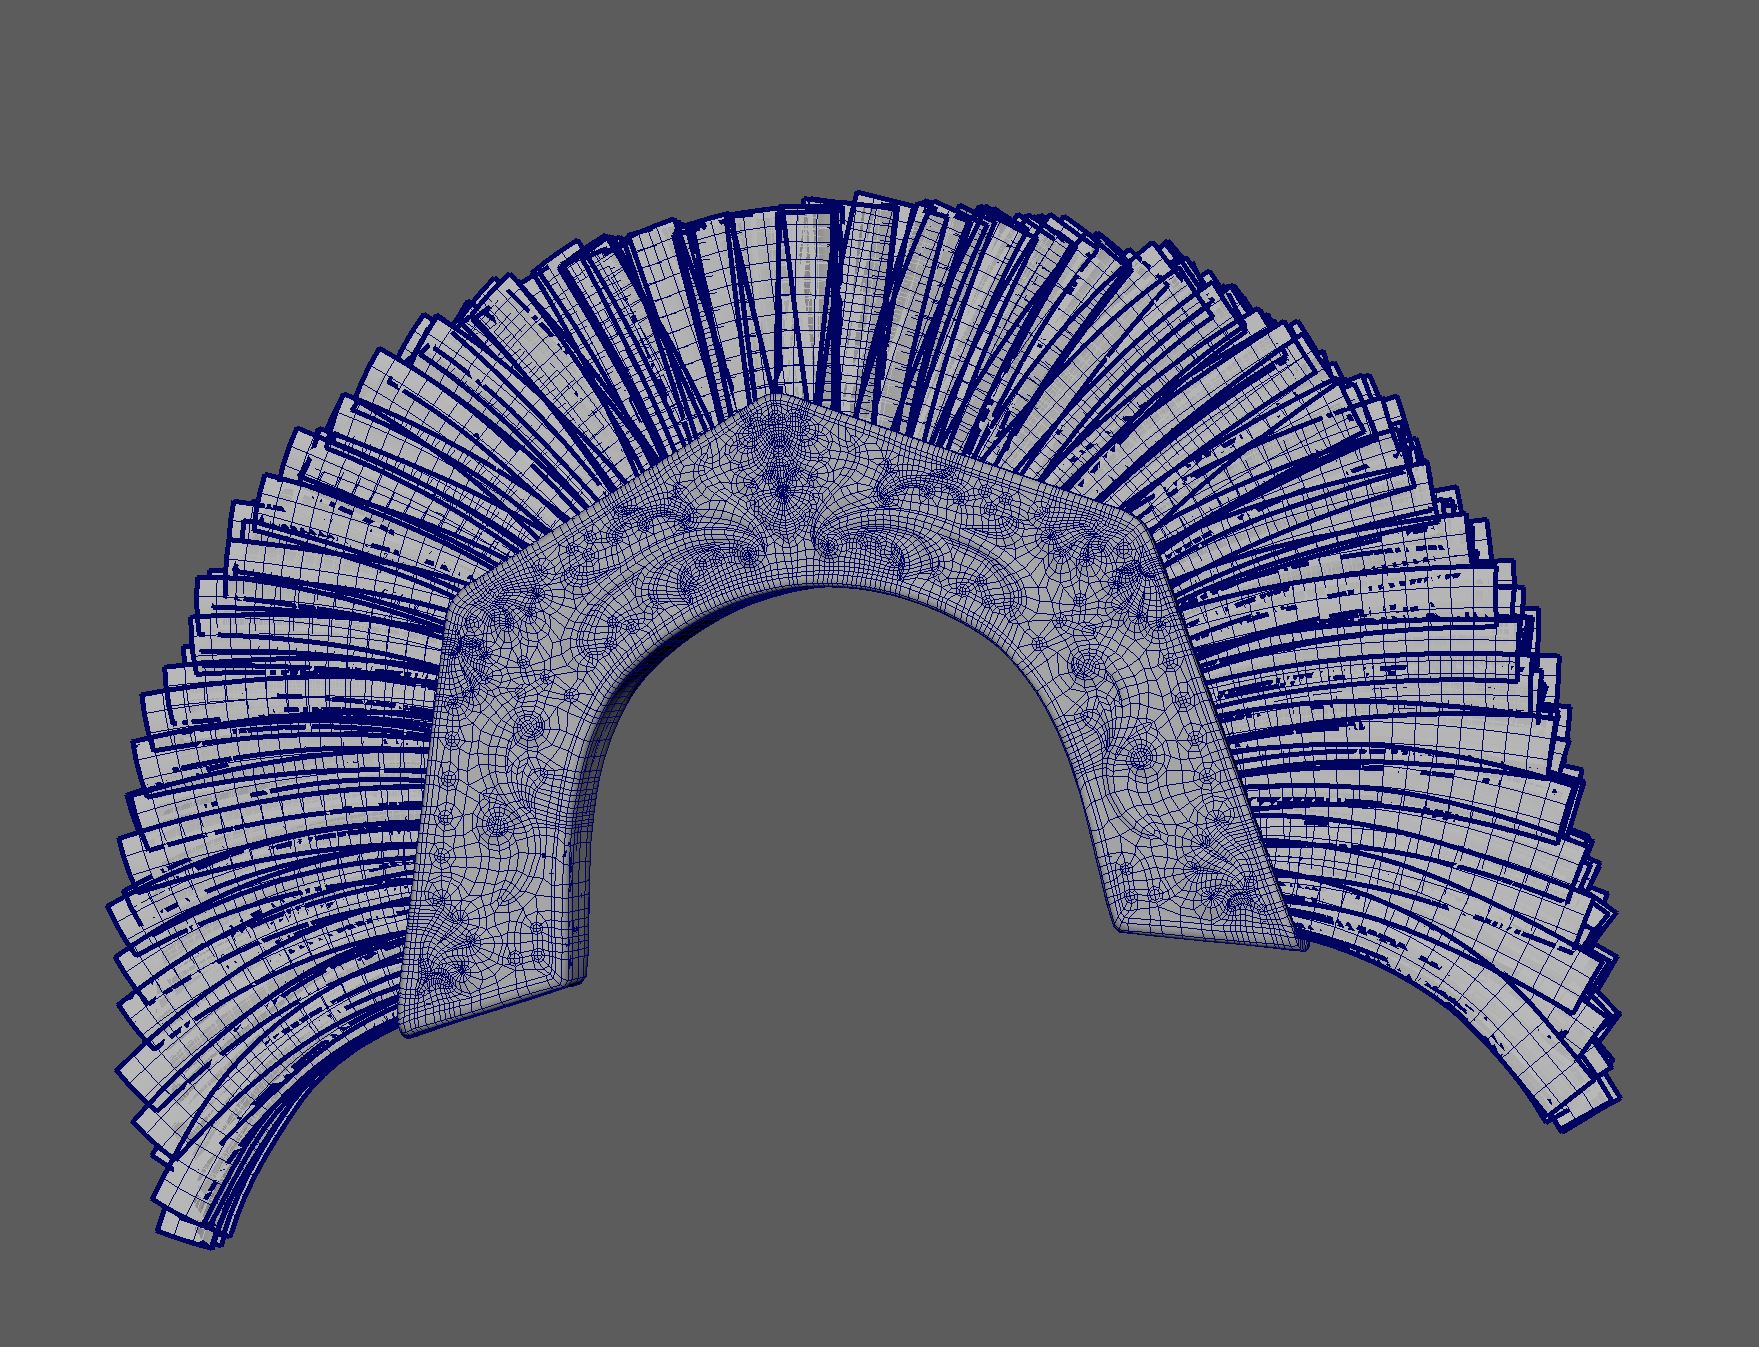
Created the fur of the head piece with hair cards.
After everything is UVed, I brought them into Substance Painter for texturing.
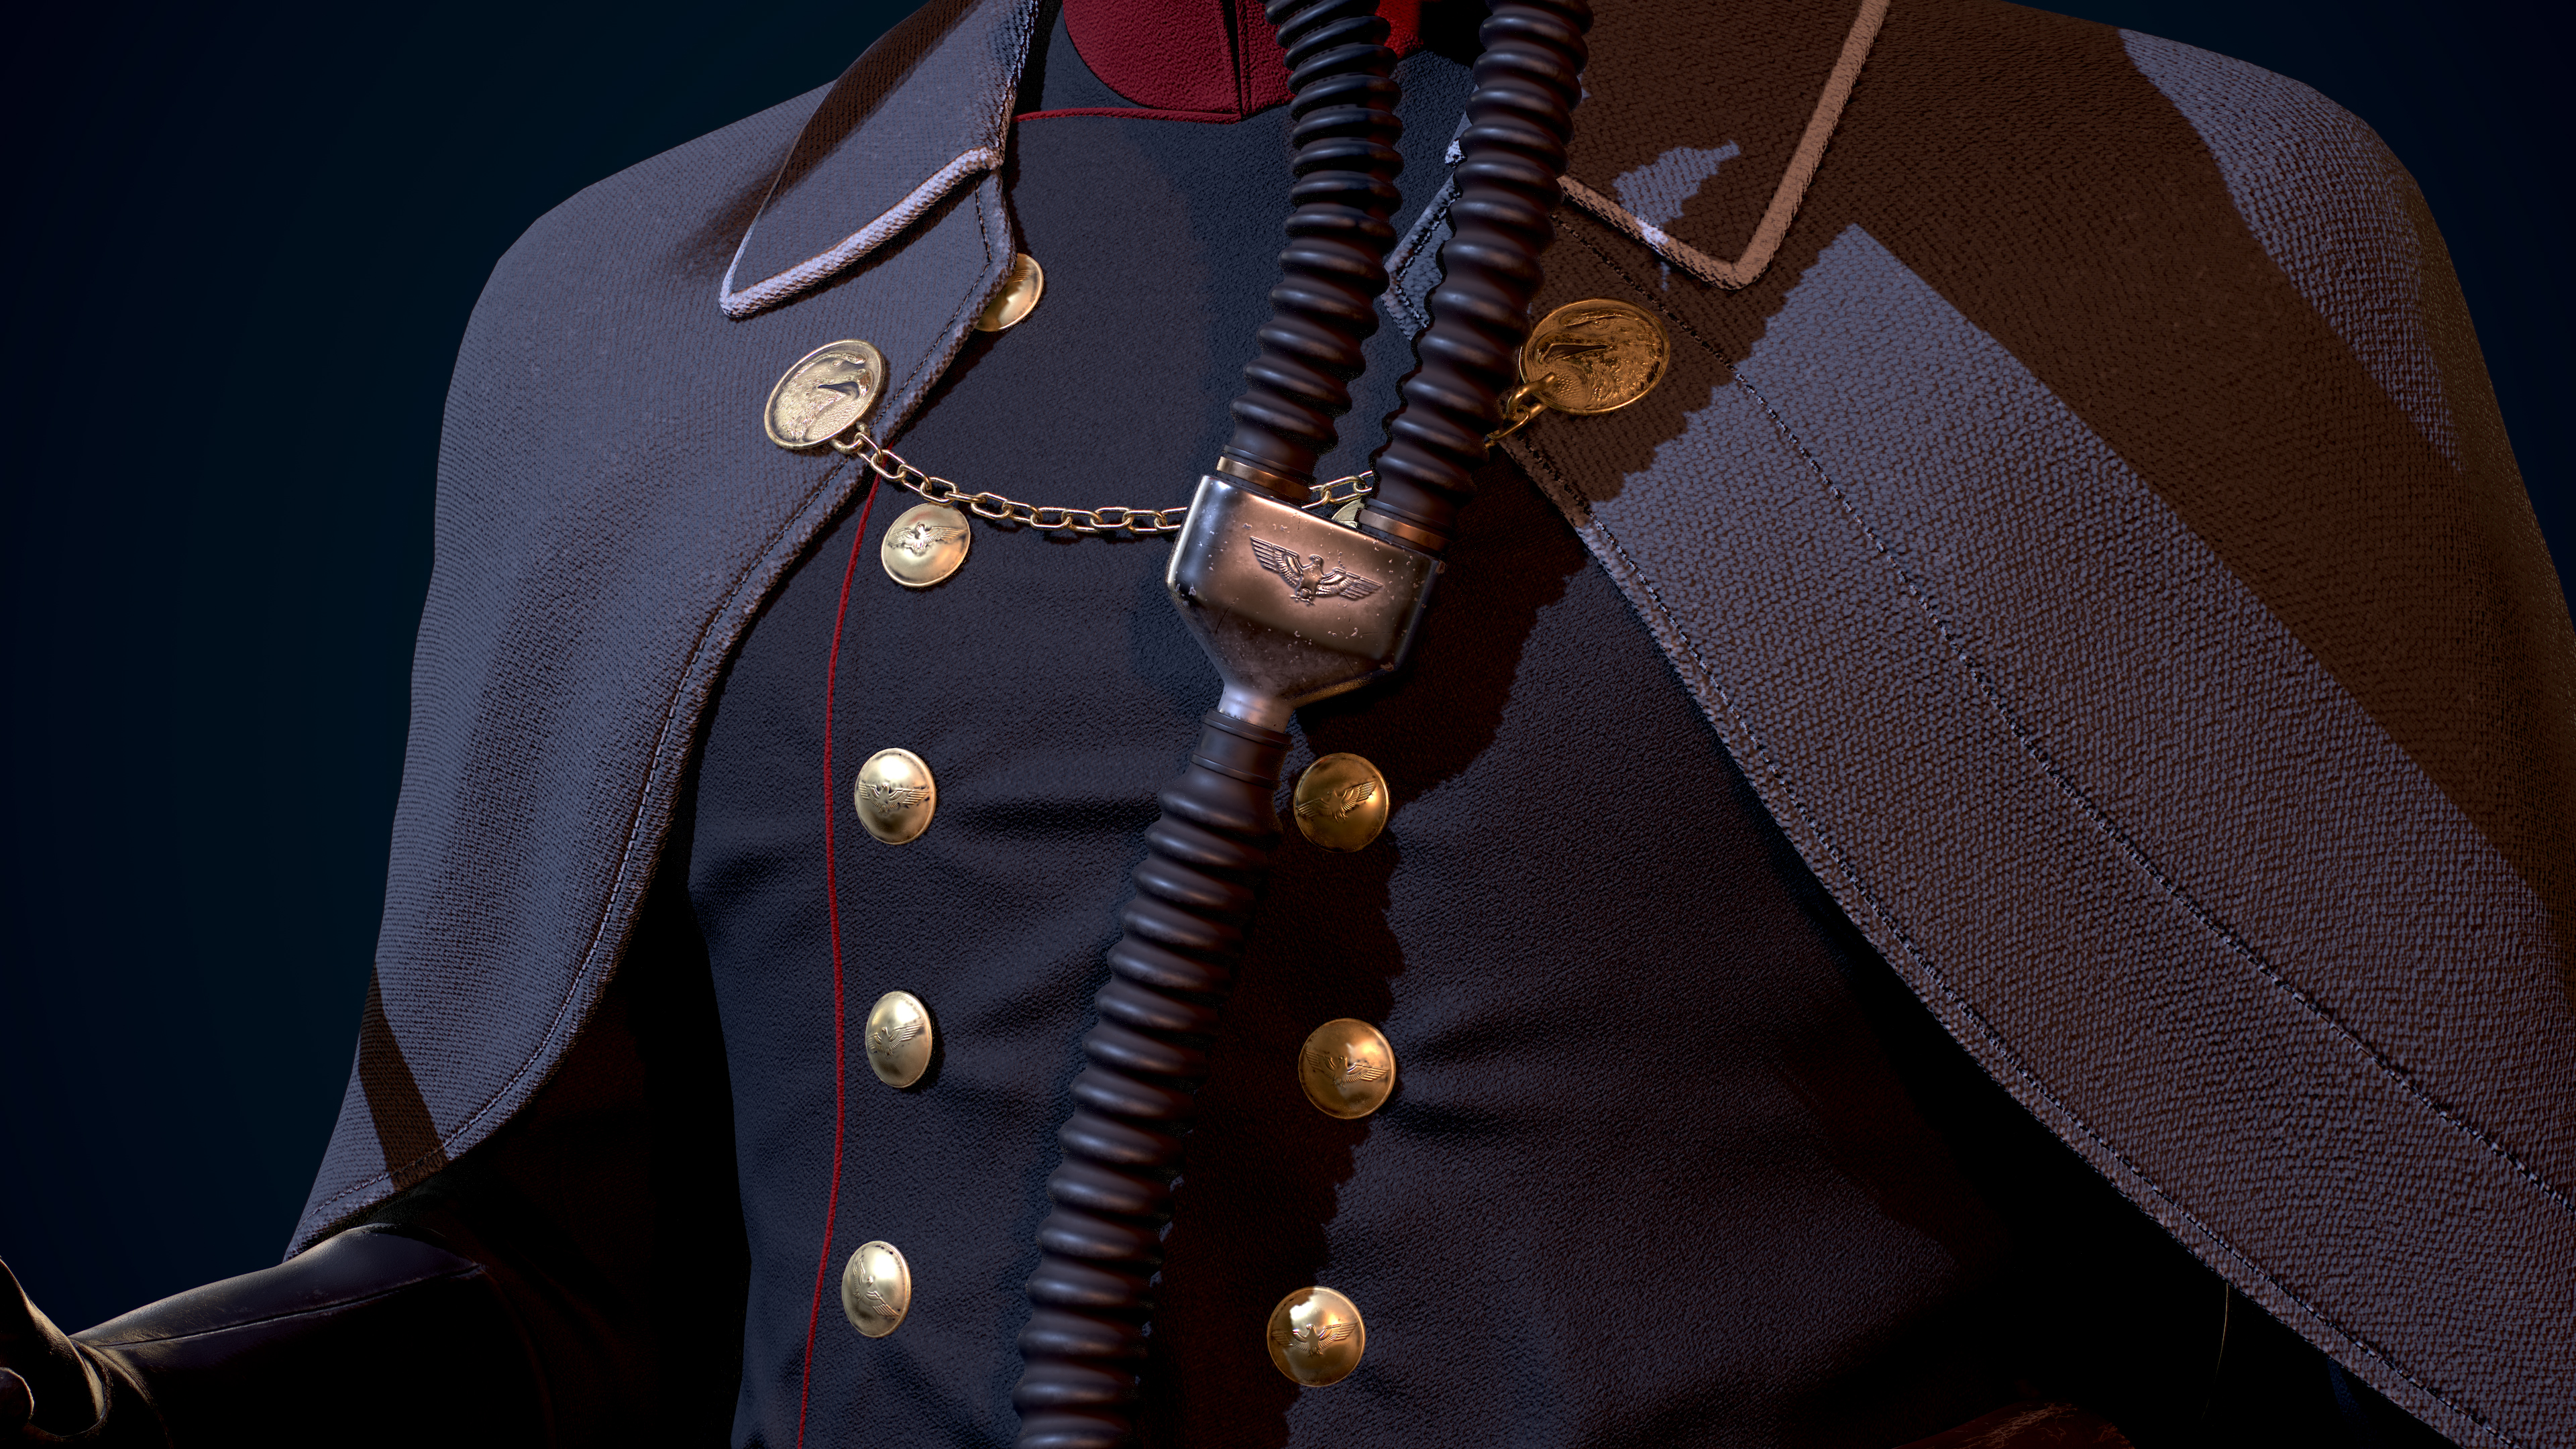
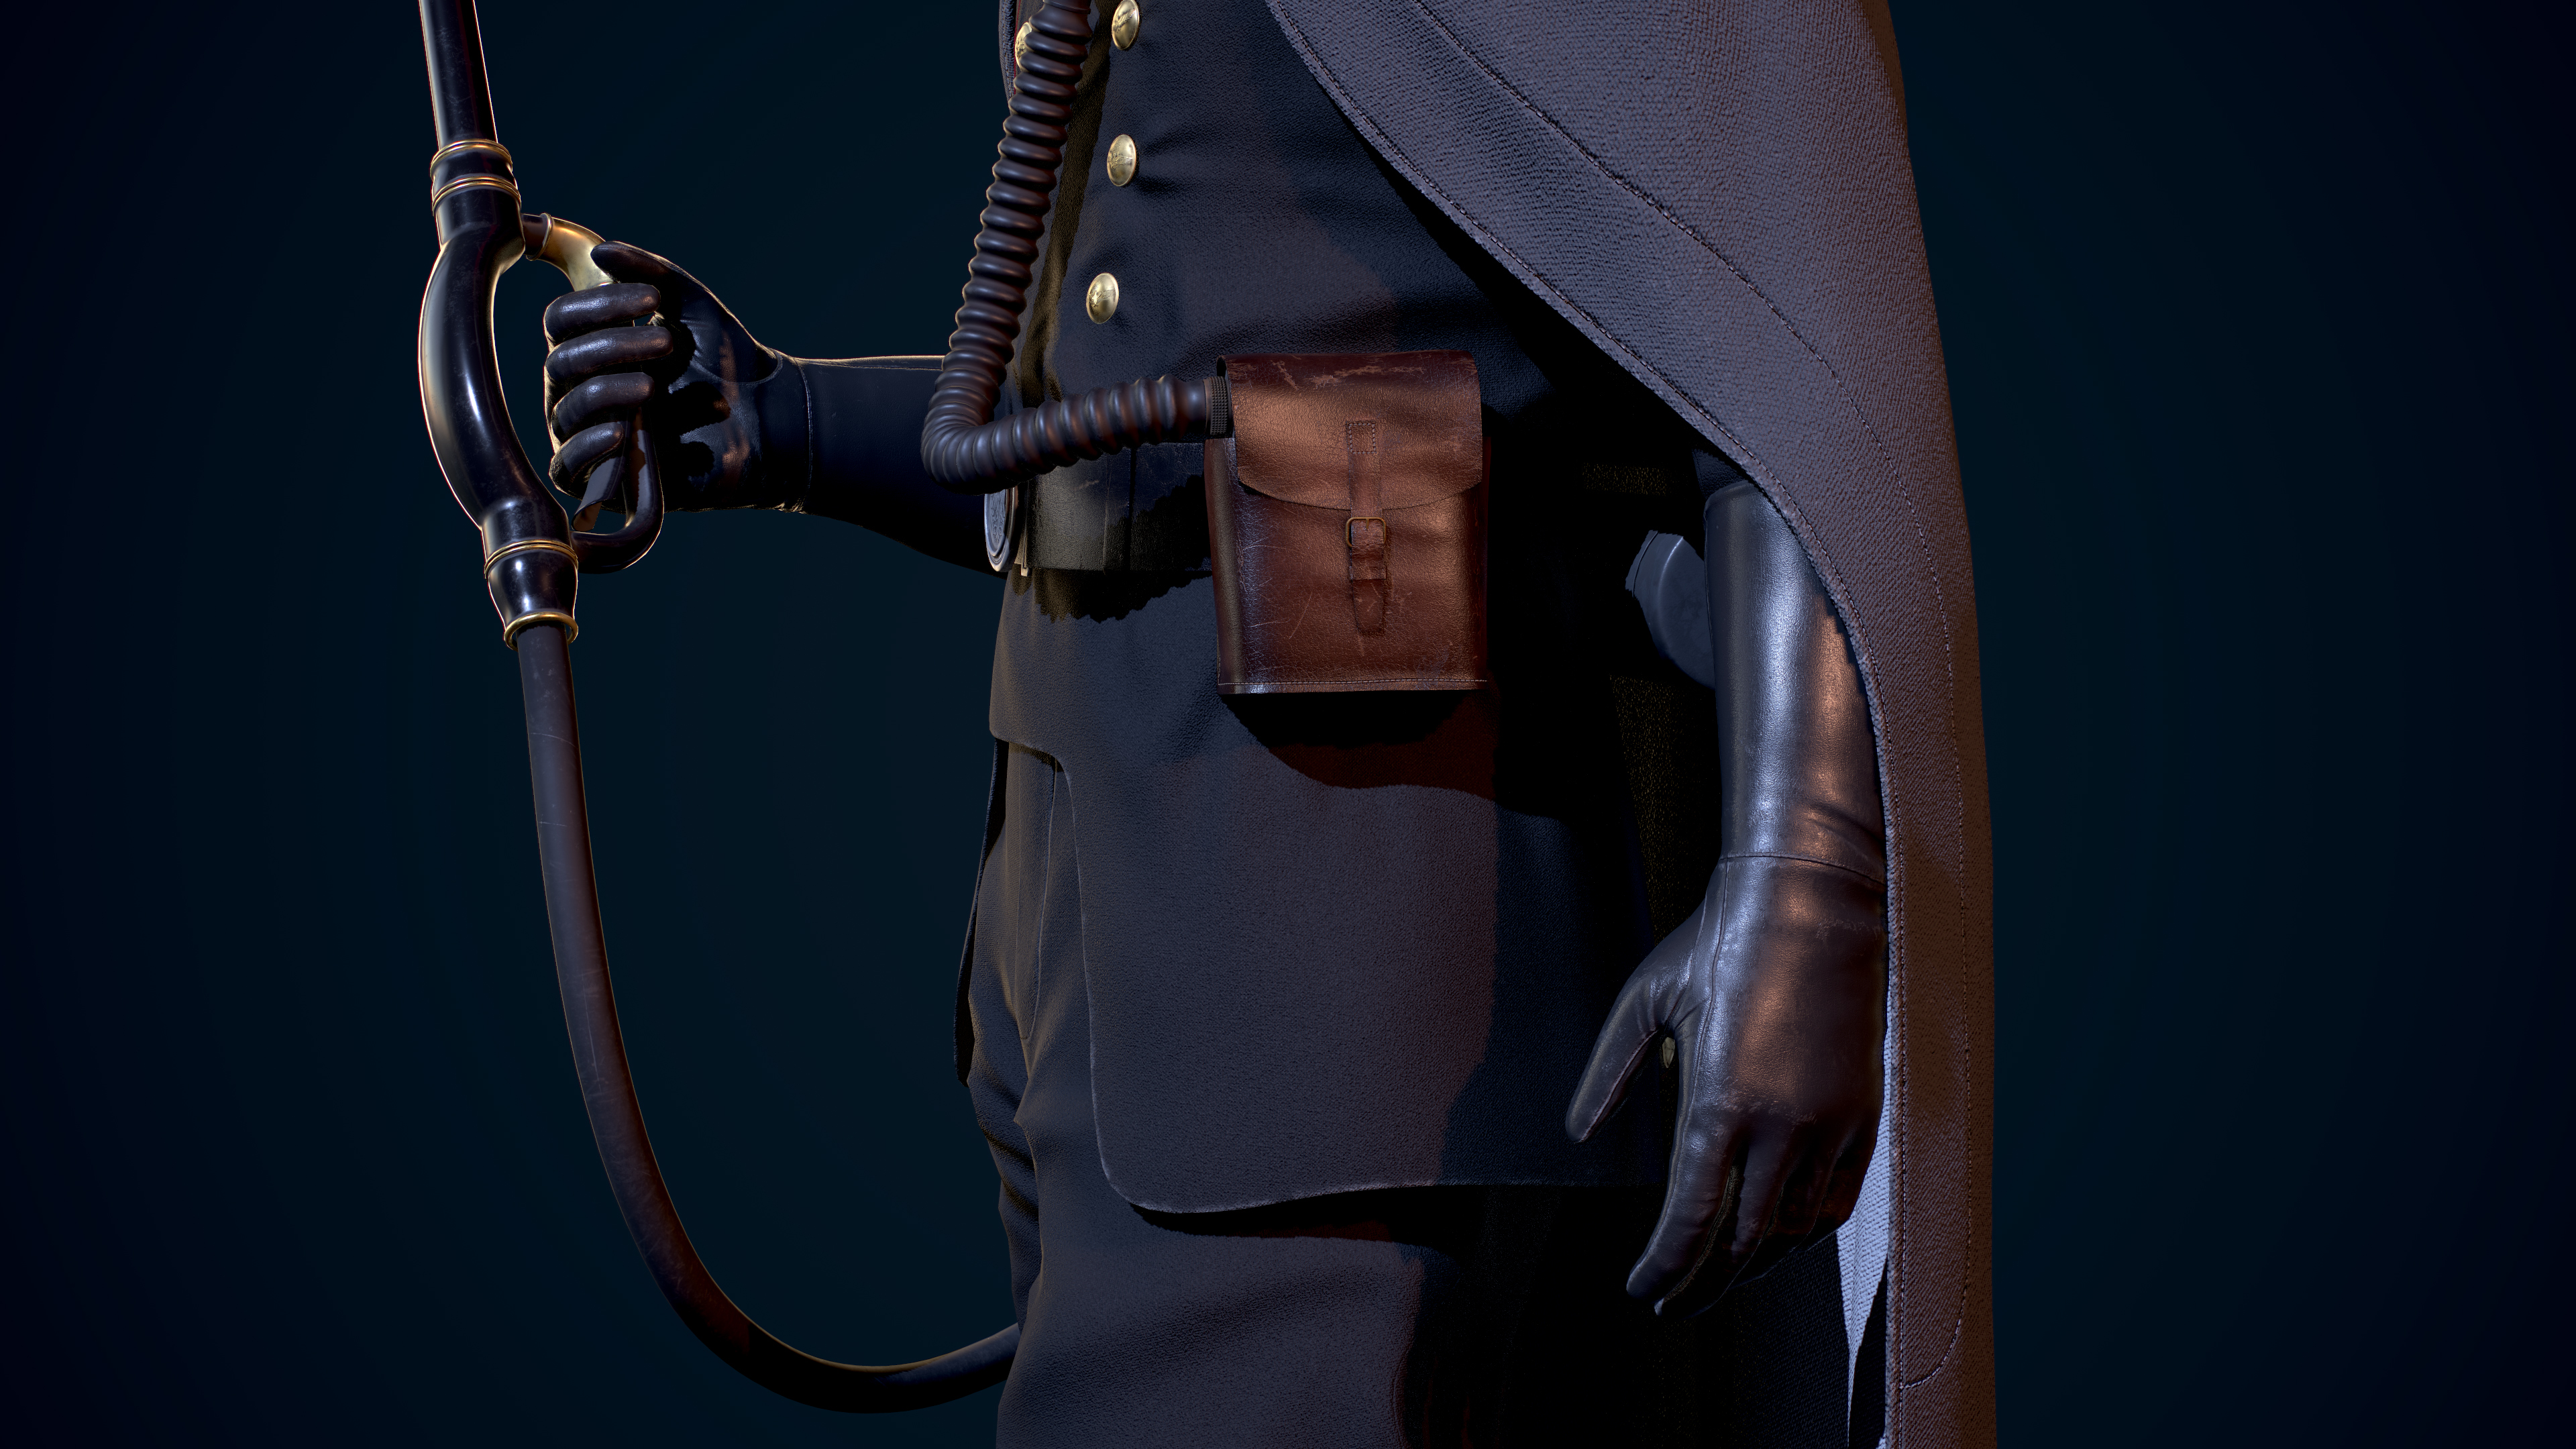
CLOSE UPS


TURNAROUND SHEET
top : high poly ( not posed )
bottom: low poly
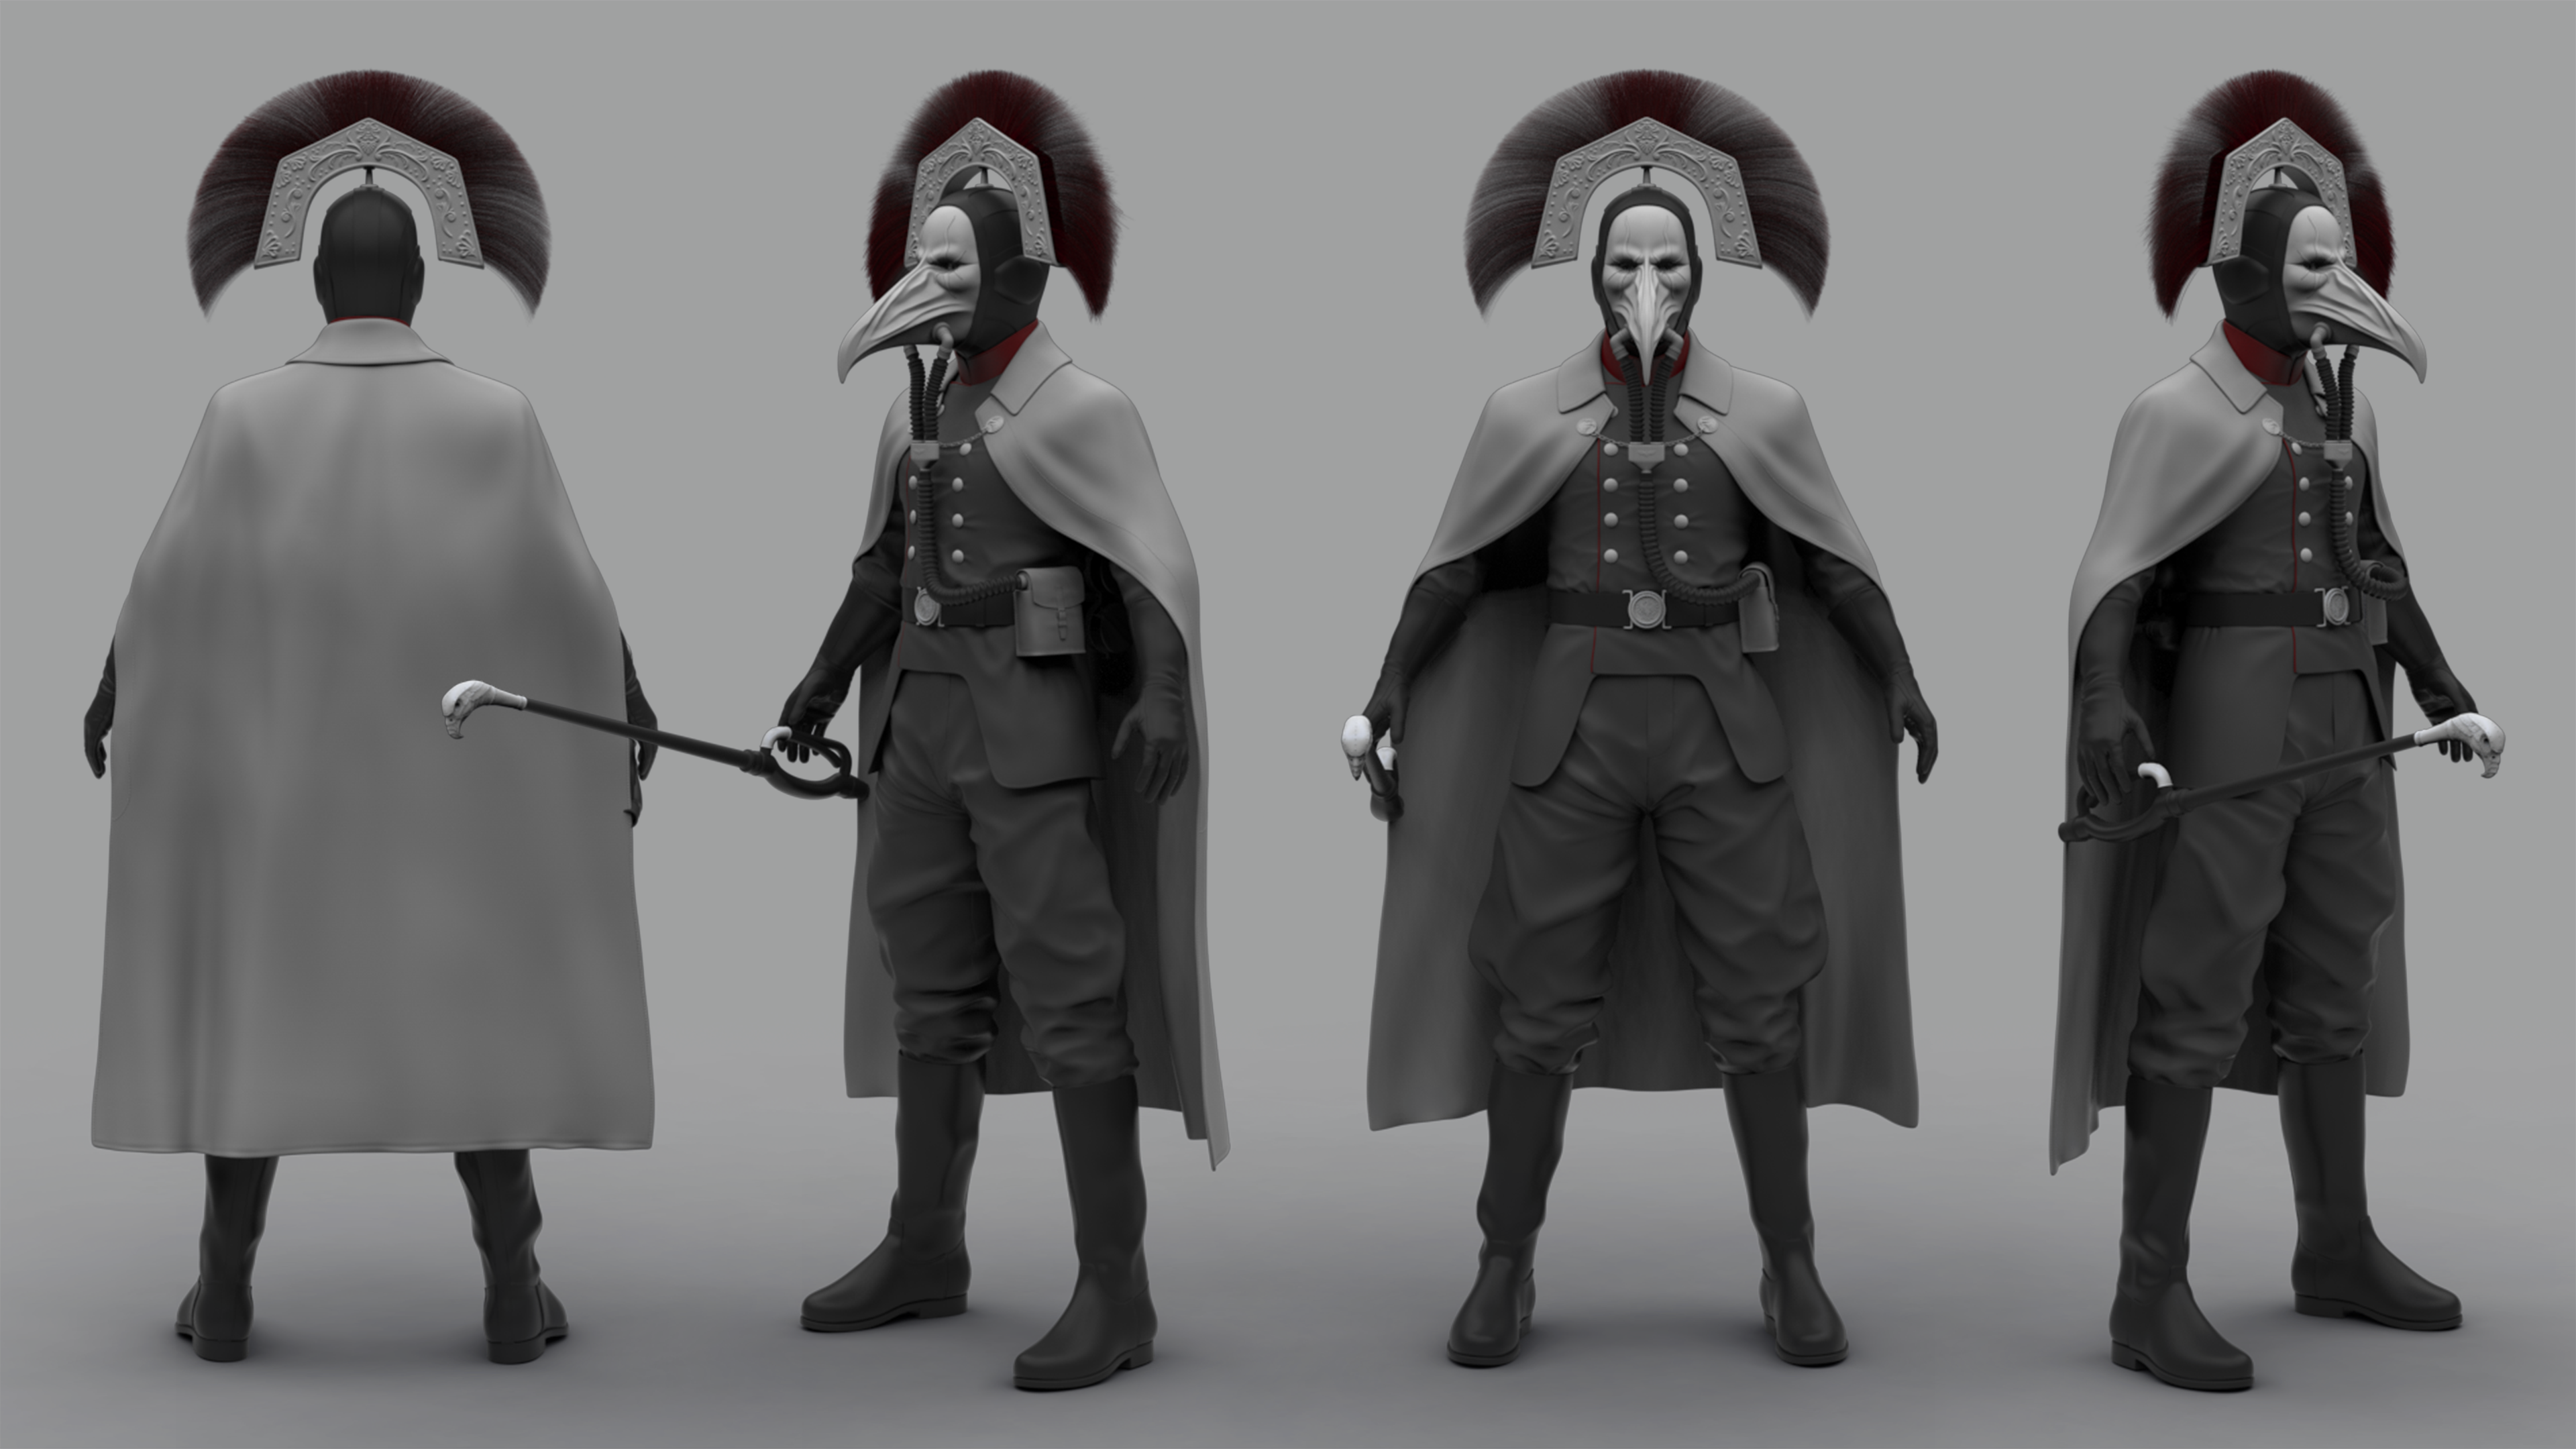

TURN TABLE/ WIREFRAME TURN TABLE
FINAL / CONCEPT COMPARISON

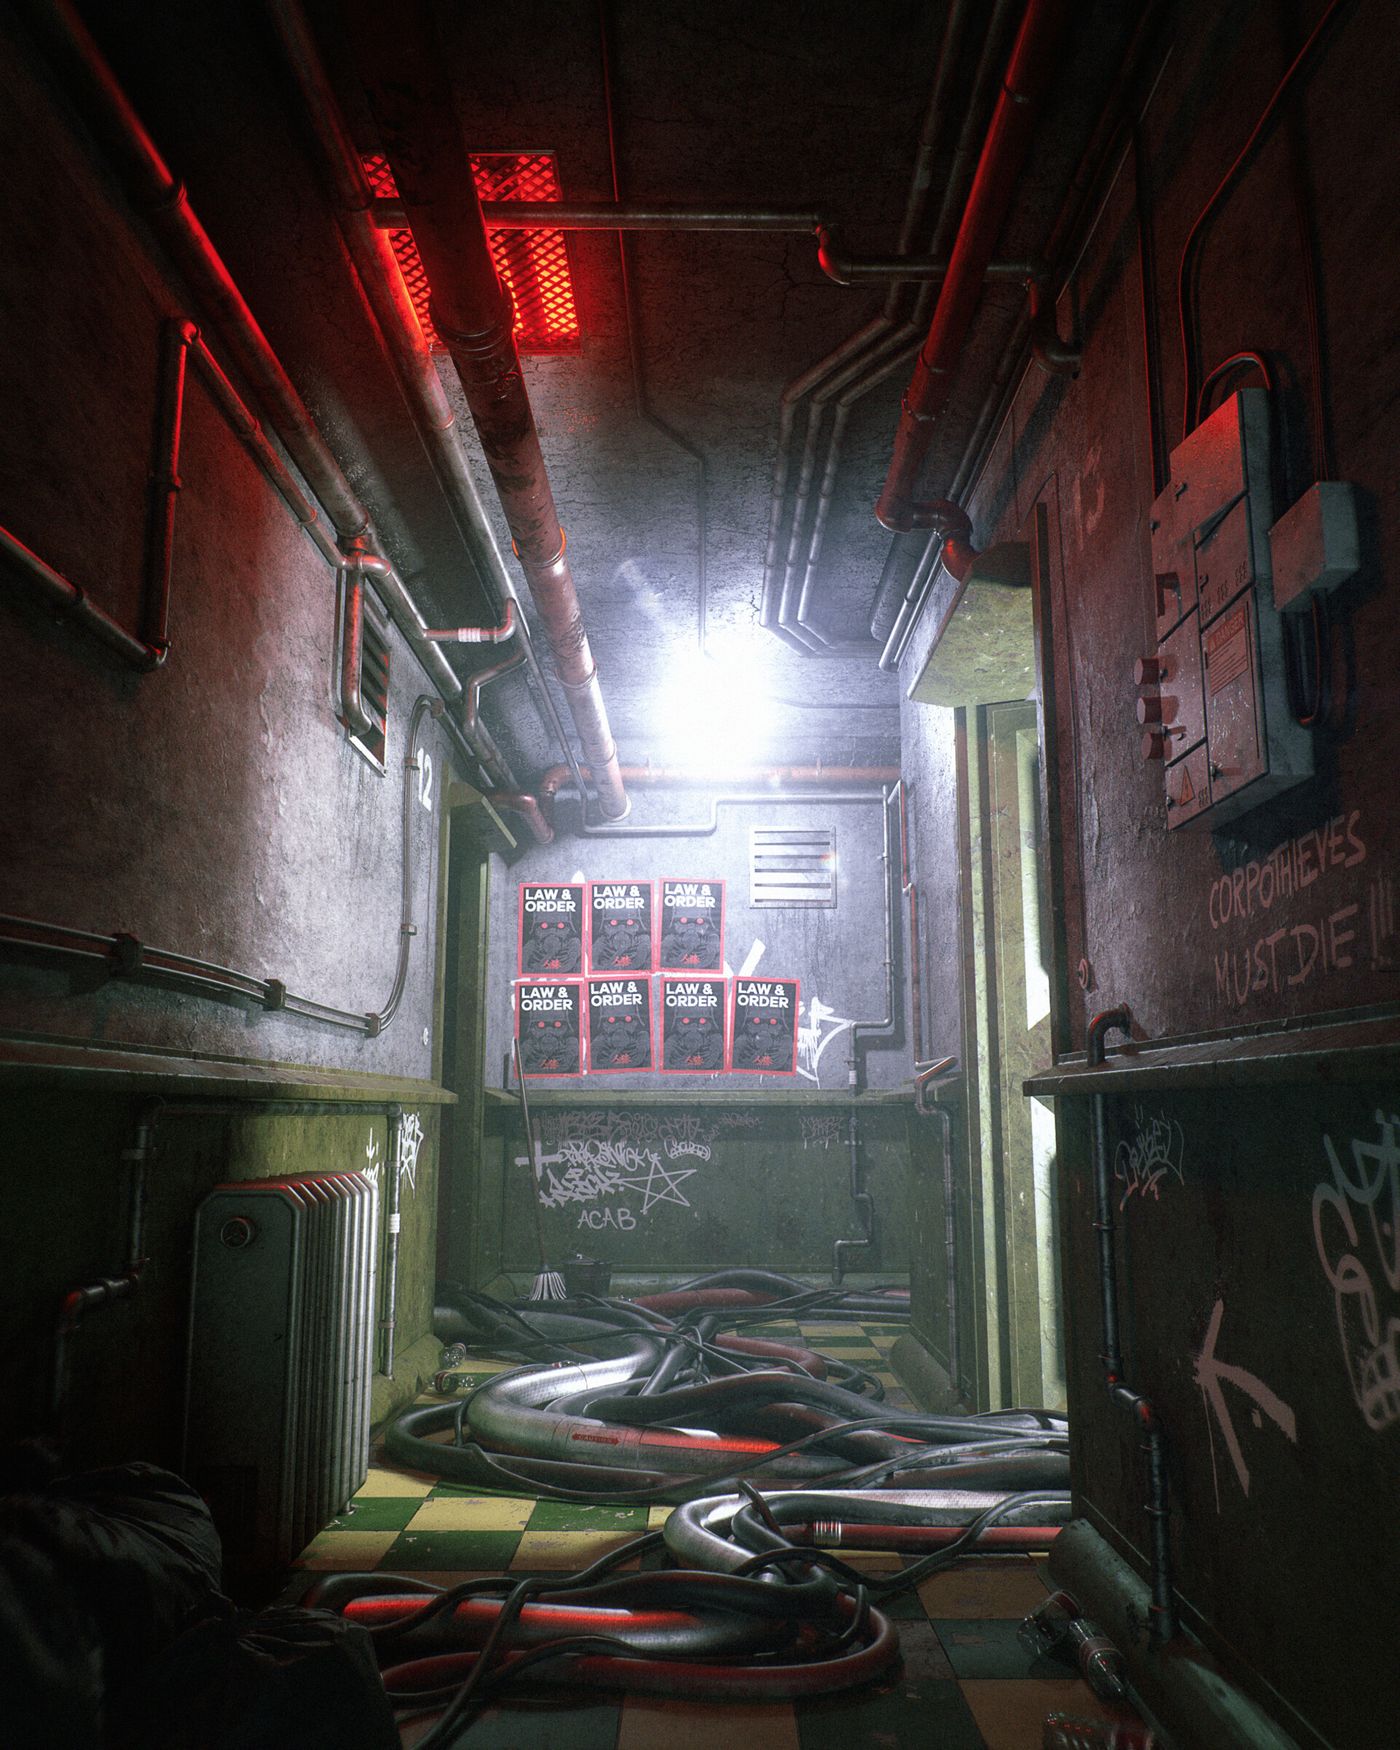
ROOM 71
This project is based on Marc Bauser's awesome concept. I really liked the overall atmosphere of the scene and all the texturing opportunity, thus tried my best to keep the original concept look while adding in a little bit of my own design and story for it and a few additional elements.
* There was an earlier version of this project before I went back adjusting and adding a lot of stuffs during the making of my demo reel. I thought it'll be interesting to see the difference between the old version and the new version so I'll add them in at the very end of this project section.
------------------------------------------------------------------------------------------------
Modeling: Maya / Texturing: Substance Painter / Rendering: V-ray / Comp: Nuke / Animation: Mixamo / Garbage bag assets: Megascan
Demo reel project at GNOMON School of Visual Effects
BREAKDOWN
Lighting effects such as flickering are done in Nuke. The particles around the light, the fog and water dripping are all achieved by using cards in Nuke.
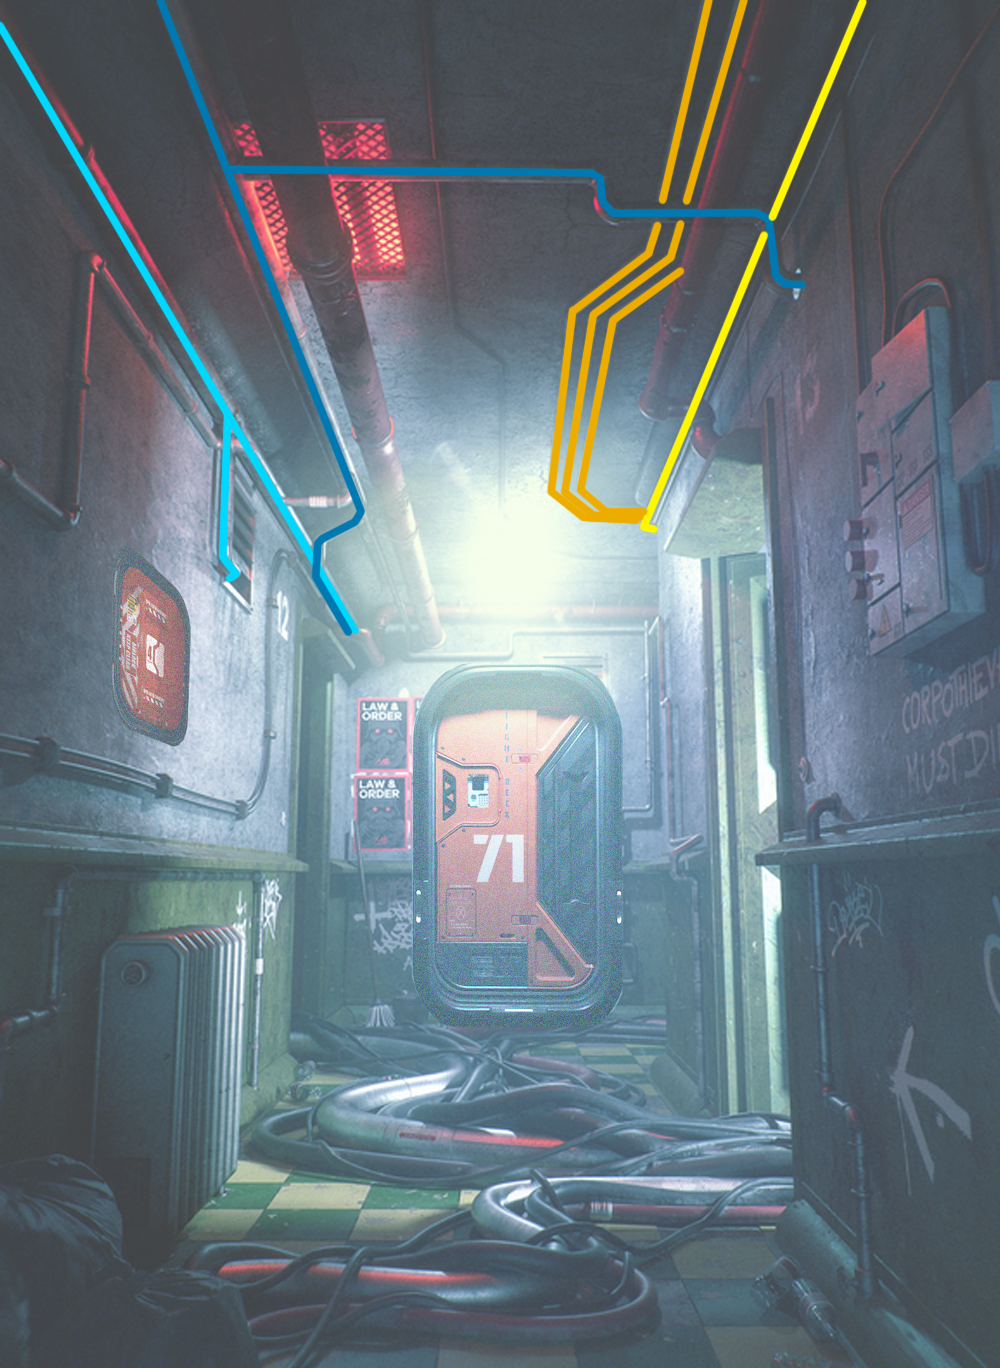
CONCEPT
I've photoshopped in some other elements on top of the original concept, as you can see the sci-fi ish door at the end of the hallway.
Right: original concept
Left: photoshopped concept this project is constructed after

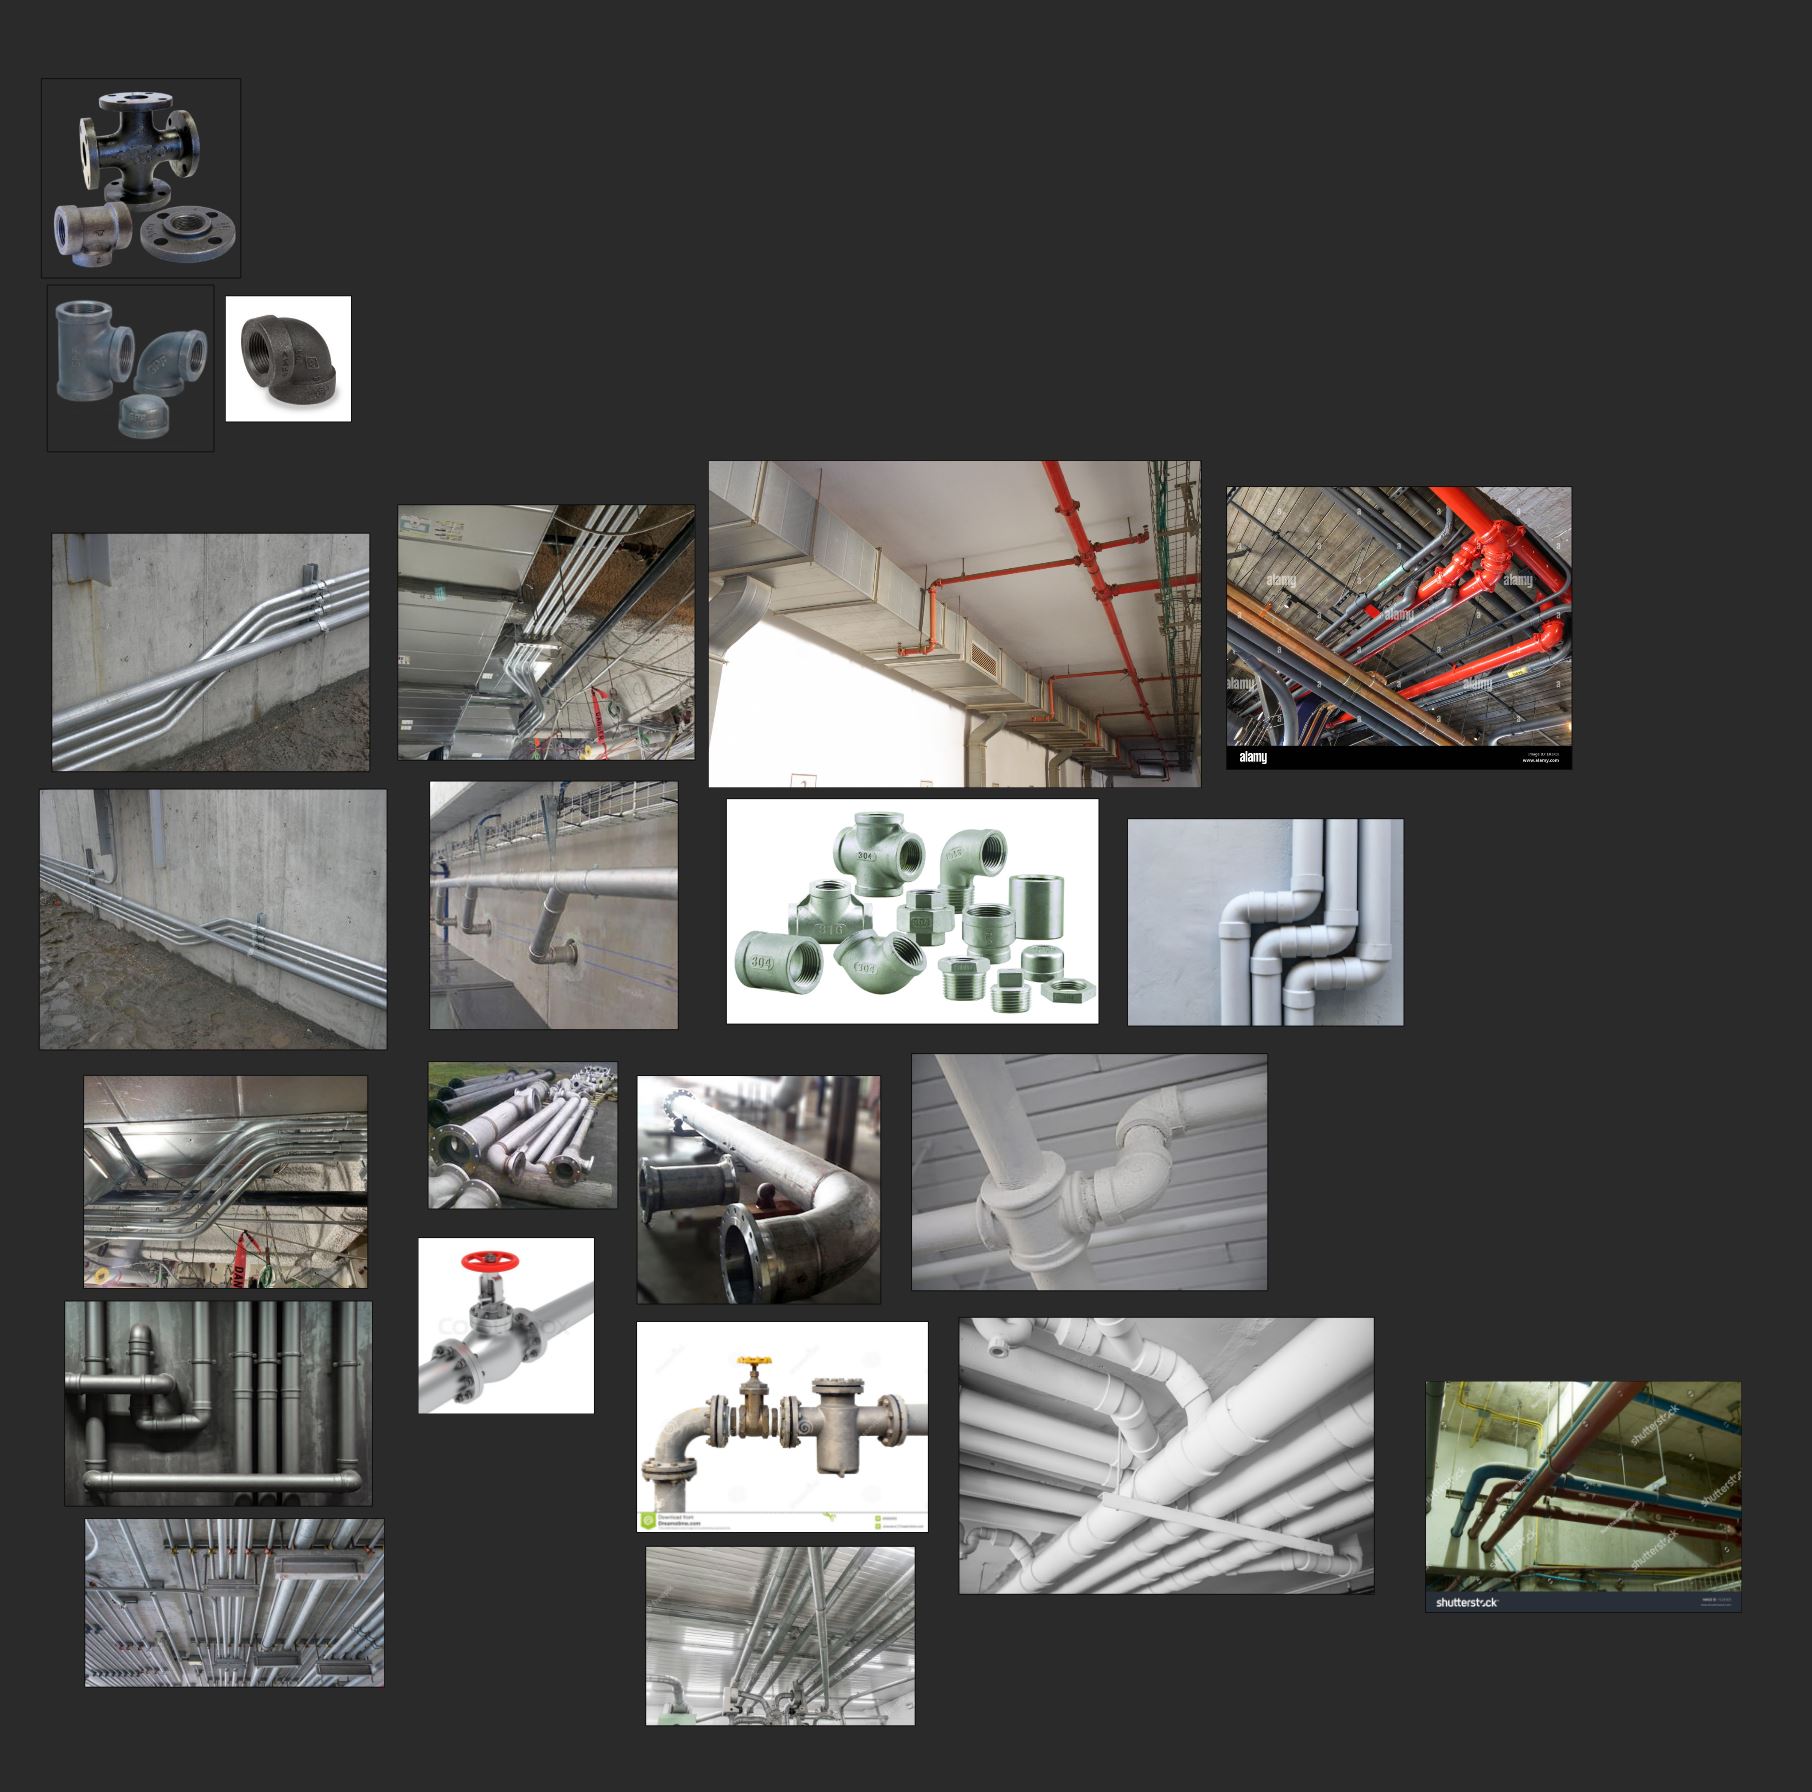
I've also tried to figure out the piping on the ceiling, thus did a paint over on top of the concept to help me build the scene. You can see the image below.
Reference specially for the pipes
MODEL KITS

Made groups of pipe and wall kits so it'll help out building the scene down the road.
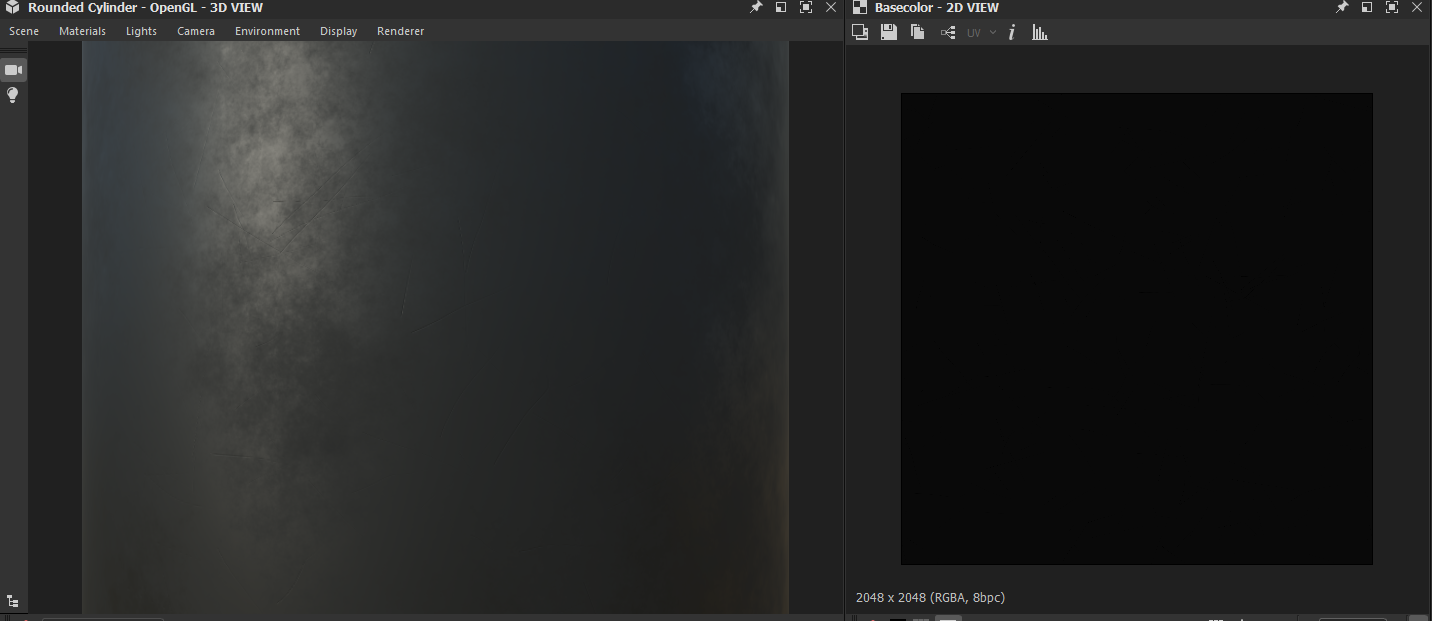
SUBSTANCE DESIGNER TEXTURES
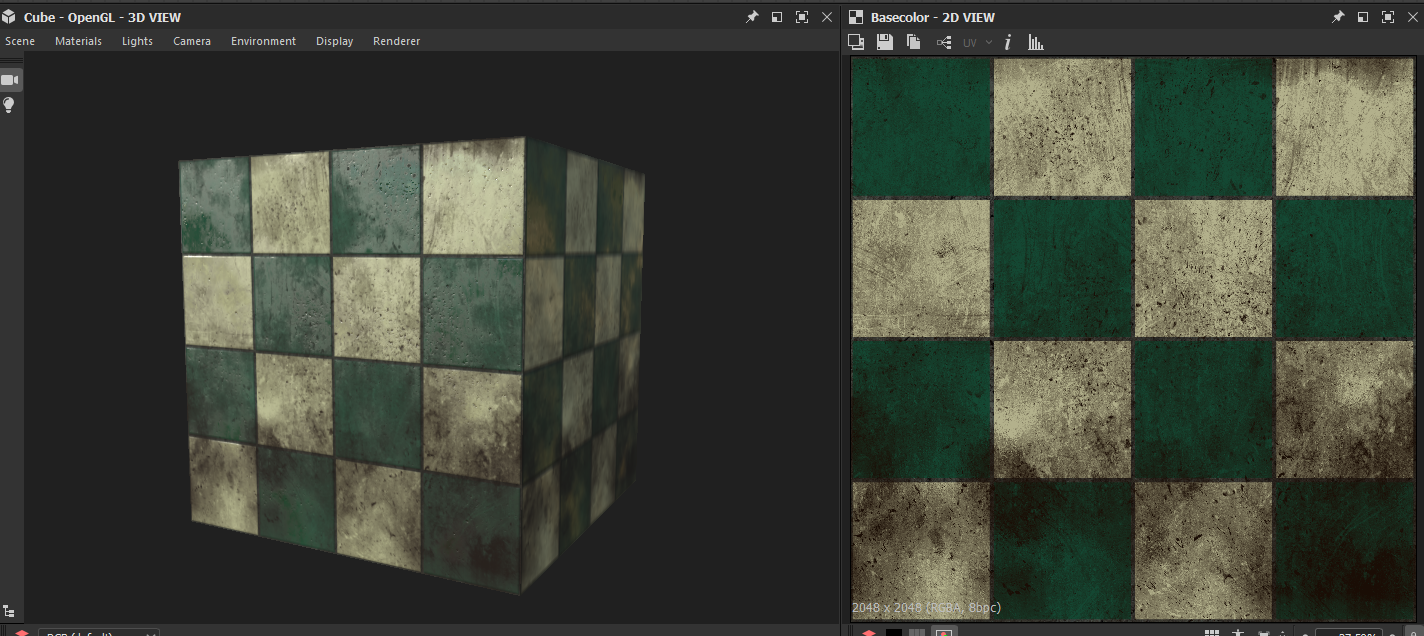


Textures for Floor( top): Dirty tile floor
Texture for Walls: Dirty painted wall / Dirty concrete wall
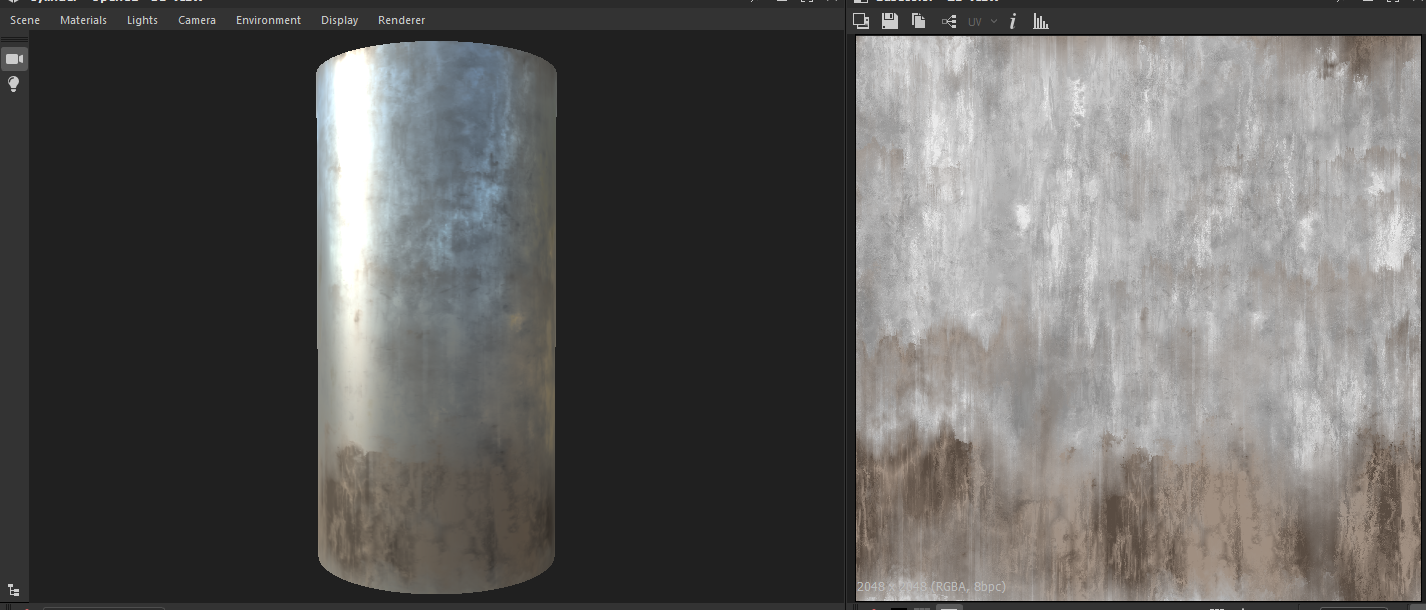
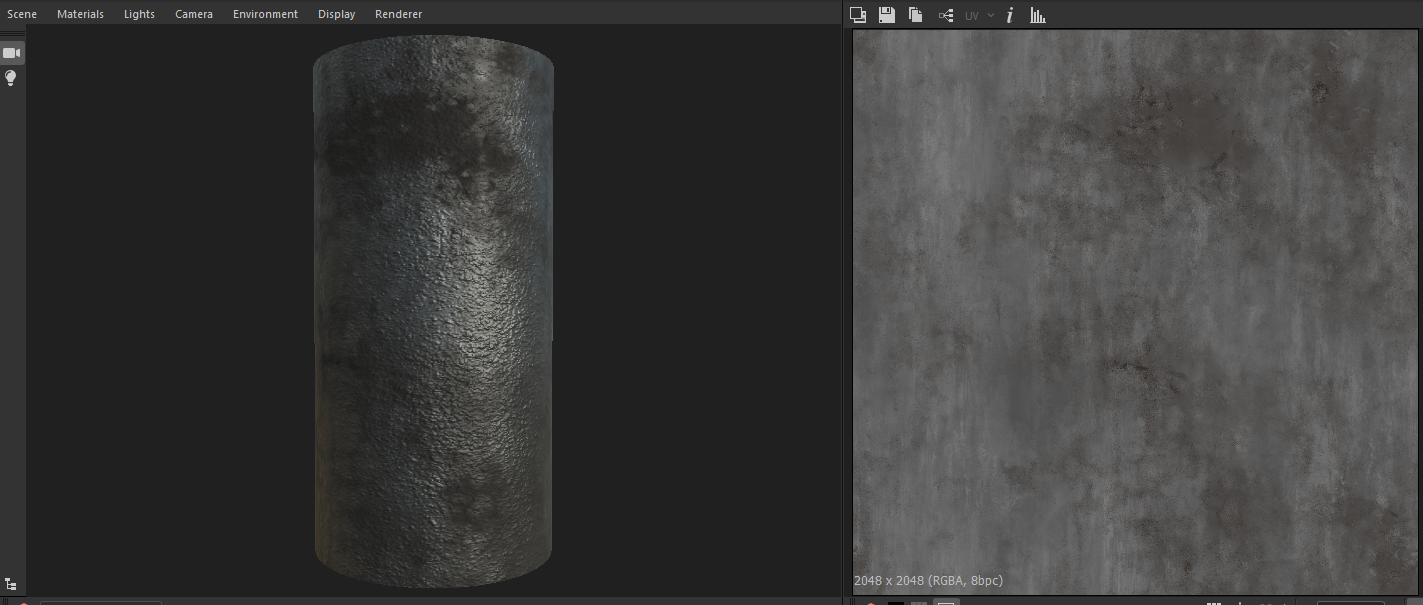
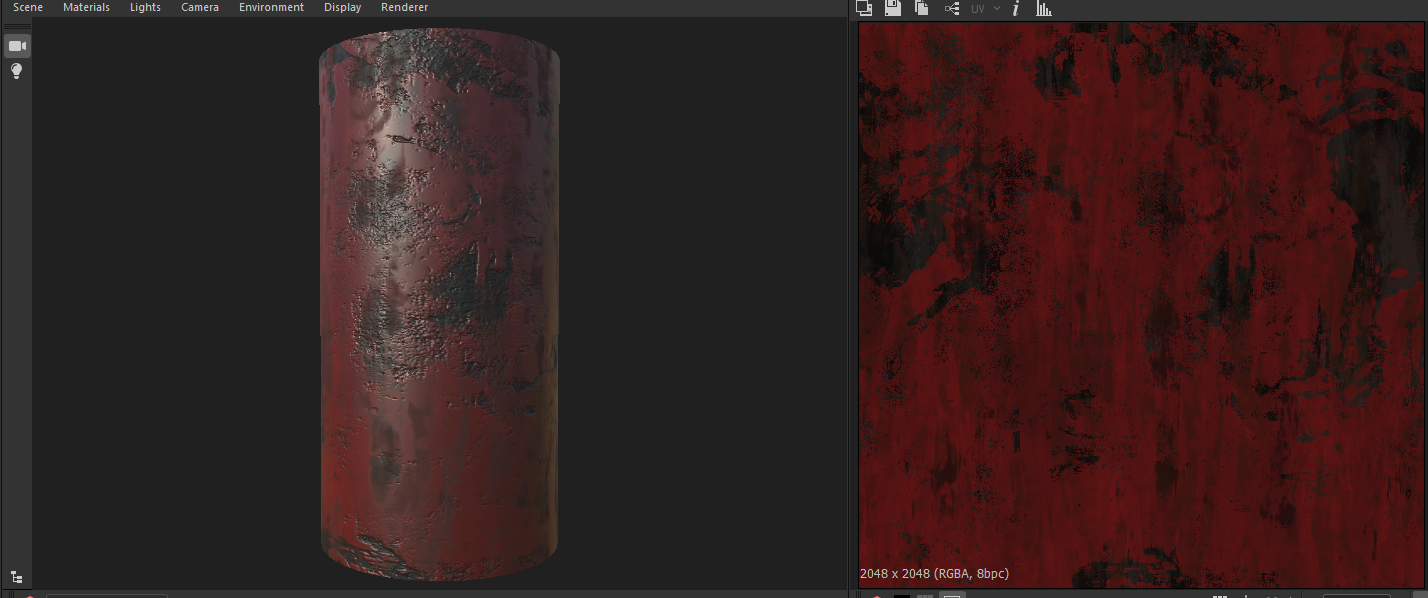
Textures for metal pipes ( from top to bottom ): Dirty metal with slight rust / Dirty metal with rough surface, grease and dirt / Dirty and paint damaged
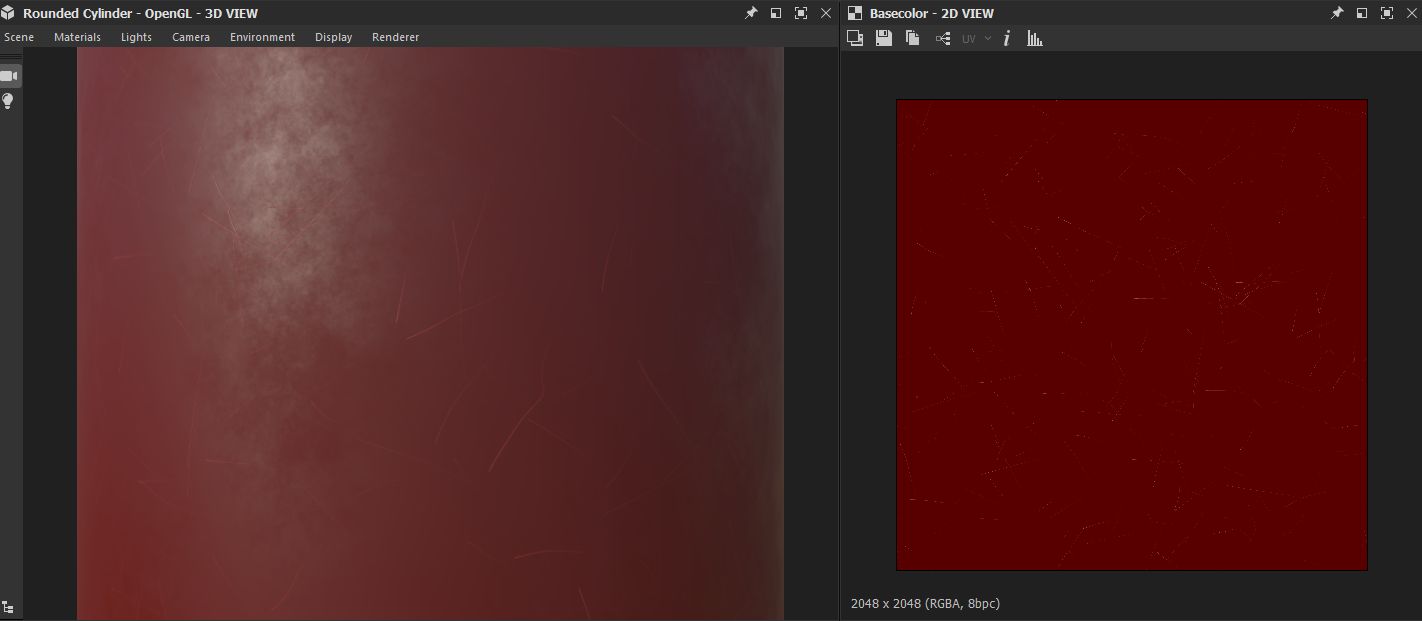
Textures for rubbers: Slight dirt and scratches


Textures for the metal part or the sci-fi door: Painted with slight chipping.
I've did this at the beginning of the project just so I can practice using Substance Designer more, but later on I've textured the door in Substance Painter.
NEW / OLD VERSION COMPARISON
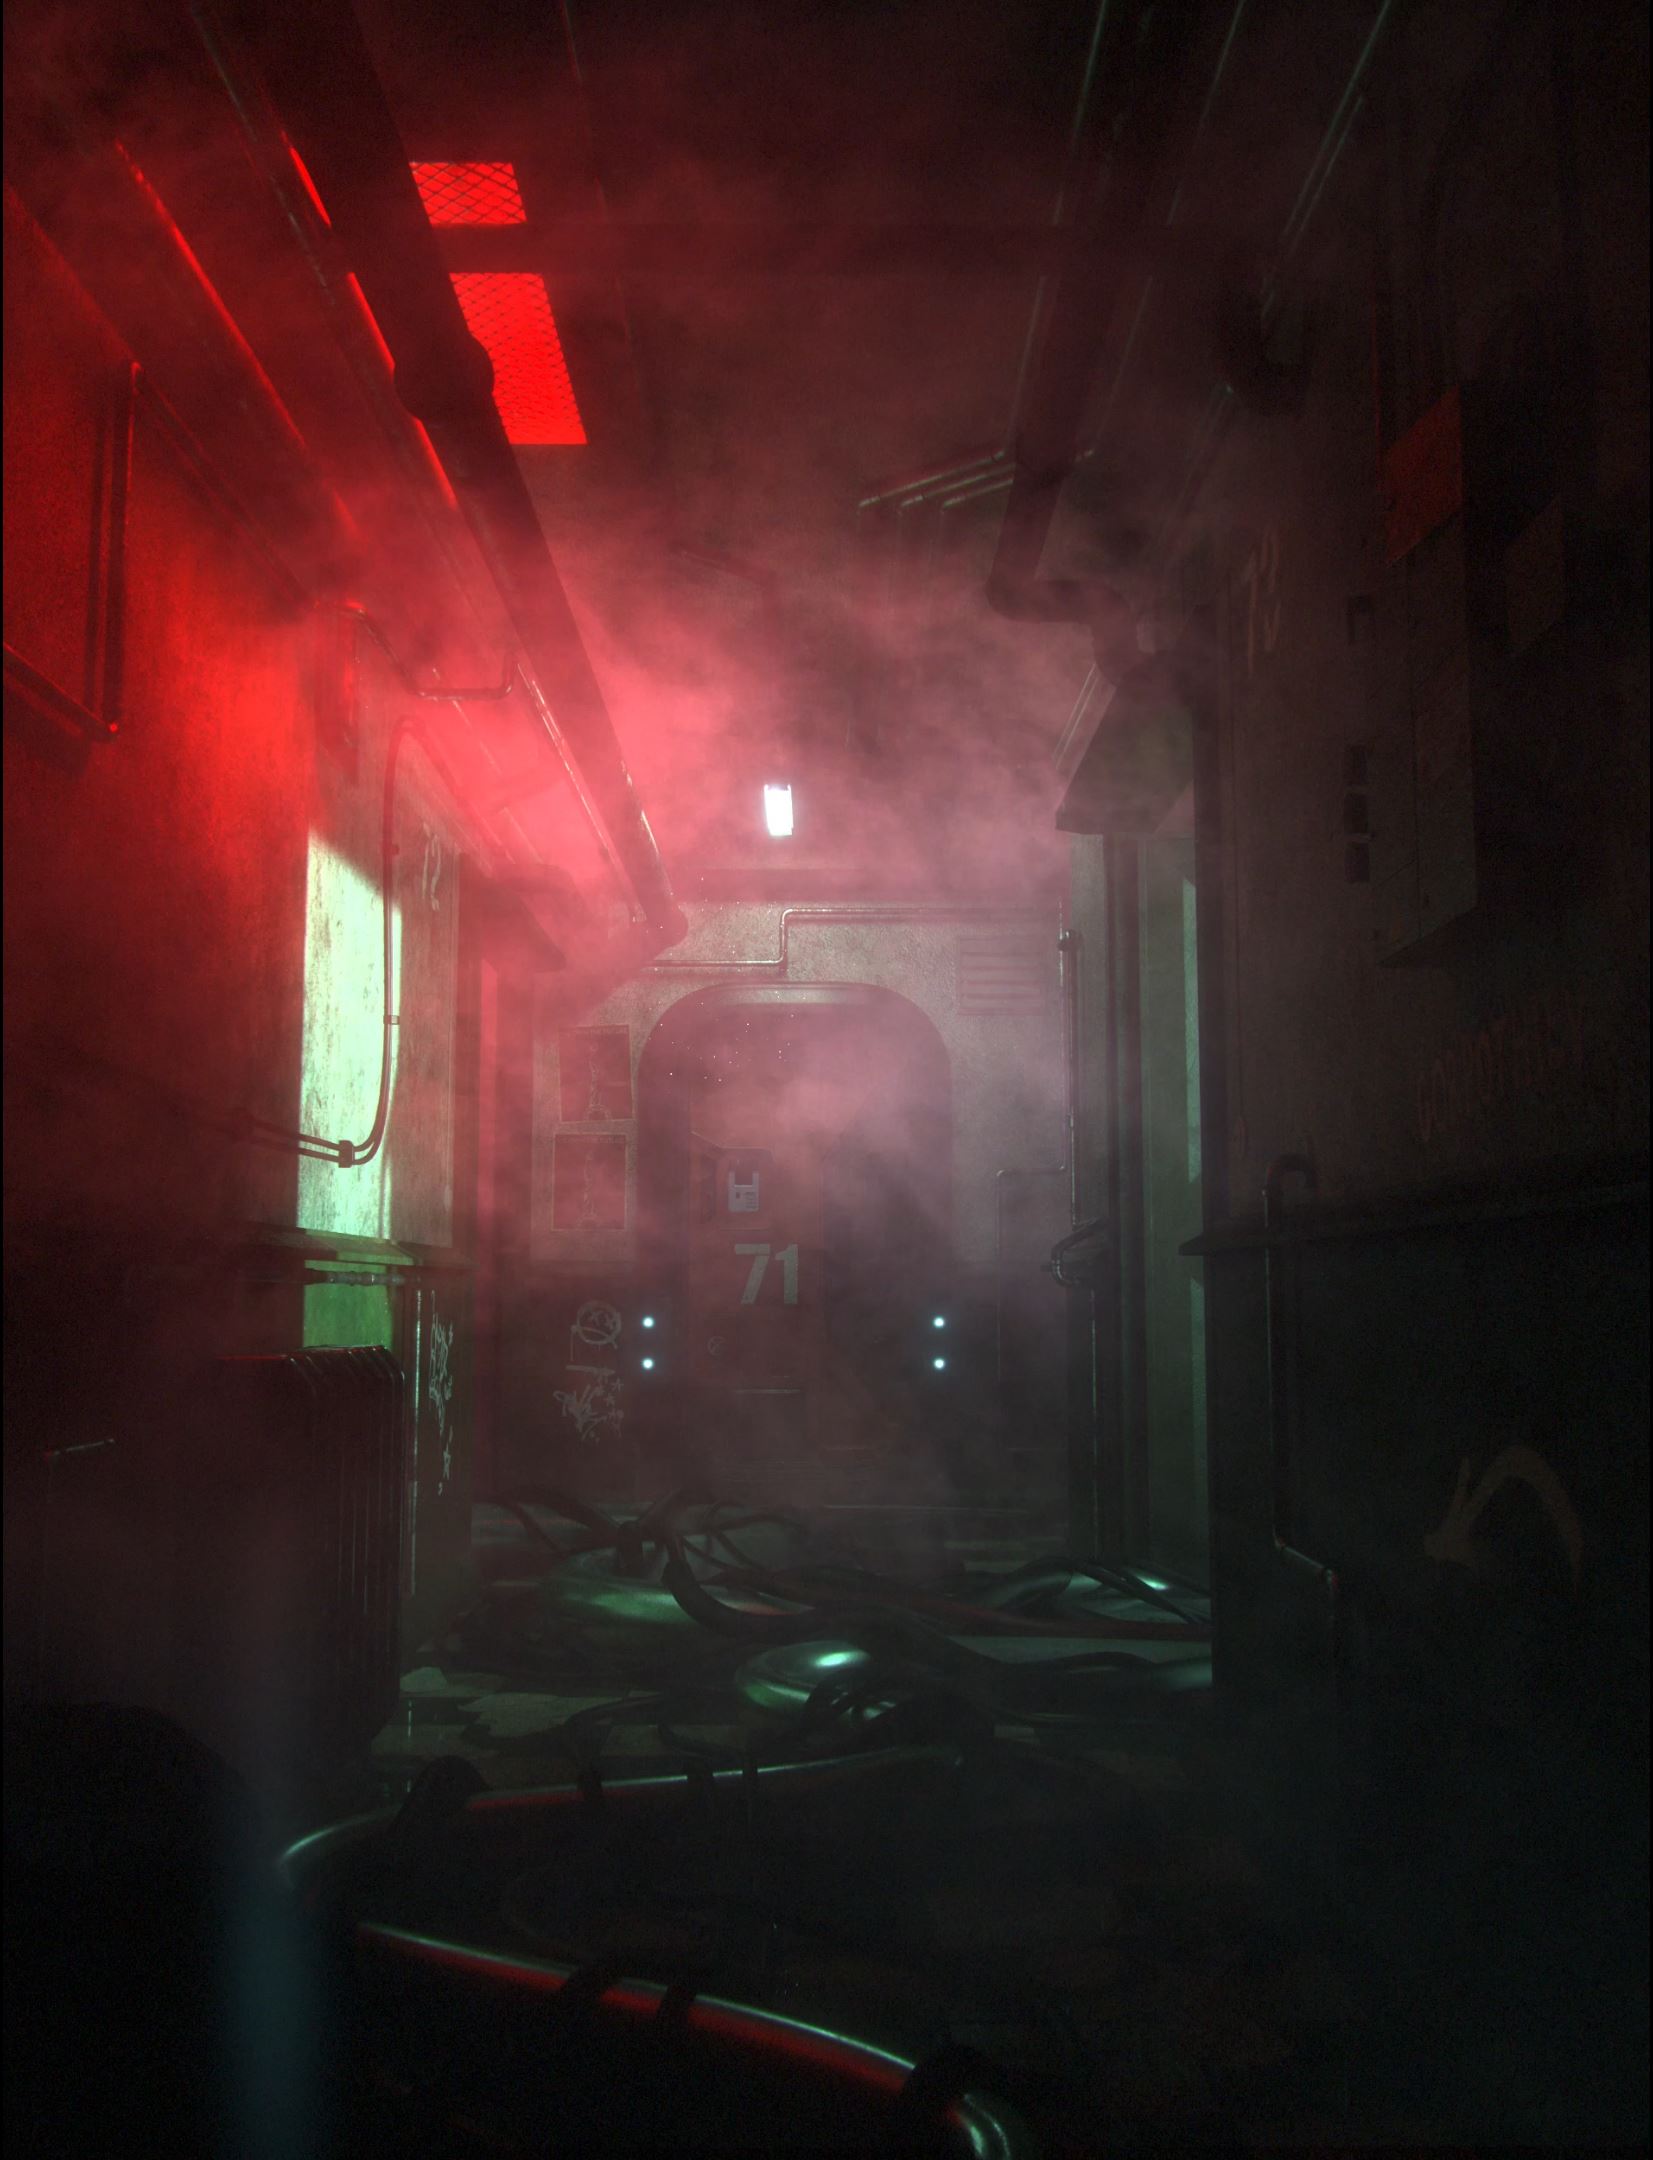
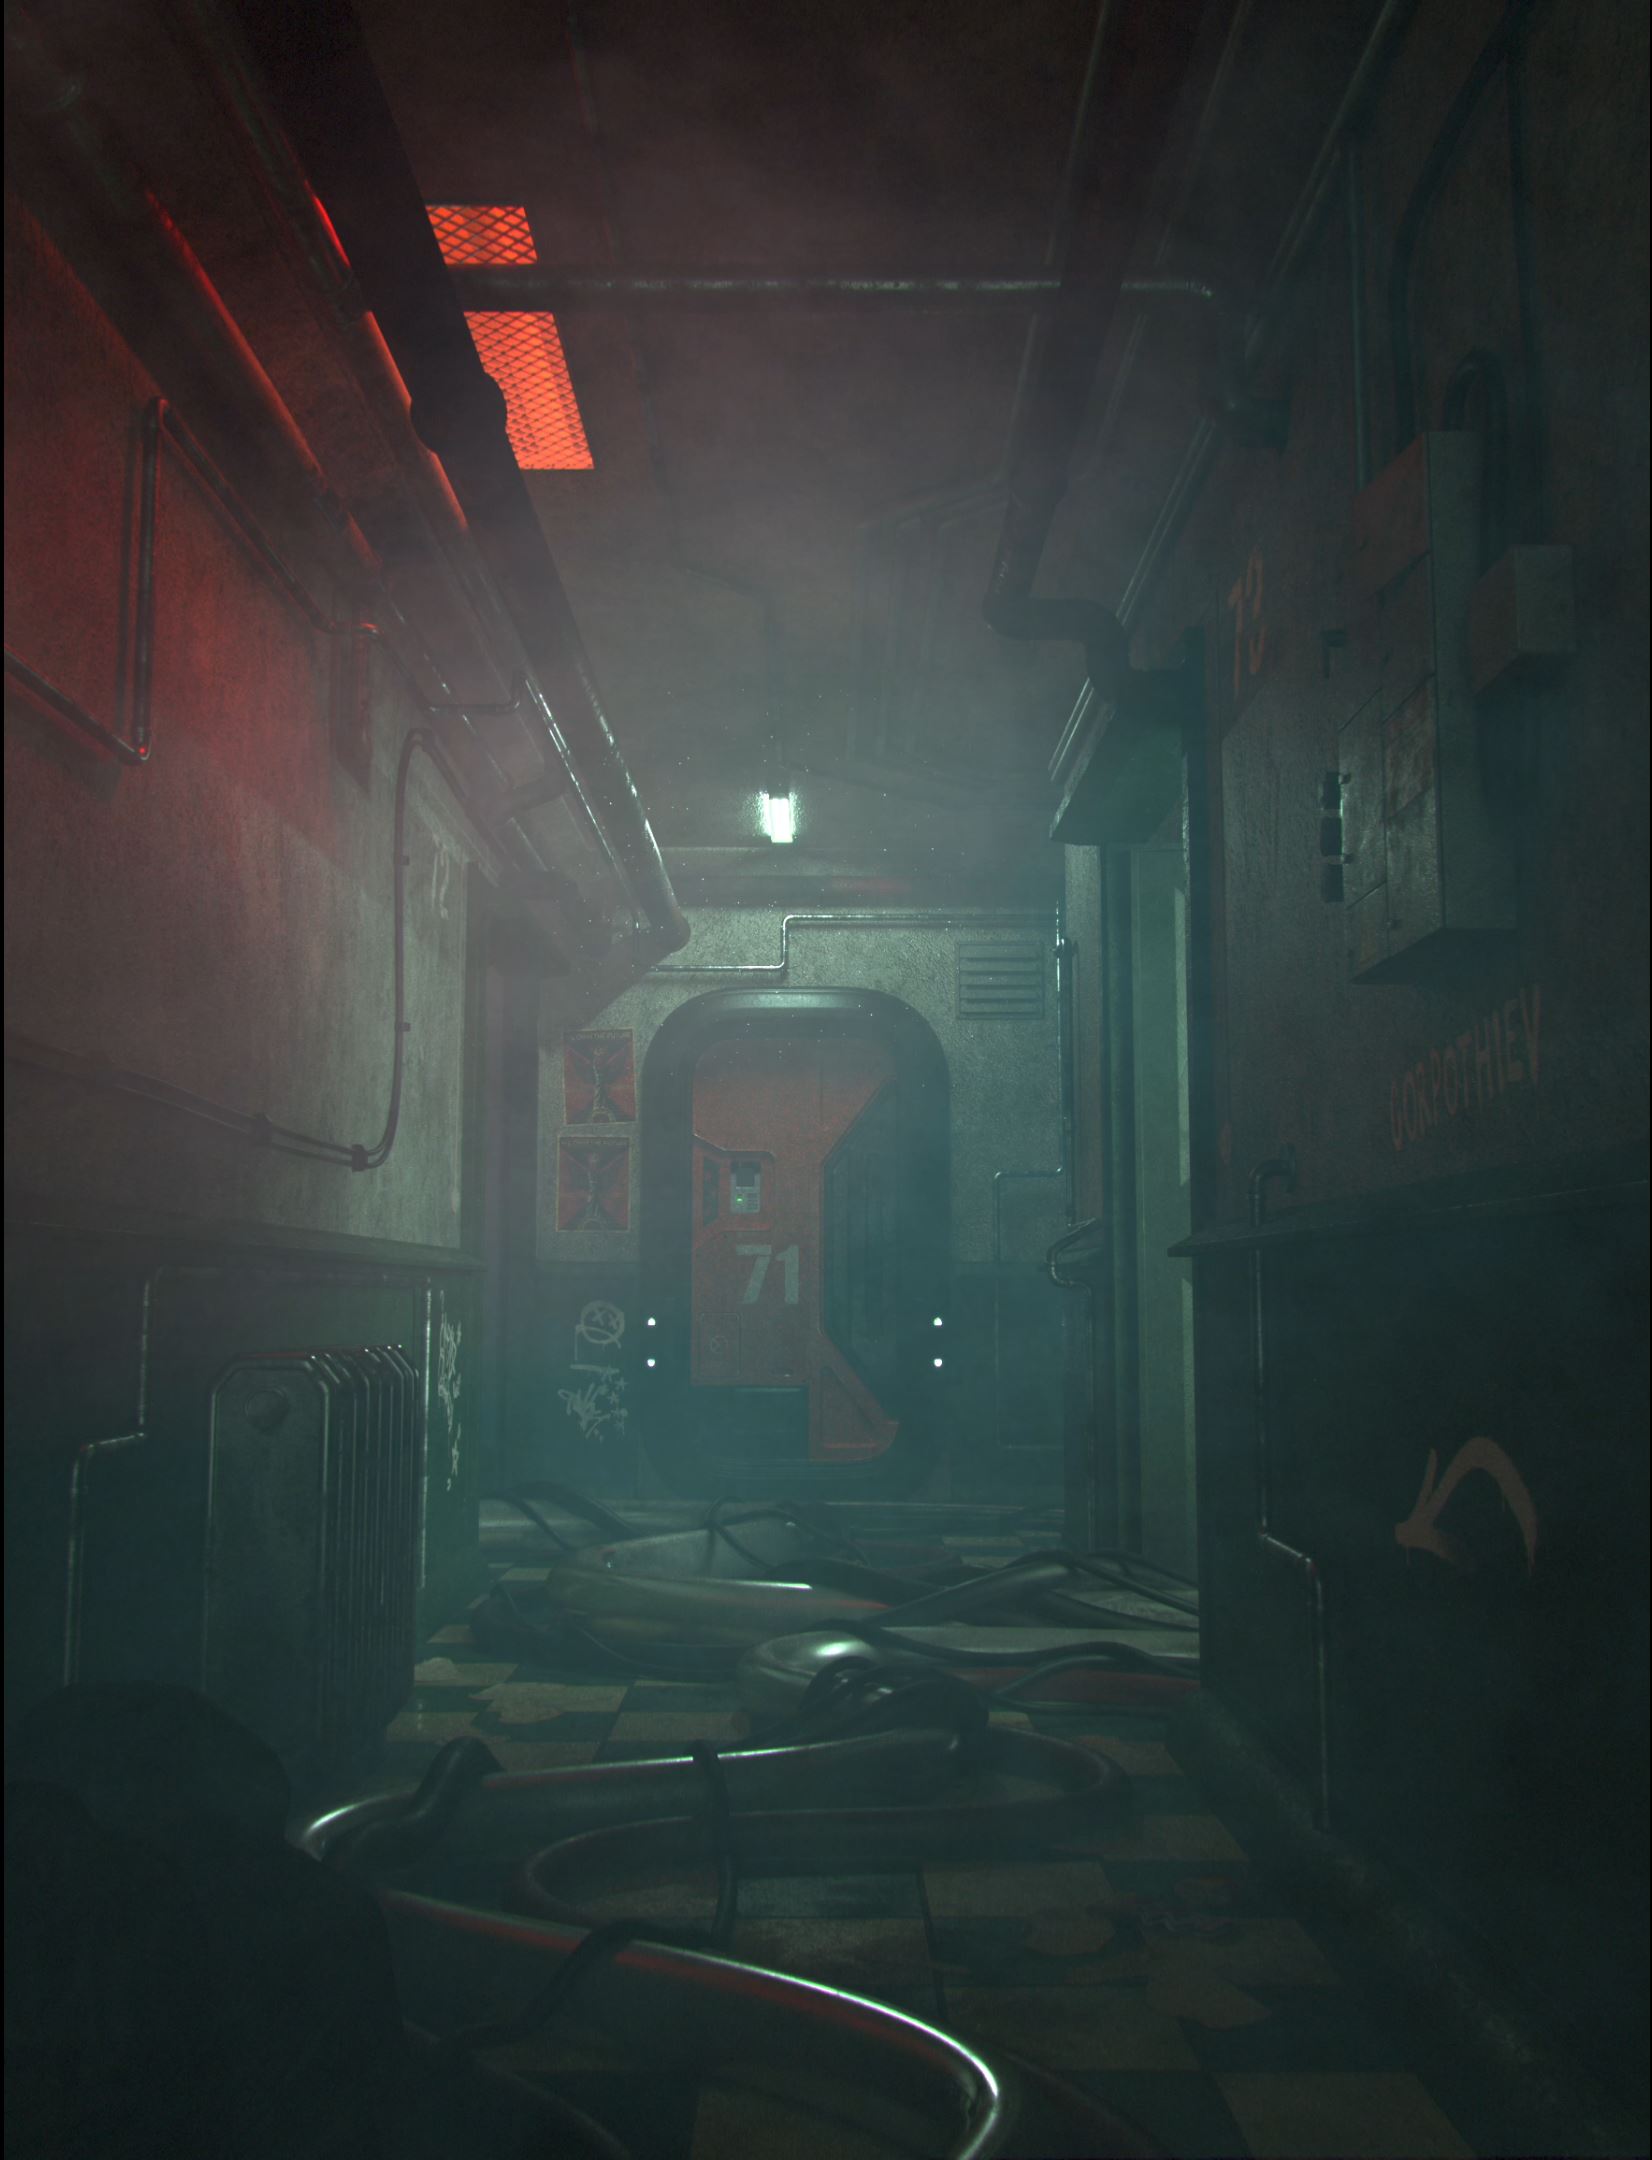
As you can see I've made a few changes to the scene compared to the old version. I've changed the lightings and increased contrast to add a bit more depth to the scene, also added slightly more chaotic wires on the floor, water dripping effects ( done by using cards in Nuke ) close to the camera to push the foreground background difference more.
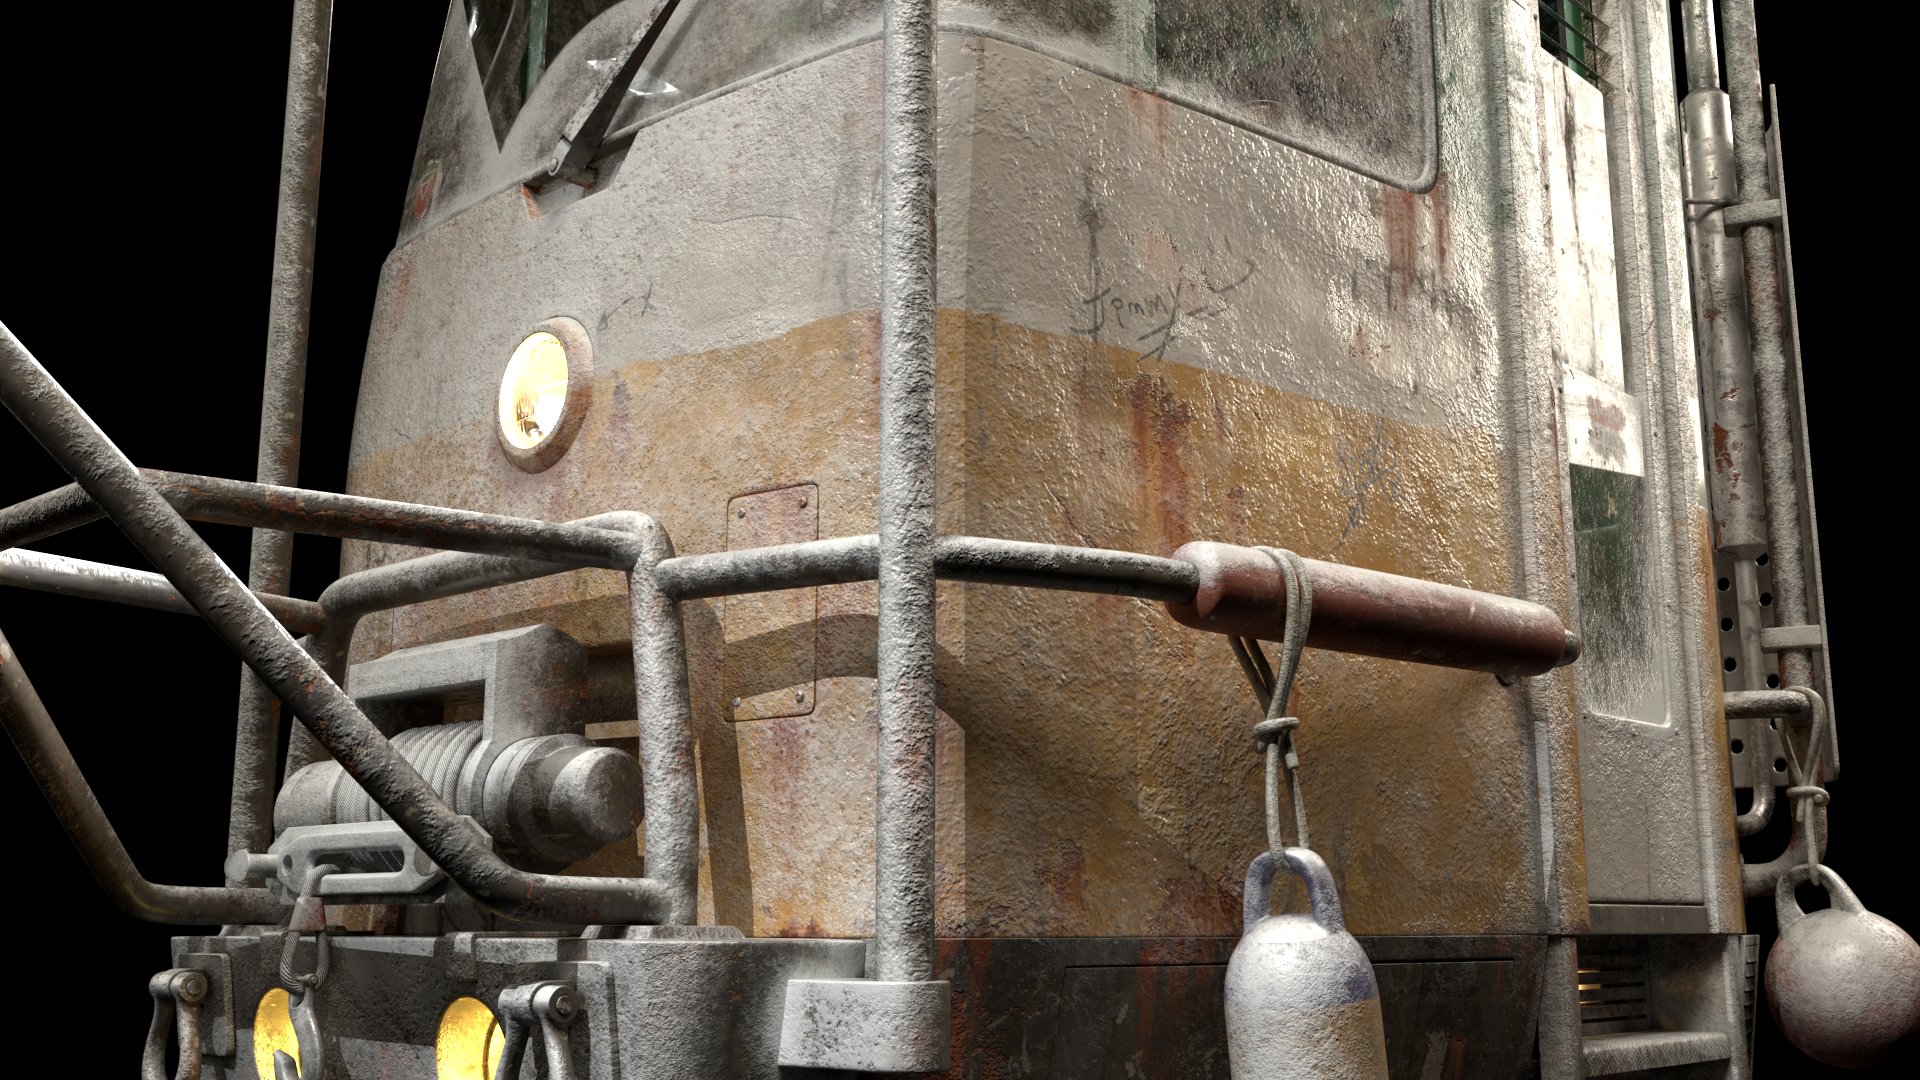
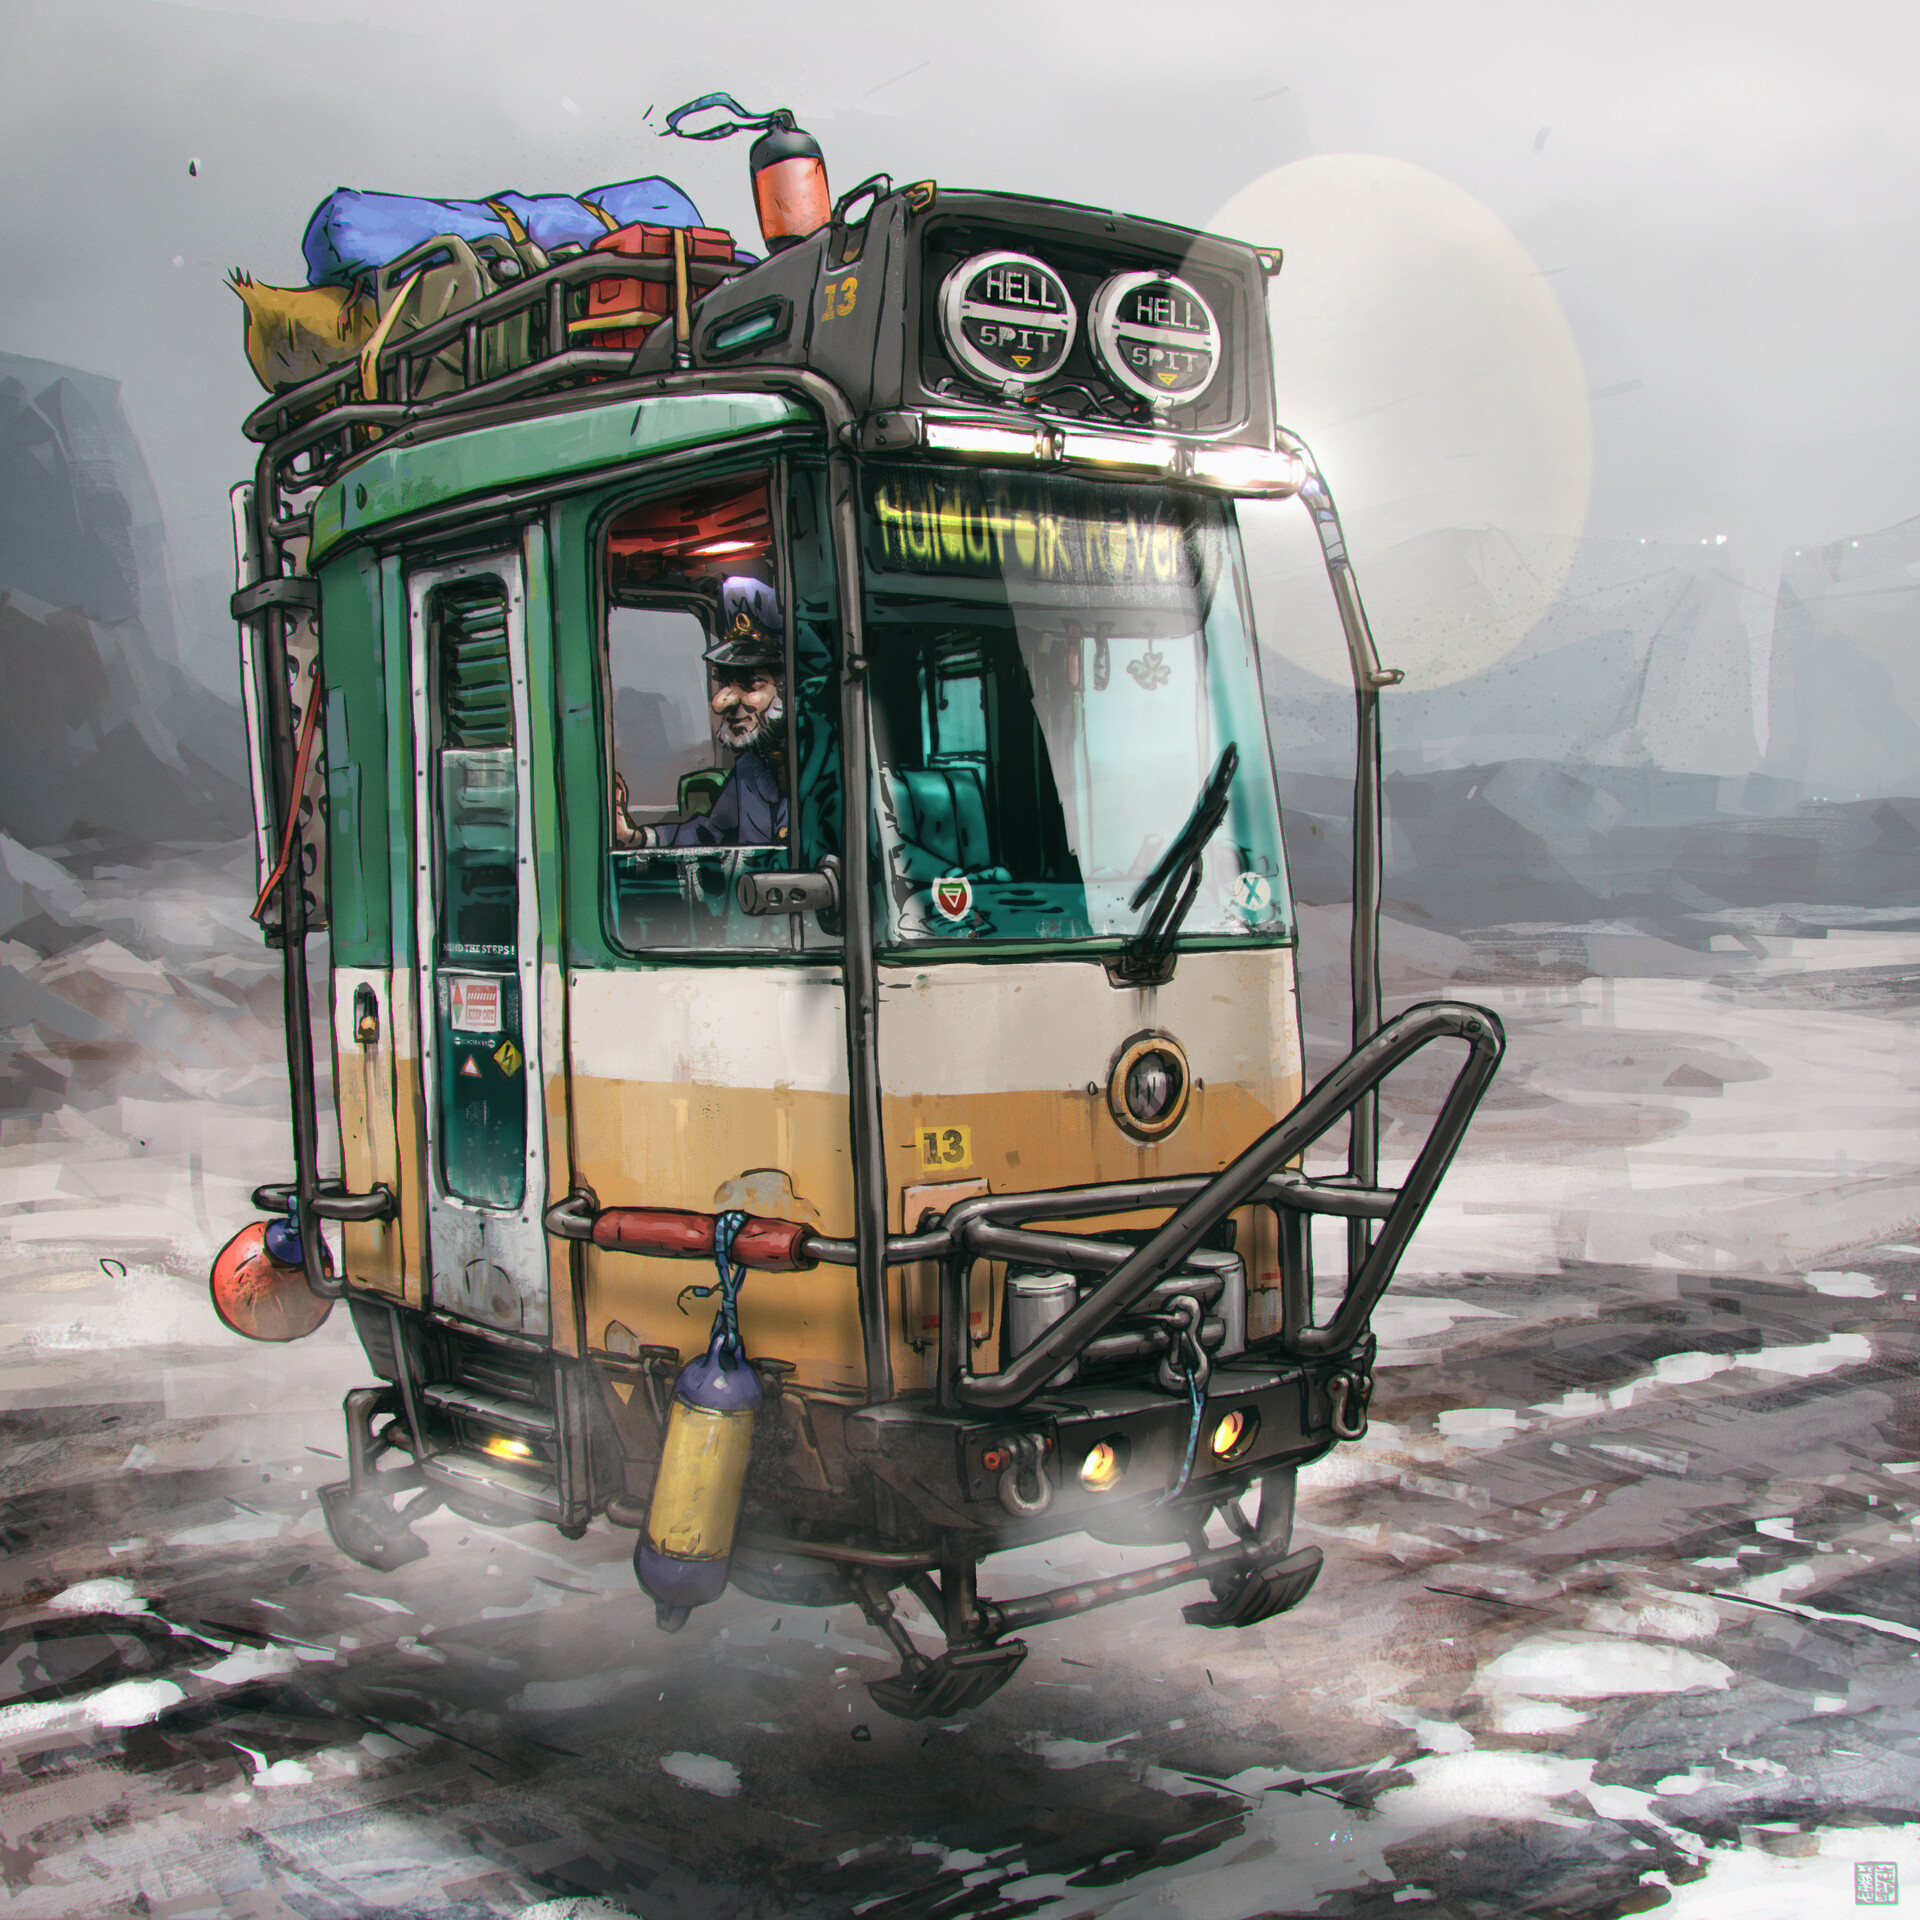
RIDERS IN THE SNOW
Concept done by Thierry Doizon (barontieri). Aiming to keep the model as close to the concept as possible while adding in little interpretation of my own.
I've created the background mountains from GAEA, and the ground textures are done by Quixel Mixer.
The craft it's self are all modeled by myself.
Modeling: Maya / Texturing: Substance Painter / Rendering: V-ray / Driver sculpting: Zbrush / Tree assets: Megascan / Comping: Nuke /
---------------------------------------------------------------------------------------
Demo reel project at GNOMON School of Visual Effects
FINAL SHOT
BREAKDOWN
Snow and slight fog in the background are done by using cards in Nuke.
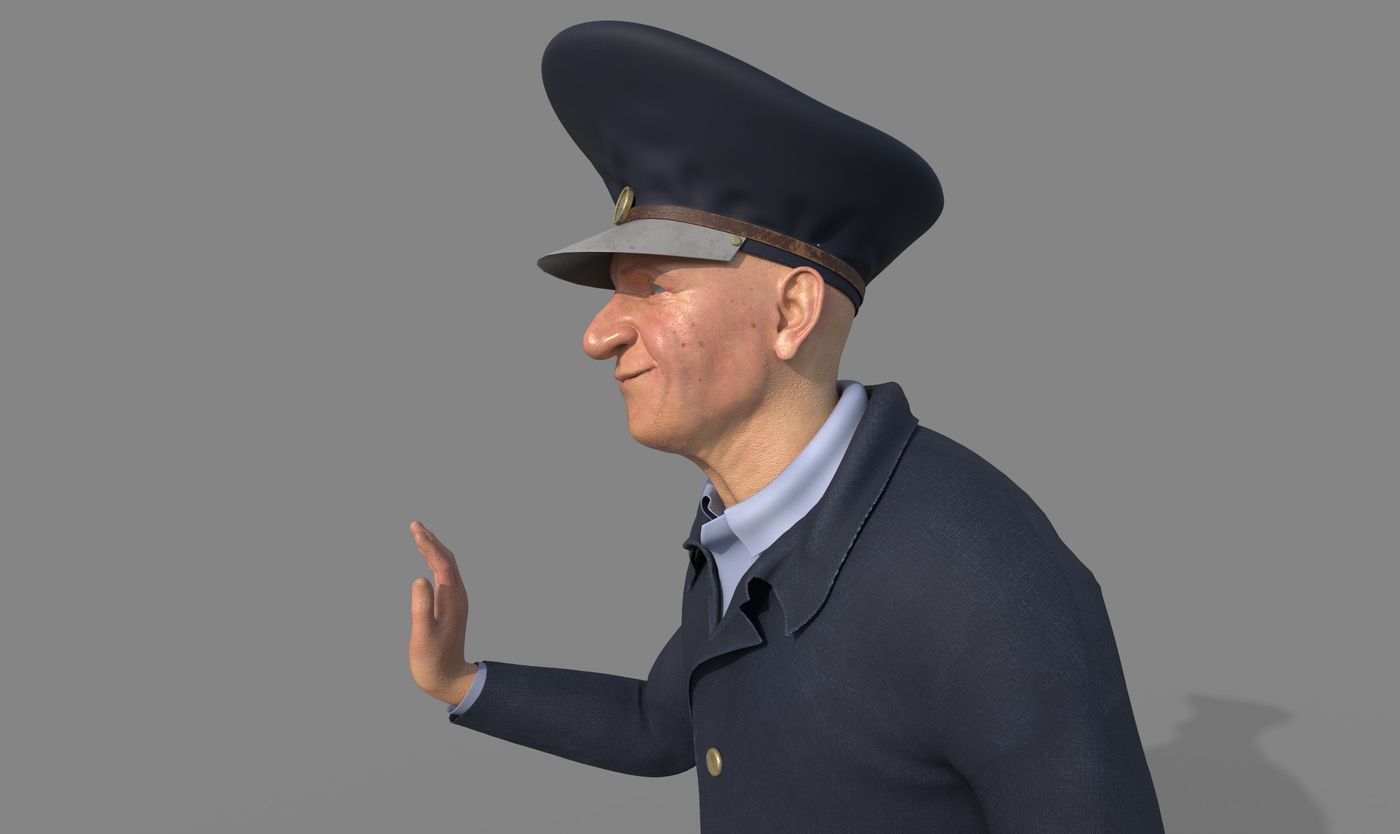
DRIVER
Did a quick sculpt of our driver of the craft.
I know he looks horrifying with out the eyes, but it's good enough for the distance in the scene so I left him like that.
Modeled and UVed the outfit roughly in maya from a base mesh then went into Zbrush to do more sculpting on the outfit and the driver. Textured him in Substance Painter afterwards.


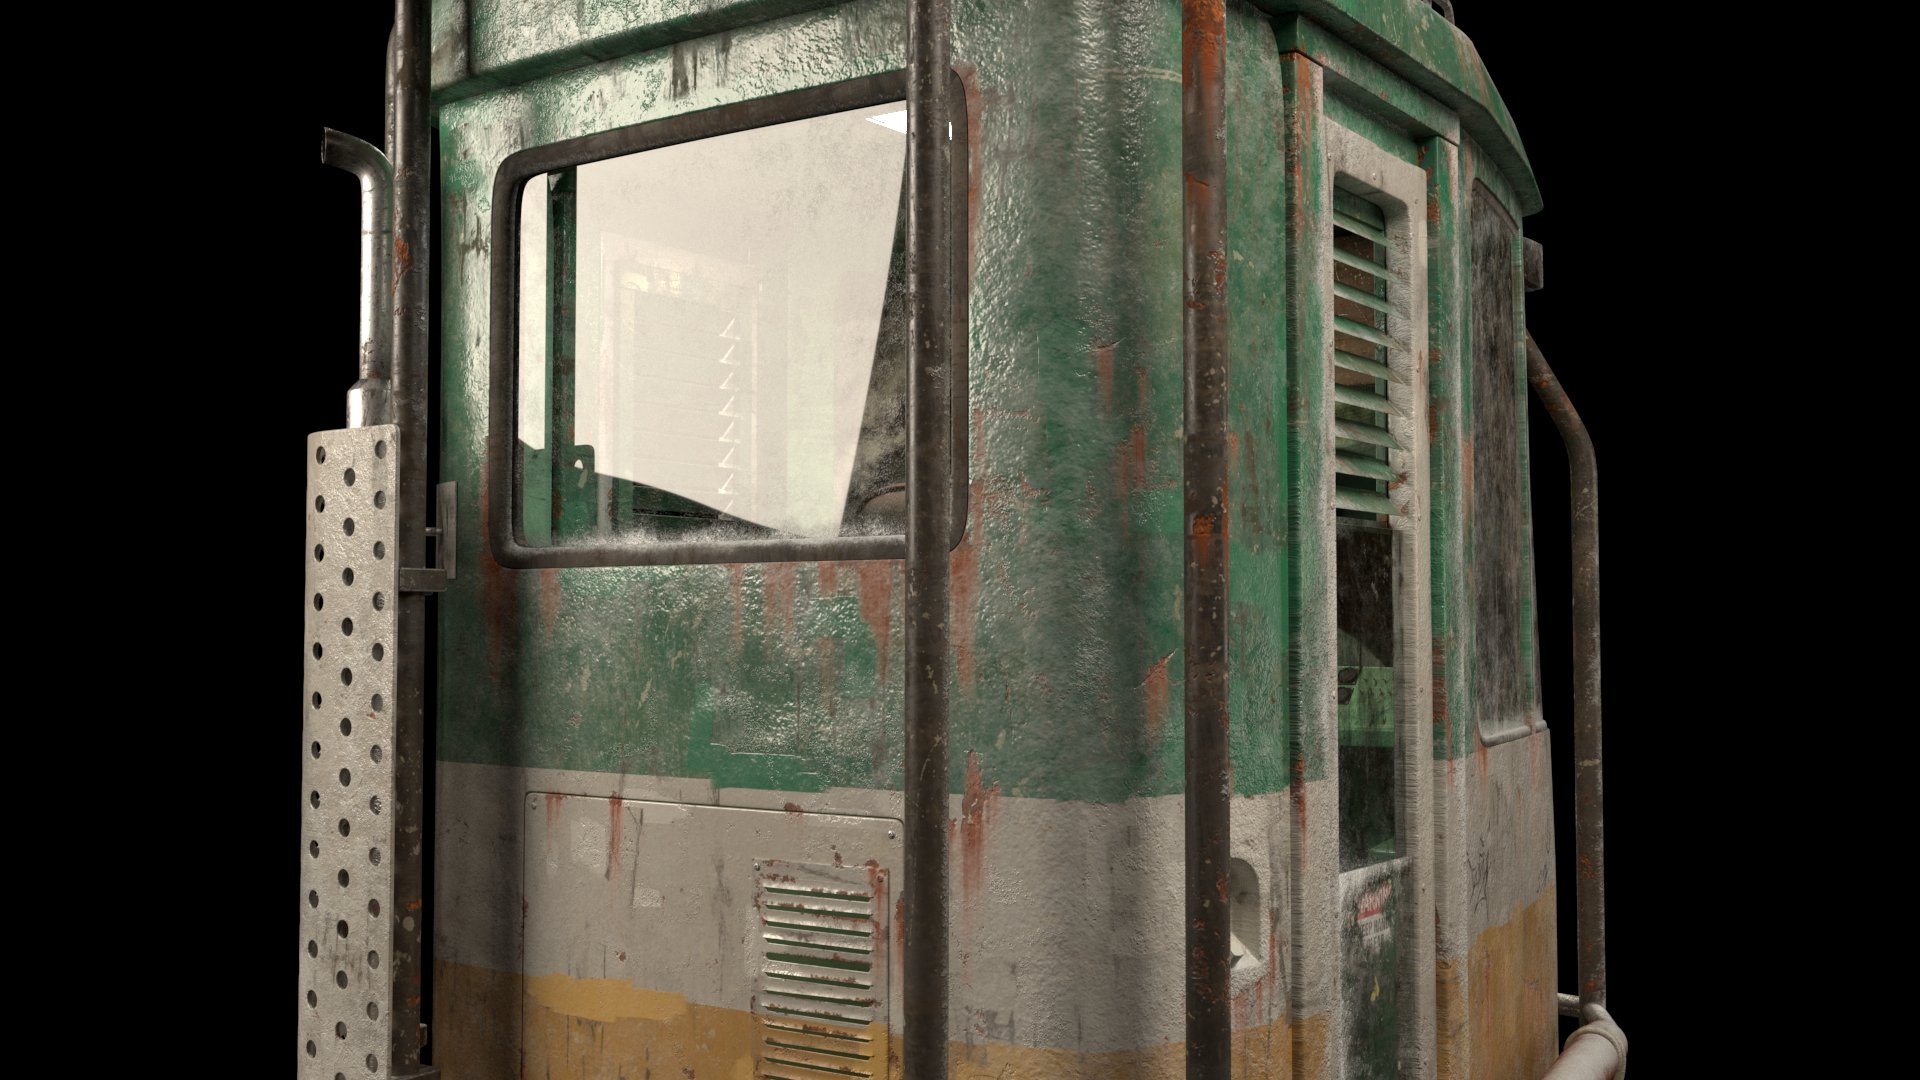
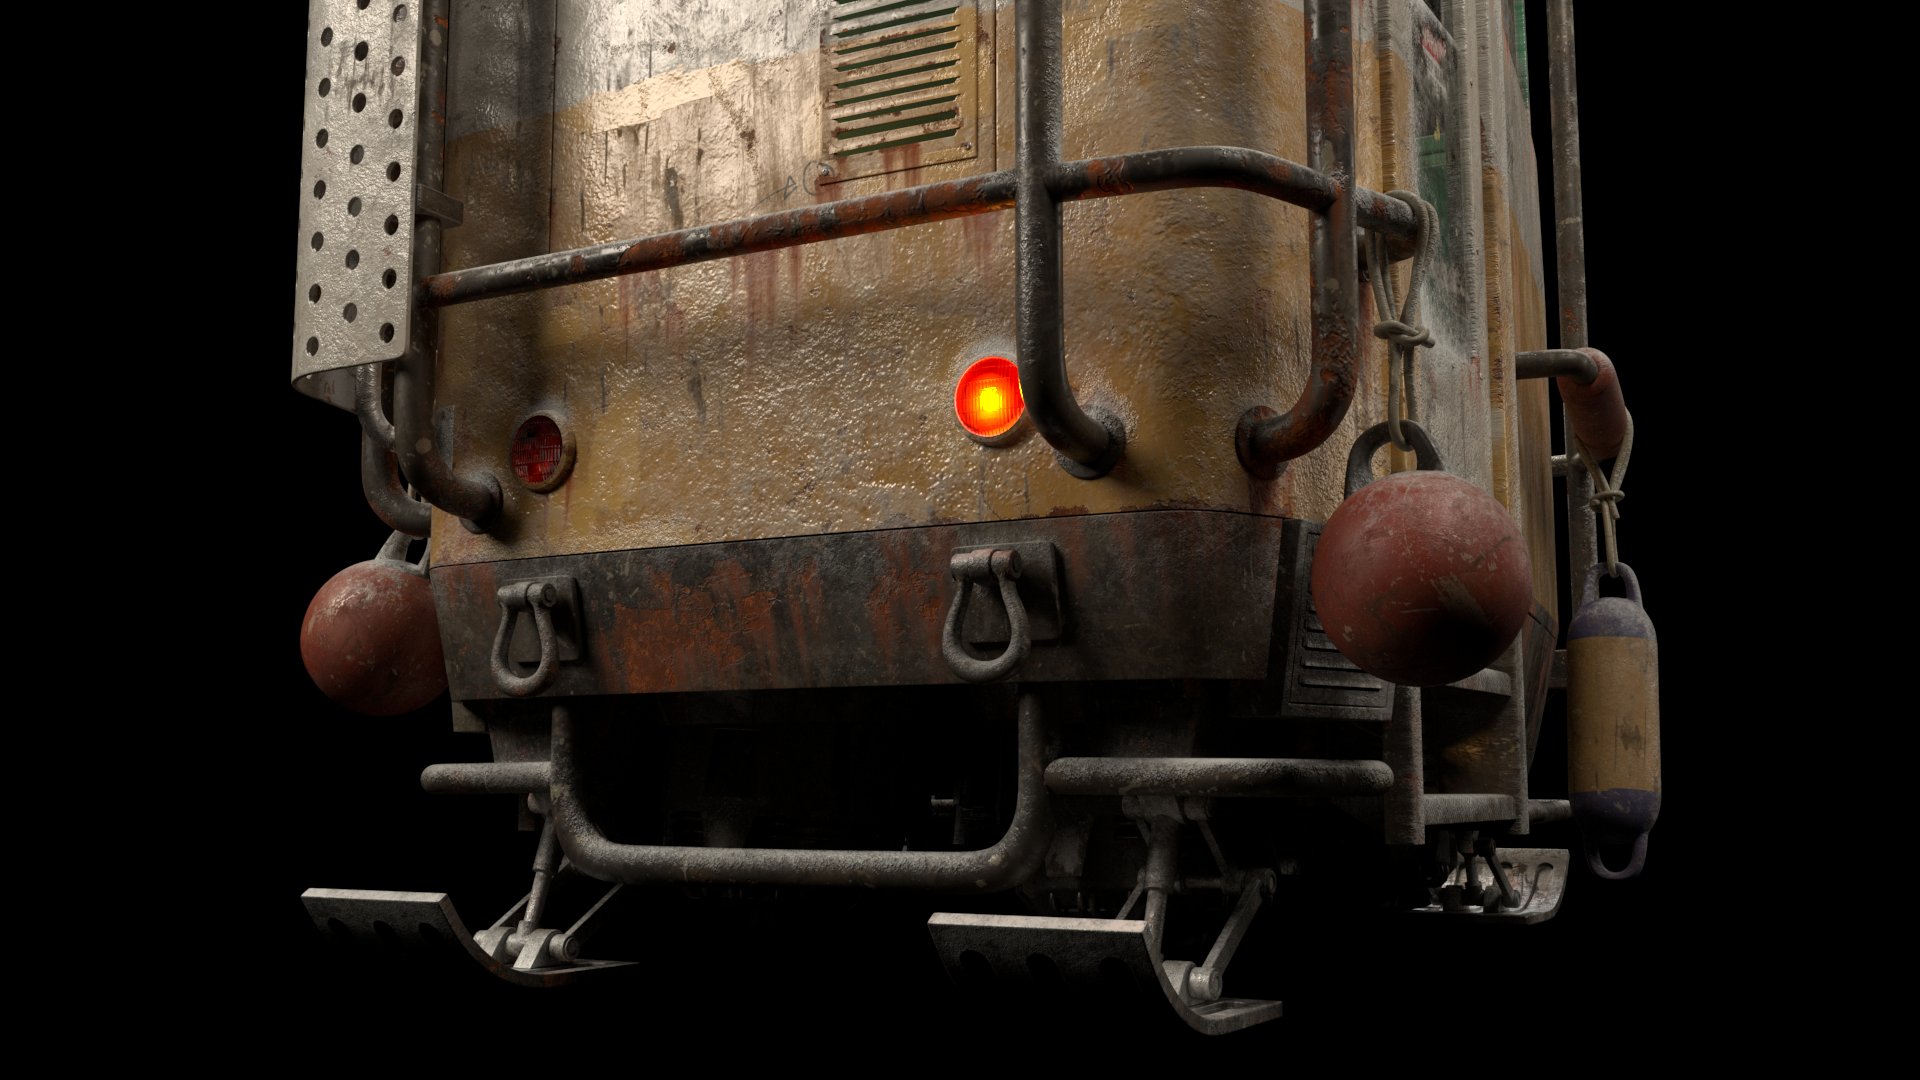
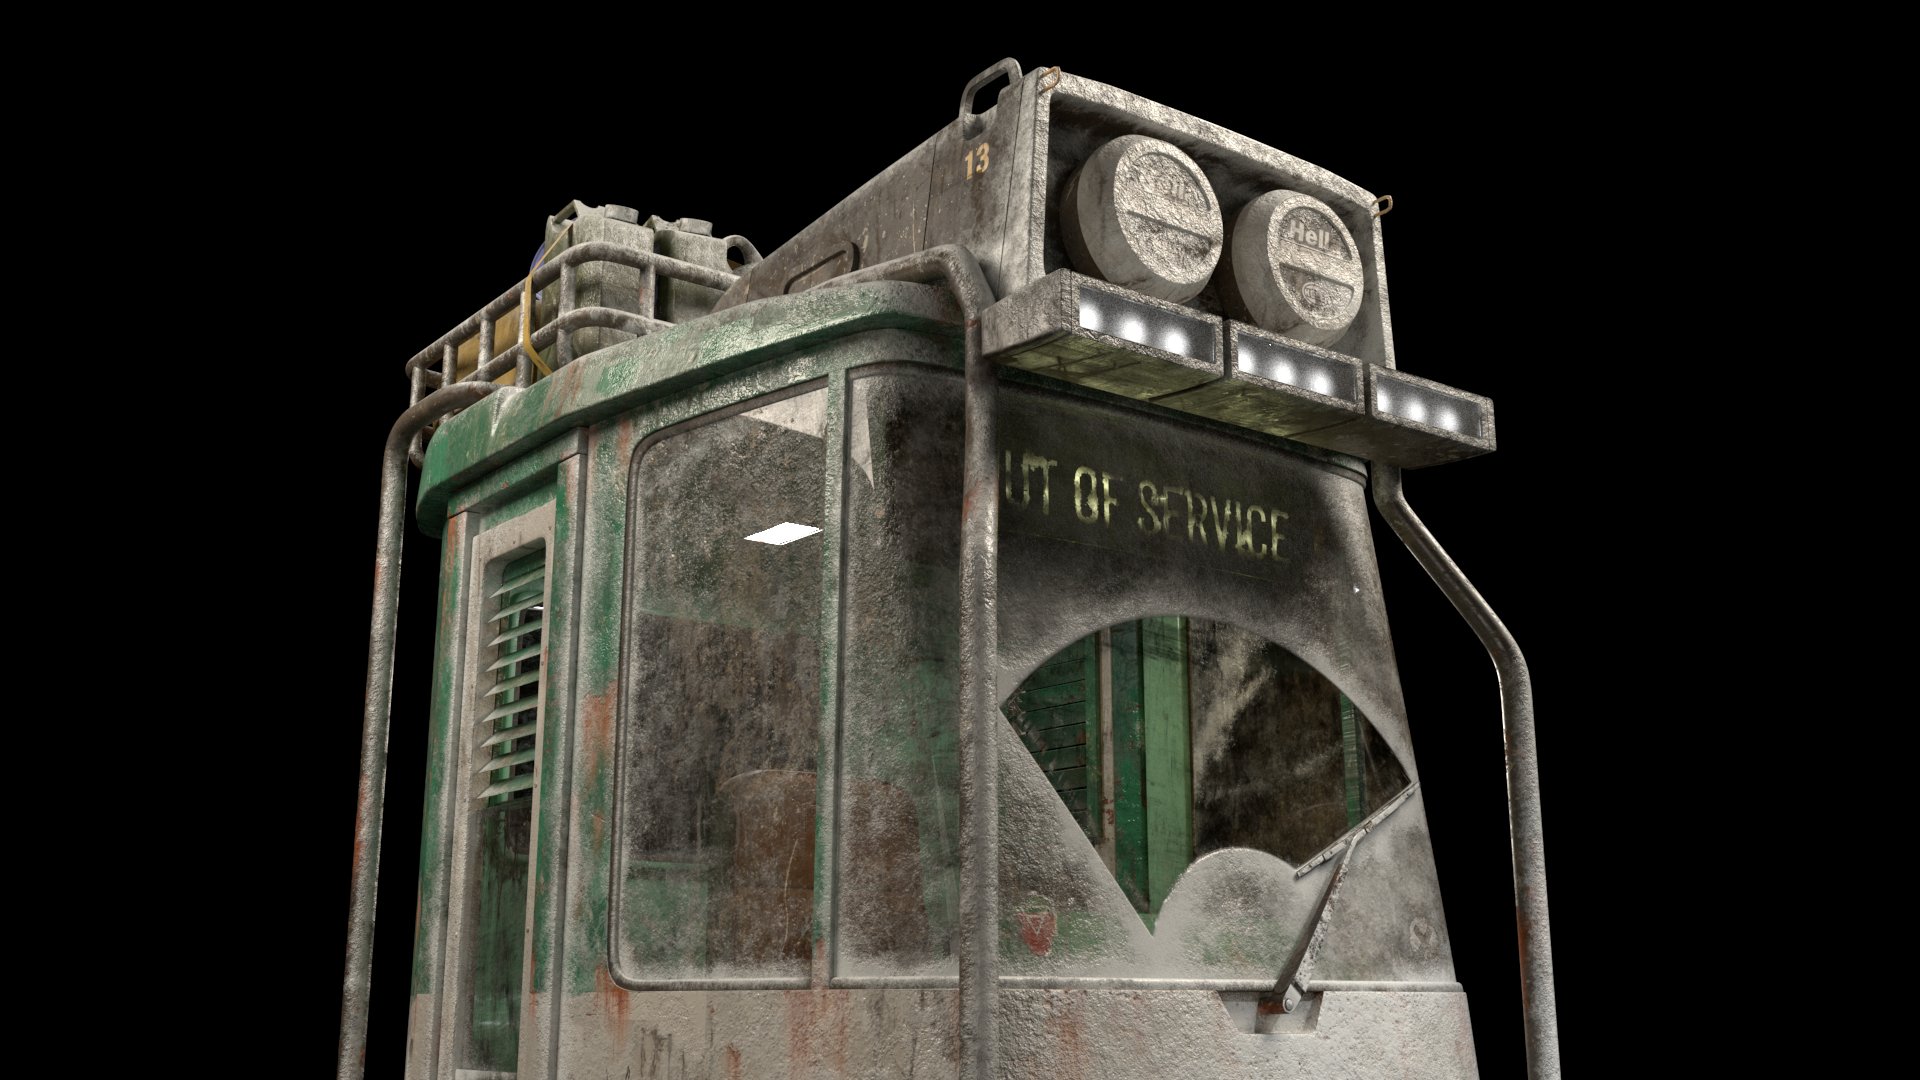
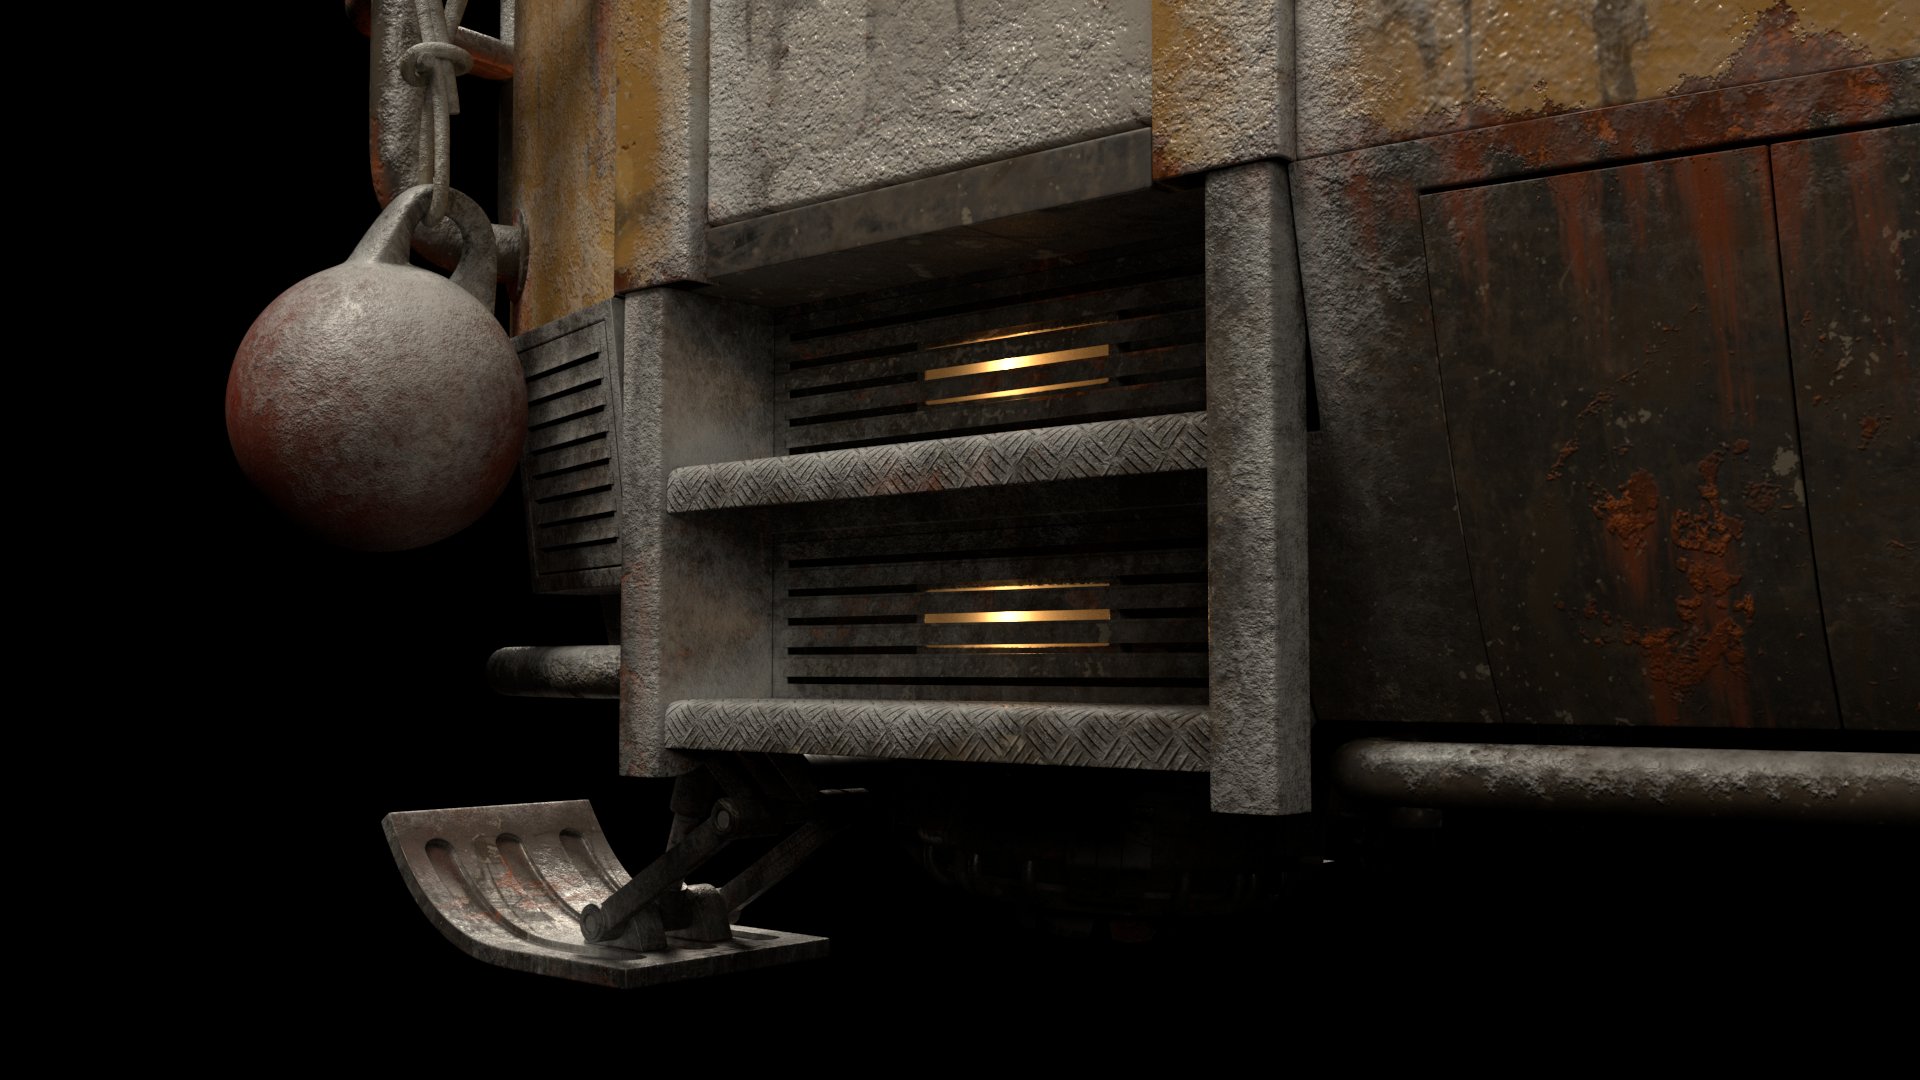
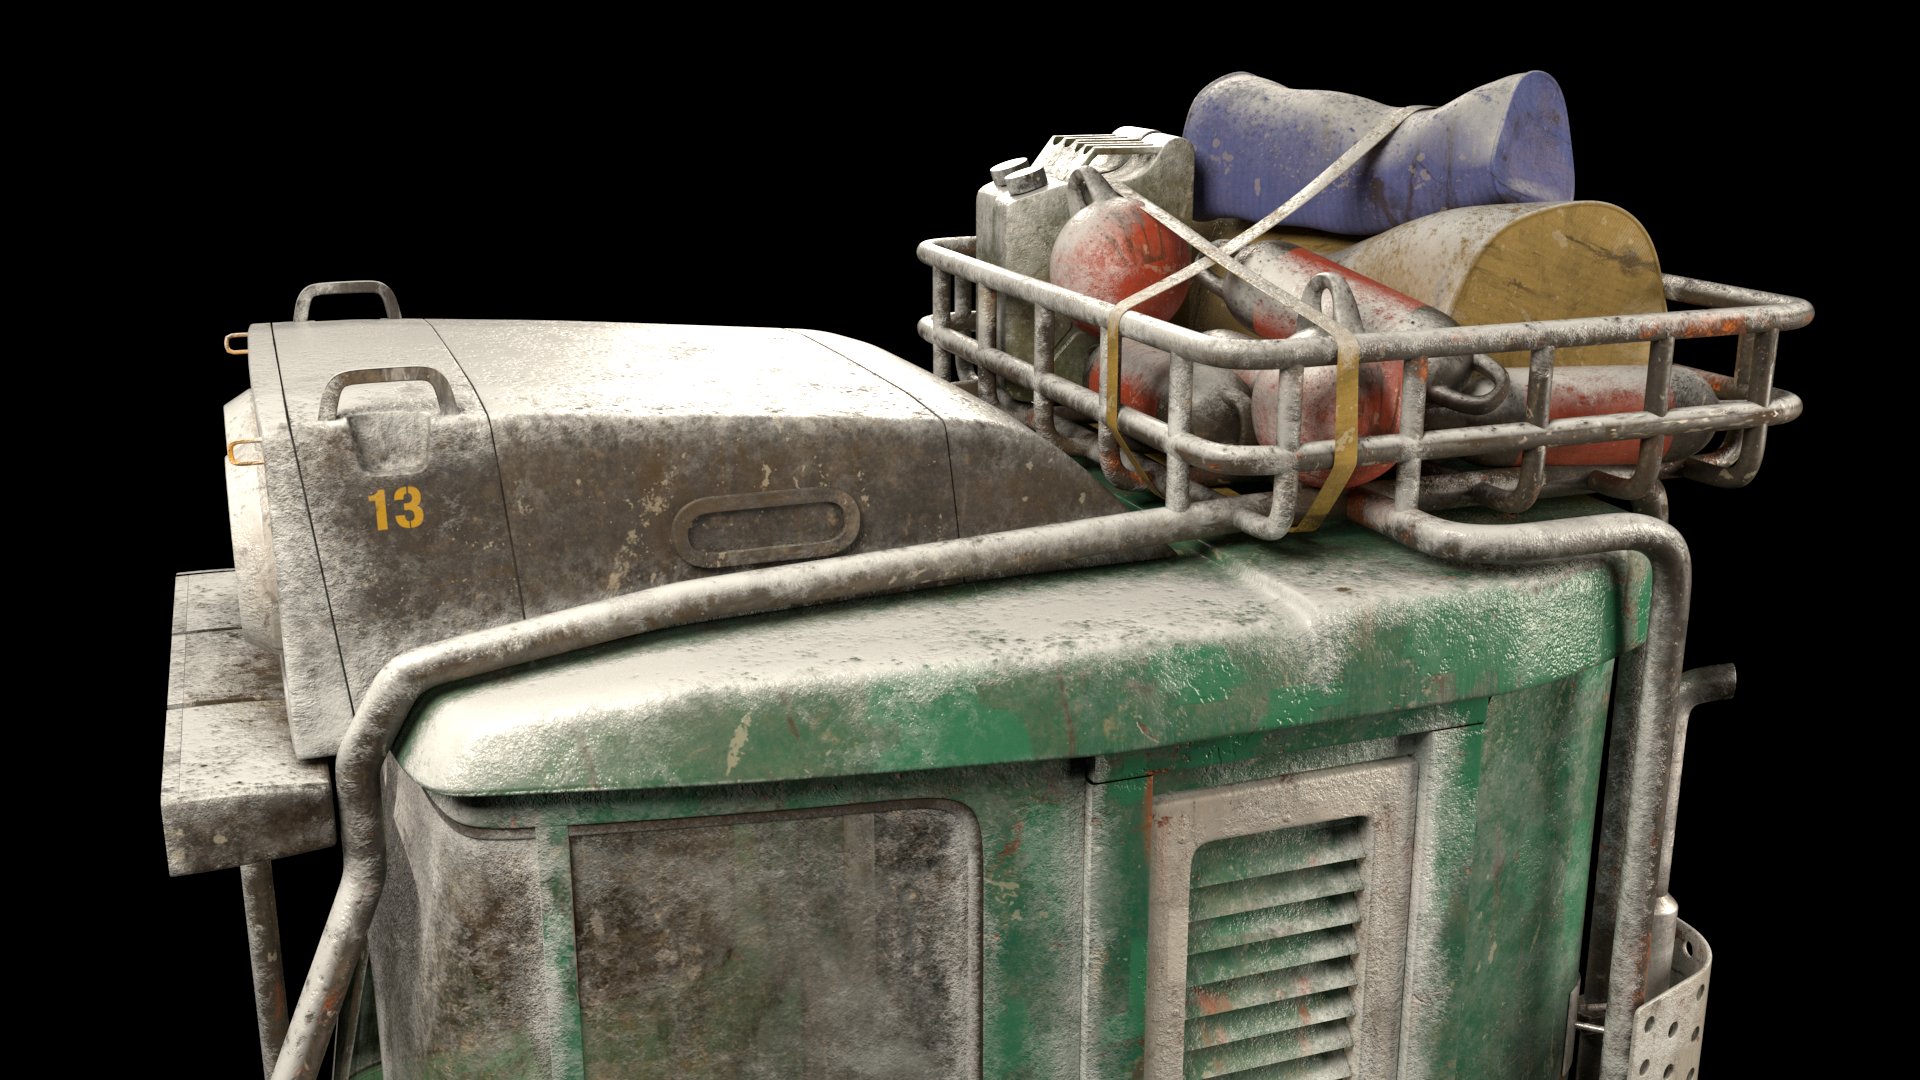
CLOSE UPS
The idea I had when texturing the craft was that it's been under service for a long time and has gone through few times of rough paint jobs and bad weather.
Thus you can see those rusts and patches of paint ( sometimes not matching up with the old livery lines, painting out of the color boarder ) and with newer paint's color being slightly different than the old ones since they're being manufactured at different times.

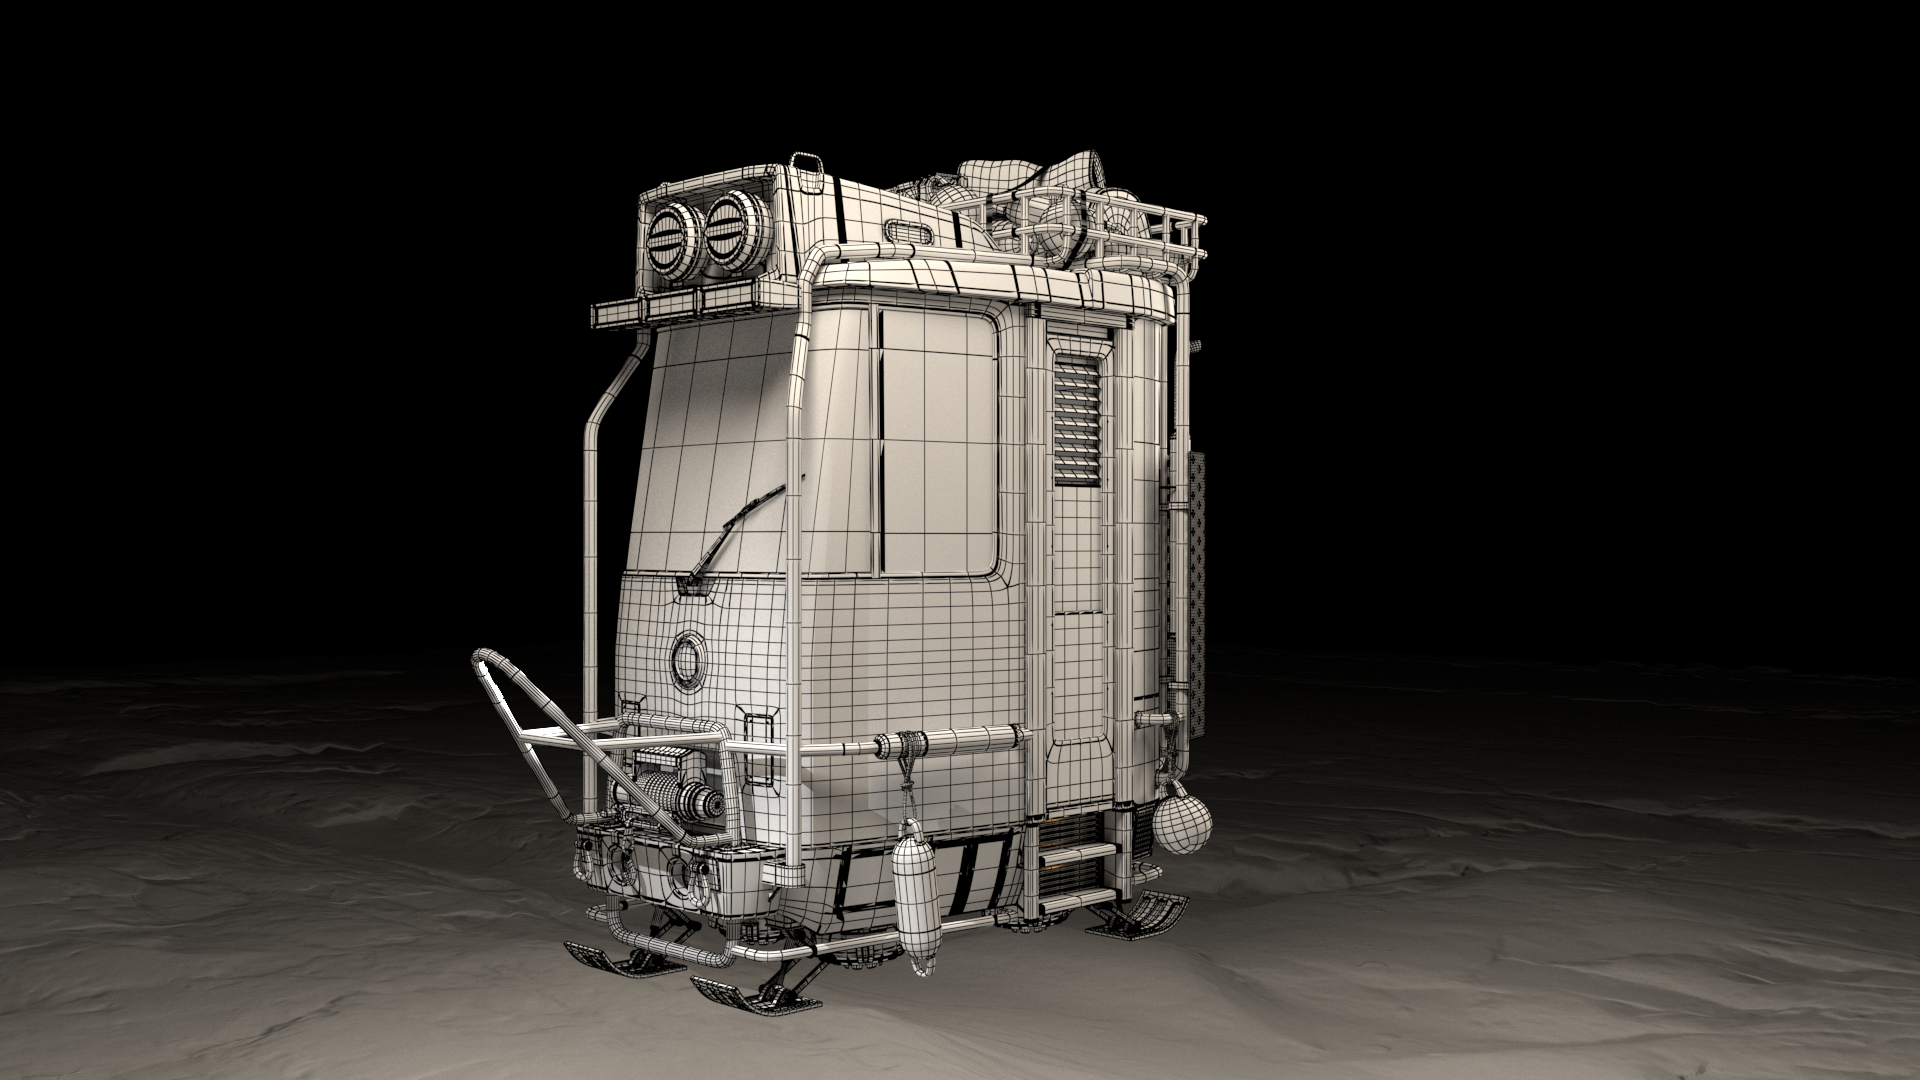
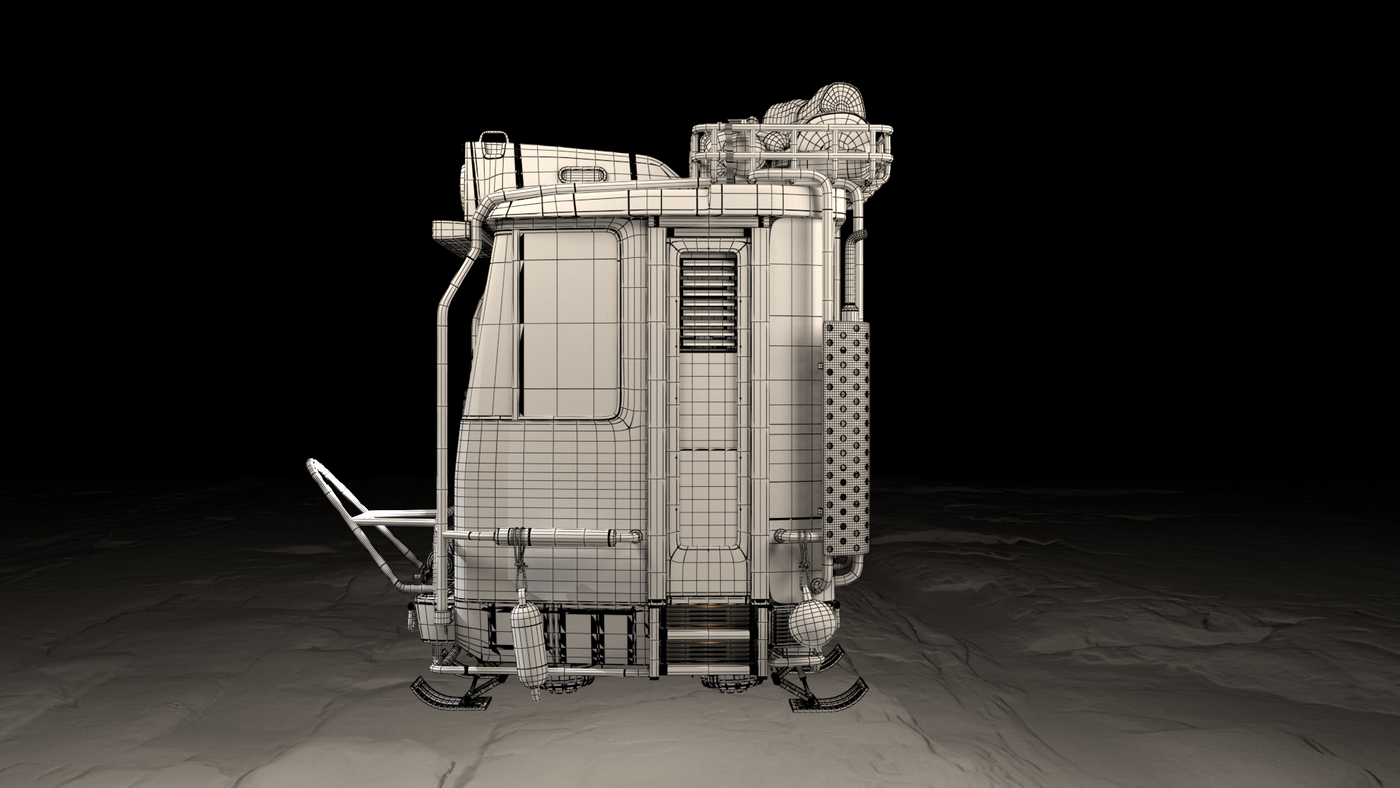
WIREFRAME

The concept image
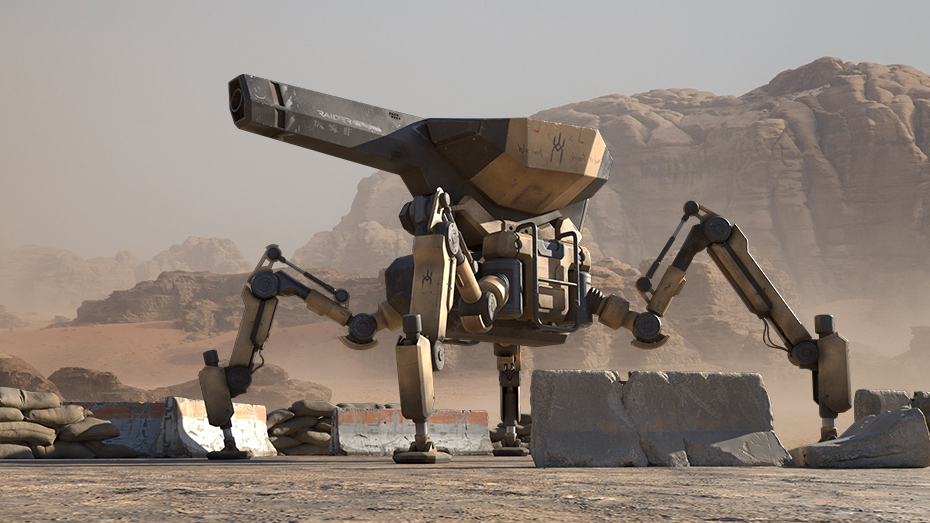
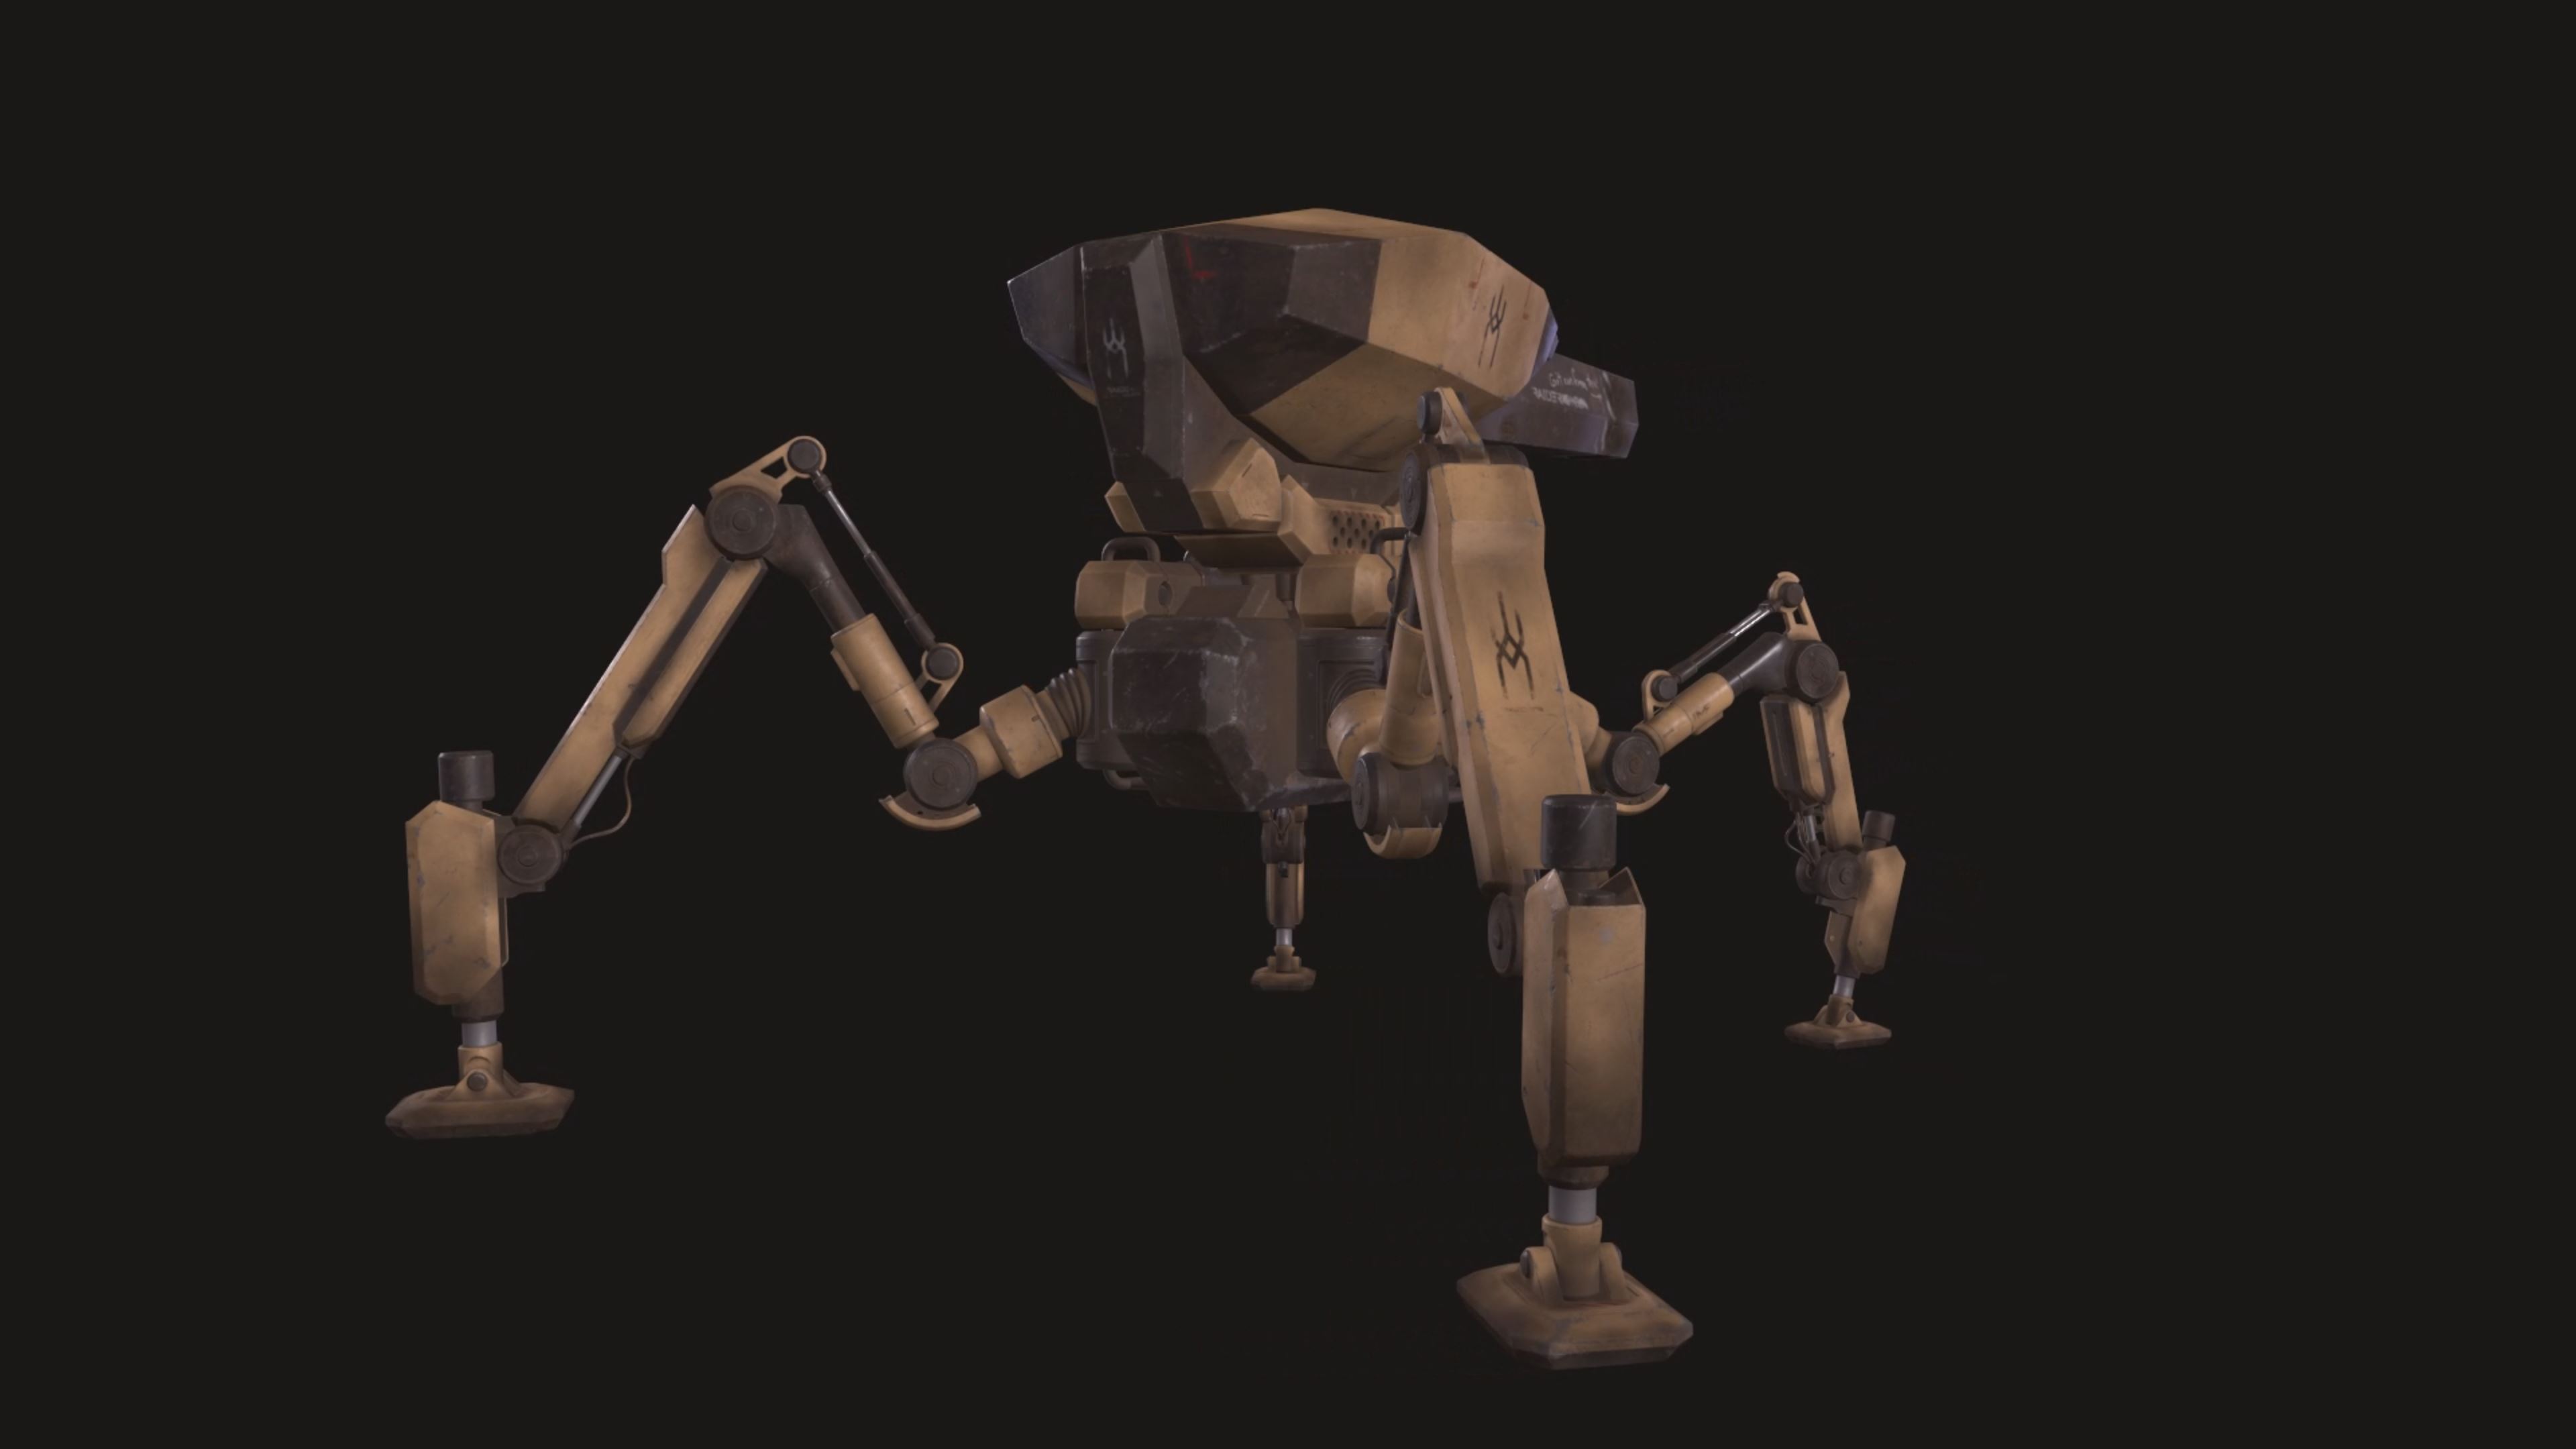
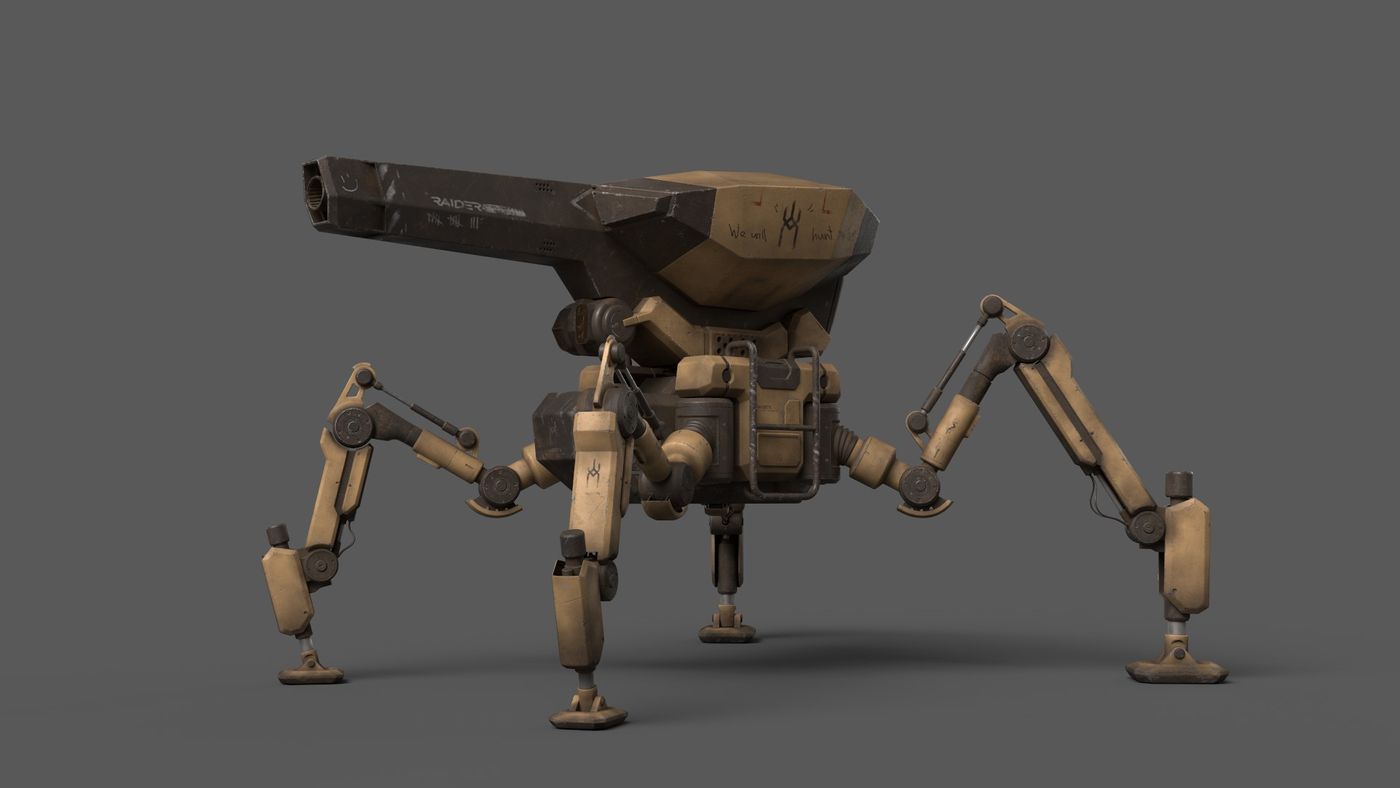
SPIDER TANK
Found this awesome spider tank concept designed by Kevin Anderson while looking for a new hardsurface project to do while aiming at a more game direction approach!
For this project I tried to challenge myself to model a mech with exposed mechanism. I've made some changes to make it look a bit more sci-fi ish, but the over all proportion and structure are all based on the concept.
-------------------------------------------------------------------------------------------
Modeling: Maya / Texturing: Substance Painter / Rendering: IRAY / Comping: Photoshop / Concrete barrier asset: Megascan / Ground Texture: Quixel Mixer
Personal side project
FINAL SHOT

BREAKDOWN
After having the non background png rendered, I've added in dusts ( took me a while to find the ones I'd like to use ) and a backplate that mostly matches the camera angle.


I flipped the image and also only using the red circled area in the backplate. Utilizing the ground and the assets I've created to covering up the ground from the backplate not matching up with my render. And wrapping it up with adding a few layer of dust which also helps blend the fore and background together a bit more.
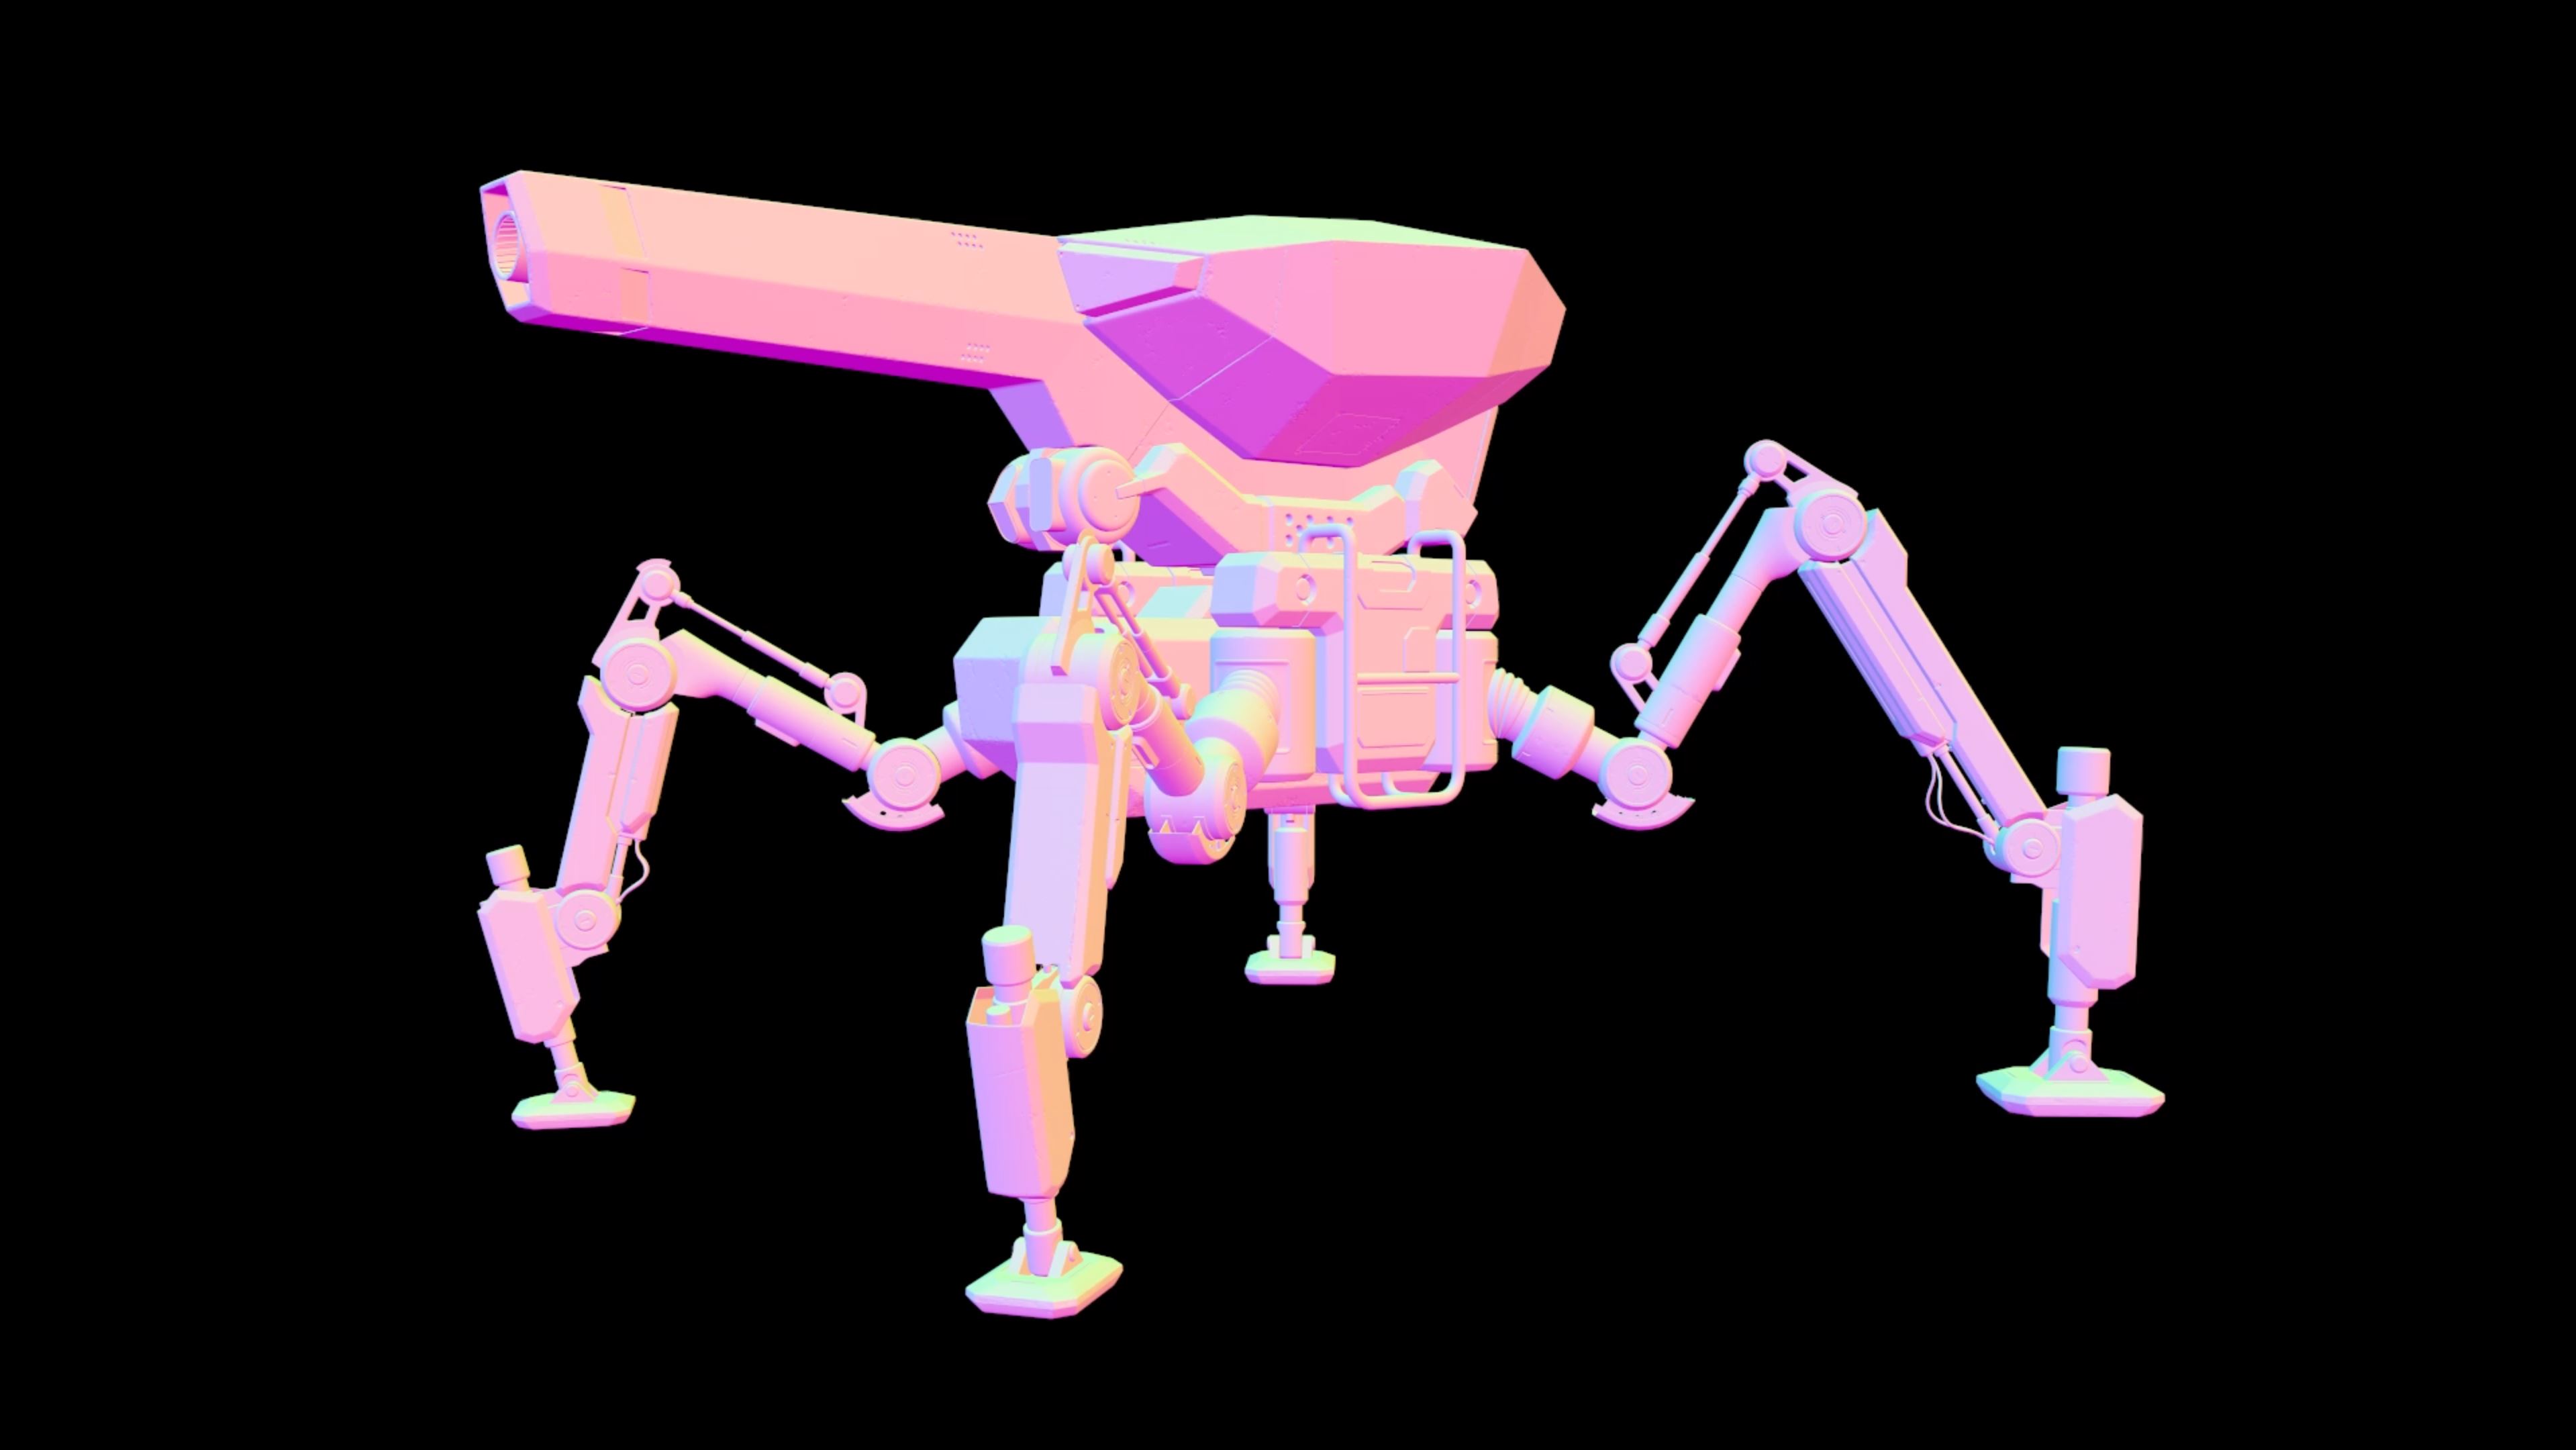
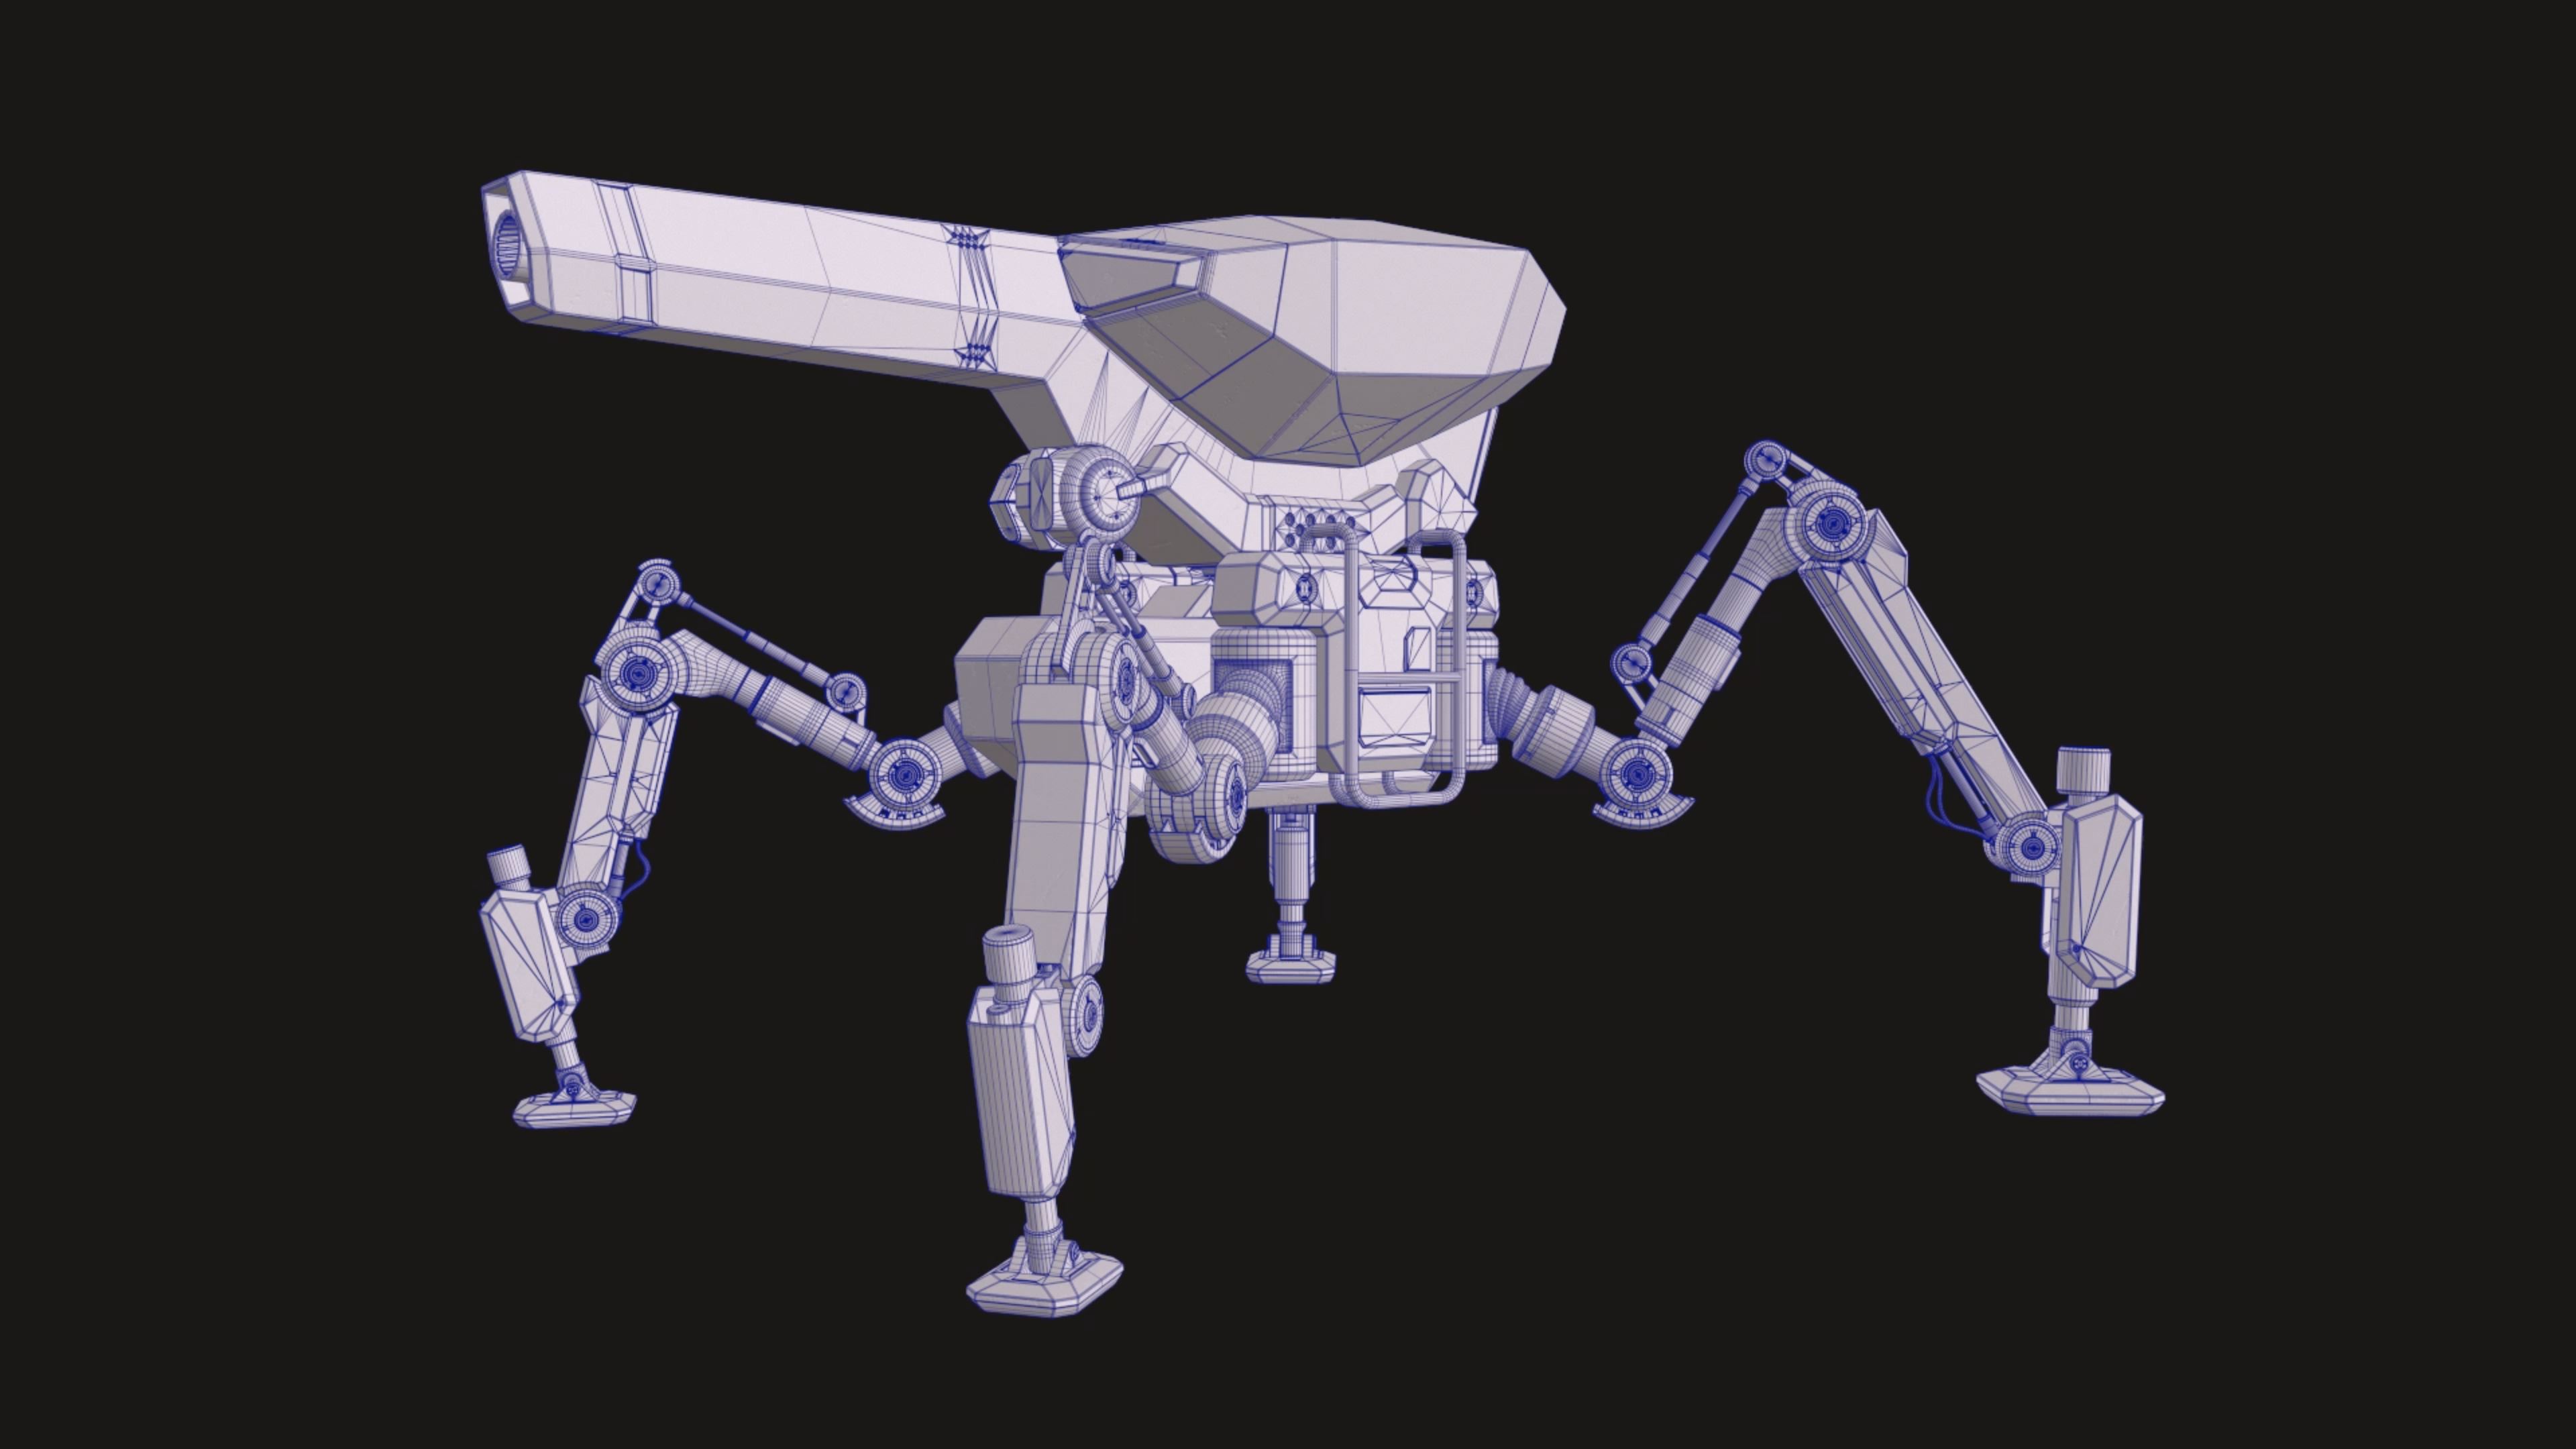
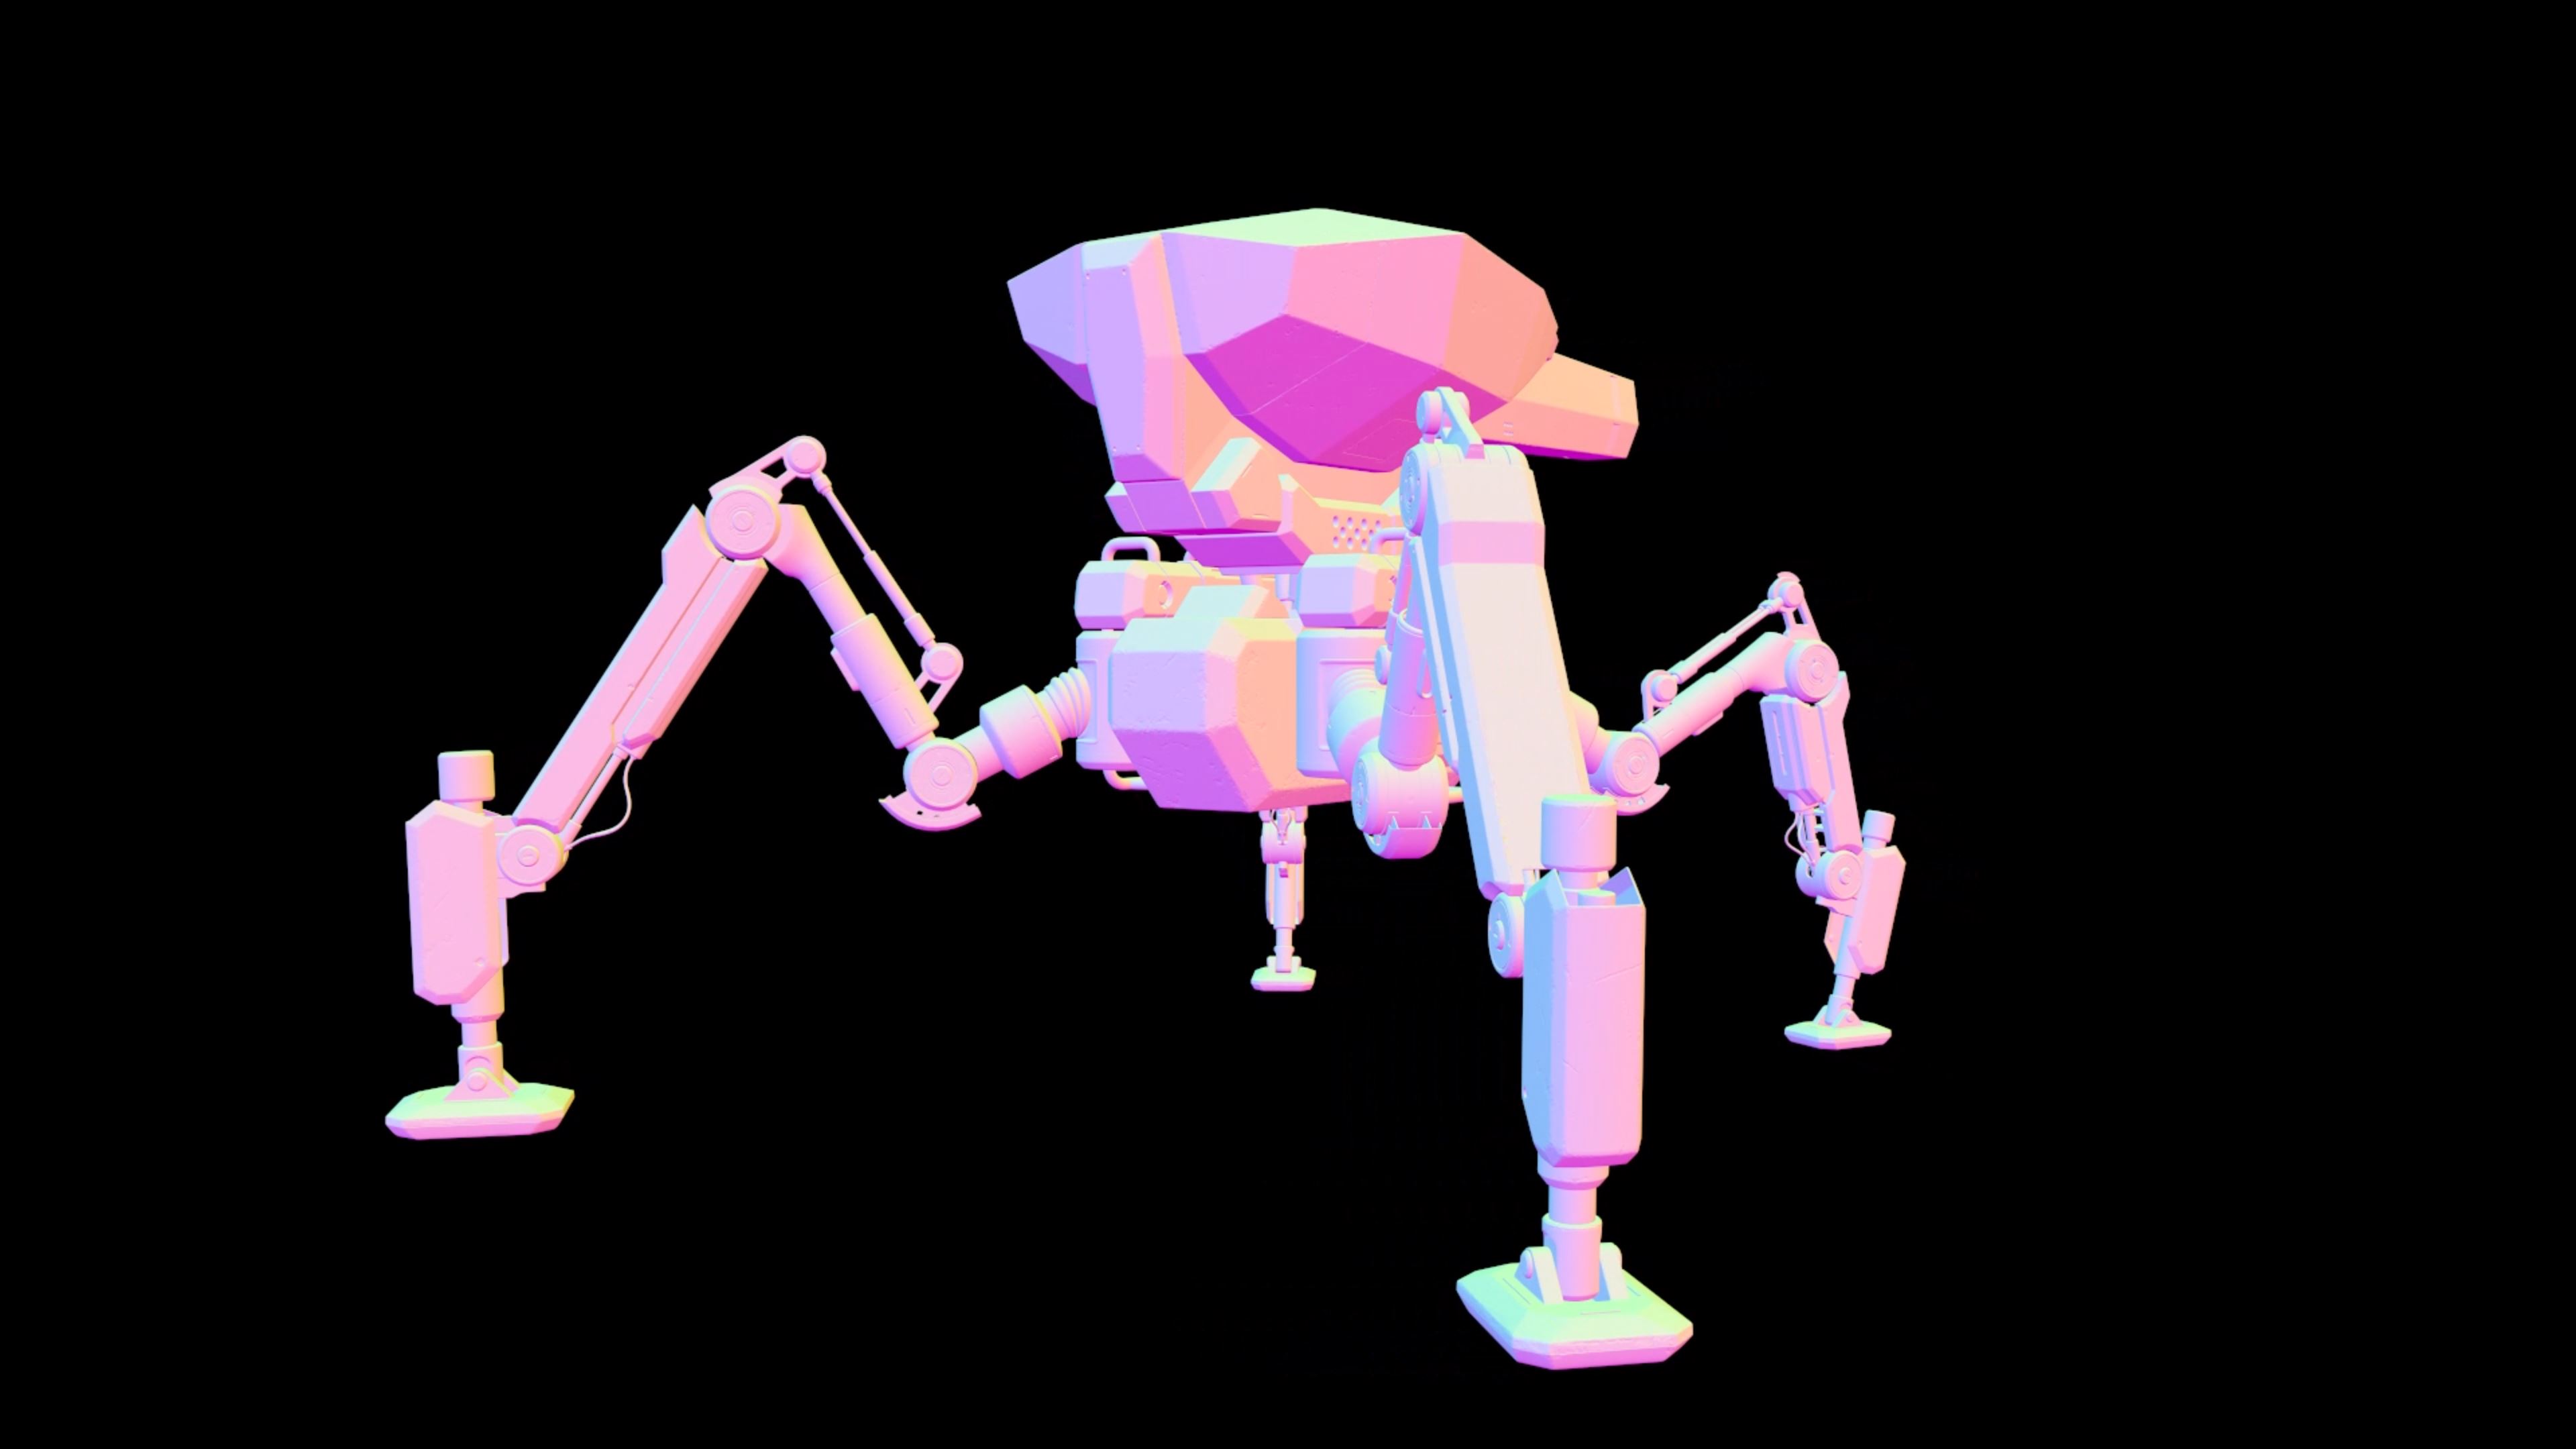
TEXTURED / NORMAL / WIREFRAME


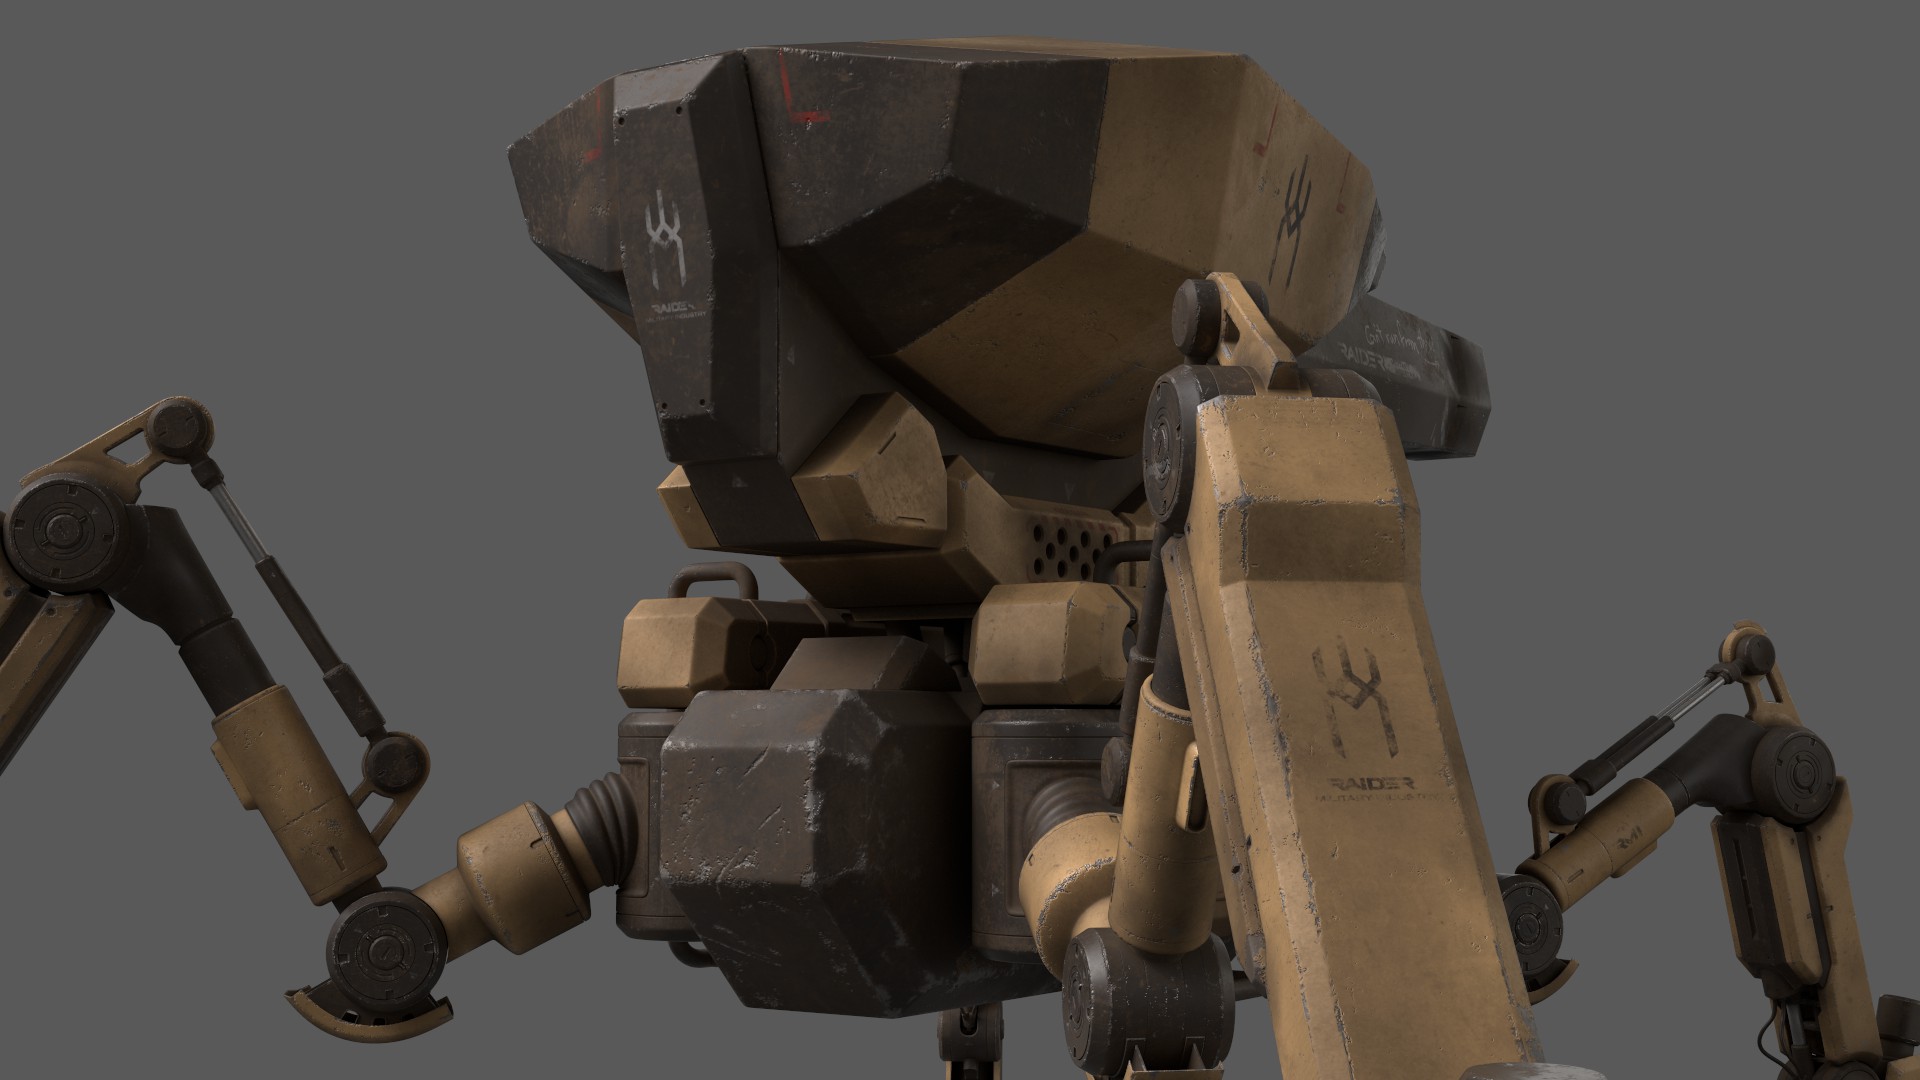
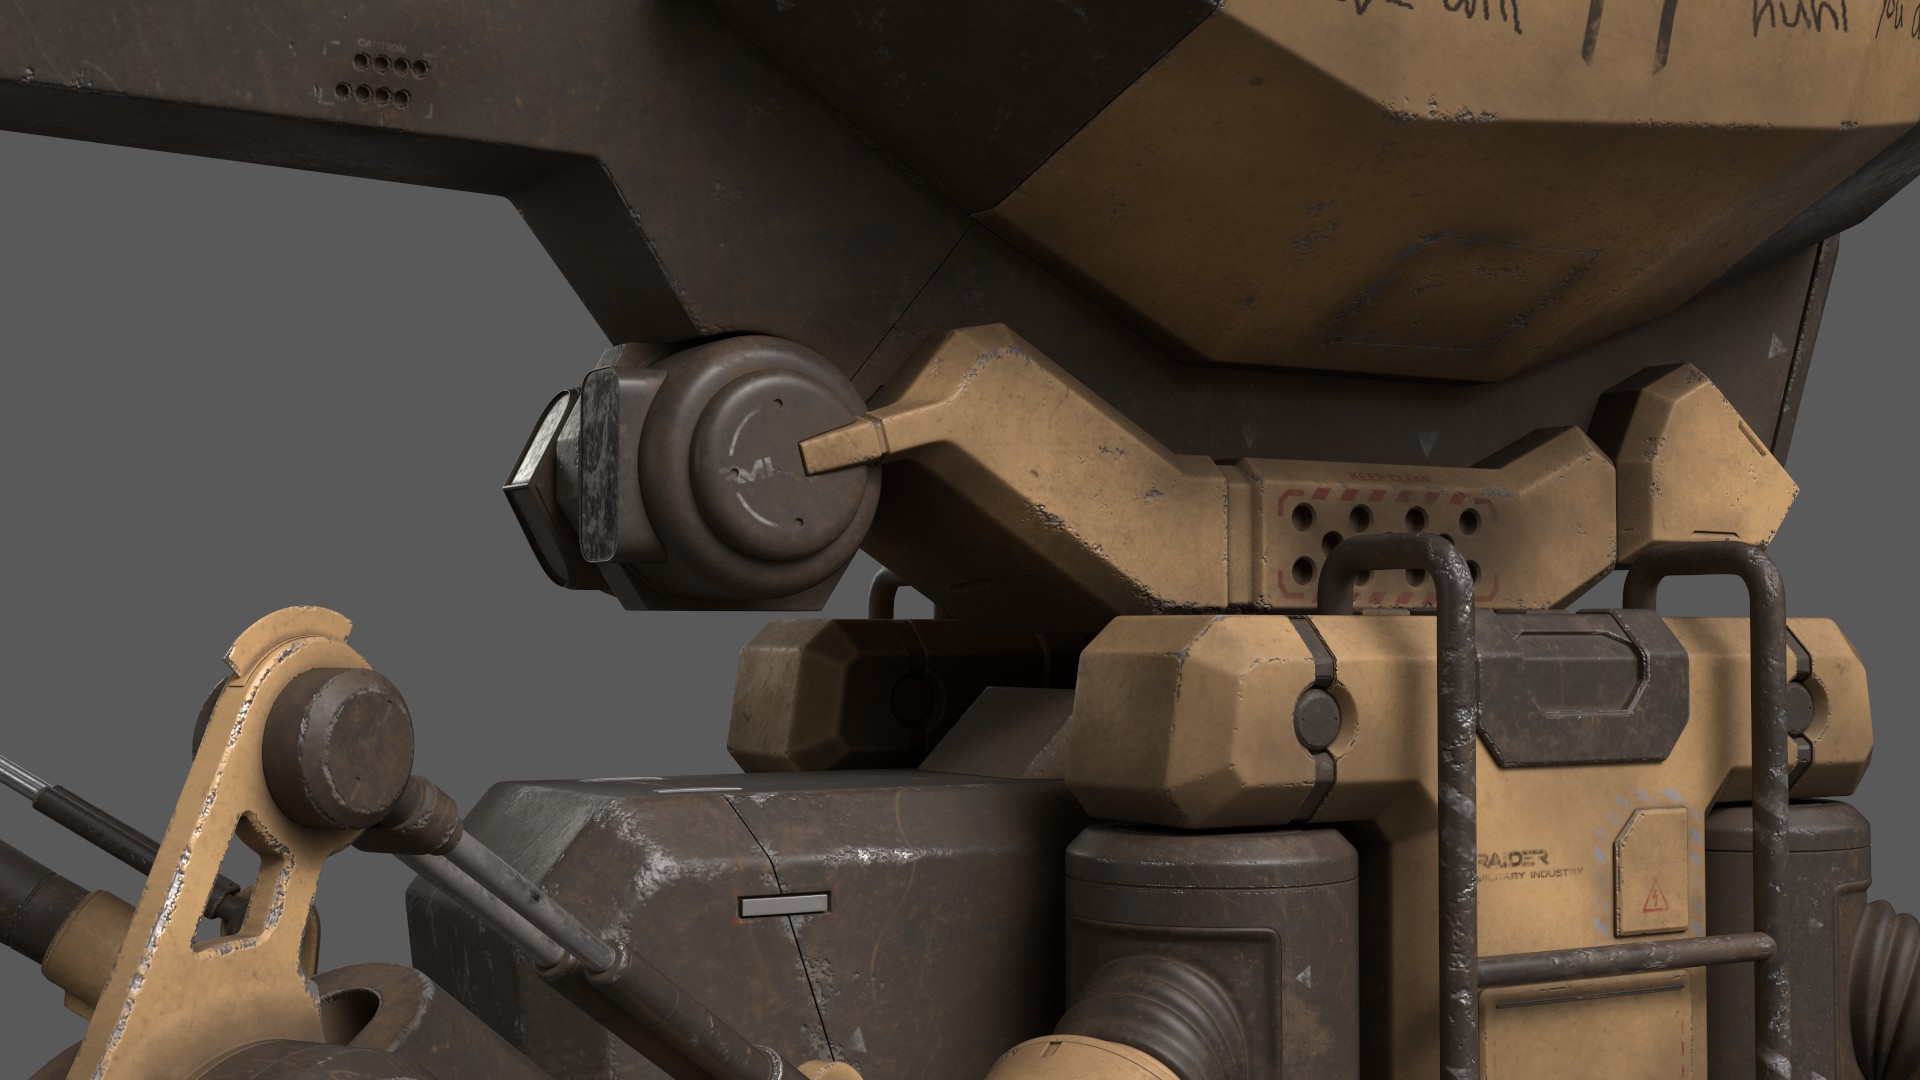
CLOSE UPS


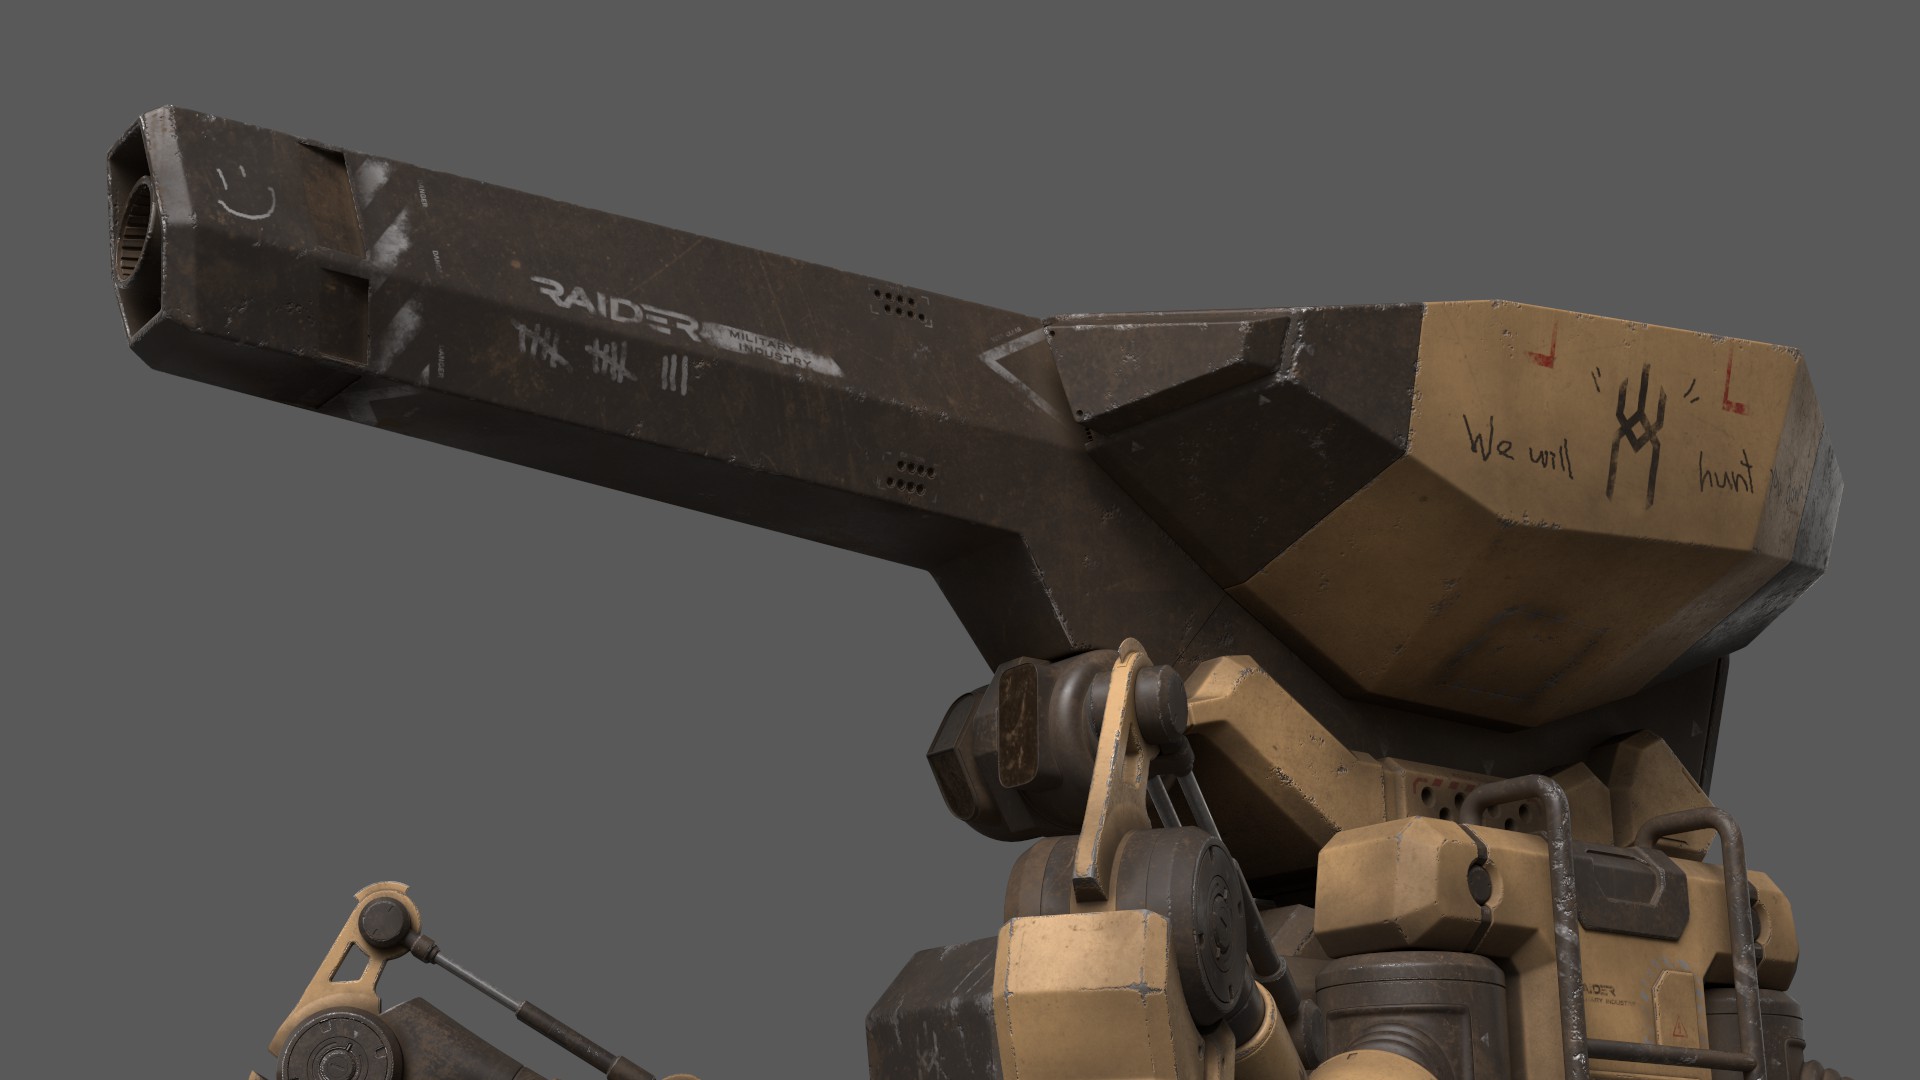
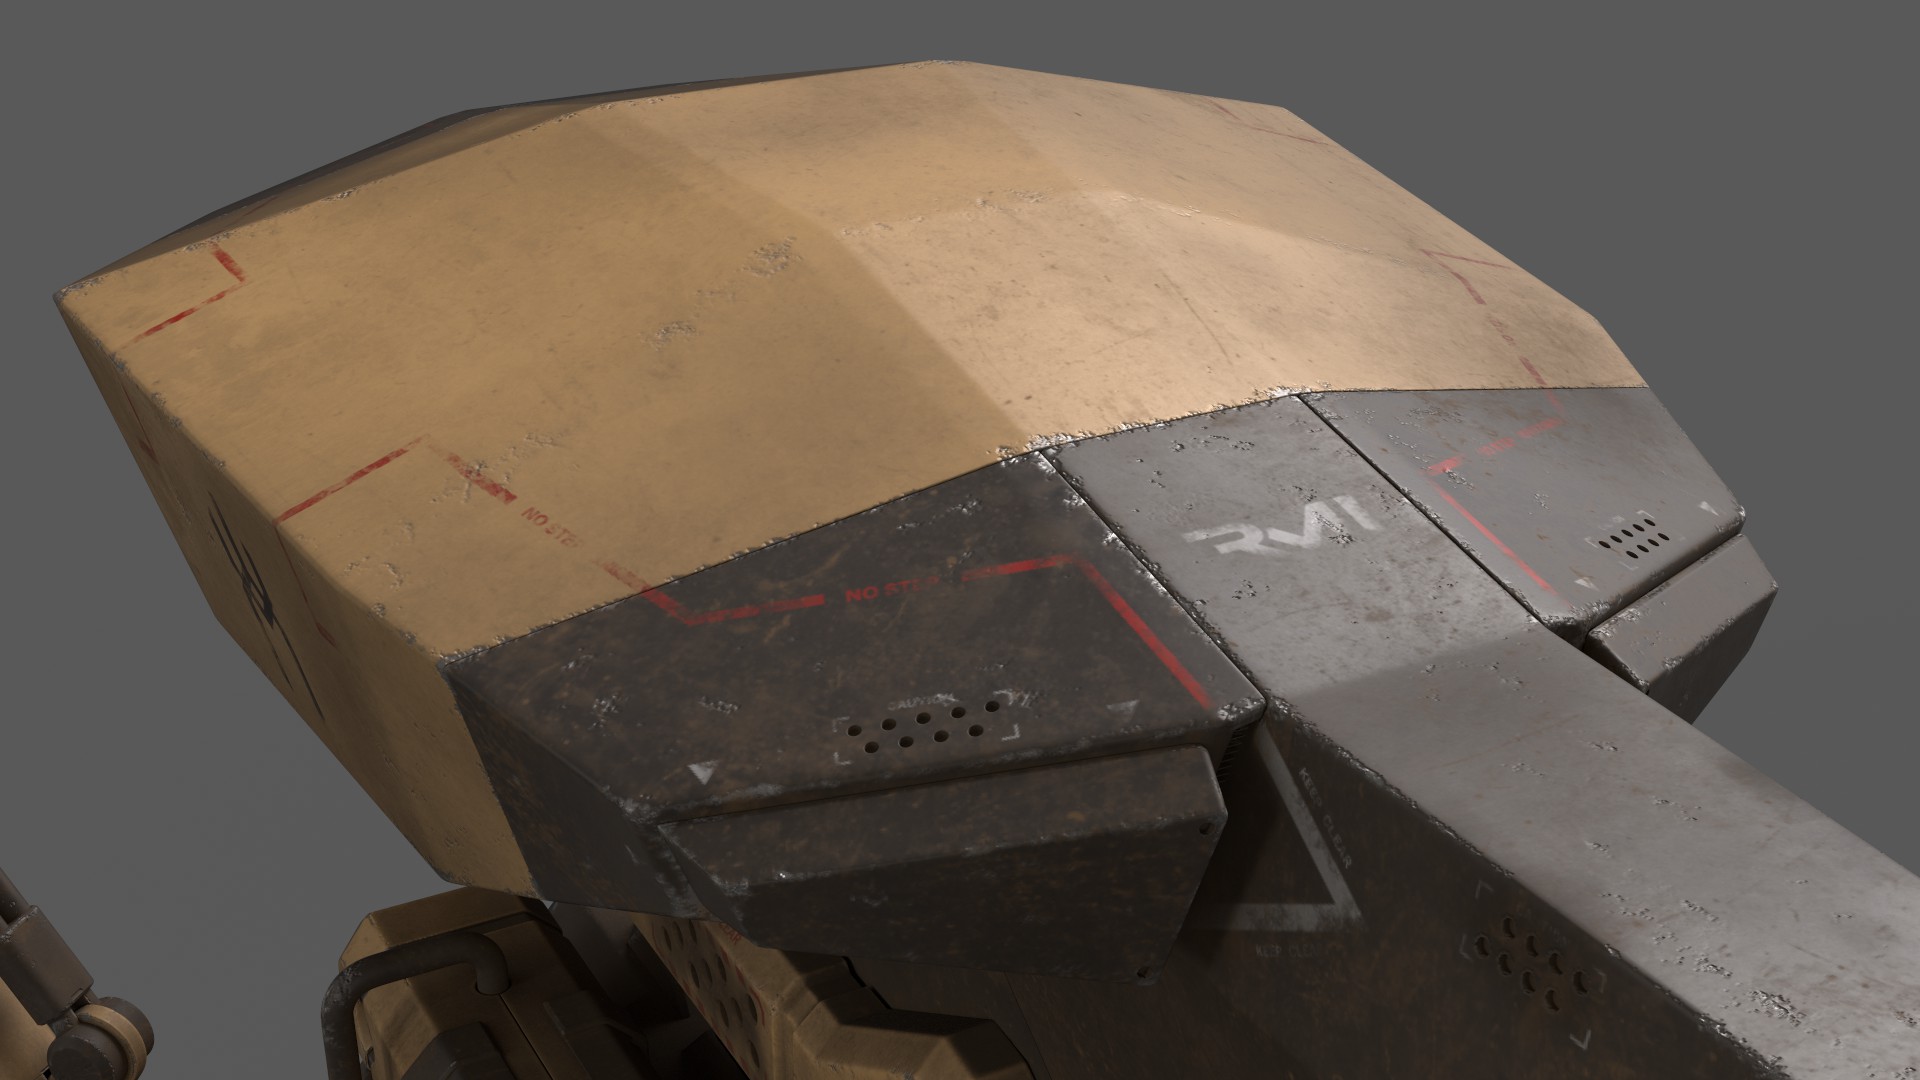
DECALS

CONCEPT COMPARISON

------------------------------------------------------------------------------------------------------------------
You've reached the end of my works! Thank you for taking the time to look through all of them!
I hope you enjoyed :)


Comments (7)