
The Aesthetic pink world
my latest personal project for the 3D photorealism module at SkyUp Academy.
The Aesthetic pink world
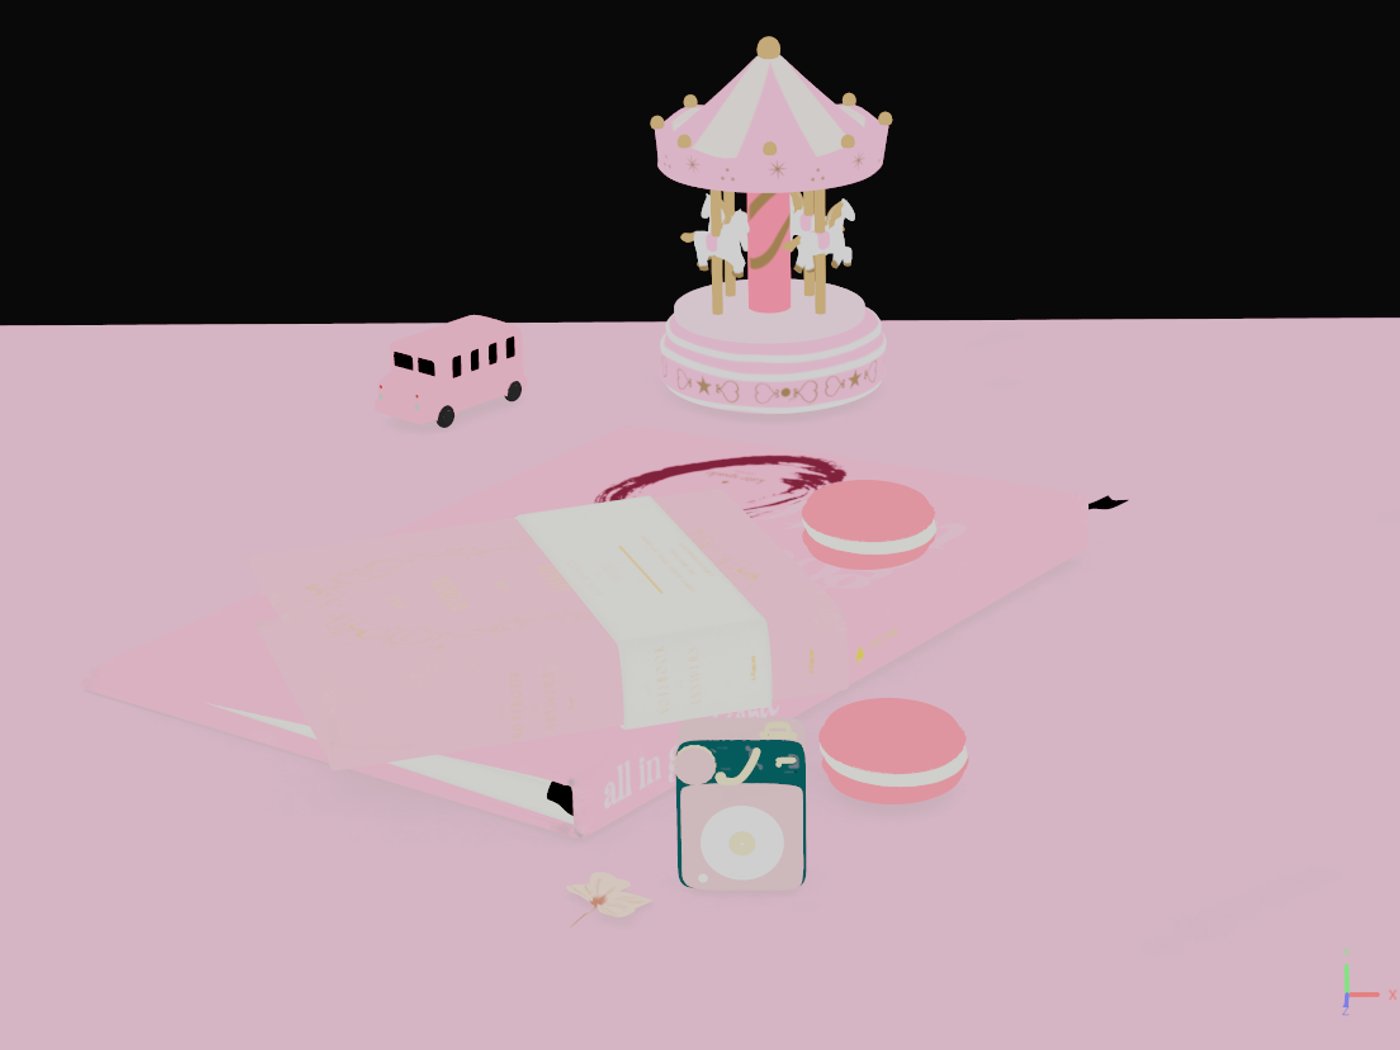
Hi everyone! I'm so happy to show you my latest personal project for the 3D photorealism module at Skyup Academy. This time we had to model and render a scene from a photo trying to creating it realistic as possible.

1. Getting all the material to start

Since i needed a better idea of the shape, materials and details of all the objects on stage. I started by doing a well, in-depth, reference reaserch and study. Finding the objects wasn't difficult because they are all elements present in reality that all of you can easily find online. While to understand the shapes of some objects like the flower or macarons i had to look at the real ones... And for the flower, it was very difficult to identify its type.
2. Modeling
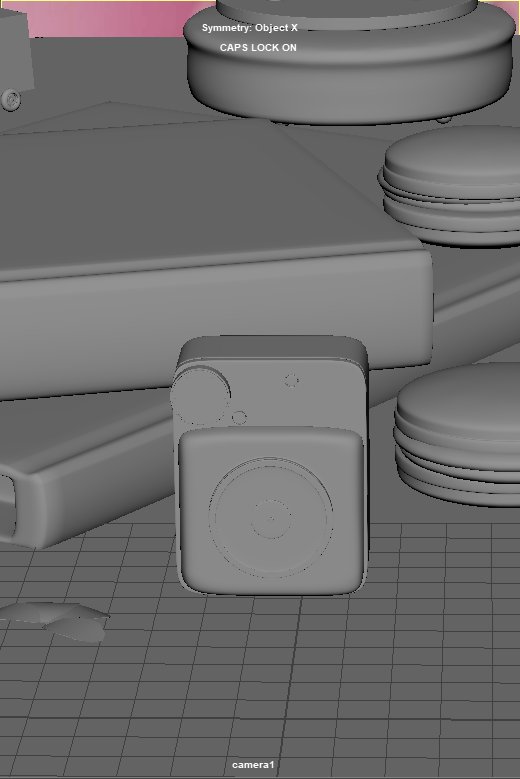
After collecting the references, I started the modeling with the blocking phase in Maya. The complicate part: camera position. I worked a long to find the right perspective. After manu attempts, I finally found the correct focal lenght and lens aperture!
I then moved on to the blocking phase, where I began placing the main shapes off all objects on the scene to understand the spaces and distances between them.
For my main subject, I decided to deconstruct it from the start to better undestand its form and size.
Here you can see how the blocking advanced.


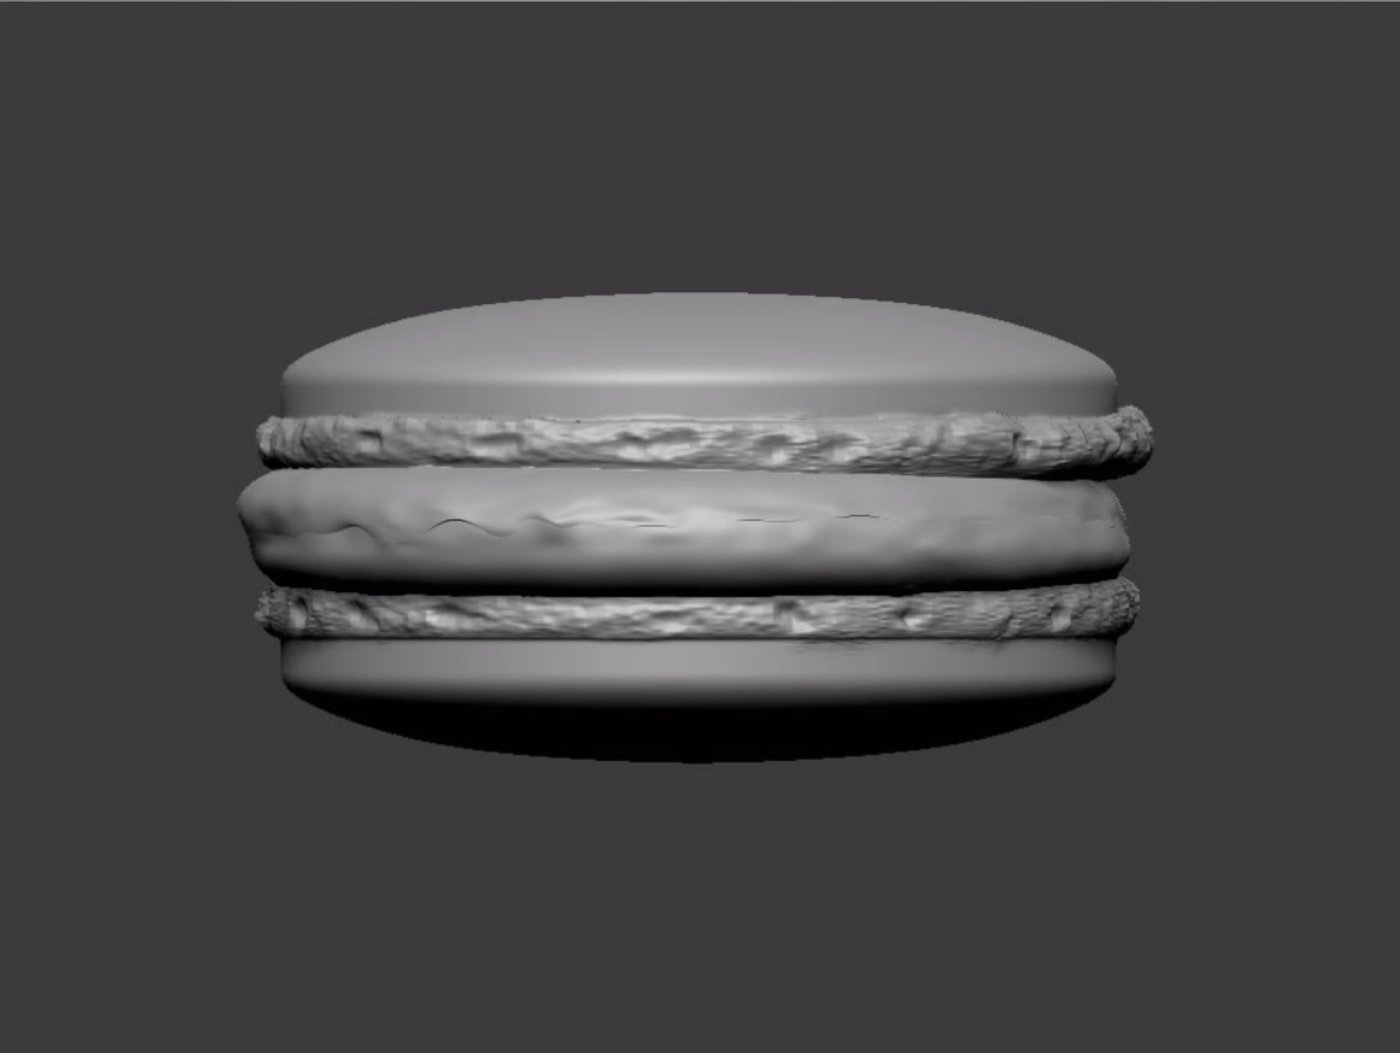
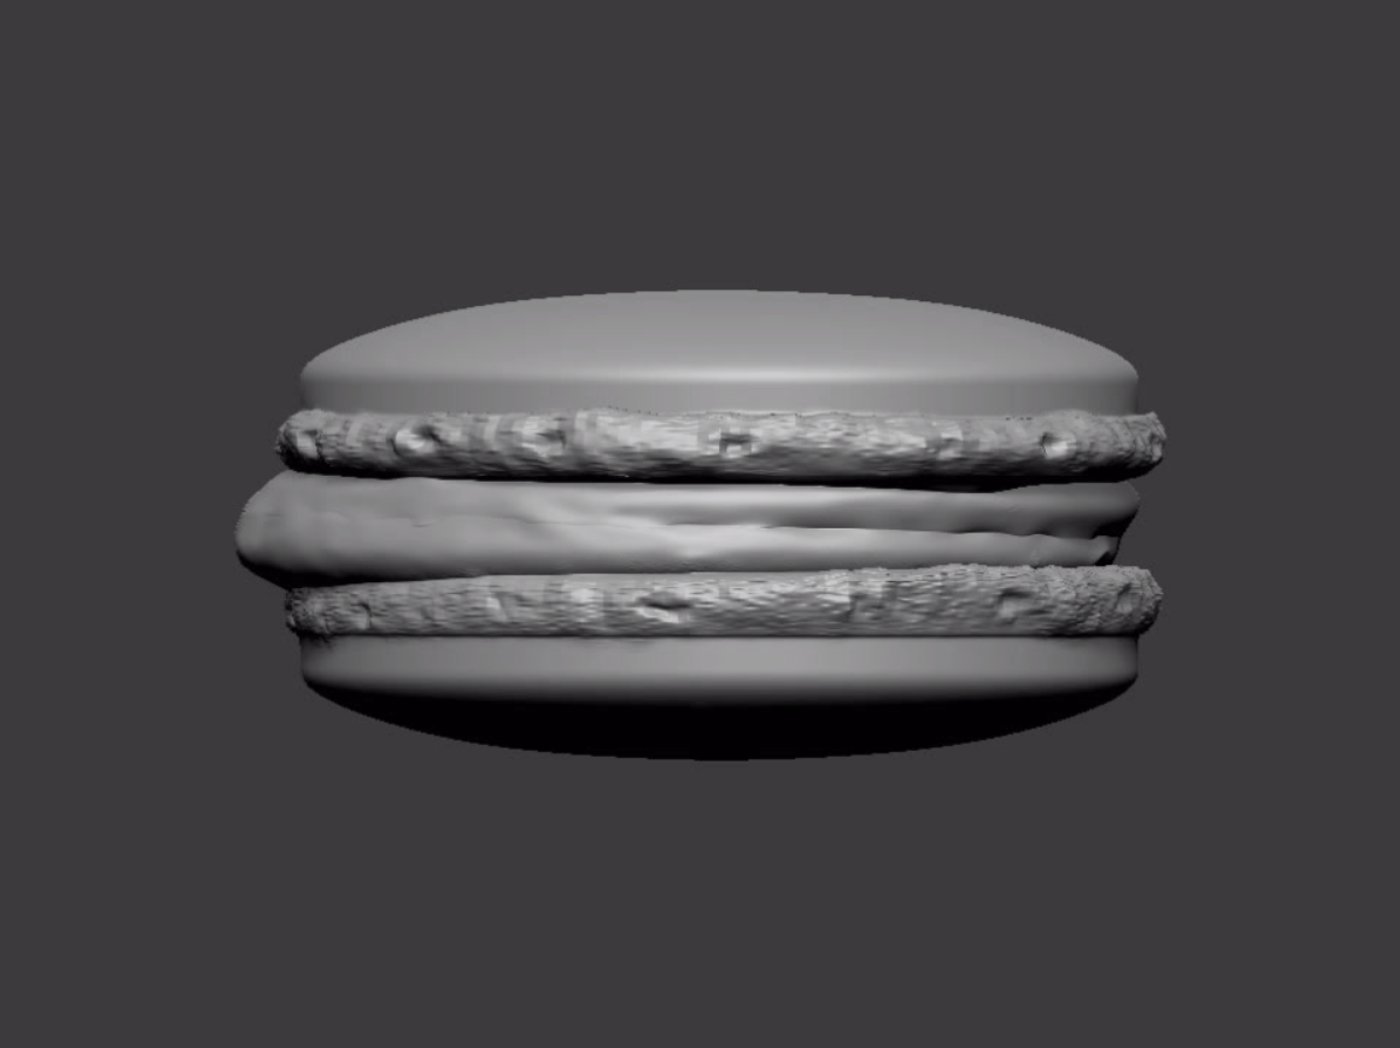
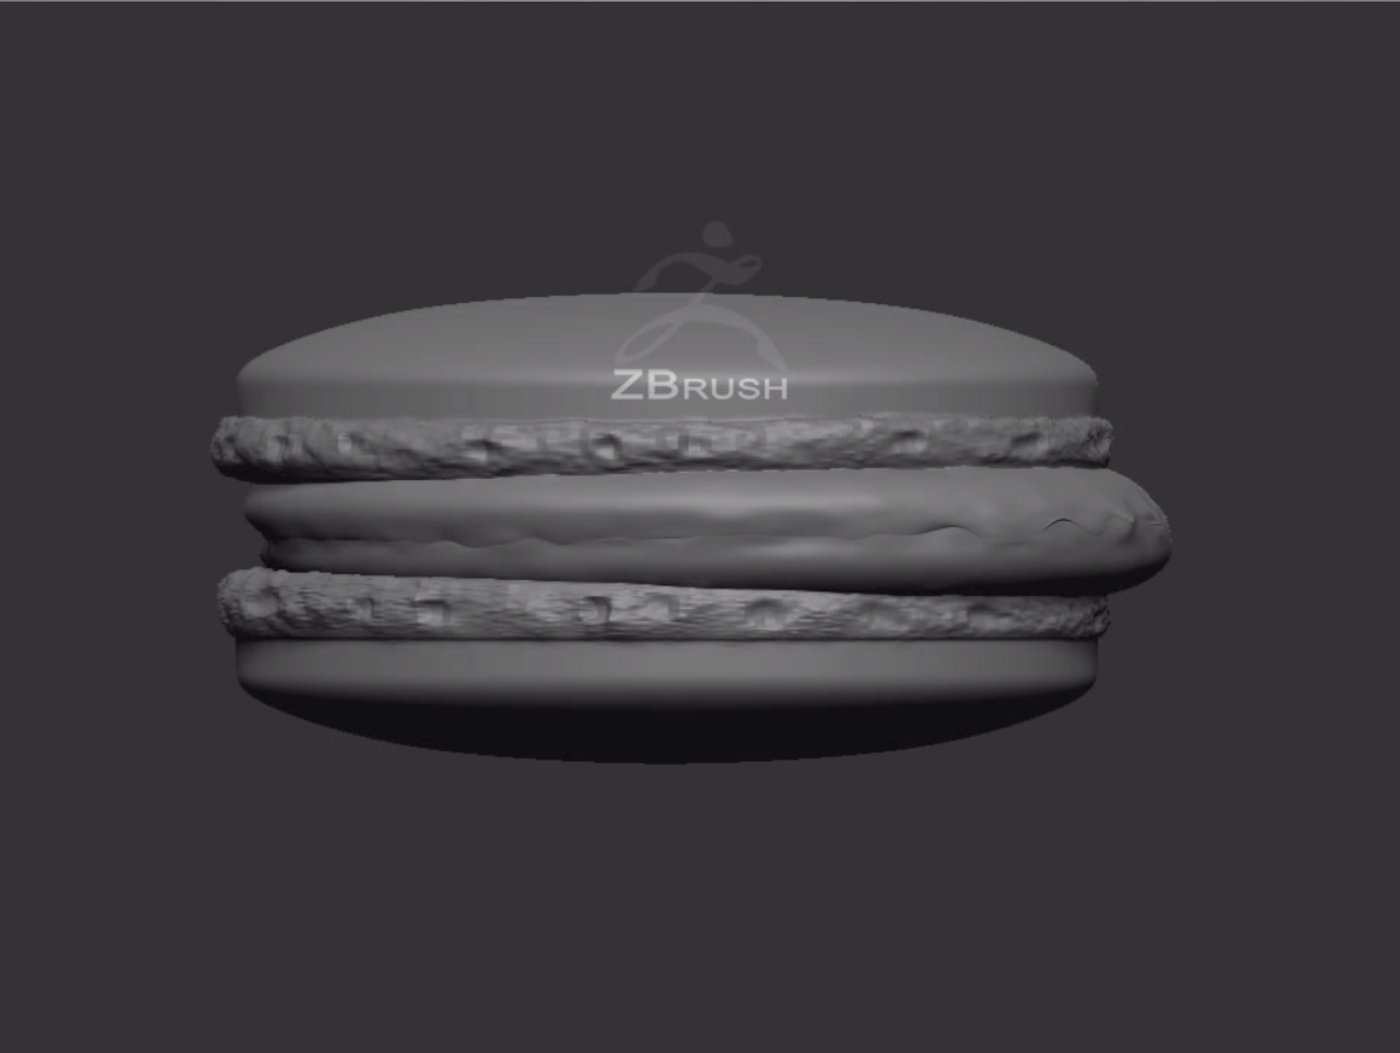
Afterward, I decided to model the macarons in Zbrush to give them more prominence and details, which would assist me in the texturing phase. Once the details were refined using various brushes, I imported the entire model back into Maya.
UVs and Texturing
All the modeling was done, I started diving with the unwrapping of my uv's. I encountered some difficulties since it was the firts time. I must admit that I didn't particularly enjoy this phase; creating UVs for all the objects in the scene wasn't very fun. Hpwever, manually rearranging them in Maya was quite relaxing.

As a reference for my Texel Density I took the book, which is the largest object in the scene.
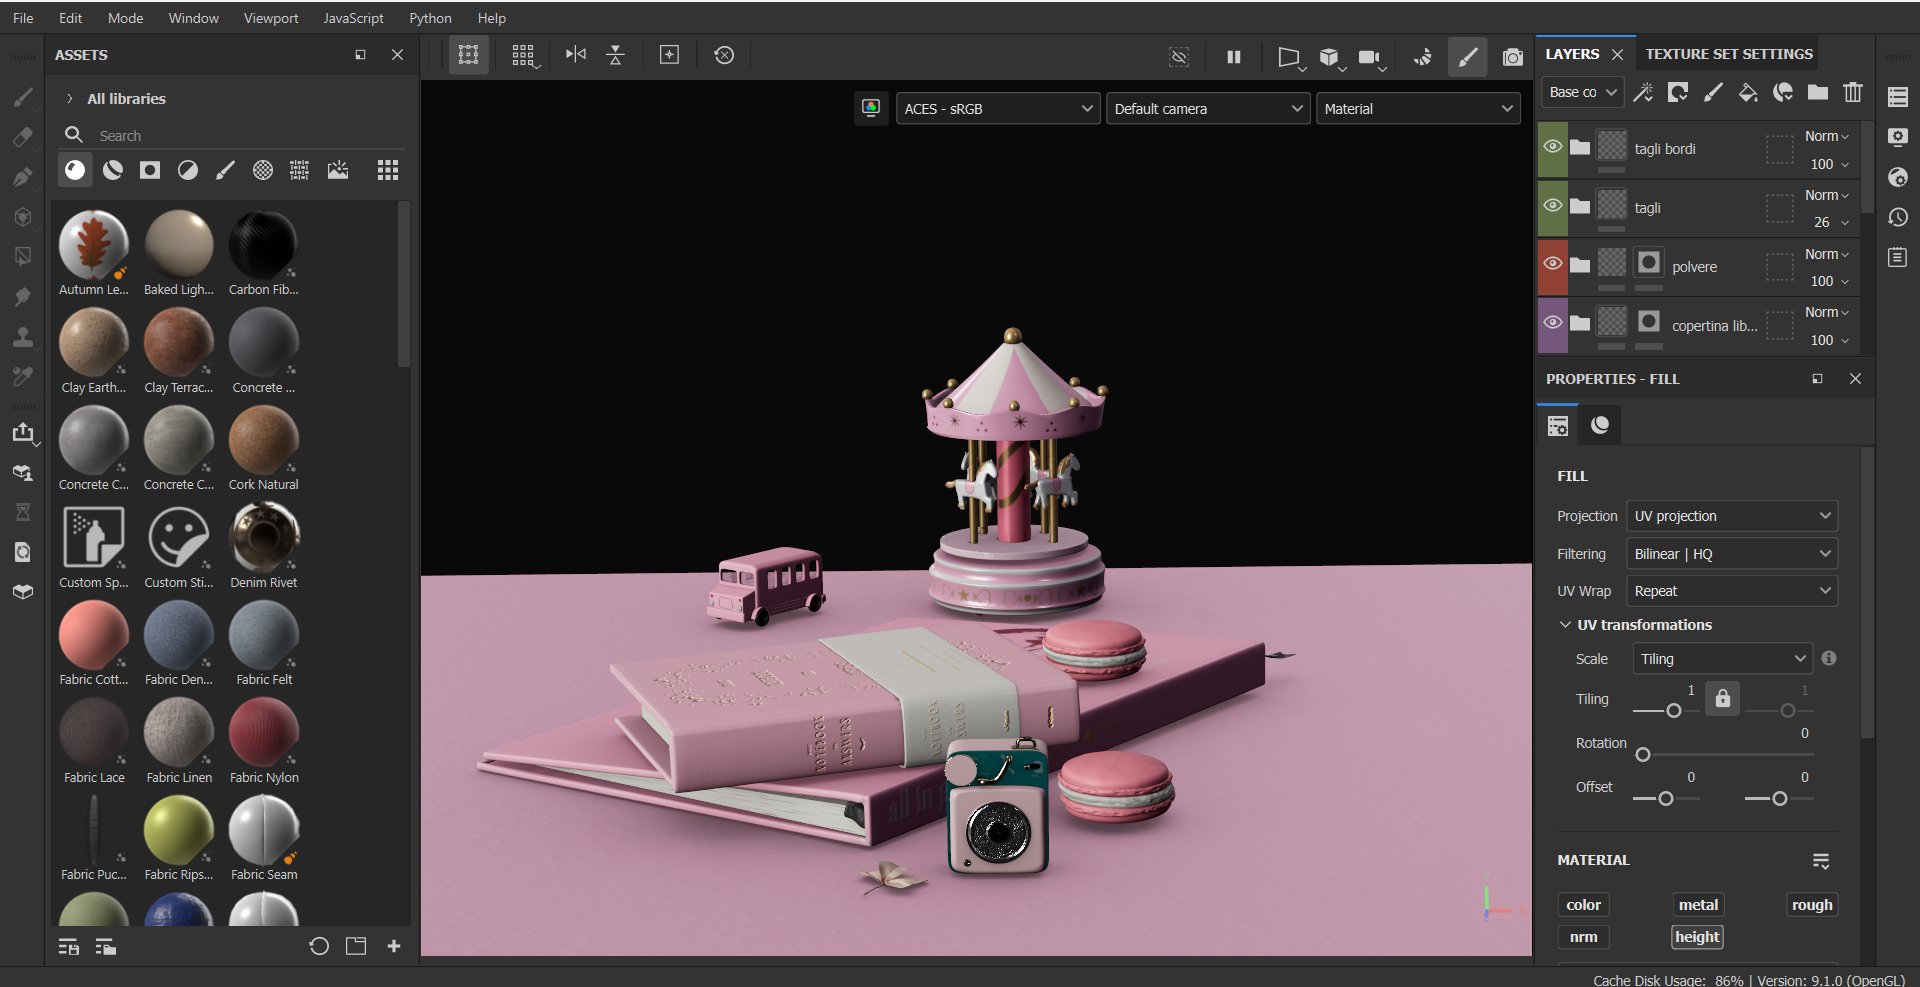
After that immediately jumped into Adobe Substance Painter and started doing some textures. At first I couldn't really undestand how to make my project more realistic, more good looking, but after some work I started getting the hand with the software.
This stage of work has definitely been my favorite! I had a lot of fun thinking about how the object could realistically look; After all, every object, even fresh from the factory has some small scratches or imperfections.
I started by applying a base color and played a lot with the base color variations. I did this beacuse in reality, it's unlikely that an object is painted with a single base color.
Then, I began adding roughness: slight cuts, scratches , marks on the table and books, a bit of dust and some fingerprints. To achieve this, I had to observe my desk and books at home to understand what kind of roughness they might have.

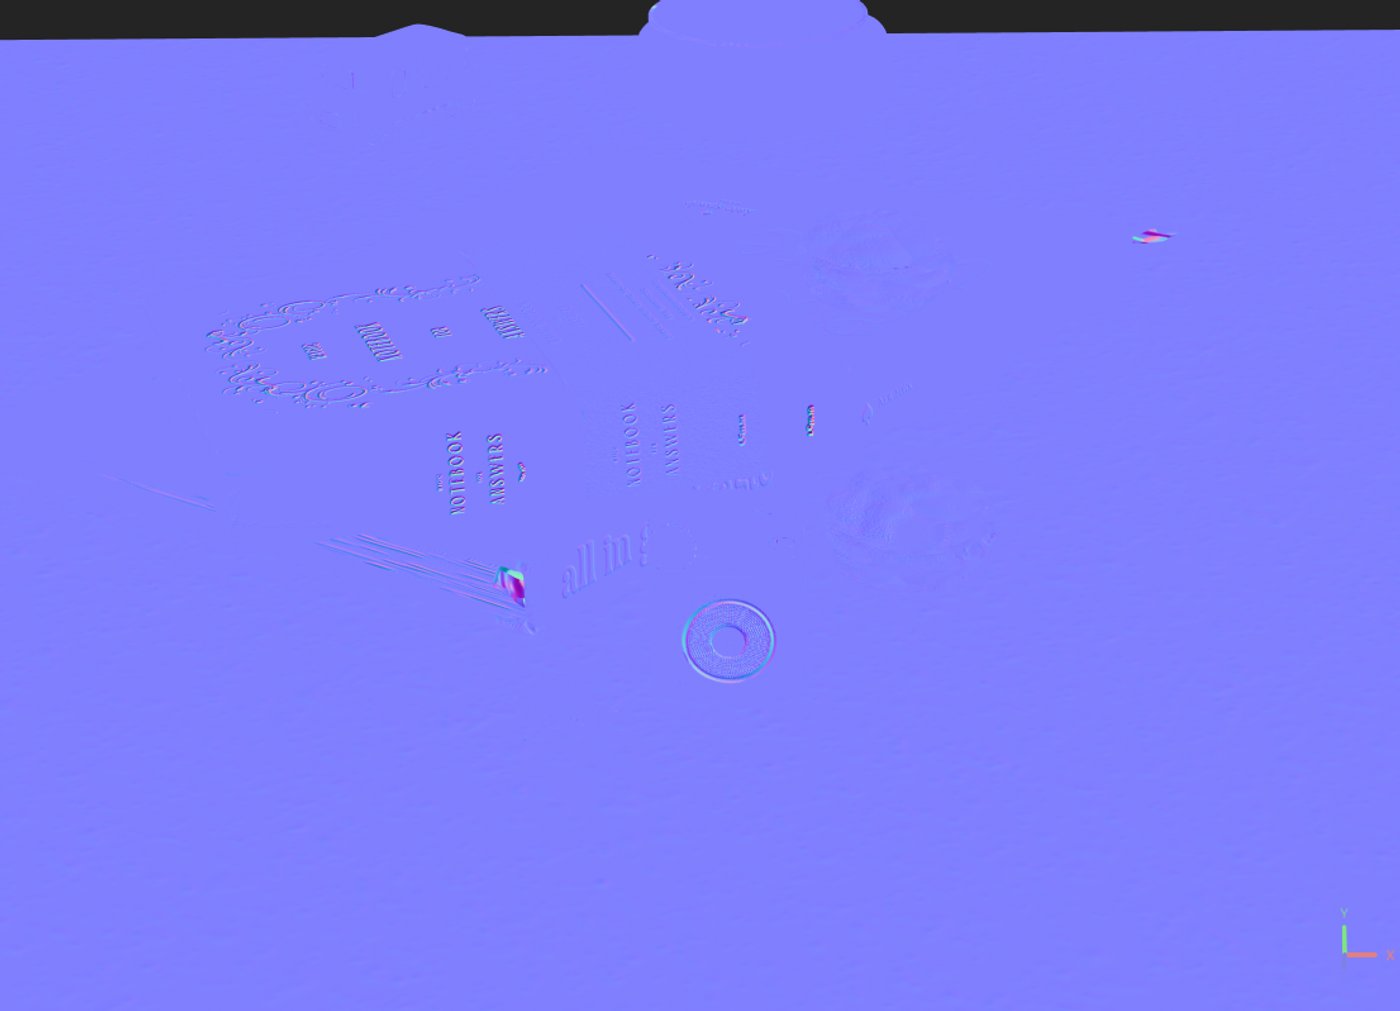
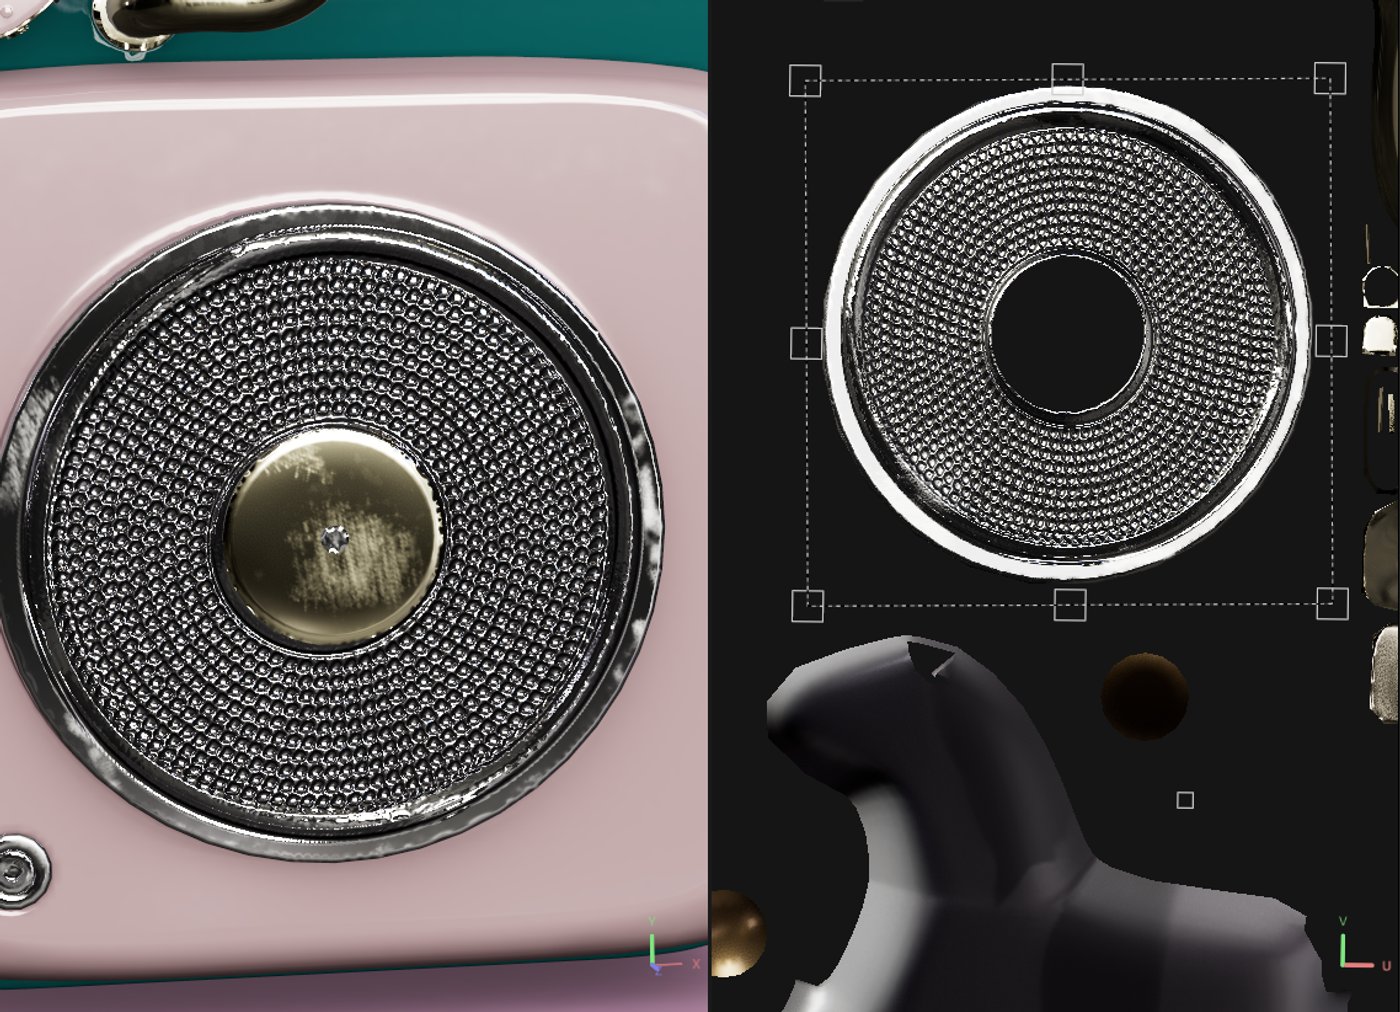
Afterward, I moved on to working on the Normal, as my main object is a speaker with small holes for sound passage, they were so tiny that modeling them would have caused issues with UVs. By using a normal map created in Photoshop, I managed to convey the idea. This successfully distorted reality.


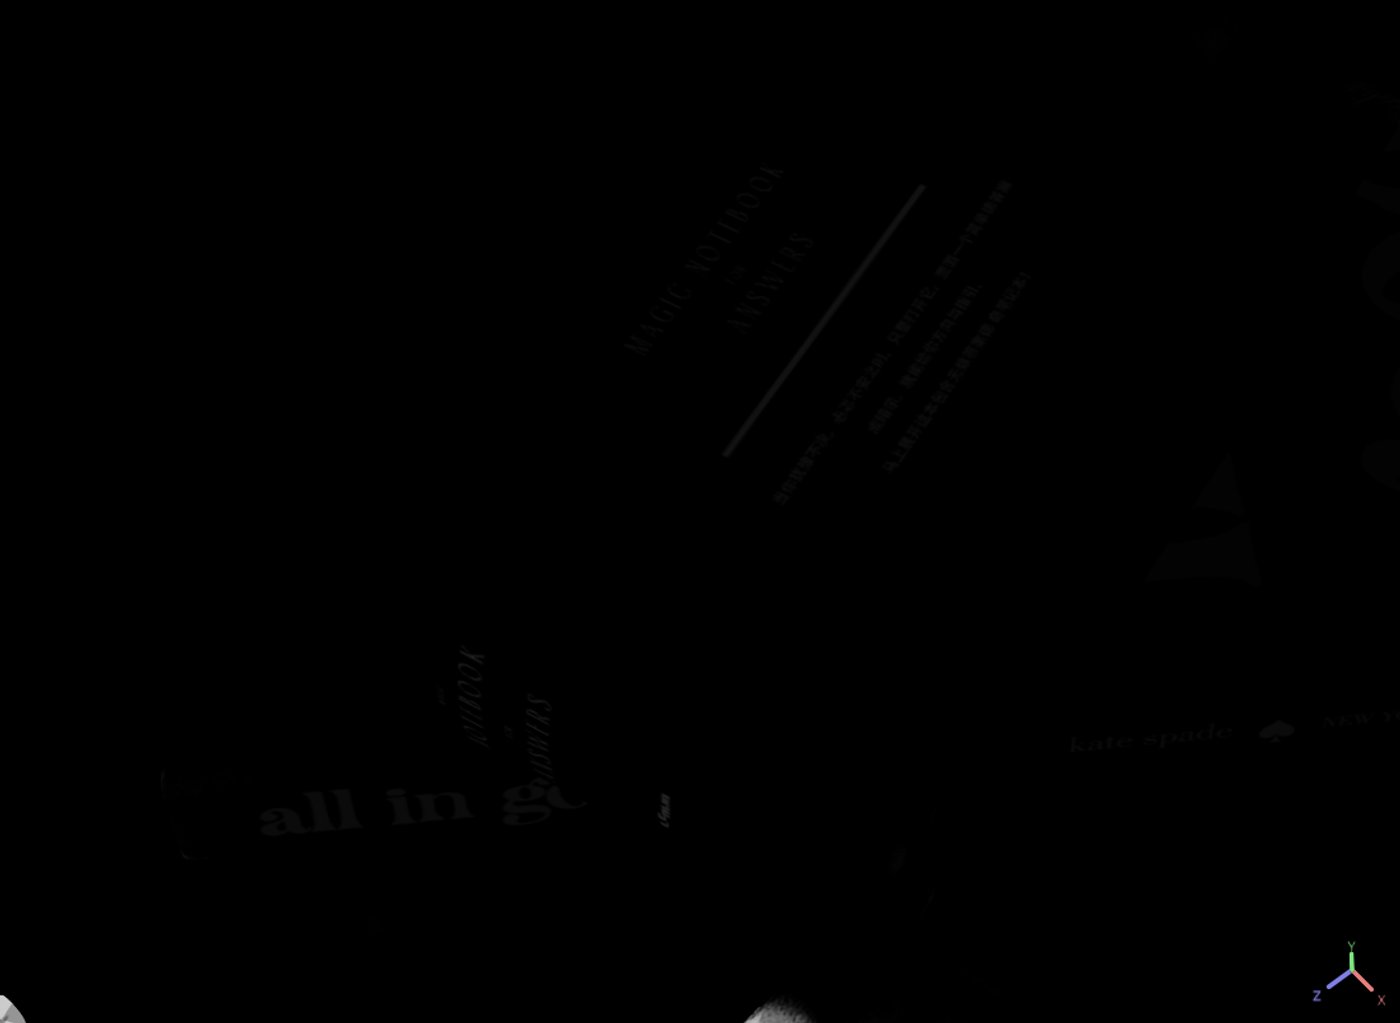
Once the major part was finished, I started working on the details, such as the various writings on the speker, the books and the small carousel in the background.
So I created many brushes in Photoshop as alphas, imported them into Substance Painter and projected them onto the corresponding objects!


Some examples of alphas created in Photoshop.
Afterward, I manually added details to the small carousel, speaker and emphasized my macarons to make them look even more appetizing.

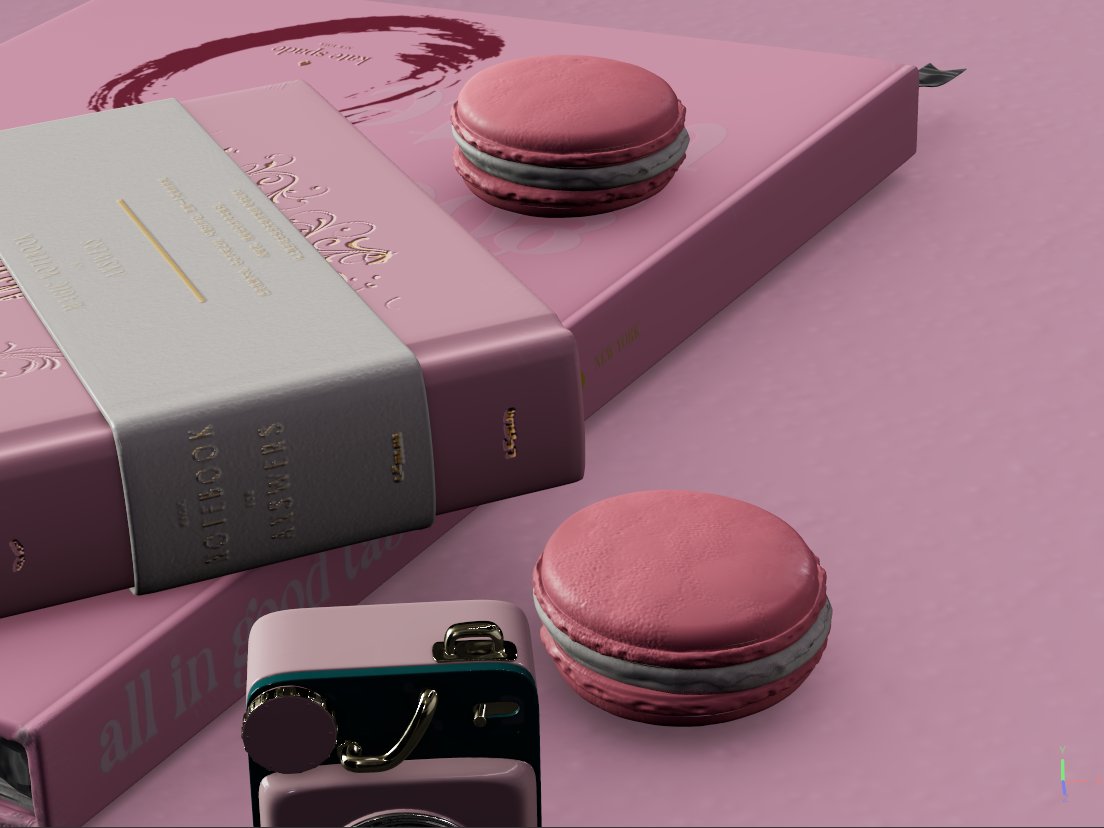
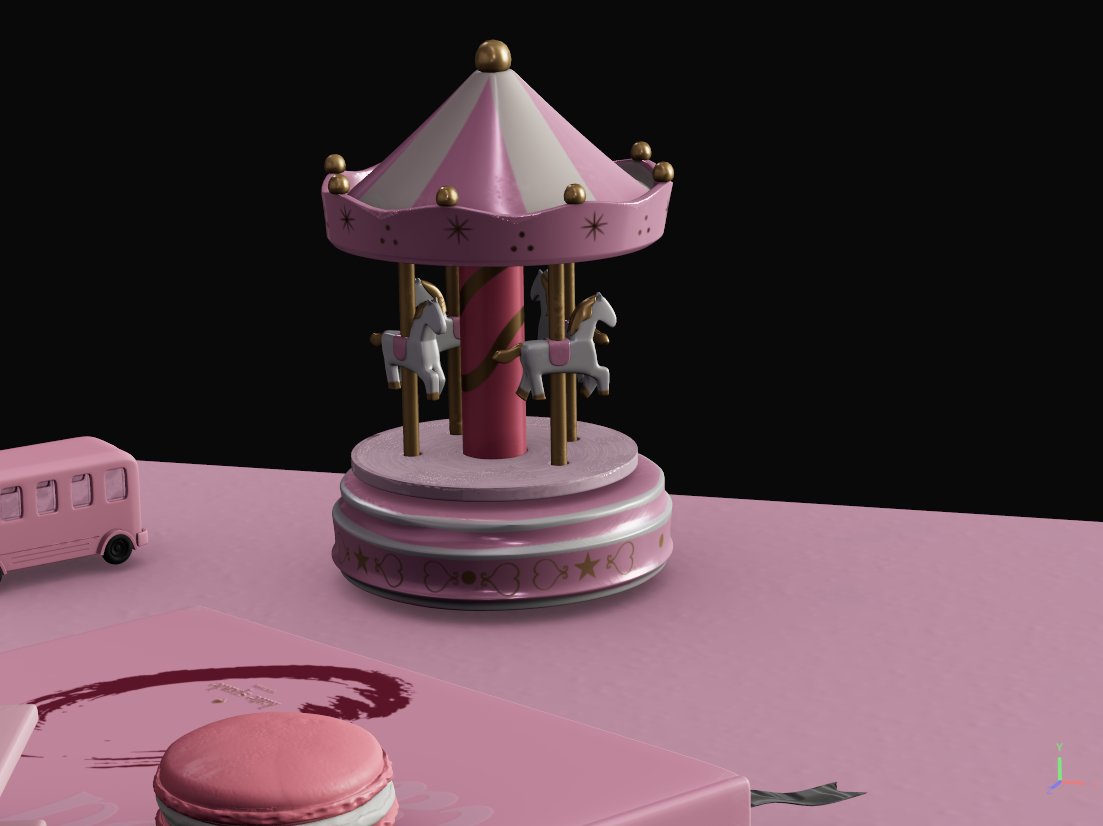
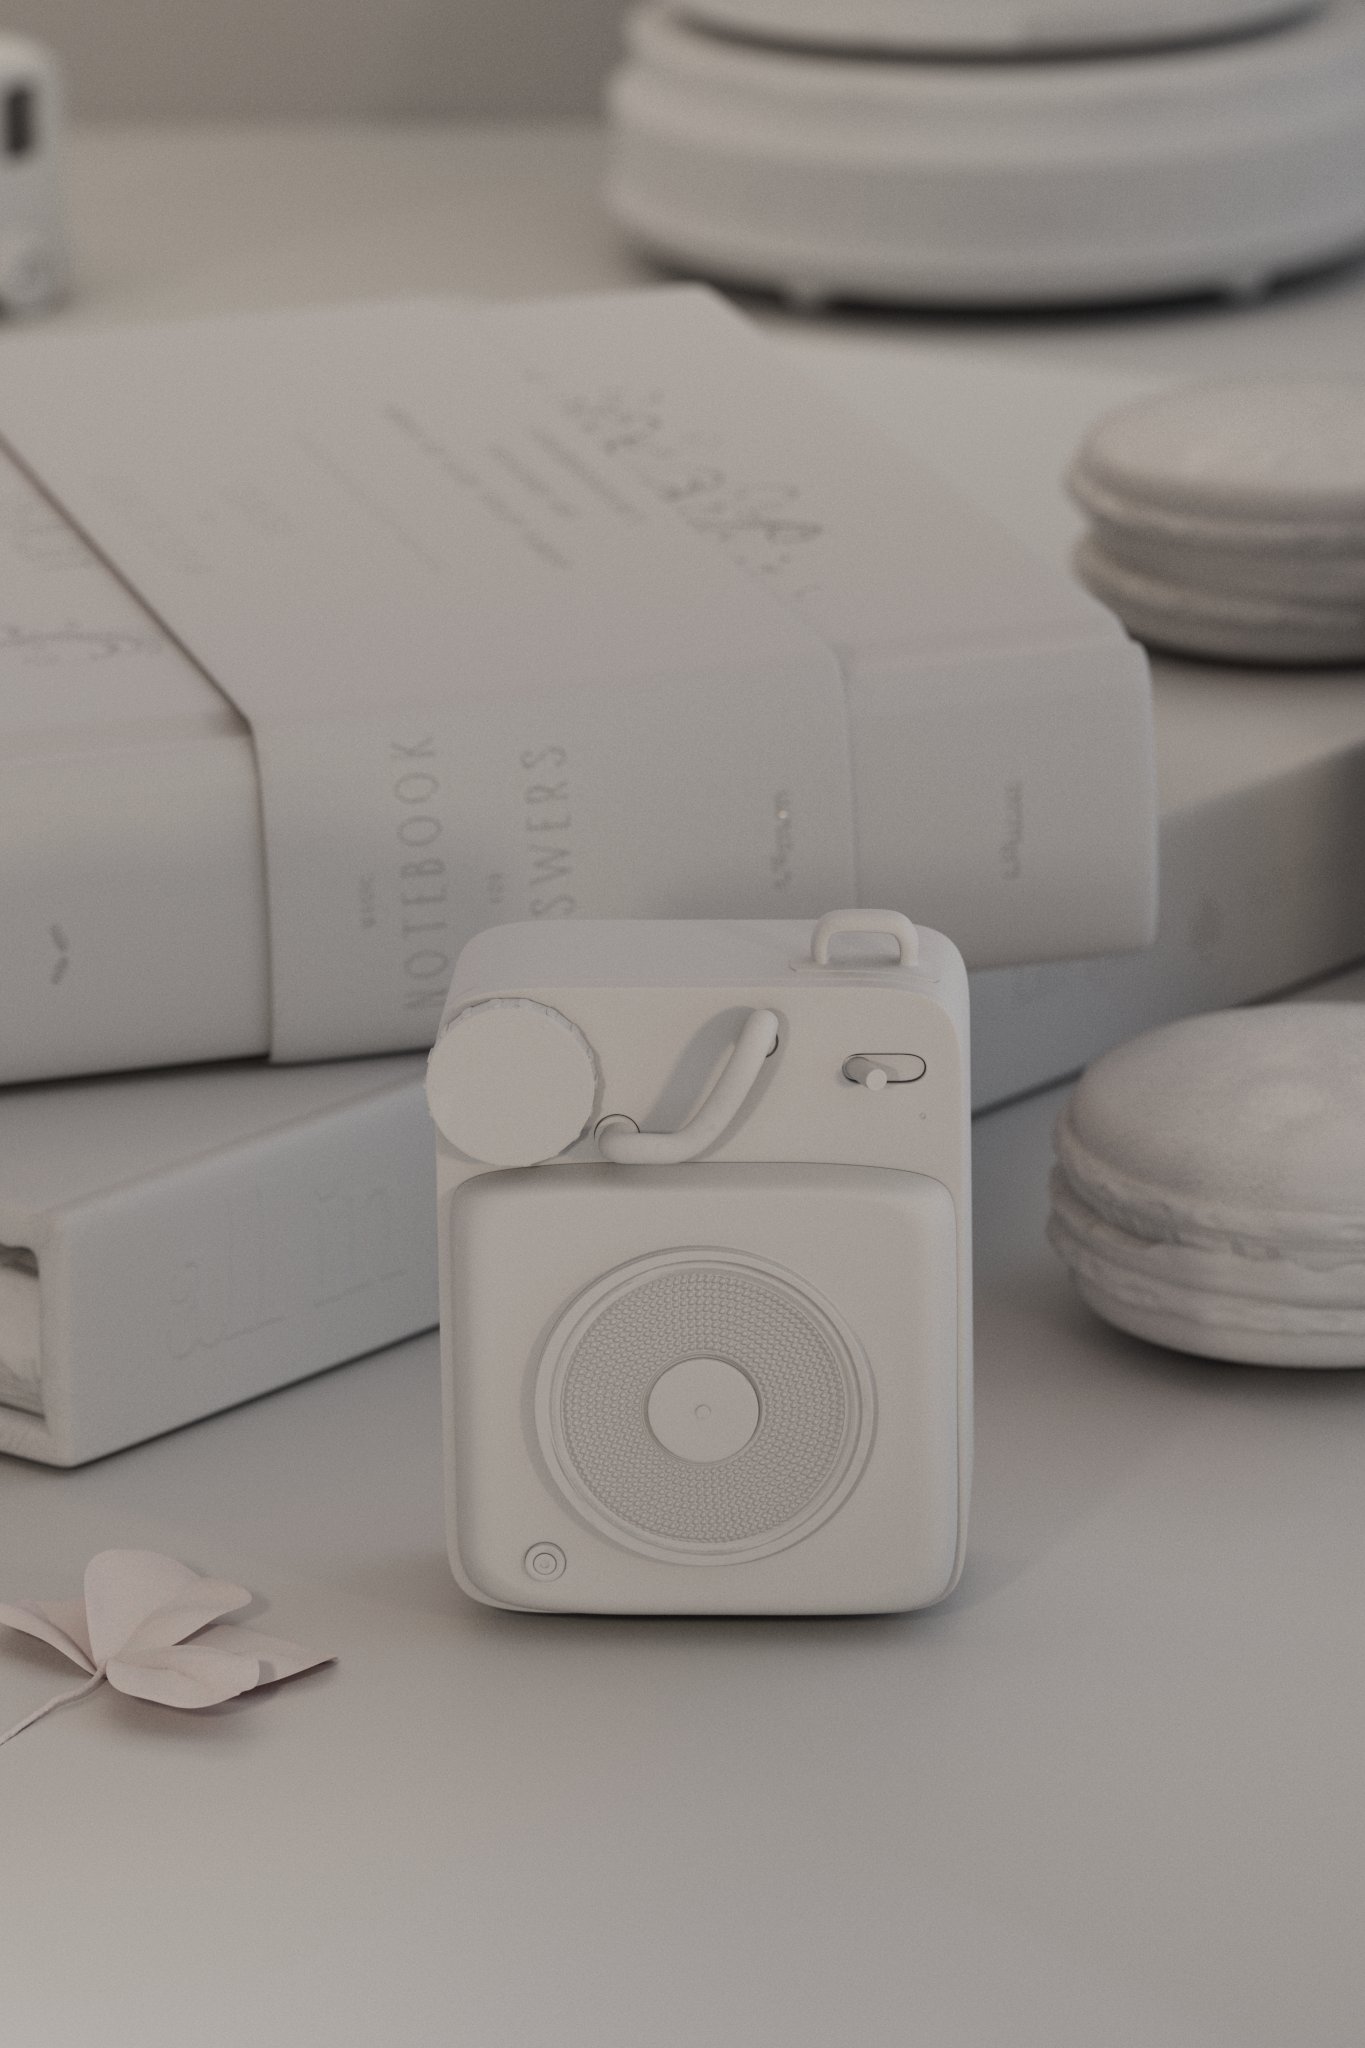
Here you can see the final result with texturing.

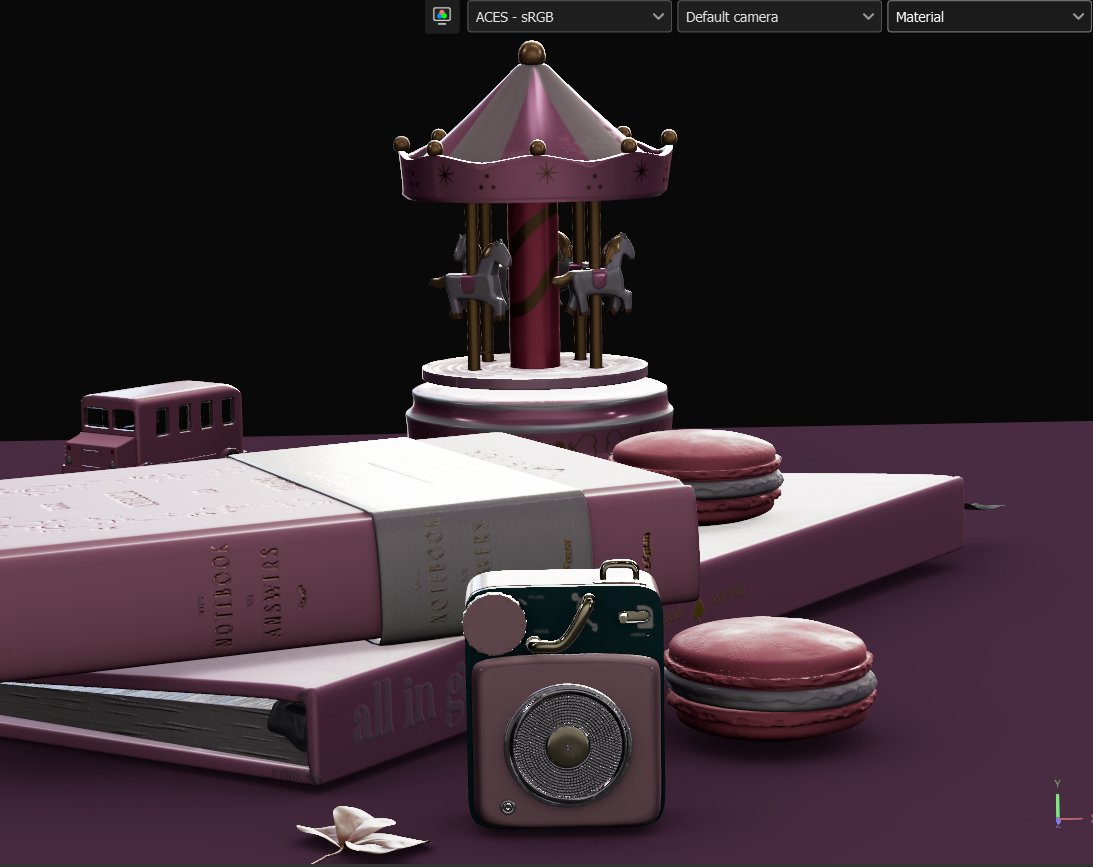

Back in Maya, I recompiled all the materials. This process was quick because I had previously gropued the objects, assigning a different Vray Material to each group

4. Lighting and rendering
Here starts the final part of my work, and maybe even the most difficult one.
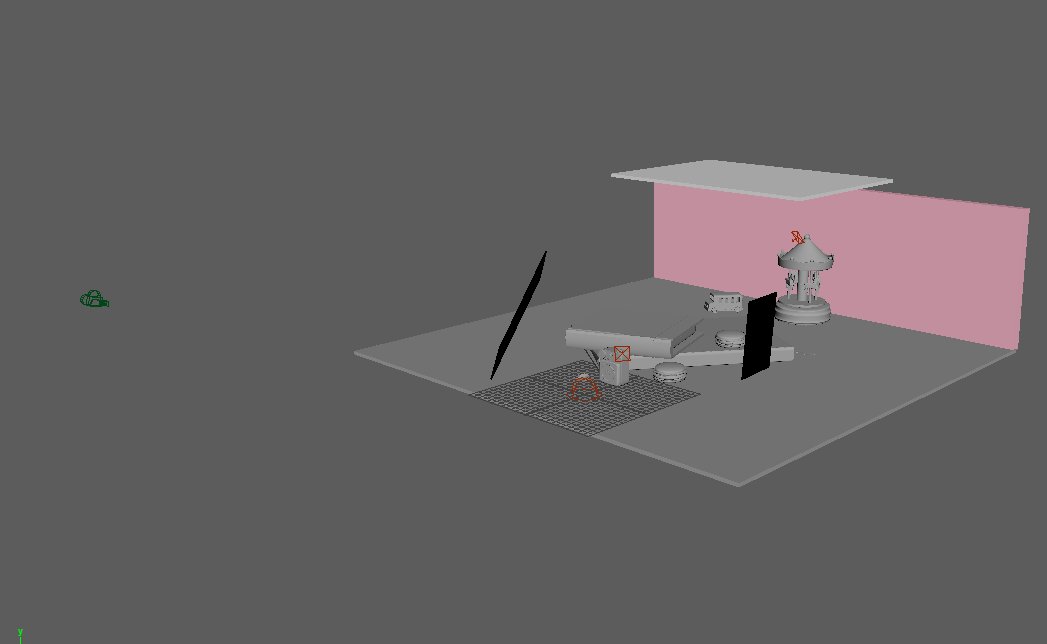
Lighting was very complicated, after I found my dome light (a studio dome light), I started adding the key ones. Probably ì, my reference had been taken in a studio, making it challenging to convey the idea of perfection and intense illumination ad in the concept... but in the end, I succeeded!
to help me, I also used white panels designed to direct the light and black panels for the shadows.
Below is my lighting setup in Maya
5. Post Processing
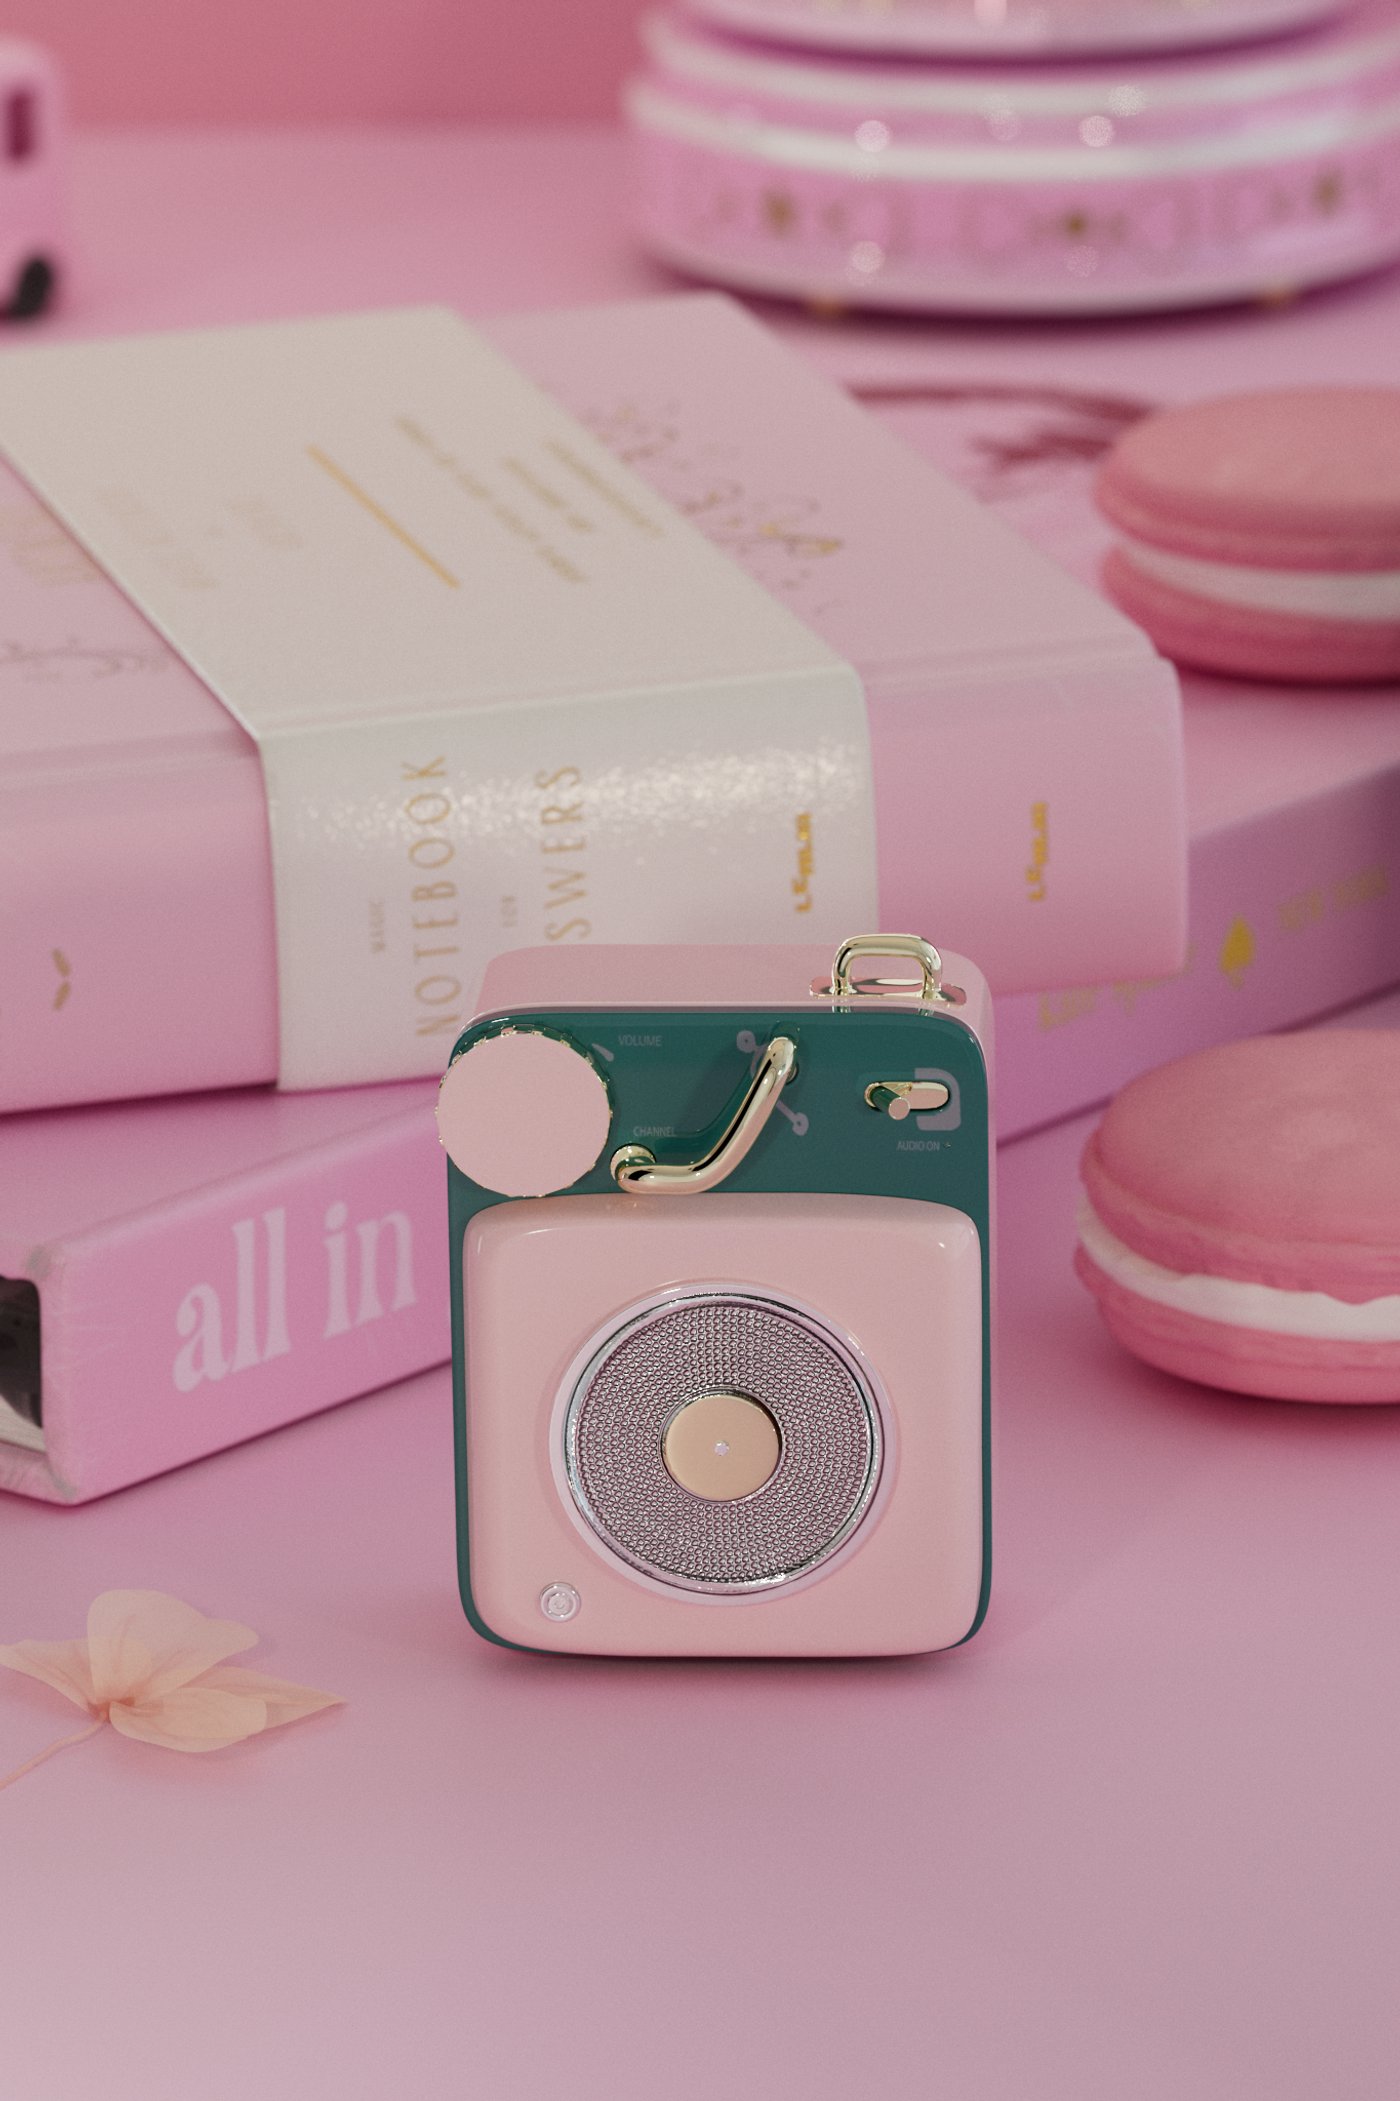

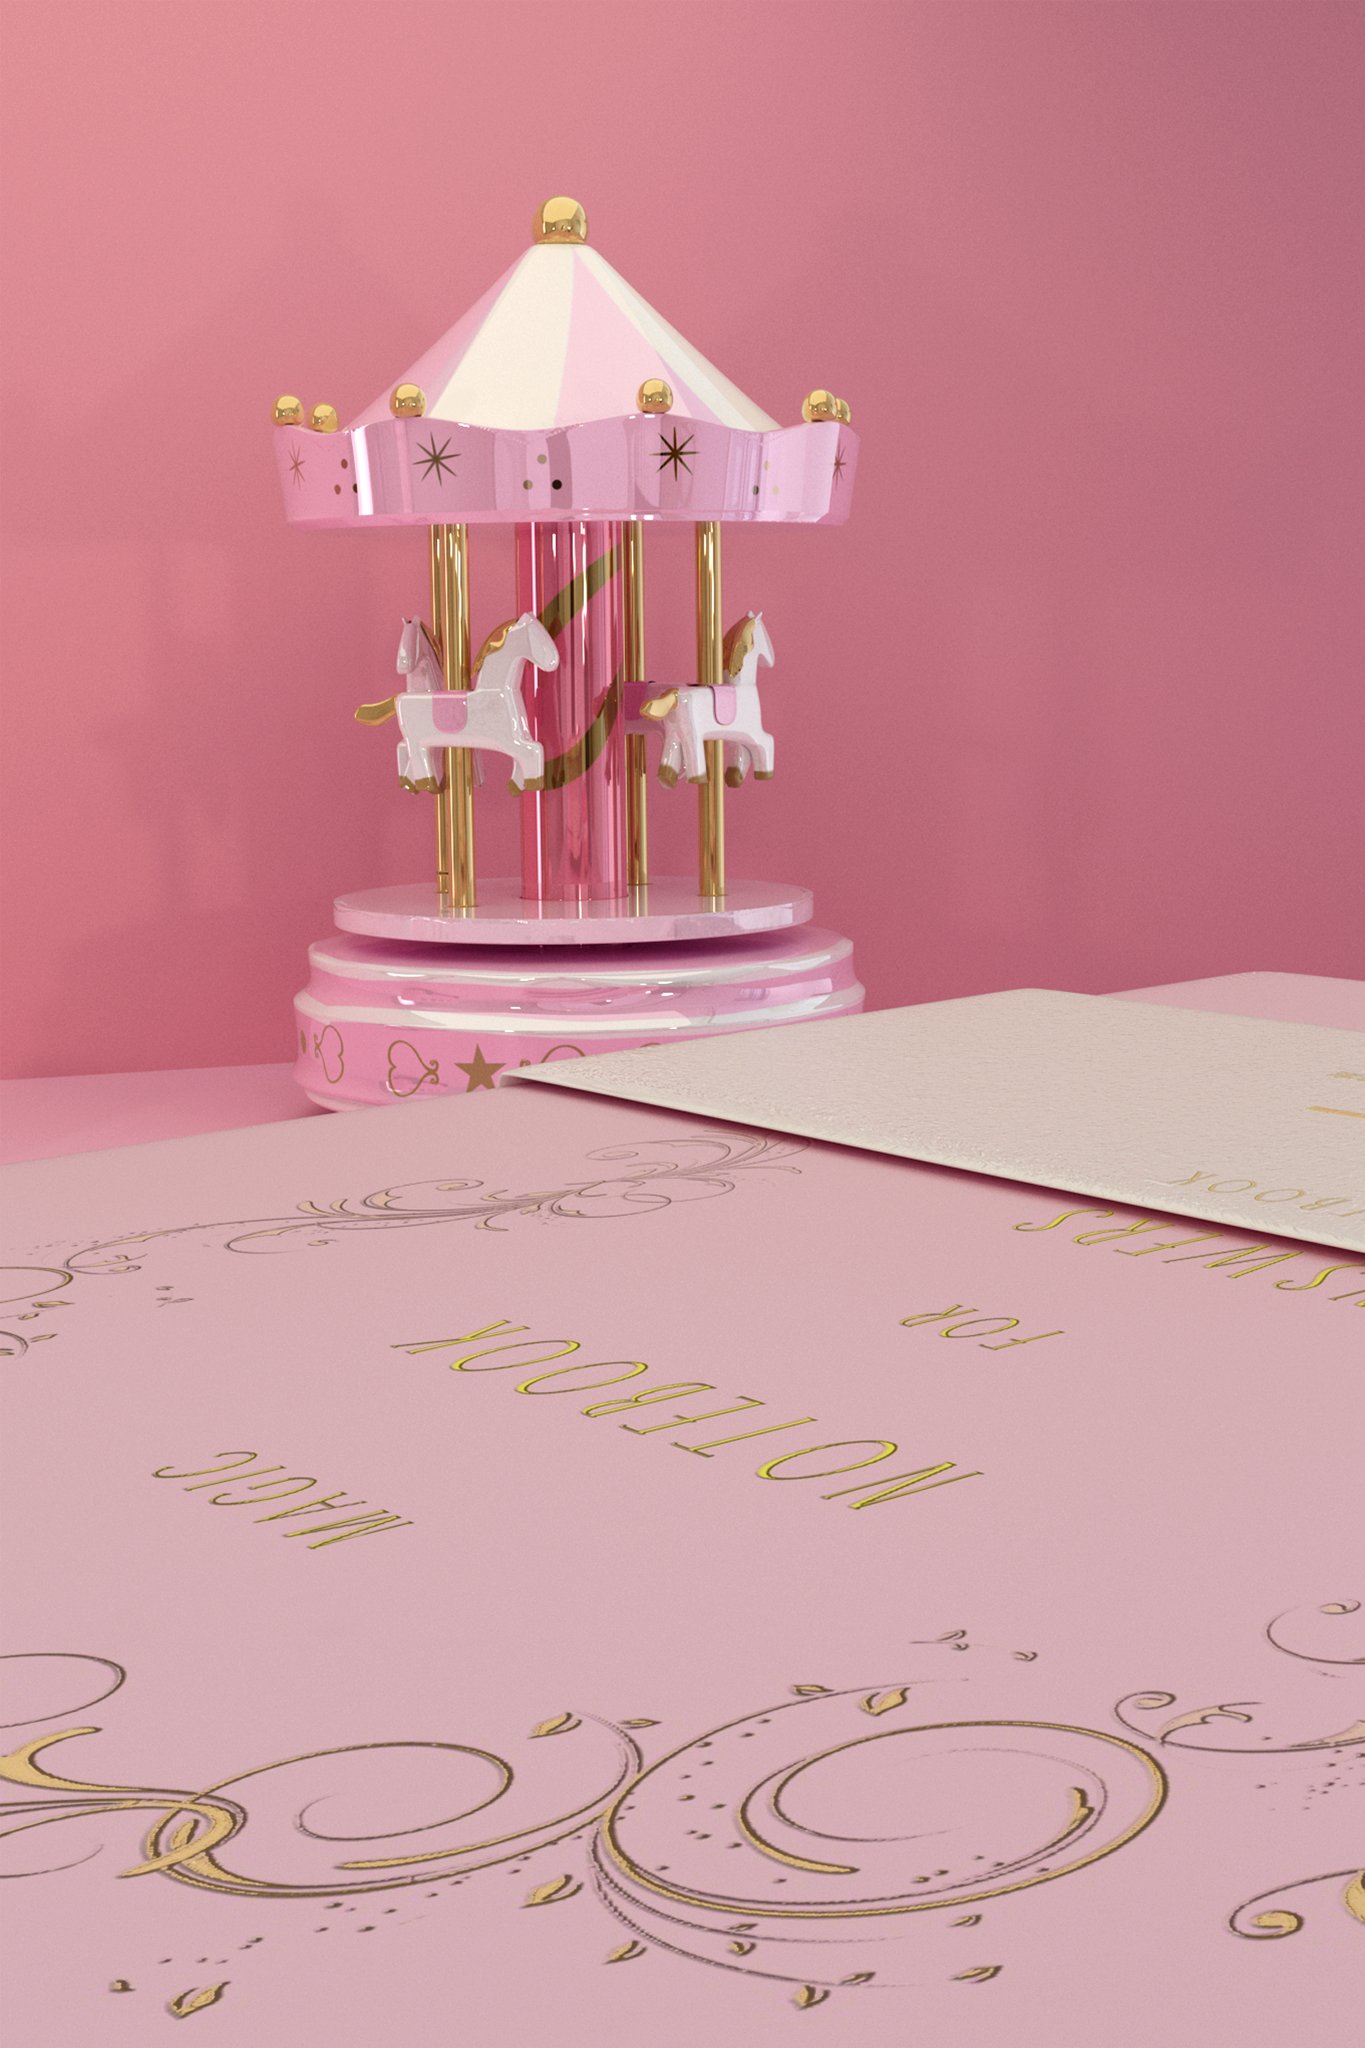
Since I felt like something still wasn't there after the lighting, I jumped into Photoshop and did some color correction and work on the shadows. The initial render was a bit flat in my opinion, shadows were not that strong and some colors were off. In addition, the colors appeared too cold, so first I adjusted them to make them warmer. Then, I worked on the lights and contrasts to achieve a much more vibrant and realistic render.
now I was happy with the final result. I hope you like the project and the process behind it!


Comments (5)