
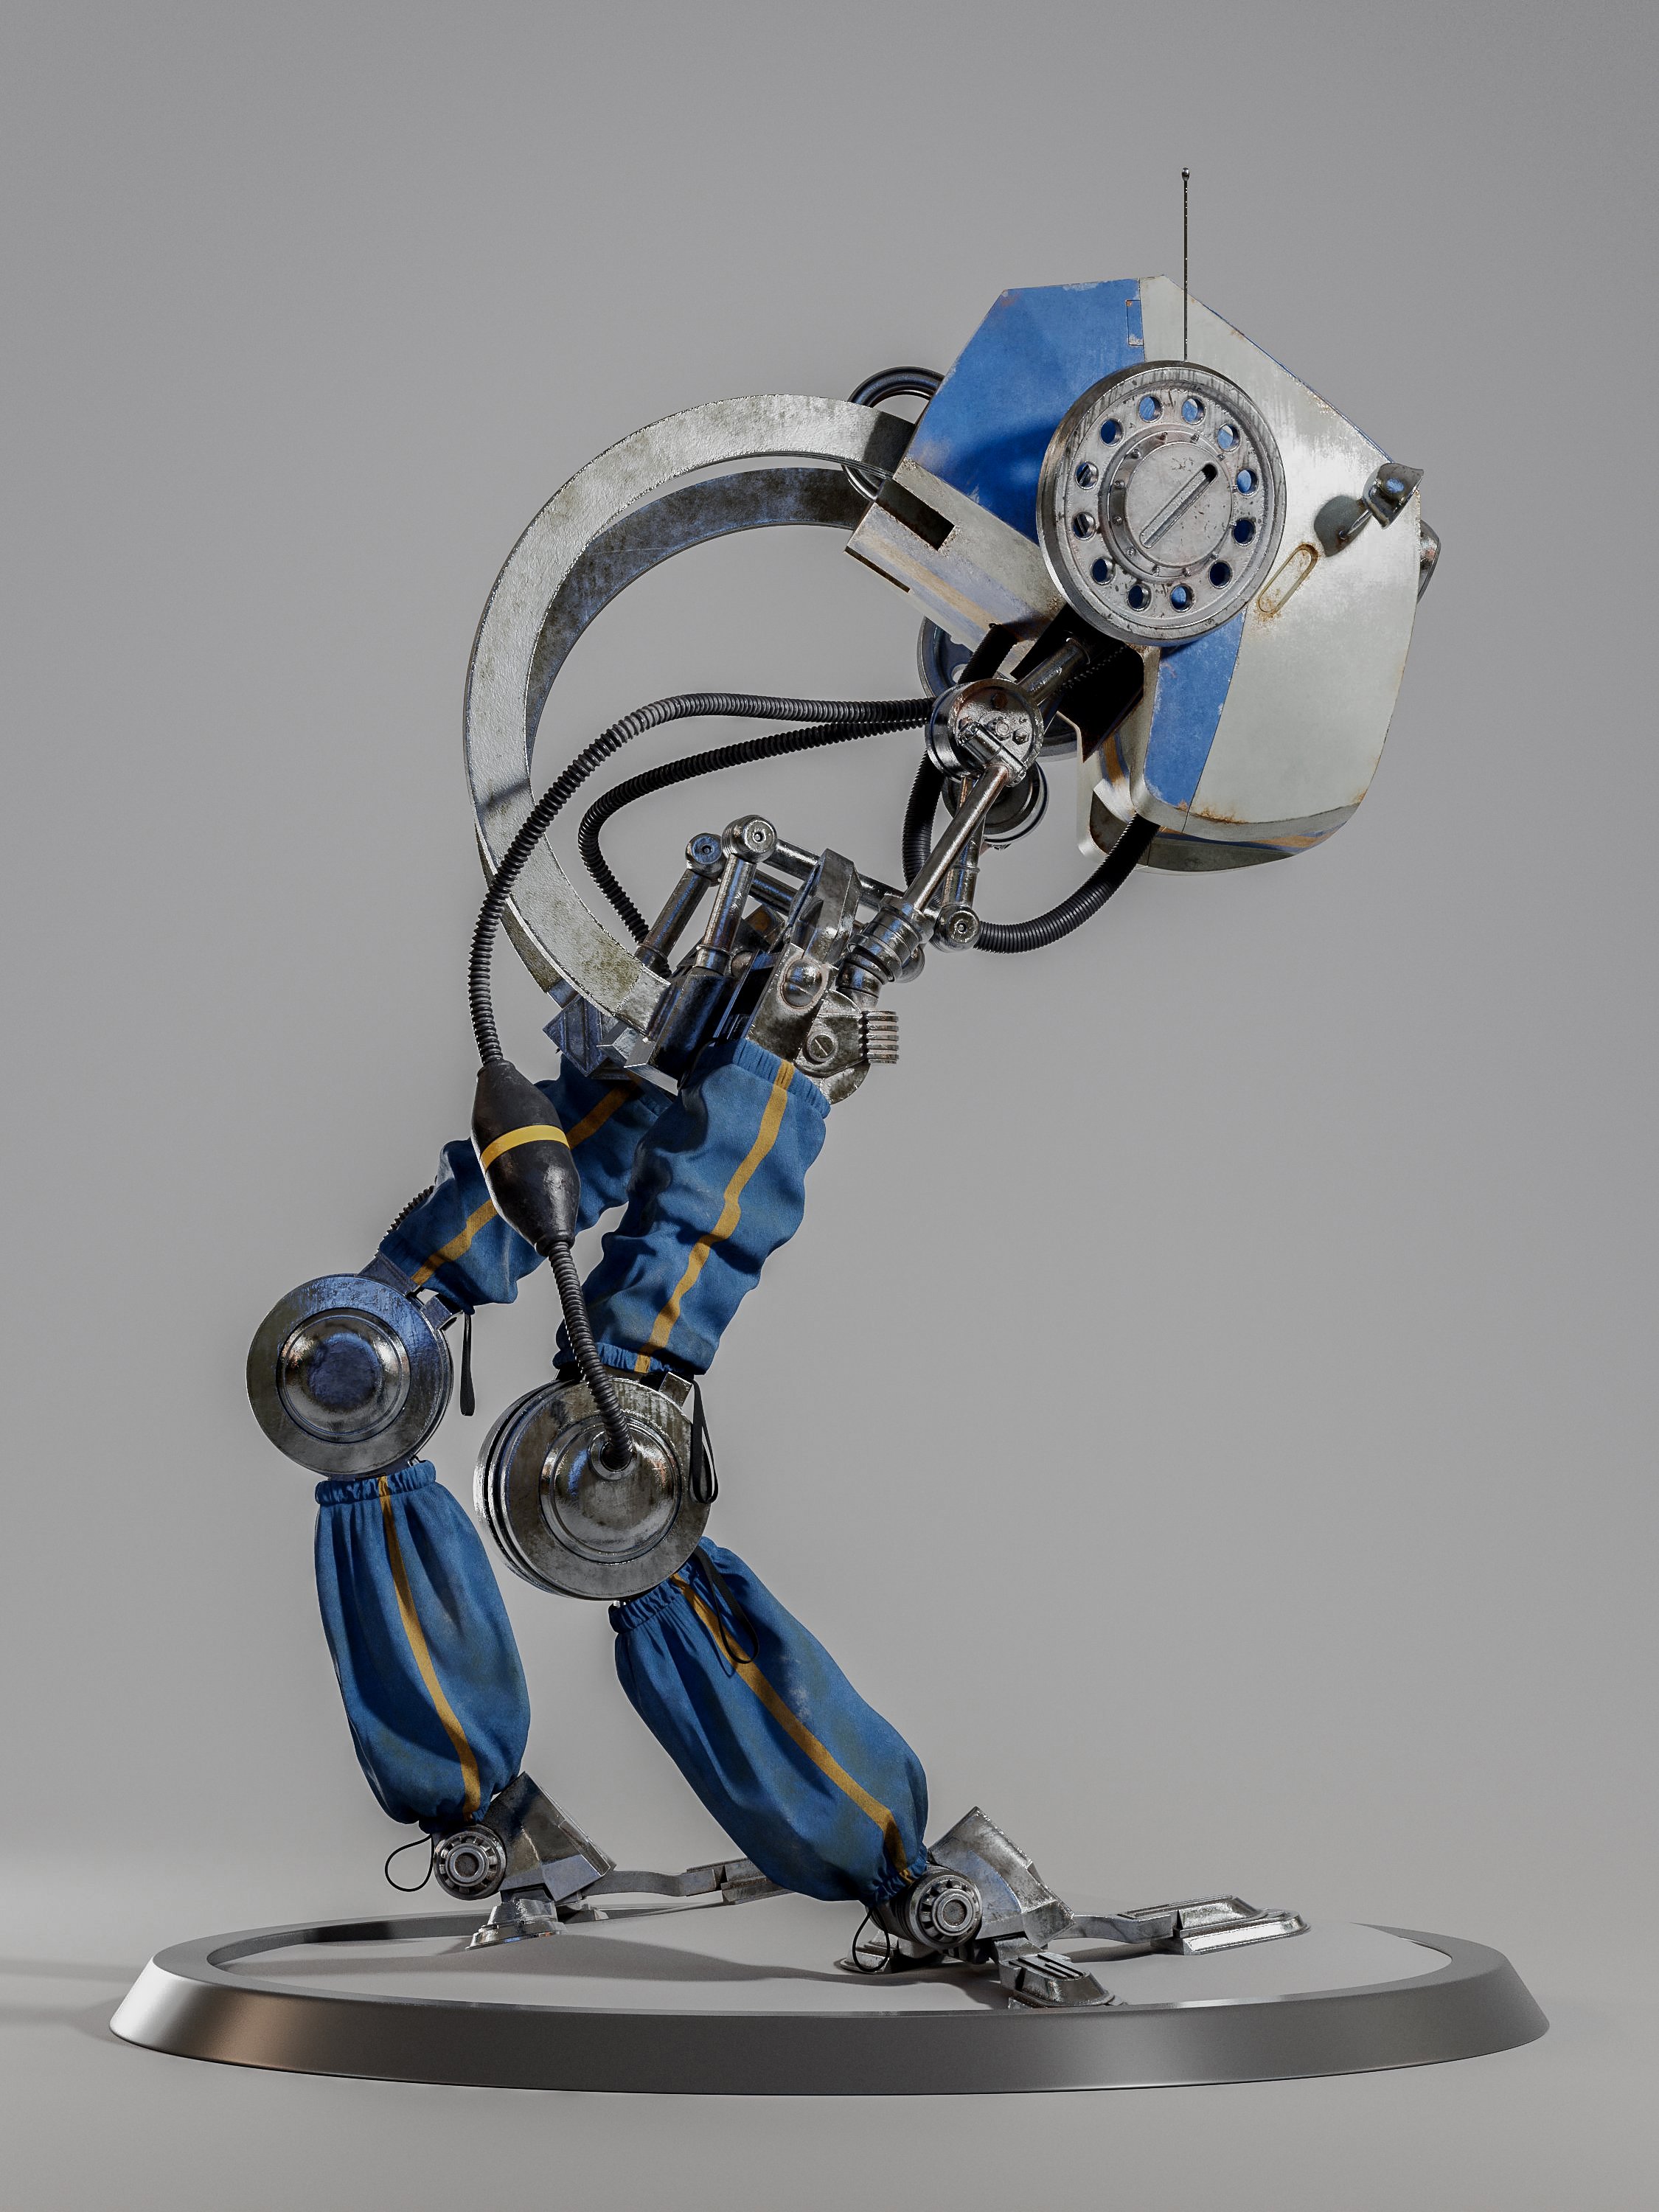
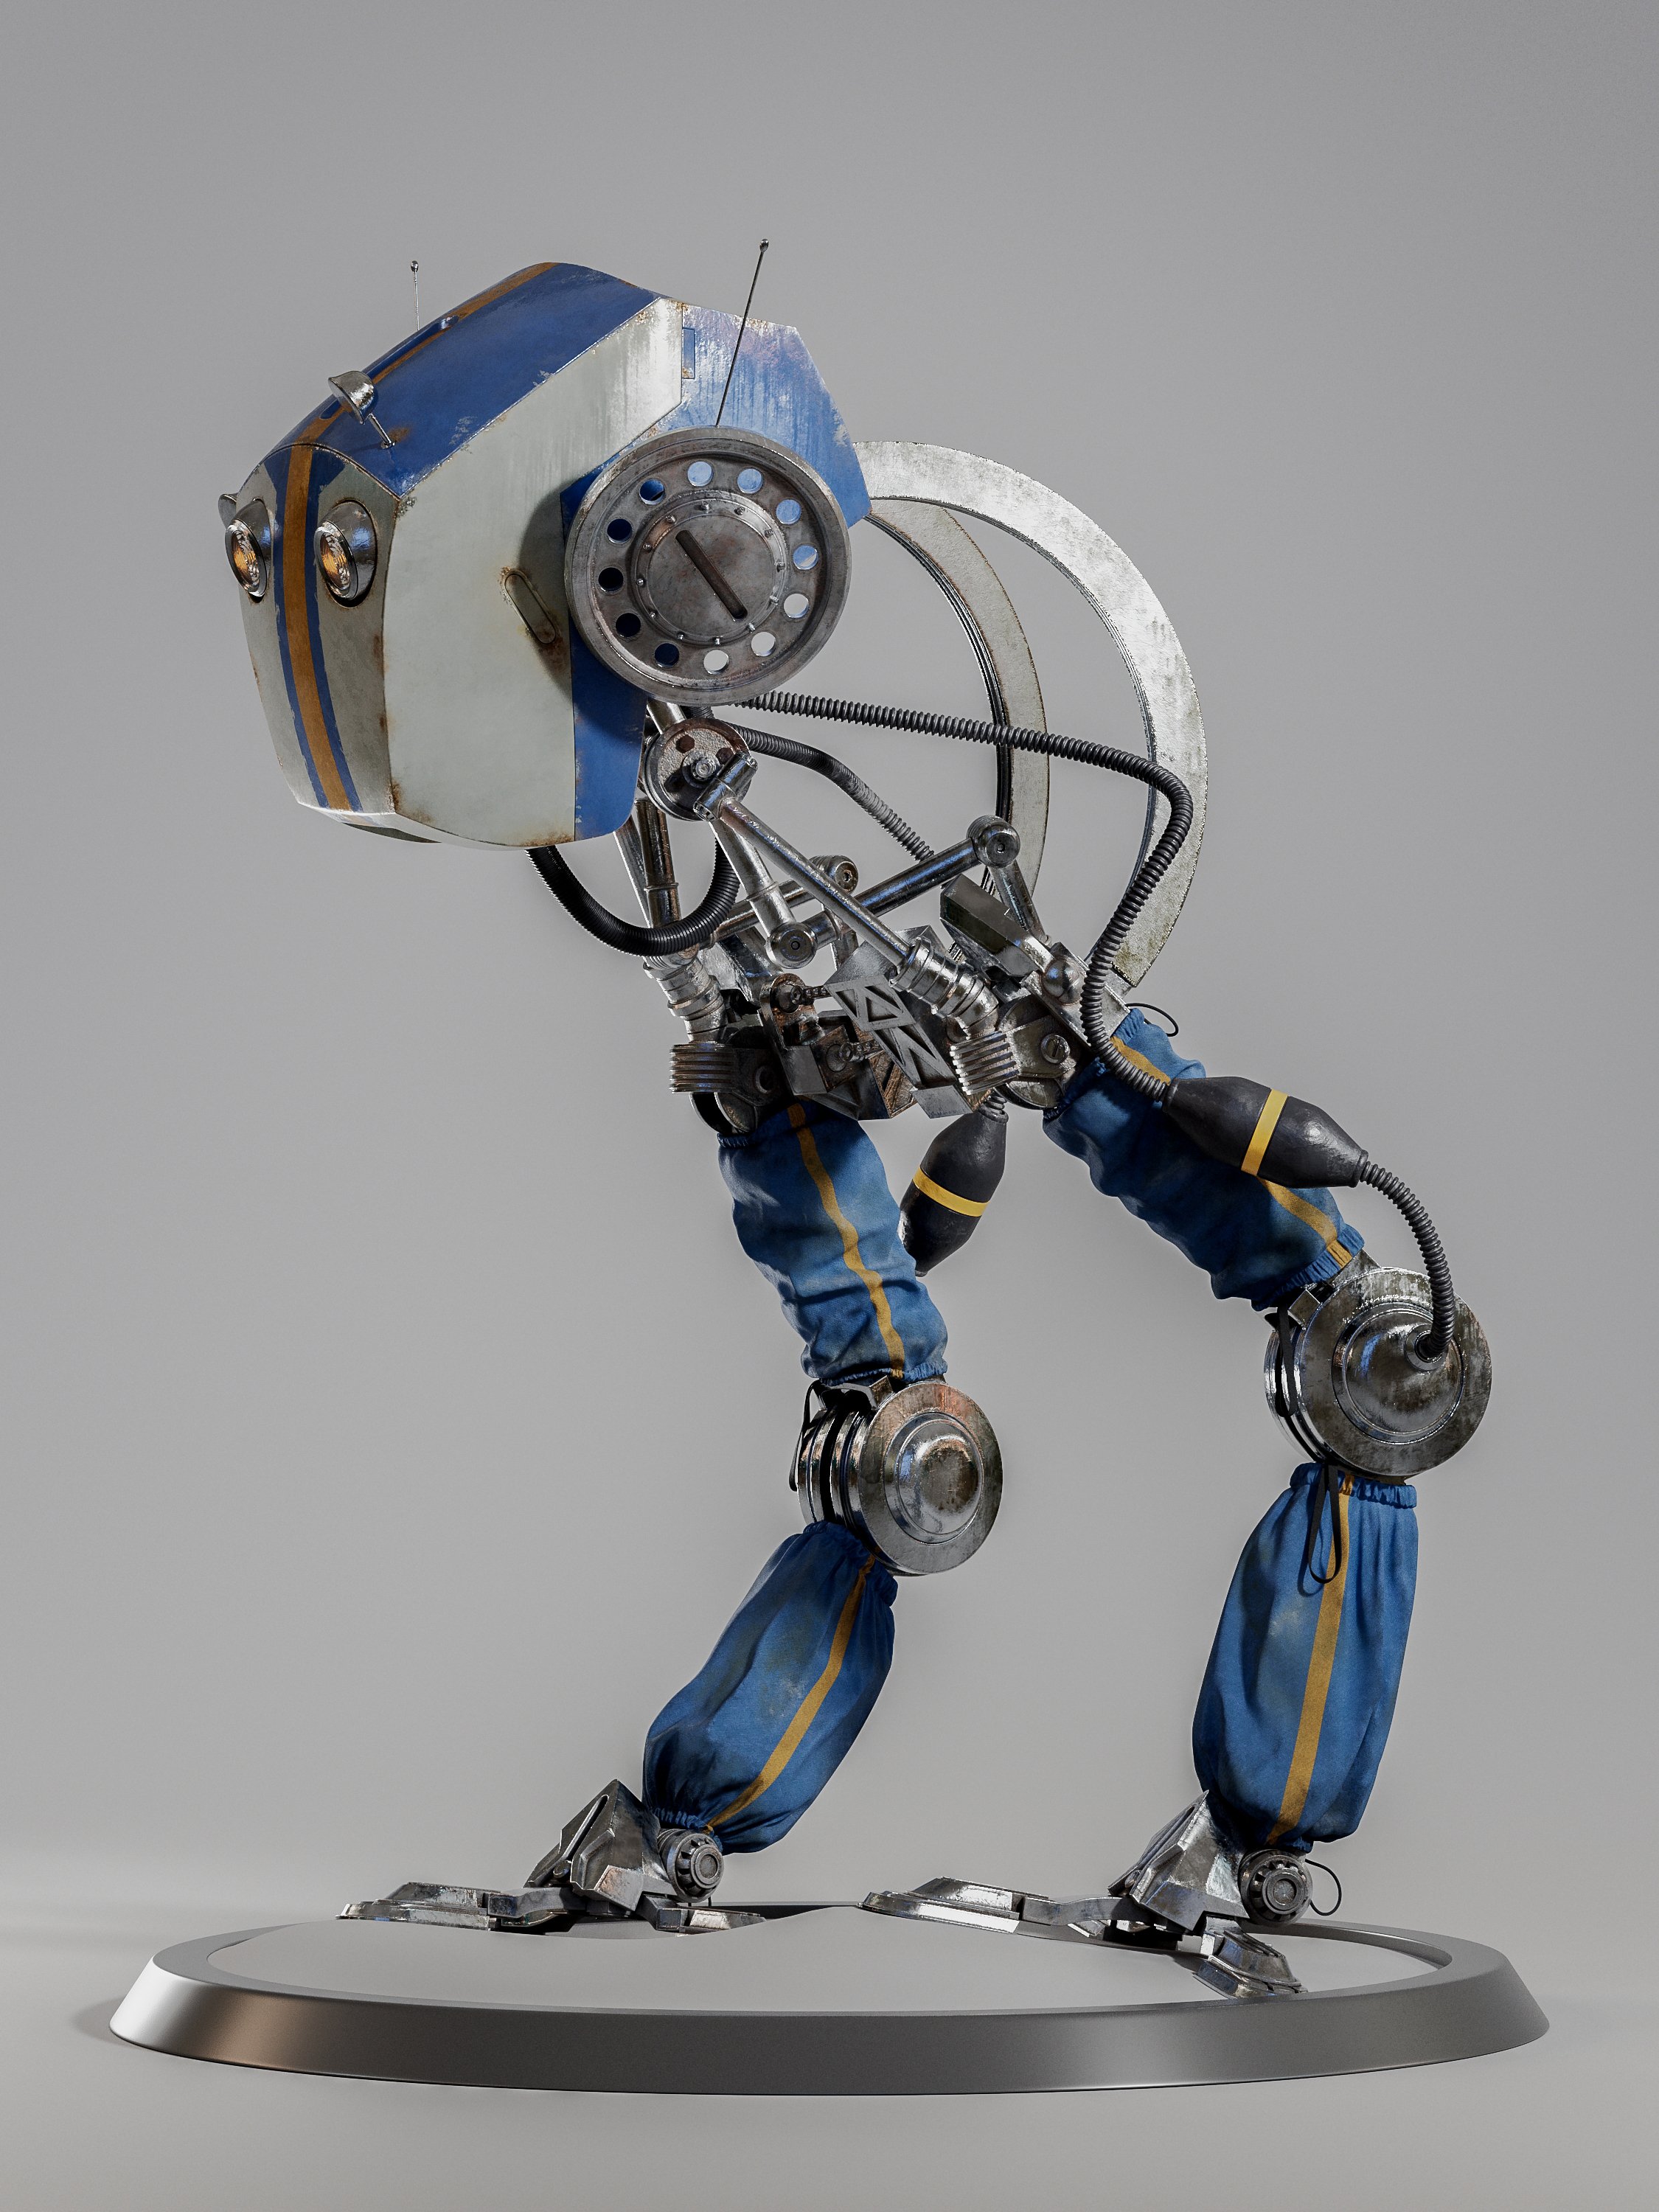
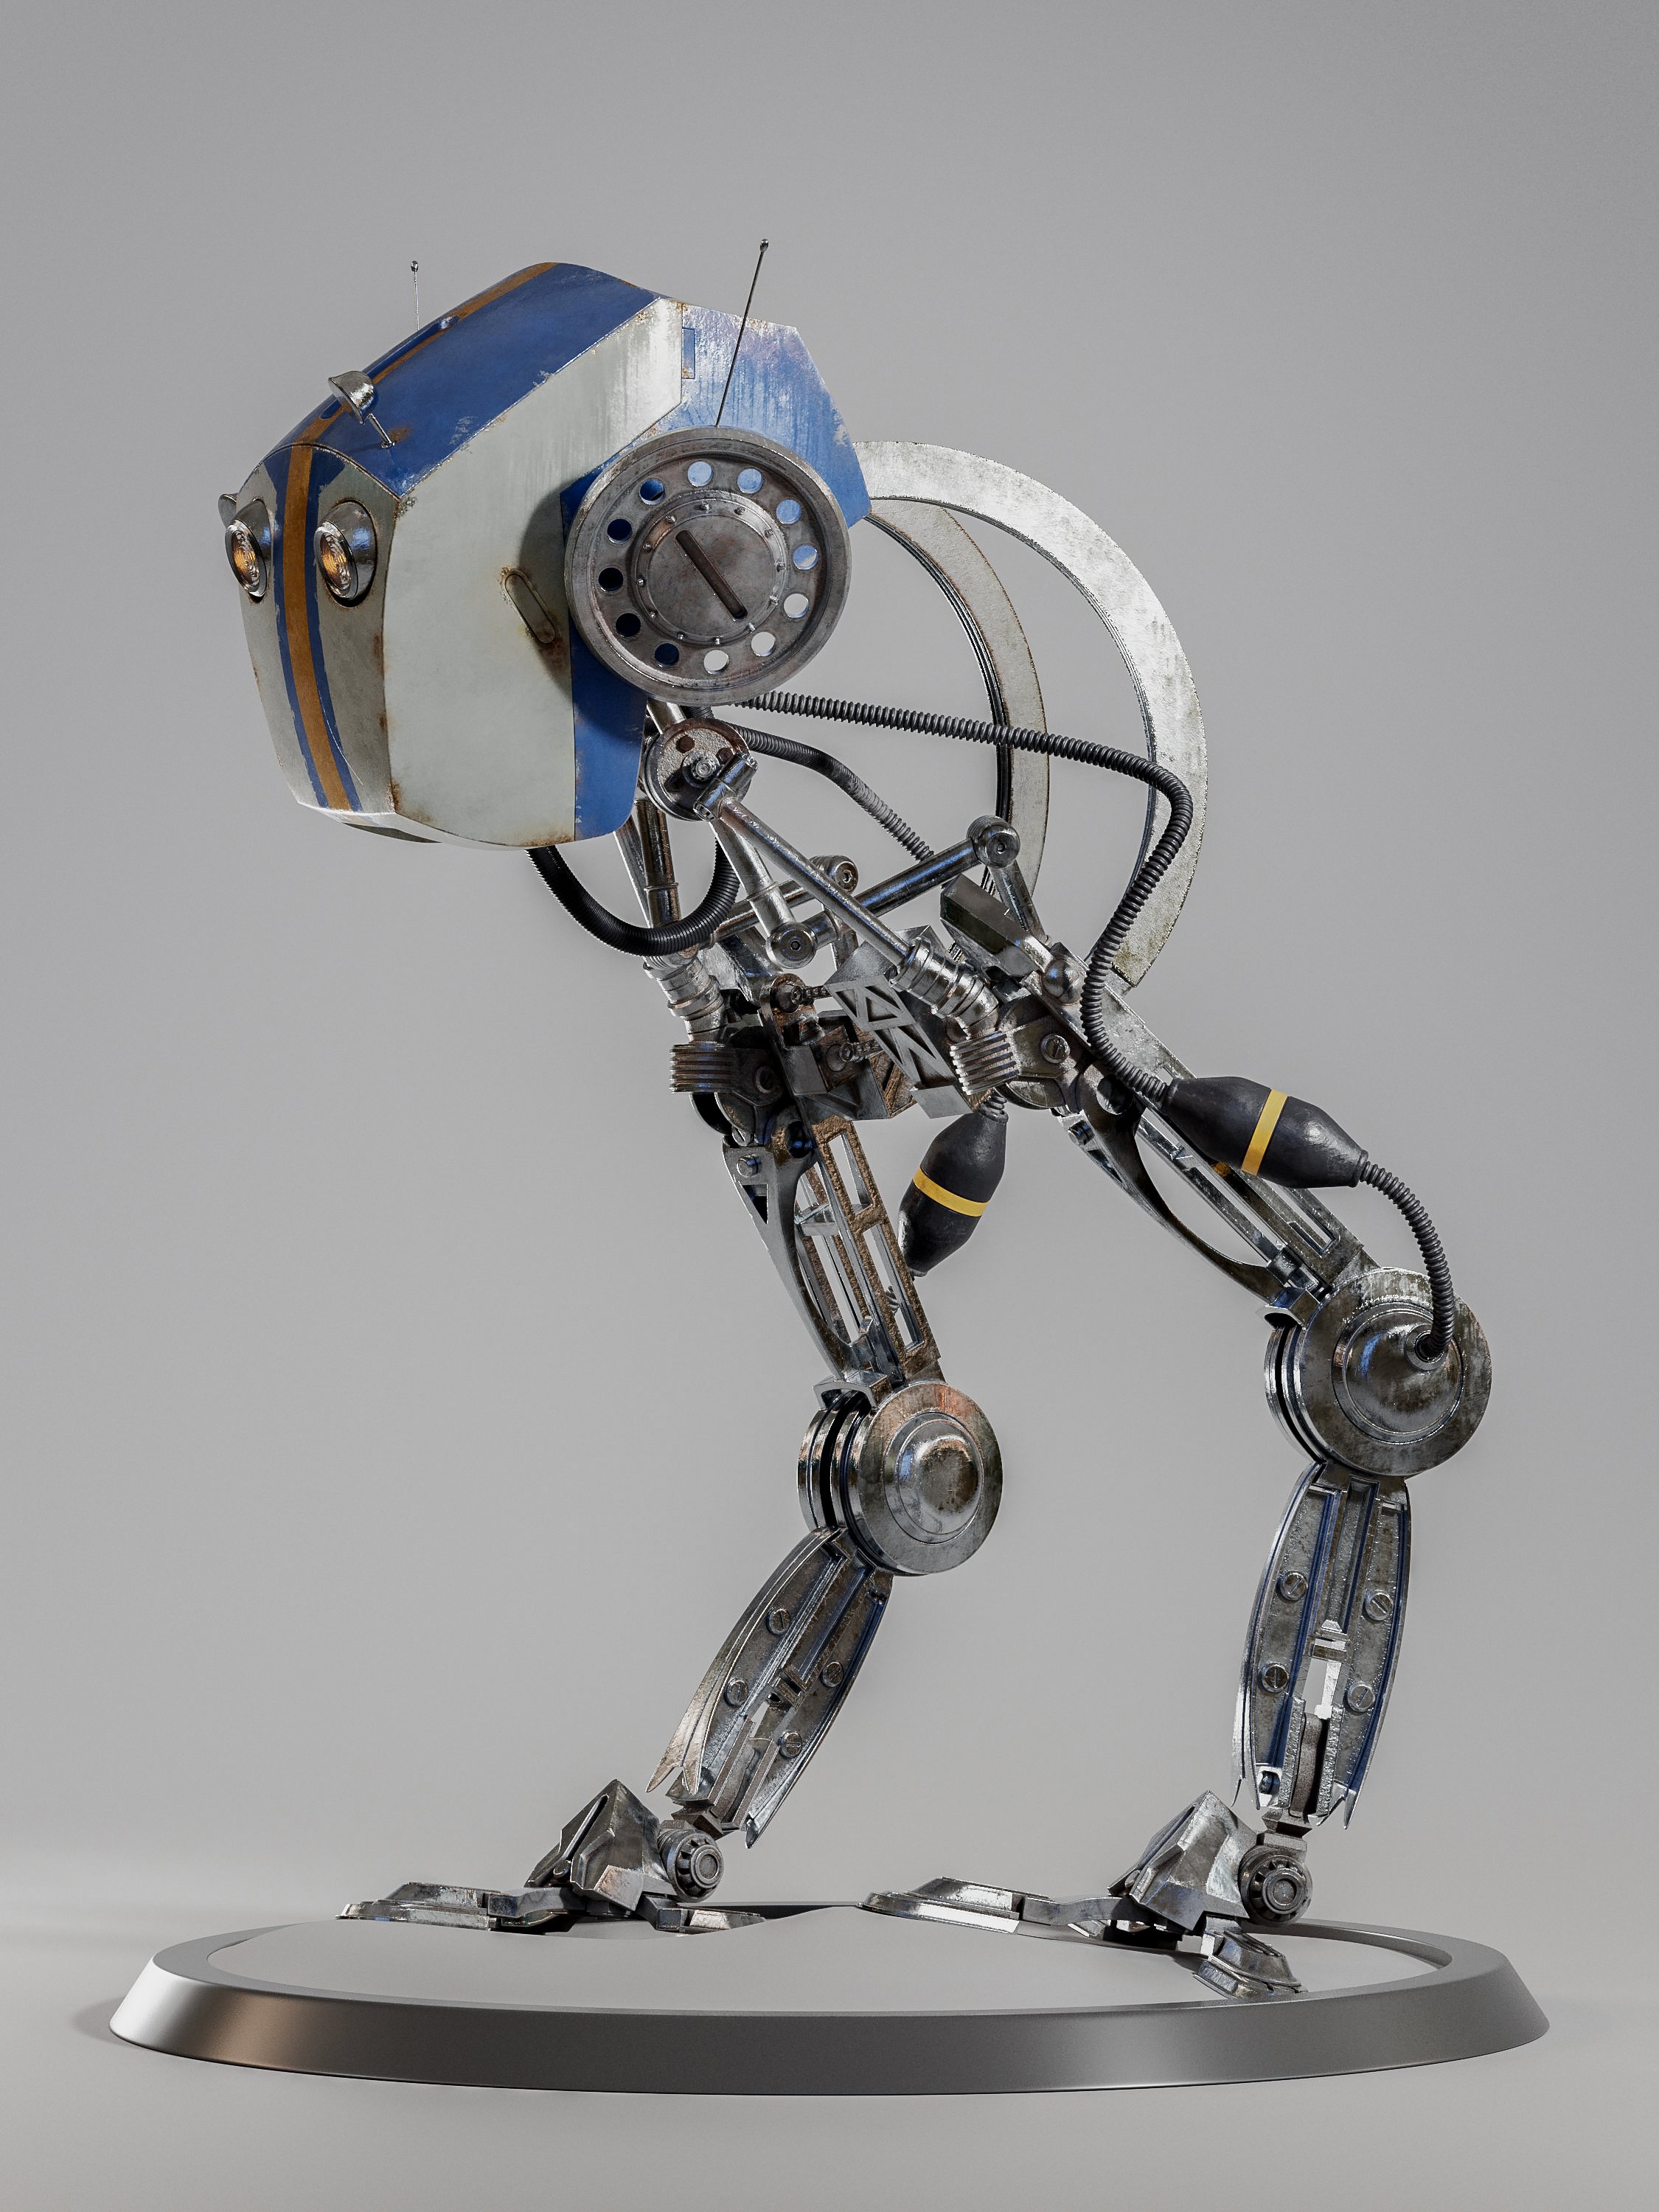
Jakob the Robot
Jakob, my third project from Skyup Academy, entails Realistic Photo recreation through Hard-Surface modeling, integrating Clothing, setting up the Environment, organizing UVs, applying Textures, managing Lighting, retouching in Post-Production.
Jakob the Robot
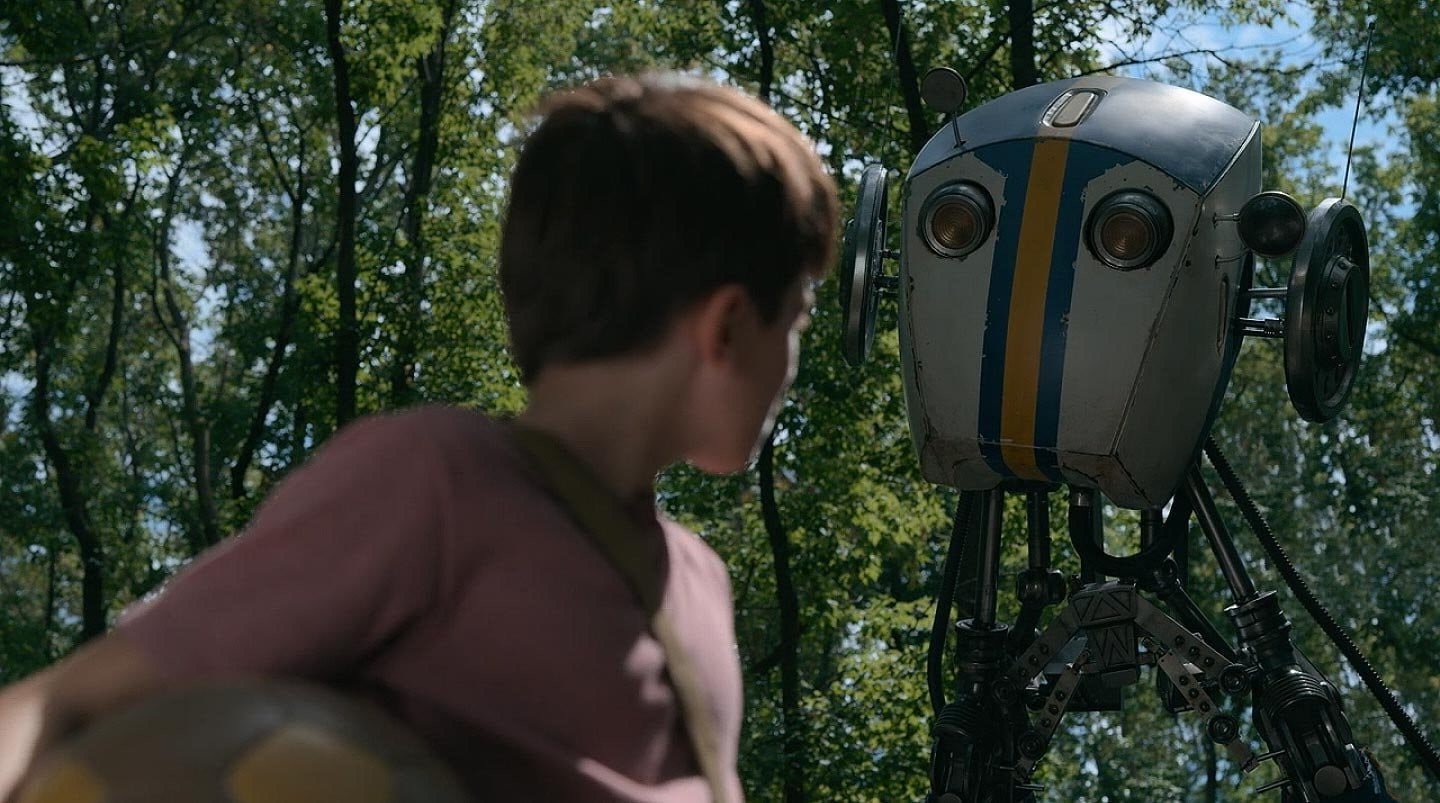
Jakob, a character in the Amazon Prime Video series "Tales from the Loop", which is an adaptation of the art book by Simon Stålenhag.
Jakob, experiences a captivating transformation in an episode. His consciousness is transferred into the body of a robot, and he subsequently resides within this robotic form for some time.
Below: an image taken from the TV series.
START
The assigned project was a very intense challenge for me, spanning four intense weeks and requiring a consistent and vigorous pace.
On the left we see the assigned Reference. I utilized Photoshop to retouch the image, eliminating disturbing elements and expanding the image margins. This adjustment aimed to facilitate later stages of the project. The result is on the right.


01. Initial Study
I started by studying the clips of the TV series where the robot appears, then searching the web for all the useful information to better understand the shapes and dimensions of each component. I also tried to understand the history of this Robot to be able to create storytelling.

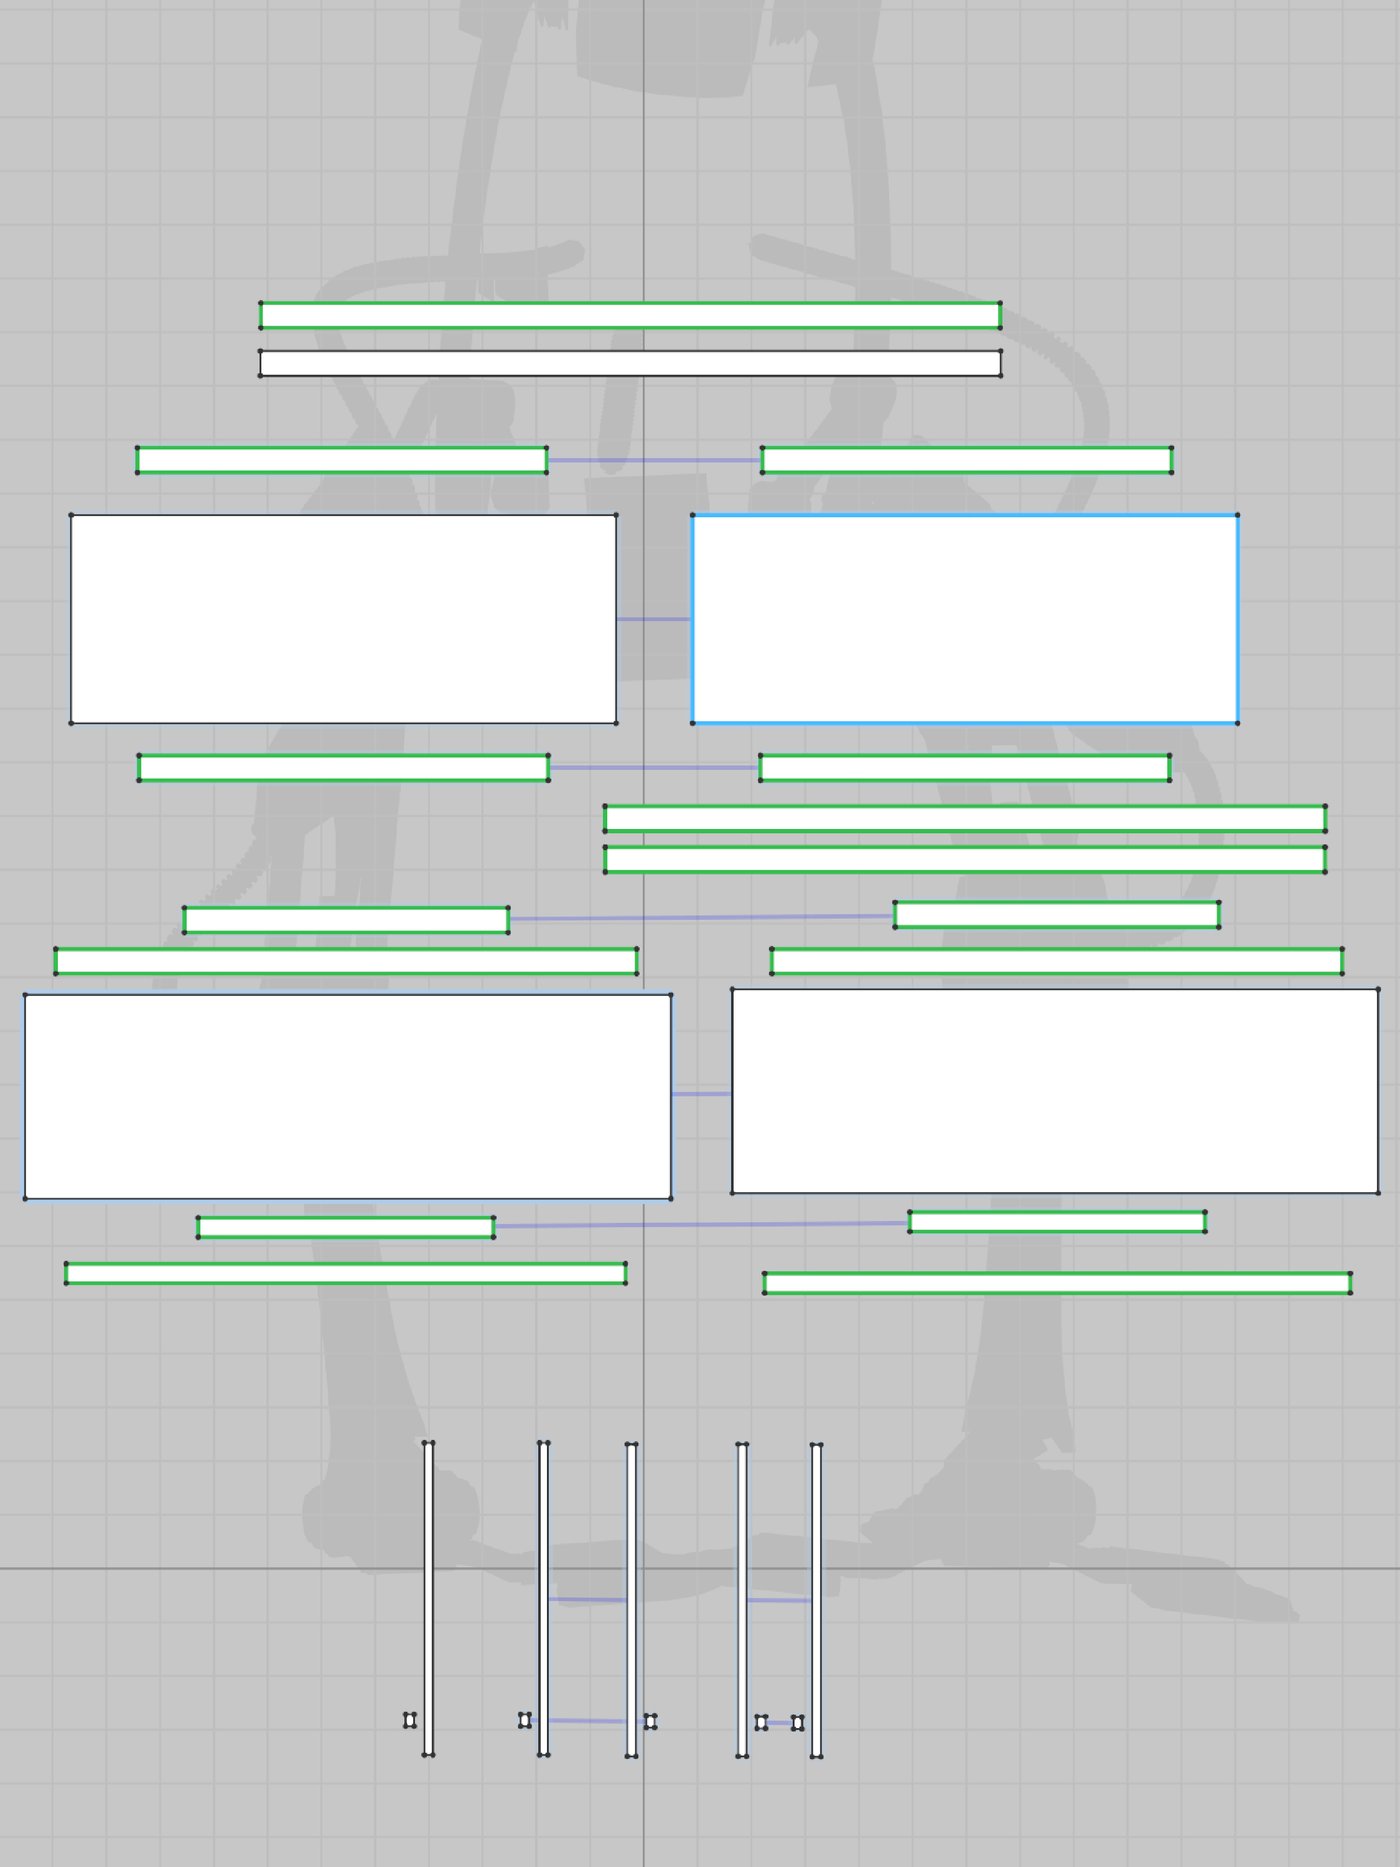
02. Line-Up
I used Maya to create the initial volumes for the Block-Out and then adjusted the camera settings for the intended final render. To achieve the desired angle, I posed the scene as if captured by a creative perspective. Assuming the camera height is close to the observer's head and utilizing a neutral focal length of around ~50mm.


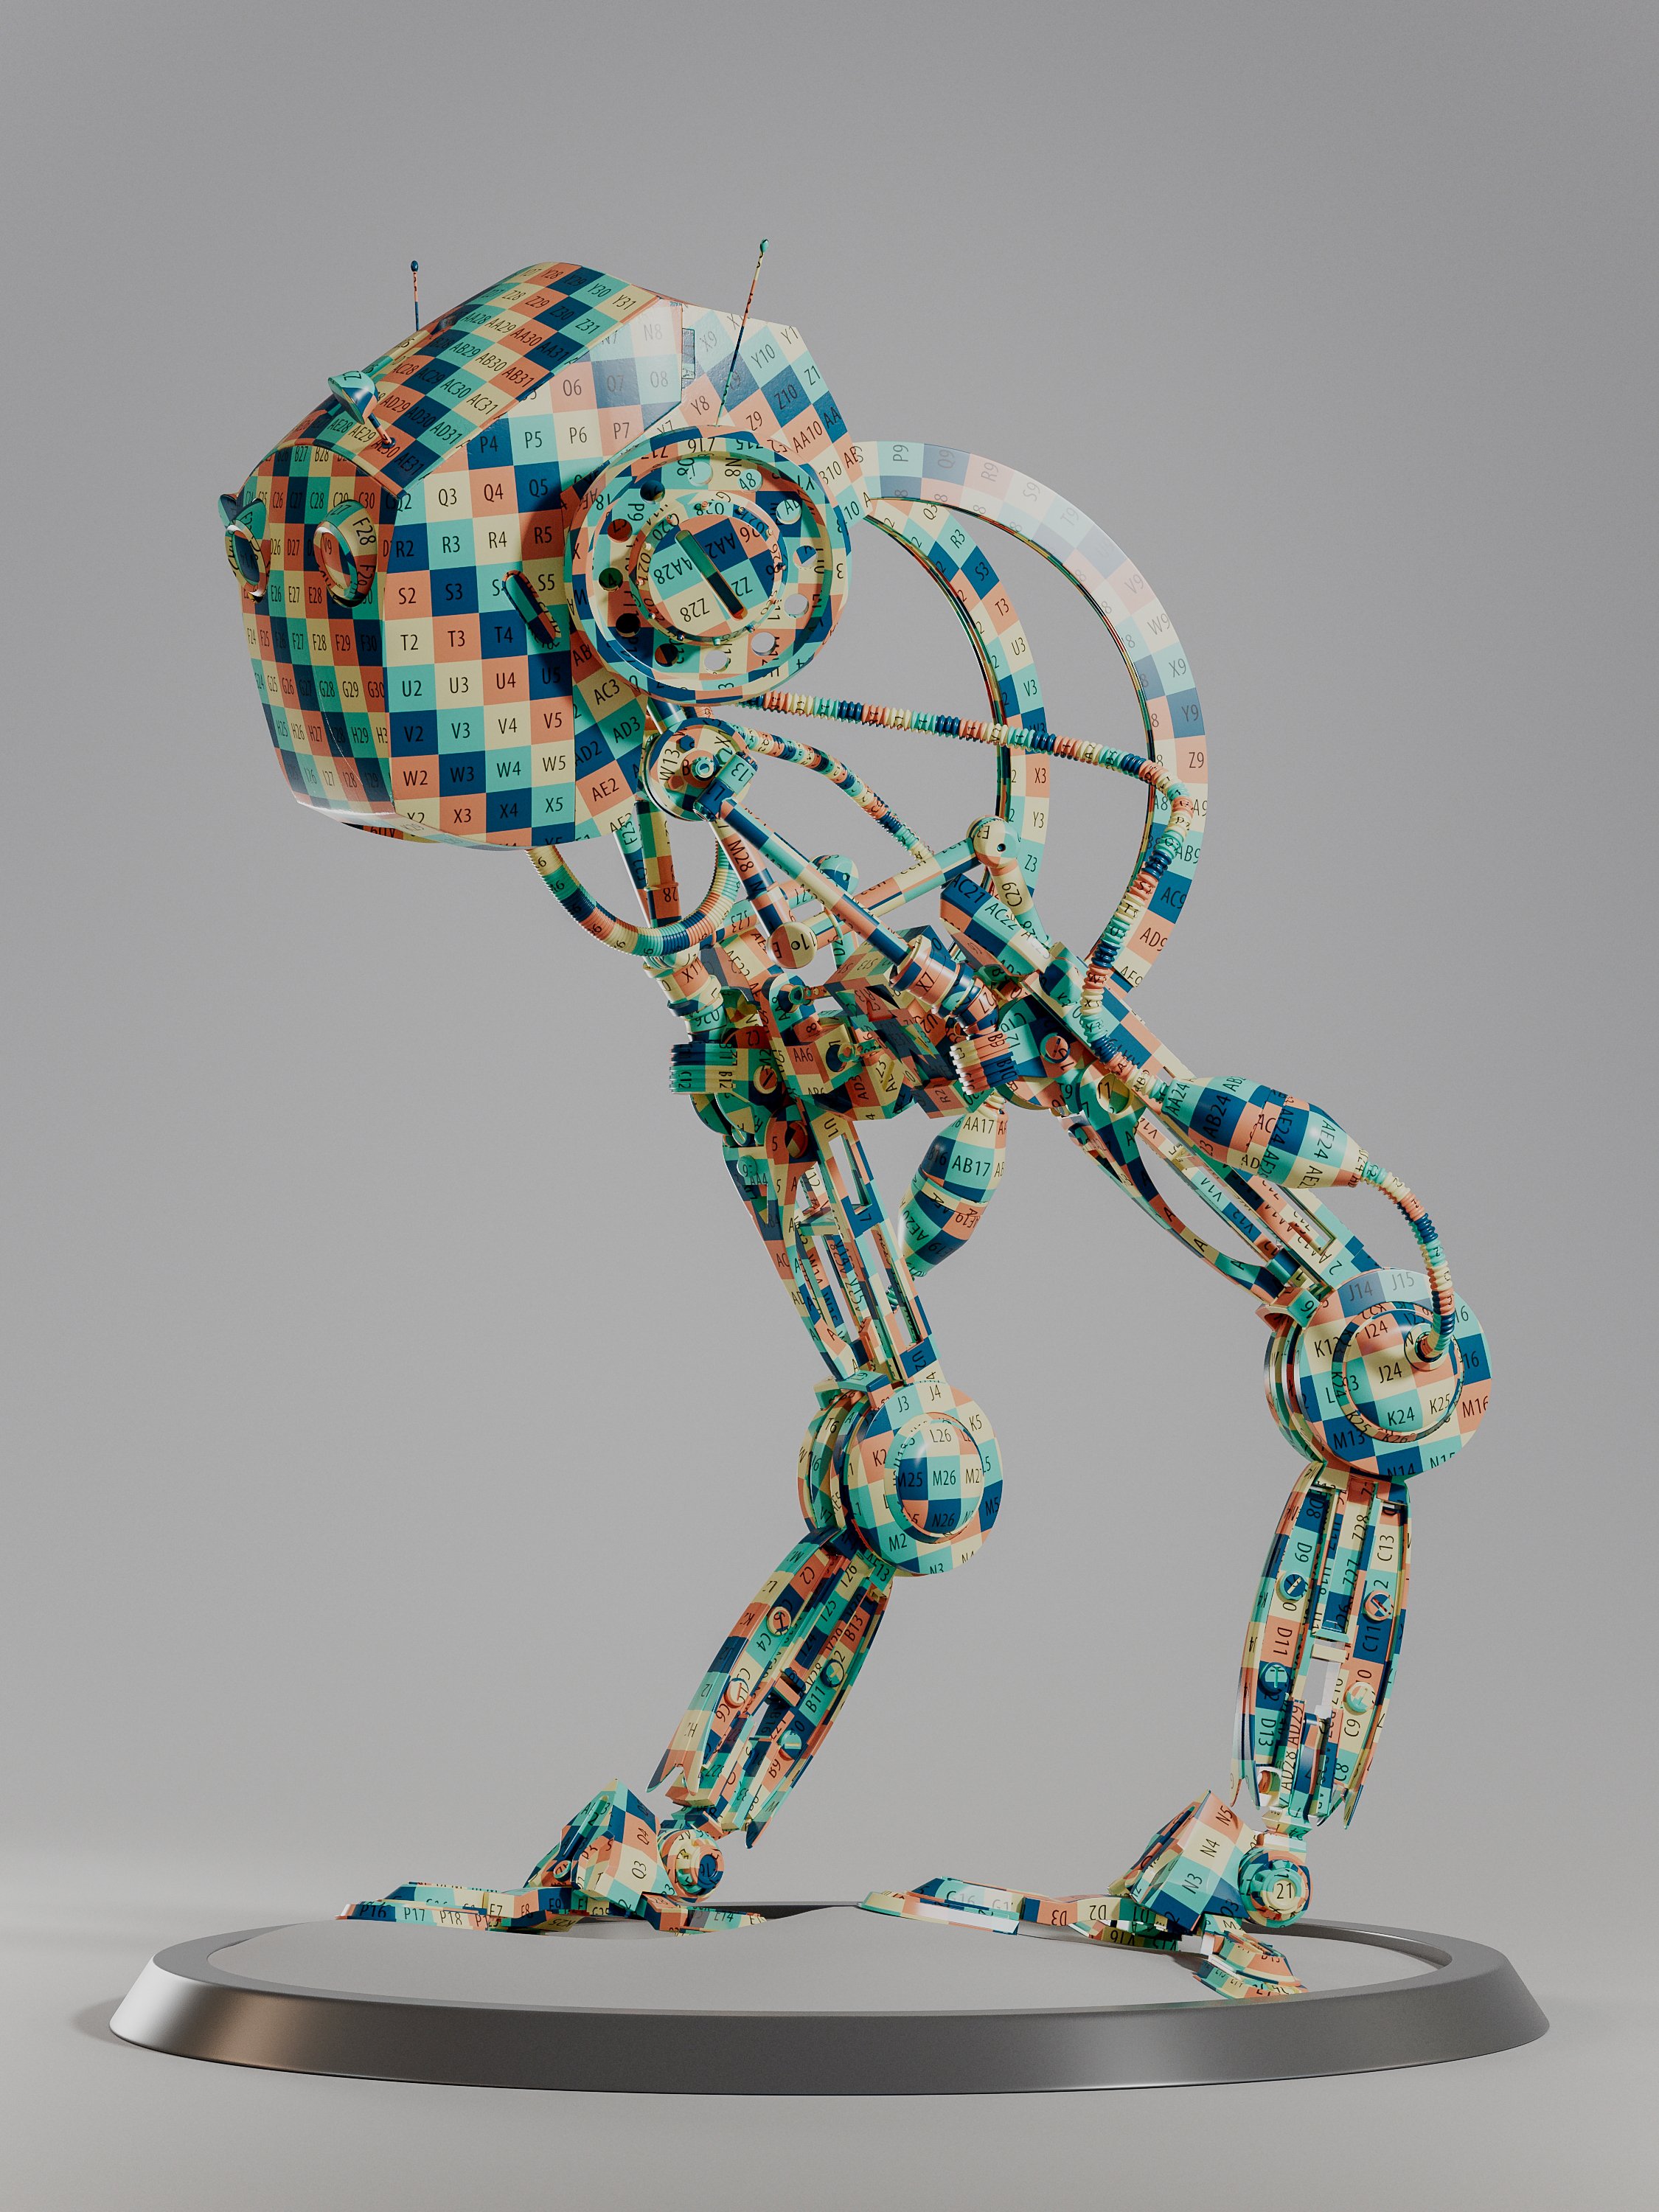
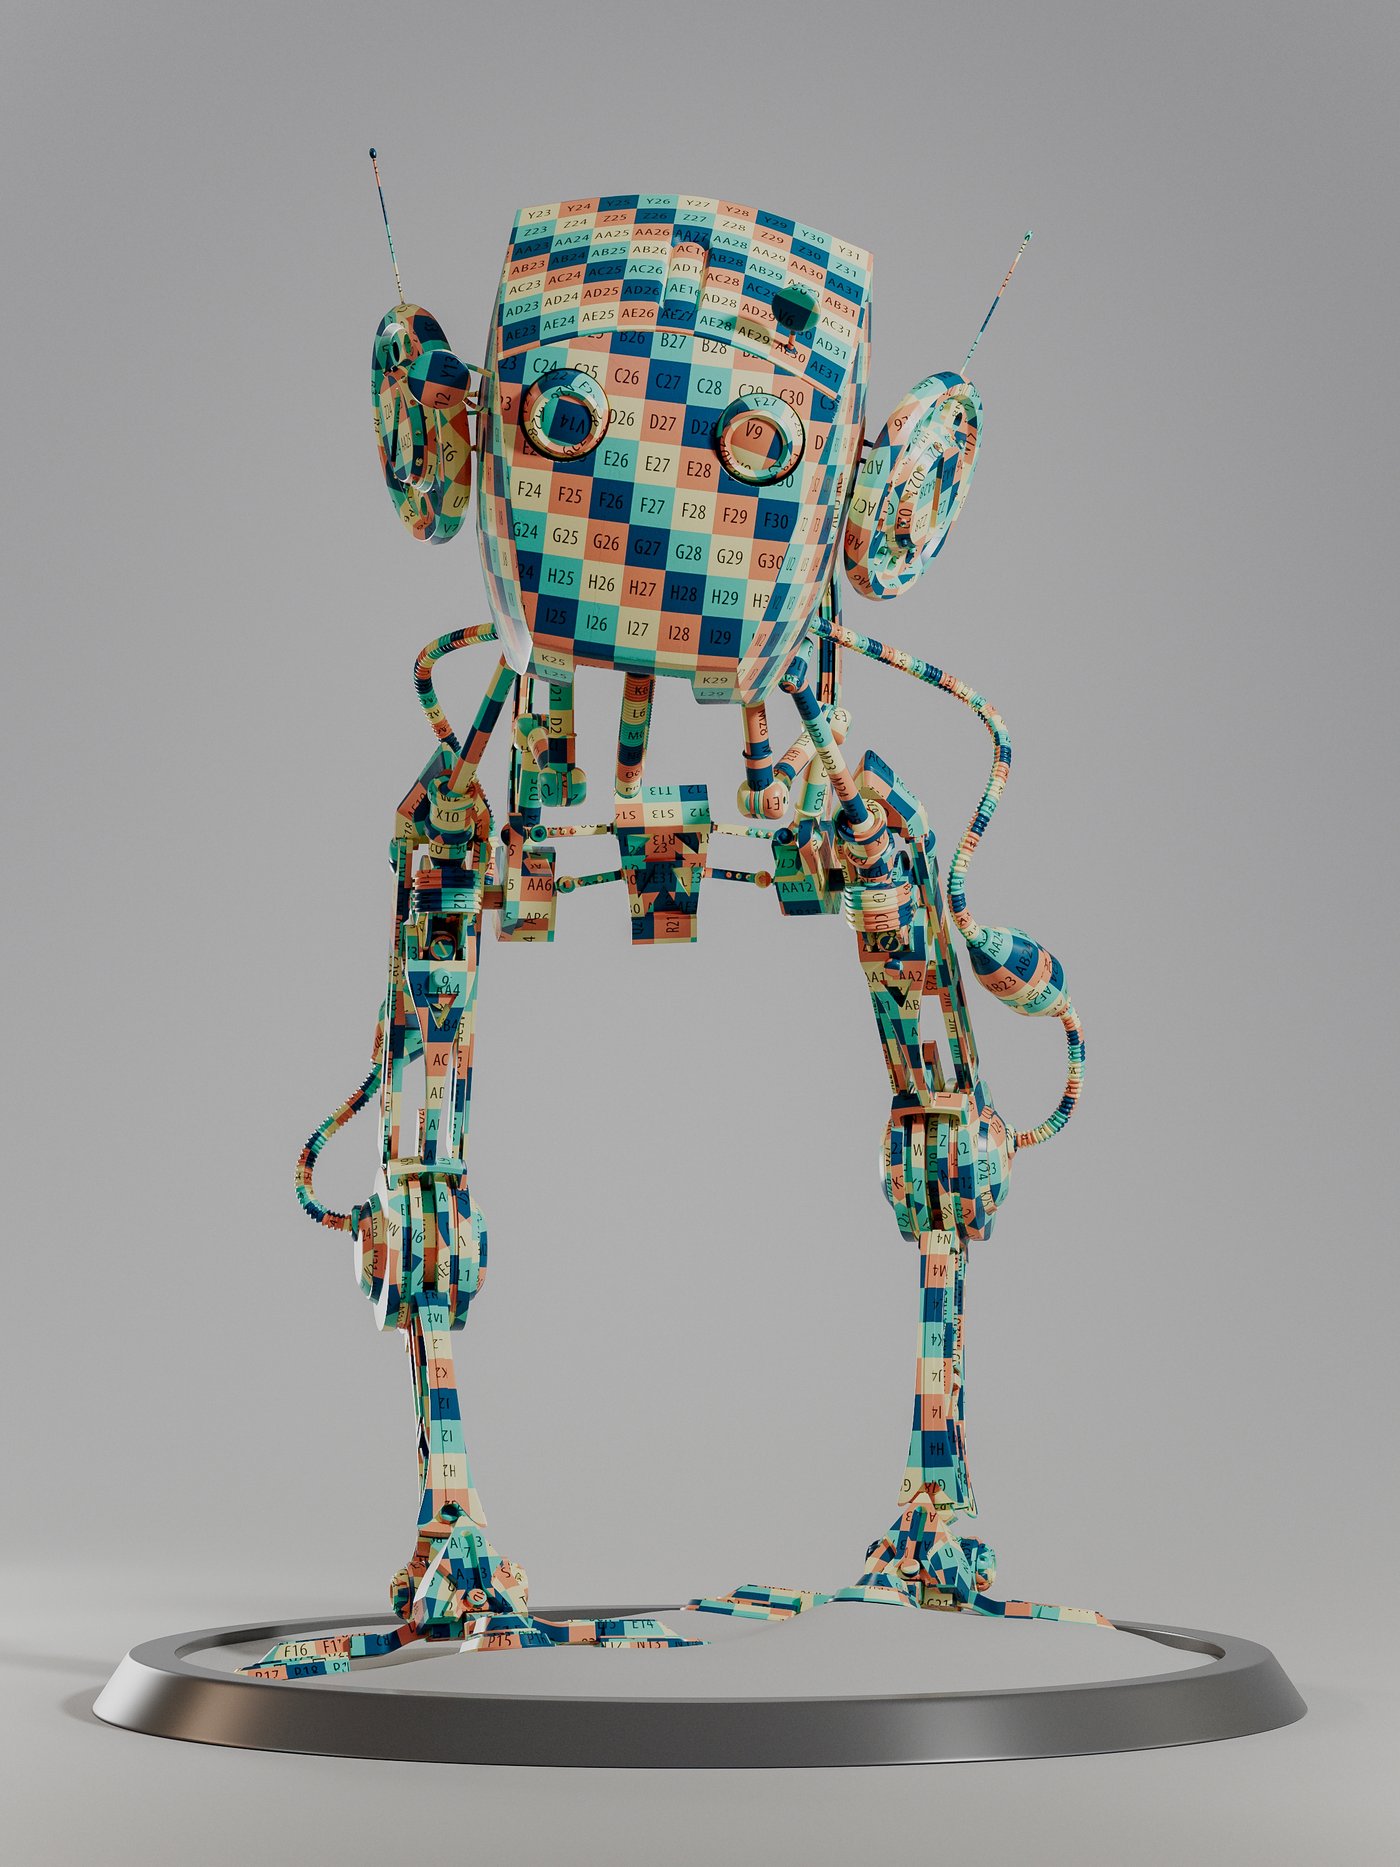
03. Modeling
I initiated the SubD modeling process by systematically replacing each blocking component. The primary challenge lay in constructing the Quad mesh, especially for the head with its curved design. Upon completing the modeling phase, I participated in a workshop with Gennaro Esposito, where he shared modeling principles that I wished I had known earlier. Undoubtedly, a complete remodel from scratch would significantly enhance the overall quality. Here are the key points I've noted and will apply in future projects:
No n-gons | Regular tessellation | n.3 vertex for curve | Bevel w/out chamfer | Perfect circle n.8 sides | No tris/stars on curved surface | Create "drivers" for bevel on the main shapes | Always one loop between bevels.
The modeling was executed in a standing pose, and later, with the assistance of a simple Rig System, I posed the robot.


04. Clothing
I made the Garments via Marvelous Designer with simple shapes.


05. UV mapping
I attempted manual unwrapping in Maya 2023 but found its functions limited for complex assets. In response, I explored and studied Rizom UV for its efficiency in terms of time and precision. Utilizing the UDIMs workflow, I obtained 12 tiles organized by component type.

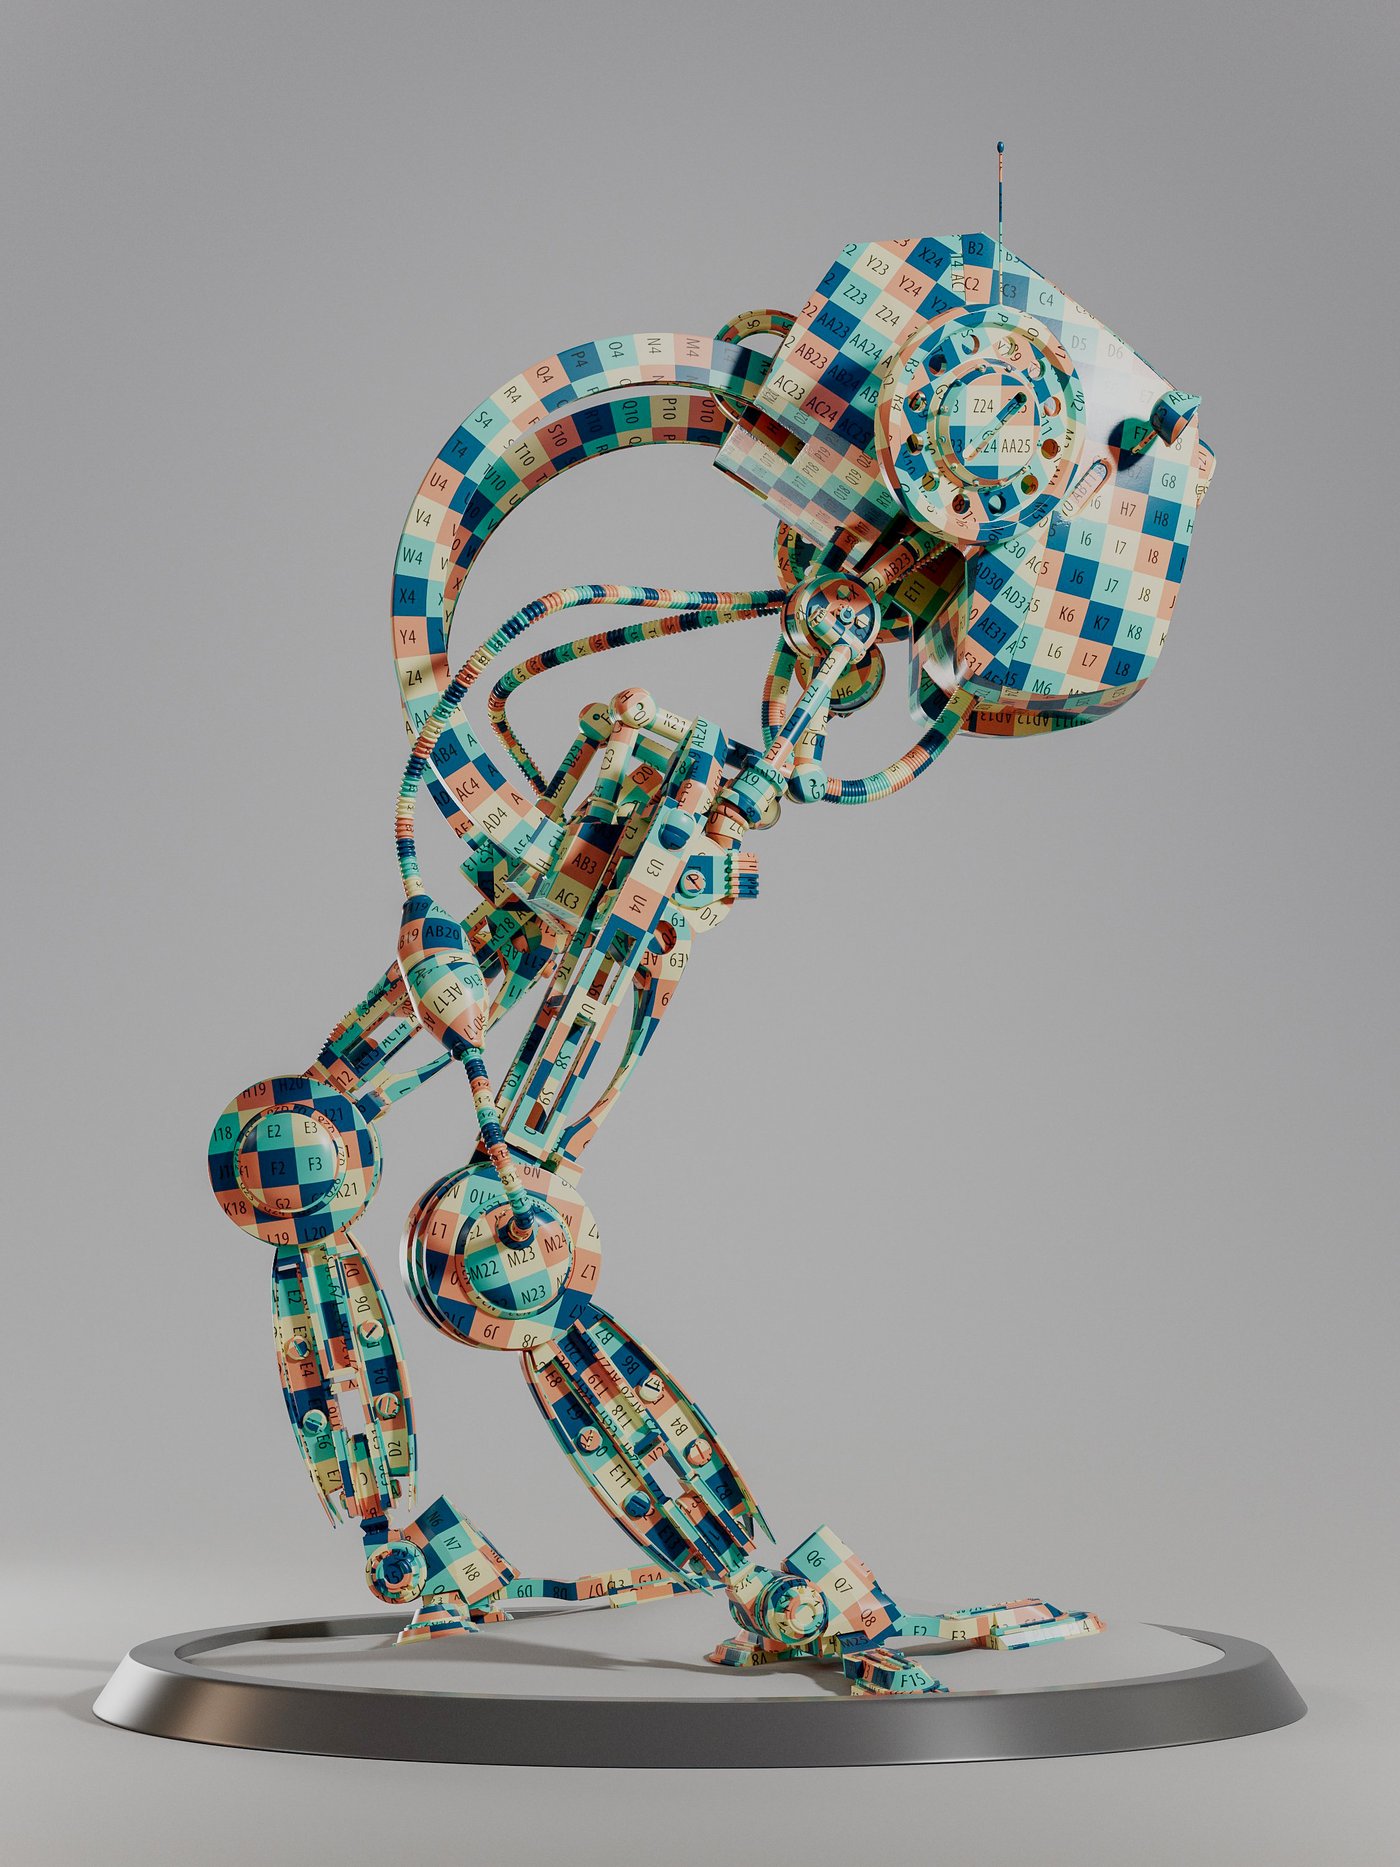

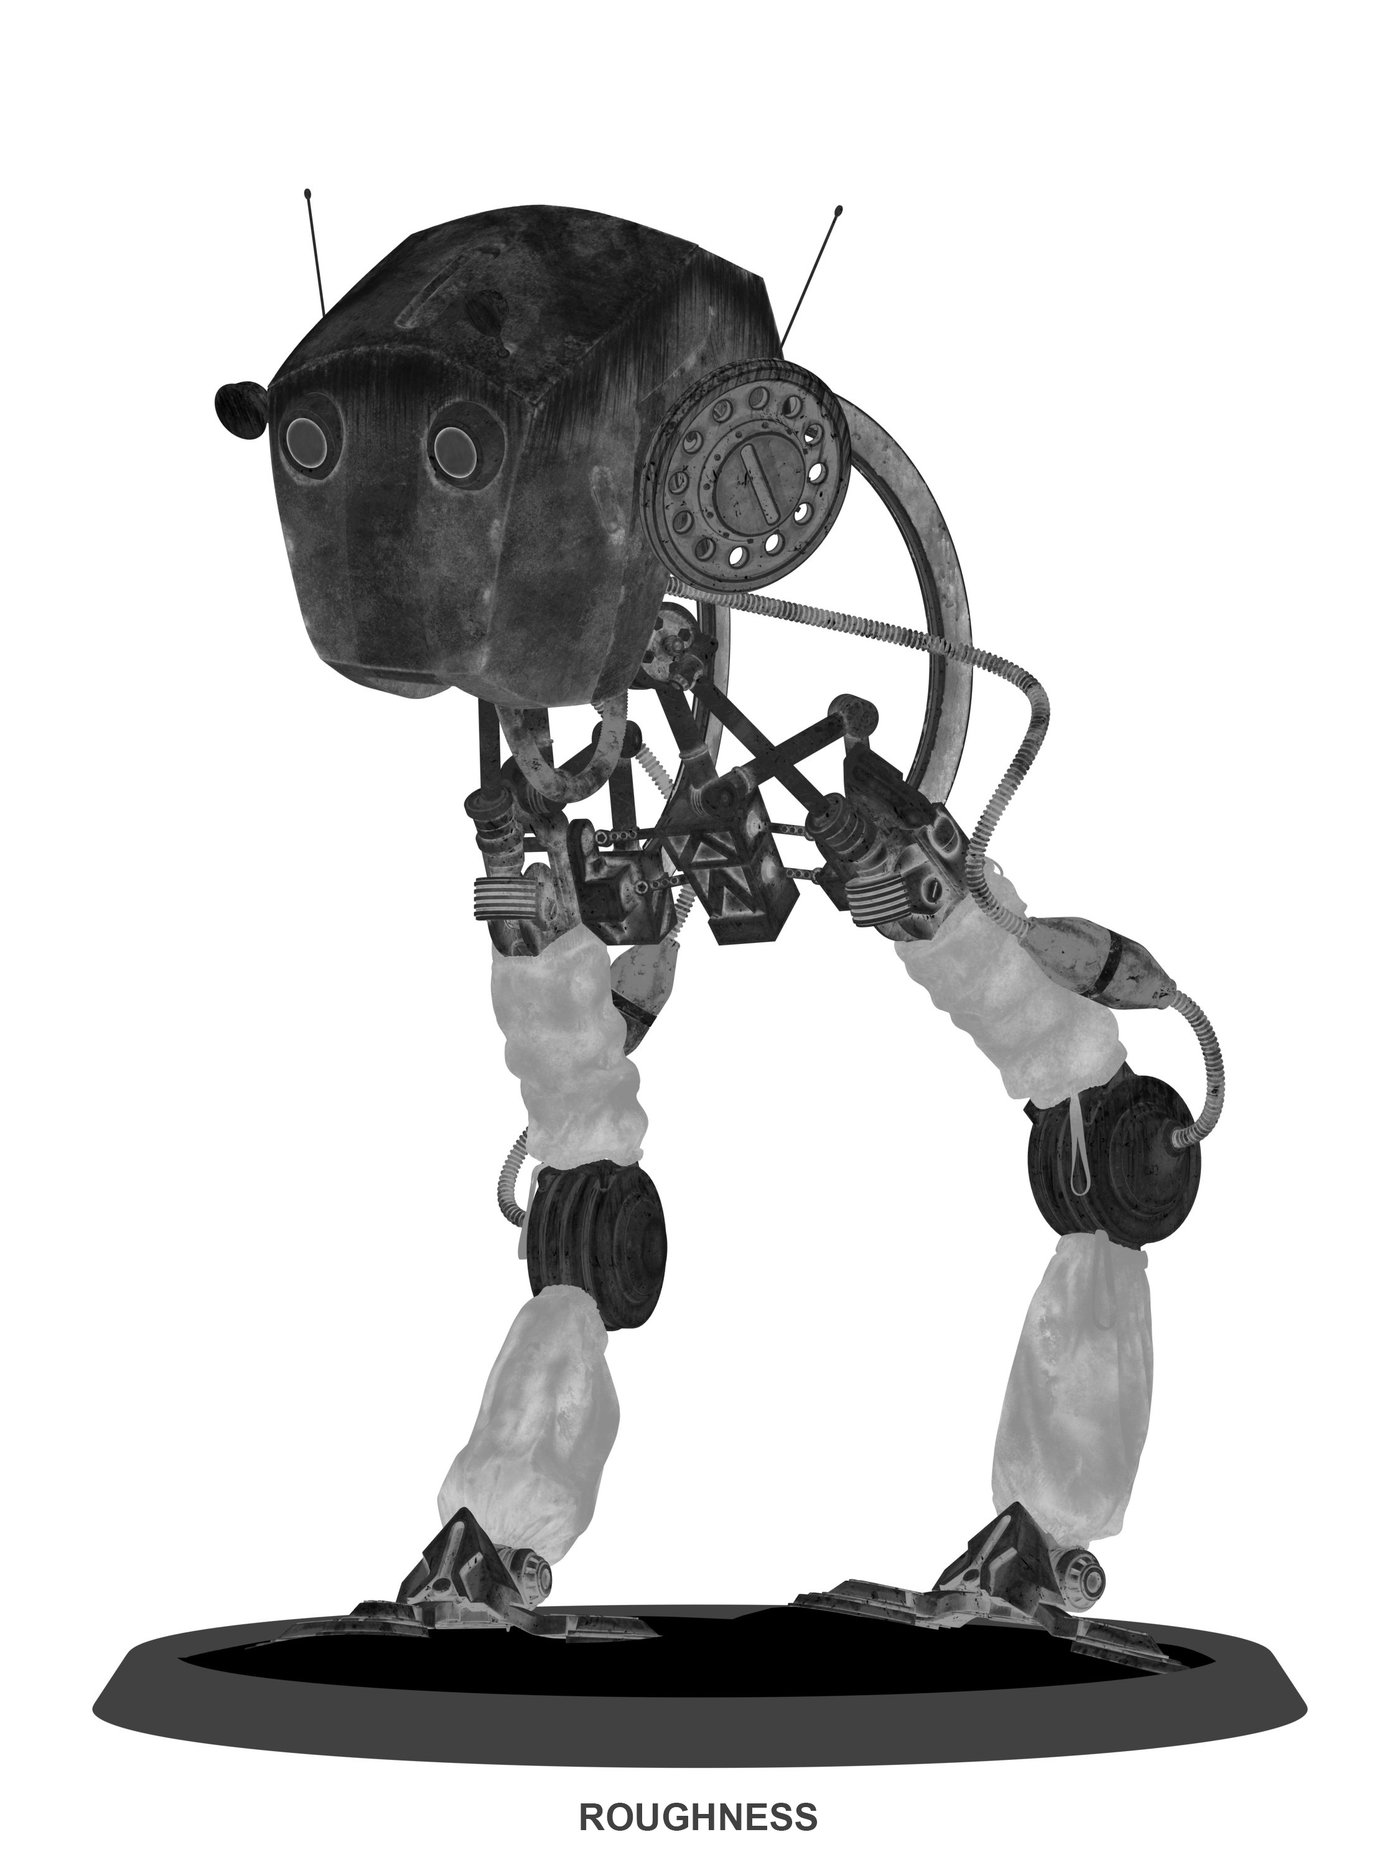
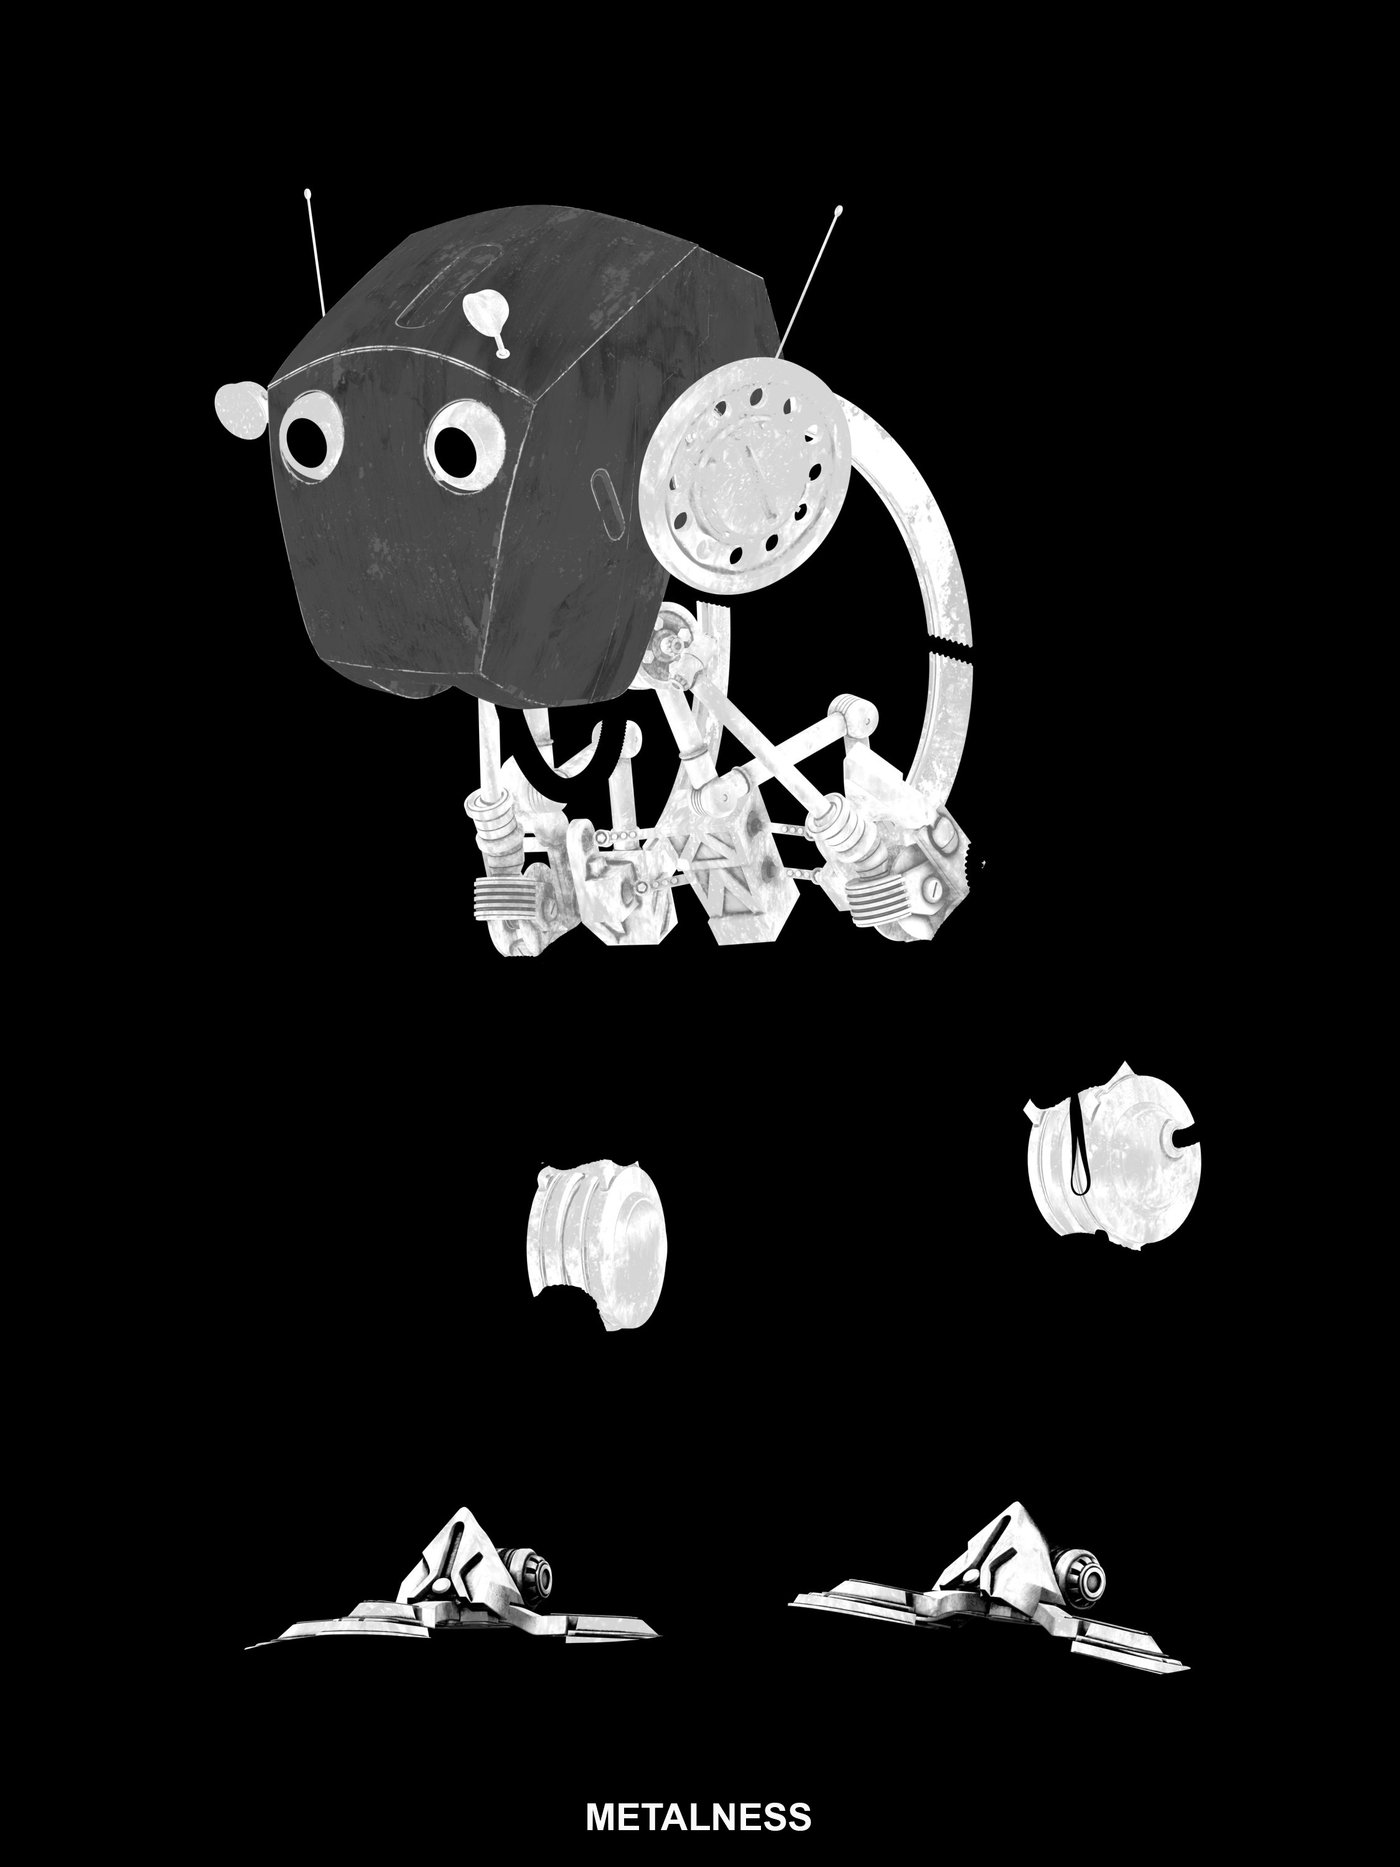
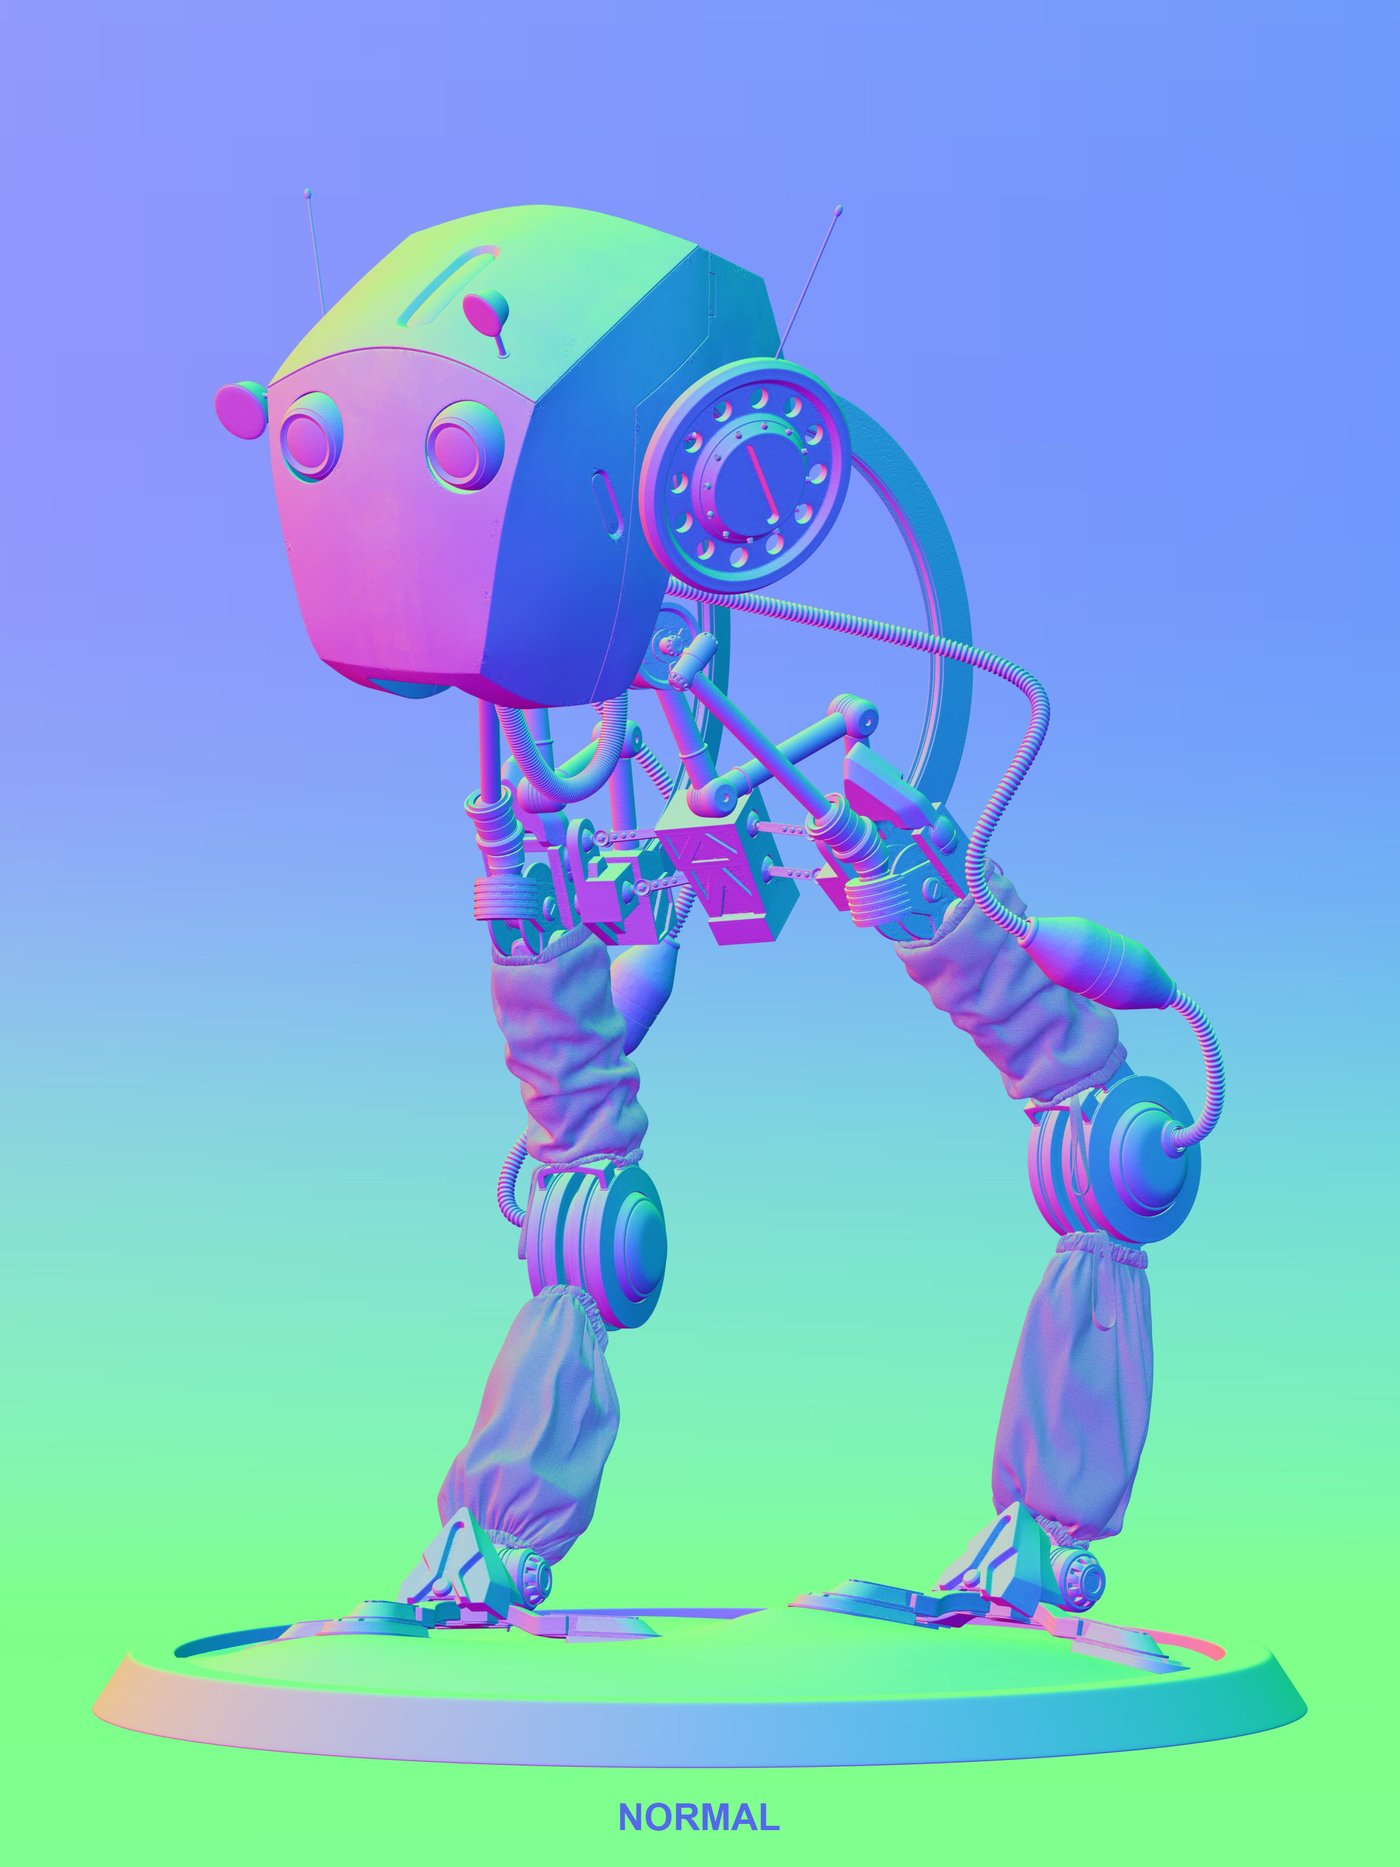
06. Texturing and Shading
I started to distinguish between dielectric materials and metals, but found the process uncomfortable when I moved to Substance Painter. As a solution, I opted to divide the asset into n.6 materials corresponding to macro-areas (Head, Metal, Plastic, Fabric, Glass, Emissive). This approach provided greater flexibility, particularly when using the "isolate" function in Substance Painter, enhancing fluidity and control over the various materials. Upon completion, I returned to Maya to compile and finalize all the materials.


07. Enviroment, Lighting and Post-Production
The terrain initially took form through Gaea and was later enhanced by integrating assets sourced from Quixel Megascan. In Maya I used the sculpting tool to the terrain shapes to seamlessly incorporate the Robot and environmental elements.
Manual placement of foreground Trees allowed for precise control over their positions, while Vray Scatter facilitated background tree distribution, including around the Robot to induce reflections.
For the Lighting, a cold tint was achieved using Vray Sky, complemented by a pair of rectangulars serving as keylights to simulate sunlight.
In Post-Production, I utilized ID masks to individually fine-tune RGB channels through color-grading curves. Subsequently, leveraging the Z-Depth pass, I applied lens-blur effects and heightened details using camera-raw adjustments.


In conclusion, I'd like to express my gratitude for your attention for the project. And now, once more, here is Jakob from "Tales from the Loop".
On the left the Cropped Final Output and on the right the Reference Image.


Thank You!


Comments (1)