
Breakdown of Aloy's bust - Stylized adaptation

Aloy's bust realized for the Weekly Drill 081-Stylized bust. I chose Aloy from the video game Horizon and I wanted to realize a stylized adaptation with the help of the wonderful concept art by Ekaterina Bek-Nazarova. On this occasion I would like to show you the process that I have followed for this challenge.
Breakdown of Aloy's bust - Stylized adaptation


Break Down of Aloy
In my opinion, the most important part of any character is the head together with the face. The first thing I like to do, even before she can look like the character I’m trying to replicate, is locate the main plans of the face.
The shape of this ear is quite simple but for the type of character I considered that this shape would work well.
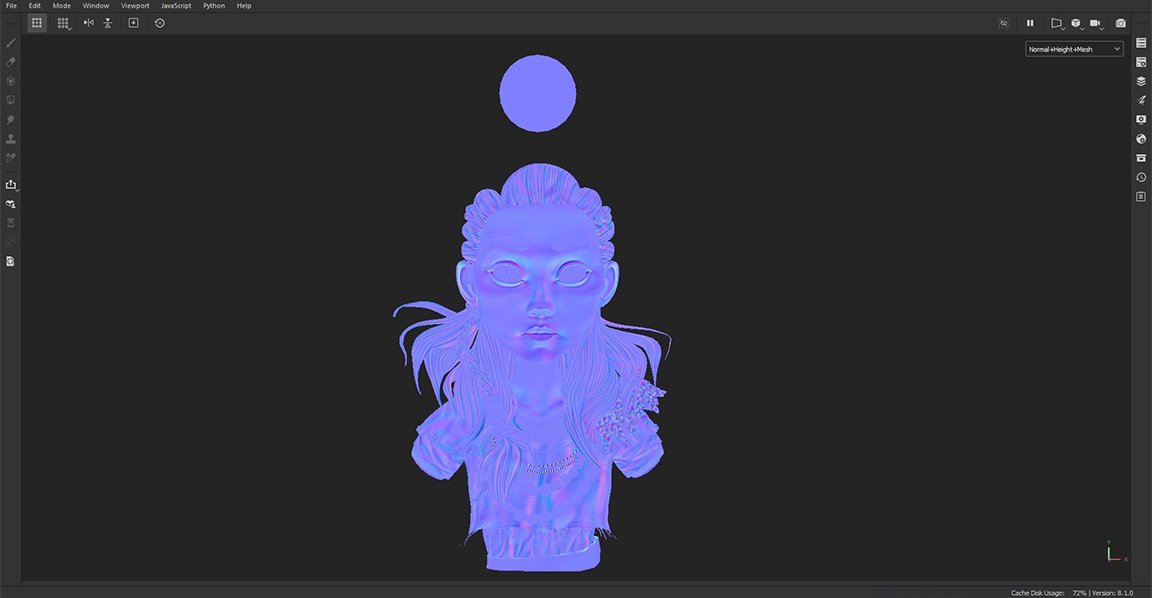
Normally I like to do a blocking with primitive forms since it is a simple way to locate the main volumes but this time I wanted to get to the same point simply sculpting.
I started with dynamesh and when the main forms were defined I made a Zremesher with Polygroups to have subdivisions and a topology more optimal to continue sculpting although later she will need a proper retopology to be able to animate her face correctly. At this point I also took the opportunity to attach the body and ears to the head.


This is the point when the magic happens, if the main forms together with the planes of the face work correctly with a simple smoothing we already have the head.
* For the creation of the part of the bust I have followed the tutorials of Follygon, I highly recommend his tutorials.


In this stage we can already take oportunity to extract the clothing pieces from the character and with the help of references realize the hair.


Once we’re done with the highpoly, it’s time to perform the retopology. Up to this point I have kept the symmetrical face, which I will not modify until the moment of the final render.
In this case the retopoly has been created in Maya.

Substance 3D Painter viewport.
The order of the maps are: Material, Base color, Ambient Occlusion, Roughness and Normal Map.


Maya viewport.
In this point, I have taken the opportunity to achieve the desired expression, to move some things like hair or fur, to illuminate the scene in Maya and to obtain the final render in Arnold.


Project based on this concept art, by Ekaterina Bek-Nazarova

References guide.

Thanks a lot for watching and I hope you liked it, see you!
You can see more of my works in my Artstation.


Comments (2)