
Snail Adventures
This was a group project which I did together with Markus Grothaus and Gianluca Pani Casanova for a class at Pixl Visn. I was responsible for the layout, lighting, lookdev, compostiting and part of the texturing.
Snail Adventures
Getting started I Preparation and Layout
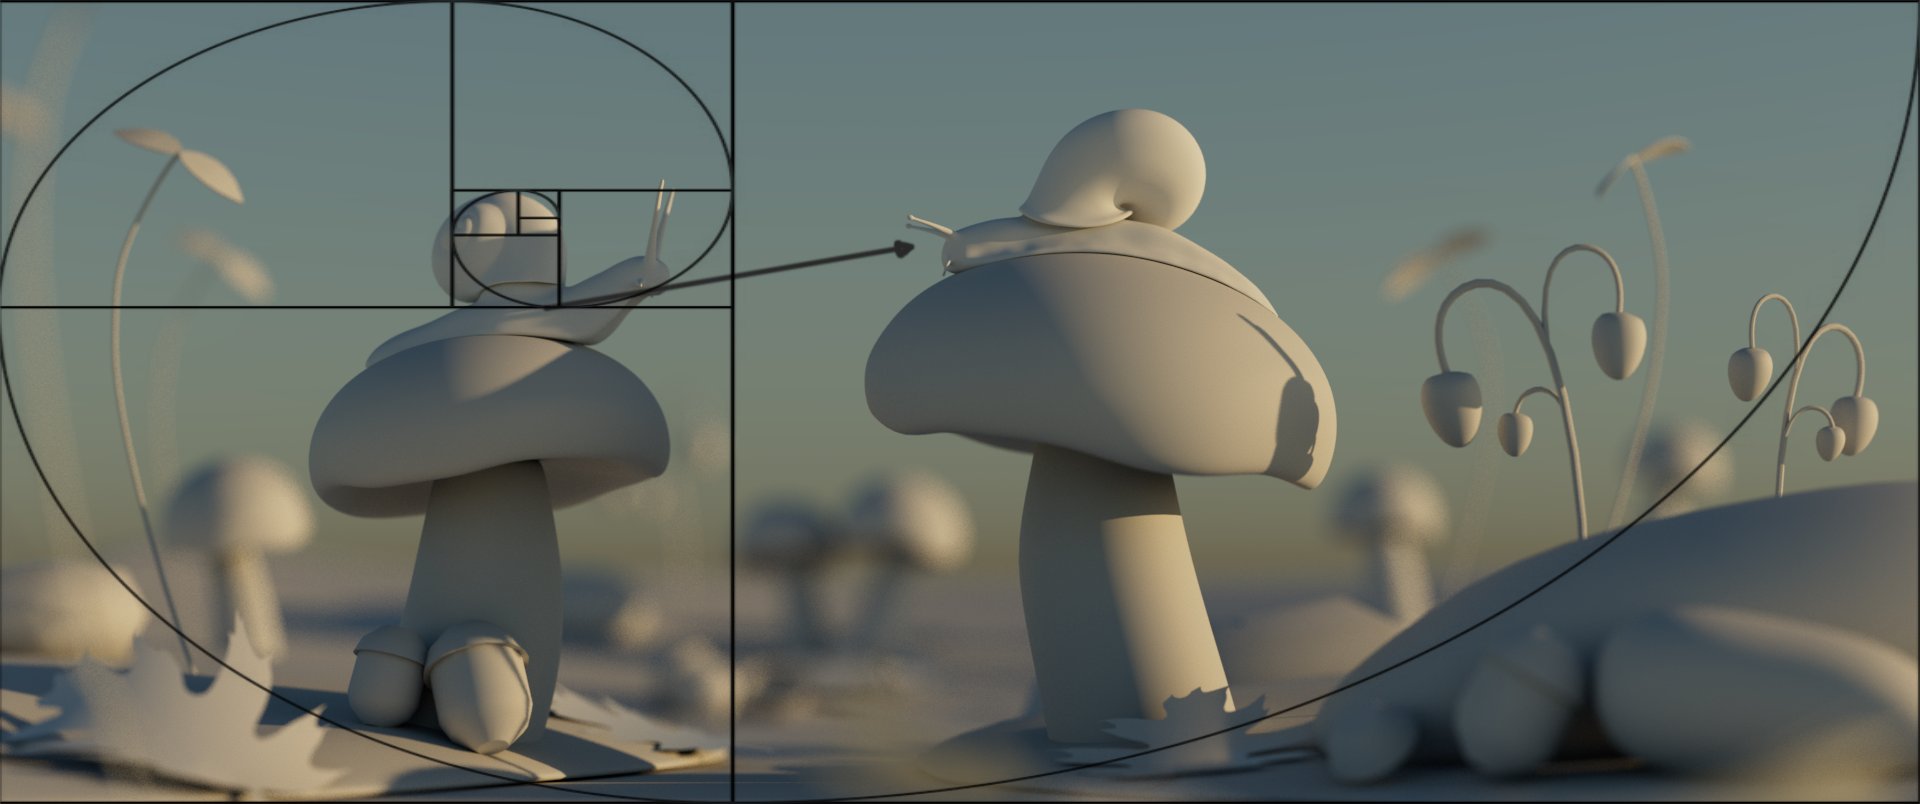
While searching for ideas we stumbled across a photo of two snails on mushrooms and decided to use this as our main idea. After that we searched for similar photos and artworks and I created a first loose blockout based on a mix of these references in Maya.

The composition is based on the golden ratio, with the left snail being placed on its ending point. Some of the scene elements are aligned with its path, so the eye is naturally drawn to the left snail.
I placed this snail on a slightly smaller mushroom and we decided to animate it looking up into the direction of the other snail which directs the viewers eye along the motion of the head, ending up at the screen-right snail. We also wanted to work with a heavy depth of field to emphasize the small scale of the snails compared to the rest of the real world and to give the feeling of really being part of the scene.
The Surfacing I Shading, Texturing and Lookdev
For this project I did not only do the lookdev of the assets but also helped with the texturing, for example for one of the snails. As the model that was handed off to me was only the lowpoly, I had to decide whether I wanted to sculpt the skin pattern in Zbrush or paint the displacement map inside of Mari. As I feel more comfortable with Mari, I decided to go with the latter. After subdividing it to match the smoothness level it would have at render times, I brought the model into Mari. For the displacement I used frog scans from texturing XYZ as I thought they'd come relatively close to the spots on the snail's skin and provide an insane amount of detail as well. Since I tried to not have the spots look too uniform, I painted them one by one and transformed them inside the paint buffer in between. It was a bit challenging to place them in a natural way that matches the behaviour of the real patterns because I noticed that it wasn't as random as I thought at first. Later I masked the displacement strength slightly off in the y-axis, since the displacement gets weaker towards the bottom.


I noticed that even though snails seem to have a pretty uniform color at first, there is actually a lot more to it and that they have quite some color variations in their skin, so I tried to match that and bring different colors in. I made use of the displacement map I painted prior to create different variations which I used as masks for the cavities and spots.
For me, the hardest part was the texturing of the shell as they are very unique in nature. They have a lot of different colors and patterns that are mixed and interrupted, which I didn’t find that easy to recreate. For the displacement, I didn’t have any suitable scans which is why I searched online for textures I could use. By watching other texturing artists, I learned that sometimes textures that don’t seem obvious at first can be really useful. So, I searched online for textures and images that have a similar structure to the grooves of the shell. As a result, I found an image of a stone wall with long, thin but partly discontinued and damaged bricks which I found suitable for the project. Again, I used patches of the image to paint the displacement map which I then could utilize for the other maps. I also added some dirt to the shell.


As snails depend heavily on subsurface scattering, it was important to get the right amount during the lookdev process. I noticed that in my head snails had way more sss than they actually do in reality, which was a good reminder of why using a lot of real-world reference is so important. I tried to find the right blend between a translucent and a rather solid-looking body. Another important characteristic of snails is their shiny skin, which is caused by the wet slime they produce. As in the real world this is a separate layer on top of the skin, I used the coat lobe of the shader which functions as a second specular layer on top of the normal specular of the skin. I set the coat roughness to a low value and ended up with the shiny coat I was trying to achieve.
The rest of the lookdev went really smoothly because the textures my teammates provided were already quite good. For every asset, I made several turntables which we then reviewed.

Creating the mood I Lighting, Rendering, Compositing
Even though we held everything in an overall realistic look, we aimed for the scene to feel very dreamy and stylized. To create this magical look I used a lot of warm, soft lighting. I wanted to have a strong backlight to emphasize the subsurface scattering of the snails, mushrooms, and plants. Once again, I started with a skydome to get a base for the lighting. I added a light blocker to the scene to mimic shadows cast by leaves and trees, as the scene is located inside of a forest and not directly exposed to the sun.
However, this light was not enough, so I moved on and added a stronger backlight for both of the snails. I tried to place them in a good way to get a nice shaping of the round geometry of the snails and mushrooms, to give them a good rim and accentuate certain details considering that these things help a lot to create clarity. This also helped, to get a better focus on the snails. Since the grass and plants in the background were still pretty dark, the next step was to add lights to fill them up.
At that stage, I was happy with the light rig but wanted to add an atmosphere volume to create some more depth. To not have every light affecting the volume and also to have more control, I disabled their ray contribution to it and created another big light with a warm color to the scene which only affected the volume.
Because I switch a lot between Maya and Nuke while working on lighting and therefore knew early in the process what background I would use, I knew the snails would have a nice silhouette with them being dark on a bright background.


For better quality and more efficient rendering, I split the render into the foreground, middle ground, and background layers. As I knew that the background and foreground would be completely out of focus, they didn’t need to be sampled as high as the middle ground. I rendered everything in ACES colorspace to have richer colors and work closely to industry standards.
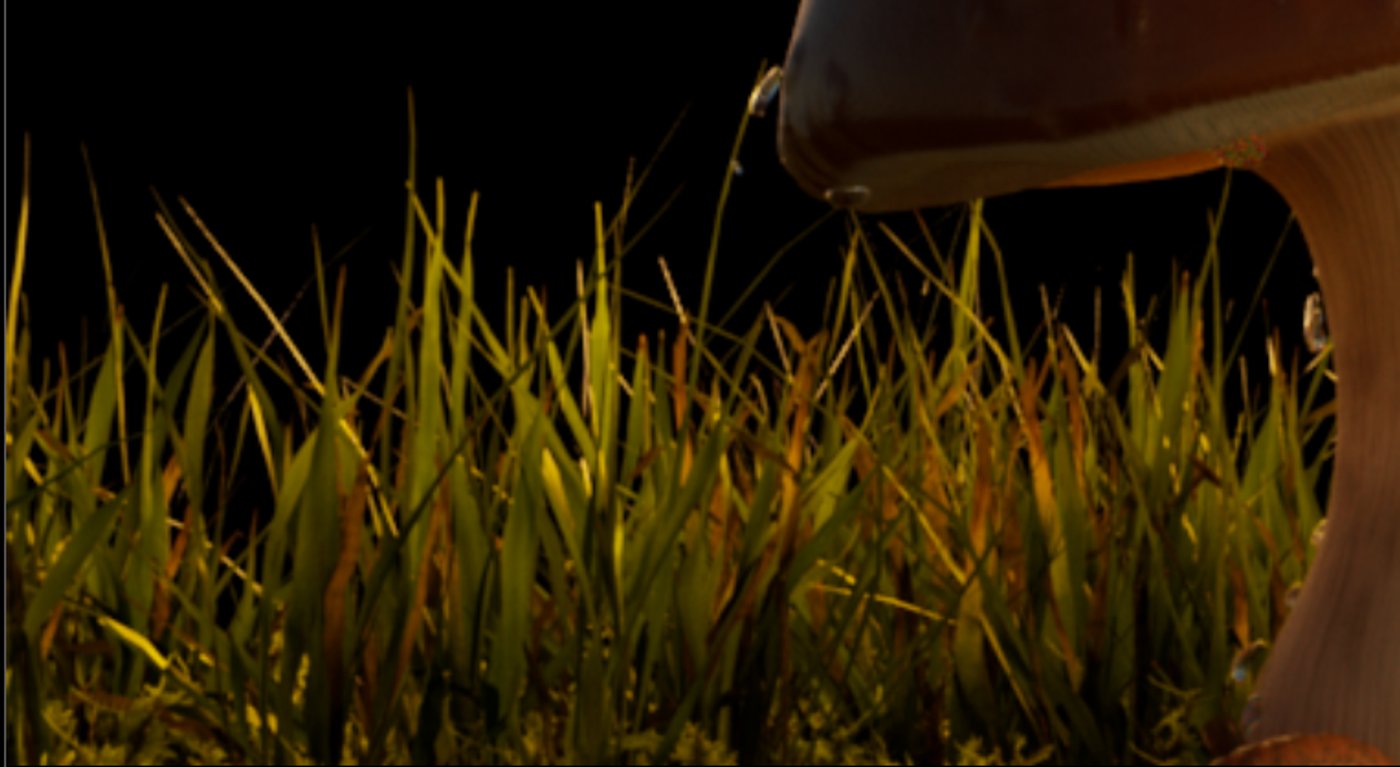
After I did the first renders, I encountered some rendering problems. One of them was flickering highlights on the raindrops. Fortunately, this was easily fixed by increasing the roughness to a point where they still looked natural and by enabling AA sample clamping in the render settings. However, another challenge I had to face was adding depth of field in Nuke. As the grass and some other plants consist of really fine geo and the beauty – contrary to the Z pass – gets antialiased, these parts were messed up and jaggy. I figured that just enabling AA on the Z pass wasn’t the best solution because it works differently on them and wouldn’t be as accurate, so I had to find another solution that wouldn't necessarily end up in super high render times. So, I decided to learn something new and took a look at deep rendering since I knew it was known to be very accurate.
It was a bit hard to grasp at first as I didn’t found too many resources on it on the internet but after asking some people and a lot of trying out on my own, I think I got it. I still had a bit of flickering in the grass but decided that it was time to move on. Still, I’m kind of happy to have encountered these problems because I learned a lot from them.


In Nuke, I added all my render layers as well as my background together, graded lights and other elements and added the depth of field. I tried to integrate the background well and also added another volume ray and particles to really feel the sun. At the end, I added a vignette for more focus, glow, some lens effects and distortion and a last color grade. Overall, I’m really happy with the outcome and the mood this project conveys.


Conclusion
This project was a great experience and training on working in a group and in a proper pipeline, covering multiple departments. Luckily, working with my teammates Markus and Gianluca went smoothly because we always paid attention to good communication. When working in groups, this is one of the most important things to consider to avoid any unnecessary problems.
What I also learned from this project is that a clean workflow and structure are essential to not waste any time and to have everything working correctly.


Comments (0)
This project doesn't have any comments yet.