
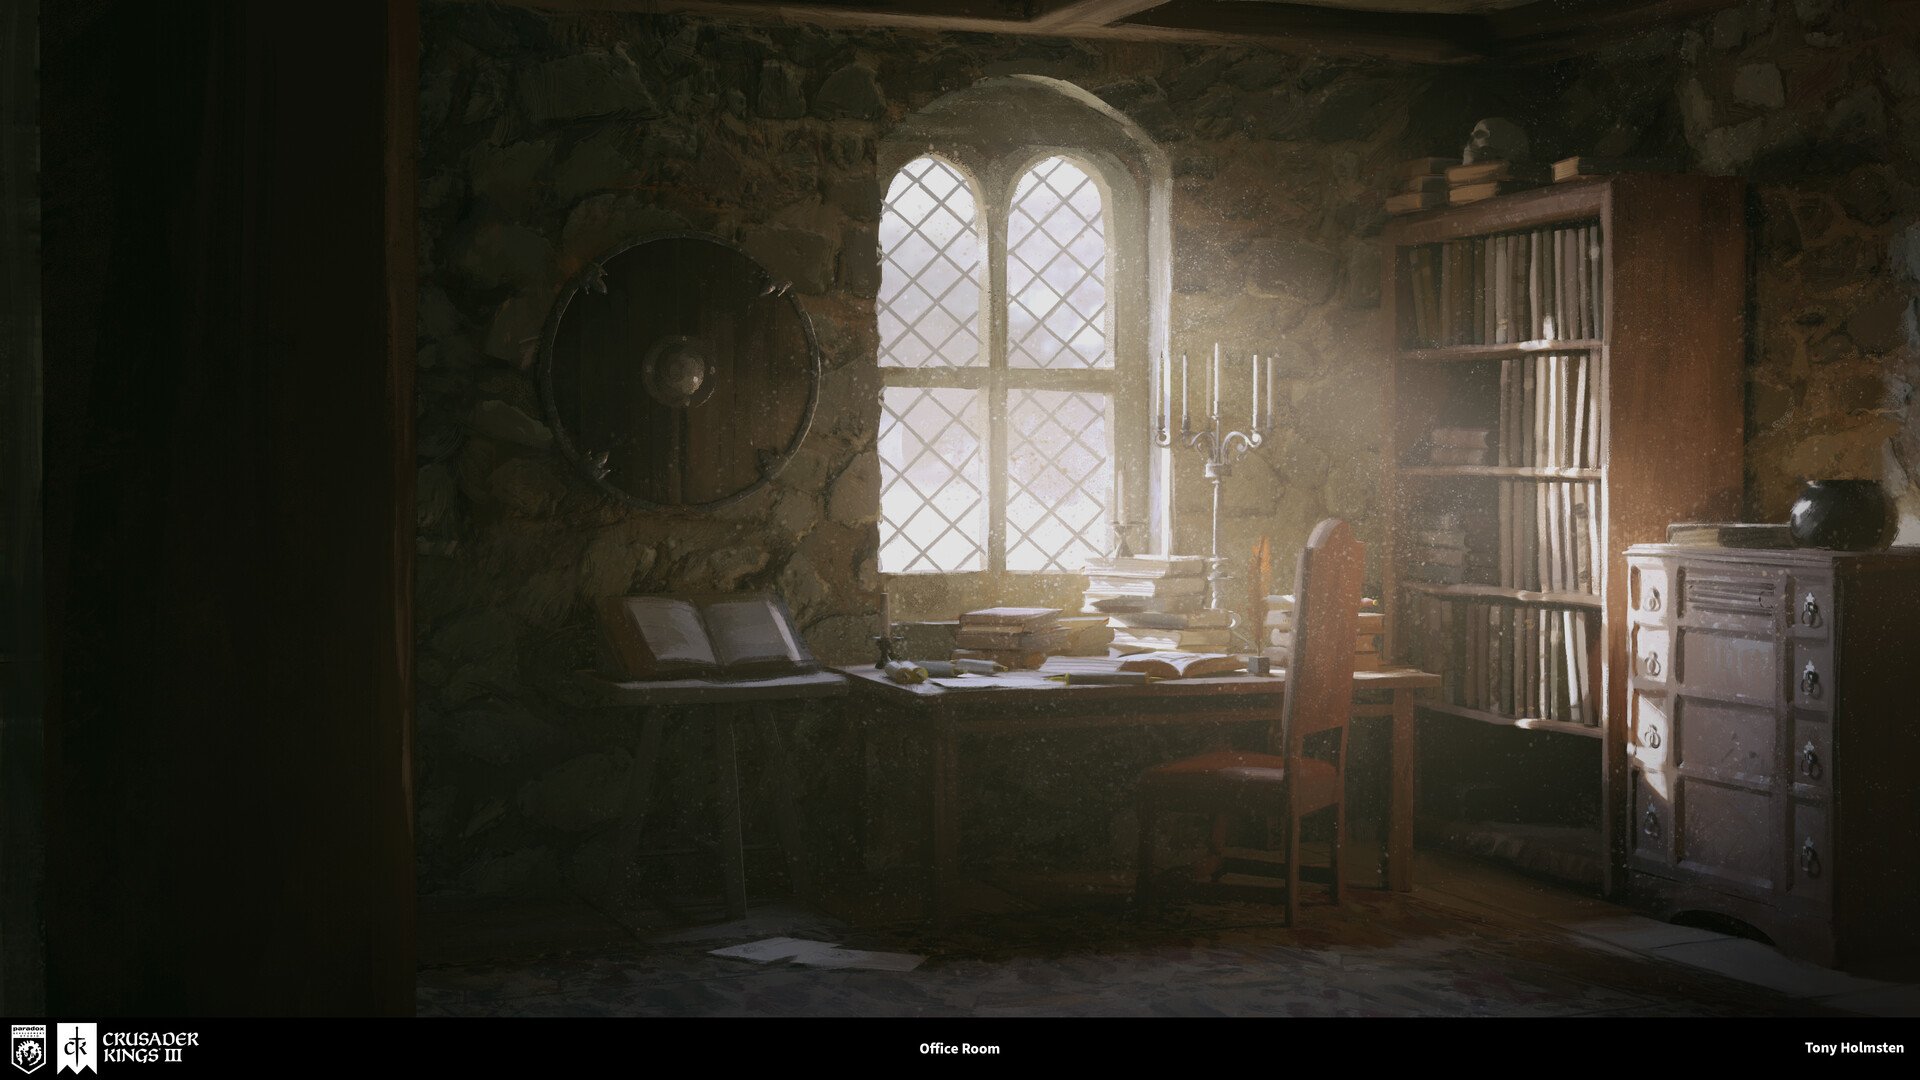
Office Room
In this Project I will bring this Artwork artstation.com/artwork/WKYPYX into 3D
Office Room
Update - 13 Sep 2021
13 ò_ó
The last update
I started this project in february, so it took me about half a year to finish it. It's been quite a long time and I am really happy that I was able to stick to it next to my other works, and that it was super fun till the end. The Rookies is a perfect place to start blogs like this and I will make another one as soon as I have another personal project.
Lastly I would like to thank all the people who helped me with tips, critiques and advices during the time. In special Nico Bartelt and Alexander Zieglmeir and the Experience Points Discord community!
At the beginning I was new in Blender and Unreal. I have learned tons of new things in software and art fundamentals, so that I can say I have grown as an artist. And in the end, that was my goal. So I can say: I reached my goal!
I will upload the final Renders in a separate Project here on TheRookies and on Artstation.

Update - 20 Aug 2021
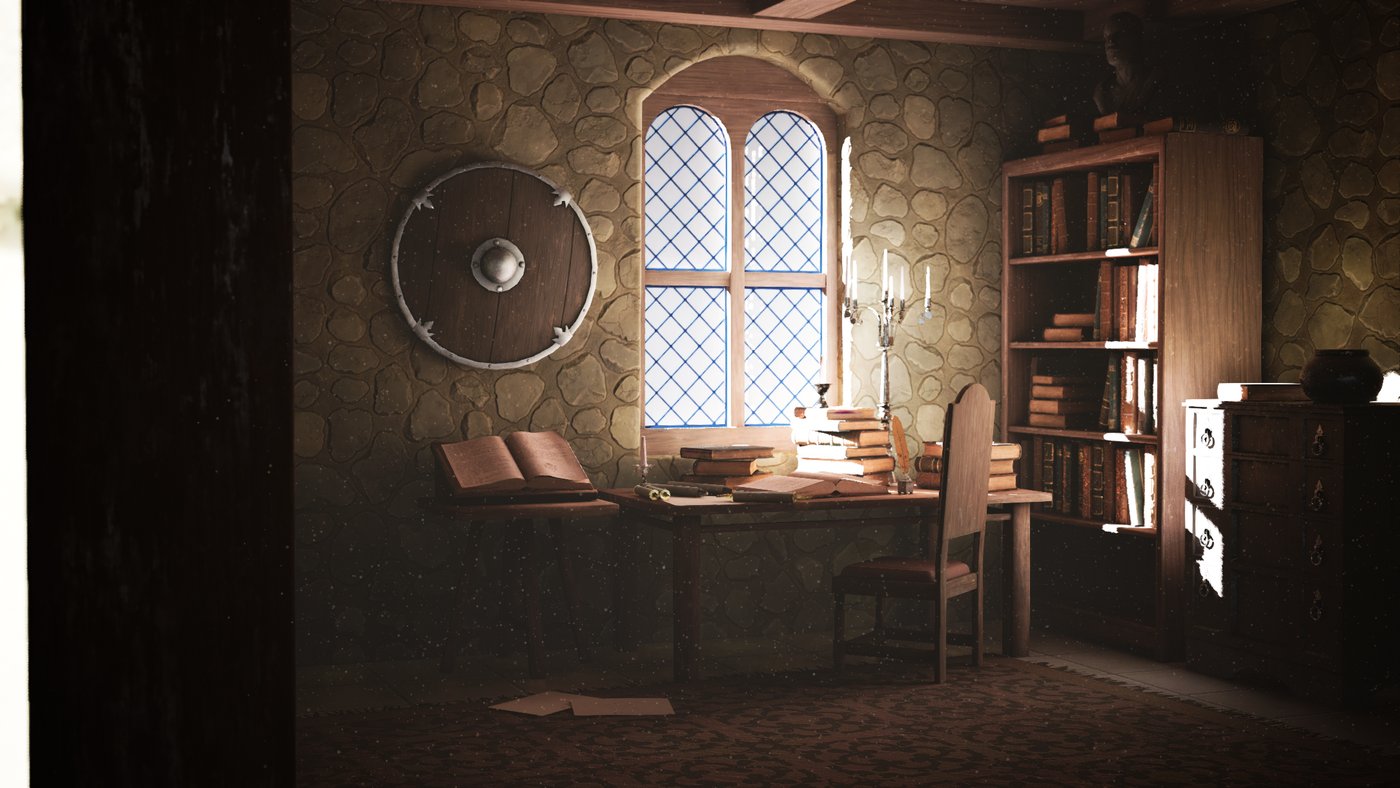
12 The final touch
After I got some really helpful critique from Tim on Exp Points I changed the issues. In addition I got some nice advices from Alexander Zieglmeir. He really helped me to understand lighting a little better.
Here is a list of changes:
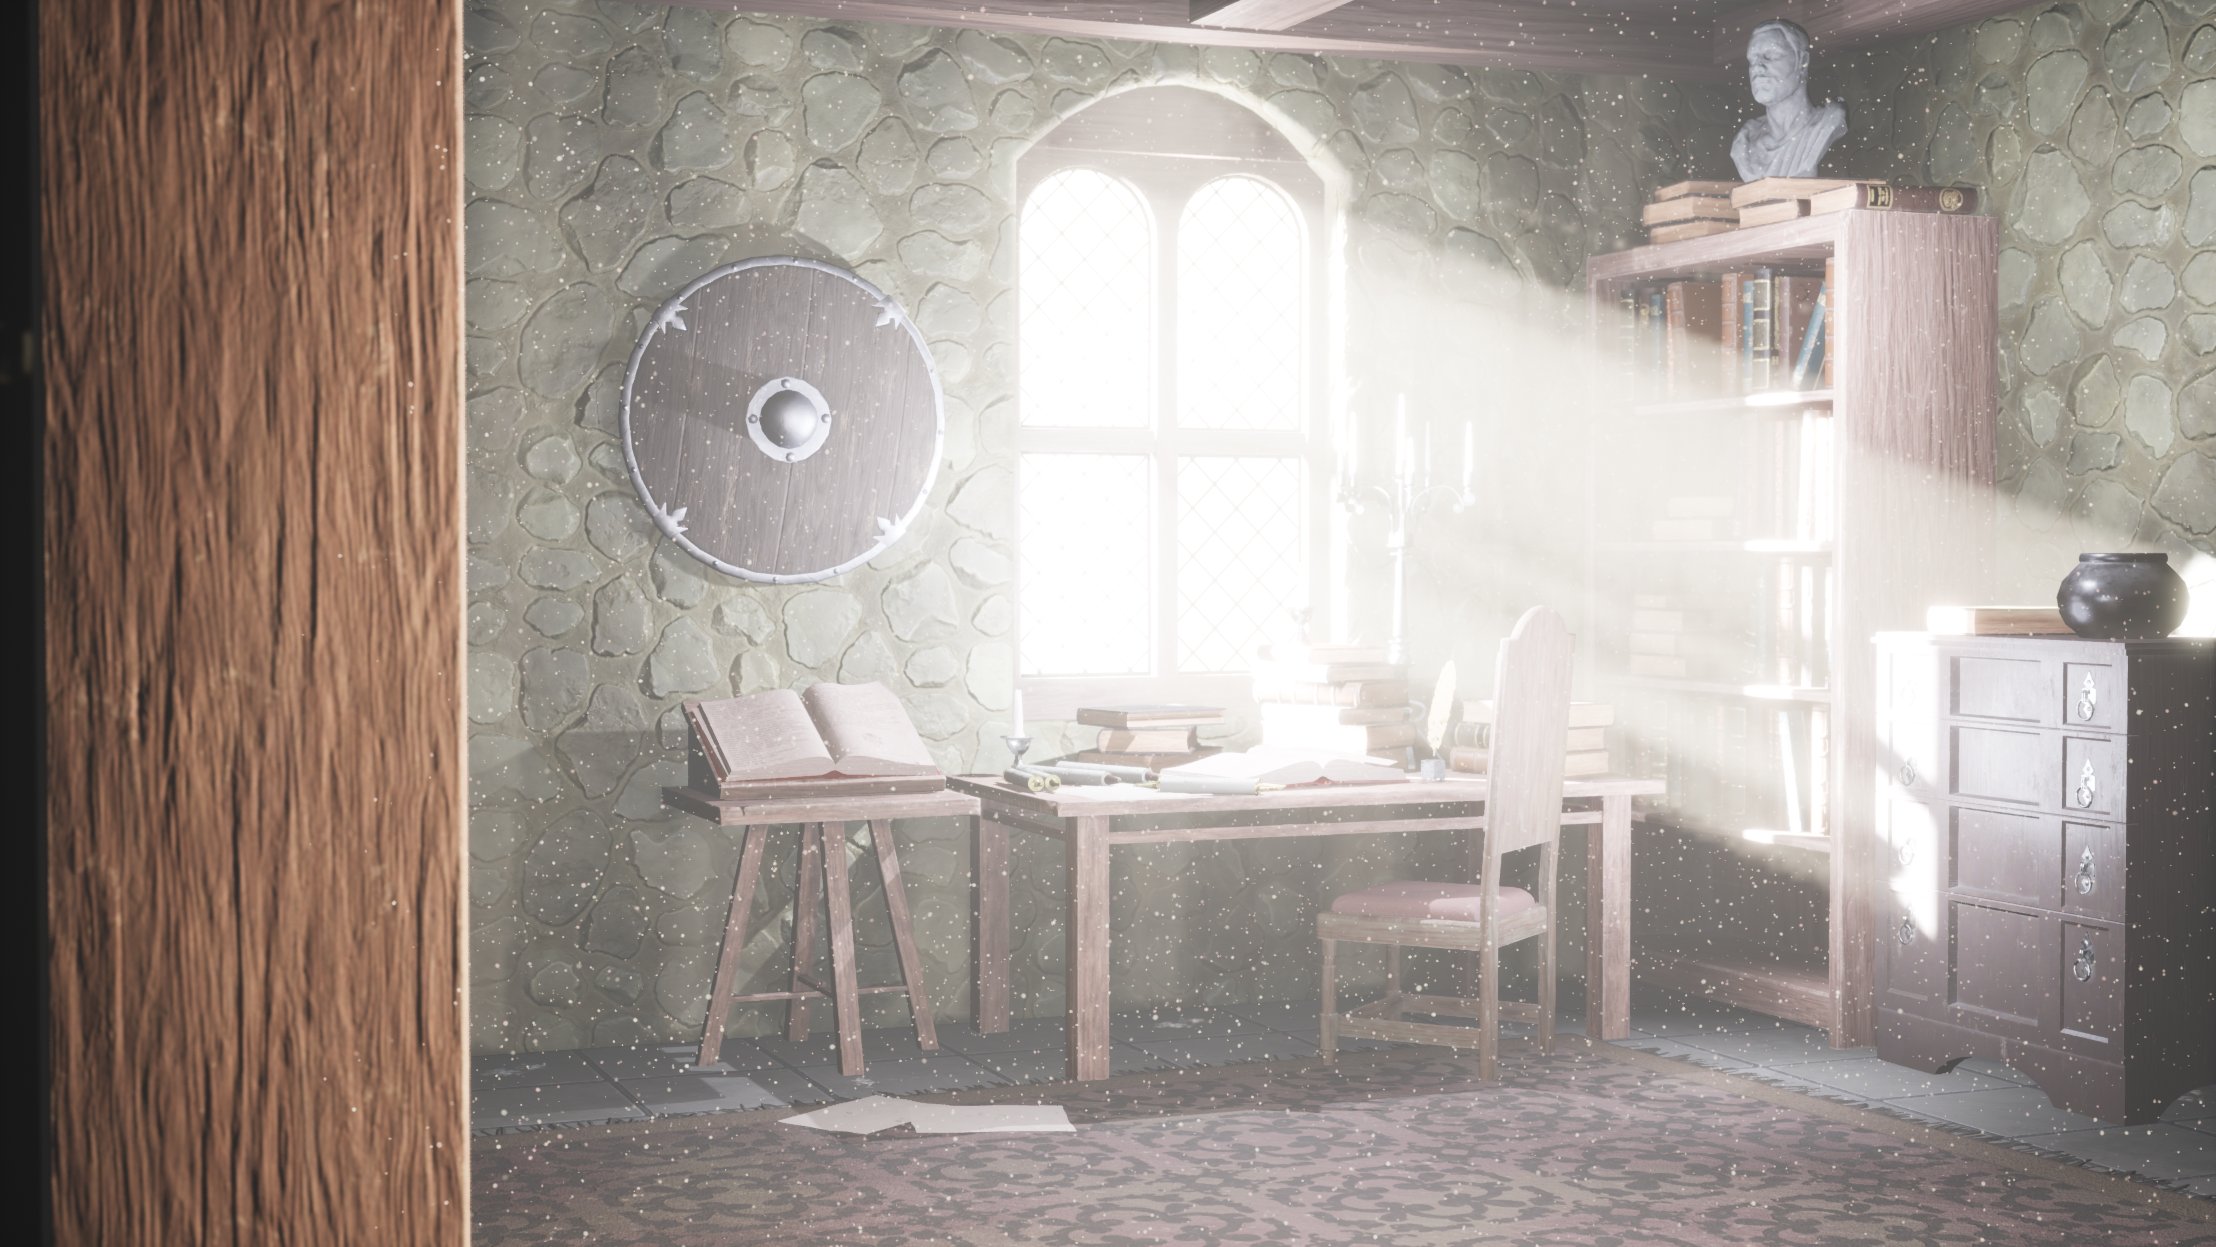
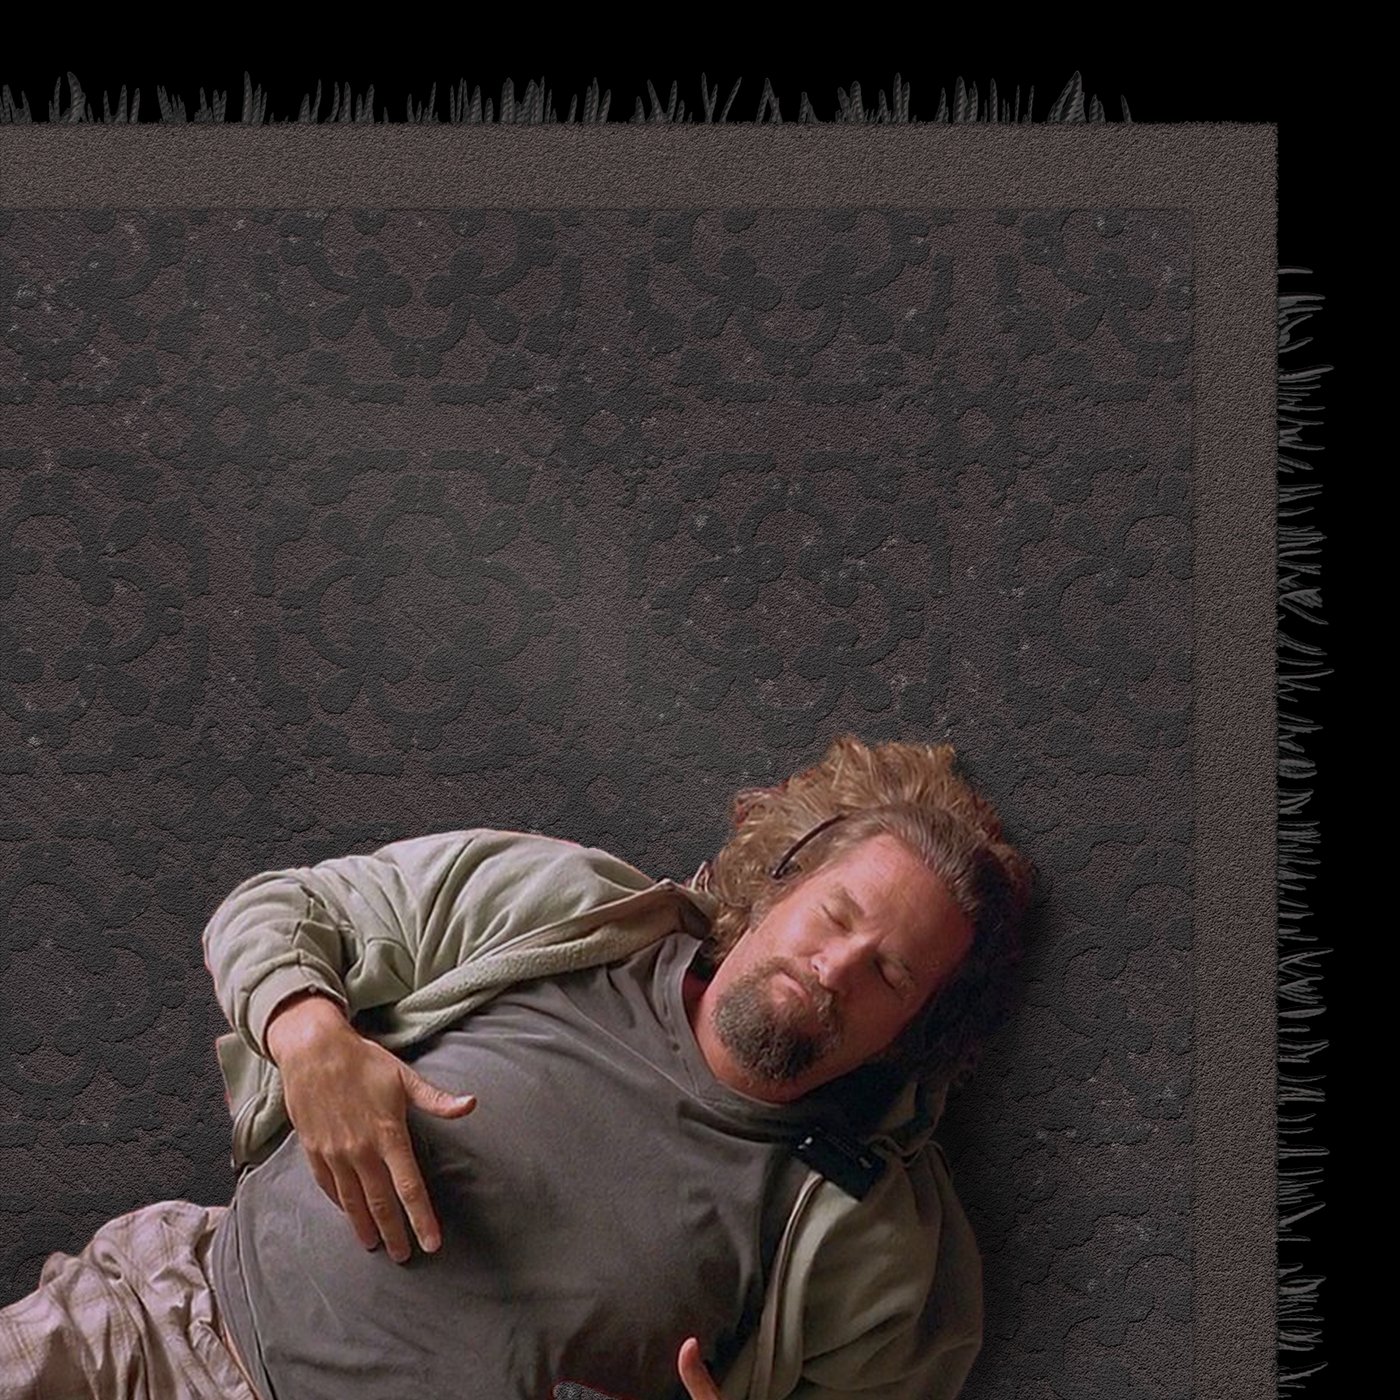
I changed the light around the window frame + I broke up the repetitive pattern from the carpet with a decal + I add tessellation to the wall (and changed the wall mesh to support that) + I lowered the sun intensity so that it doesn't burn out + I blurred the some of the shadows to make it more "realistic Sun shadow" + I changed the dust so that it reflect more in the sun and are darker in the shadow areas
Also I changed all of the light because I had to readjust the sun.


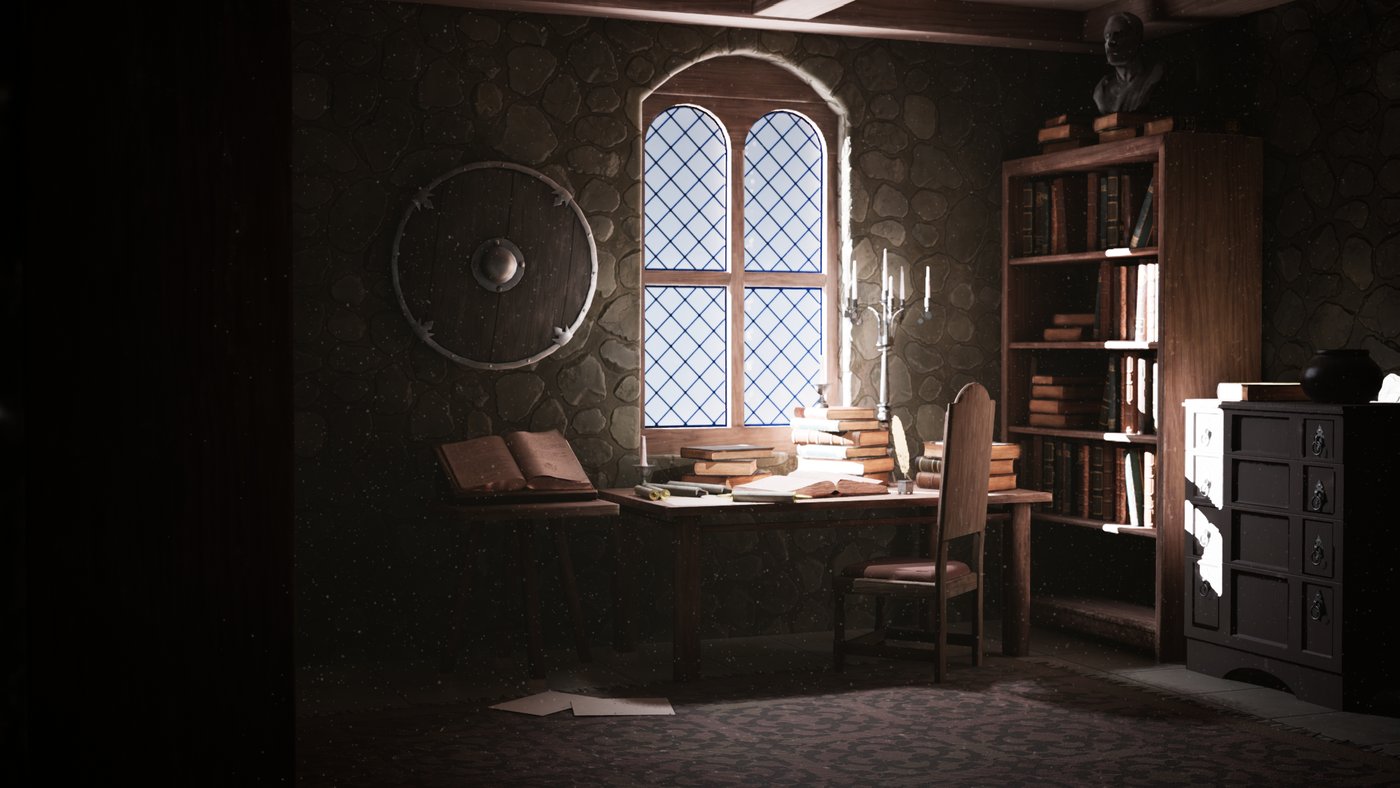
I tried to use as few lights as possible but I needed some extra lights to archive the look. A sunlight for direct impact and most GI, a blue-ish directional light for drop shadow of the table and the chair. A rectangle light for the dresser and a tiny pointlight for the reflection on the pot. Also a tiny pointlight for the edge on the chair and one for the reflection on the shield.


If I did not get any really major critiques for this update, my next step is to make some final render shots and a short camera slide. Than I will publish and finish this project.
STAY ANGRY
ò_ó
Update - 13 Jul 2021
11 Dr. Strangelight
or: How I Learned to Stop Worrying and Love the Bomb
I am not dead yet, I just smell like that. With some super cool critiques from the fellows on Discord I realized that I have to bake some light to get better results because my scene was made with dynamic light only and missed a lot of light bounces and no good reflections . I hate baking so much... but
EVERYTHING FOR THE RESULT!
ò_ó
So, it was time for some training music ~(⌐■-■)~ ♪♪♪ and tons of tutorials.
After the first felt 3 hours baking and waiting I discovered that I can use GPU lightmass baking with my GTX1060 and with that I can use some raytracing supports! \(* O*)/
Here are the most important tutorials for me to learn baking:
Tim's channel is my favorite channel for learning Environment Art in general
VR Division made a great tutorial on how to setup the gpu lightmass
William Faucher also has tons of helpful tutorials on his channel
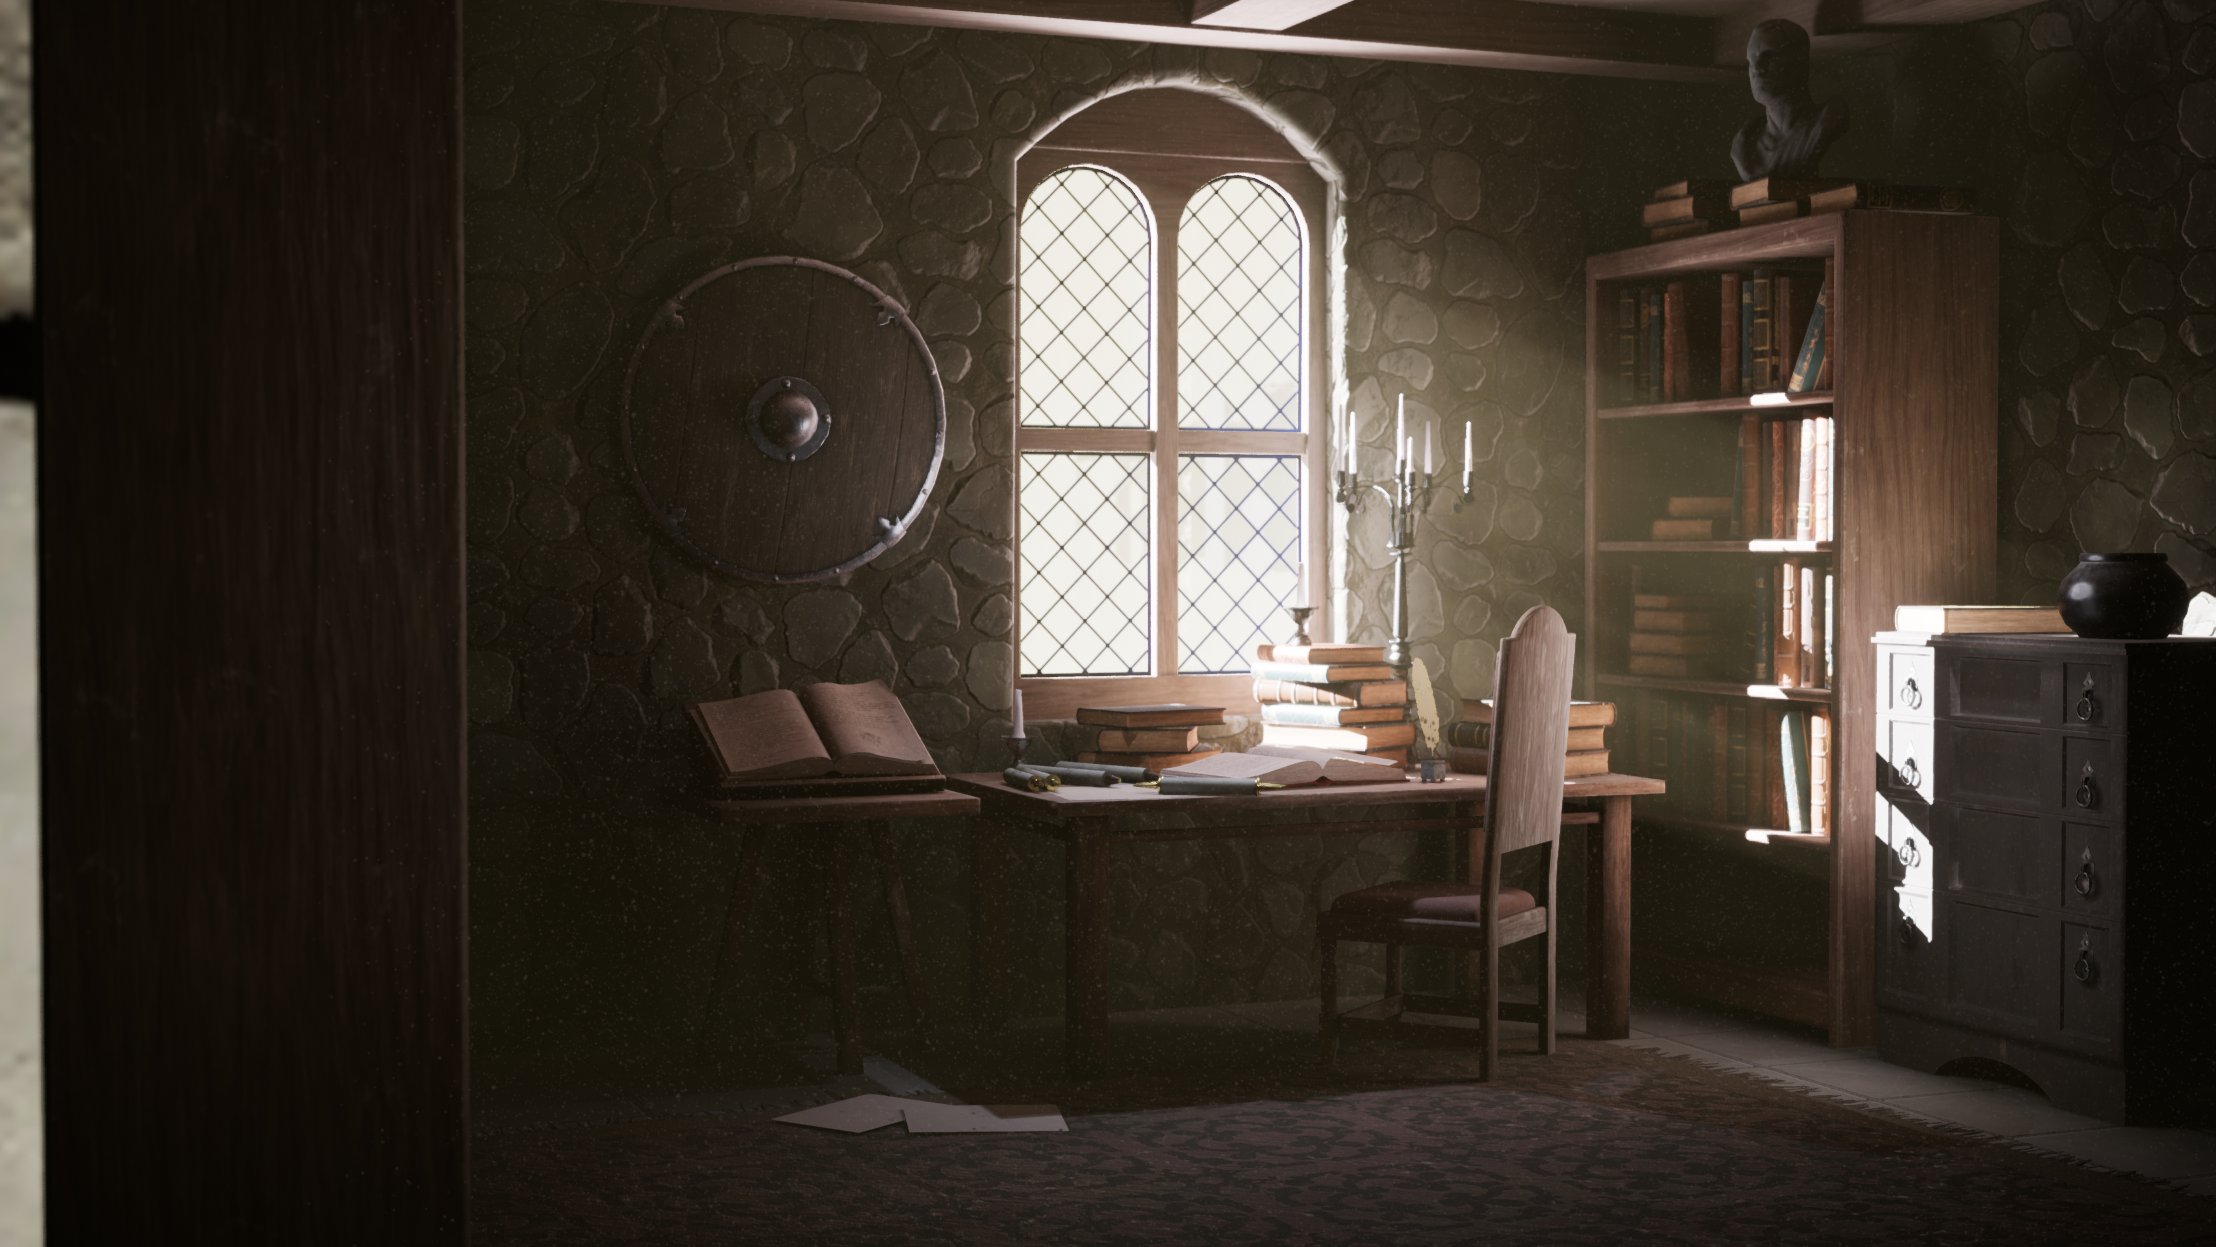


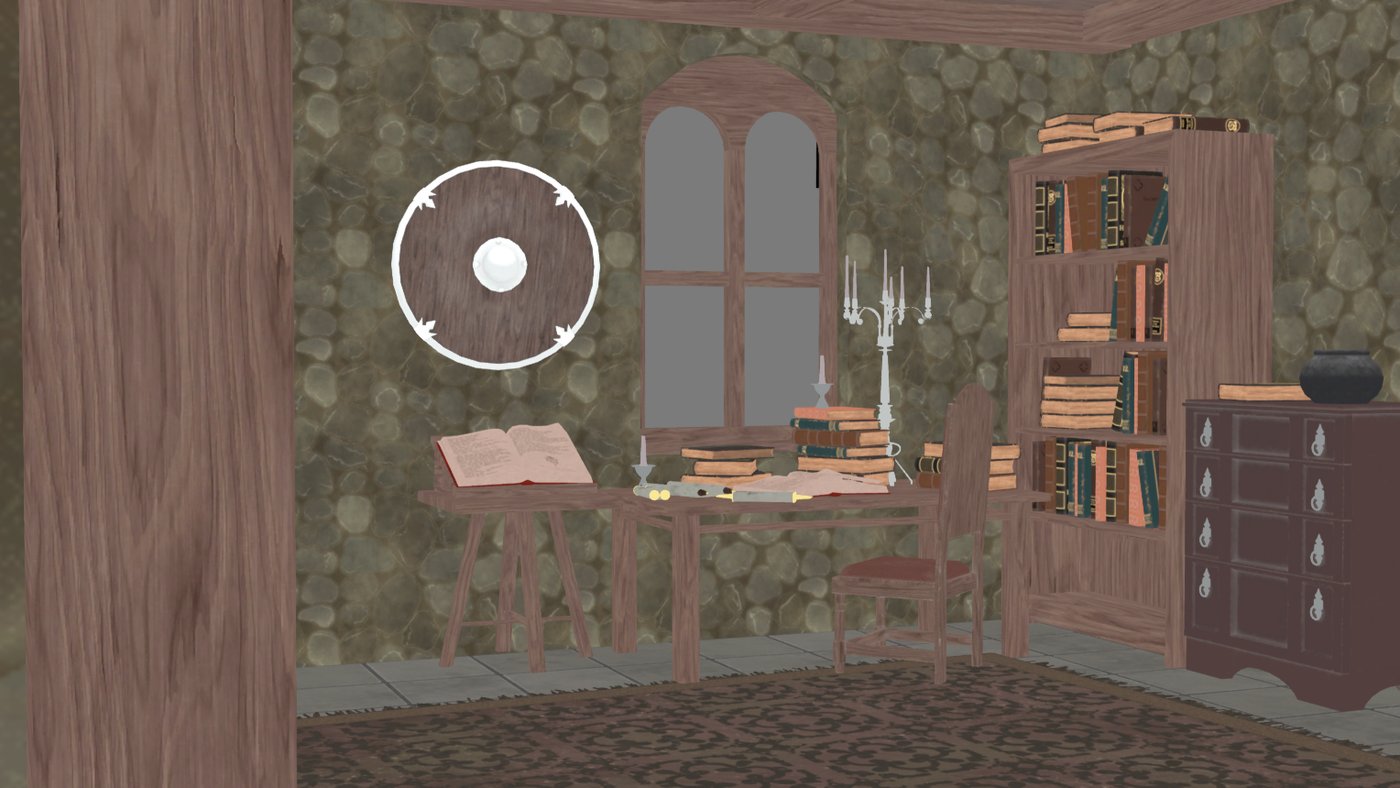
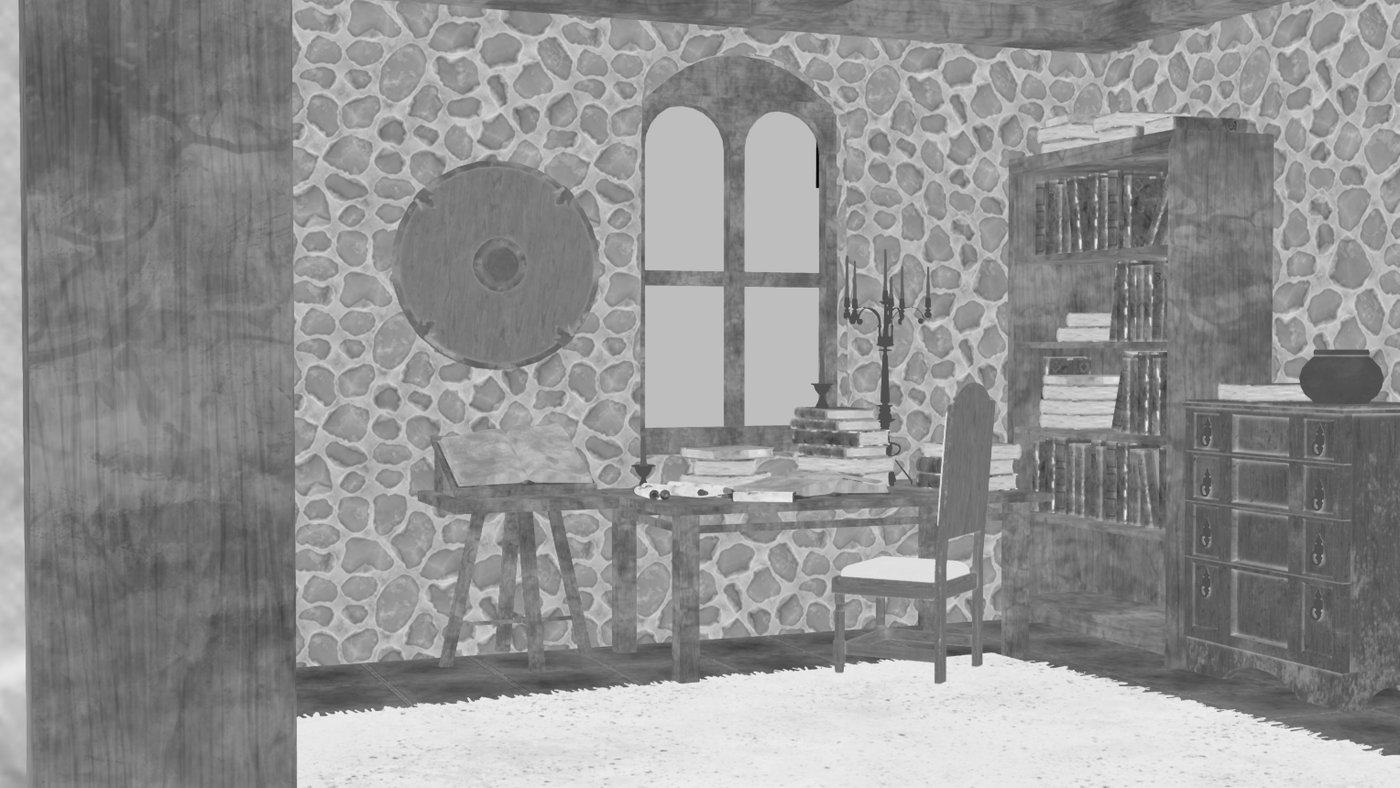
Before | After | Concept
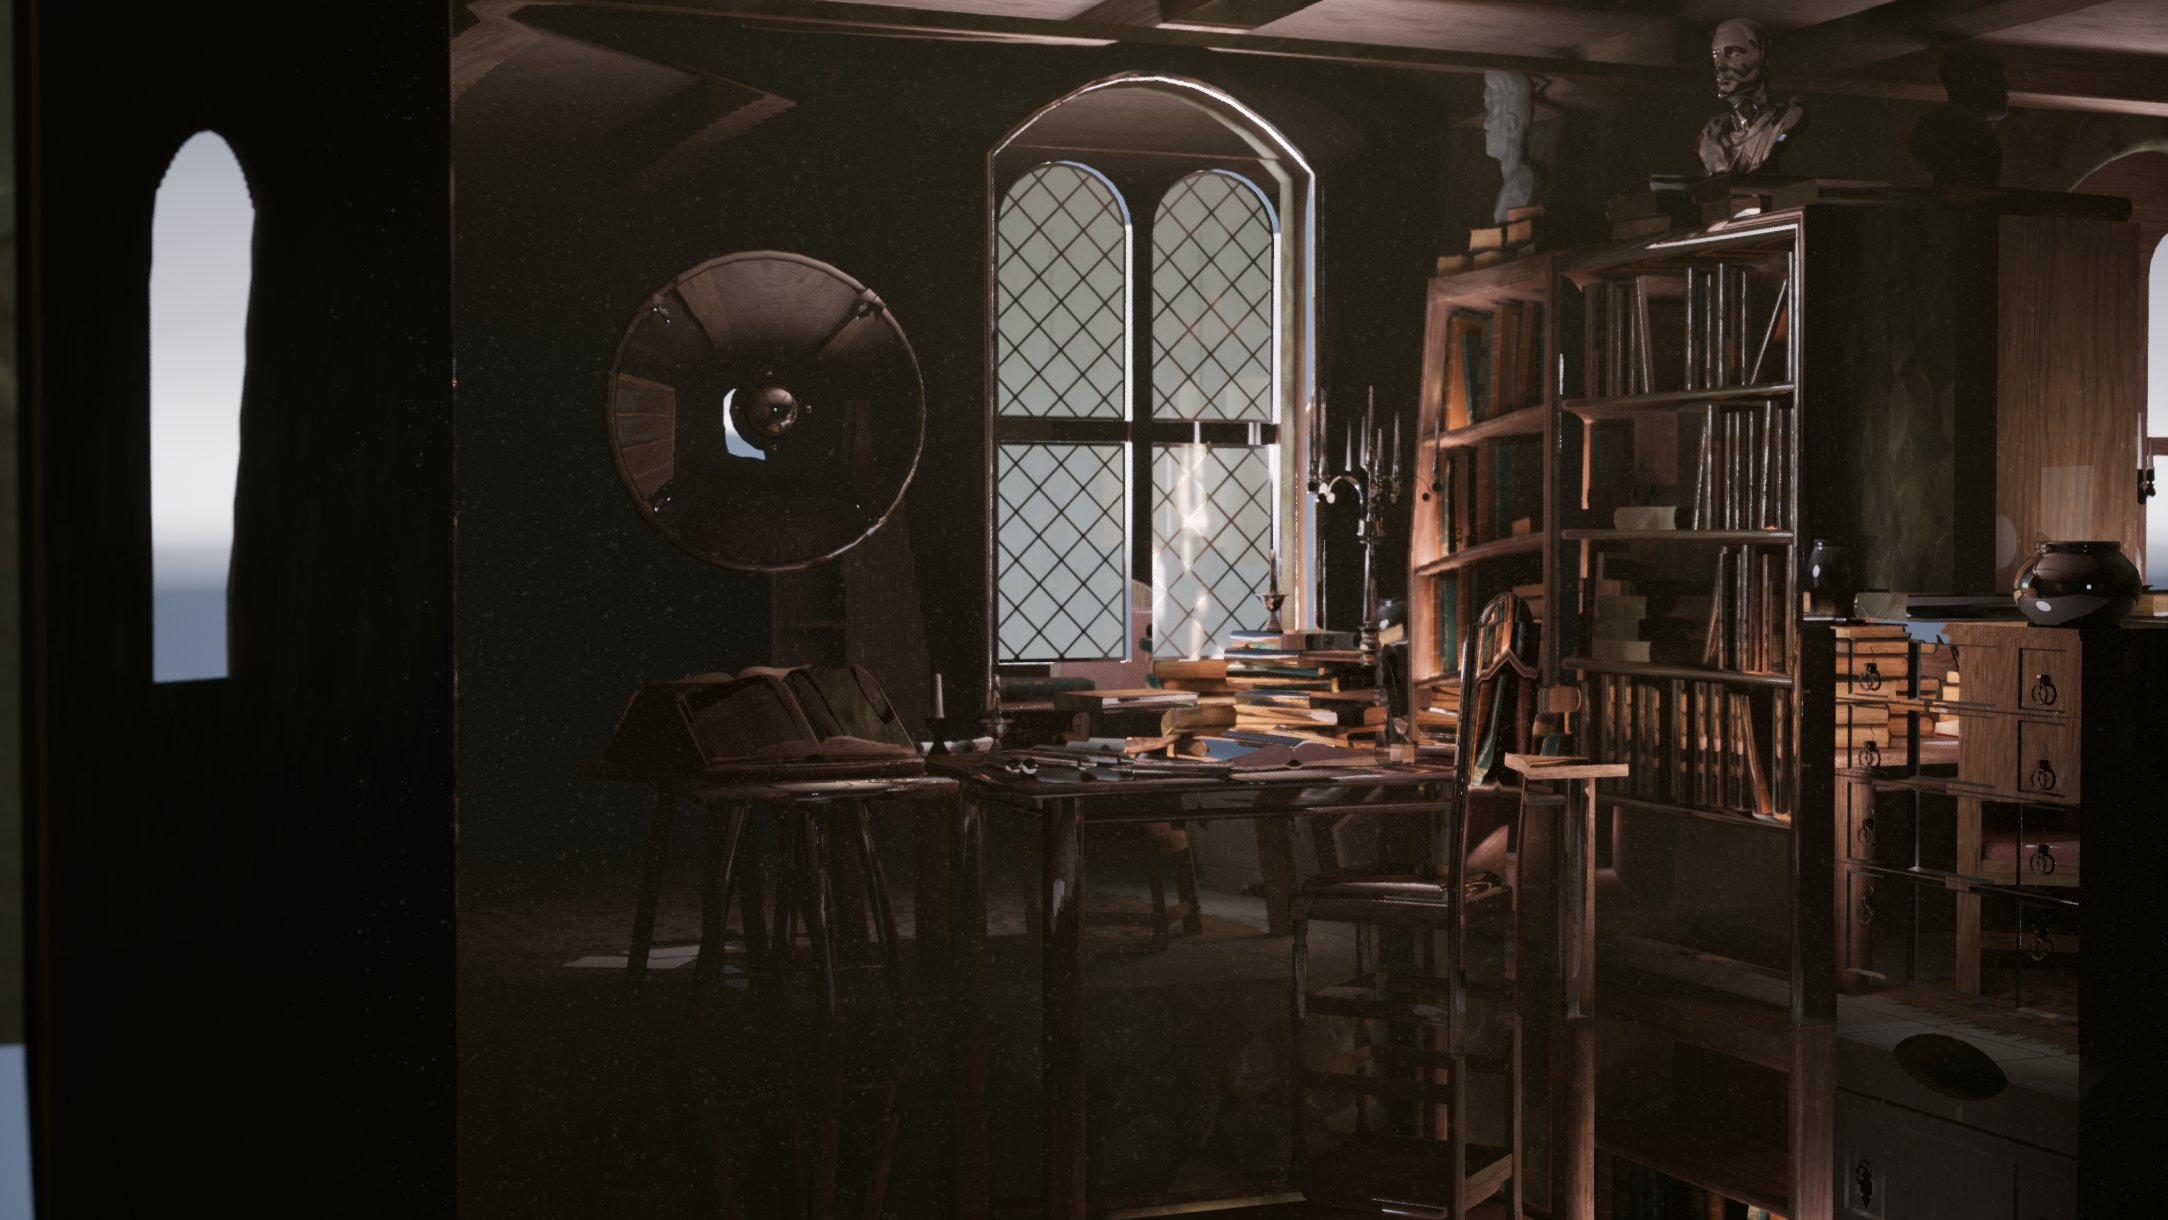
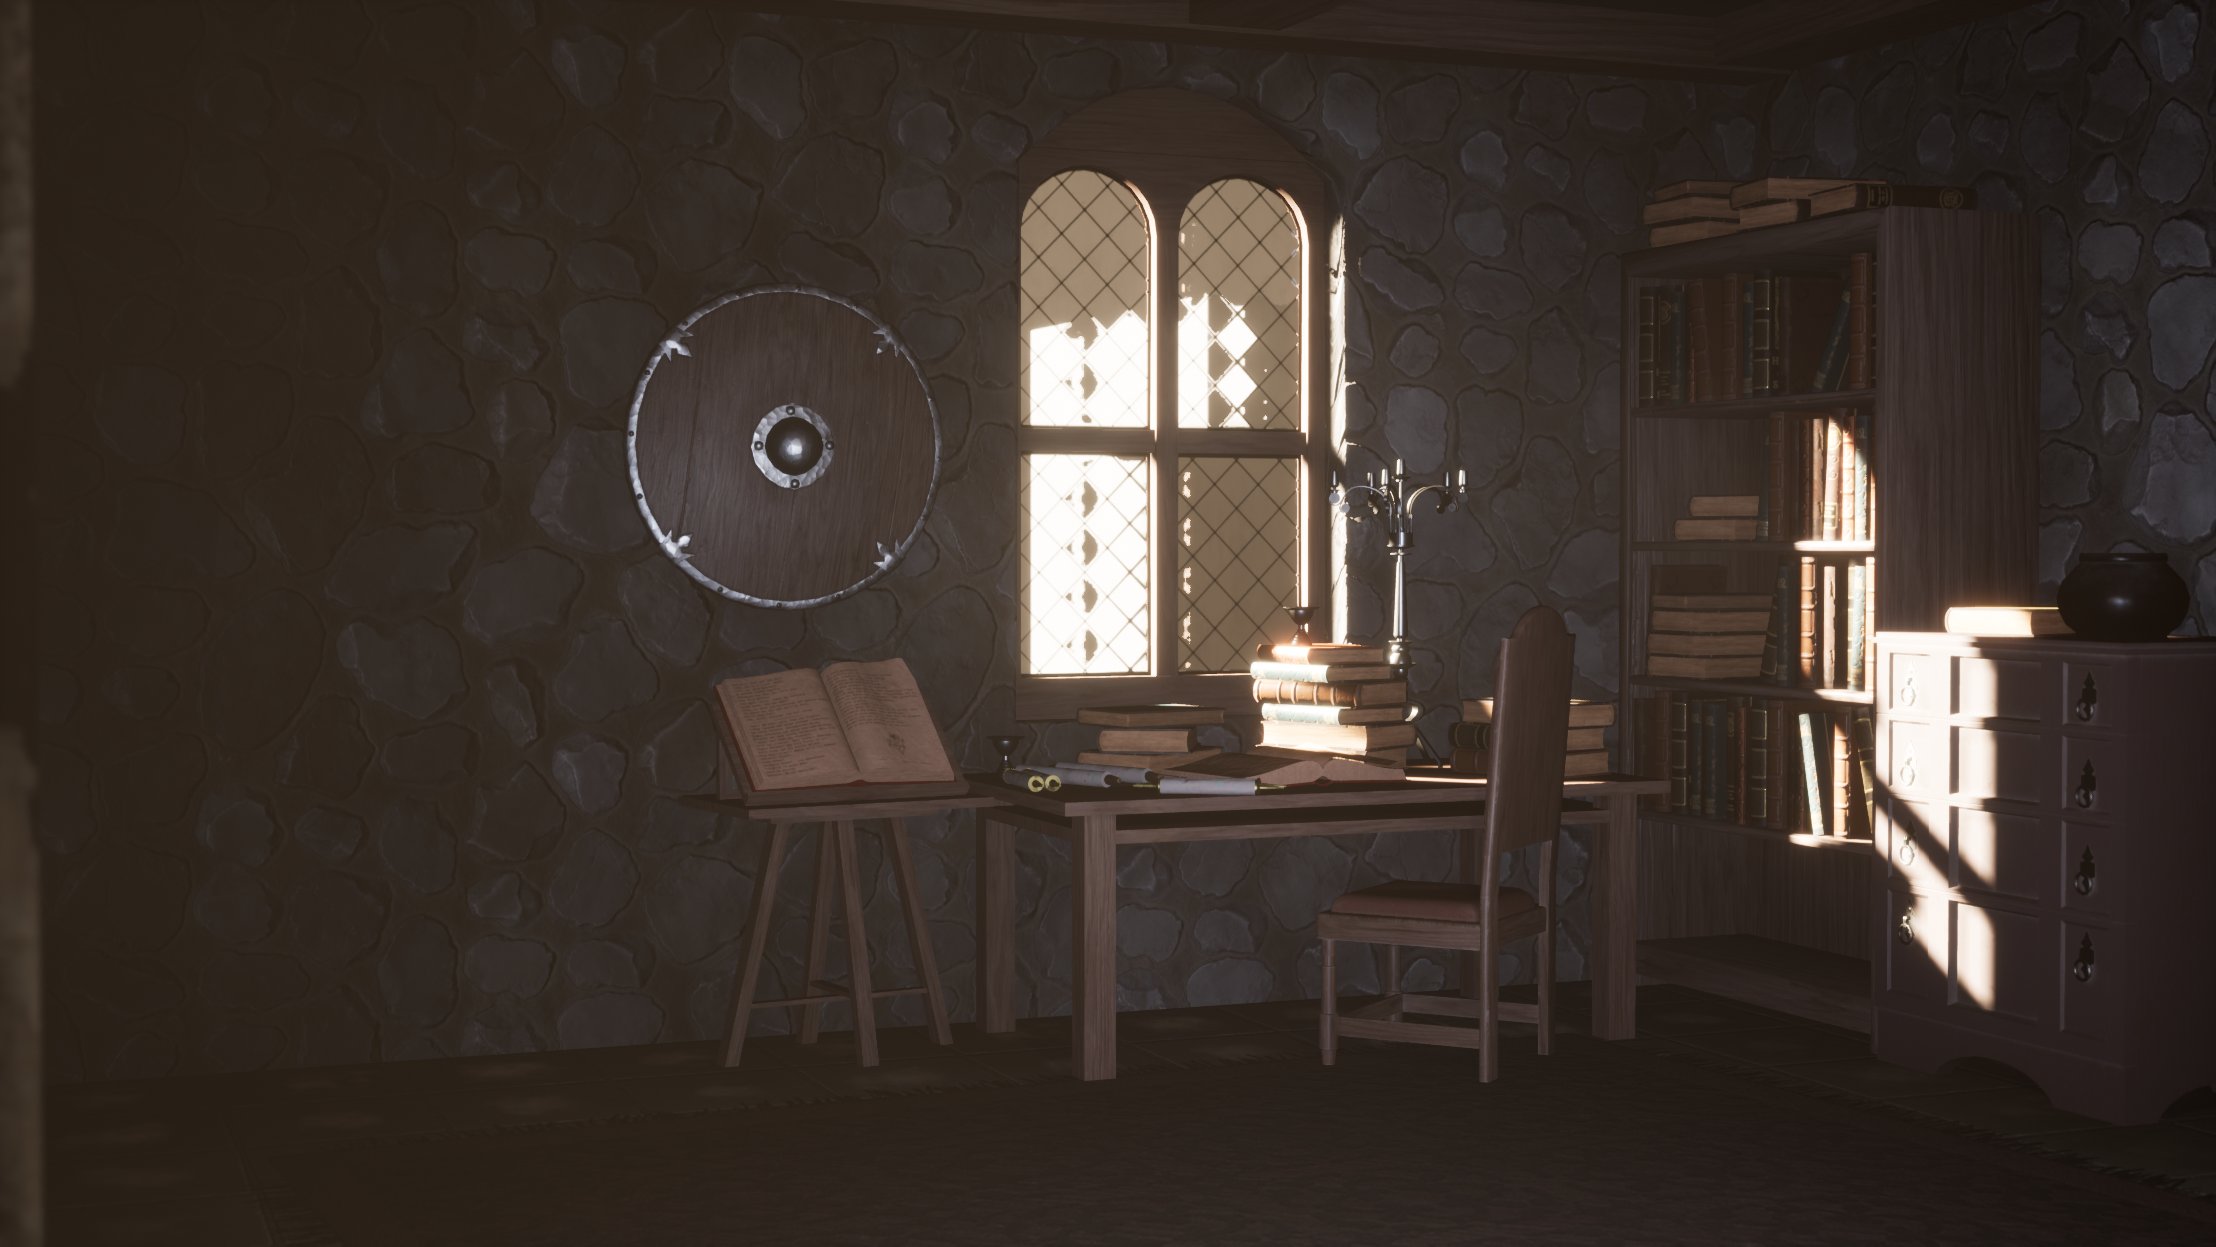
As you can see I am using two lights for the hard edges on the chair and the bookshelf, a soft light for the dresser because there was not enough bounce light. A spotlight to highlight the table and bring cool shadows of the table and the chair and at last the sun as my main light.

With bake lights I can use reflection probes witch look like this trippy stuff^^:
Of course with the light changed I had to re- adjust my post effects and the height fog as well.
That's it for today! Next step is to repeat the "ask for critique and learn how to make it better" - step till I am happy with the end result.
Peace out!
Update - 8 Jun 2021
10 Re-
Re-lighting
I wasn't really happy with my light so I changed it. For the current result it took me round about a hundred tries. But after more Tutorials on Youtube I am quite happy now. Also I changed the fog and added a dust particle effect.


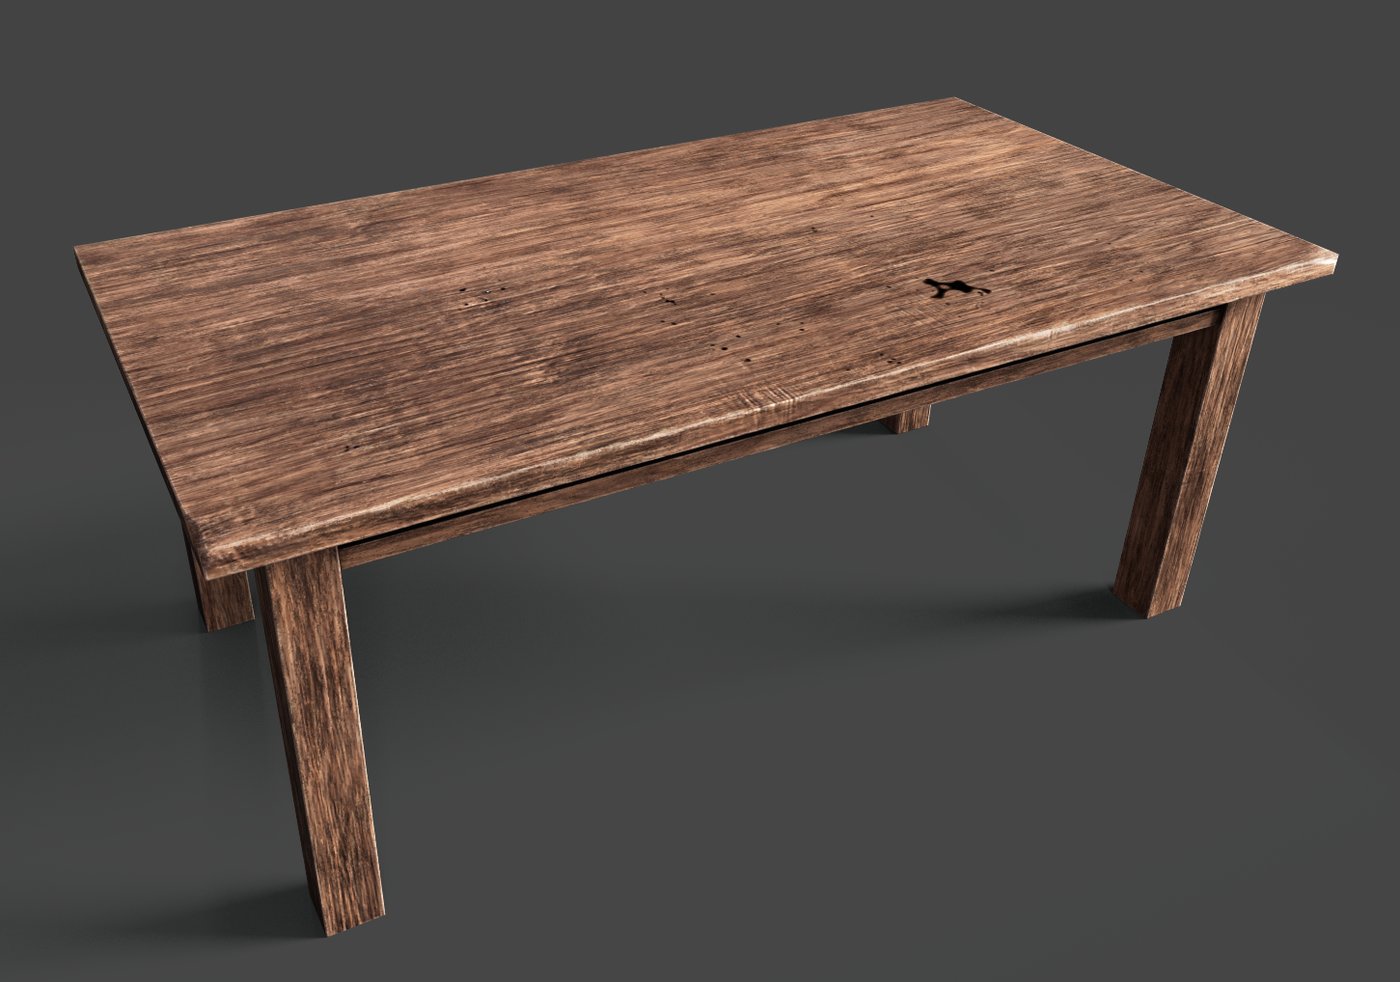
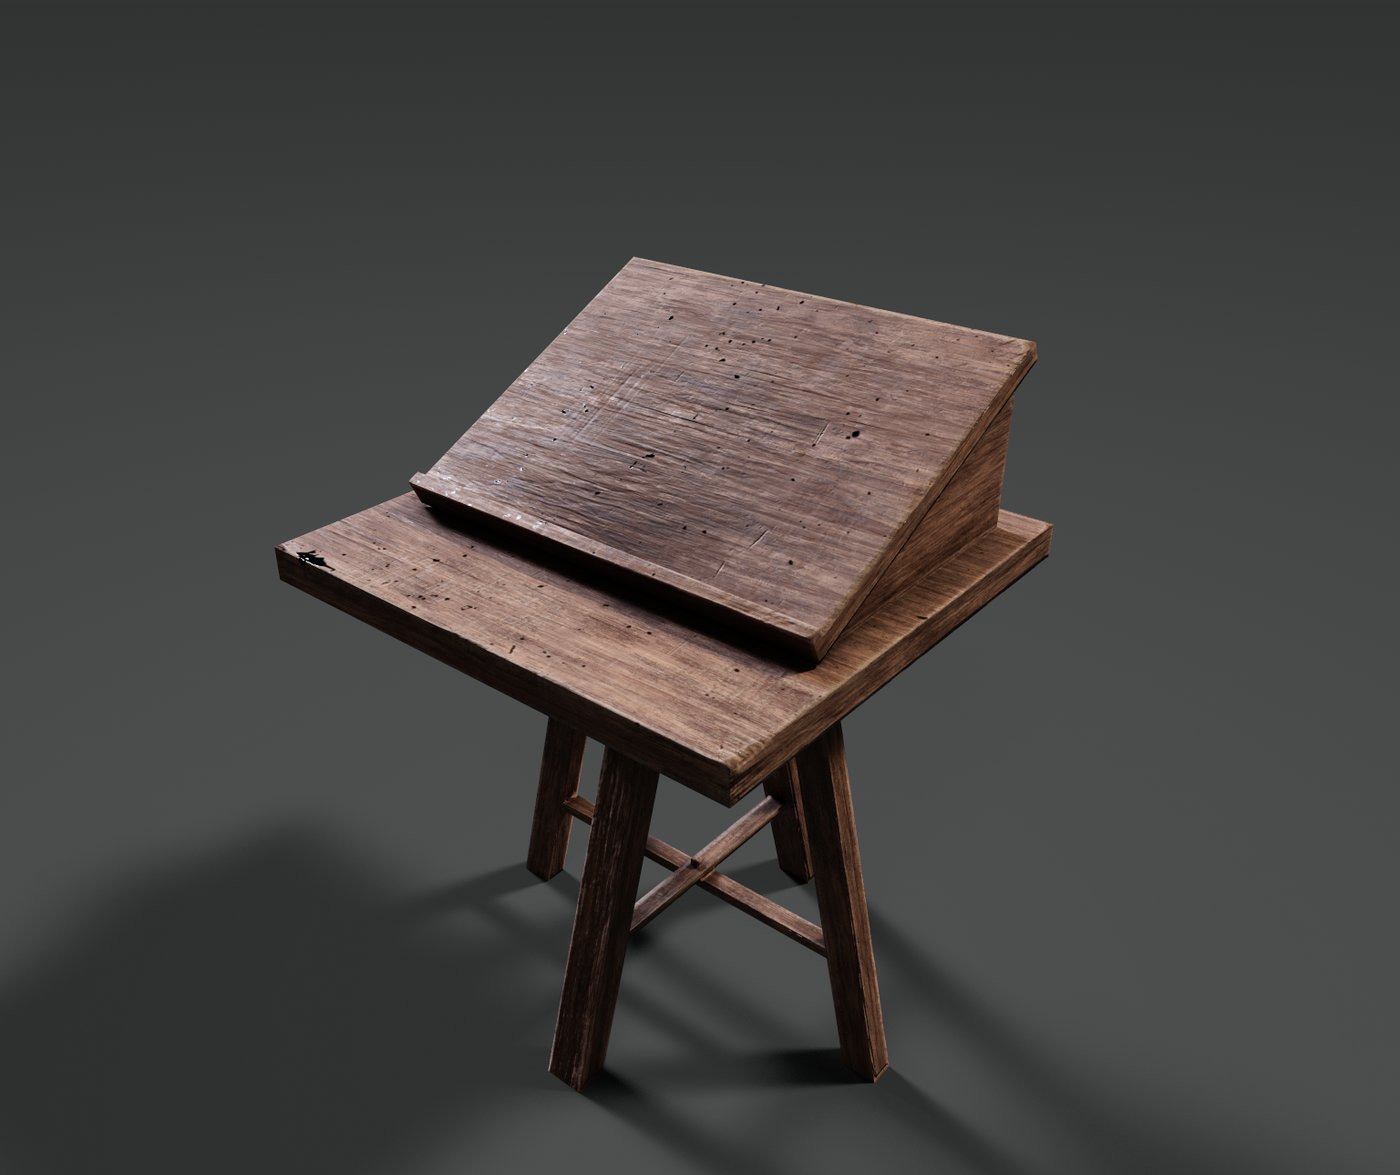
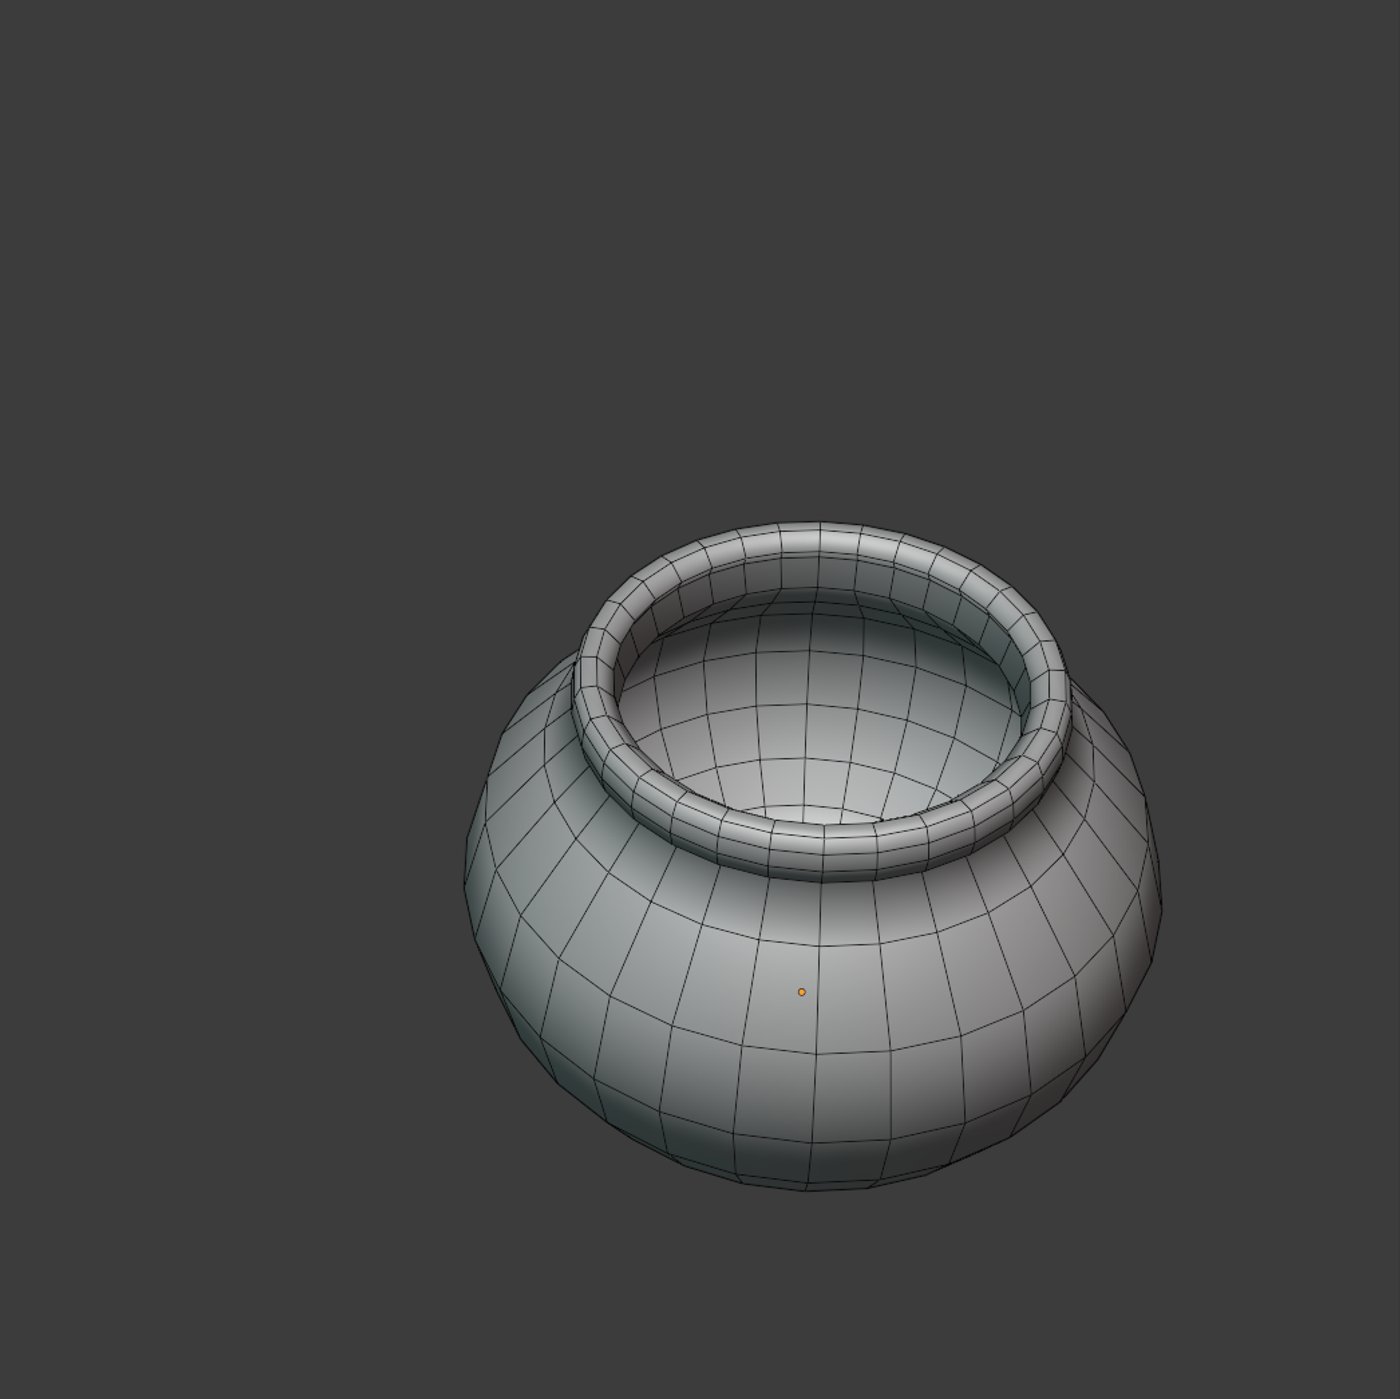
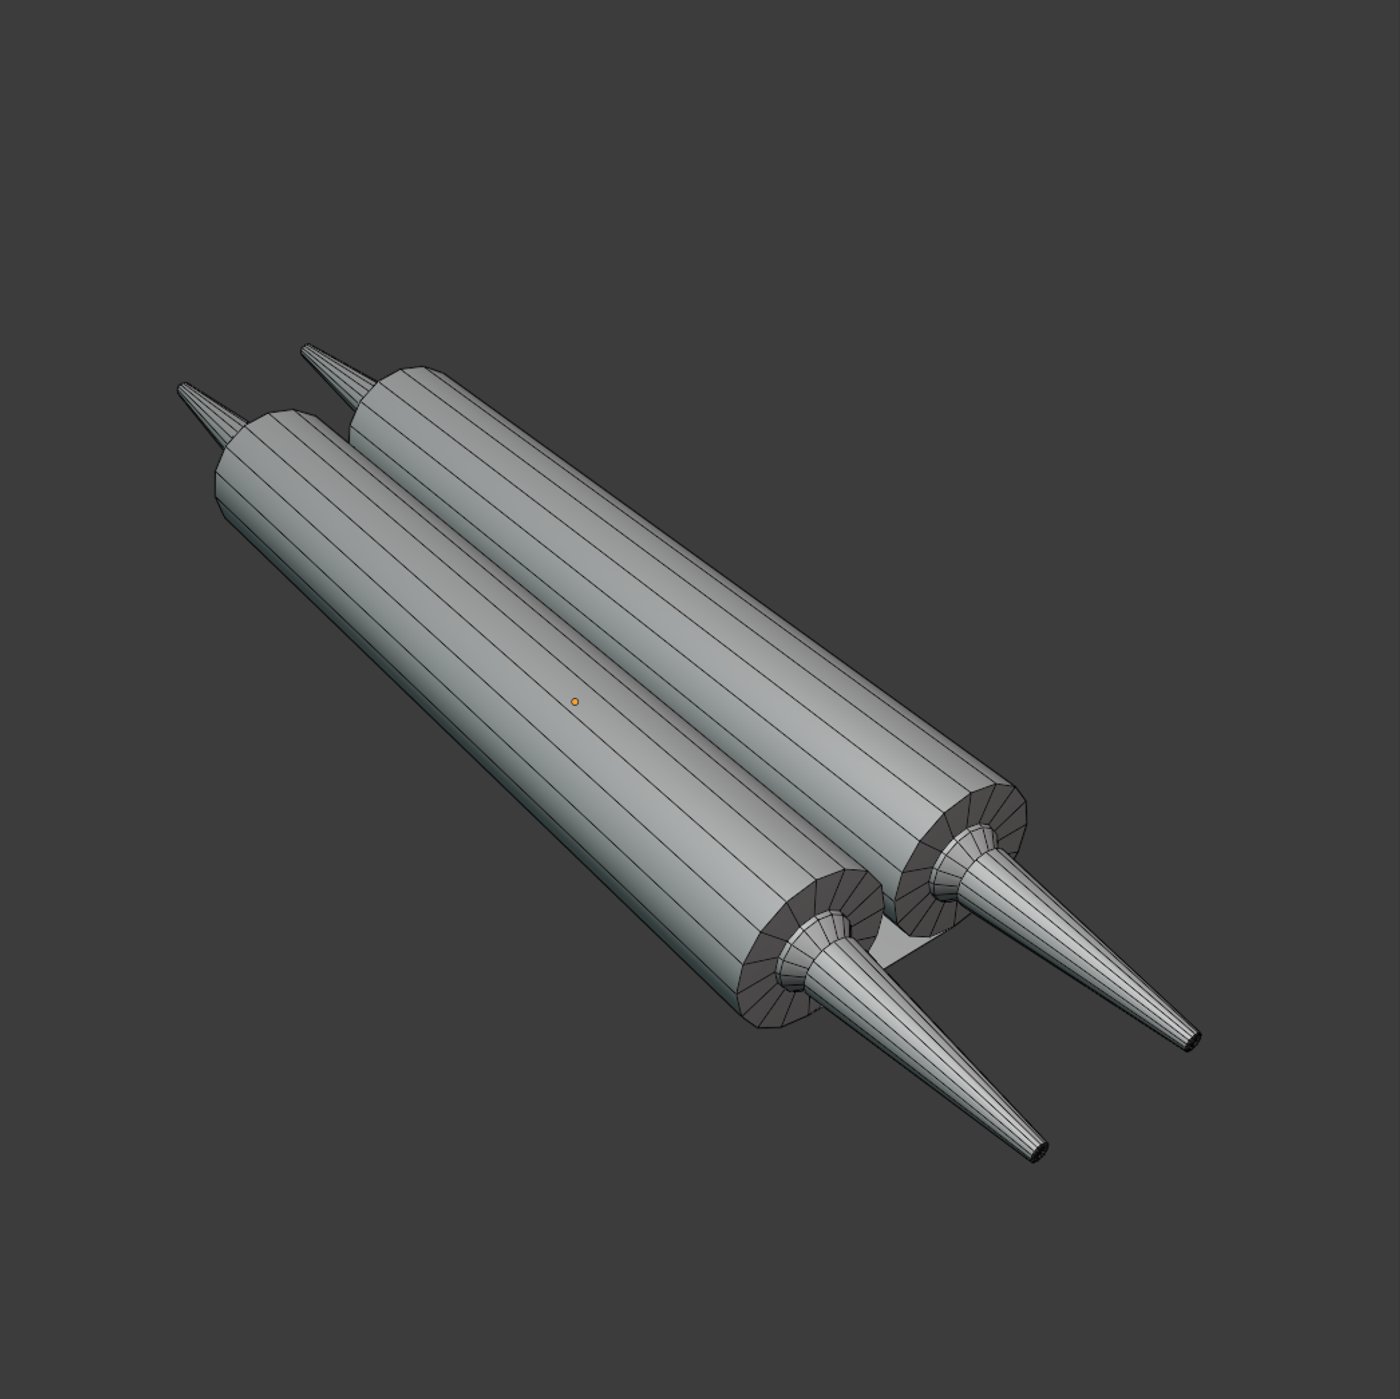
Re-work
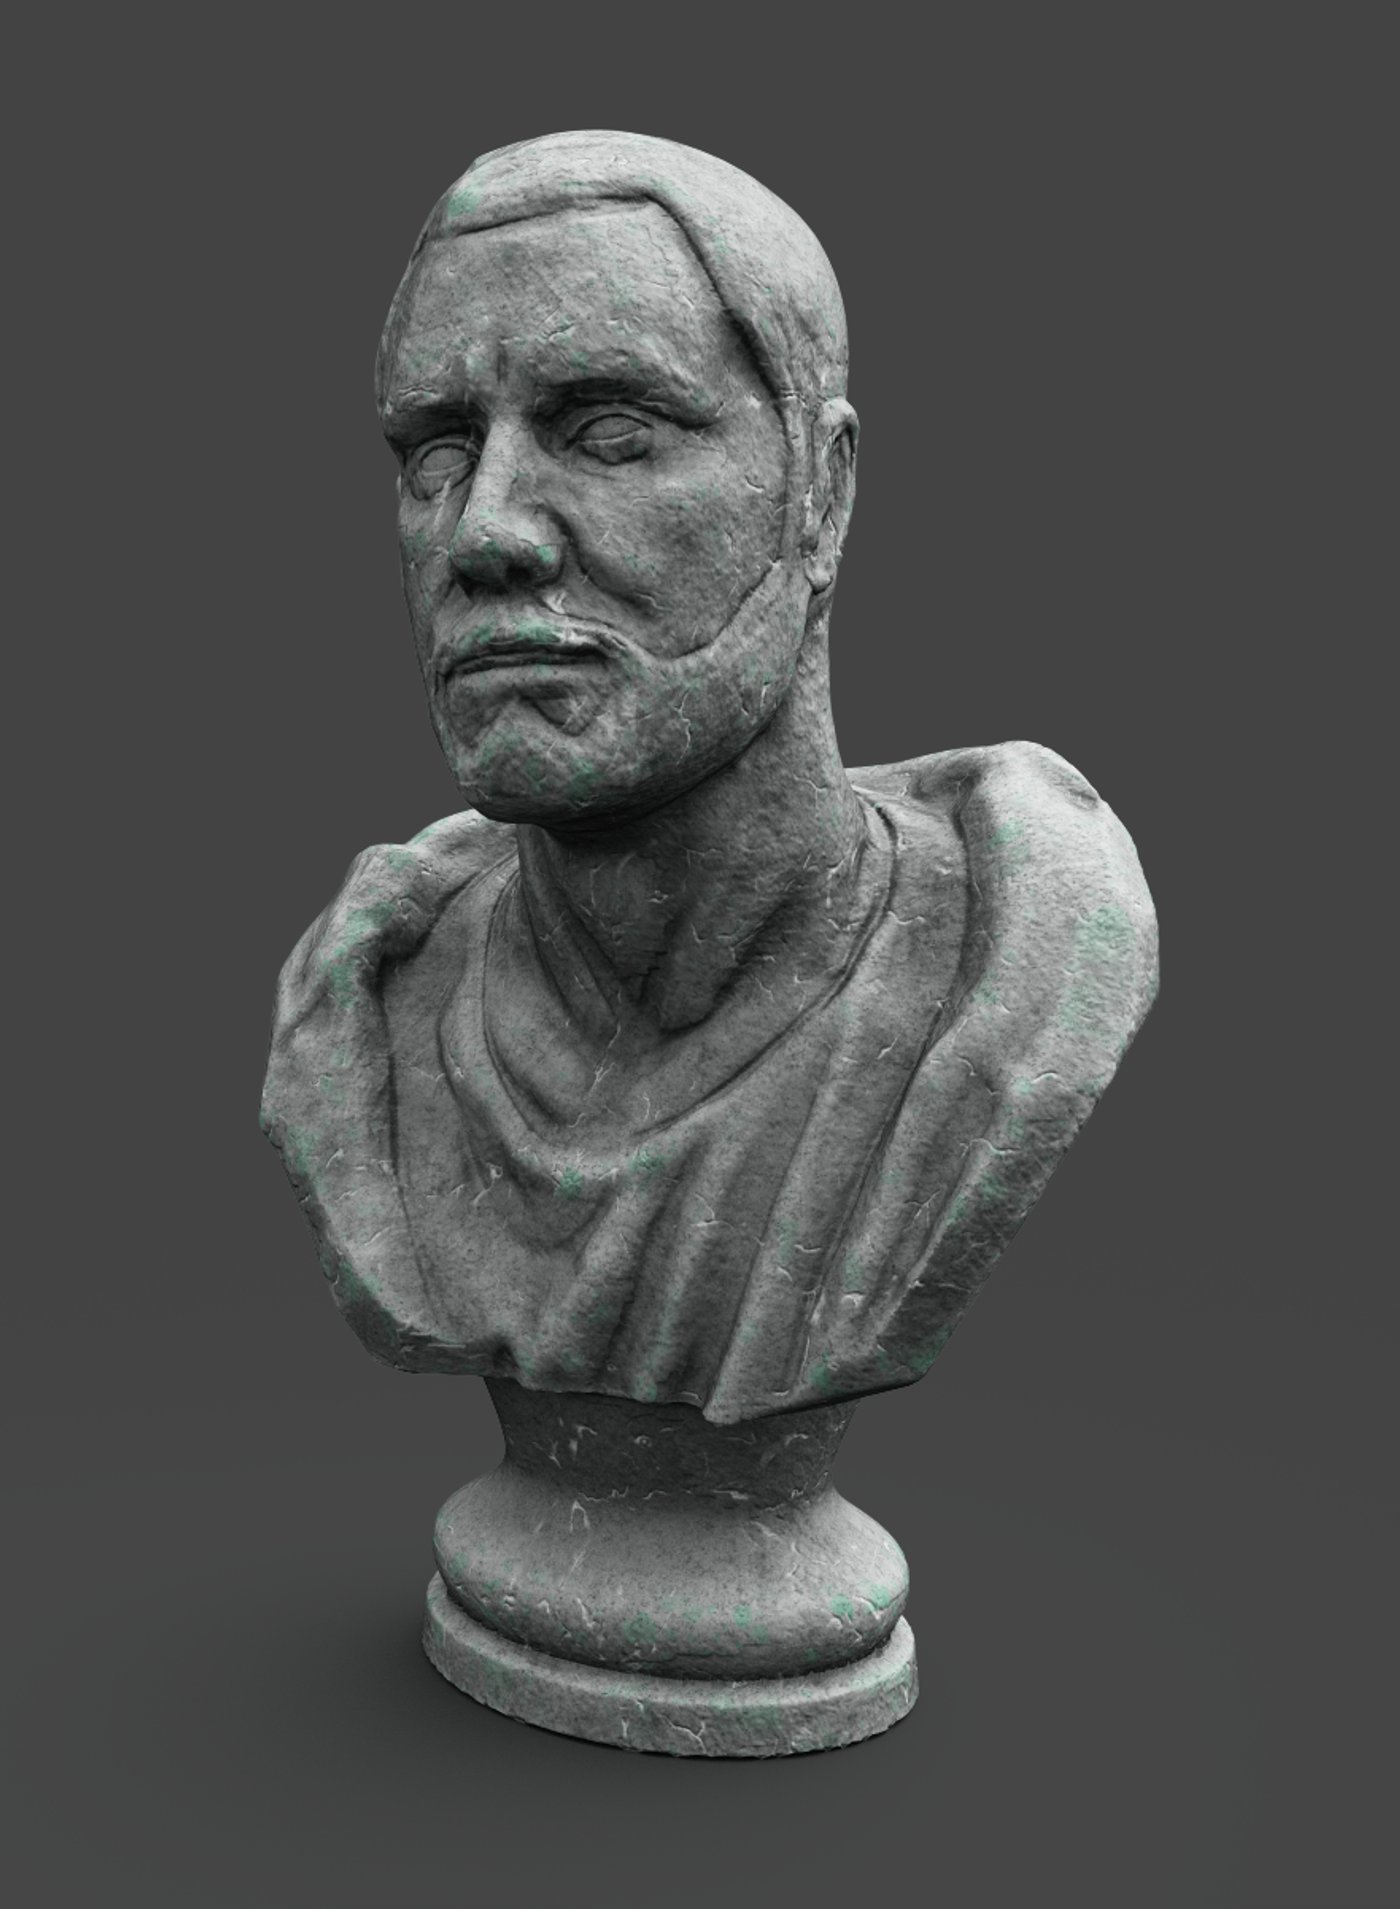
Some of my Assets weren't really good as stand alones. So I payed them a little bit more attention. So I sculpted them and gave them a unique texture instead of a tileable material over all.

and then I added what's left. I made an Alpha map for the feather in Photoshop.
(Instead of a skull I made a bust of a nice person^^) 🤫

10.1 Making a post...process


Summary
Ok, so I am coming closer to finish this project because I don't know what to change/add next to be honest, but of course I know that there is always something I could improve.
In all steps I tried to get some feedback from Dynasty, TheRookies and Experience Points discord channels. This is what I will do next.
oh, and of course: STAY ANGRY!
ò_ó
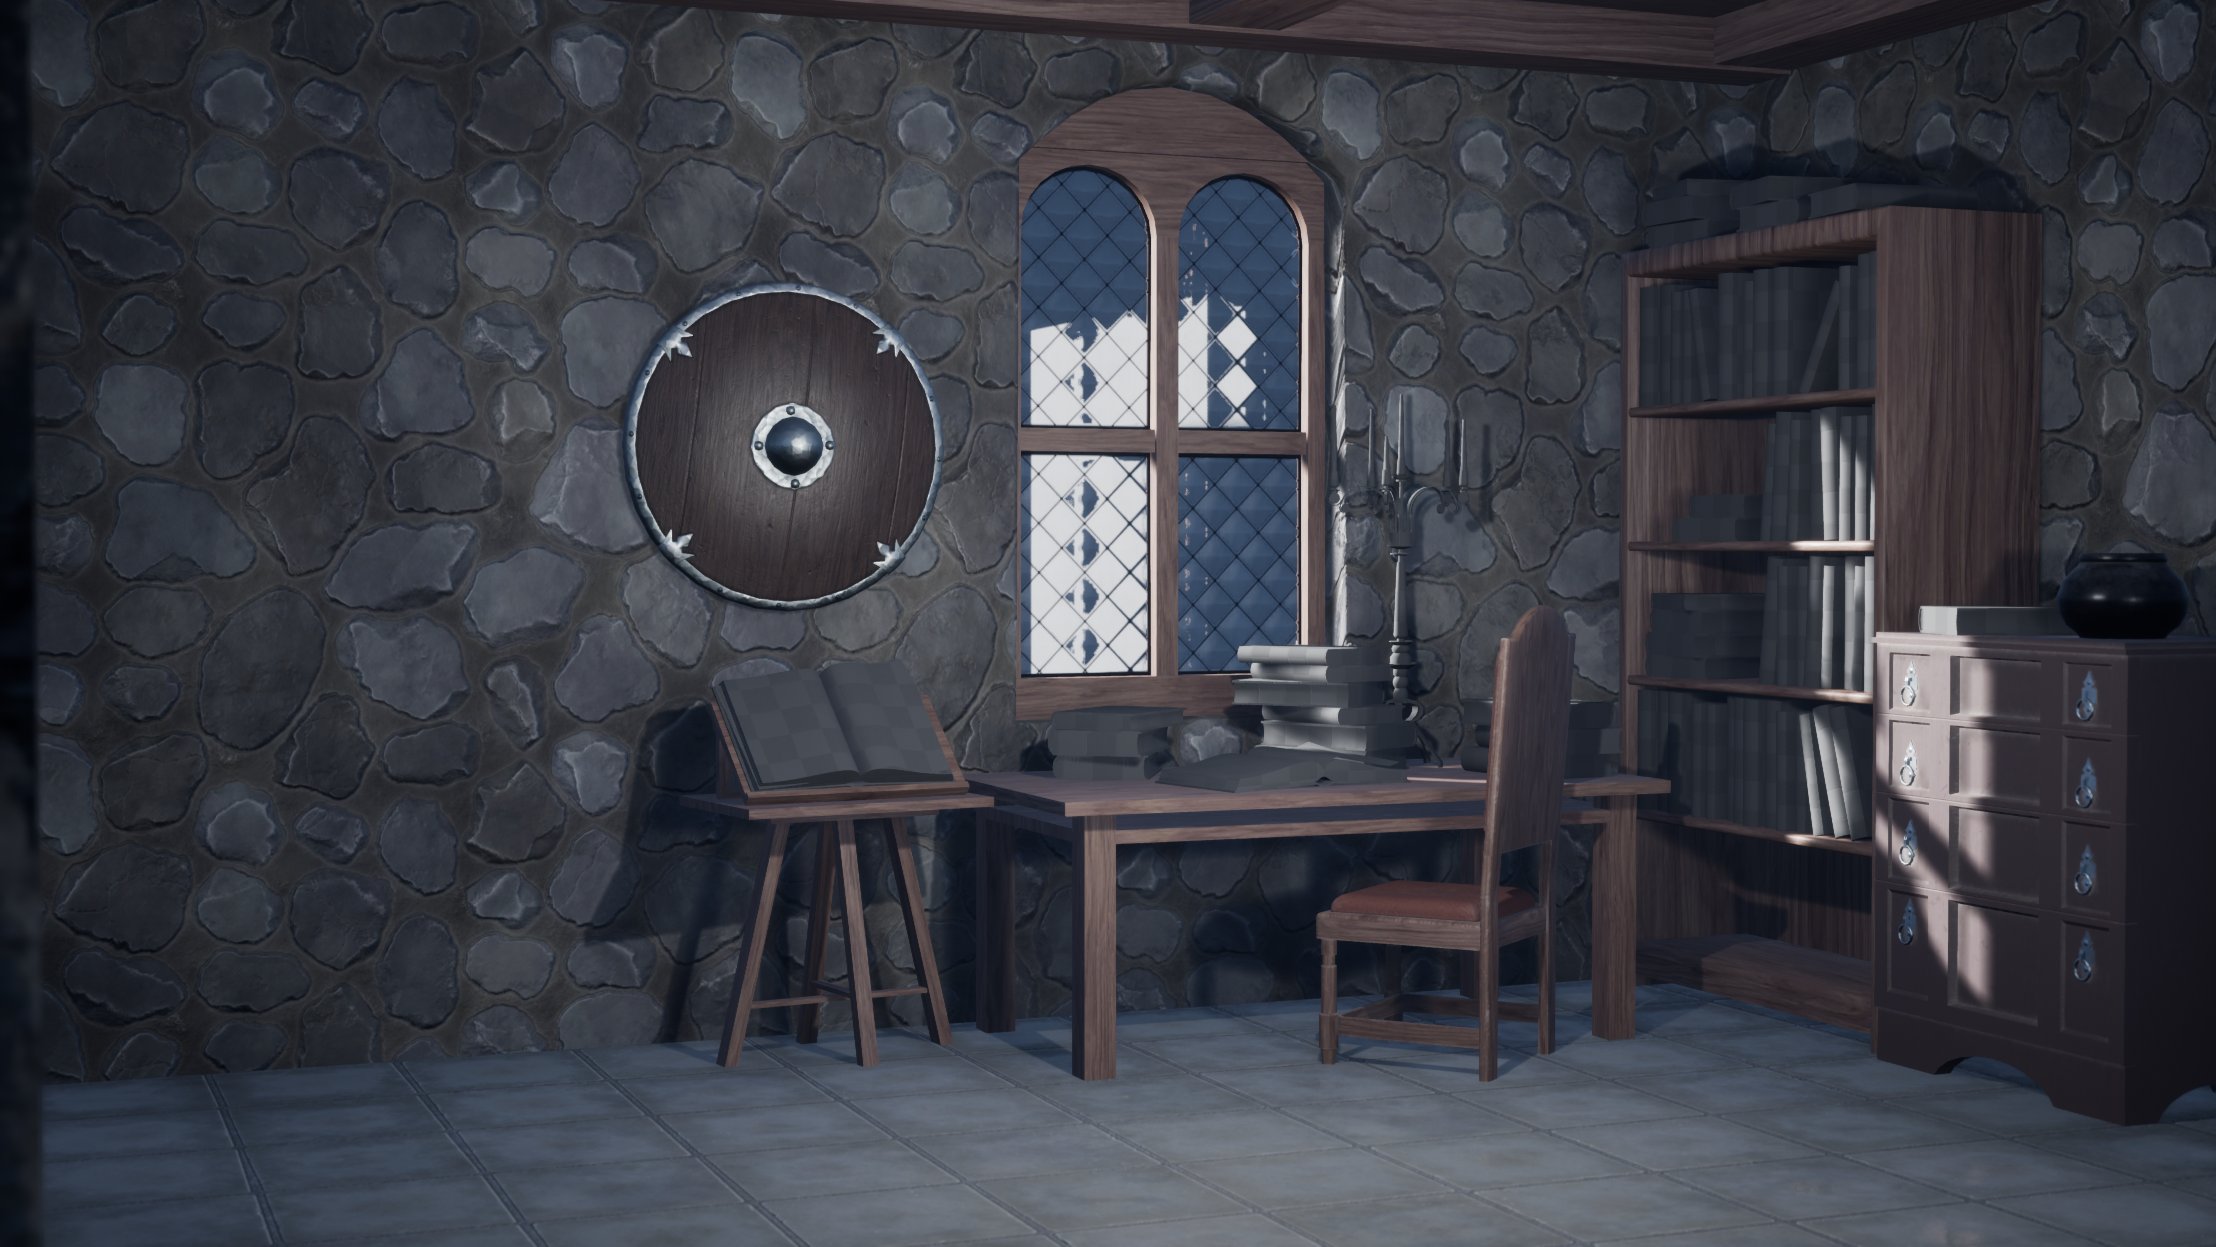
Update - 7 May 2021
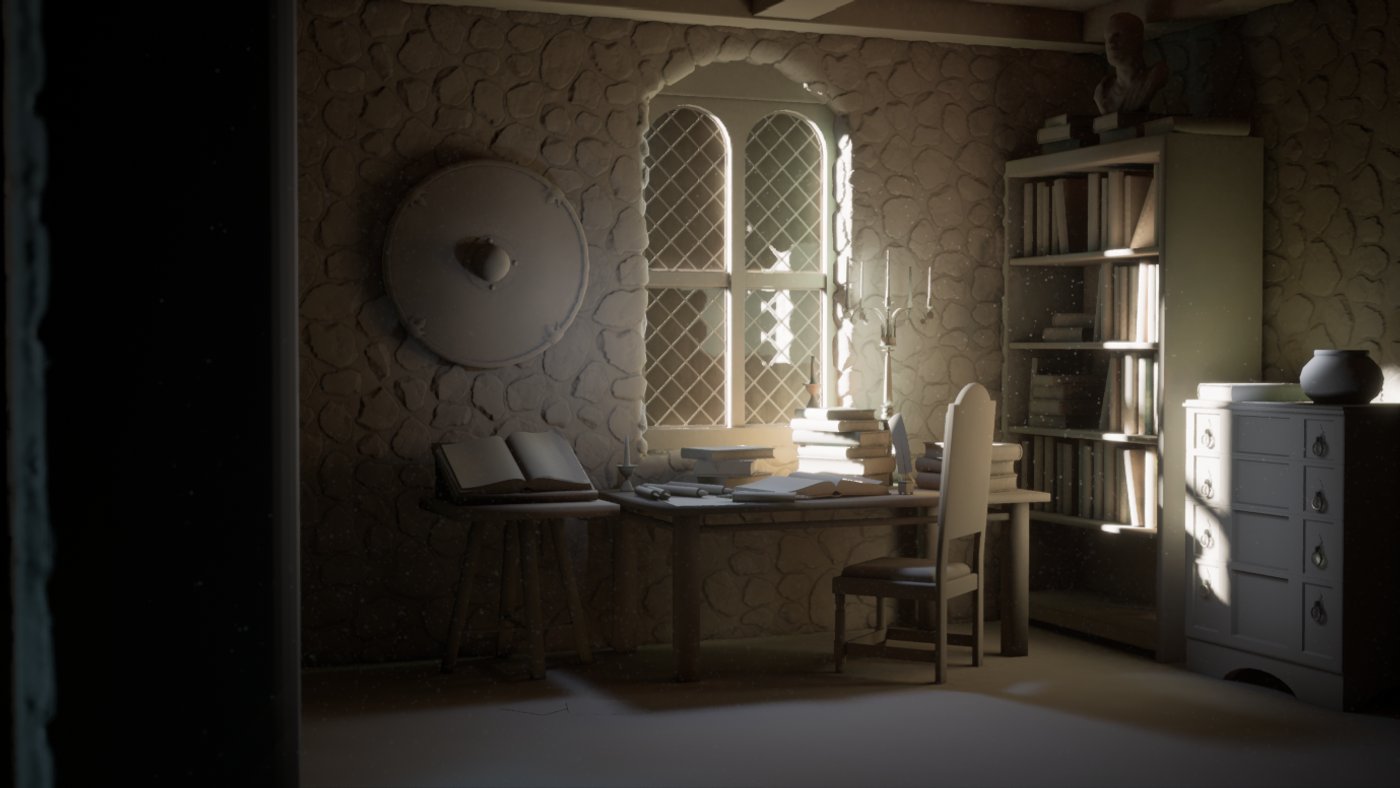
09 Go into the light!
Ok, I had some time off, so it's been a while since my last update. But I am back to work and managed with the lighting in the last couple of days. Because I am new to Unreal I have to learn all the ways to light something. Point and directional lights, sky lights and HDR images, post processing and baking.
In the meanwhile I was off I changed the assets a little.


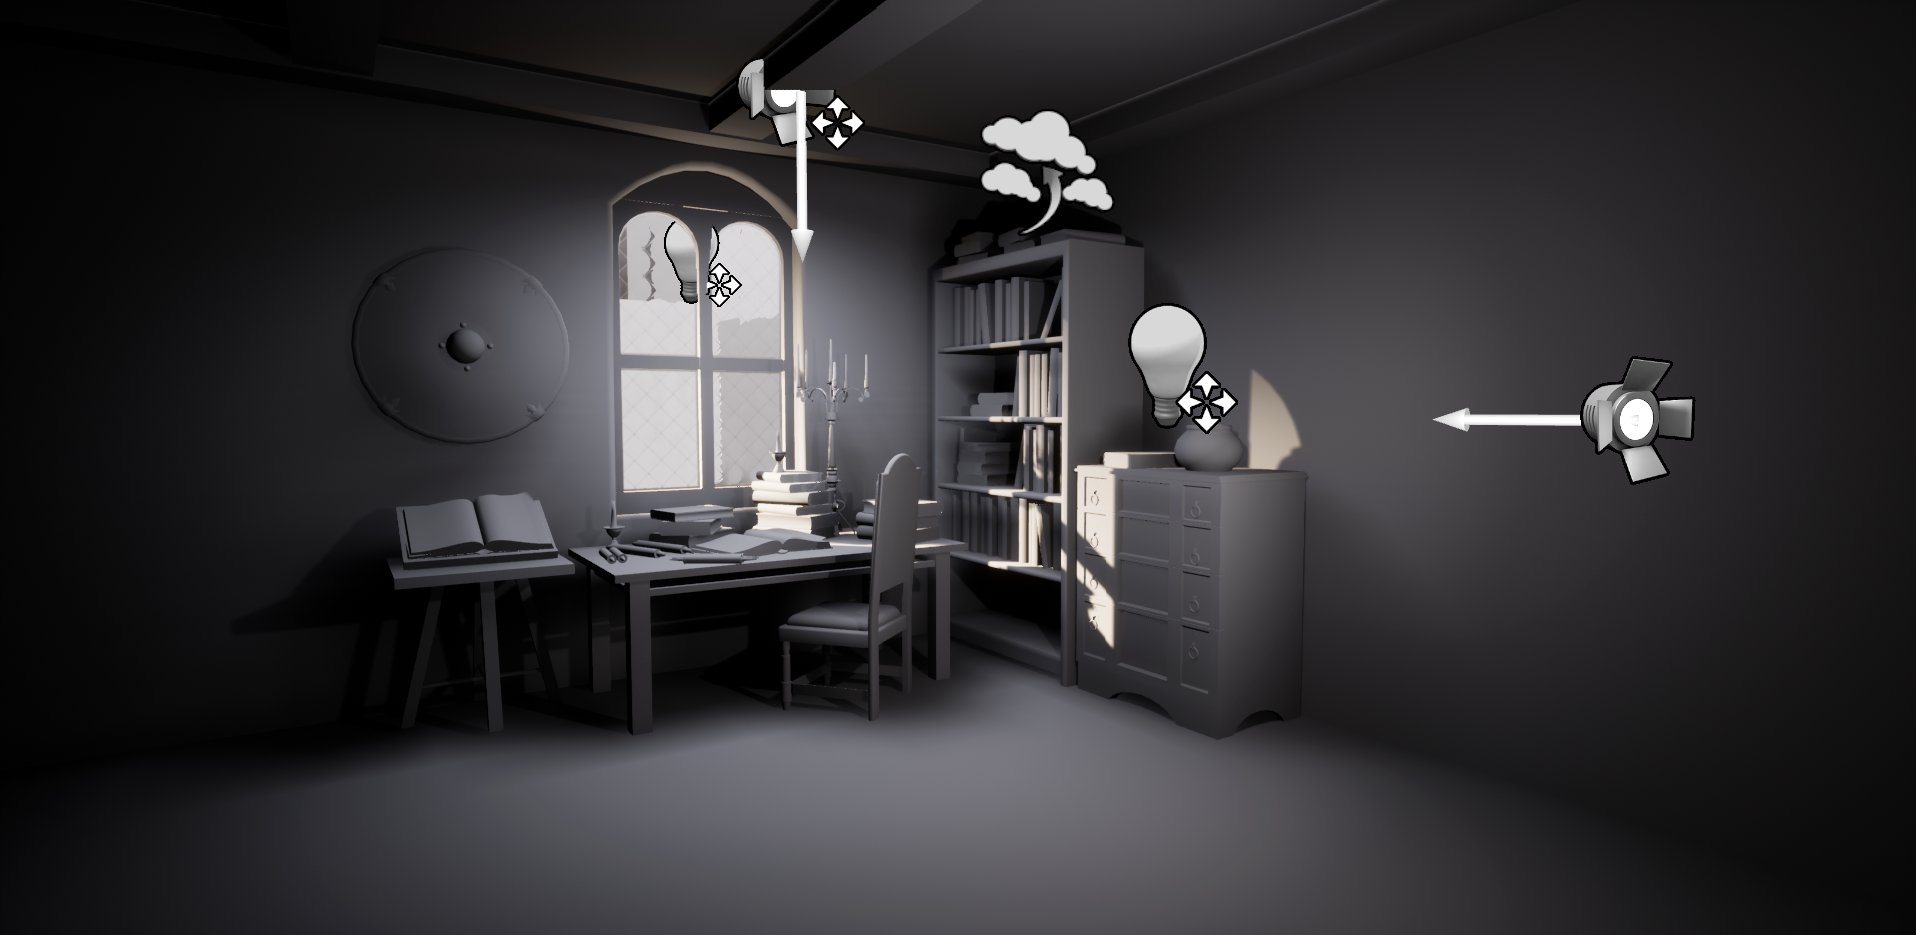
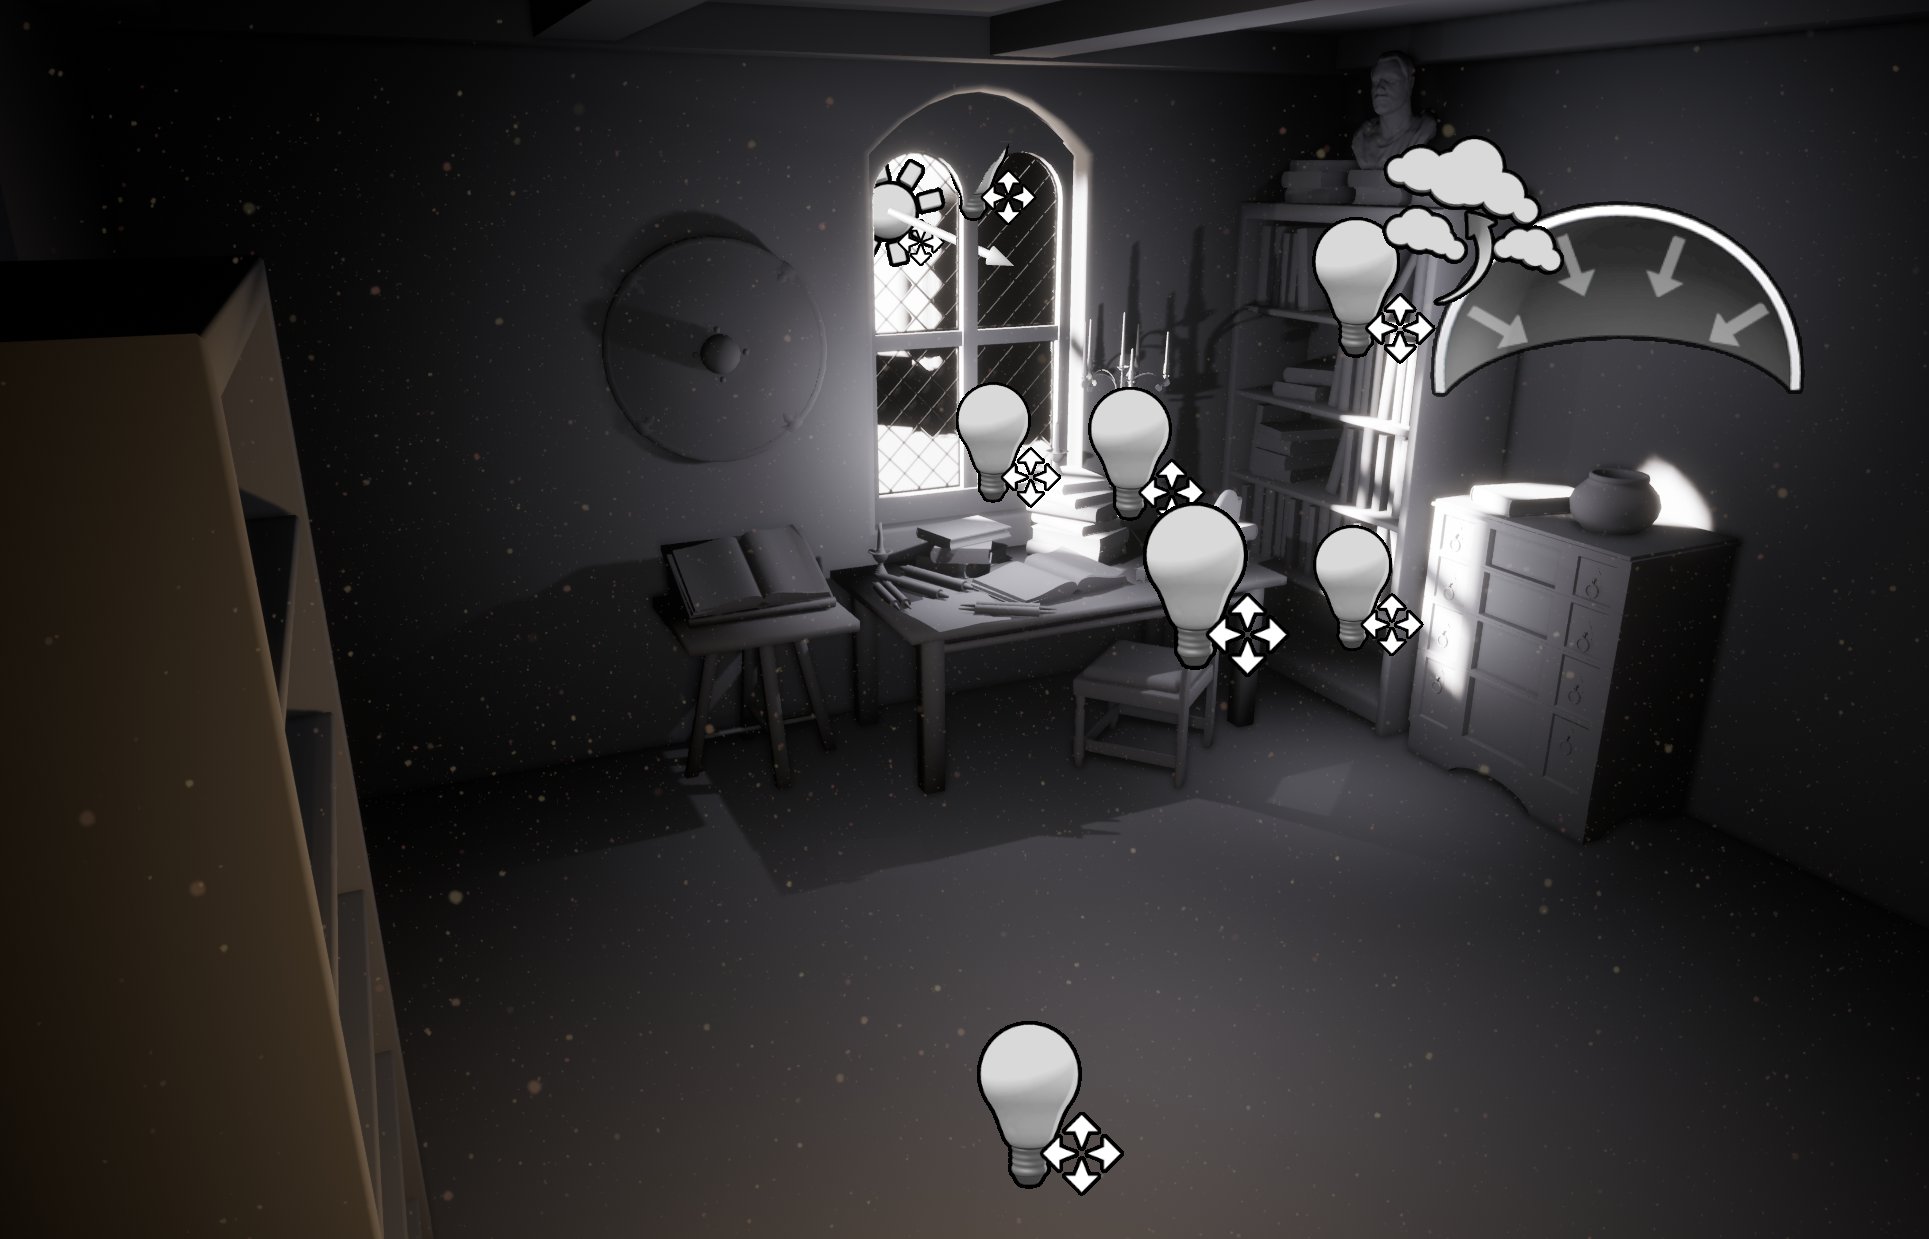
As you can see I have a spotlight coming from behind and one coming upside down. A pointlight for general illumination and one in the window to light the edges and at least a height fog. What you can't see is the important spotlight coming through the window, a skylight and a directional light to illuminate the outside.
ò_ó
This is a first iteration and I am not happy with this at the moment.
Update - 14 Apr 2021
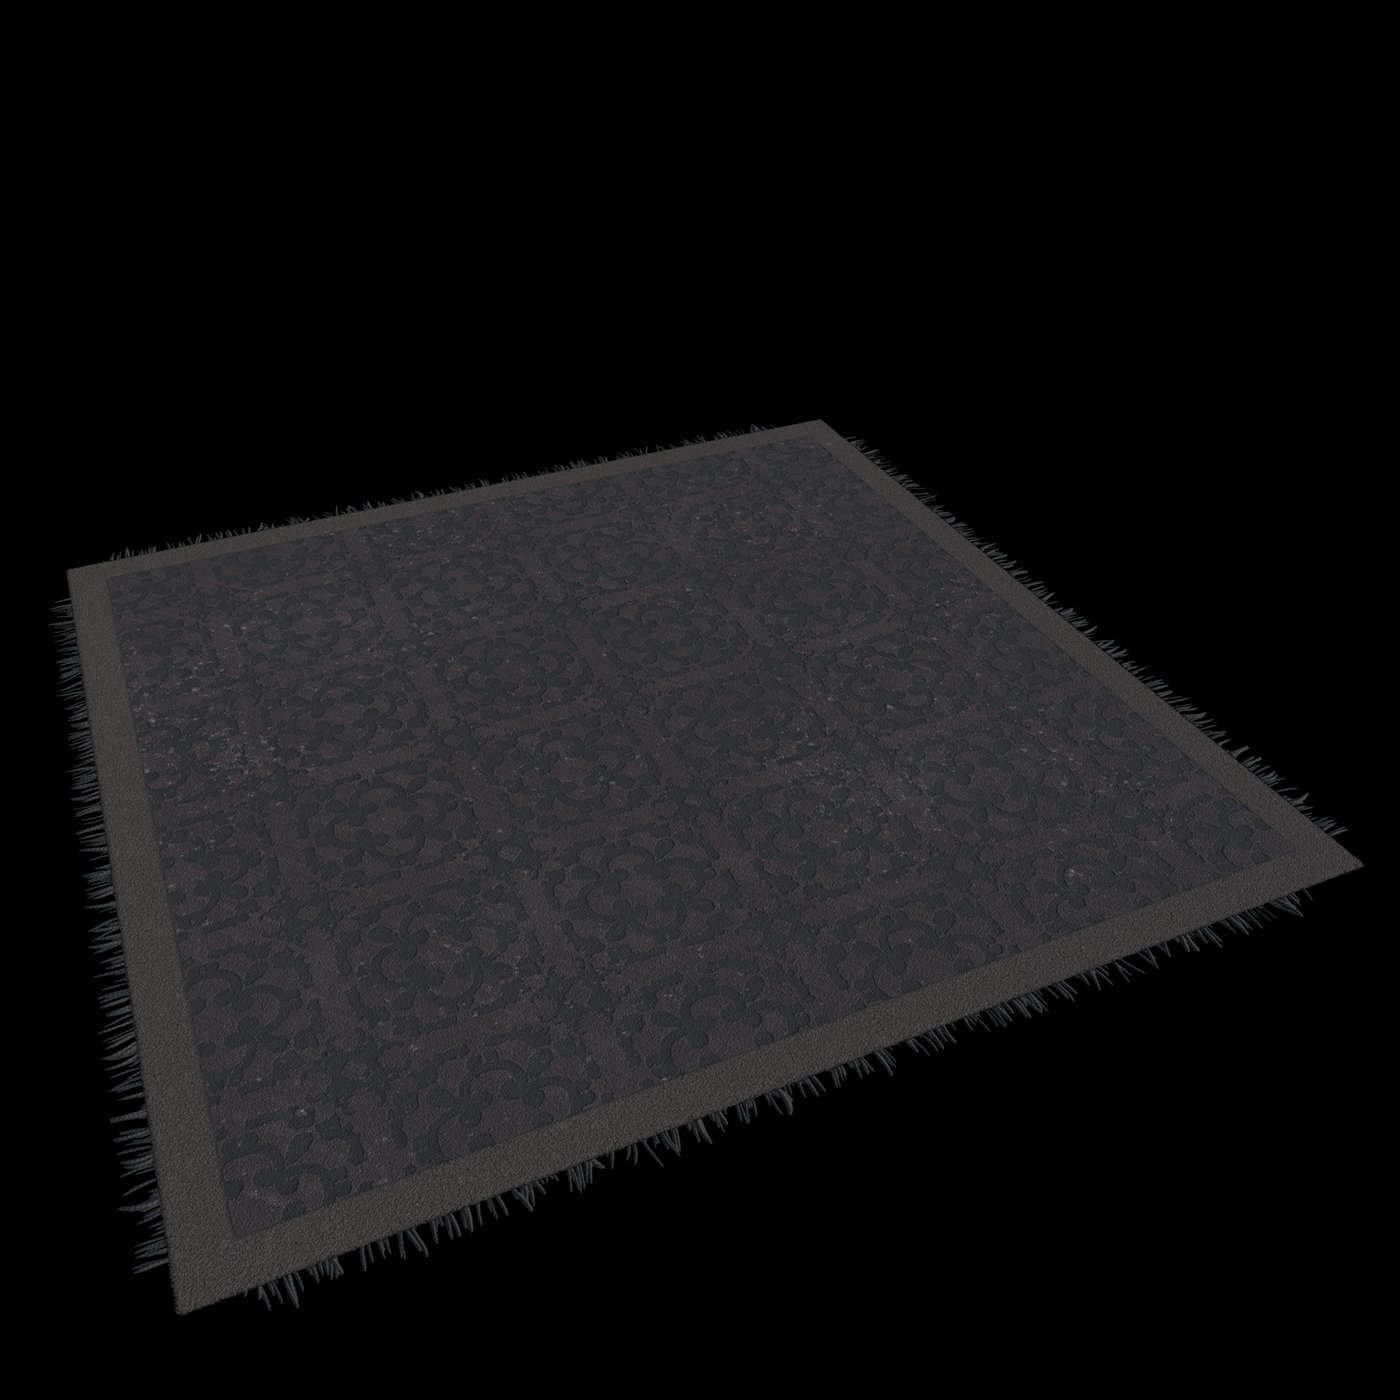
08 This rug really ties the room together
Say what you want, but he was right!


Update - 6 Apr 2021
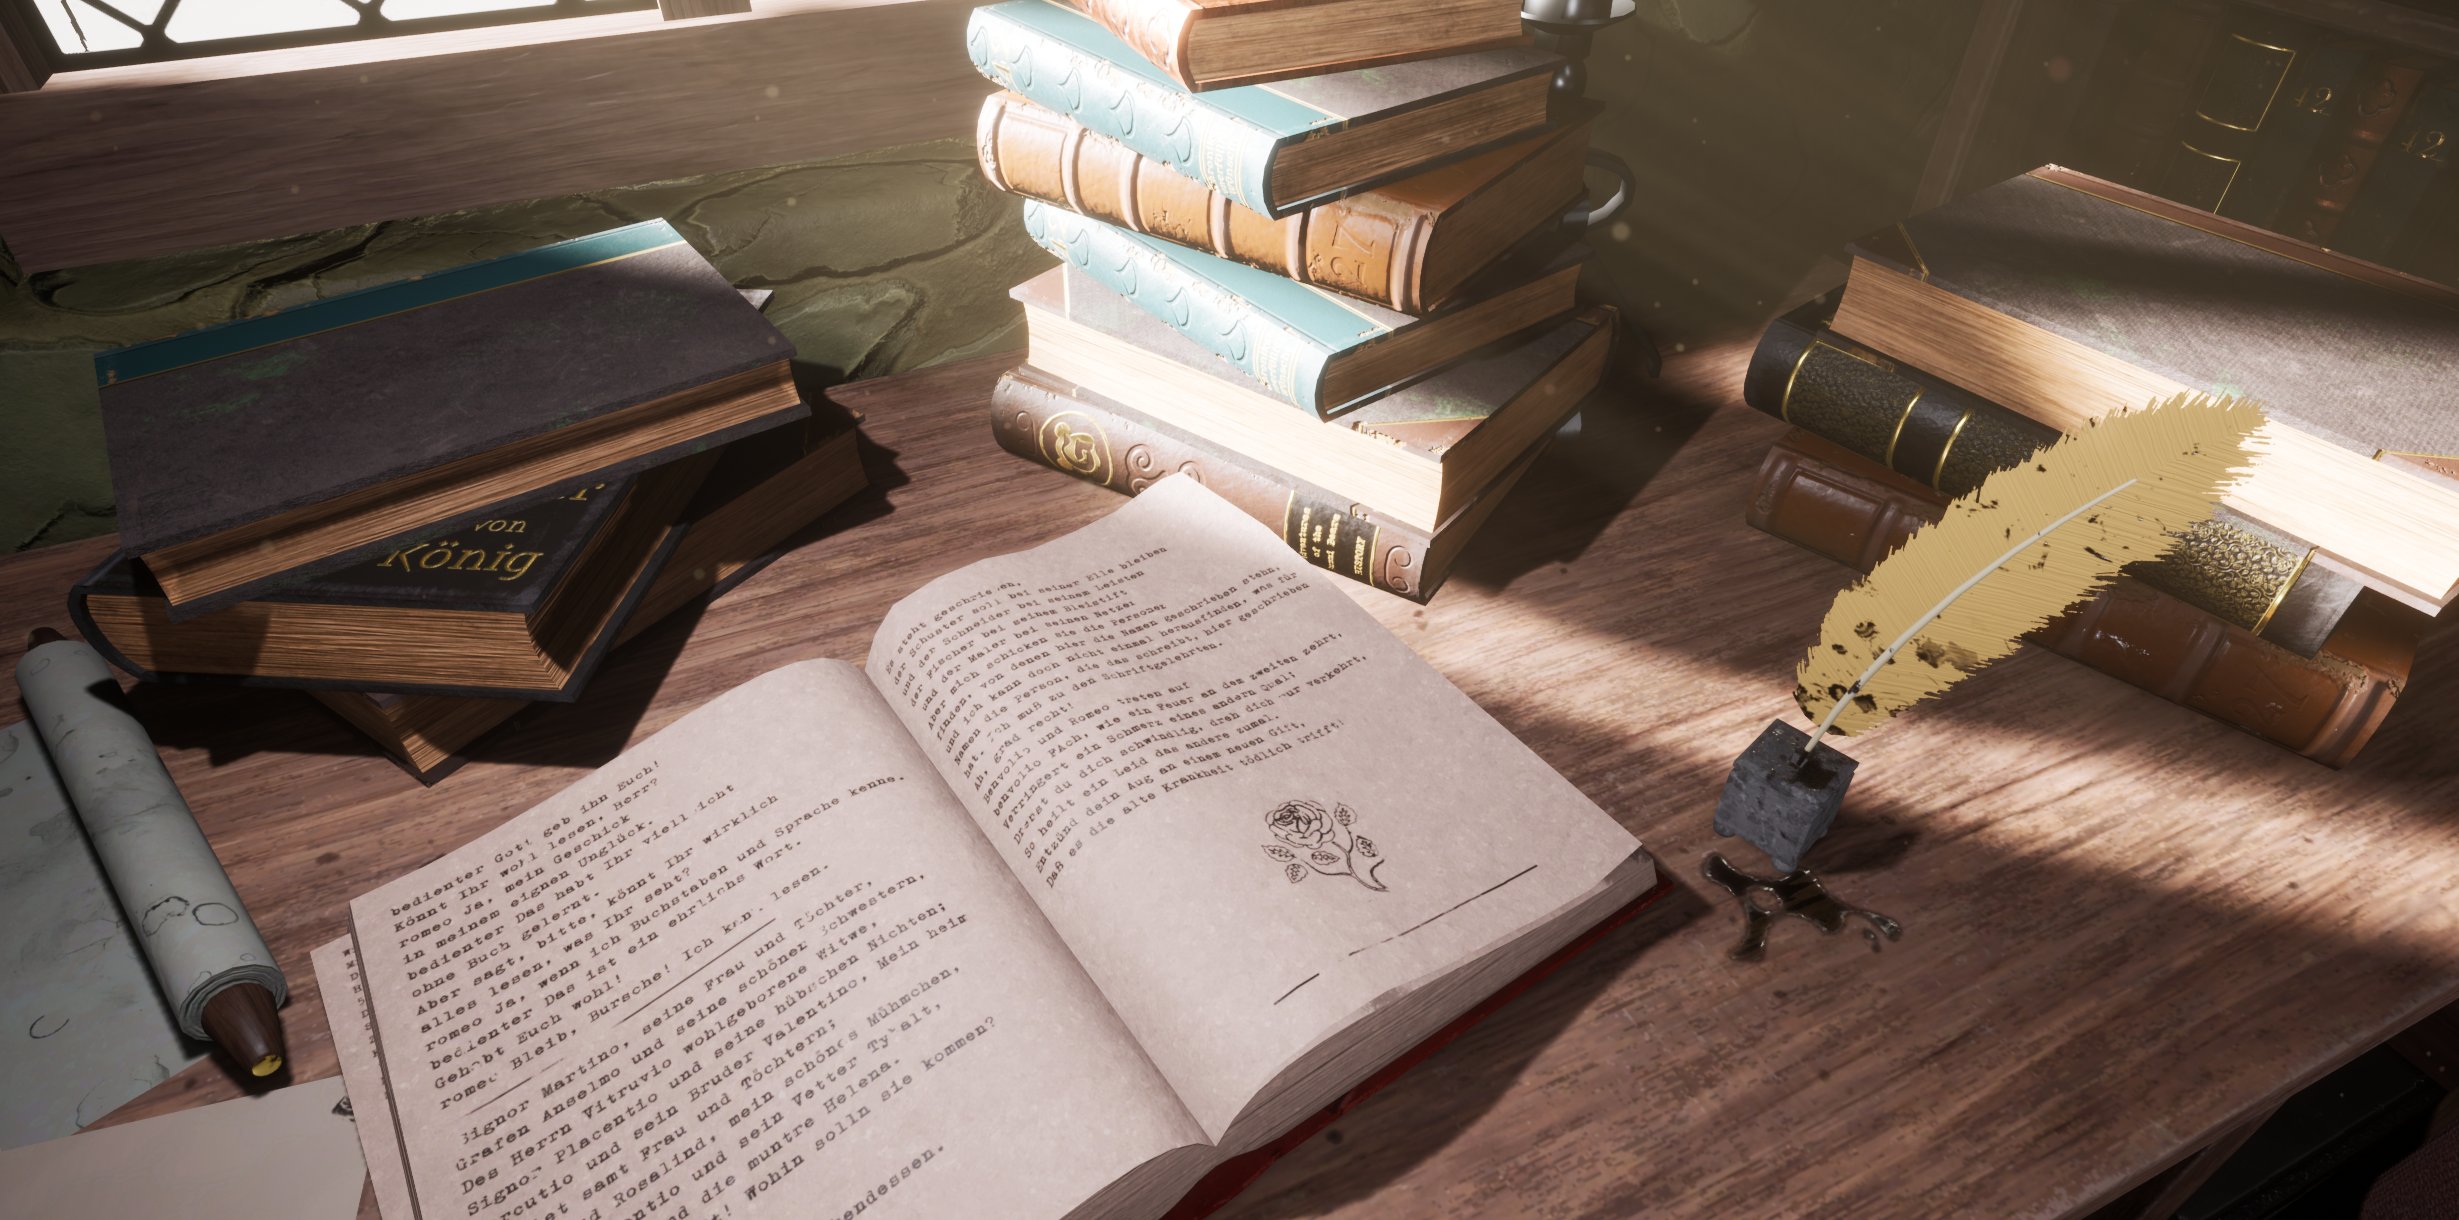
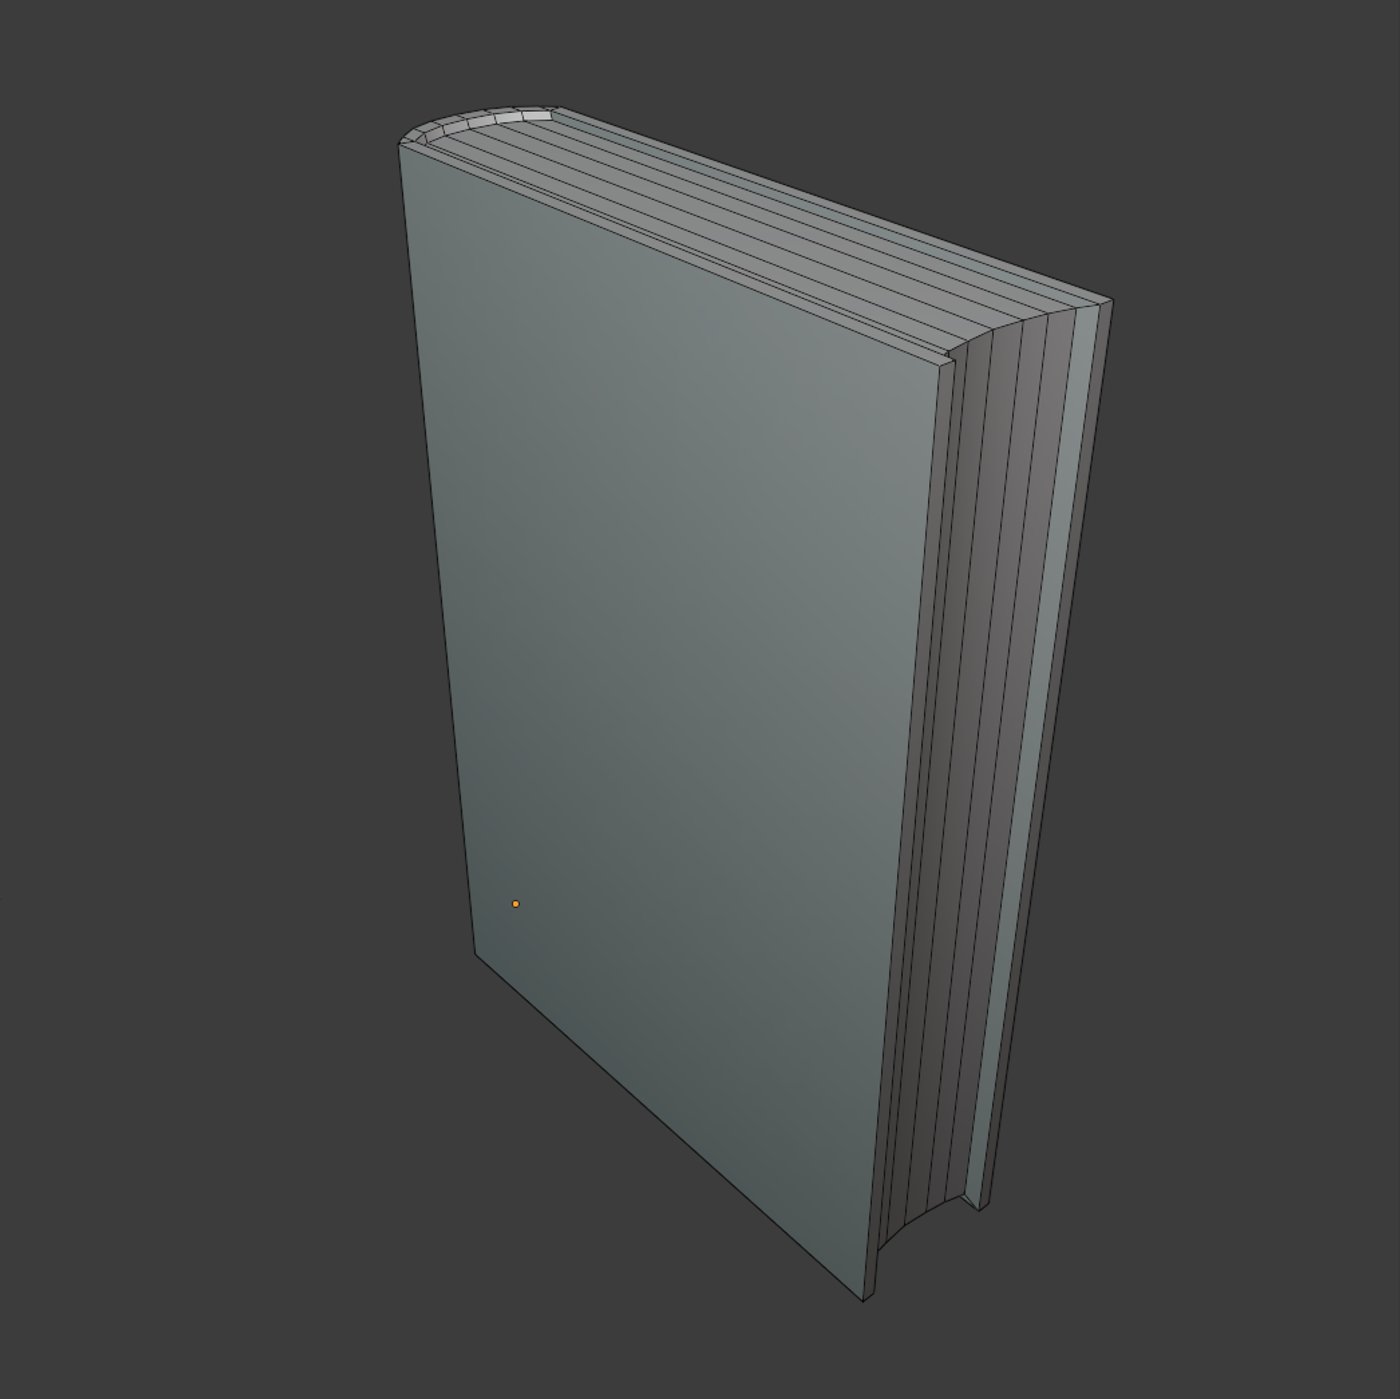
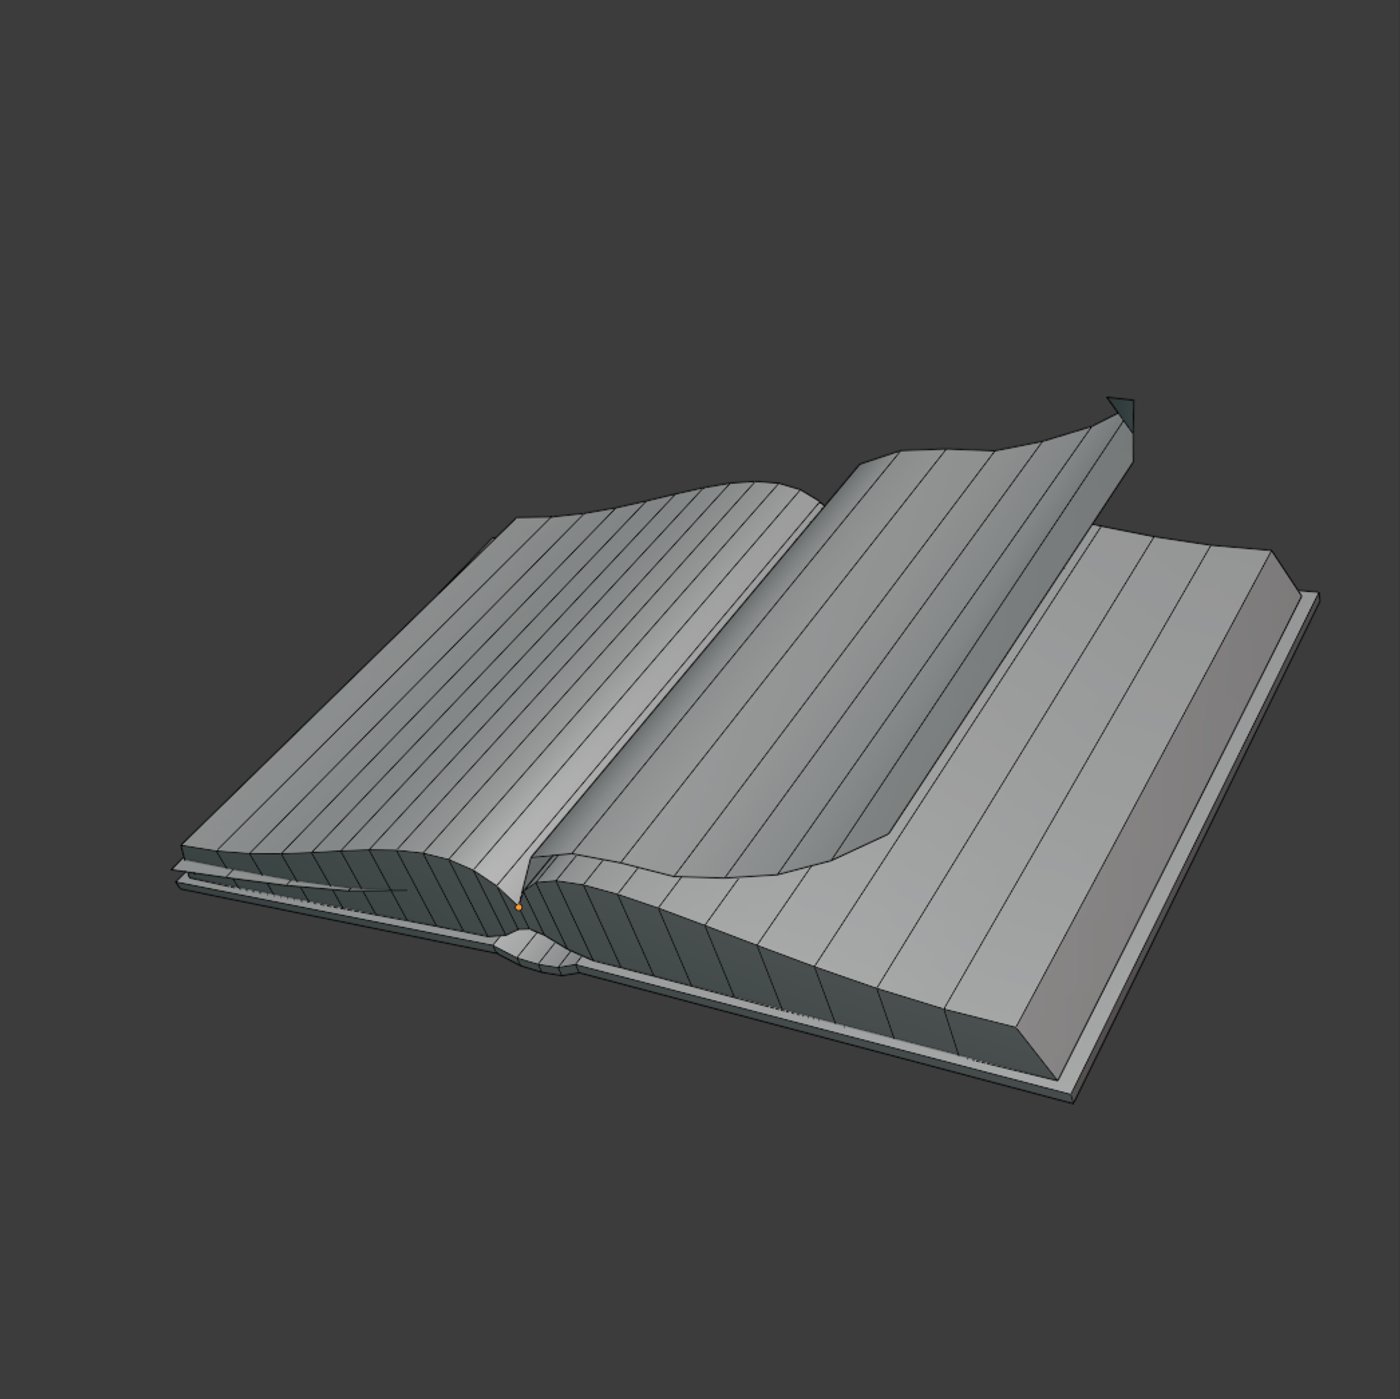
07 Mel's Books
We have to read more! ò_ó
So, the last days I textured the books. For the sideview of the pages I used a pretty cool technique from Jared Edwards tutorial HERE.
To avoid that it is looking confusing in the bookshelf I used a limited color palette. Also it was important to make some more simple books and not all of them super fancy, because I have to copy them a lot and it should not looking repetitive.
I used a lot of references on Pinterest for the materials and some of the patterns. For one of the books I used the metal channel to give it these nice velvet leather feeling.
Ok, so this was all for today. I didn't ran into any troubles so there's nothing else to say. It was time consuming but I had a lot of fun.


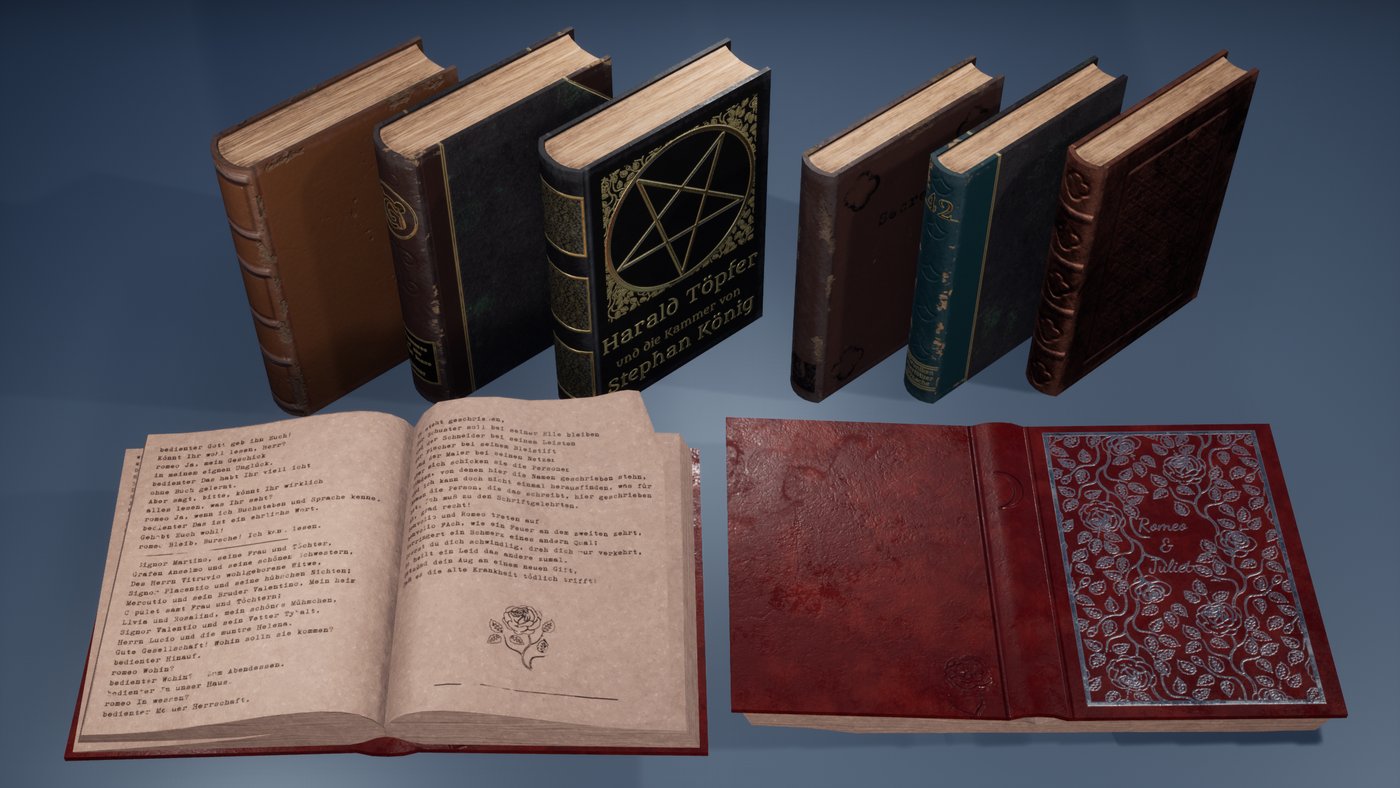


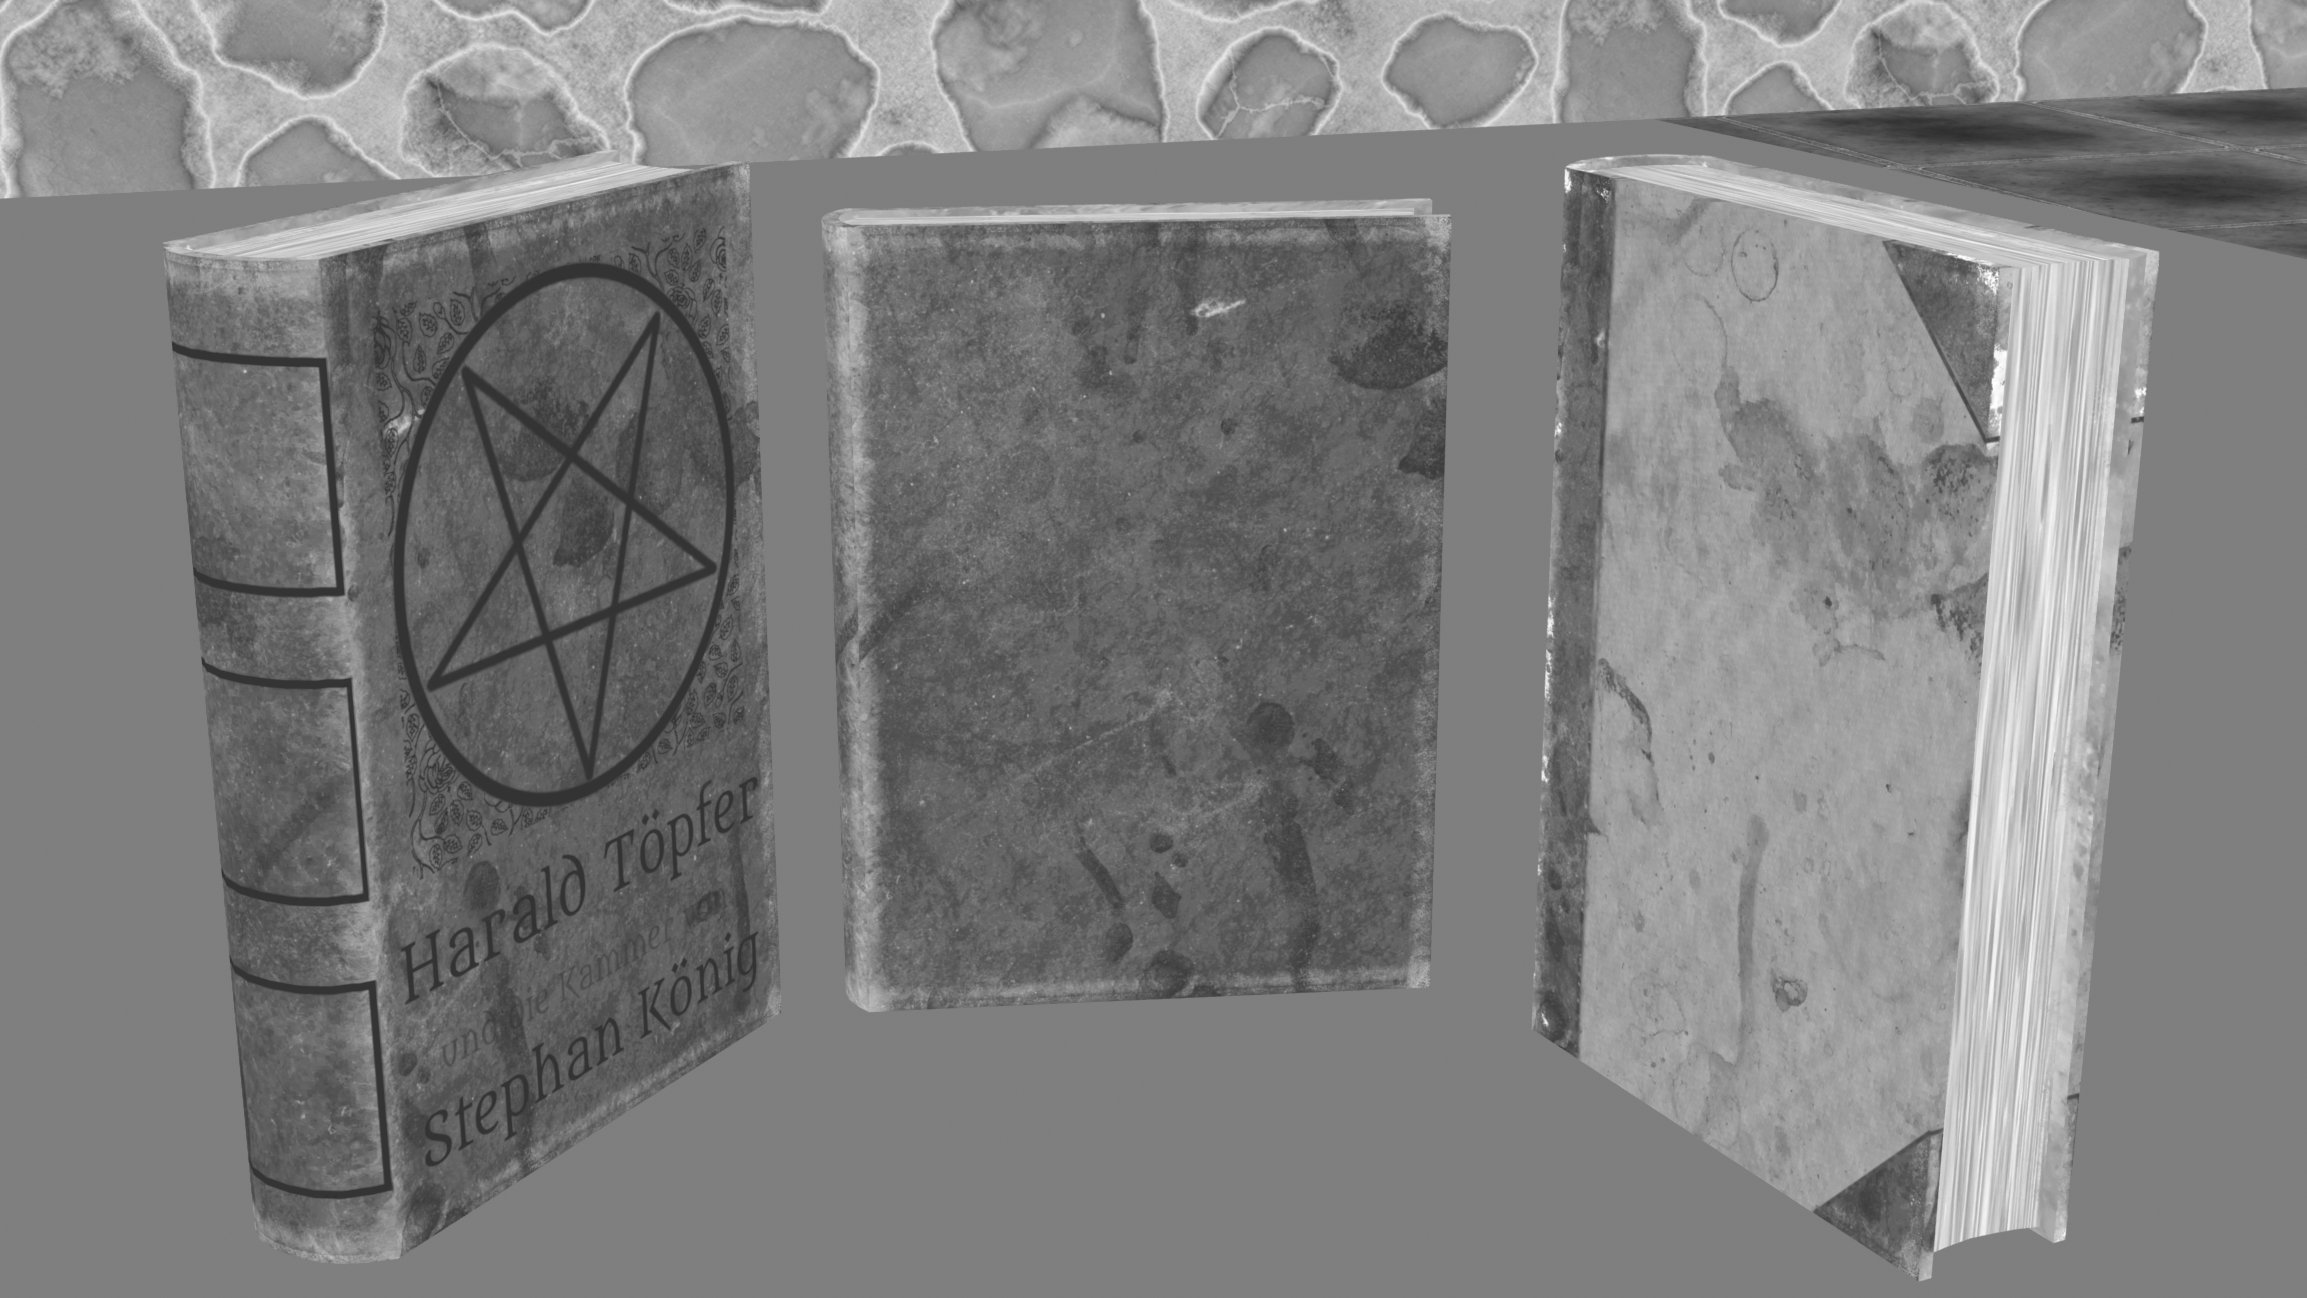

Wireframe - BaseColor - Metallic - Roughness - Lit
Update - 30 Mar 2021
Finding perspective in Unreal
To make it a little bit easier I wanted to import my camera from Blender to Unreal because I already had a good camera angle in Blender. The only litte problem I had was: computer says no ò_ó !
So I solved this problem with with --> THIS <-- really nice tool. But in addition to that I had to enable some plugins in unreal as well to make it work. (Editor Scripting Utilities, Python Editor Scripting Plugin, Sequencer Scripting)
In reply to my comment BleuRaven was so kind to add this info to the video description. \(*o*)/
Comments (1)
Update - 25 Mar 2021
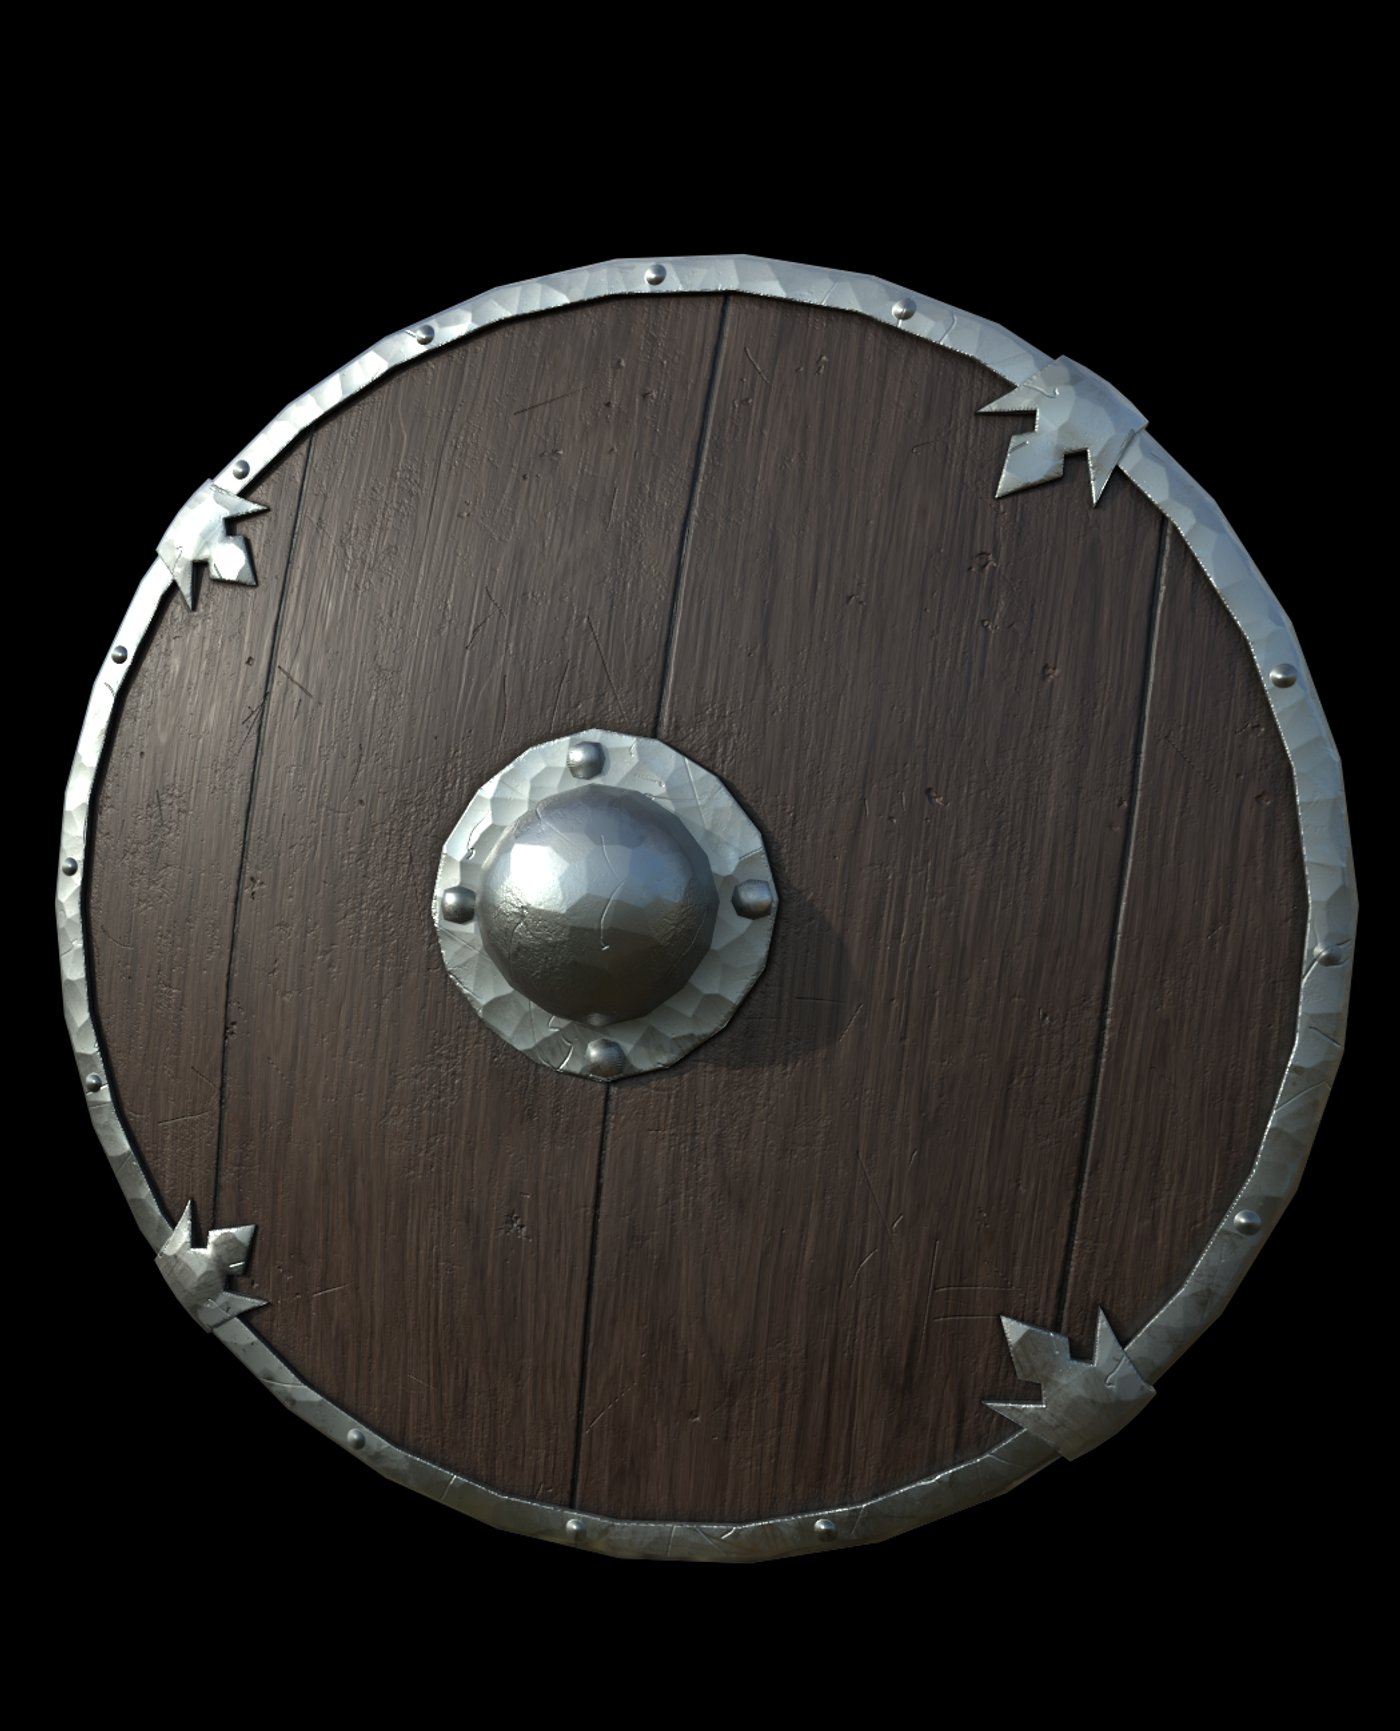
06Texturing, Unreal and glass
Modeling is DONE! more or less... But I wanted to start texturing something. So I did. The dresser looks like sh** but with the chair and the shield I am pretty happy.


The Painter export template and Unreal
Substance Painter has a nice map packing template for Unreal. But it causes a weird problem. In Unreal my textures looked like a complete other material, as you can see down below. Turns out, I just needed to turn off sRGB in Unreal. Seems to be a common beginner problem.

~(ò_ó)~
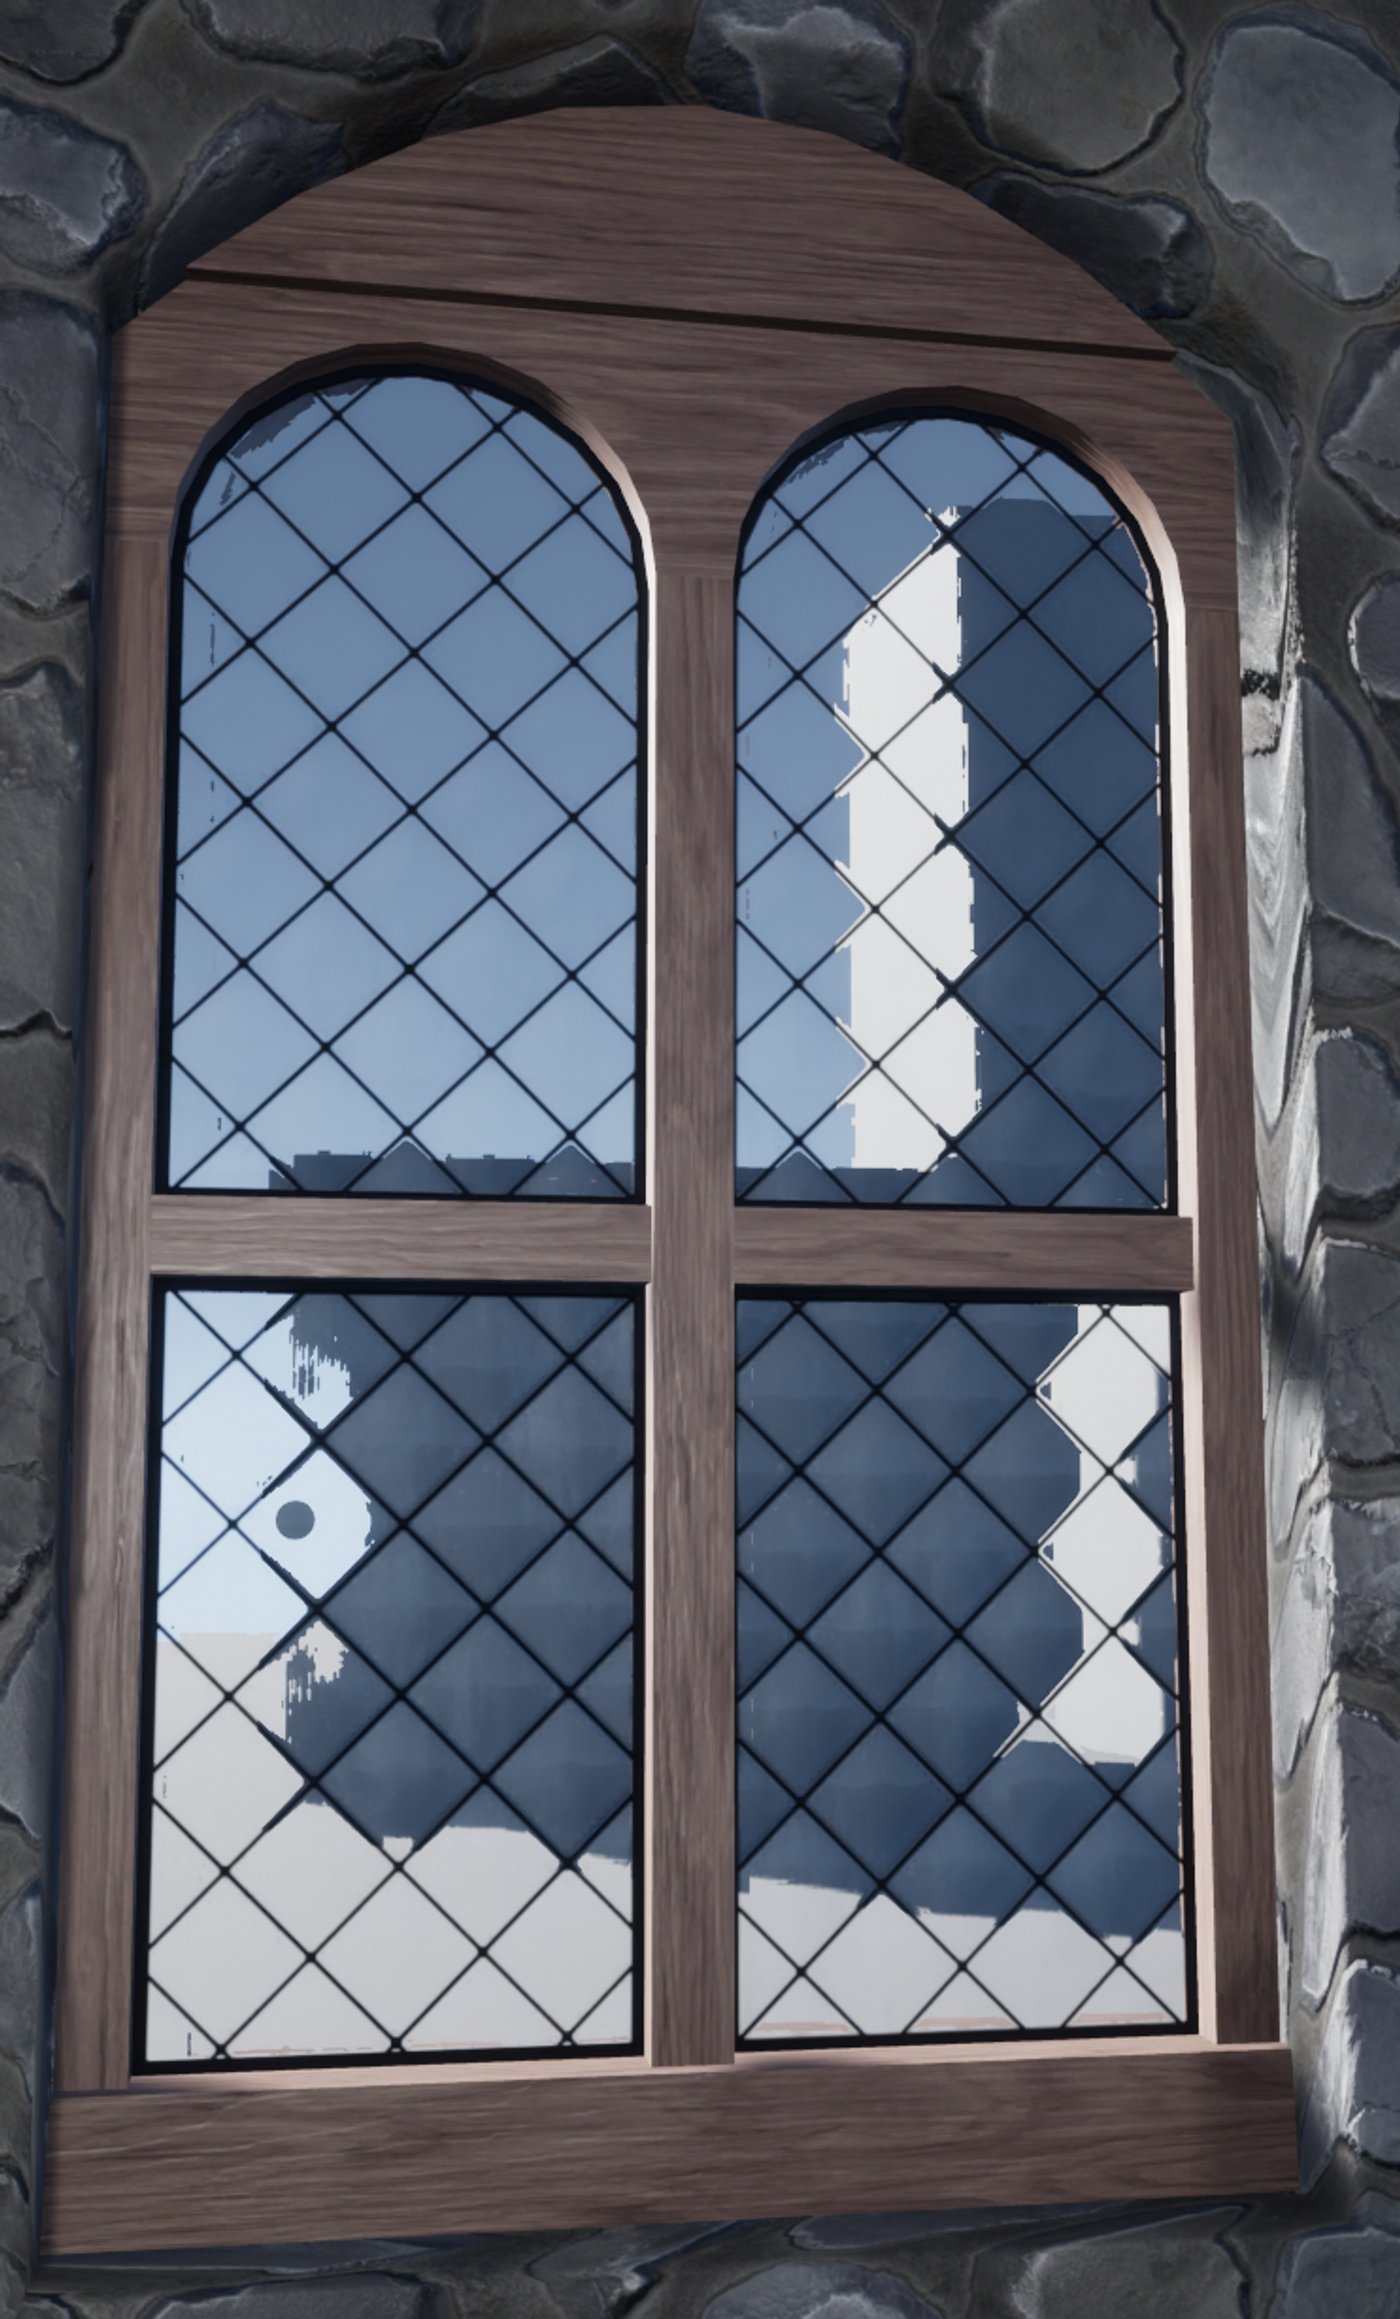
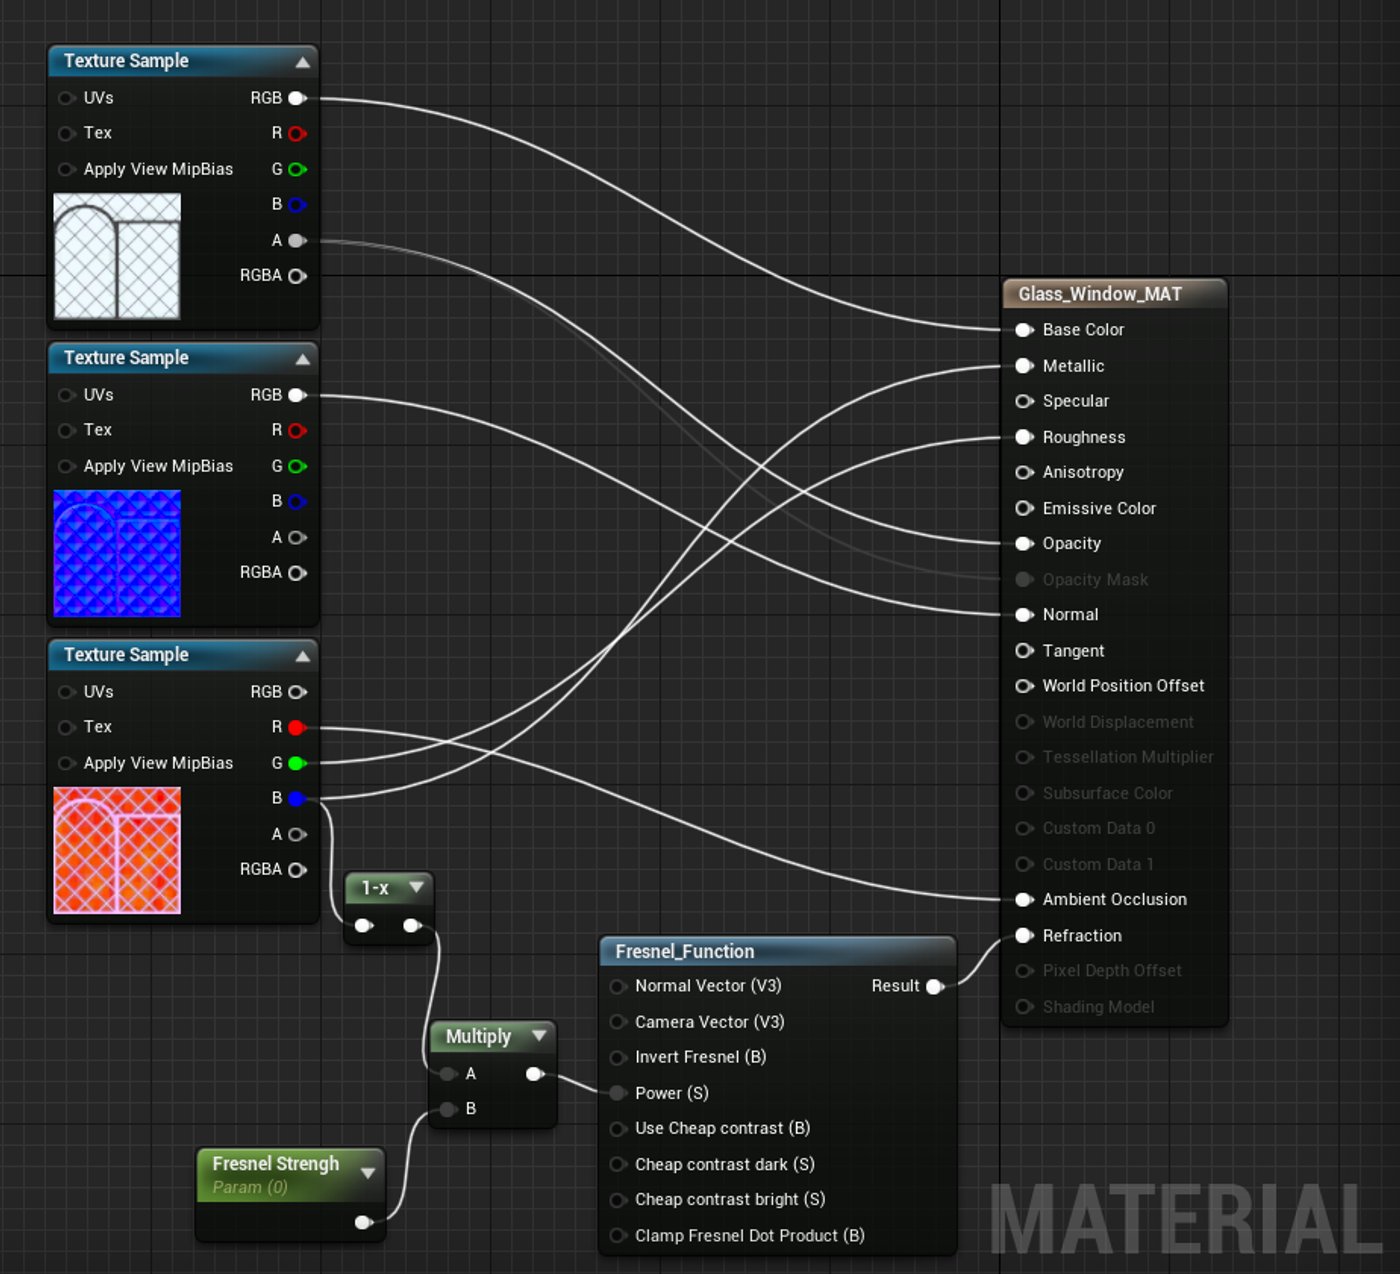
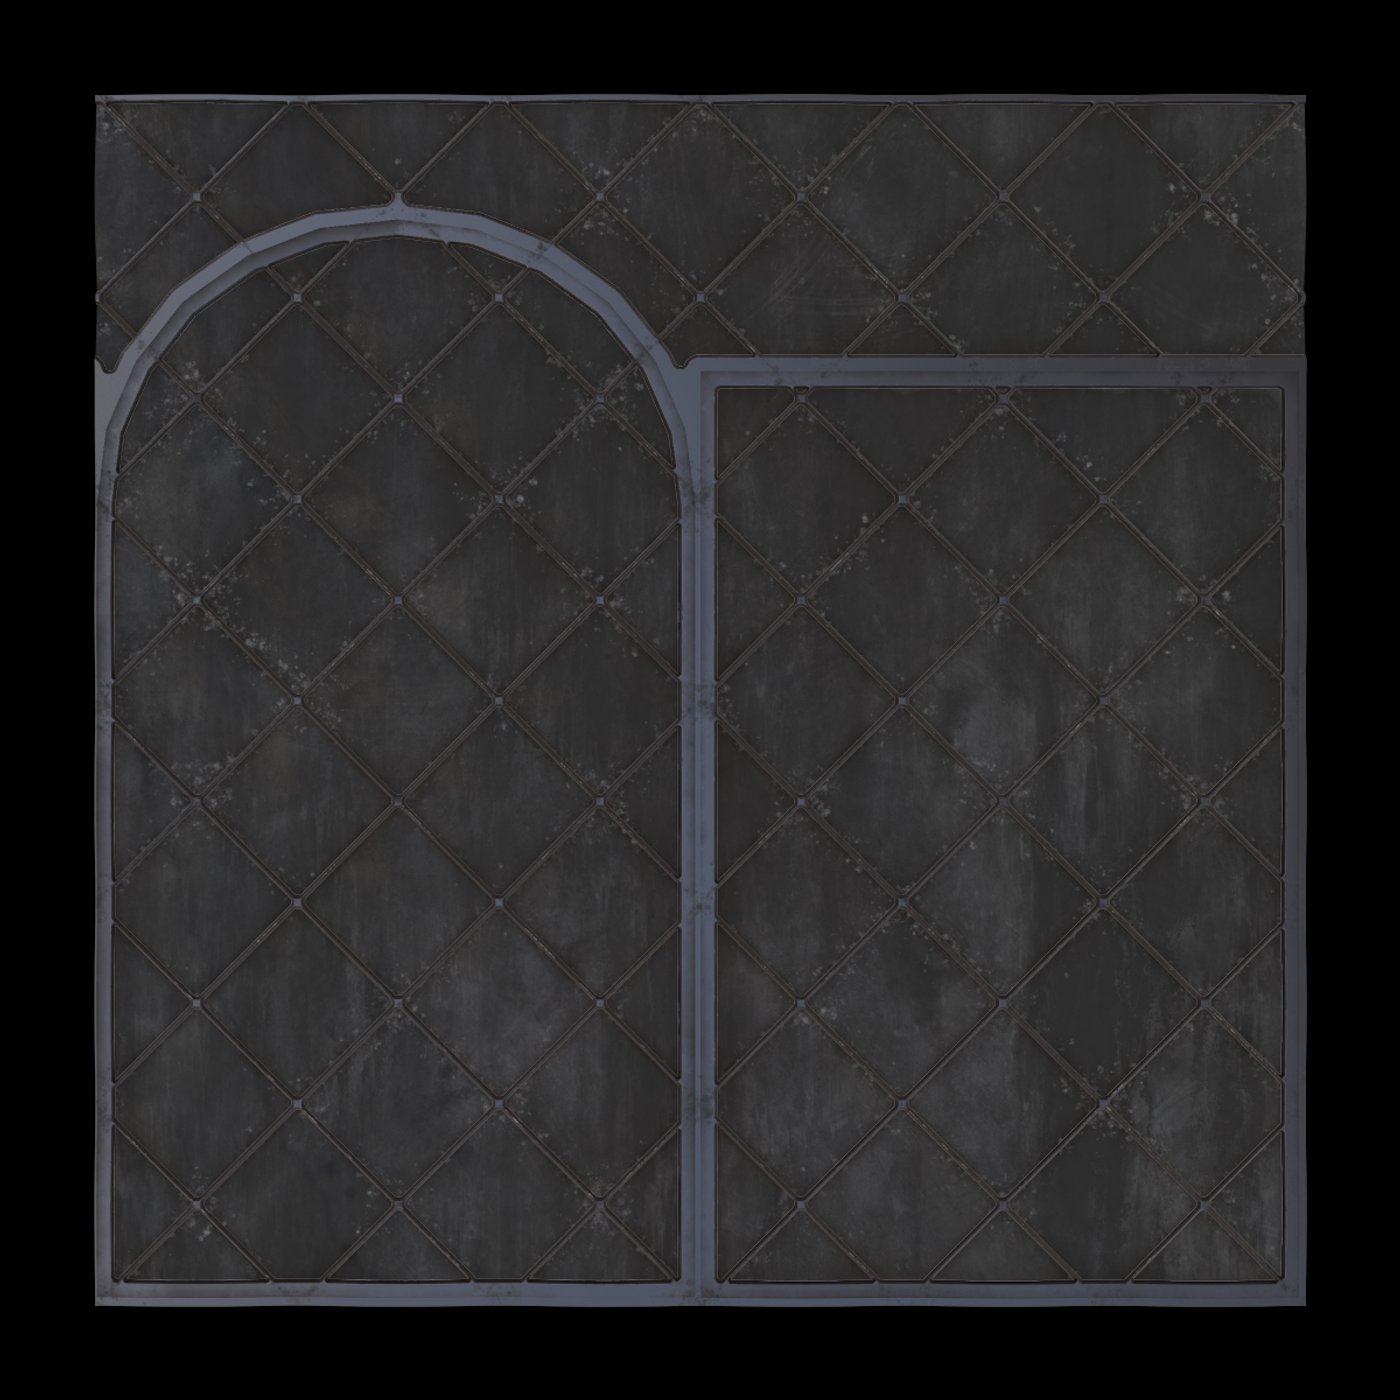
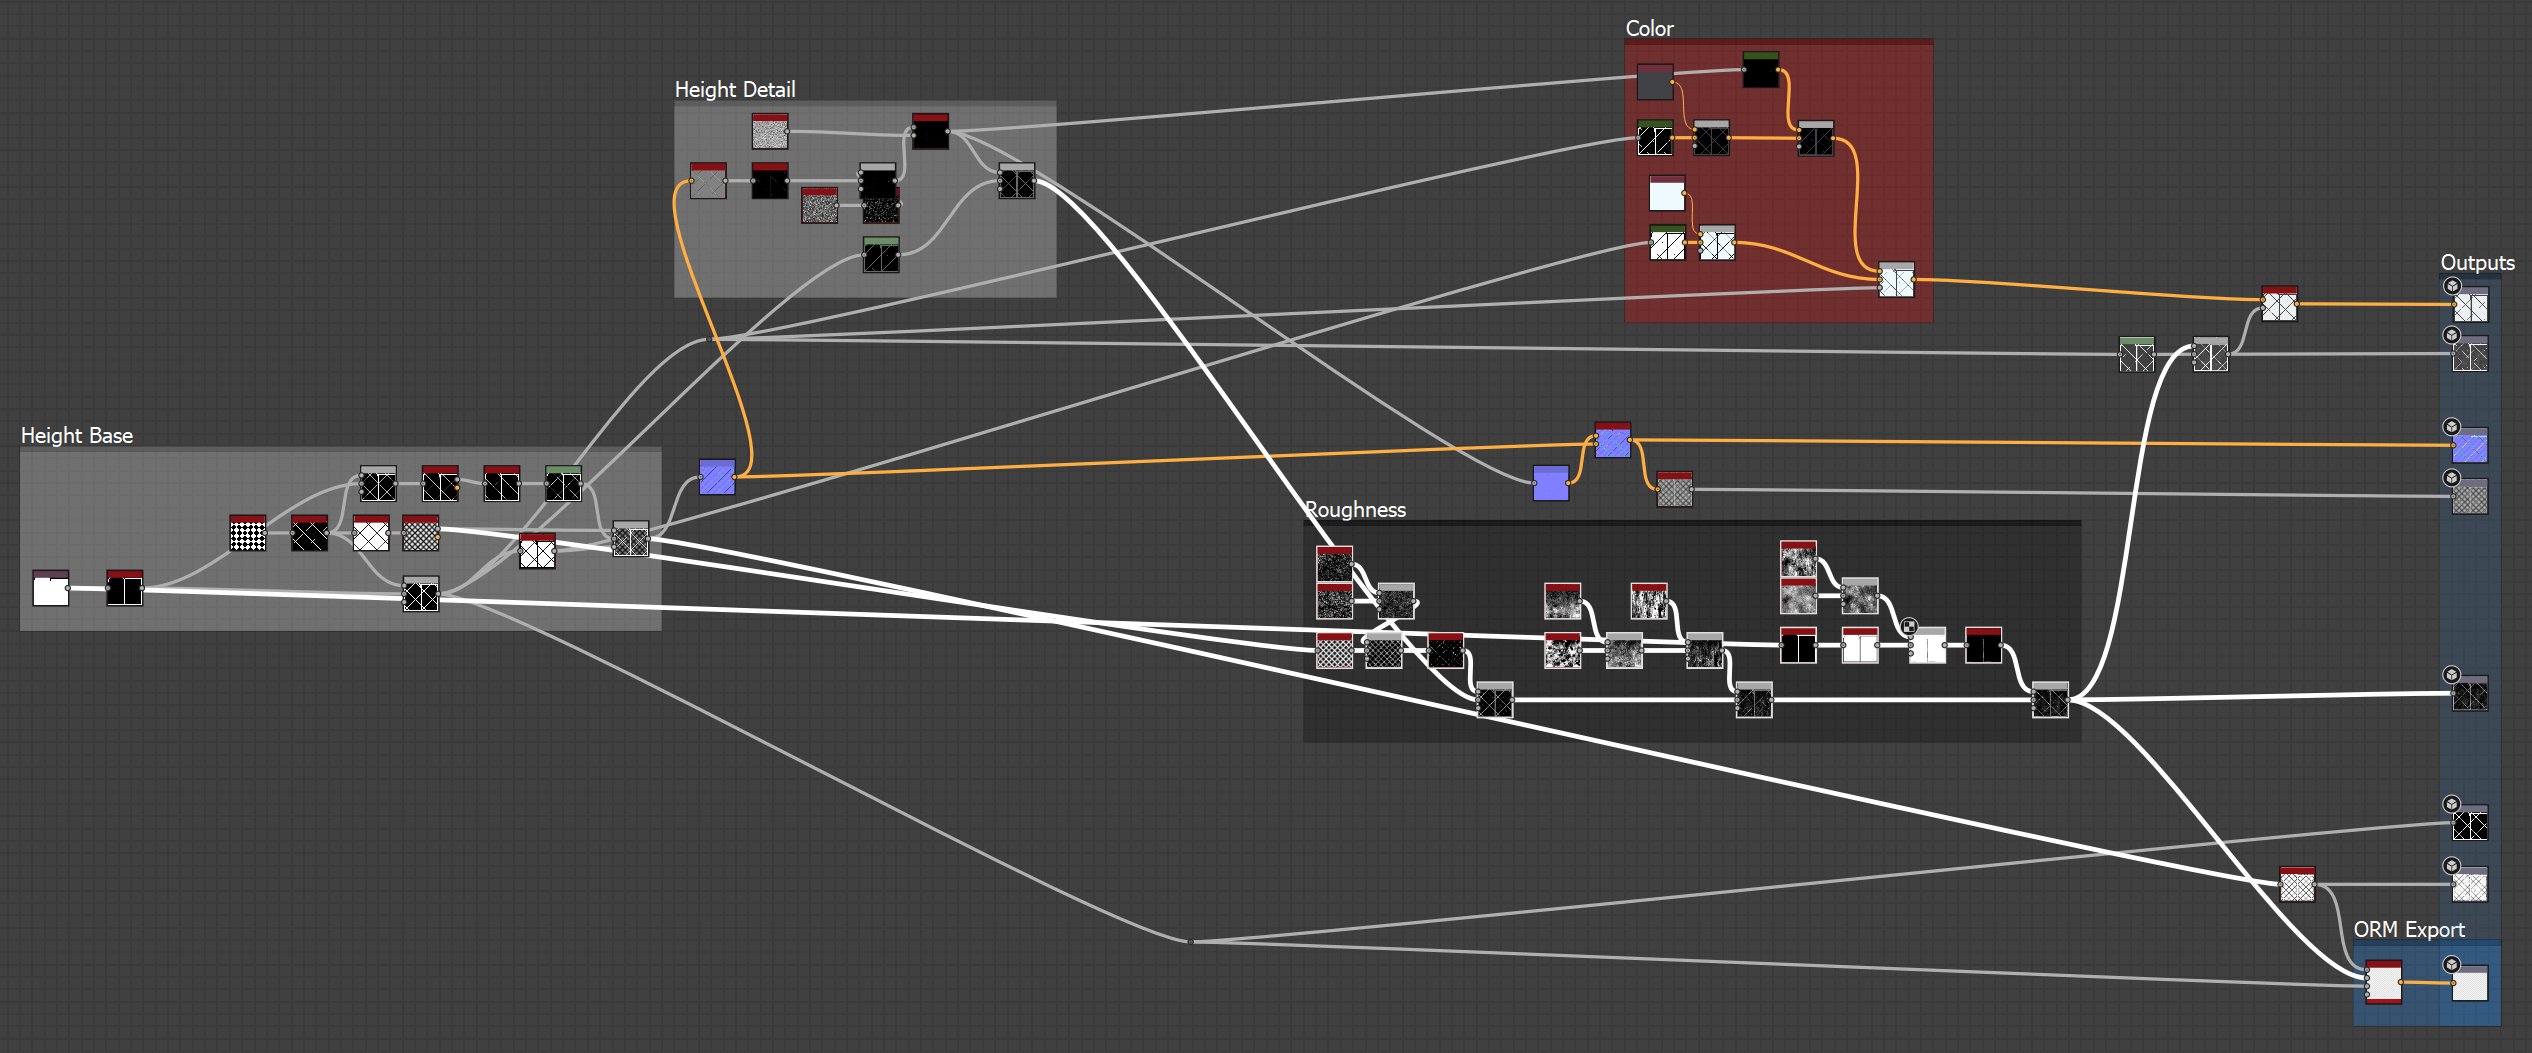
Glass
For the glass I made a material in designer. At first I baked a mask to get the outlines. The Unreal shader has a pretty simple Fresnel effect. The result is not really good and I will bring some more work into it.
That's all for today ... aaaaaaaaaand back t' Wourque!
Update - 13 Mar 2021
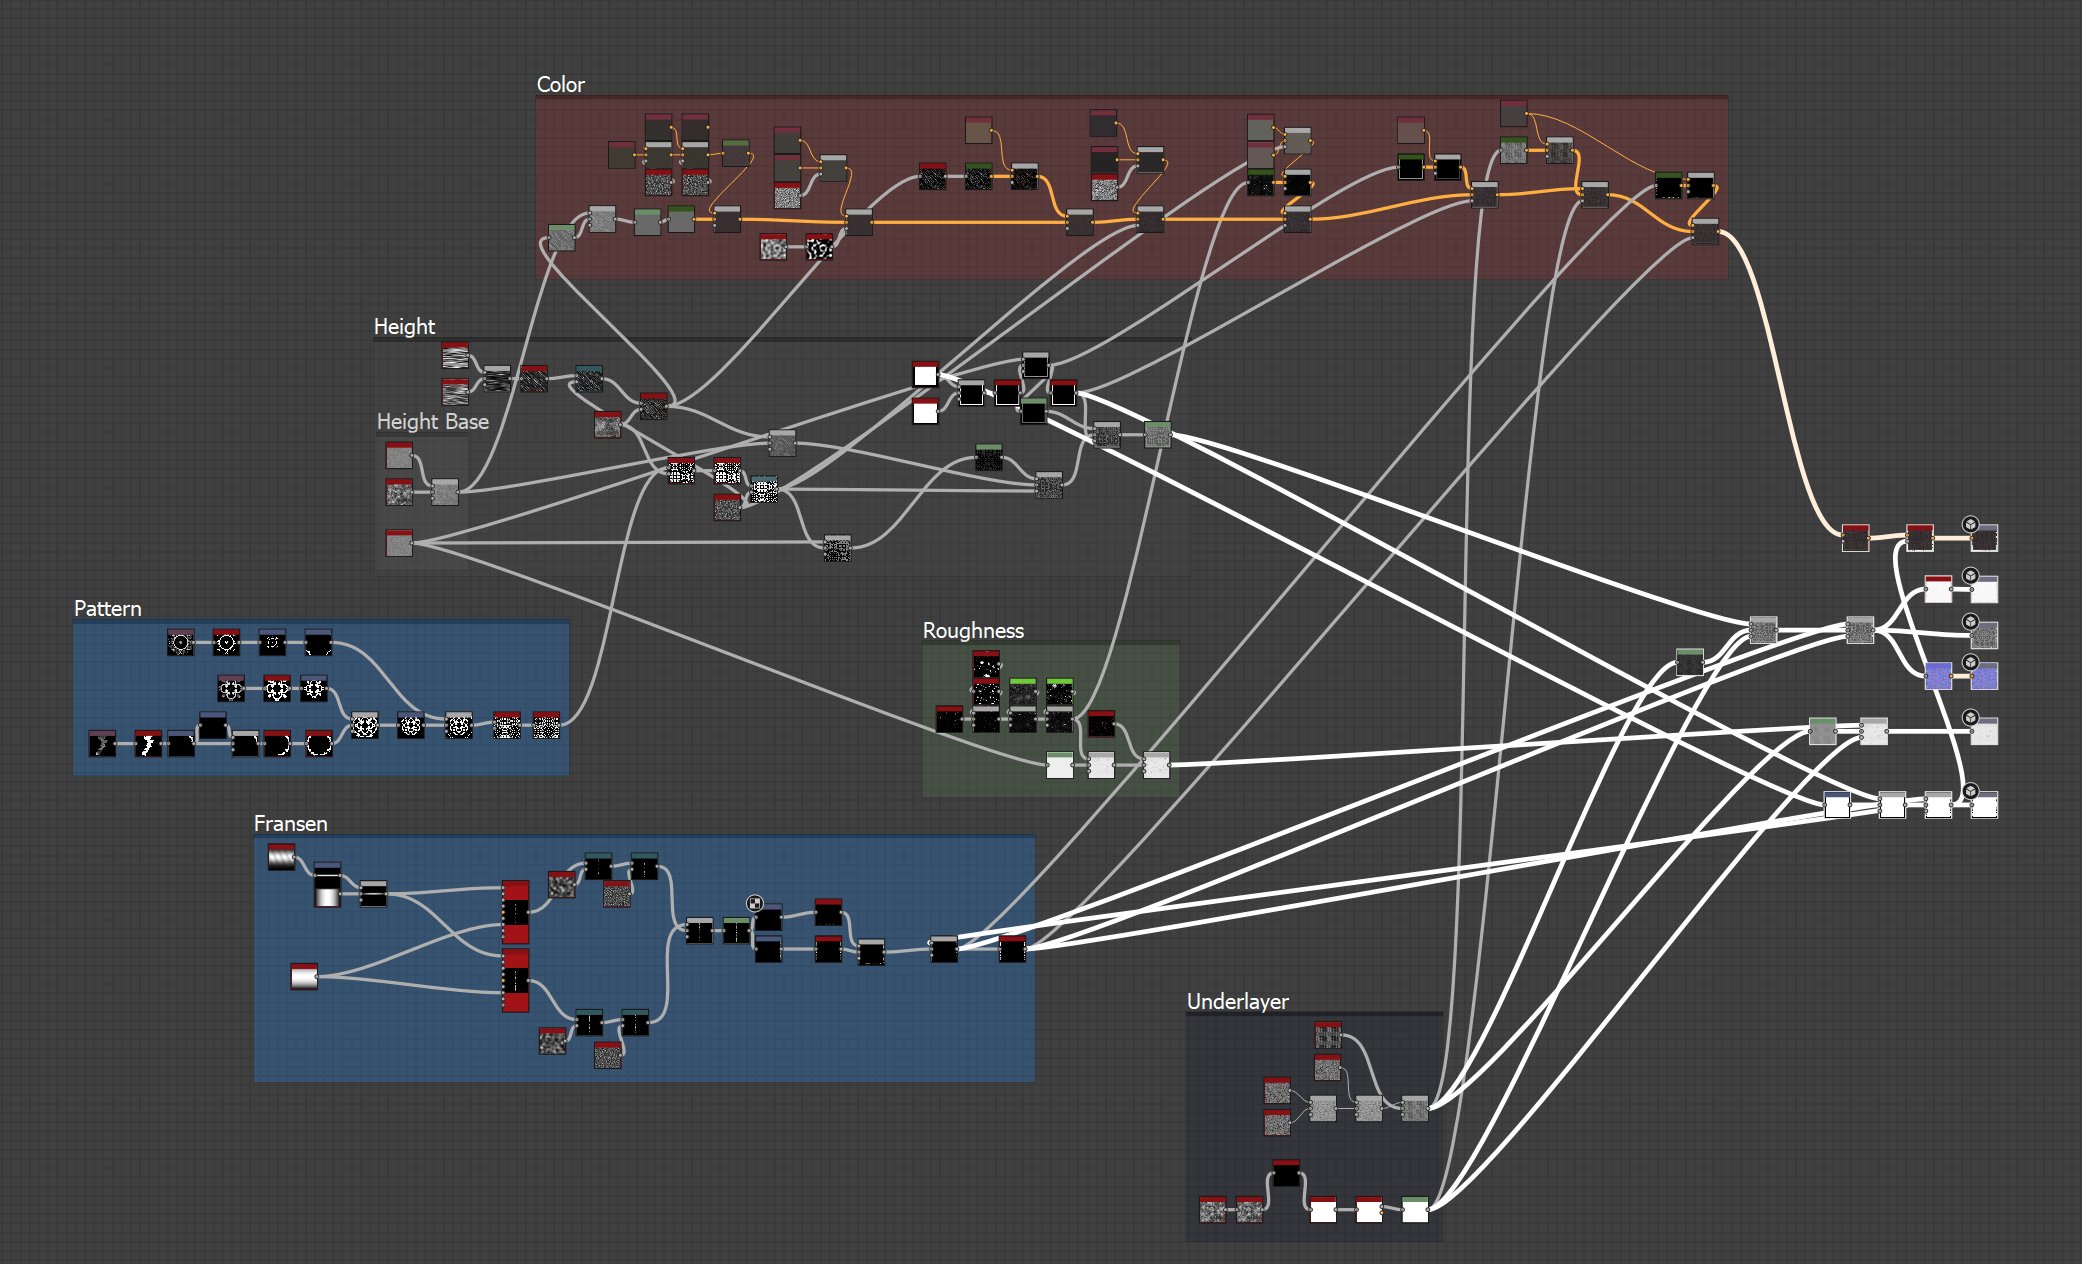
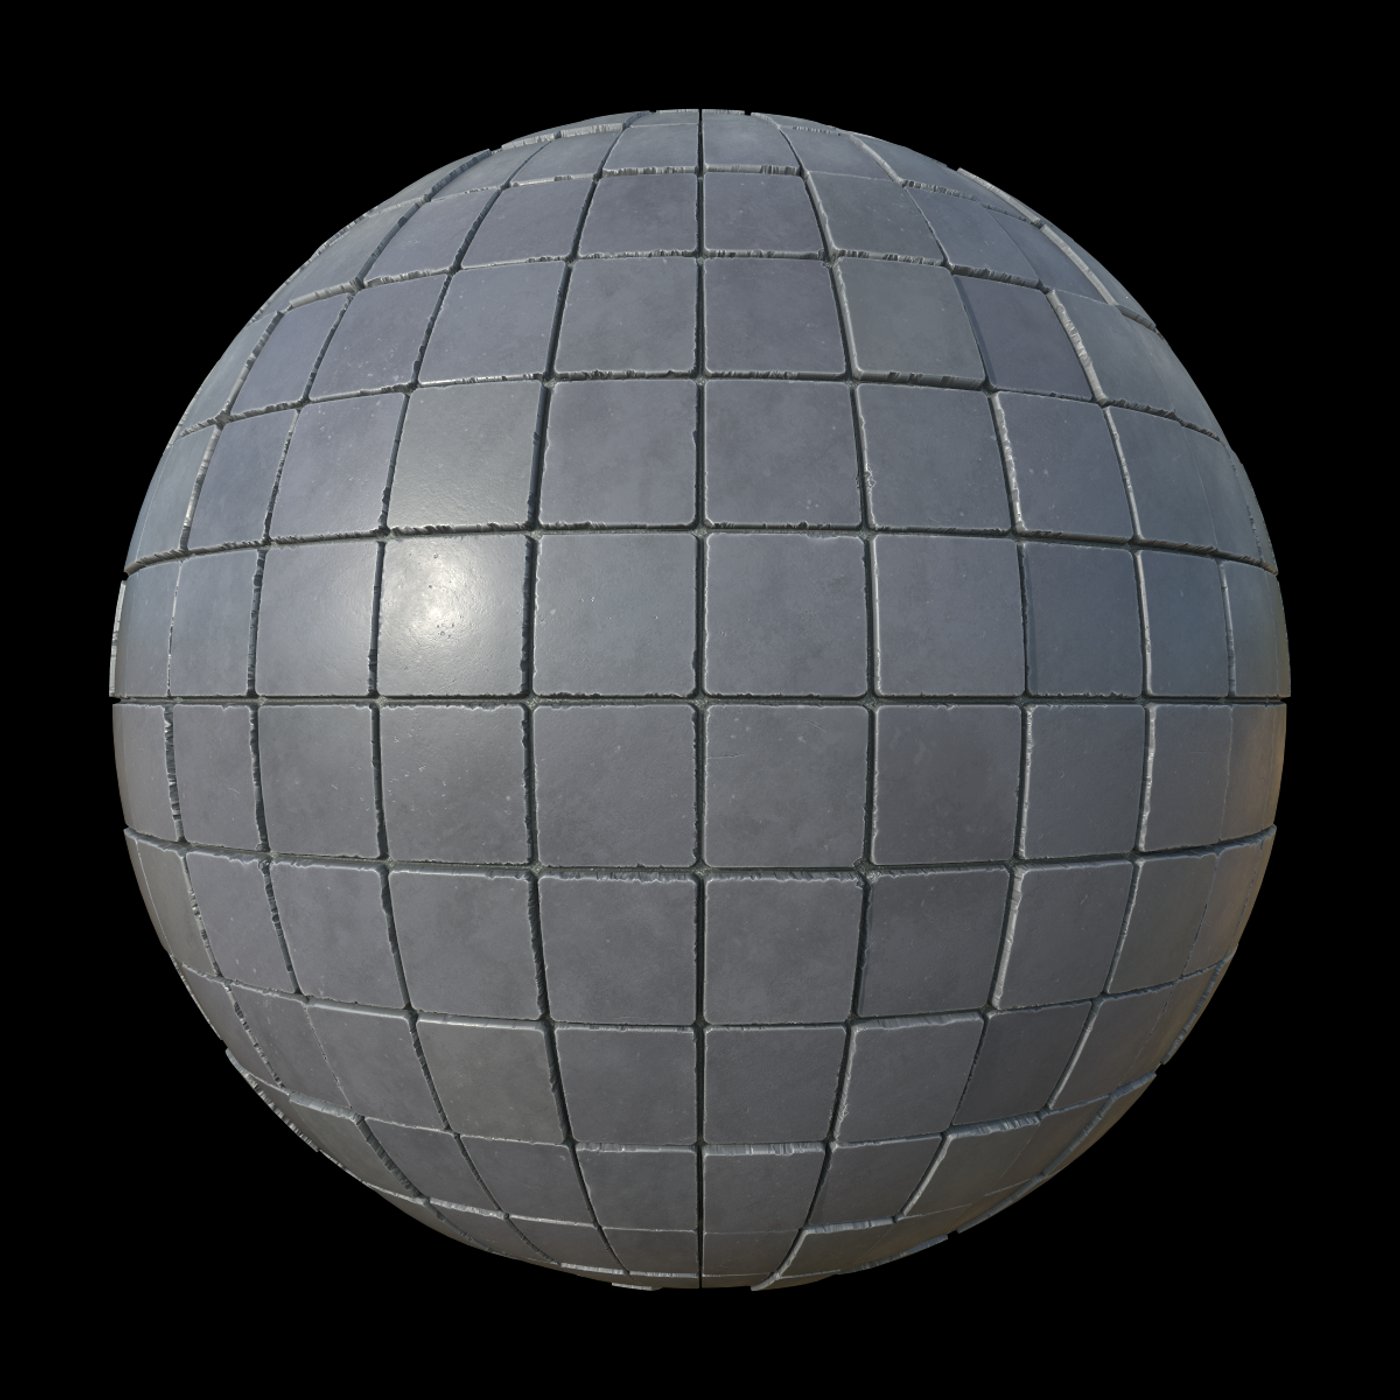
05 Creating Materials
Today I started to create the first Materials! I am pretty comfortable with Designer, so it did not took me so long to do it. Also, these materials are quite basic. Slopes, cracks, color and roughness and you are good to go. We will not see much of the floor at the end but that is not a reason to be lazy with it! ò_ó
That's all for today ...and back to work!


Update - 4 Mar 2021
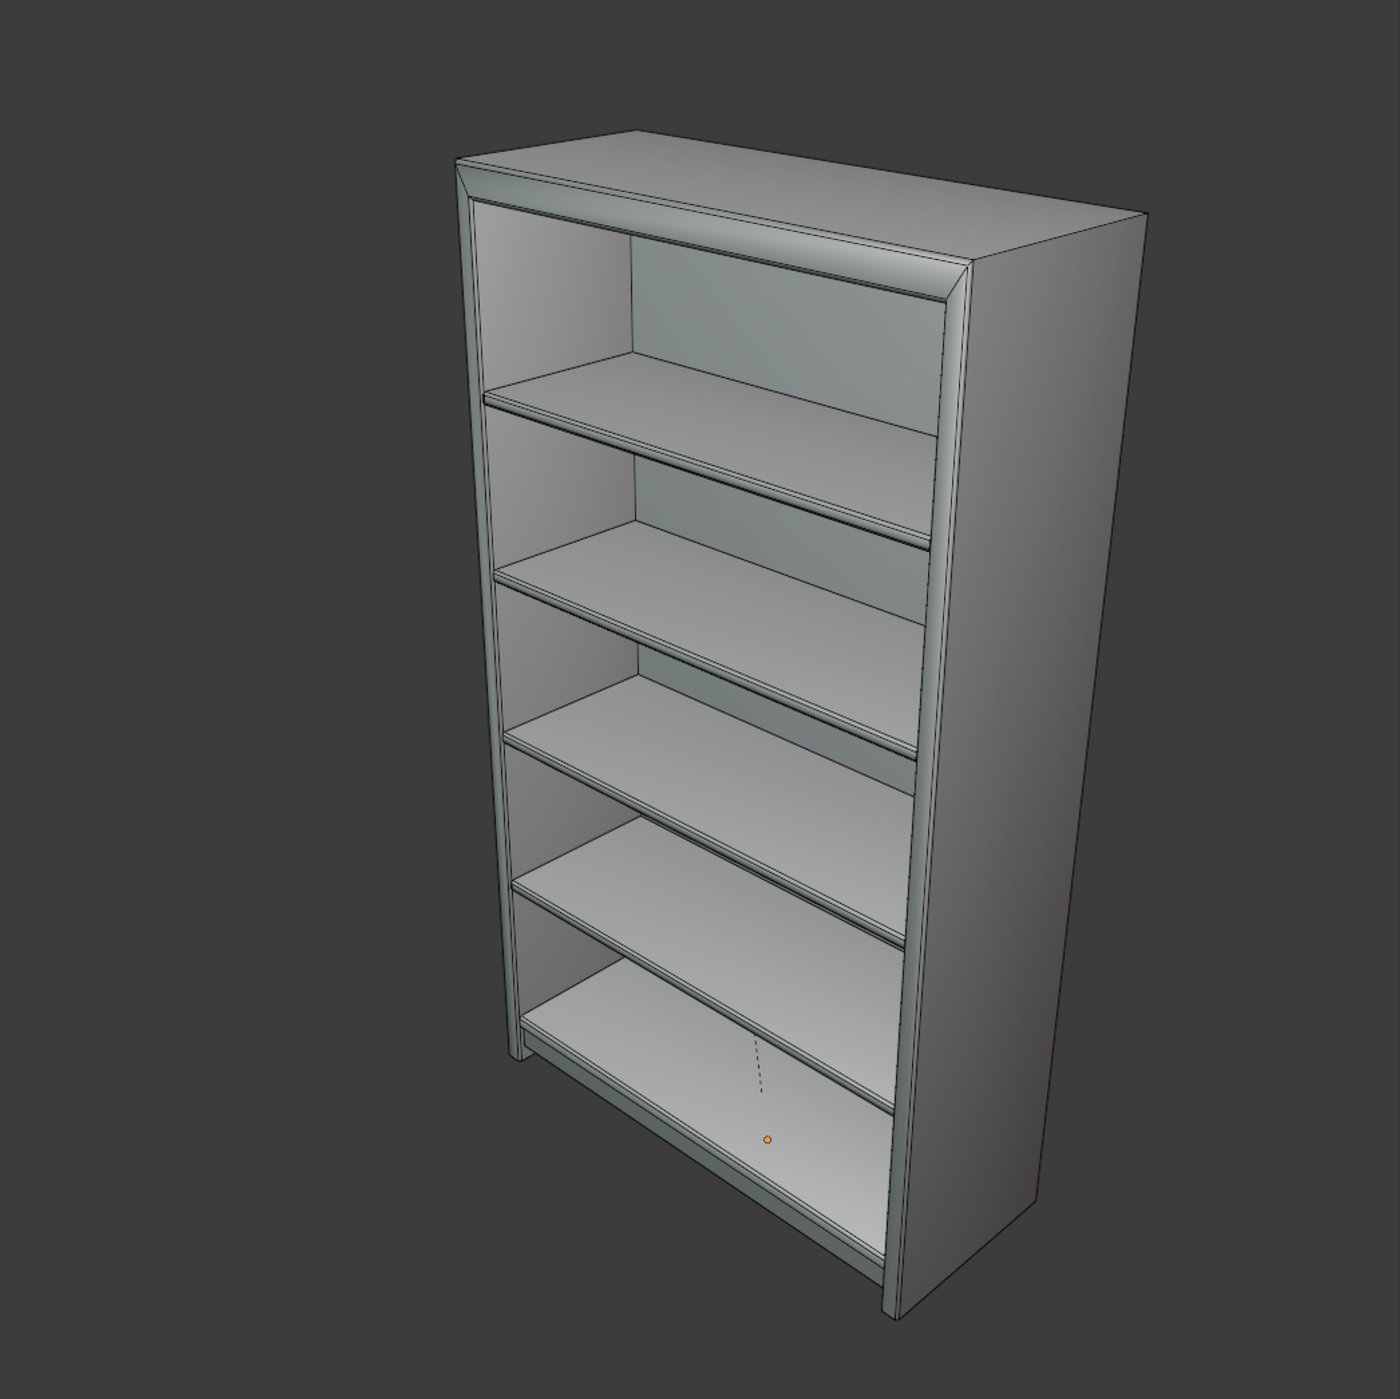
04 Finishing Assets and struggling with perspective
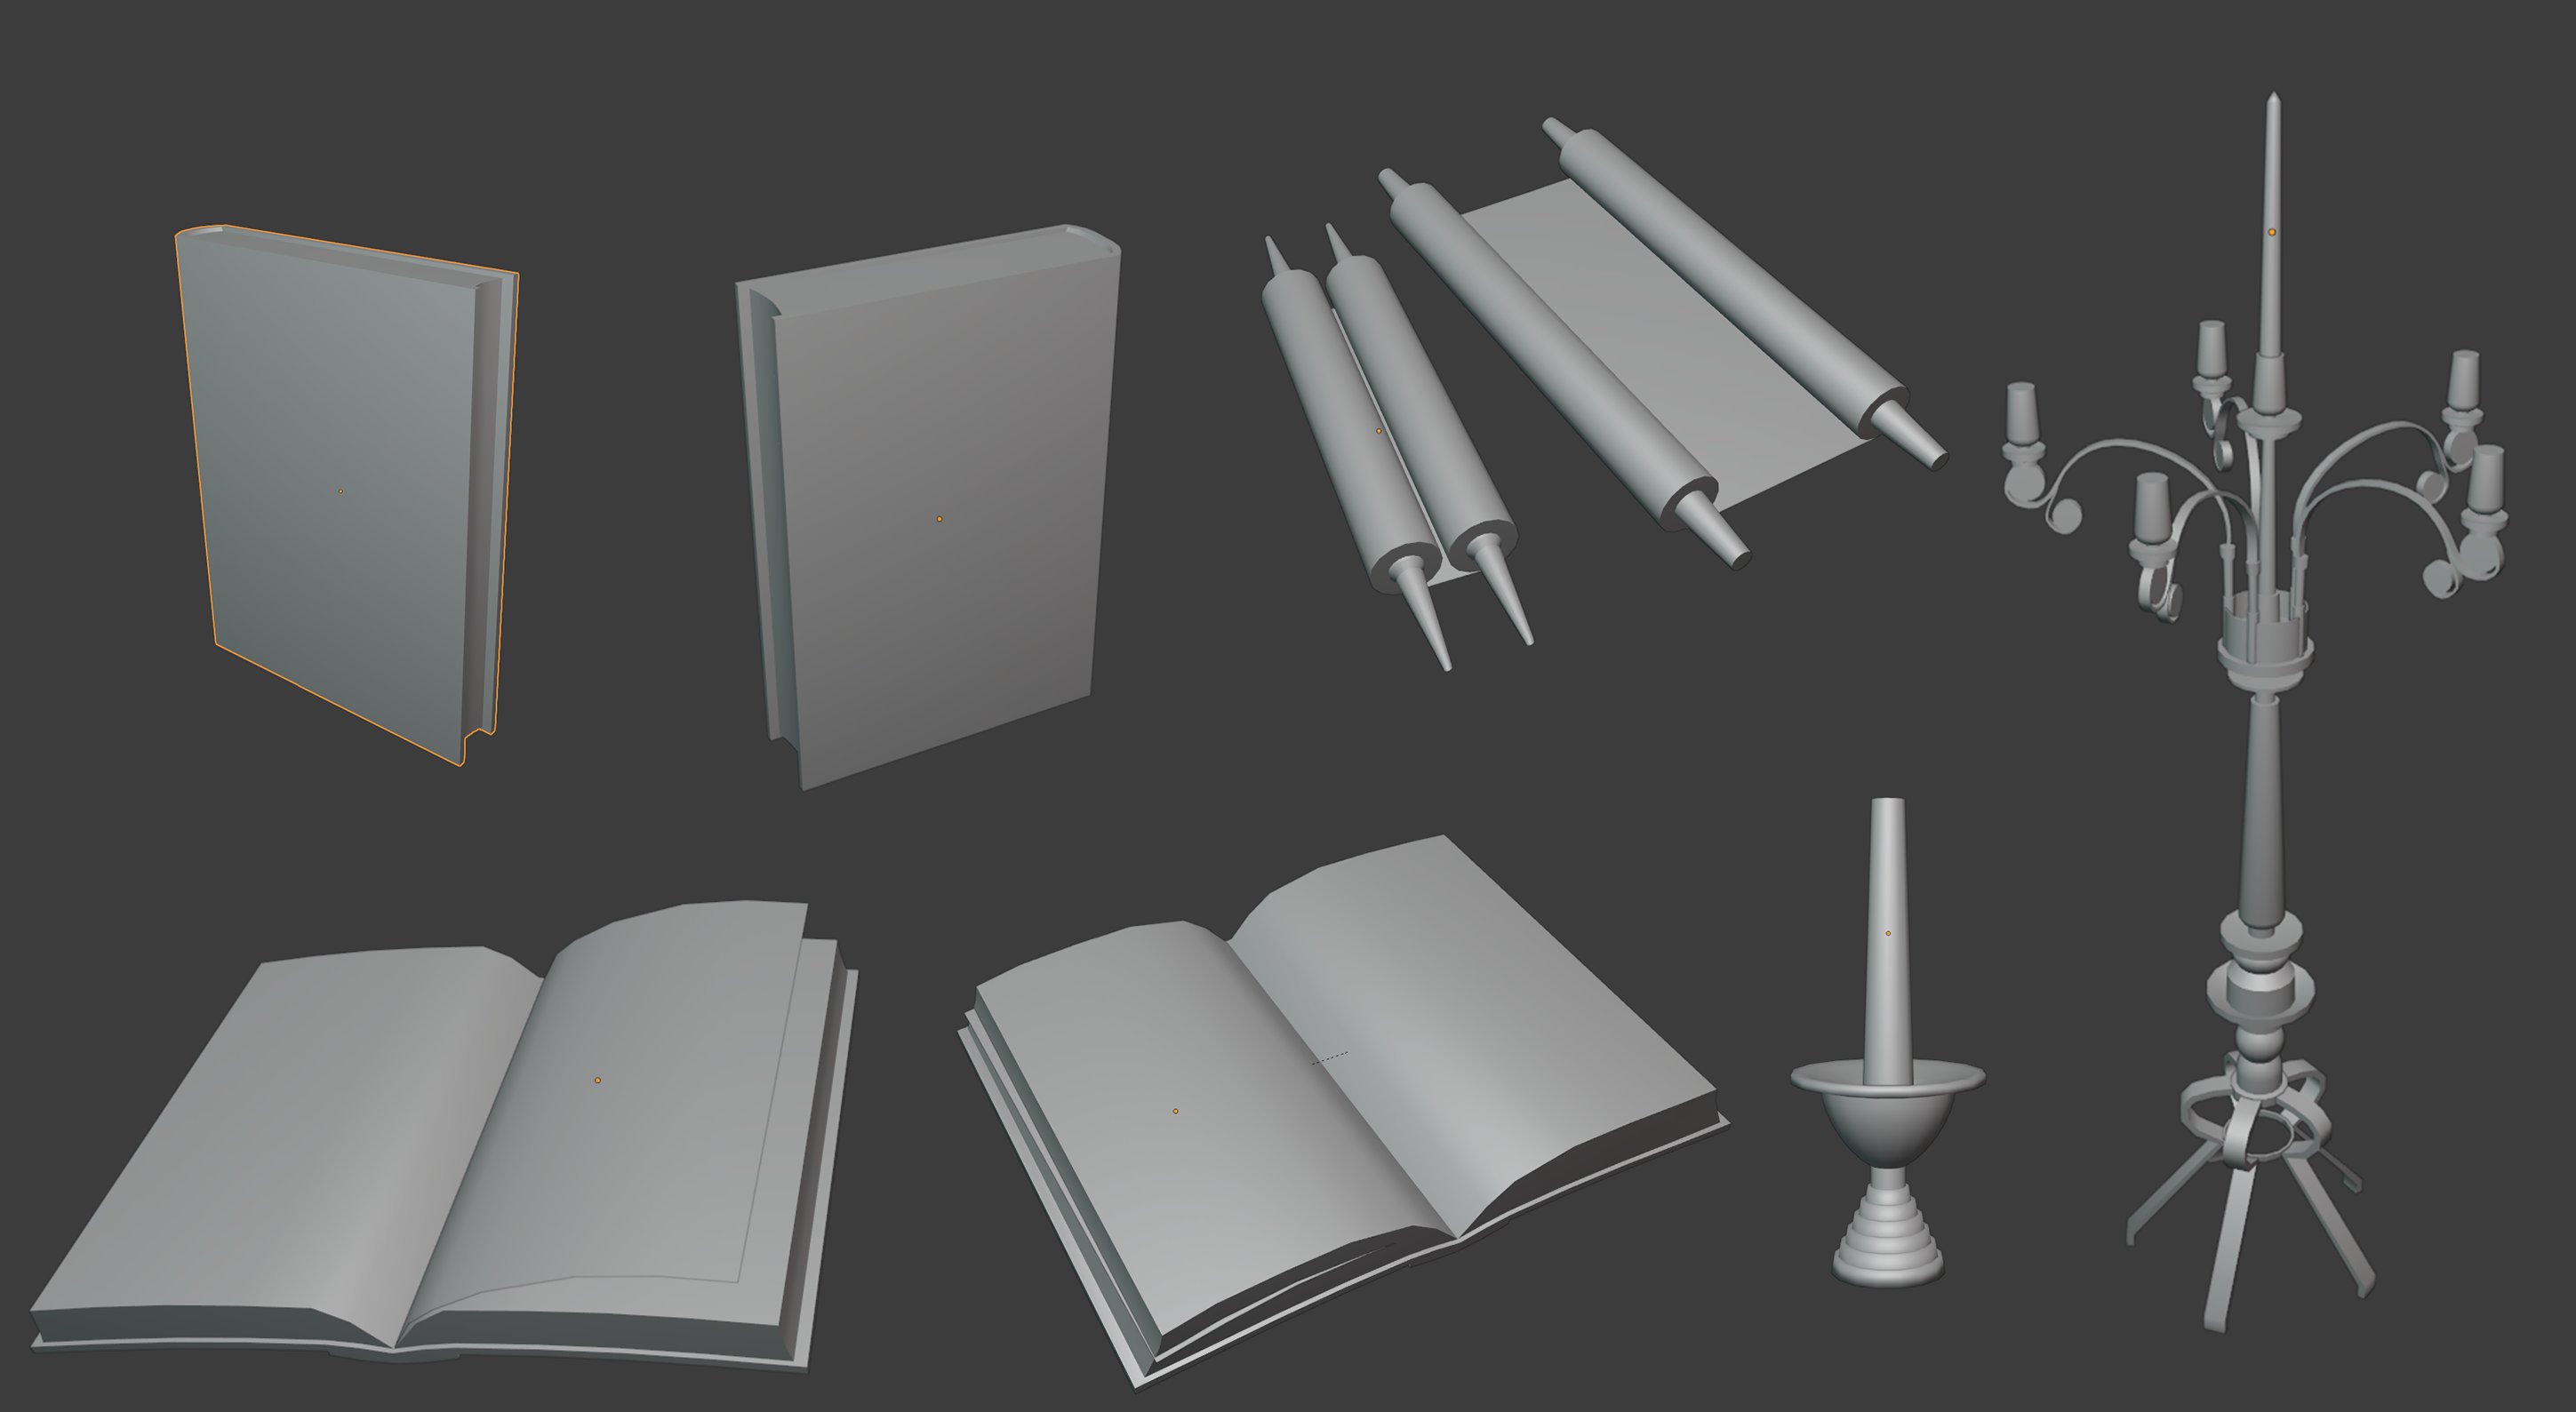
Assets
Give a Vertex here, take an Edge there... Today I brought some Assets into final stage and gave them UV's.


what is wrong with my perspective?
Also, I got an issue with perspective. If I would stick to my reference, the window would not be centered. So I decided to deviate from my reference for this time.
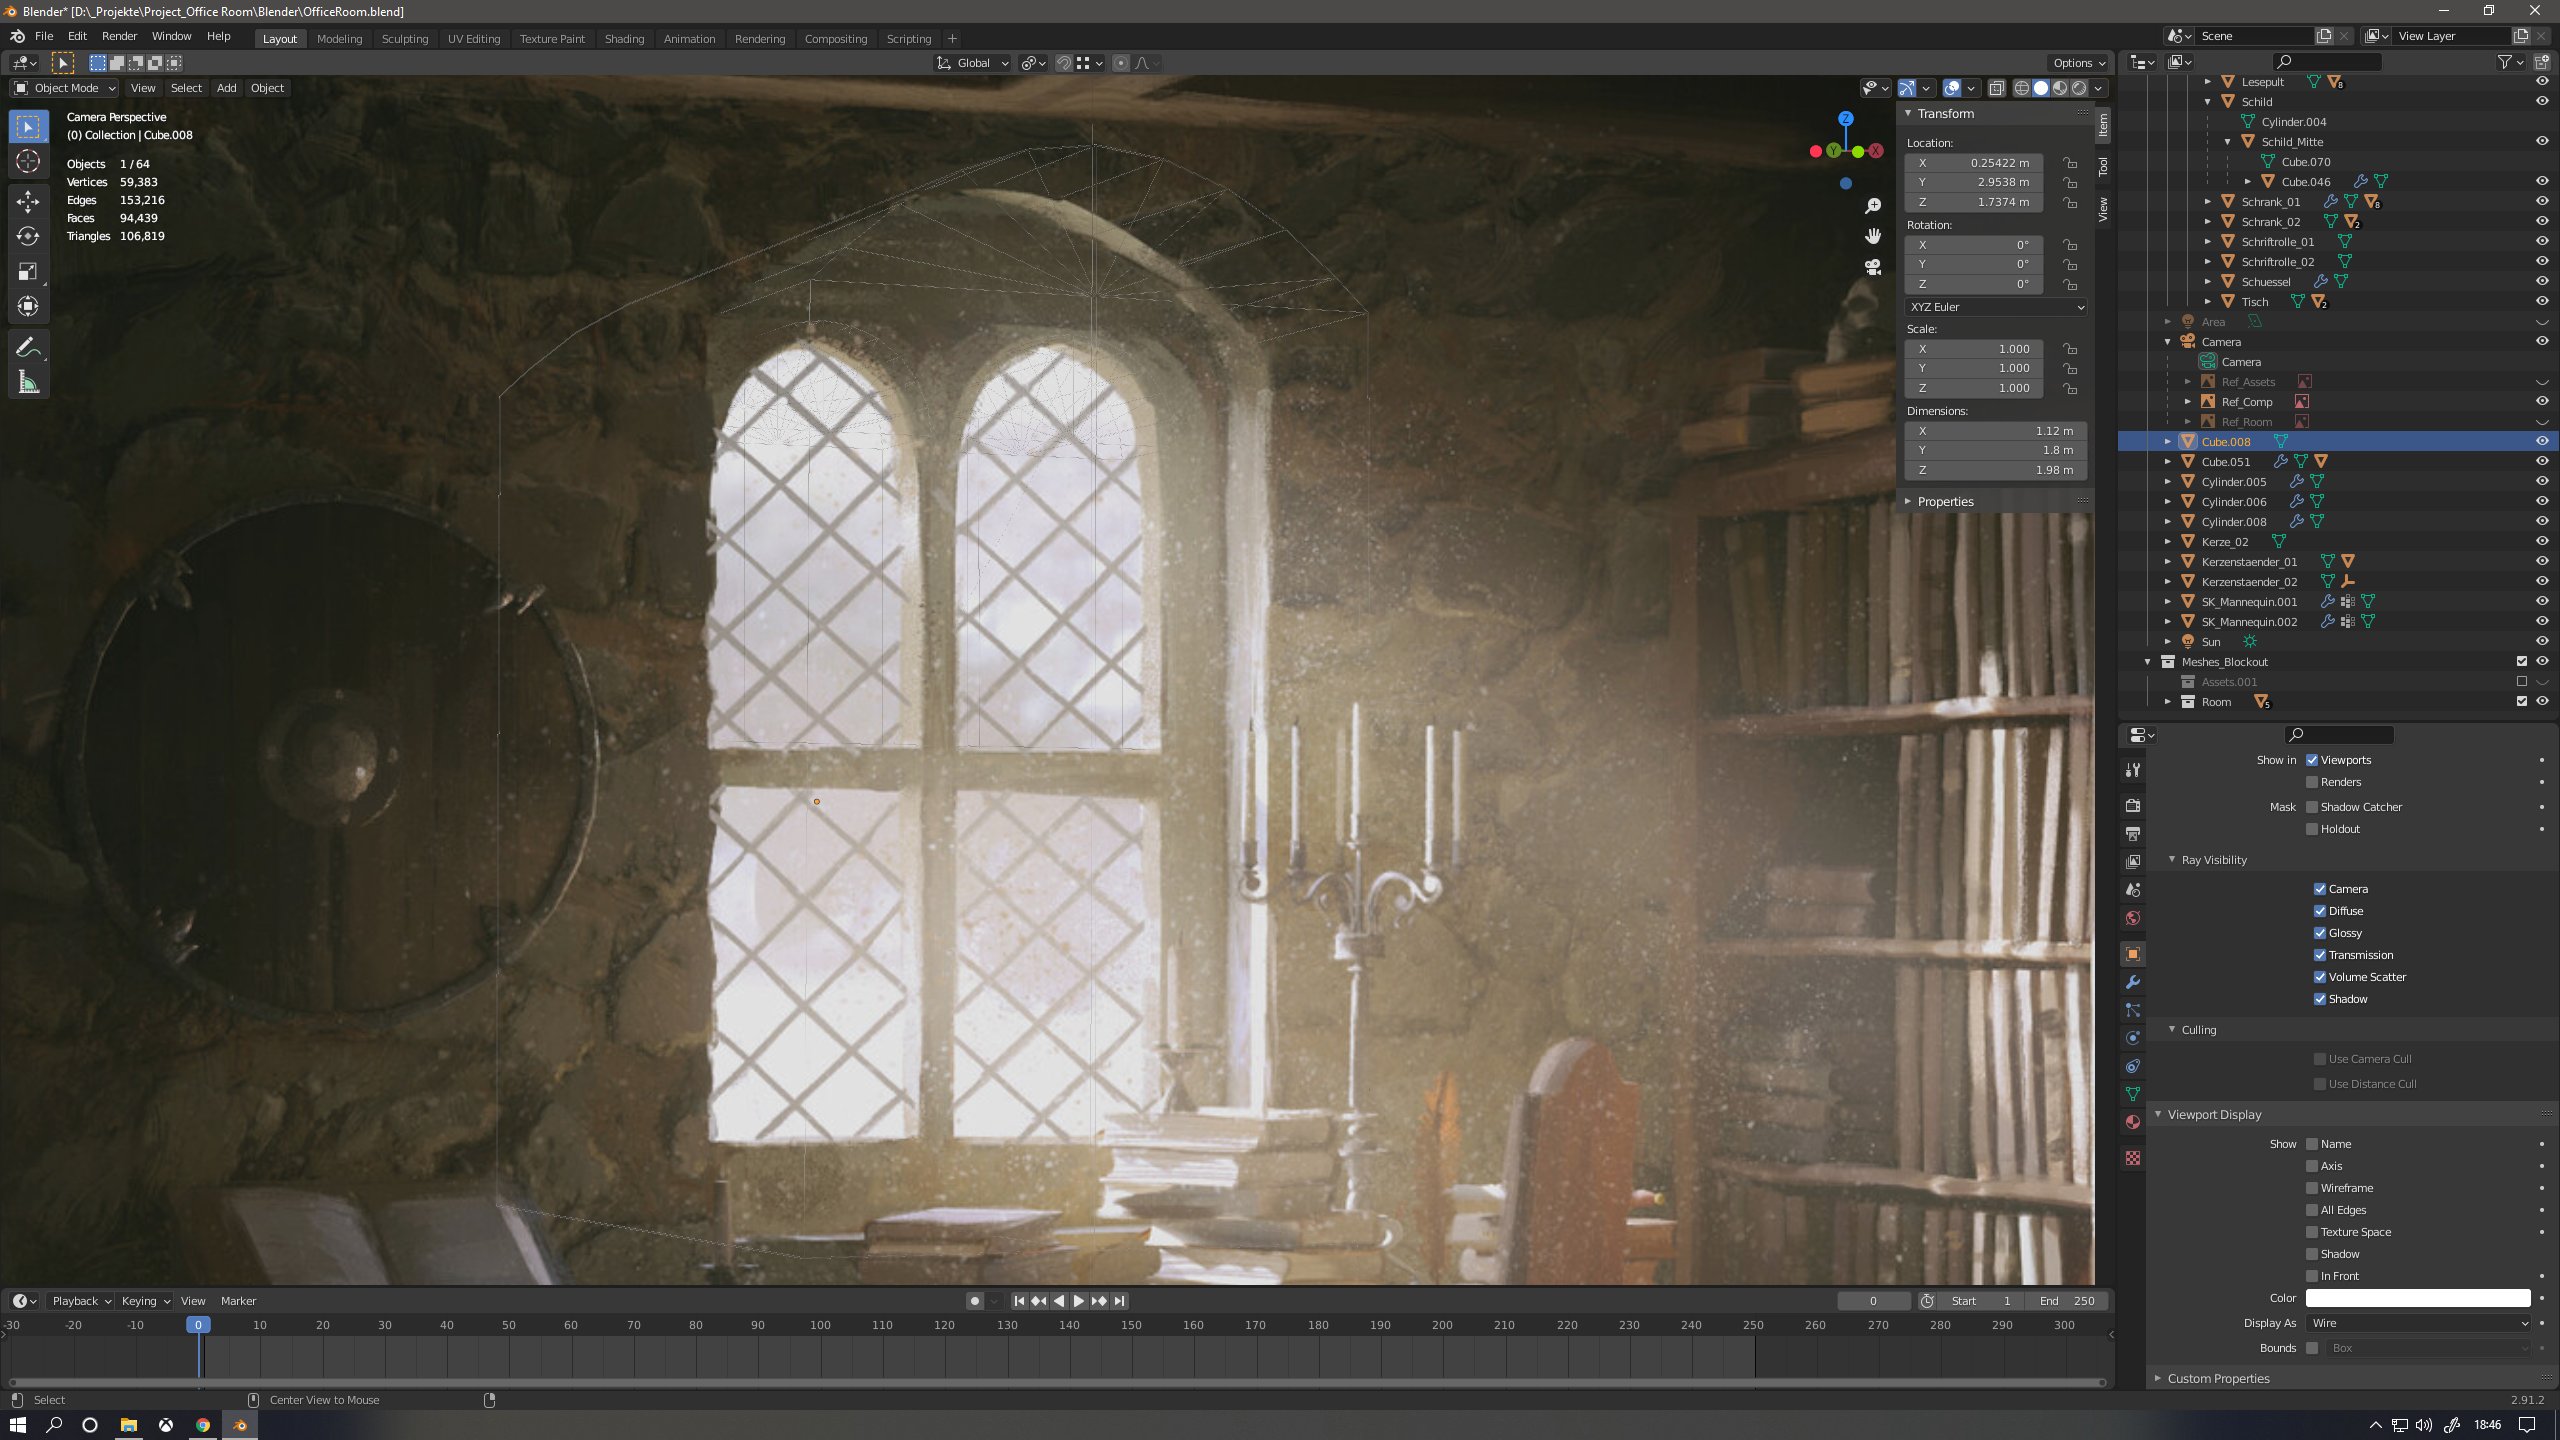

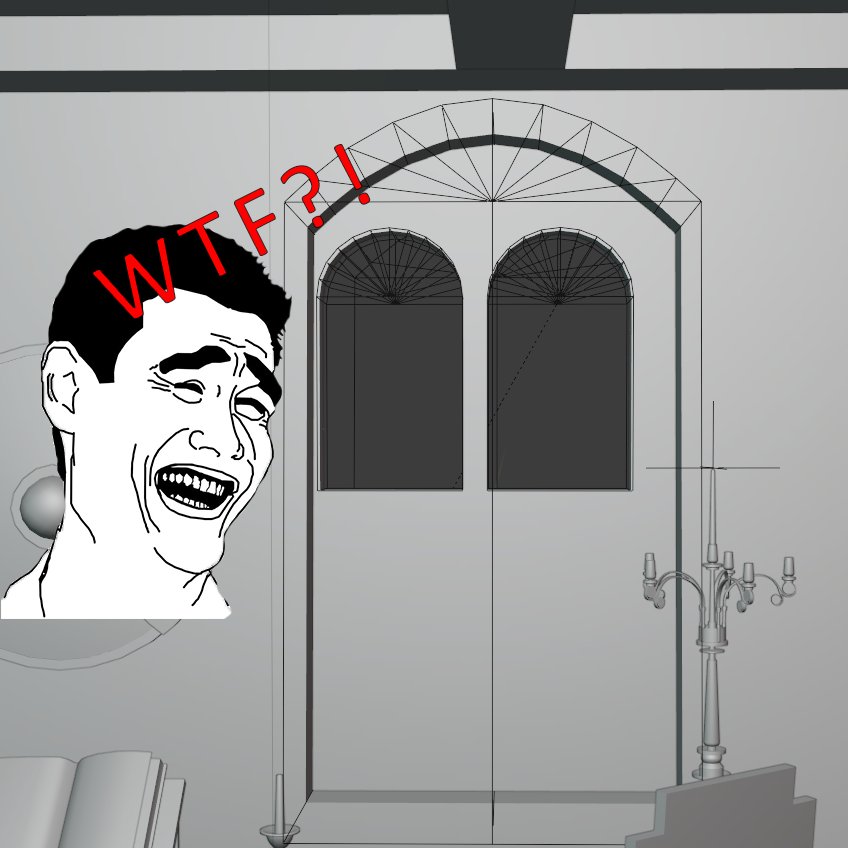
ò_ó
Update - 28 Feb 2021
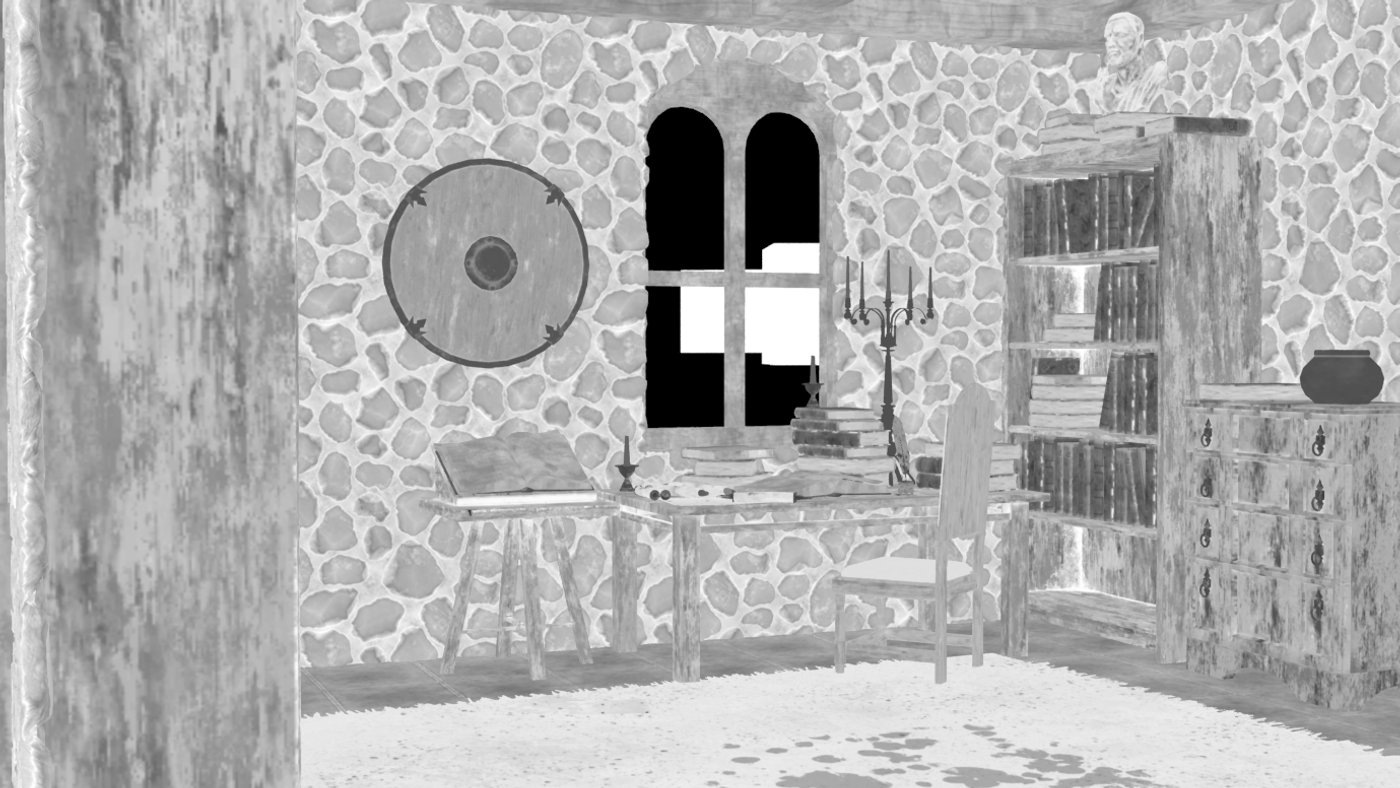
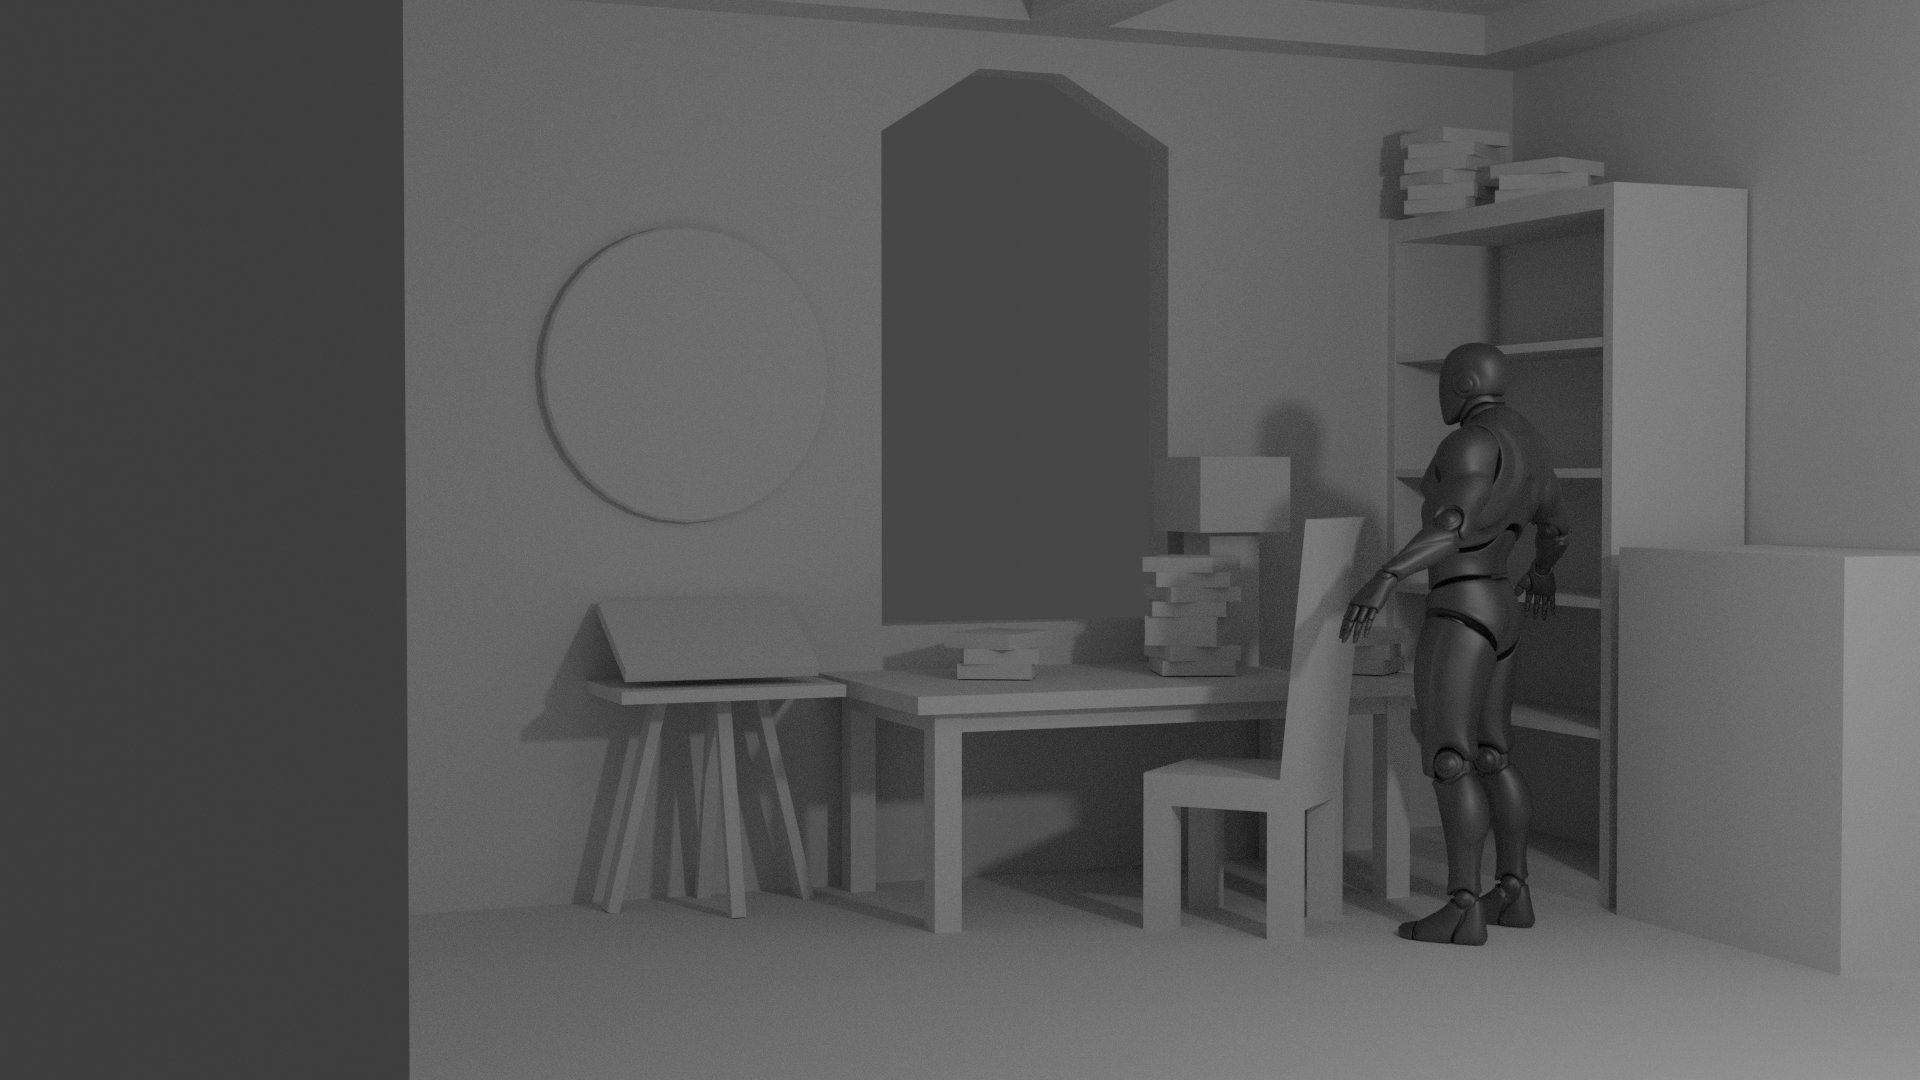
03 Greyboxing!!
Add some Assets today, nothing fancy. I try to work non-destructive when I can, so I am using Array, Solidify, Boolean and Mirror Modifiers the most.
Edit: post denoiser is awesome!
aaaaand, back to work!


with post denoise | without post denoise
Update - 14 Feb 2021
02 Greyboxing!
worked on some assets! Also I setup an unreal scene and had to realize that I can't import a camera from Blender, what means I have to find the perspektive again! RIP simplicity... ⚰️ `(x~x)´


.... and back to bed!
ò_ó
Update - 11 Feb 2021
ò_ó 01
BLOCKOUT
Ok, today I made the blockout. But first I had to do a little more research to get the correct dimensions. So I took it to photoshop and draw some perspektive lines to bring these into Blender. I am using a 45mm focal length. It doesn't match perfect, but still pretty good. _(o.O)/
Next thing is Greyboxing all Assets and bring them to Unreal!


Update - 9 Feb 2021
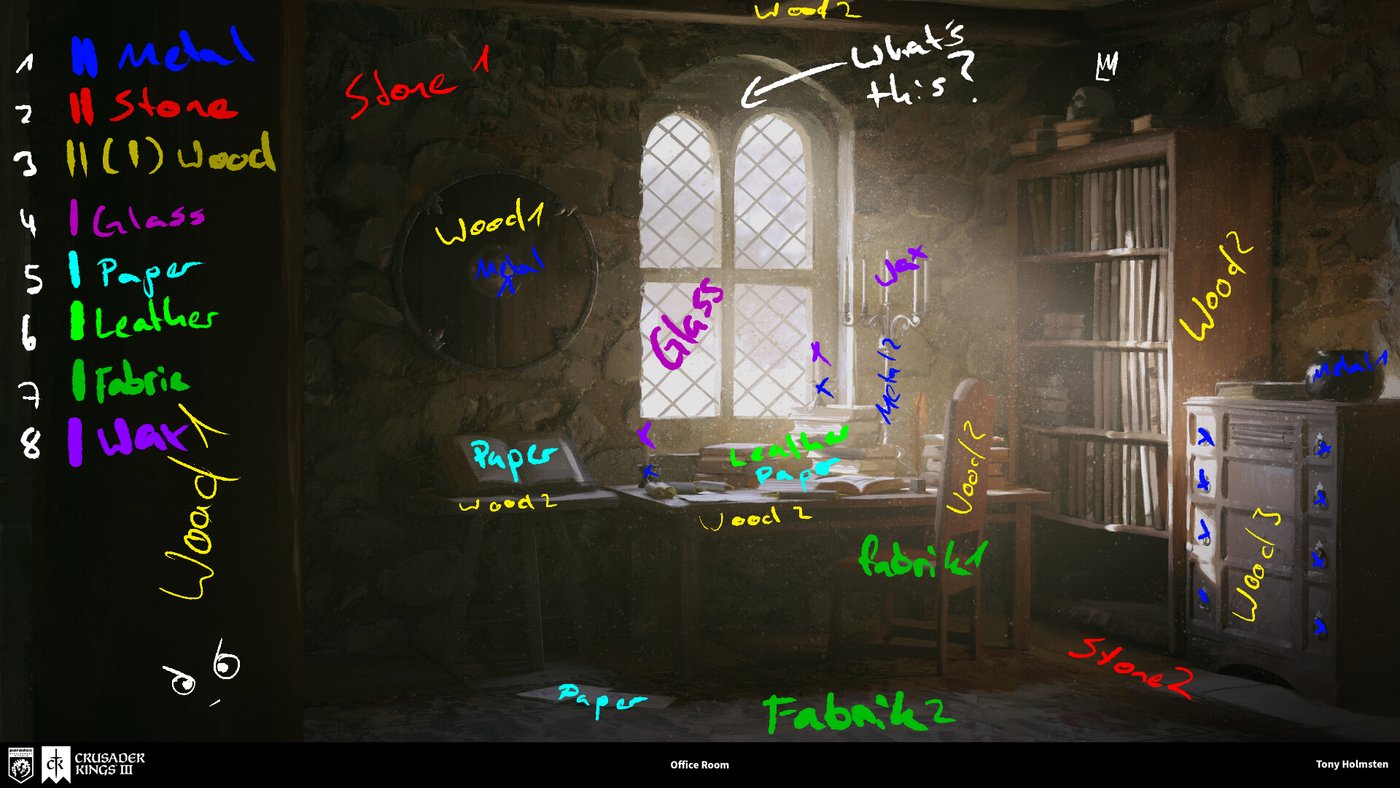
Research and Setups
Ok, first steps are made! I analyzed the picture of Assets and Materials I have to create and edited my Trello list for every task! (ˆ▿ˆc)

INTRODUCTION
So, this is my first Project here. Litte bit excited *~*
In this Project I want to bring an Artwork of Tony Holmsten into 3D.
|-- Office Room --|
___________________
RULES
1. NO TIME CHALLENGE! I want to make it good, not fast.
2. I USE MY OWN ASSETS! If it is possible... I am here to learn about that stuff, so I dont want to skip it.
3. HAVE FUN! ~(^o^)~
___________________
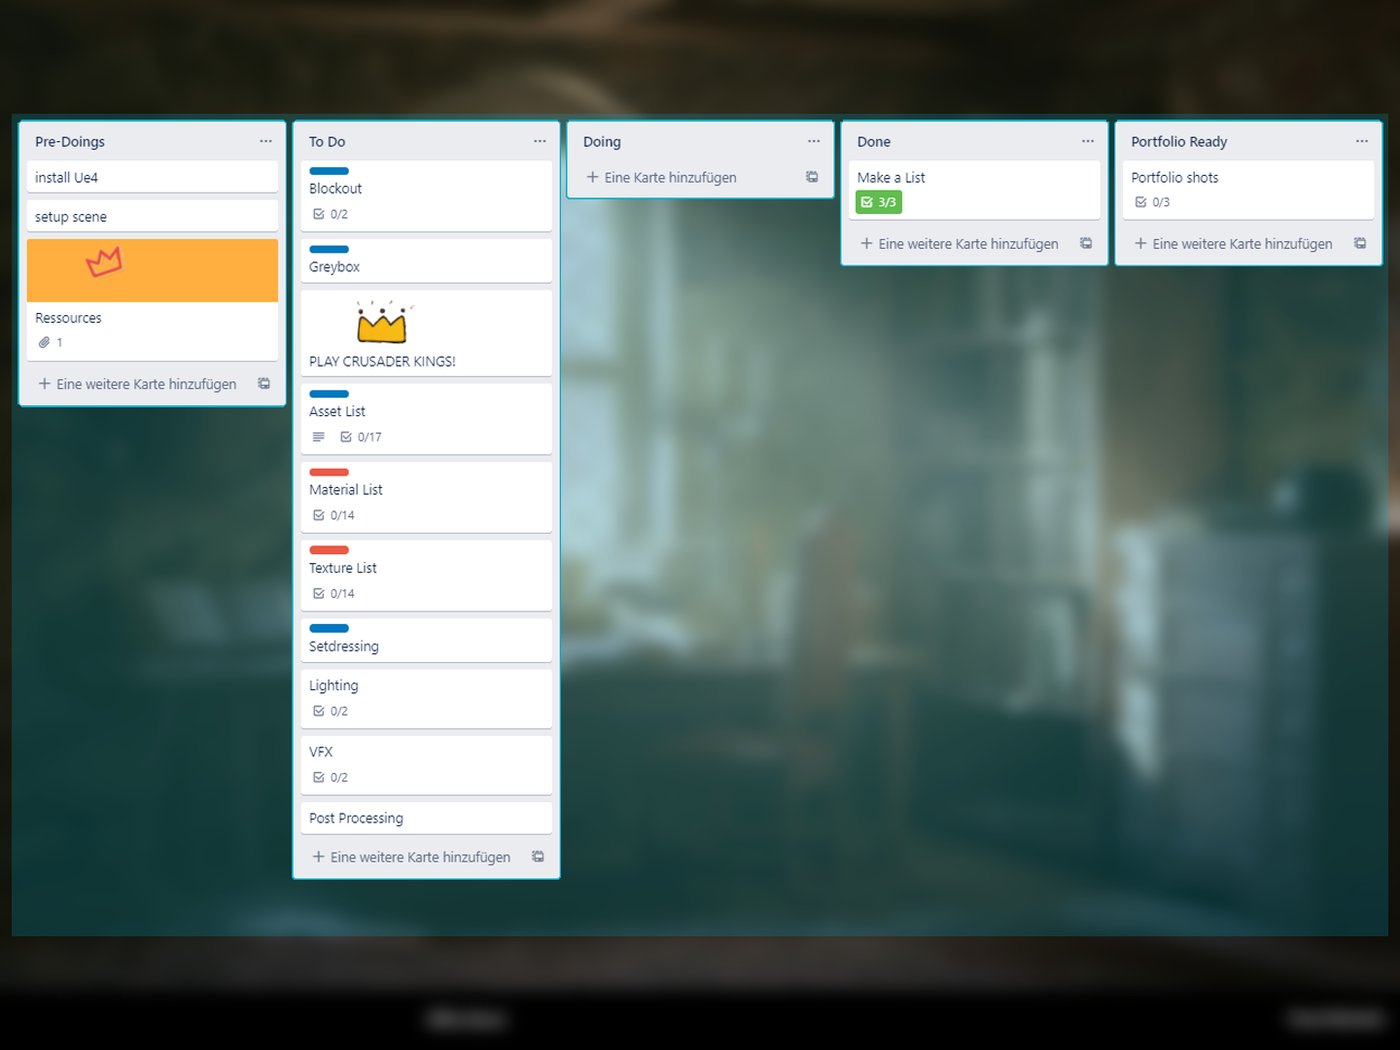
In addition to that I would like to bring a little organization to my workflow^^, so I will use Trello for this one. And yes, I know that Notion is better but I just need some checkboxes and dont want to ruin my wall.
To be honest, I dont know if I can finish this project or even stick to the Rookies account. Lets see where this journey is taking me.
peace out!


Comments (2)