
47 Ronin Tengu Monk
Here I give you a little inside in my process and workflow while creating this model for my personal portfolio. From sculpting, retopology, UV mapping, texturing and rendering.
47 Ronin Tengu Monk
Update - 18 Mar 2020
Hello guys, today I will be sharing my progress as a starting self-taught 3D artist using Zbrush, Maya, Marvelous Designer, and Substance Painter to complete the workflow. I don't have any previous 3D experience, however, I studied Publishing in college and I've been drawing since I was a kid.
I recently decided to really put my hands into 3D so I got a nice tablet and started watching every little piece of information that I could learn from, courses, tutorials, books... Here I will show you my journey so far and the model that I have been creating as I learn.
So, my wife showed me a movie the other night, which I was able to watch till the end (usually fall asleep) and it was amazing. The movie was 47 Ronin and yes, I know... Shame! How come I haven't seen that movie before? My favorite part was the scene where Kai (Keanu) and Oishi visit the Tengu Temple, and they end up having this awesome fight with the Tengu Monks. This really sparked my desire to create and made me want to sculpt one of them.
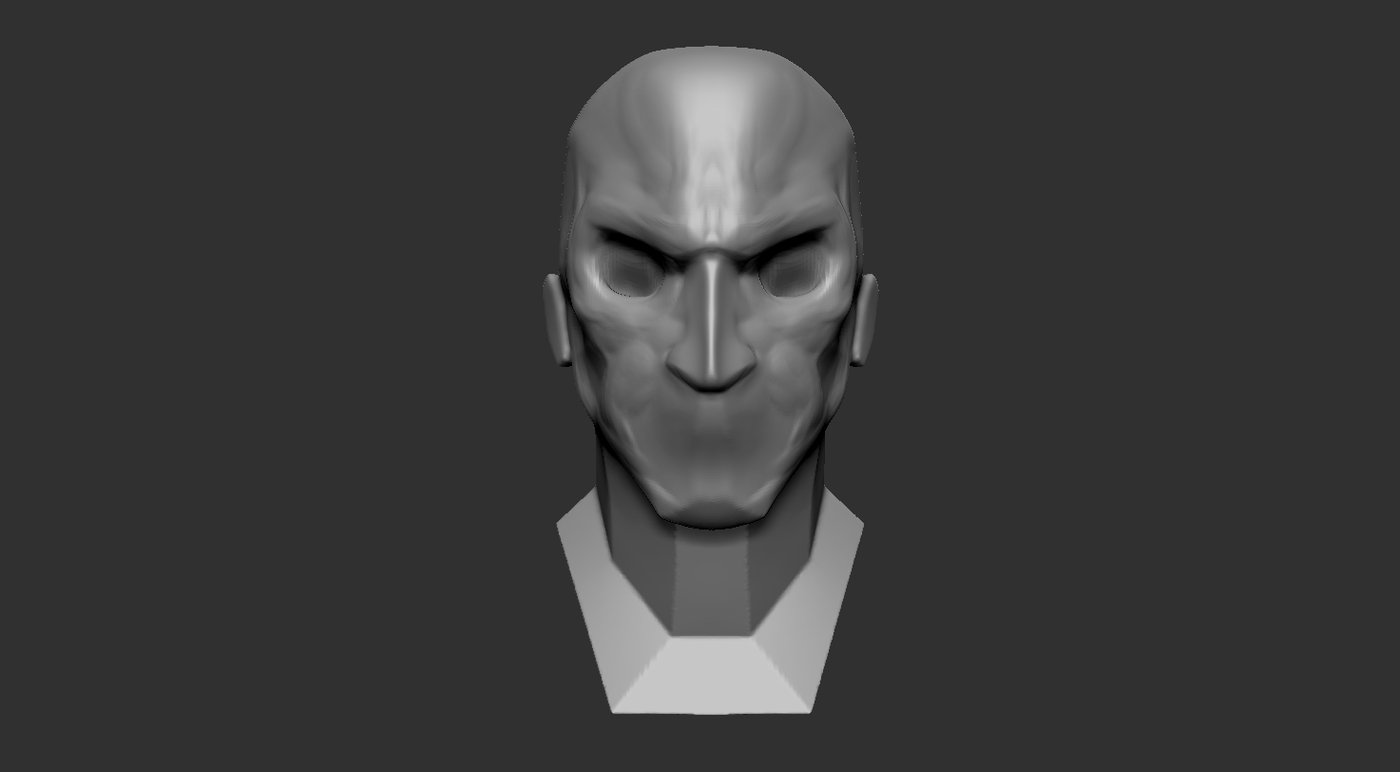

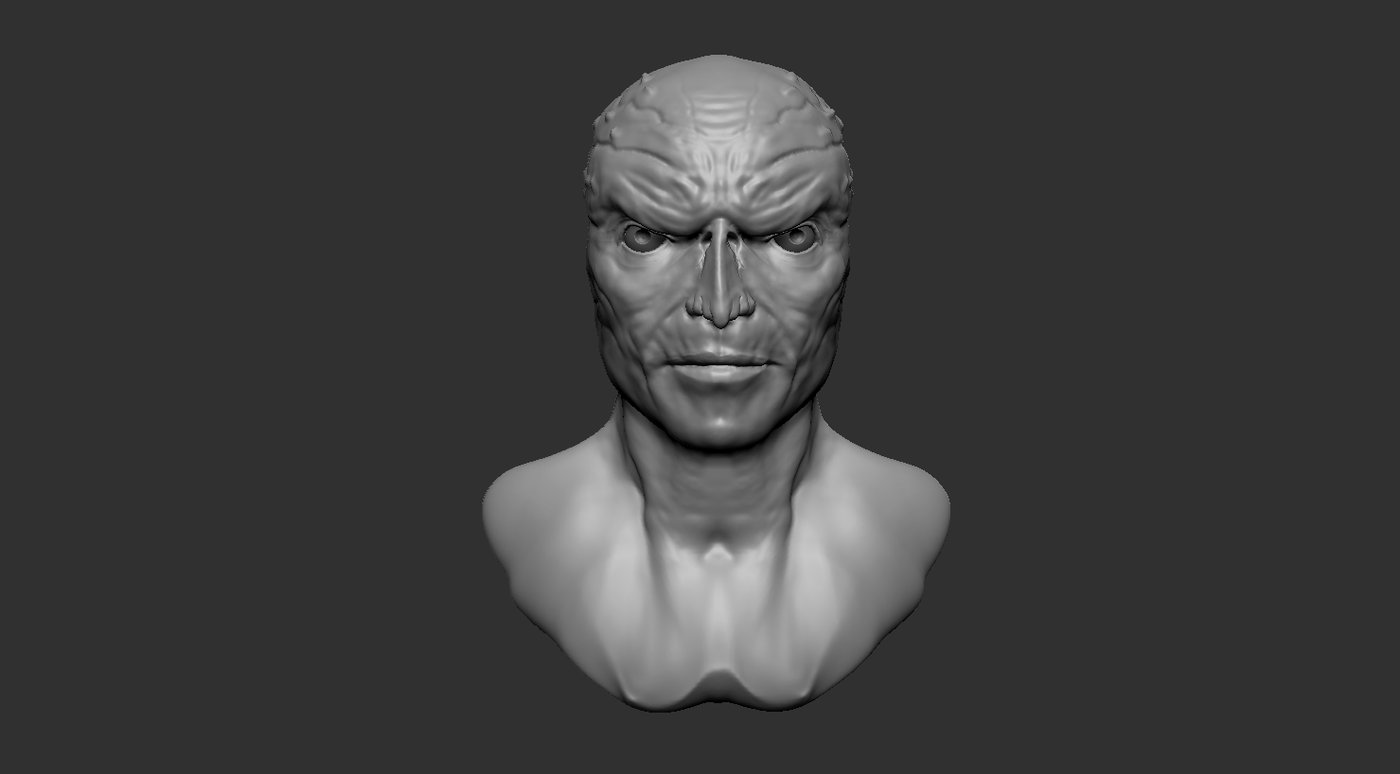
For this head, I ended up with around 2.6Mil points and started with a head plane on Zbrush. I sculpted with the principles of building it inside out, skull, muscles, and finally skin. I used Dynamesh during the process and subdivided the model to a high count to add the tertiary forms.
The brushes that were used for sculpting are very basic: Move brush, ClayBuildUp brush, Standard brush, DamStandard brush, so no need to download a bunch of crazy brushes to create your model. Another thing is I don't quite like to use the Smooth brush on the model unless I want to "destroy" the form, what I prefer to do is play with the intensity of the brushes to blend the strokes. I do this with the ClayBuildUp brush with no alpha on.
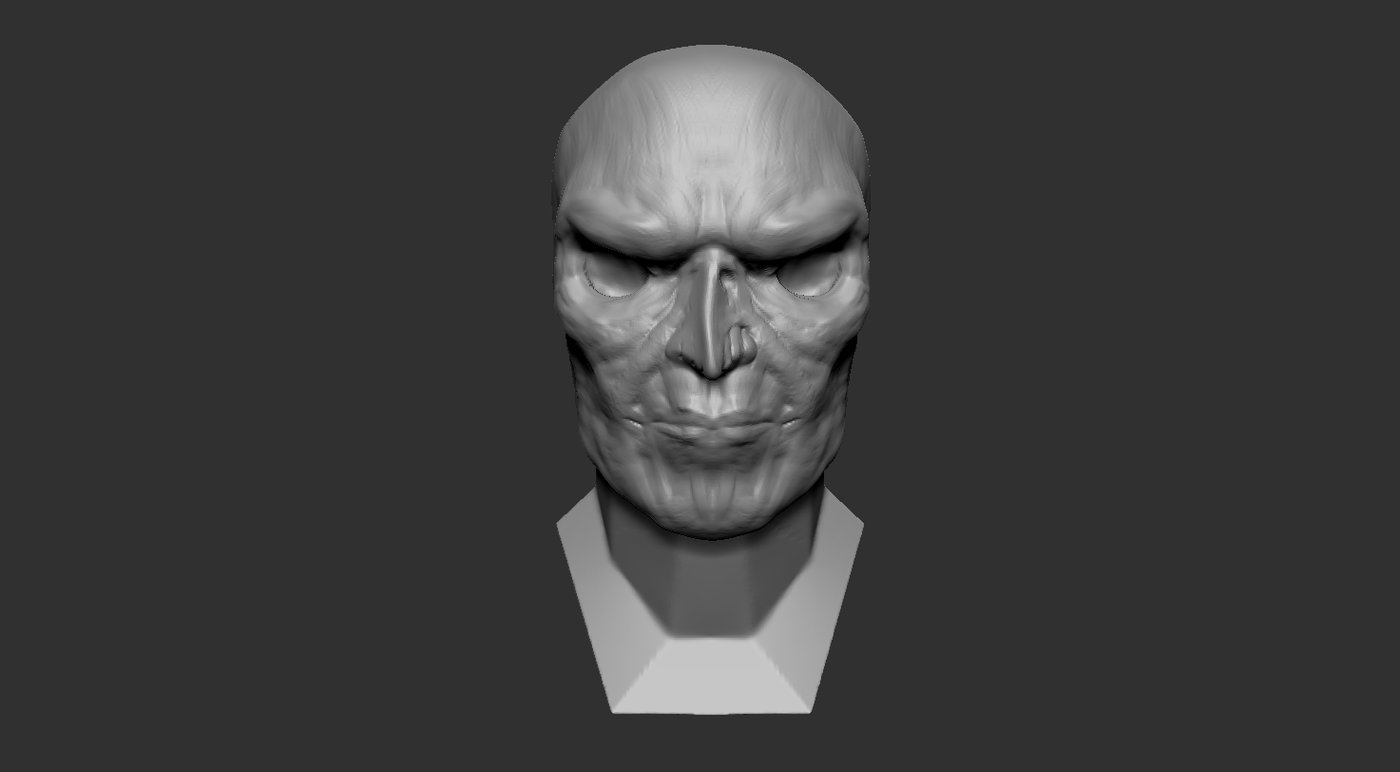
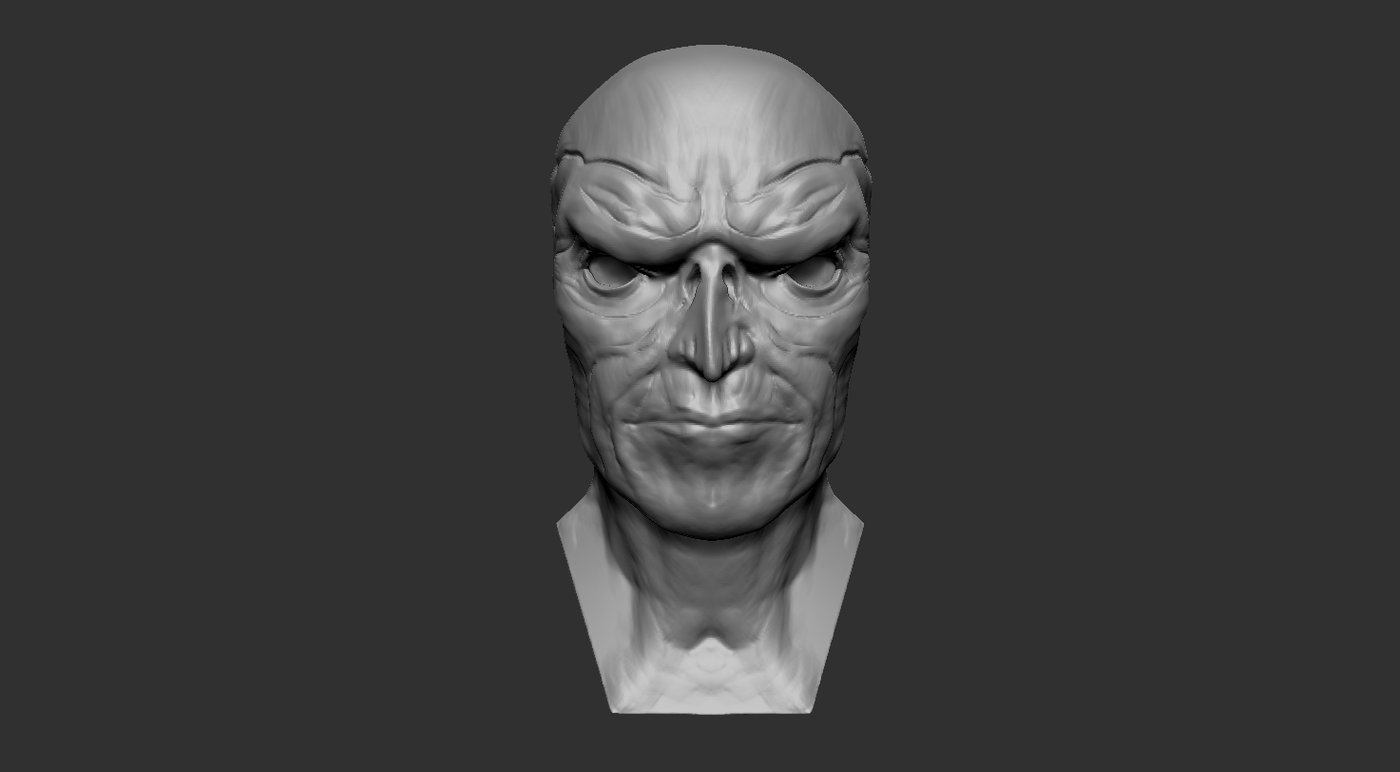
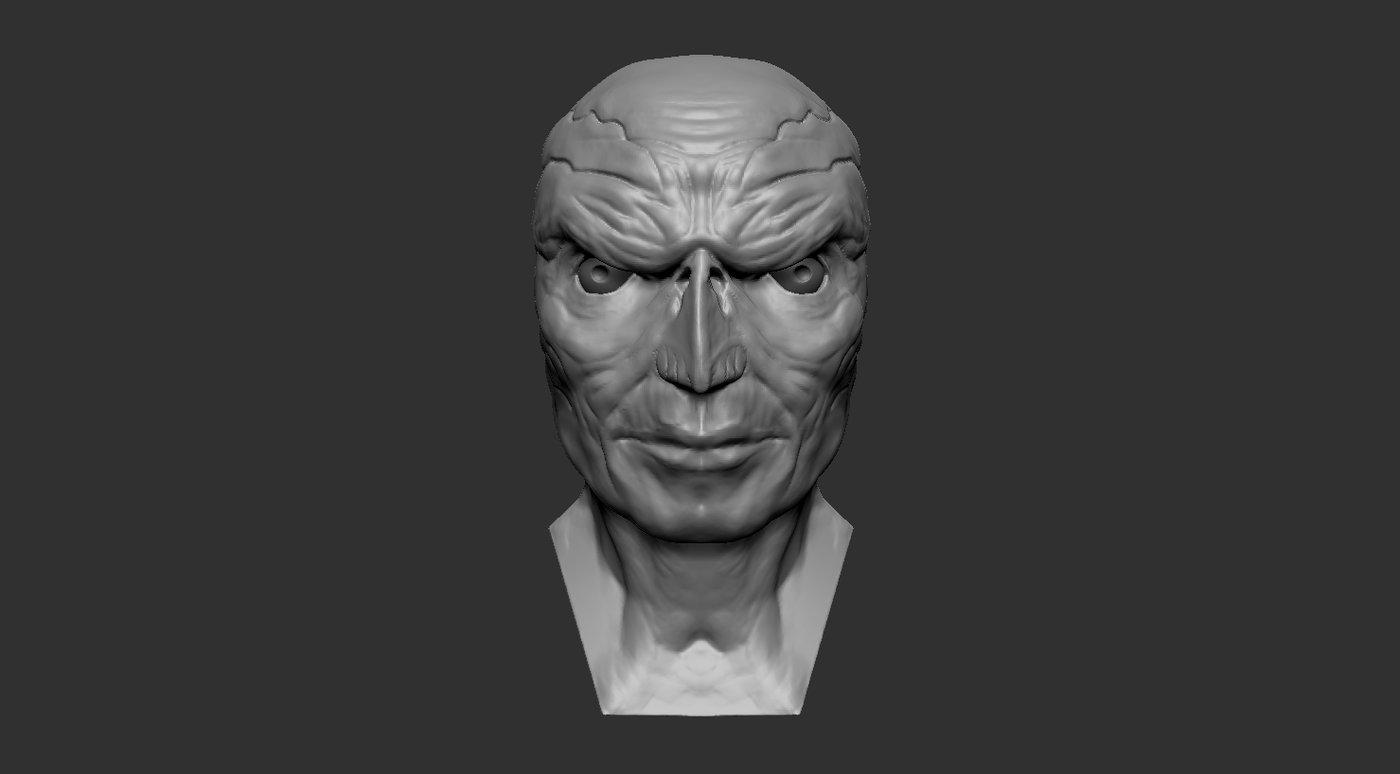
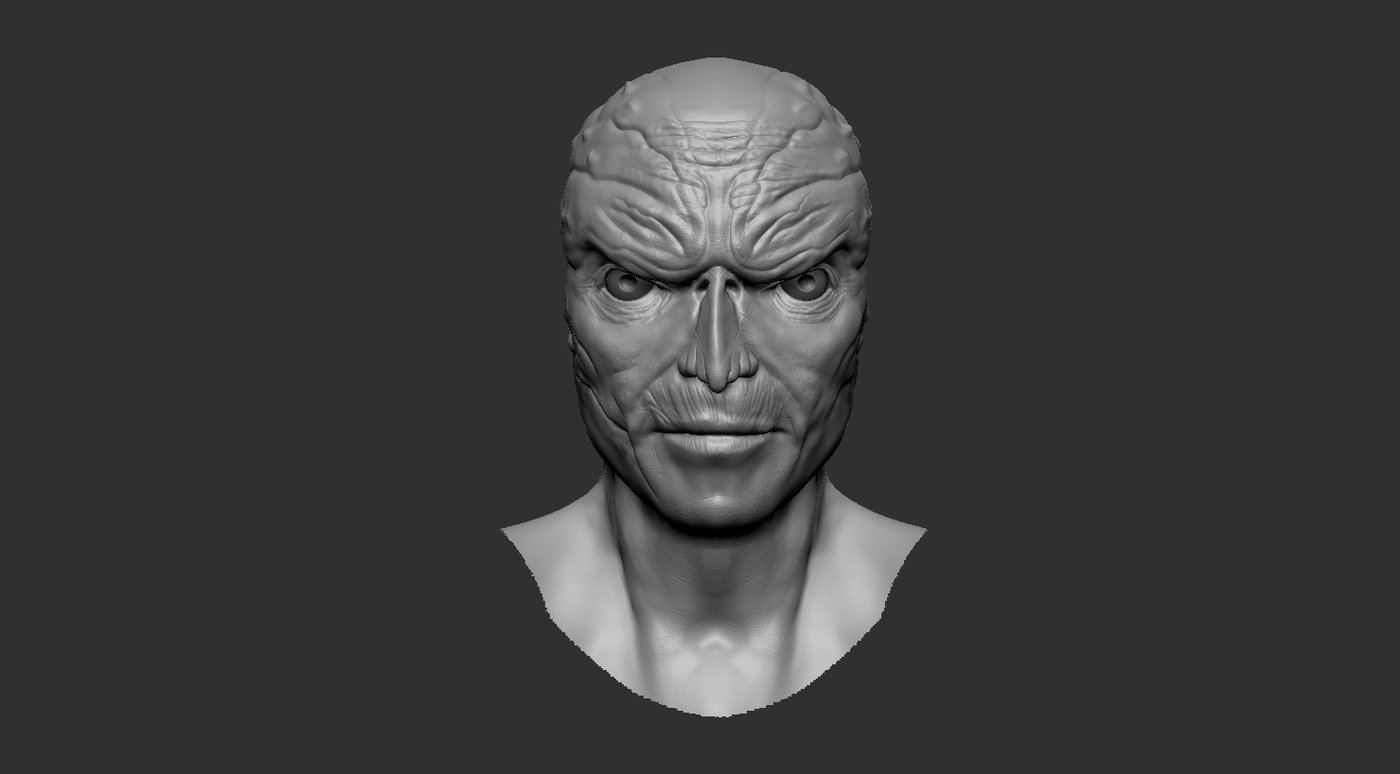
For the tertiary forms, I did 3 layers of noise, one of them being a bump to break the uniformity of the skin. After that, I created another layer and stored a Morph Target so I could easily go back to the original mesh using the Morph brush in case I messed it up or to better blend the forms. In this layer, I added more defined details like wrinkles, lines, and pores using custom skin alphas.
Once I have the model to this level, I need to Retopo and create the UV's in order for me to be able to texture it, so I have to export it to Maya, which is the 3D software that I prefer to use. Before doing so, I decimated the head in Zbrush using the Decimation Master plugin so I can have a lower poly count and a better performance in Maya.
Note: The eyes that I'm using are only for reference since I have created the final version in another file.*
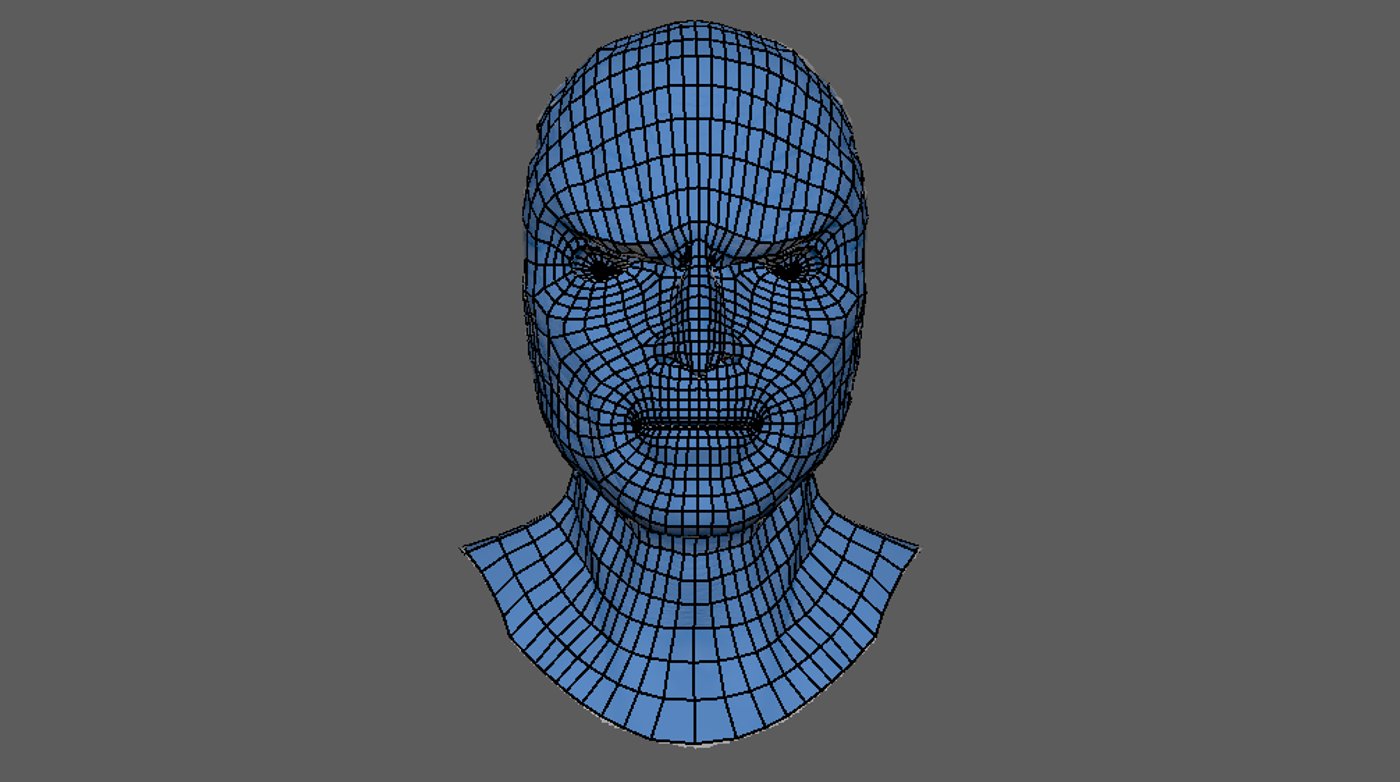
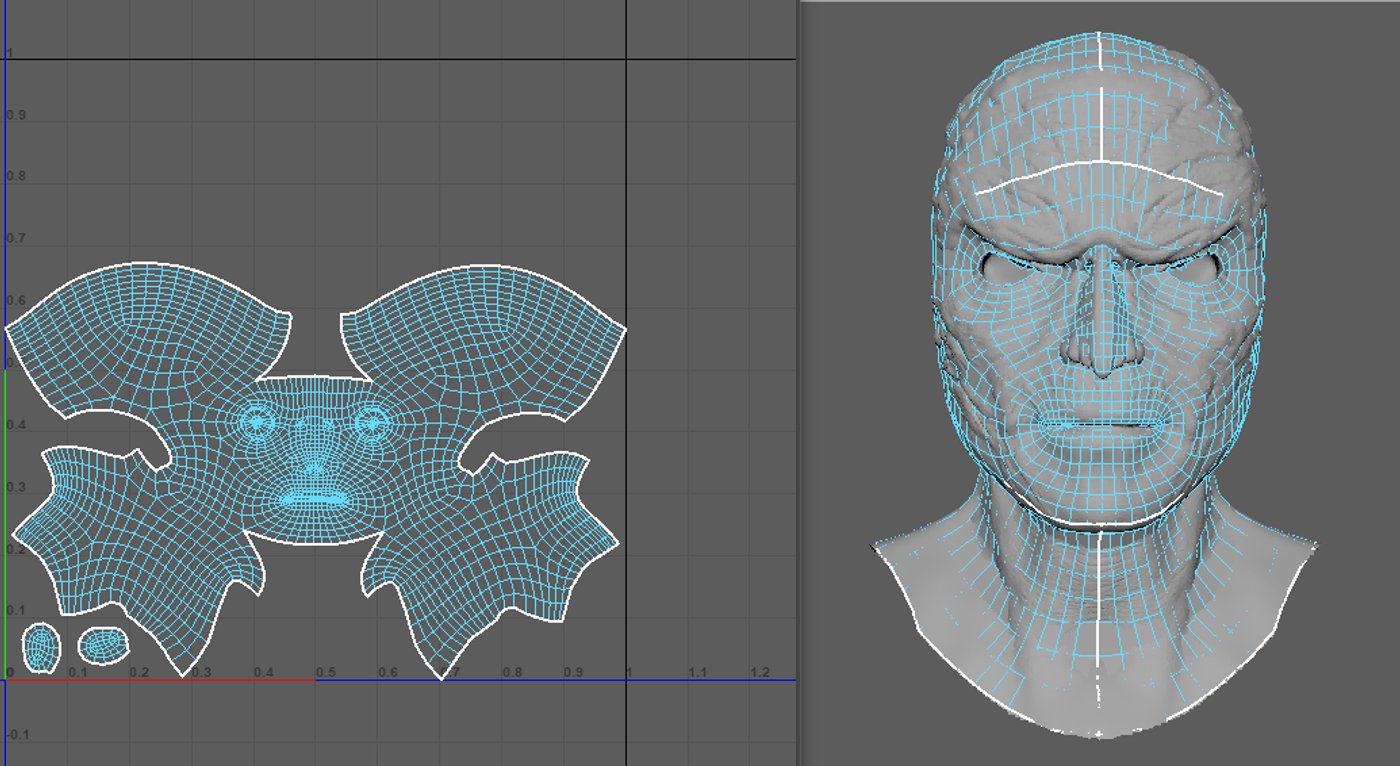

I used Quad Draw in Maya for my Retopology since is a really simple and intuitive tool. I used an image for this as a reference and first I placed the loops around the mouth, the eyes, the nose, the jaw, and the ears. After that, you simply connect the loops, but I think this is something that requires a bit of practice so you can solve the riddle if you get to a point where you can have a ngon.
You can also see the simple cuts that I did for the UV's of the head and laid the shells out in one Udim. Maya does pretty much everything when it comes to UV mapping. Just unfold and layout! There are other Softwares when it comes to UV's, but for me, Maya just simply works.
Once I have my mesh ready I export it back to Zbrush to reproject the high subdivision details. I have found that in this step the mesh usually gets weird details that you need to either smooth out or blend using the Morph brush if you stored a morph target and created a layer (definitely prefer the Morph brush than the Smooth brush), mostly around the eyes and areas where there's a hole, so I simply masked out those areas and sculpted them back onto the mesh. I know, you wouldn't want to do it all over again, so I would recommend not to get the model fully finished before you need to do the Retopology, UV's, and reprojection.
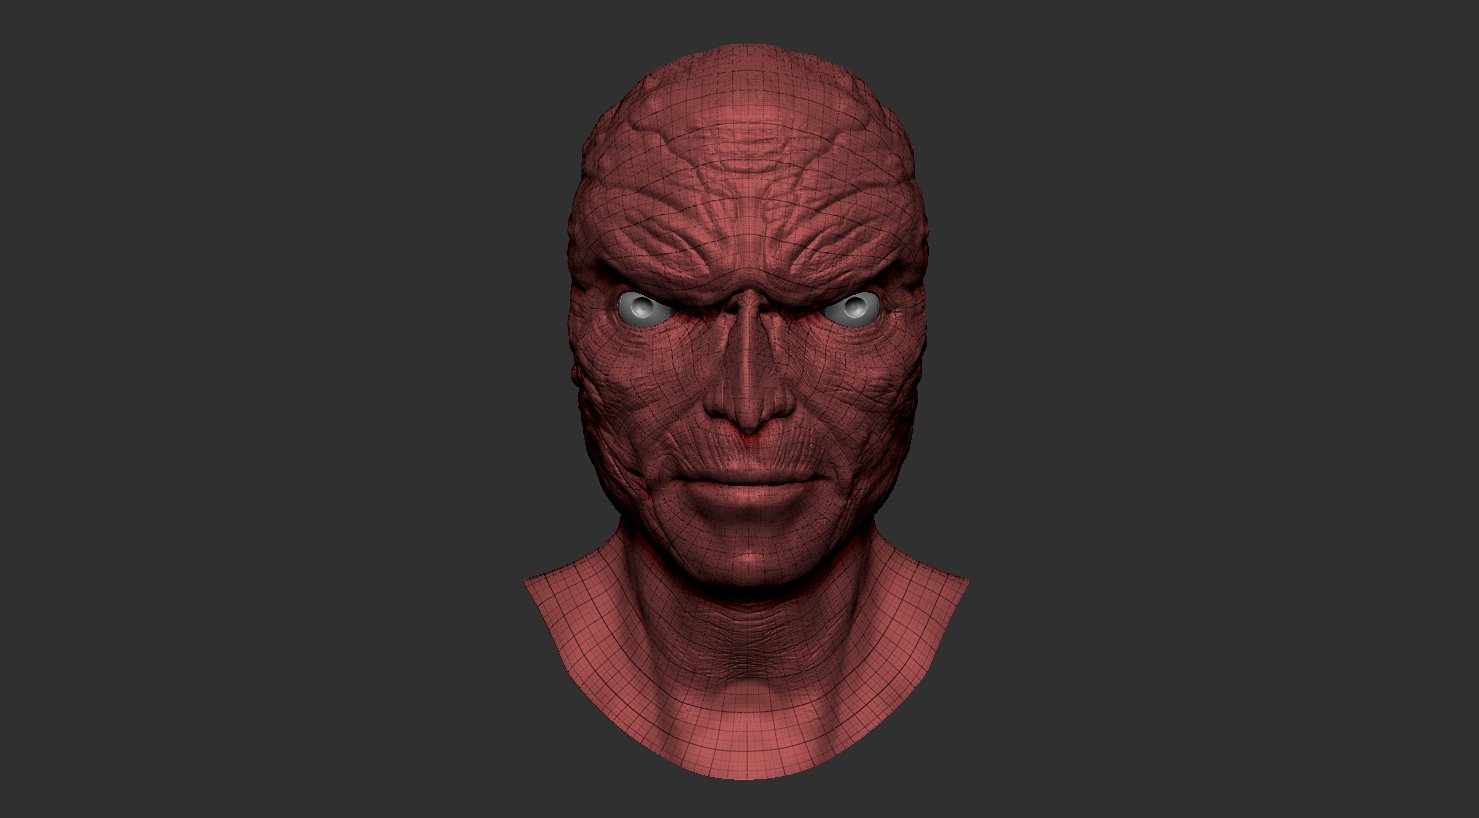
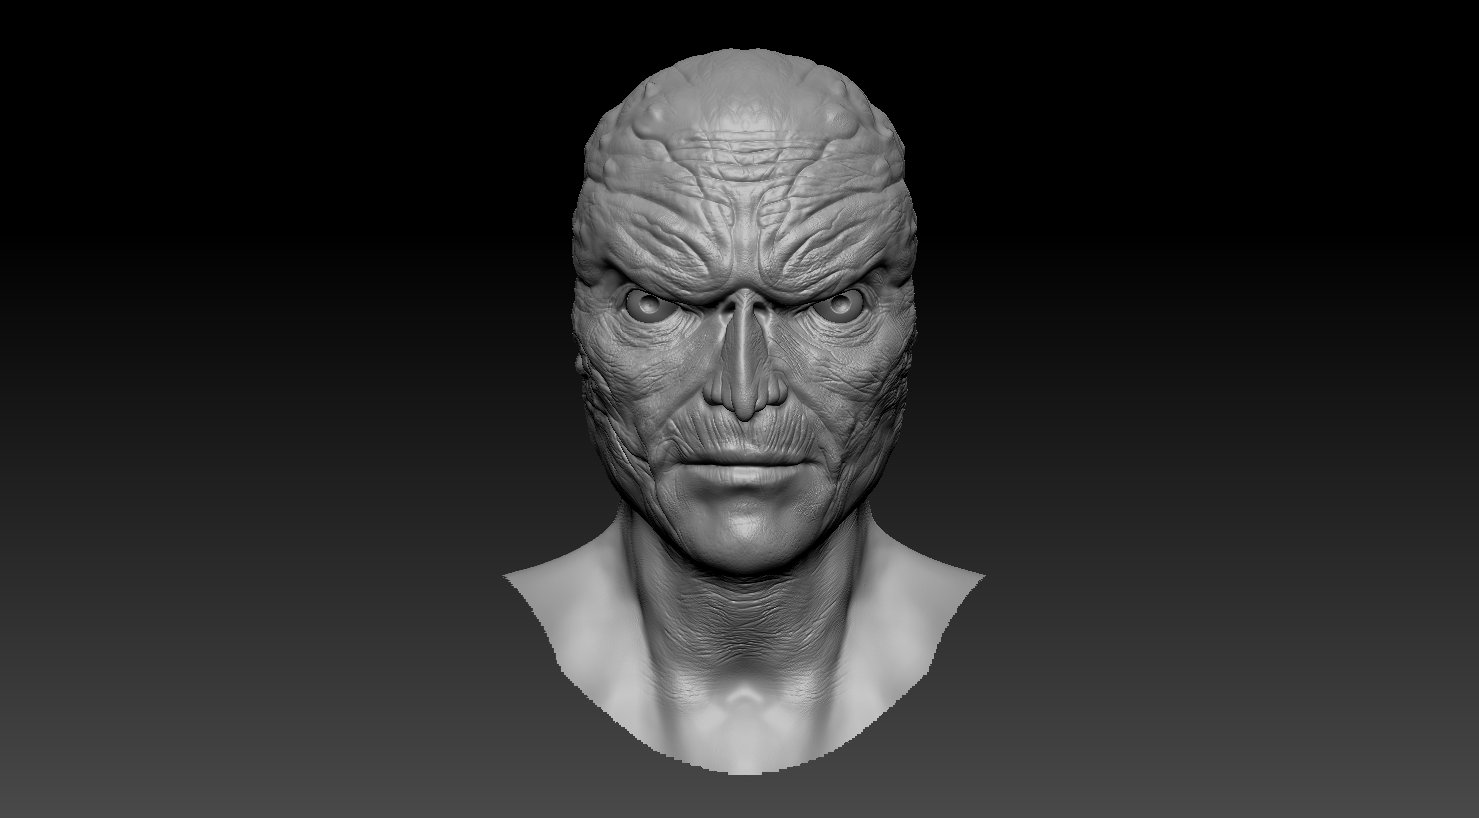
Here you can see the model with the high details projected onto the mesh with topology and UV's corrected. After this, I will be preparing the model for texturing so I will need to decimate it again and separate the model with Polygroups and import them as materials in Substance Painter.
I have three subtools, one for the head, one for the eyes and one for the caruncles. The head will have its own polygroup, both eyeballs are one polygroup, and the caruncles will be a different polygroup as well.
I will be updating this post as soon as I have worked on texturing this model with Substance Painter. Any feedback or questions please feel free to let me know.


Comments (0)
This project doesn't have any comments yet.