
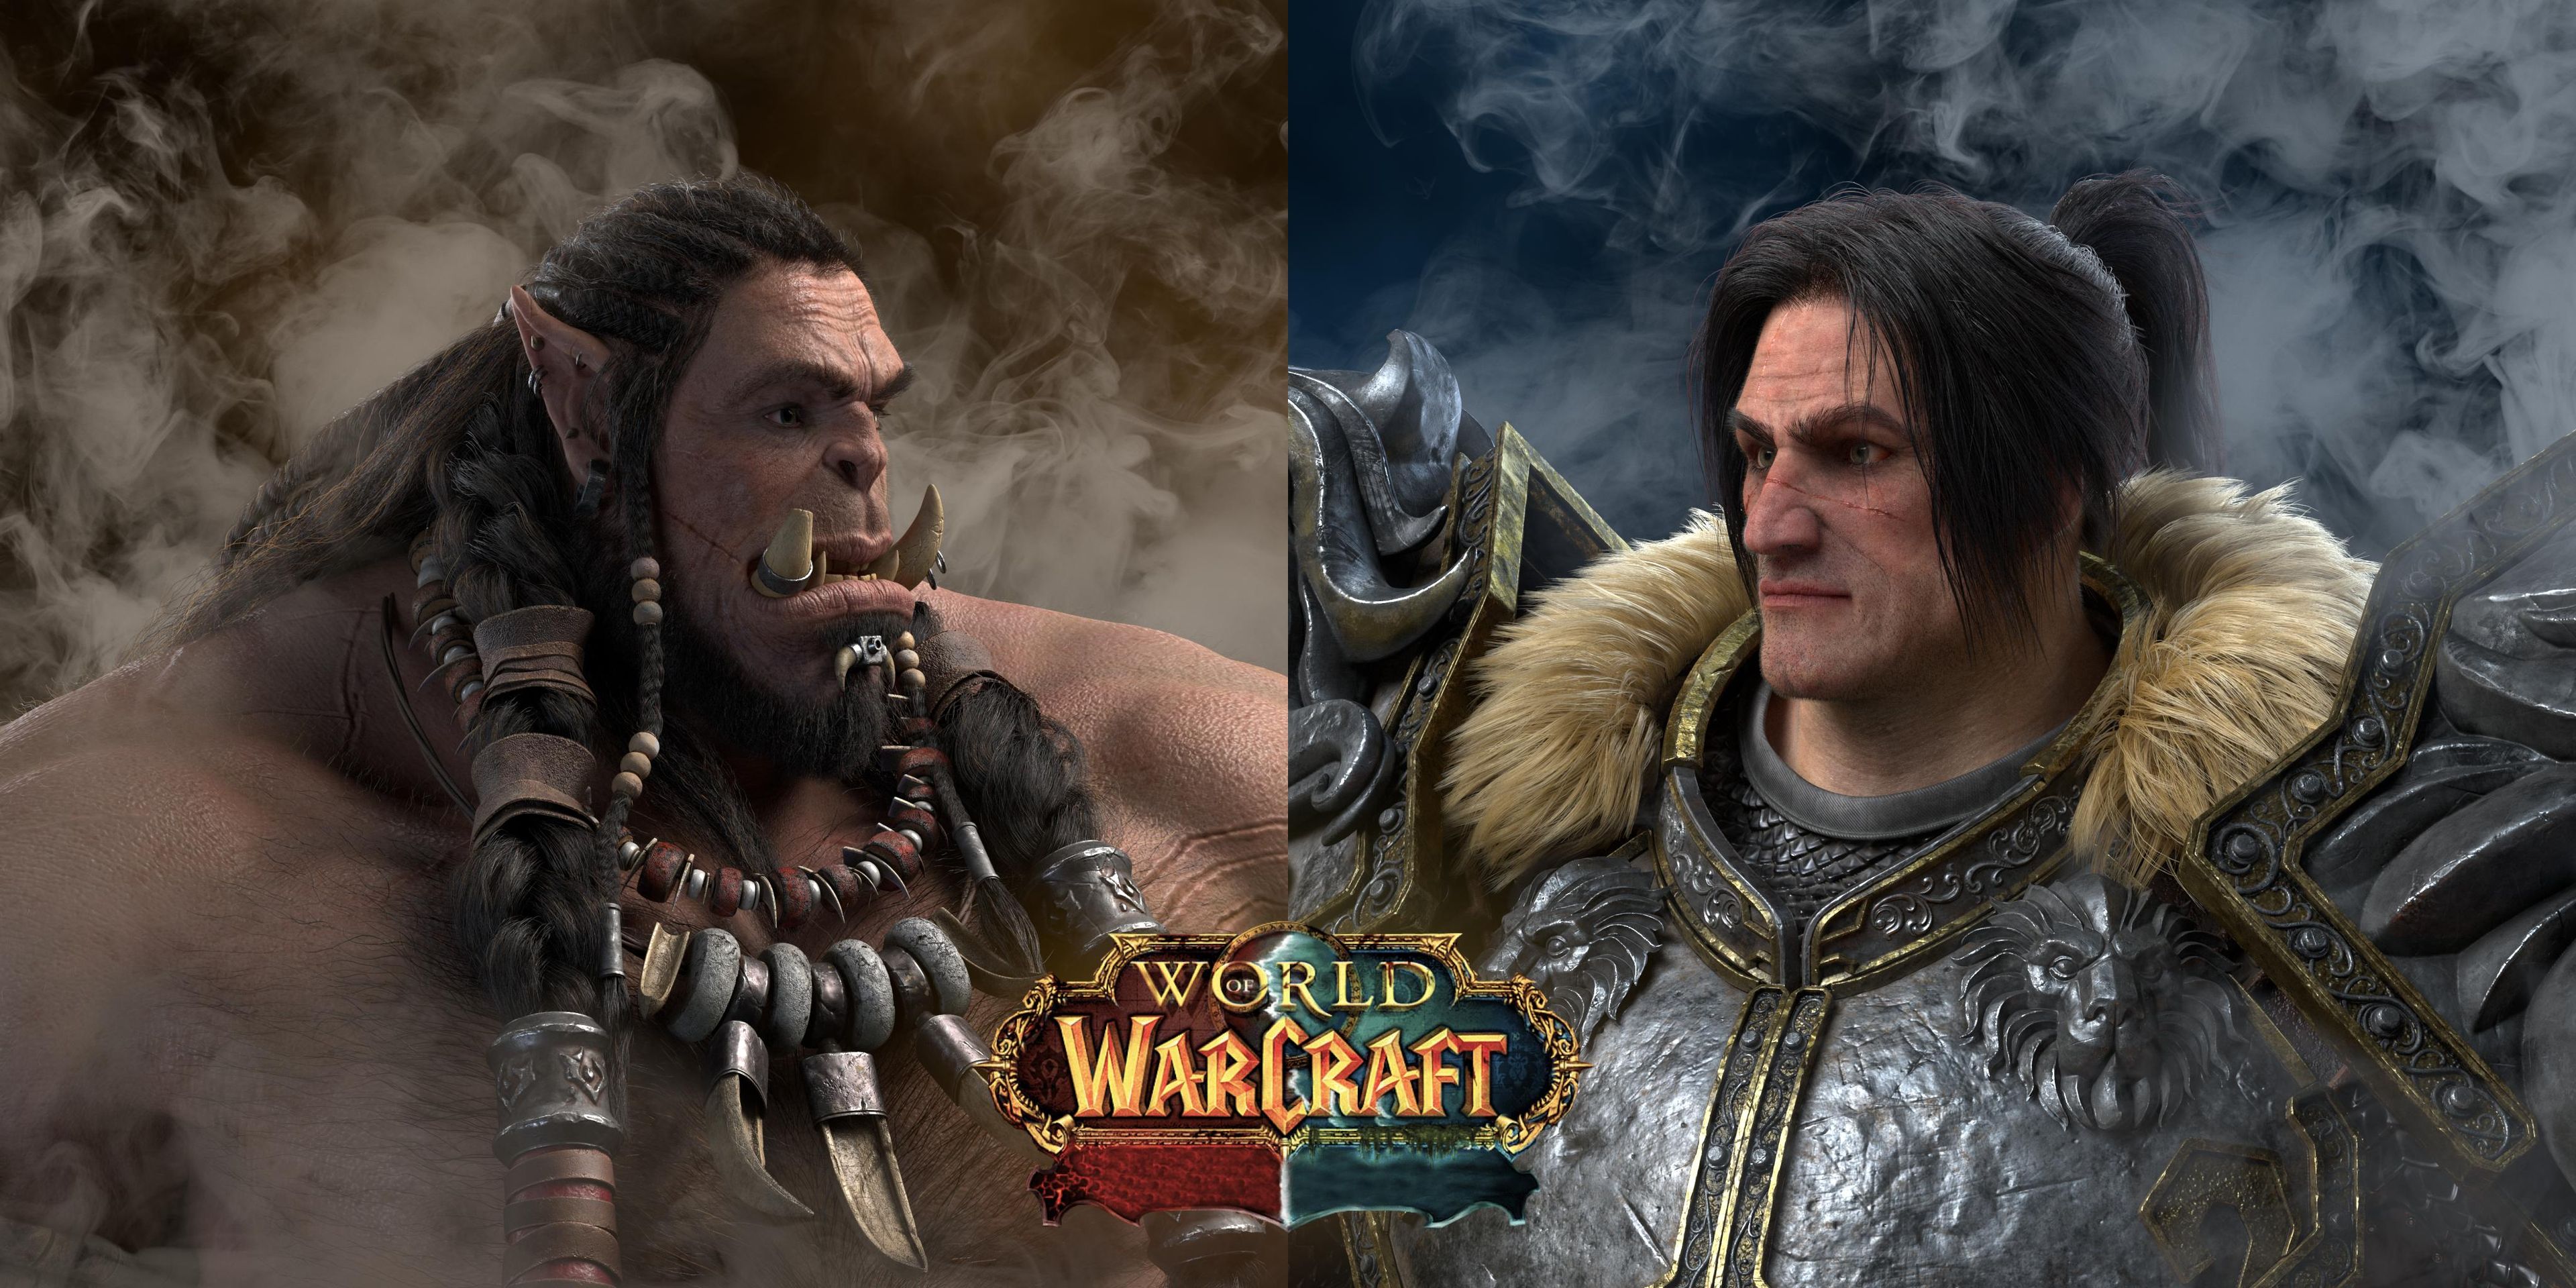
WORLD OF WARCRAFT


I was impressed with the design of Warcraft and I wanted to express it in real life, so I used 3d programs and art skills to create my favorite characters. If you want to see detail of my work Please click this link(https://www.artstation.com/tyler0982). Enjoy my work and I really hope you like it, Thank you
WORLD OF WARCRAFT
For this making-of article,
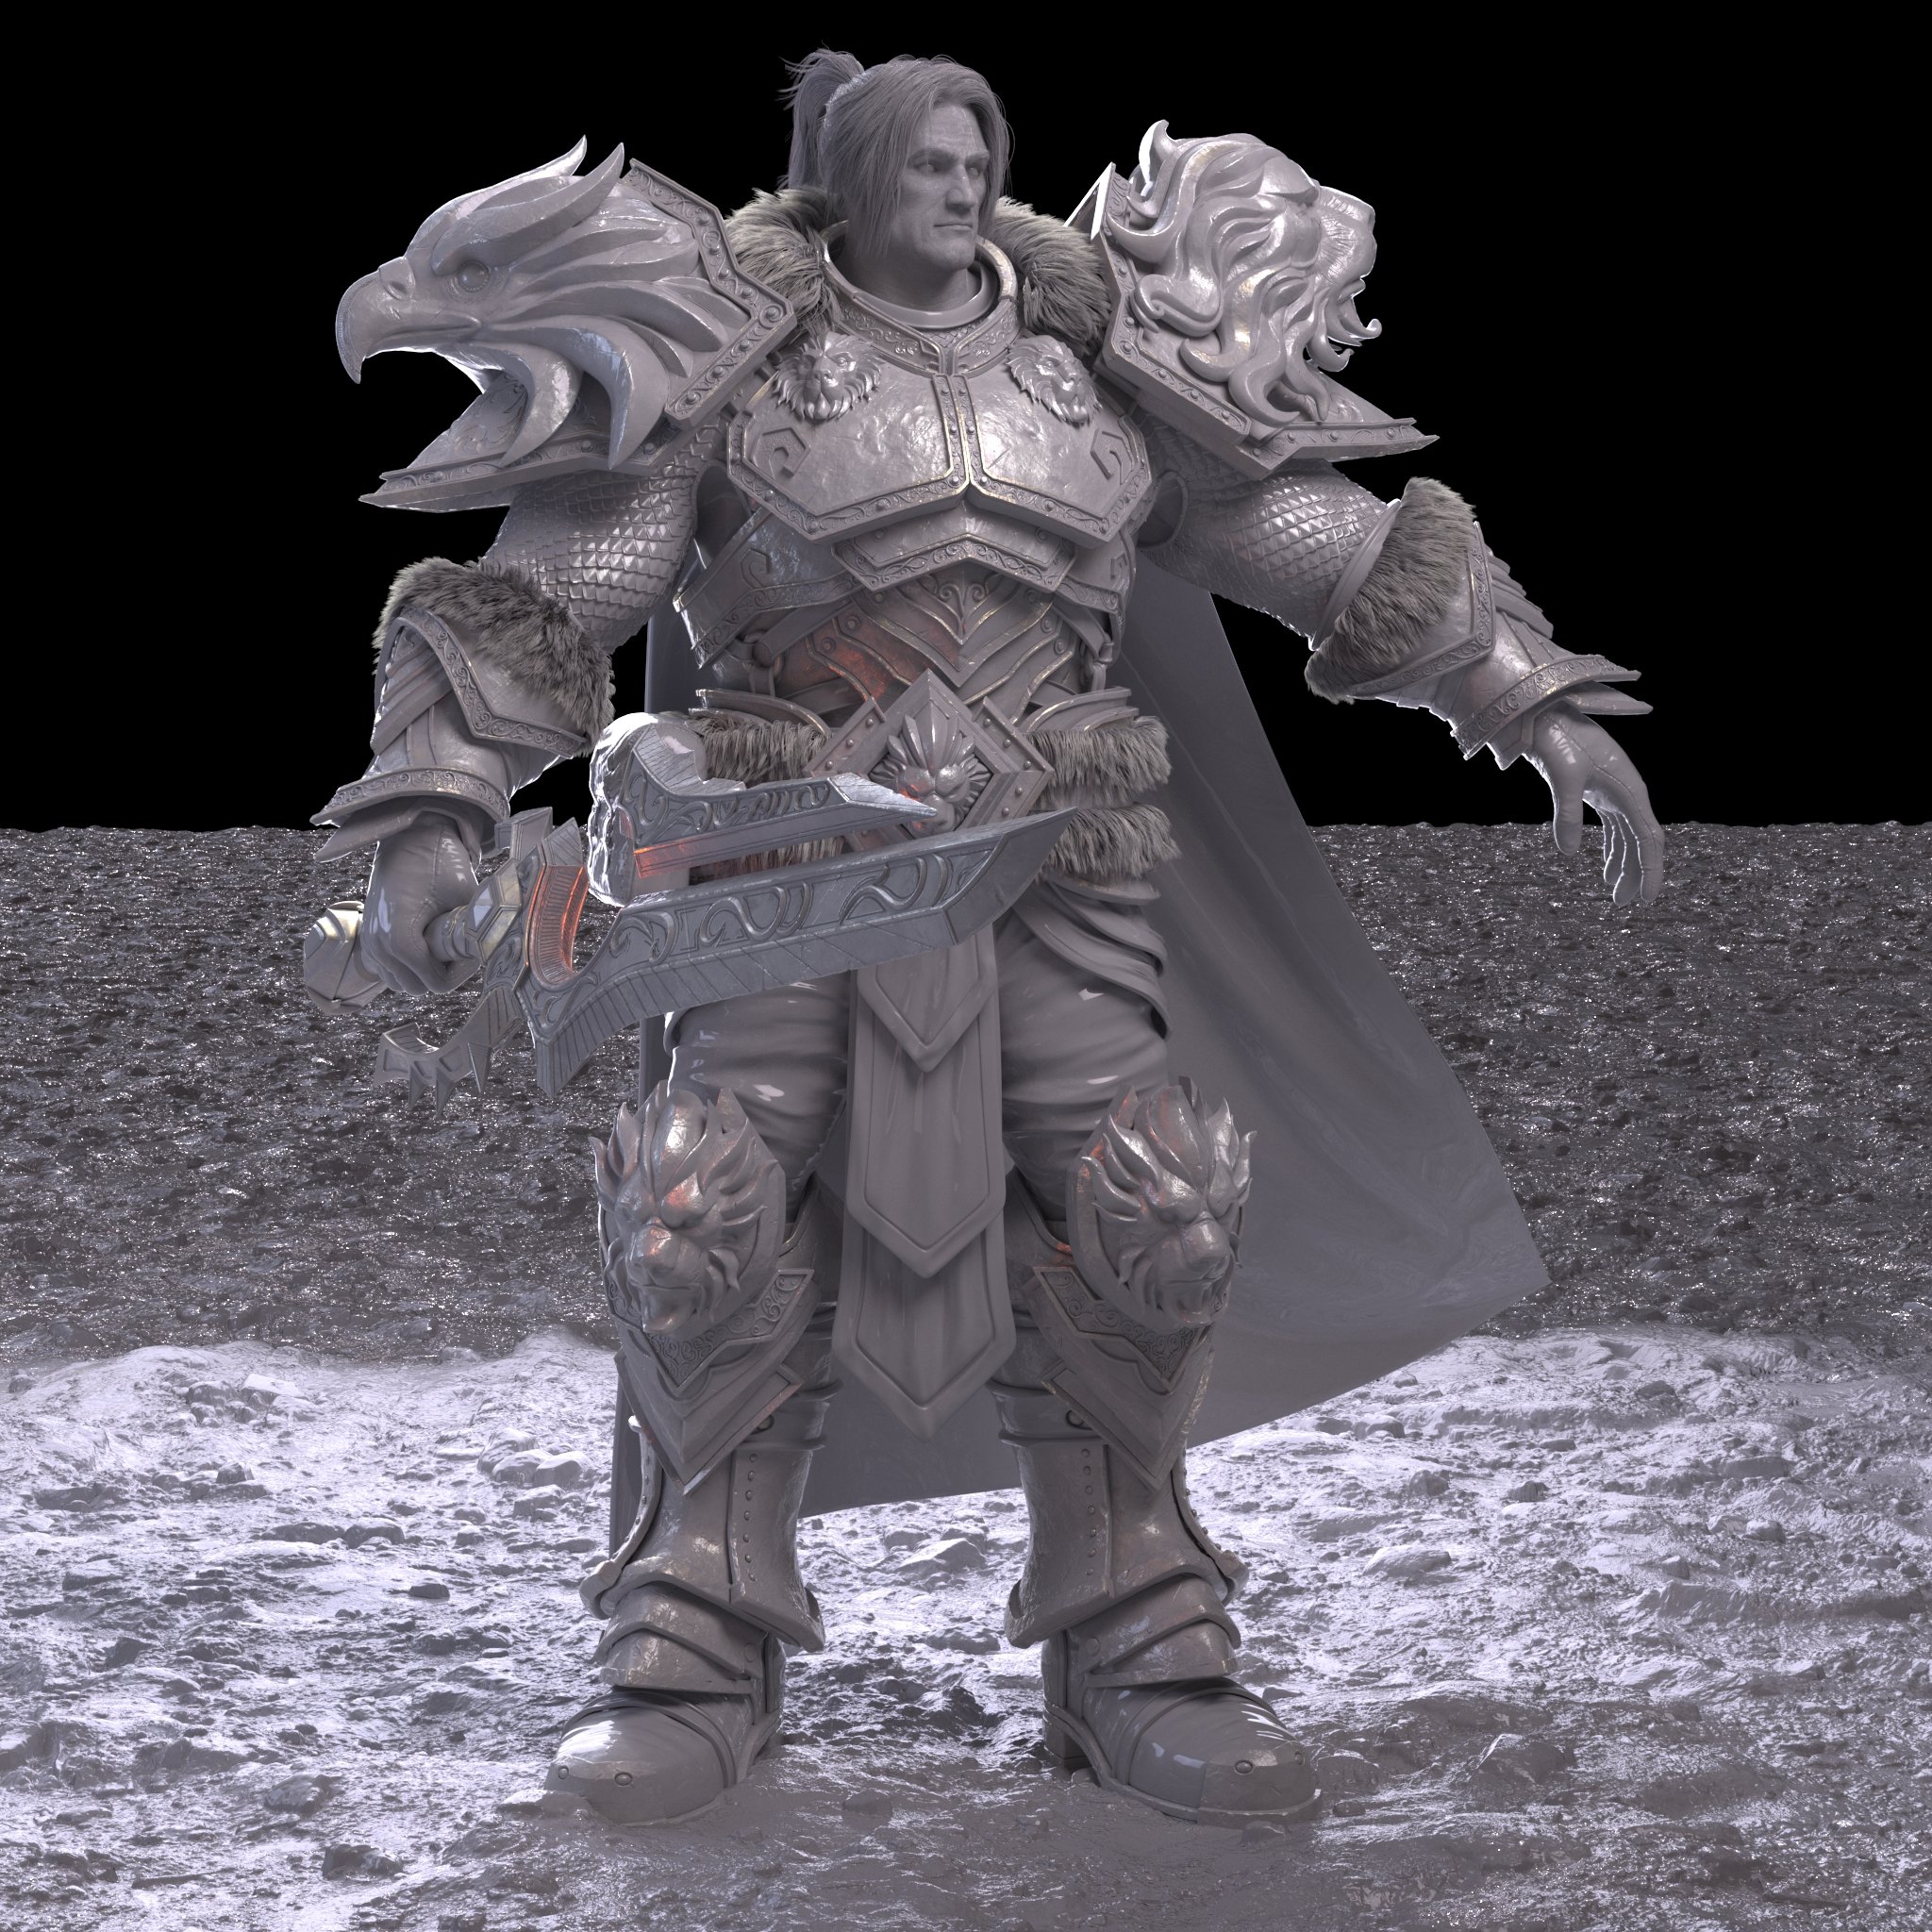
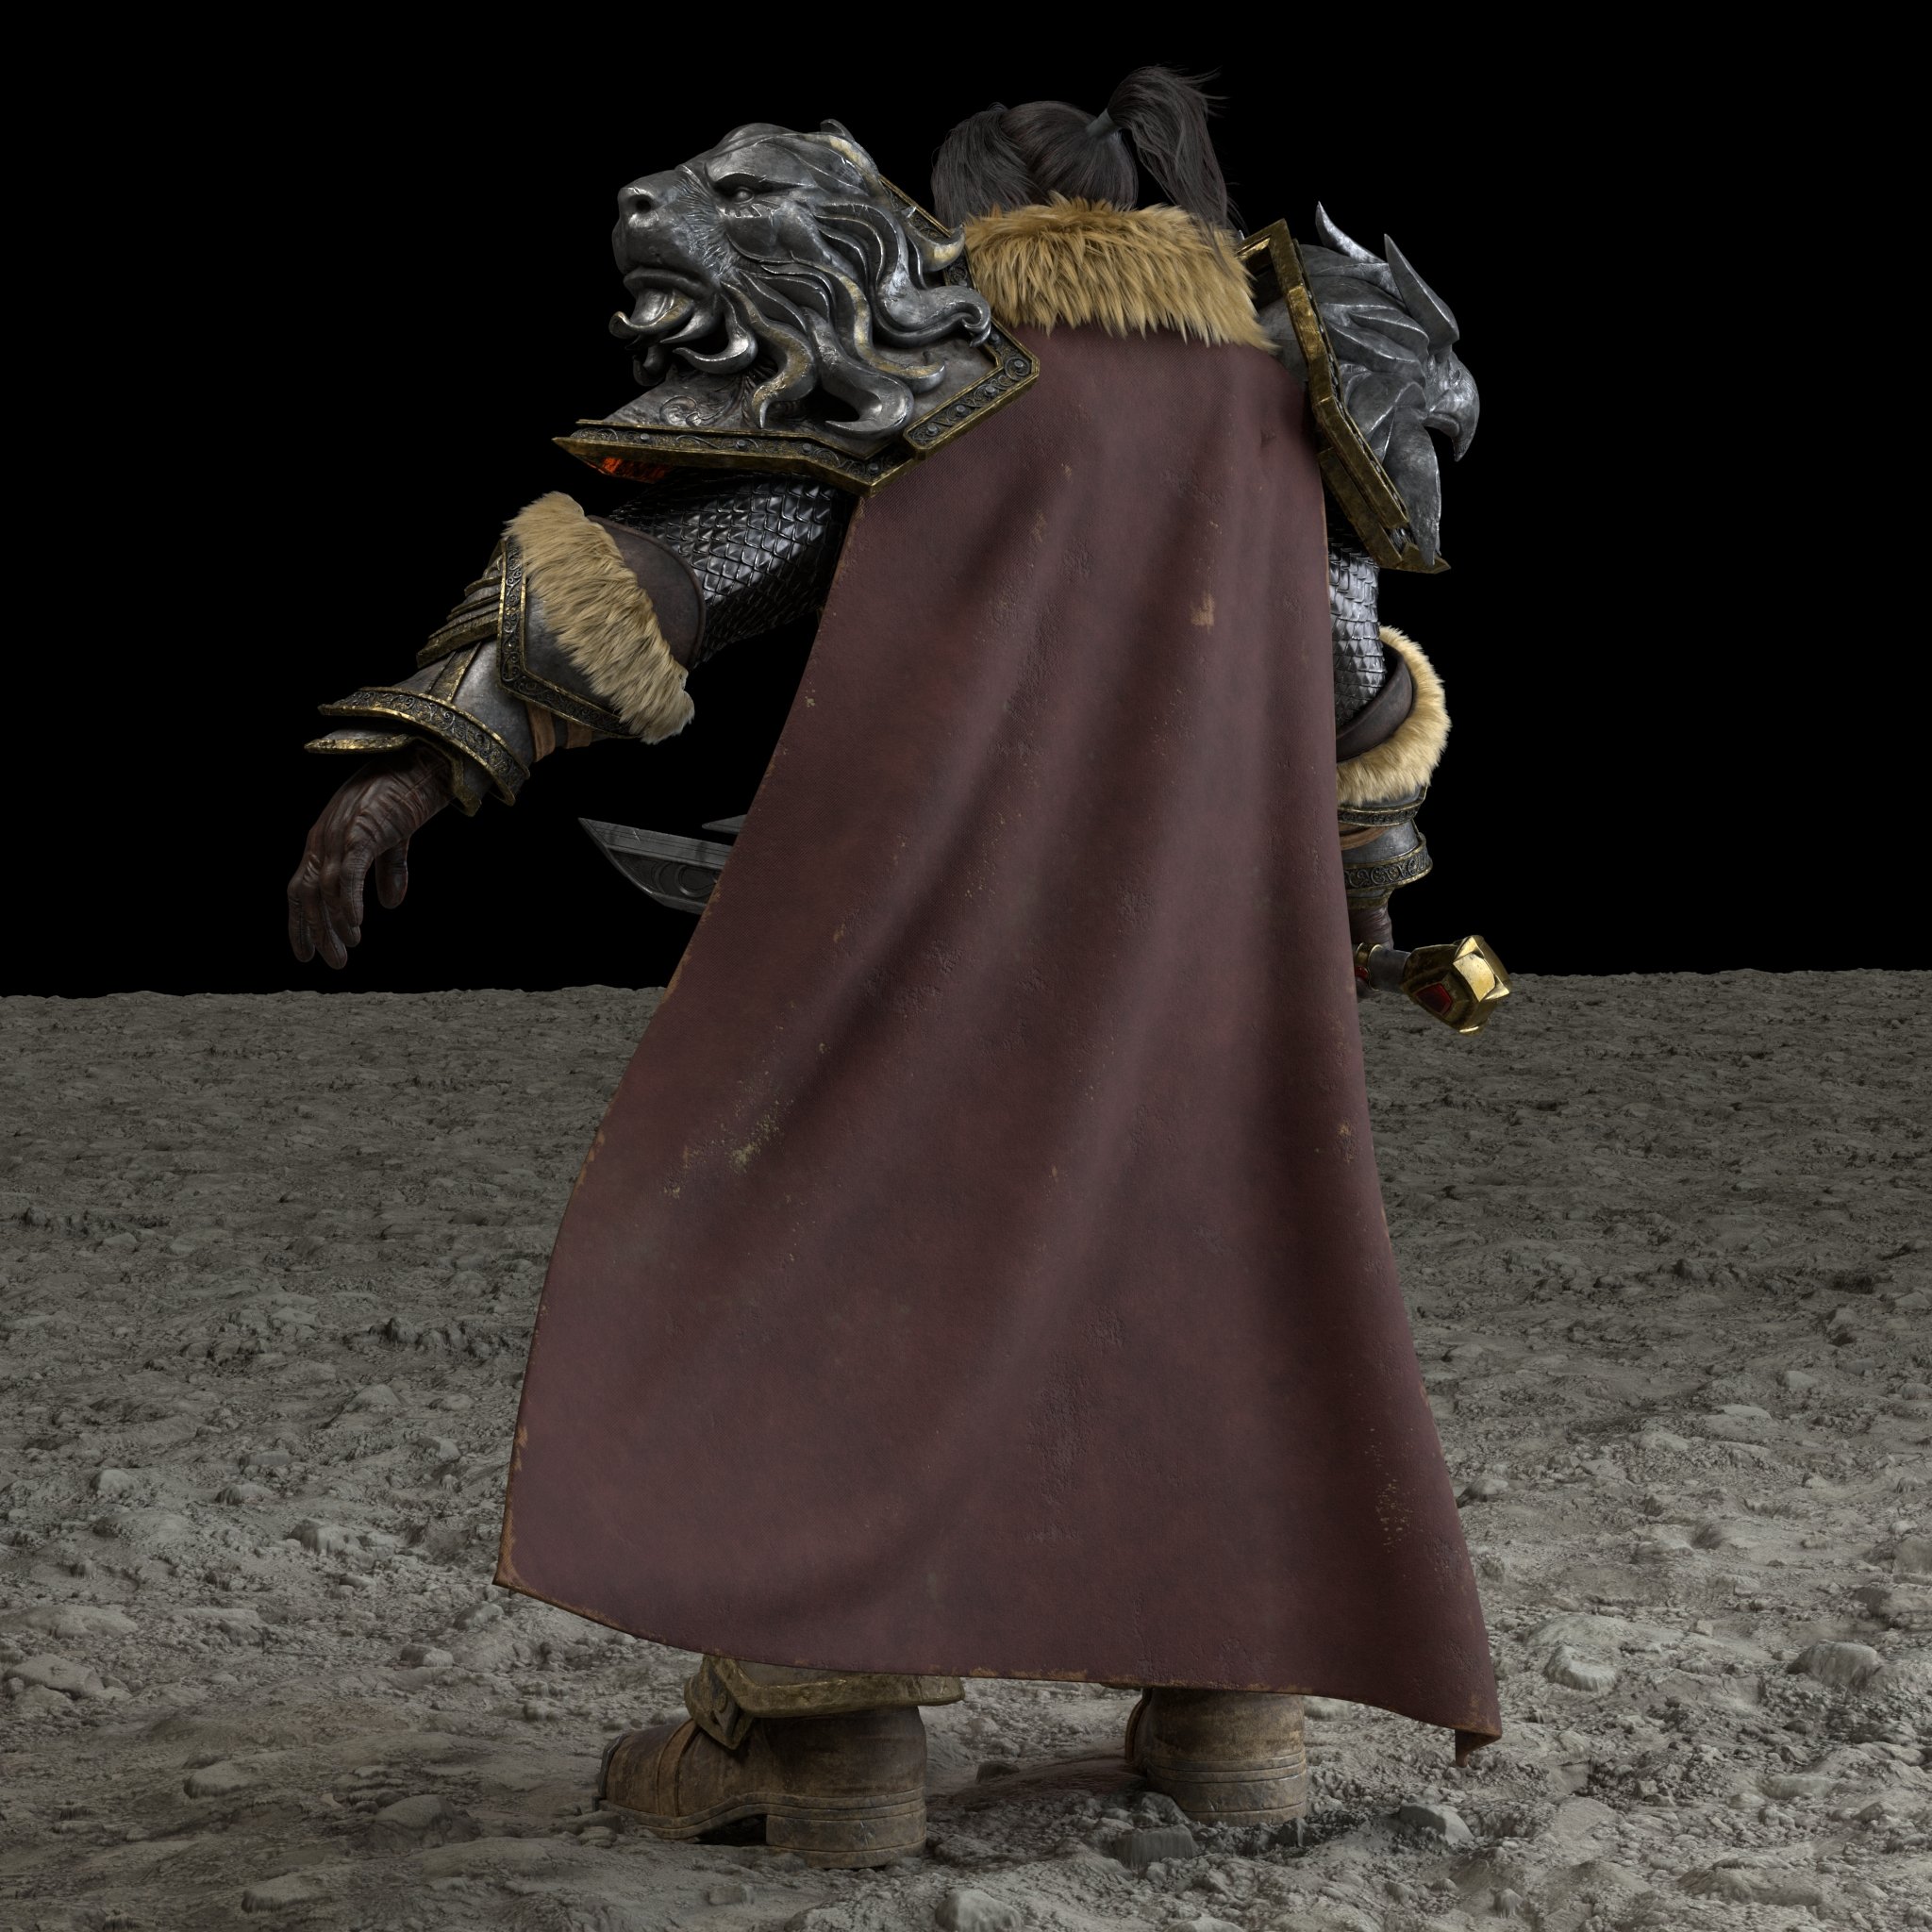
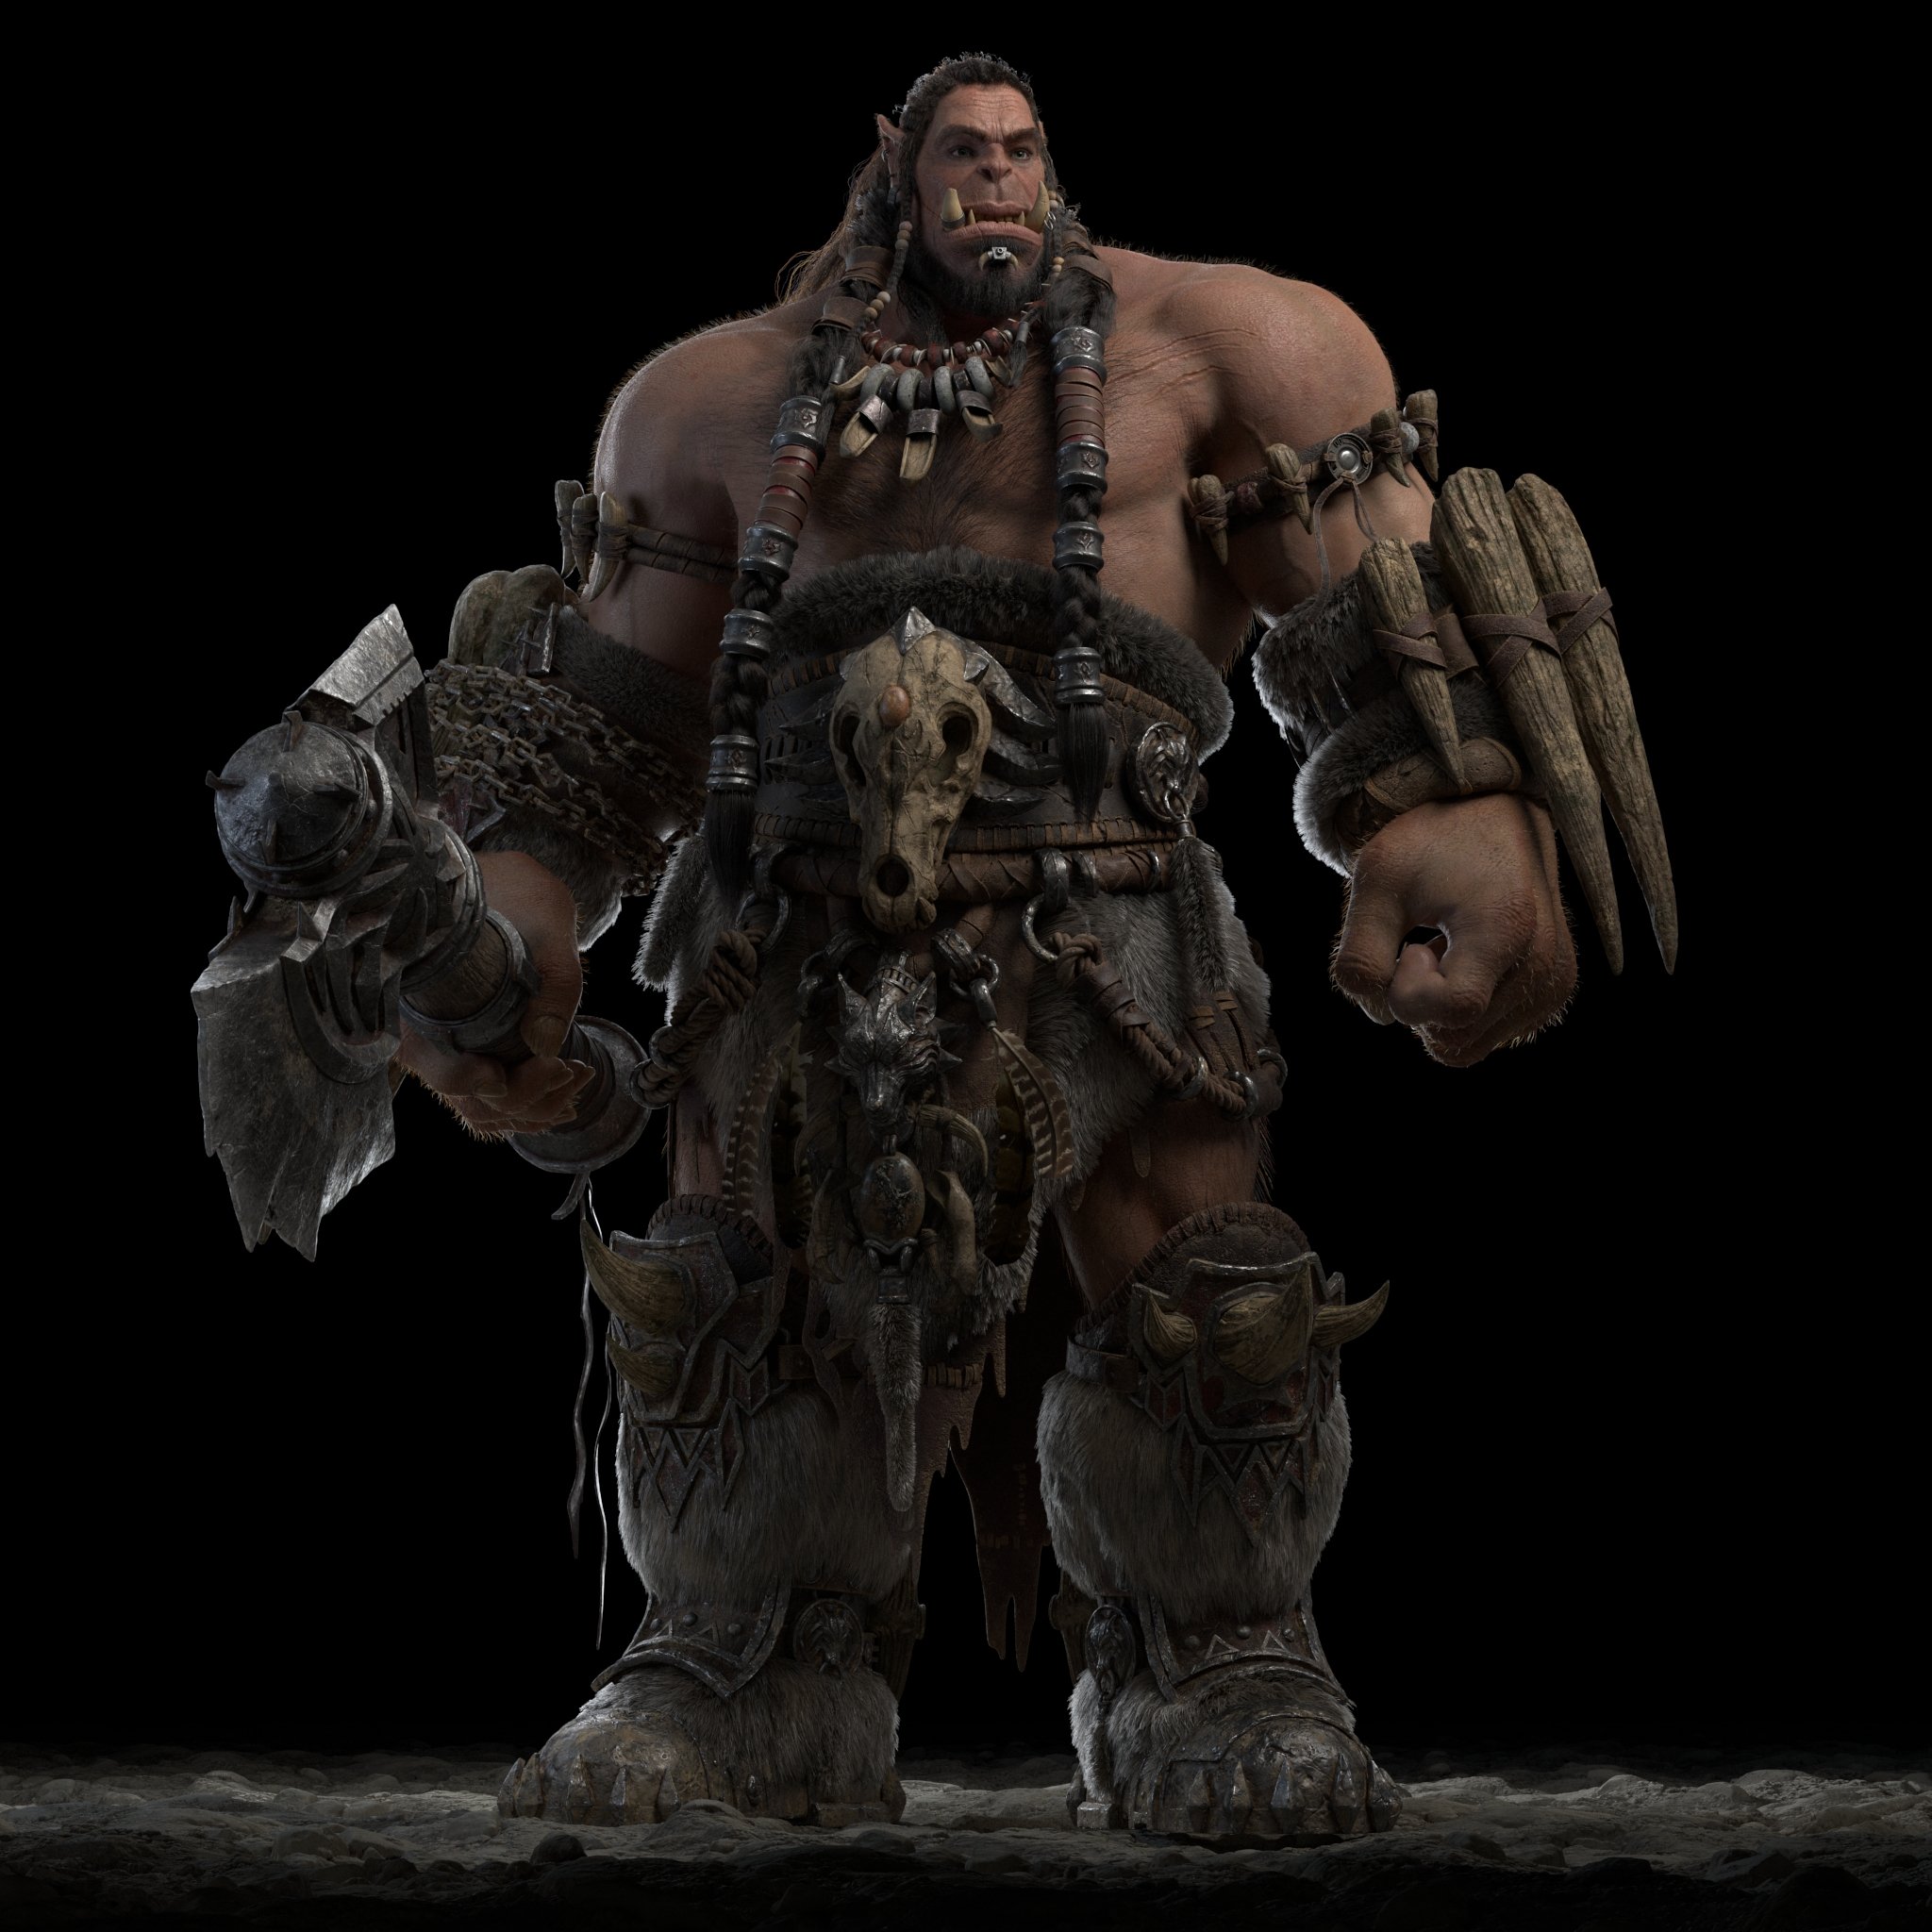
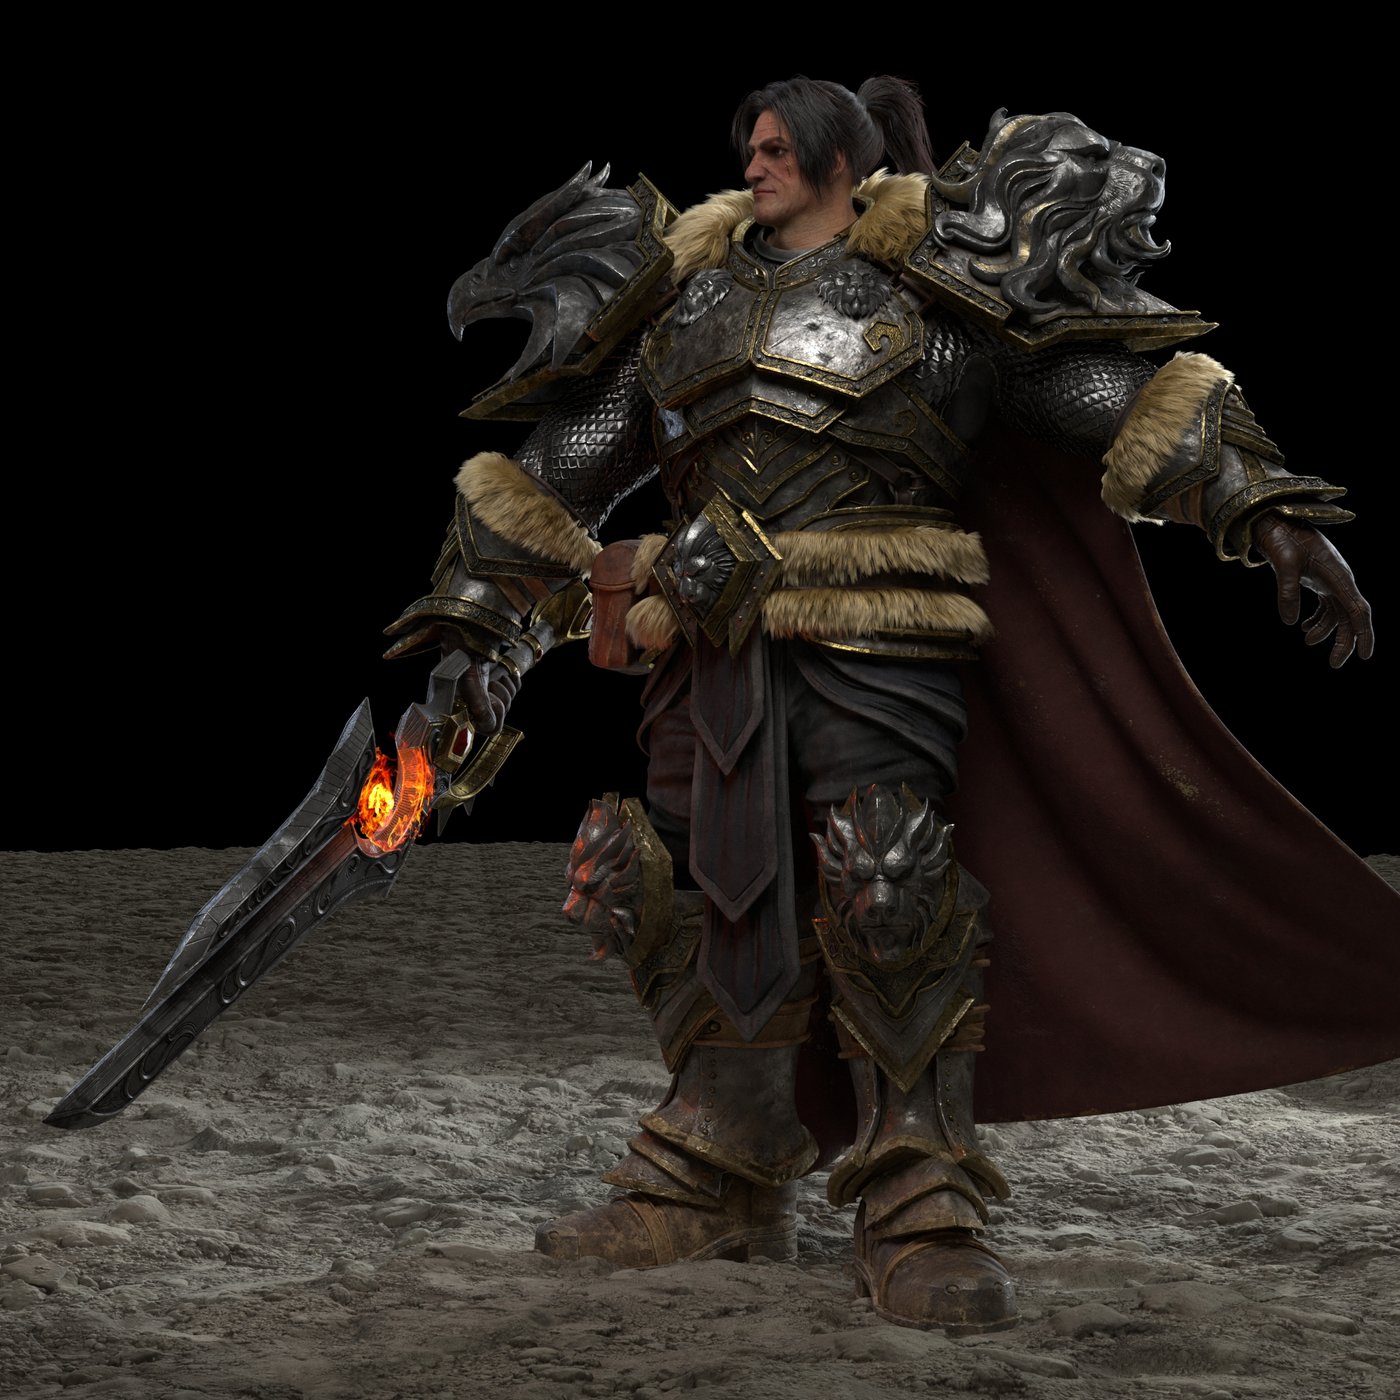
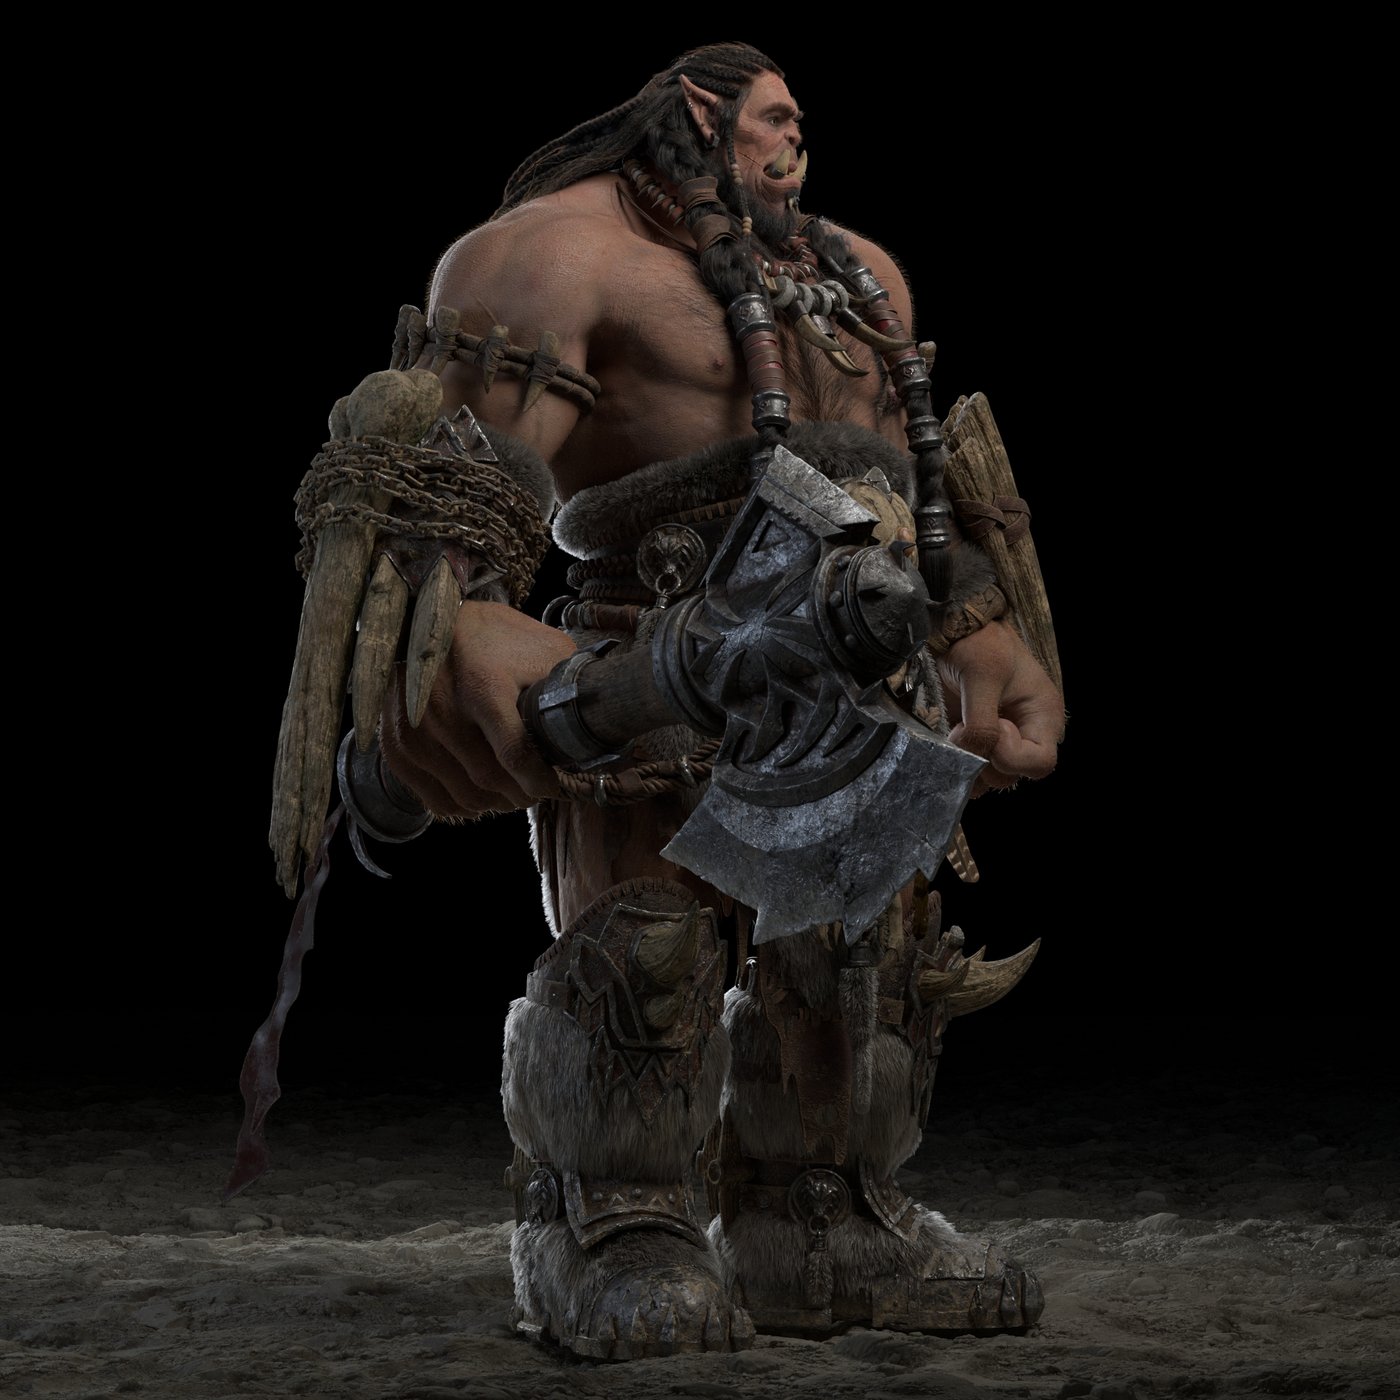
This is my portfolio and I want to explain how i did my workflow for Varian Wrynn and Durotan there are form warcraft
1.REFERENCE
As the first step, I grab as many references as I could. One of the best places to get some useful source is the internet, magazine or books. For this project.
It is essential during this step to spend the right amount of time before starting. For this step, the software that works best for me is PureRef.

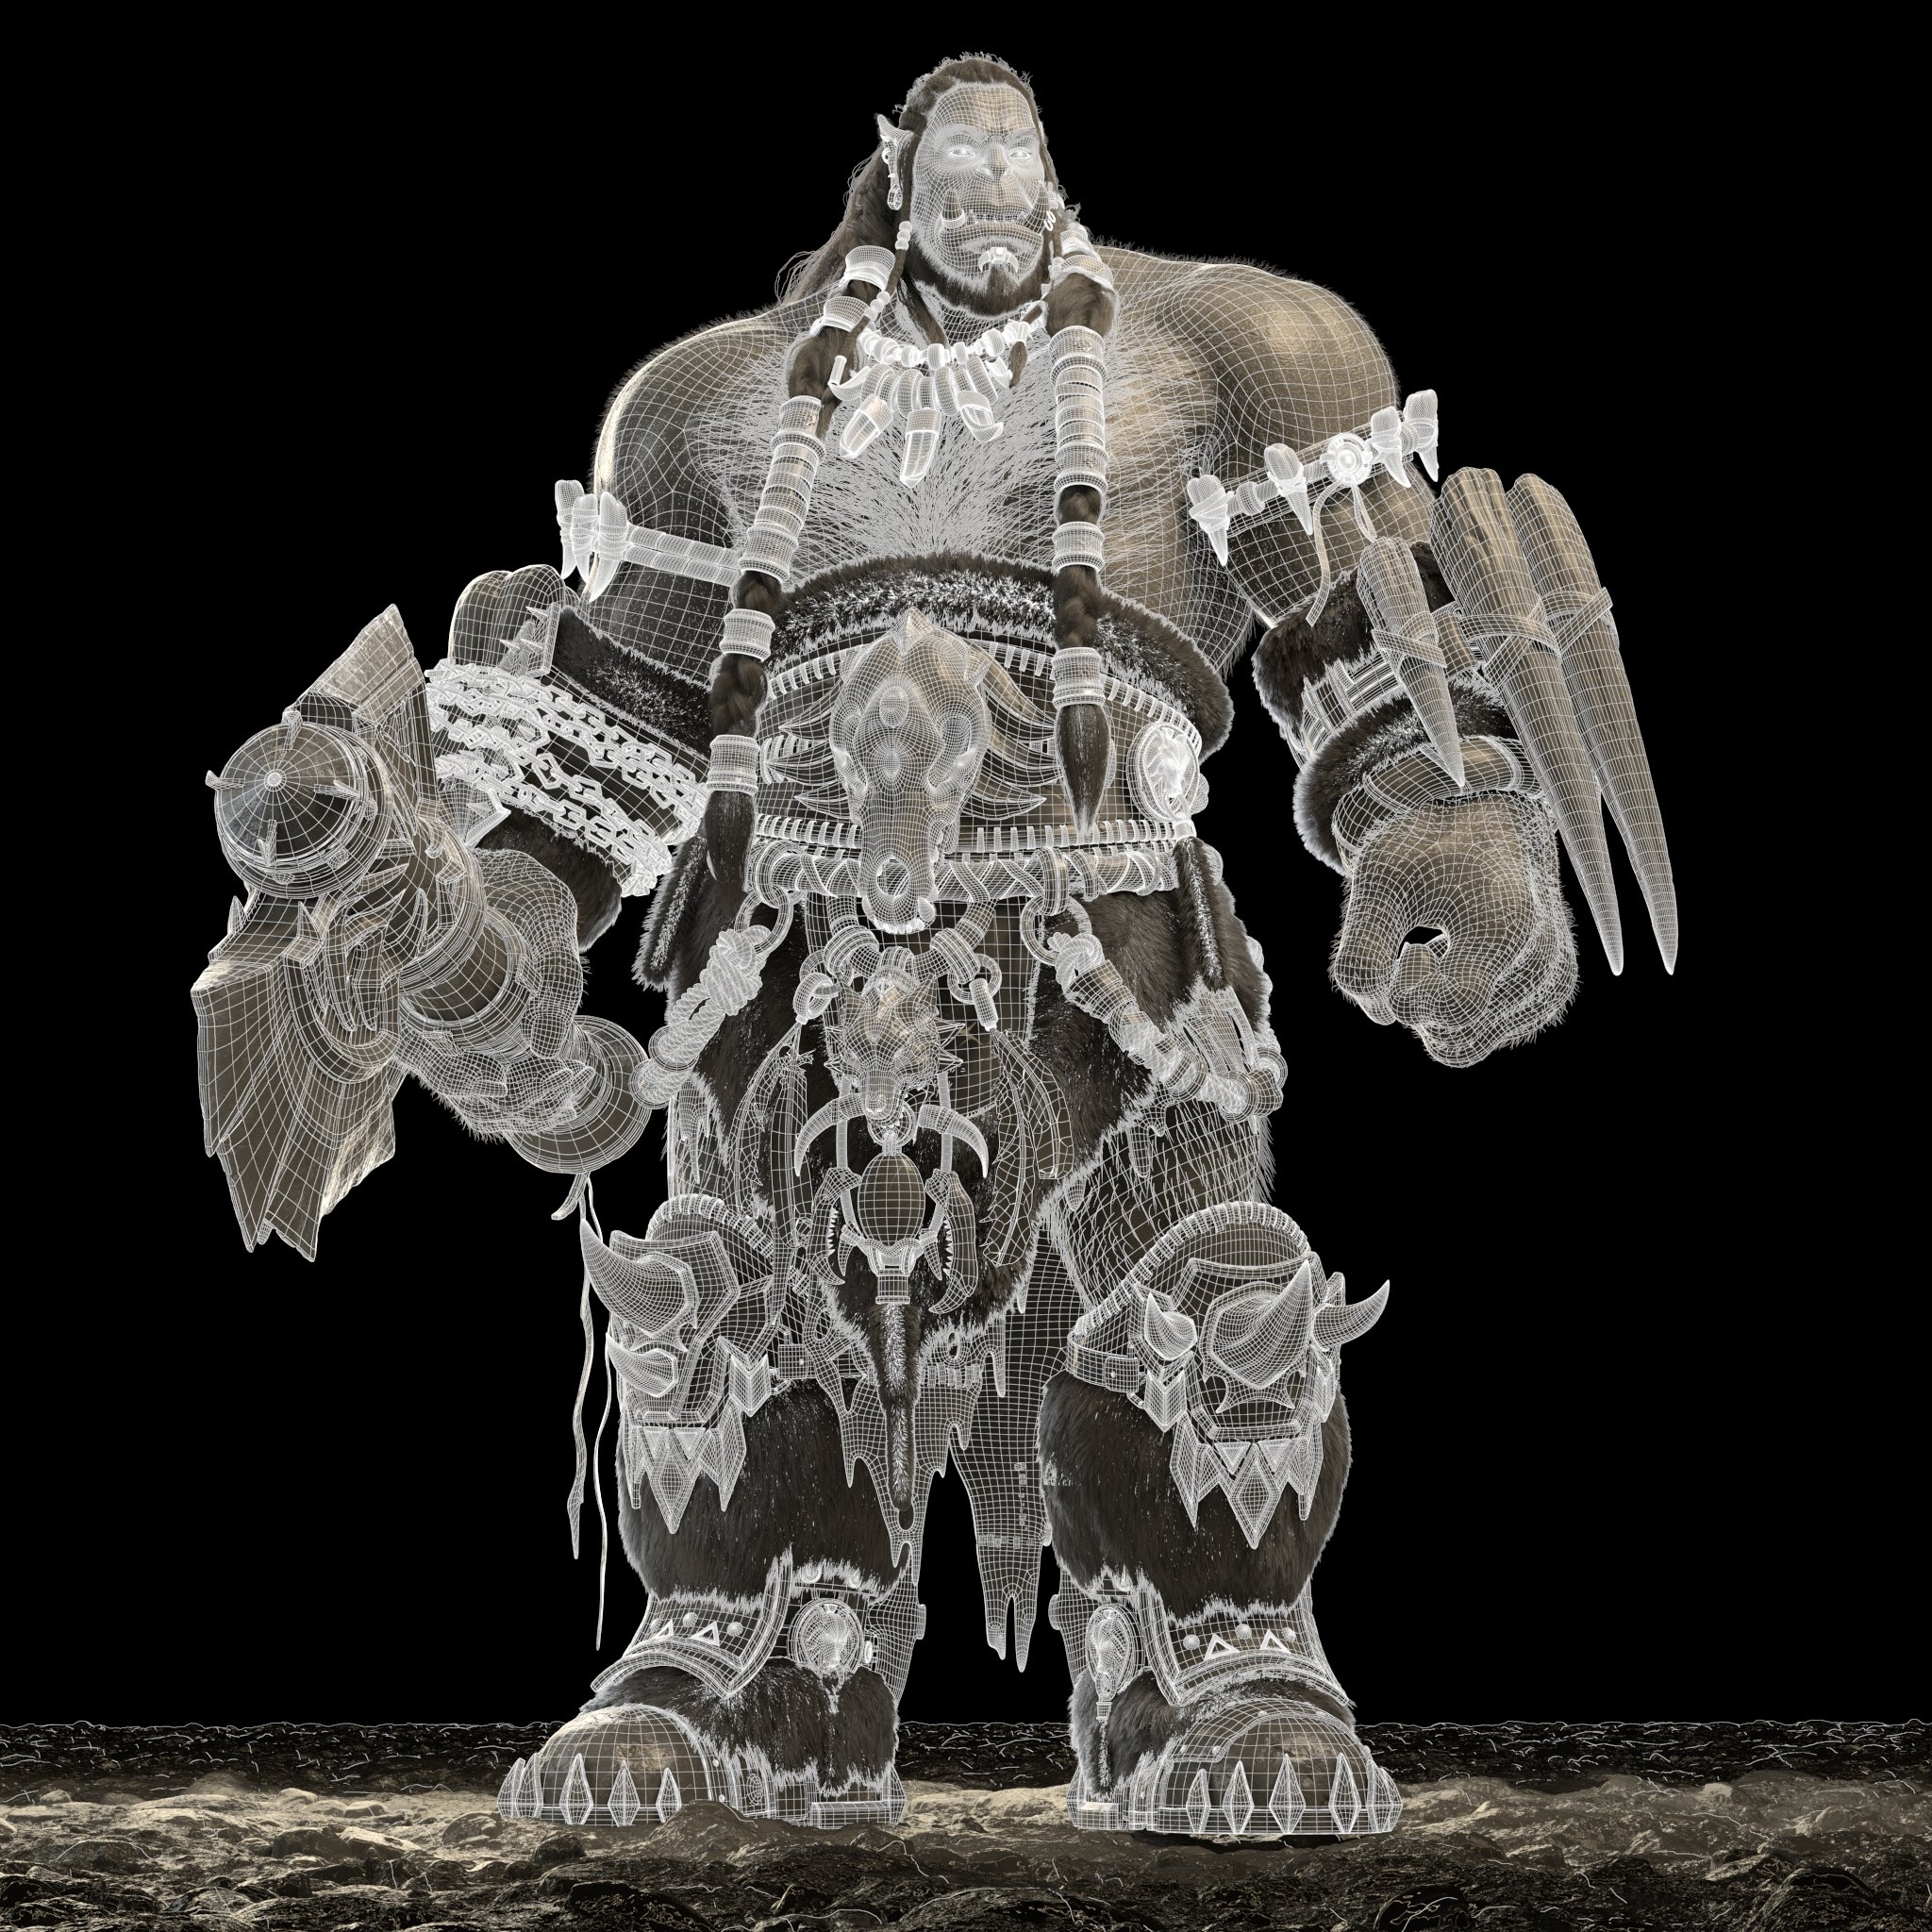
2.MODELING
For My Varian Wrynn and Durotan portrait, I started sculpting with a base mesh and easily shaped carefully to the reference picture. This process can take quite sometimes because the likeness is very hard.
The sculpting process is divided by primary, secondary, and then tertiary forms. The primary structure is always the most important, and for that, I can encourage any aspiring individual in practicing with the classic technique such as sculpting with real clay; drawing some basic human shape and observe reference from interner and real world
After established the primary and secondary form, I defined the likeness, and I spent sometimes creating the tiny and unique details of my character. The final touch at the sculpt is what will set apart from the crowd, and when I talk about final touch, I mean the very tiny asymmetrical face differences that we all have. In this study, I refer to unique information like the specific shape of the nose or the correct angle of the eyes.


3.TEXTURING
TEXTURING
The Texturing process is a crucial phase in the realization of 3D assets, especially for photorealistic characters and creatures. I decided to use UDIM for modeling with the resolution of a 8K map.


5.GROOMING
The grooming process is the most fun and intricate of all. It is imperative in this step to get so much reference you can and examine how hair behaves on a face. Different human genre and race have a different type of hair, and the most common and straightforward to create is the one that xgen interective gives you as default. Therefore, a good habit is to test the design on a simple primitive and then apply it to the real character.


6.SHADING
I used an excellent HDRI to be able to highlight the realism of the materials. During the shading process, testing the natural and artificial lights with different setup has been crucial to making variations along the way. I also designed to have three polygon planes on top of my model. I decided to do so because I wanted to get some awesome film shot for my characters.Once the setup was finalized, I corrected and polished the skin and hair shader.


7.Final
When all the work was done, I did the rendering work, and later I used nuke to make corrections.
I was able to model the 3D character I wanted so much
In the end, I really thank for SF Film school.
they helped me that i can make 3d And I also appreciate this opportunity to share my work experience with you.


Comments (5)