
Lilly Humalog Insulin Pens


My best piece pertaining to product design in 3D. Originally done for university work during the Fall 2018 semester.
Lilly Humalog Insulin Pens
Project Objectives
Create a tangible product in high detail, realistic materials; then render two beauty images - one of which a "reskin" of the product - and two other shots showing off the details.
Furthermore, we aimed to captivate the overall mood associated with the product. Final outputs were still images for print advertising and a 30-second animation commercial.
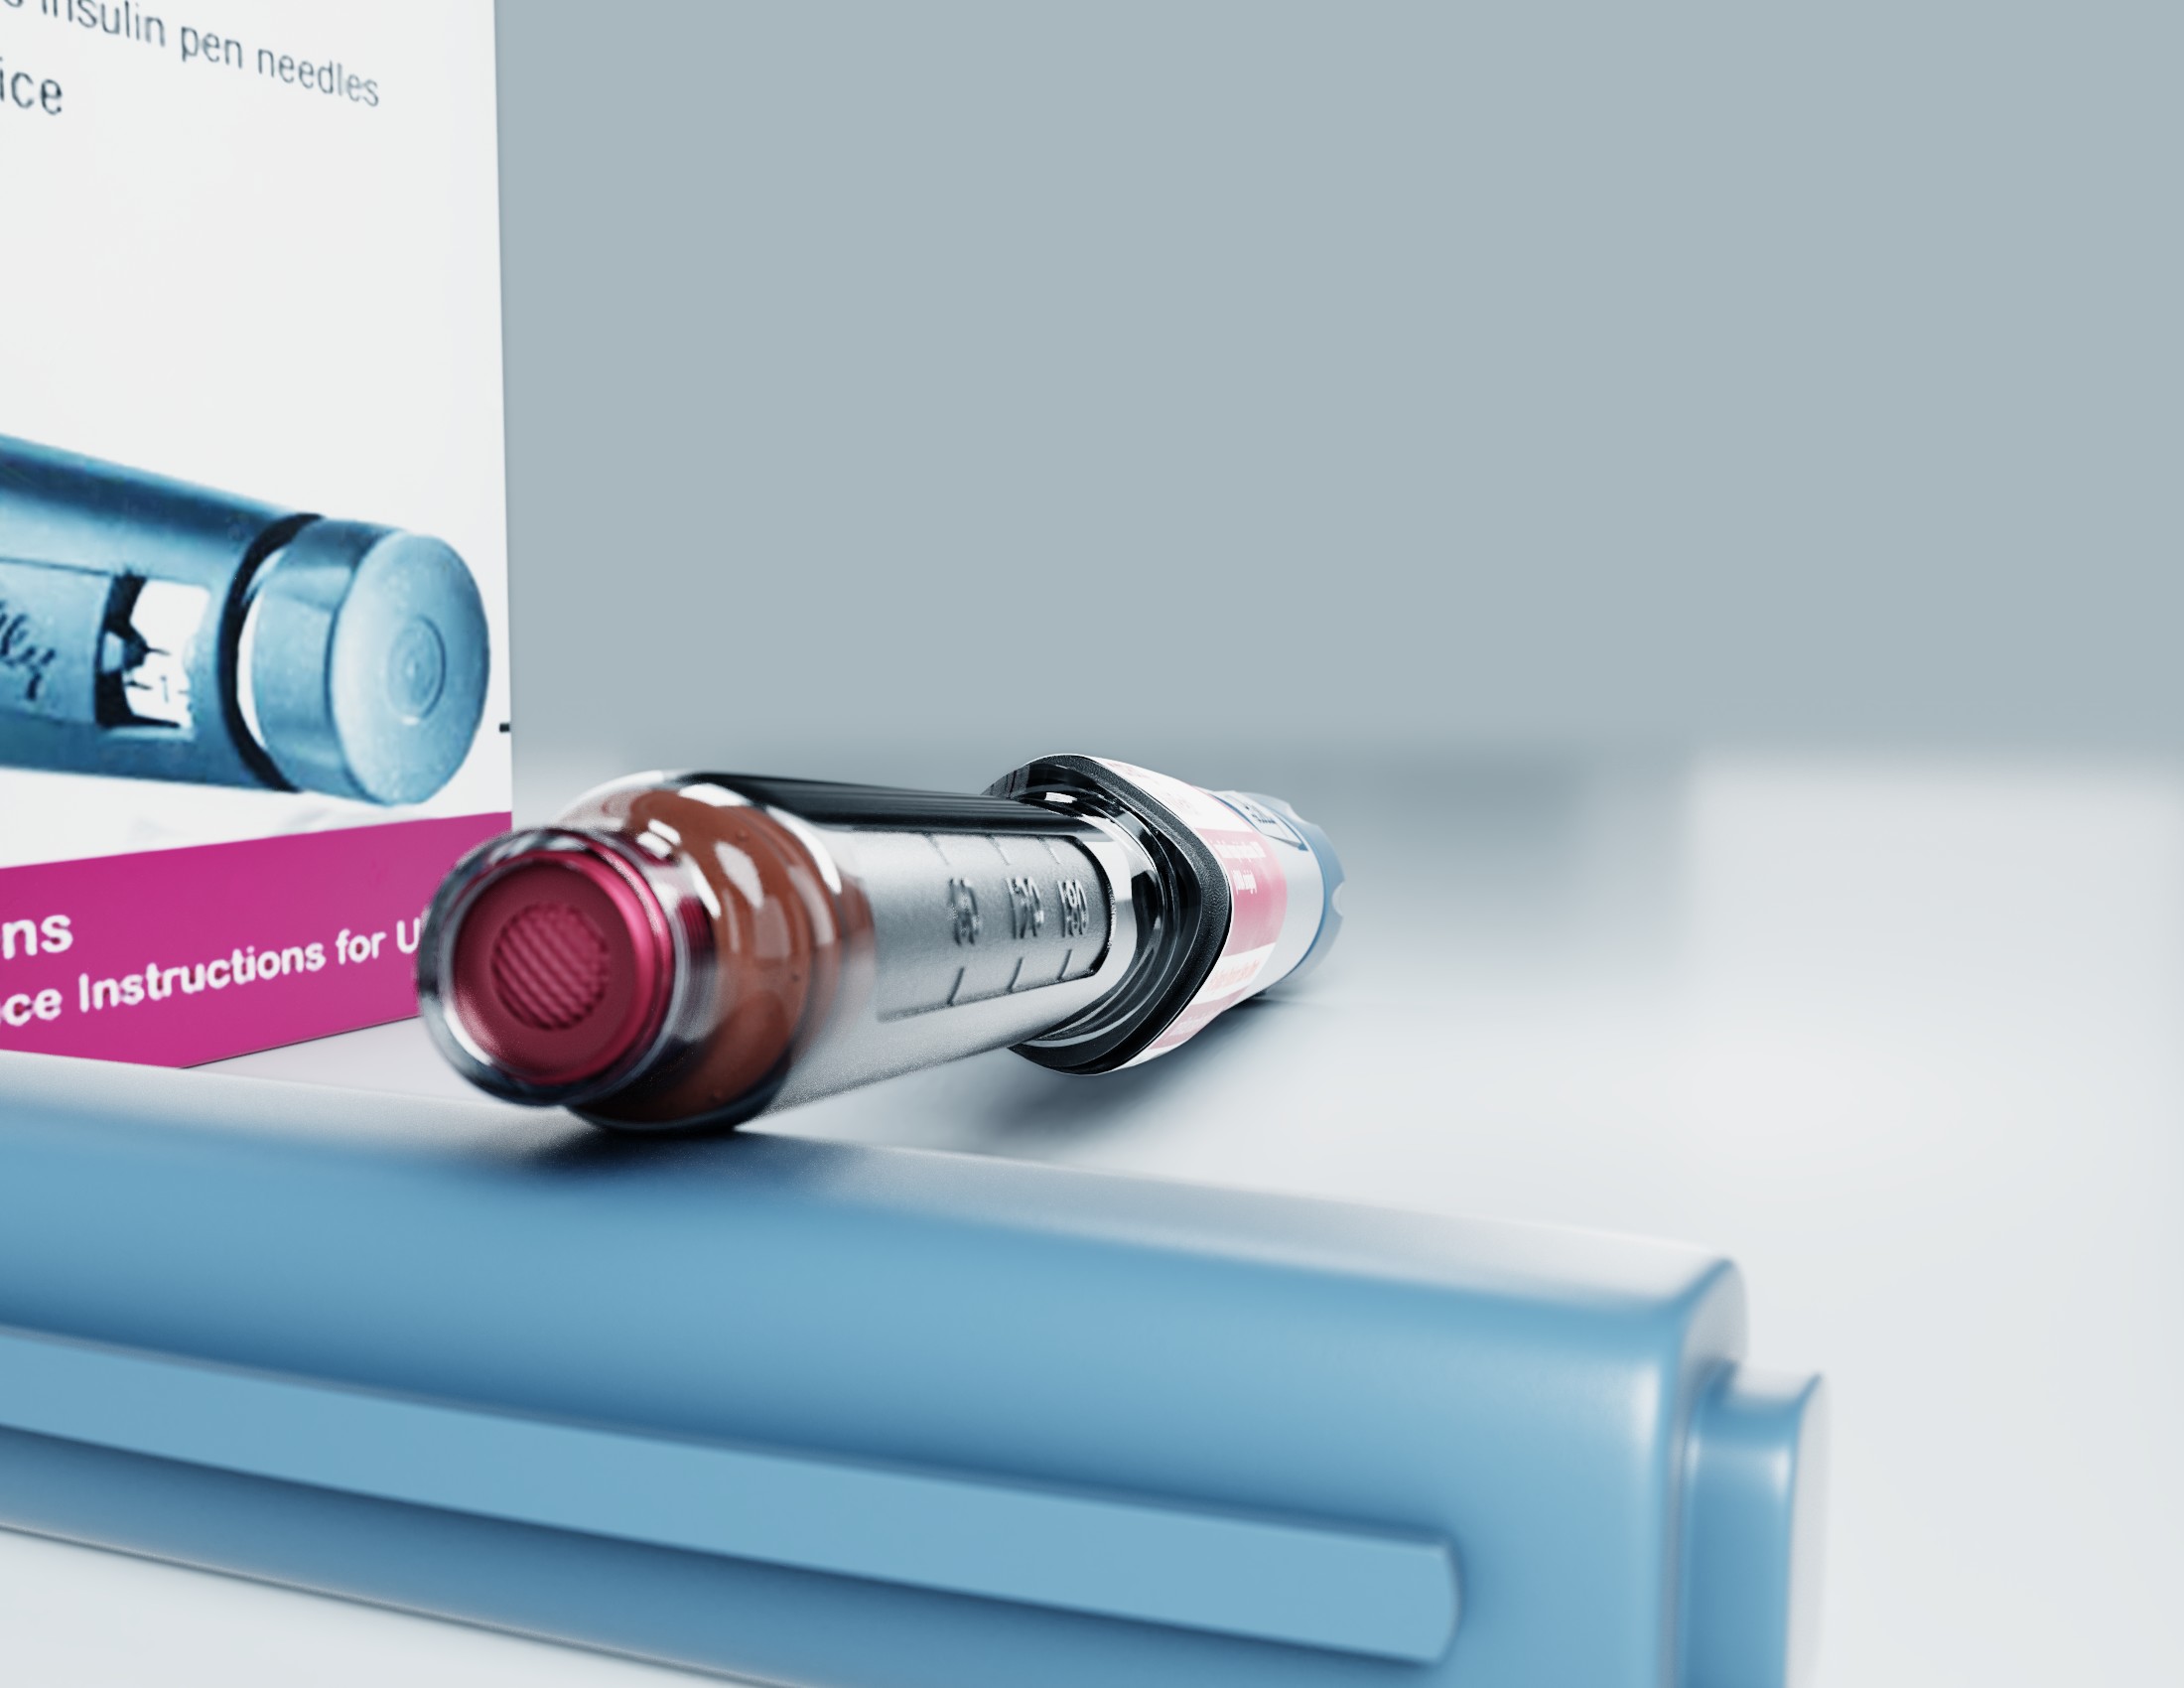
Final Still Life Renders
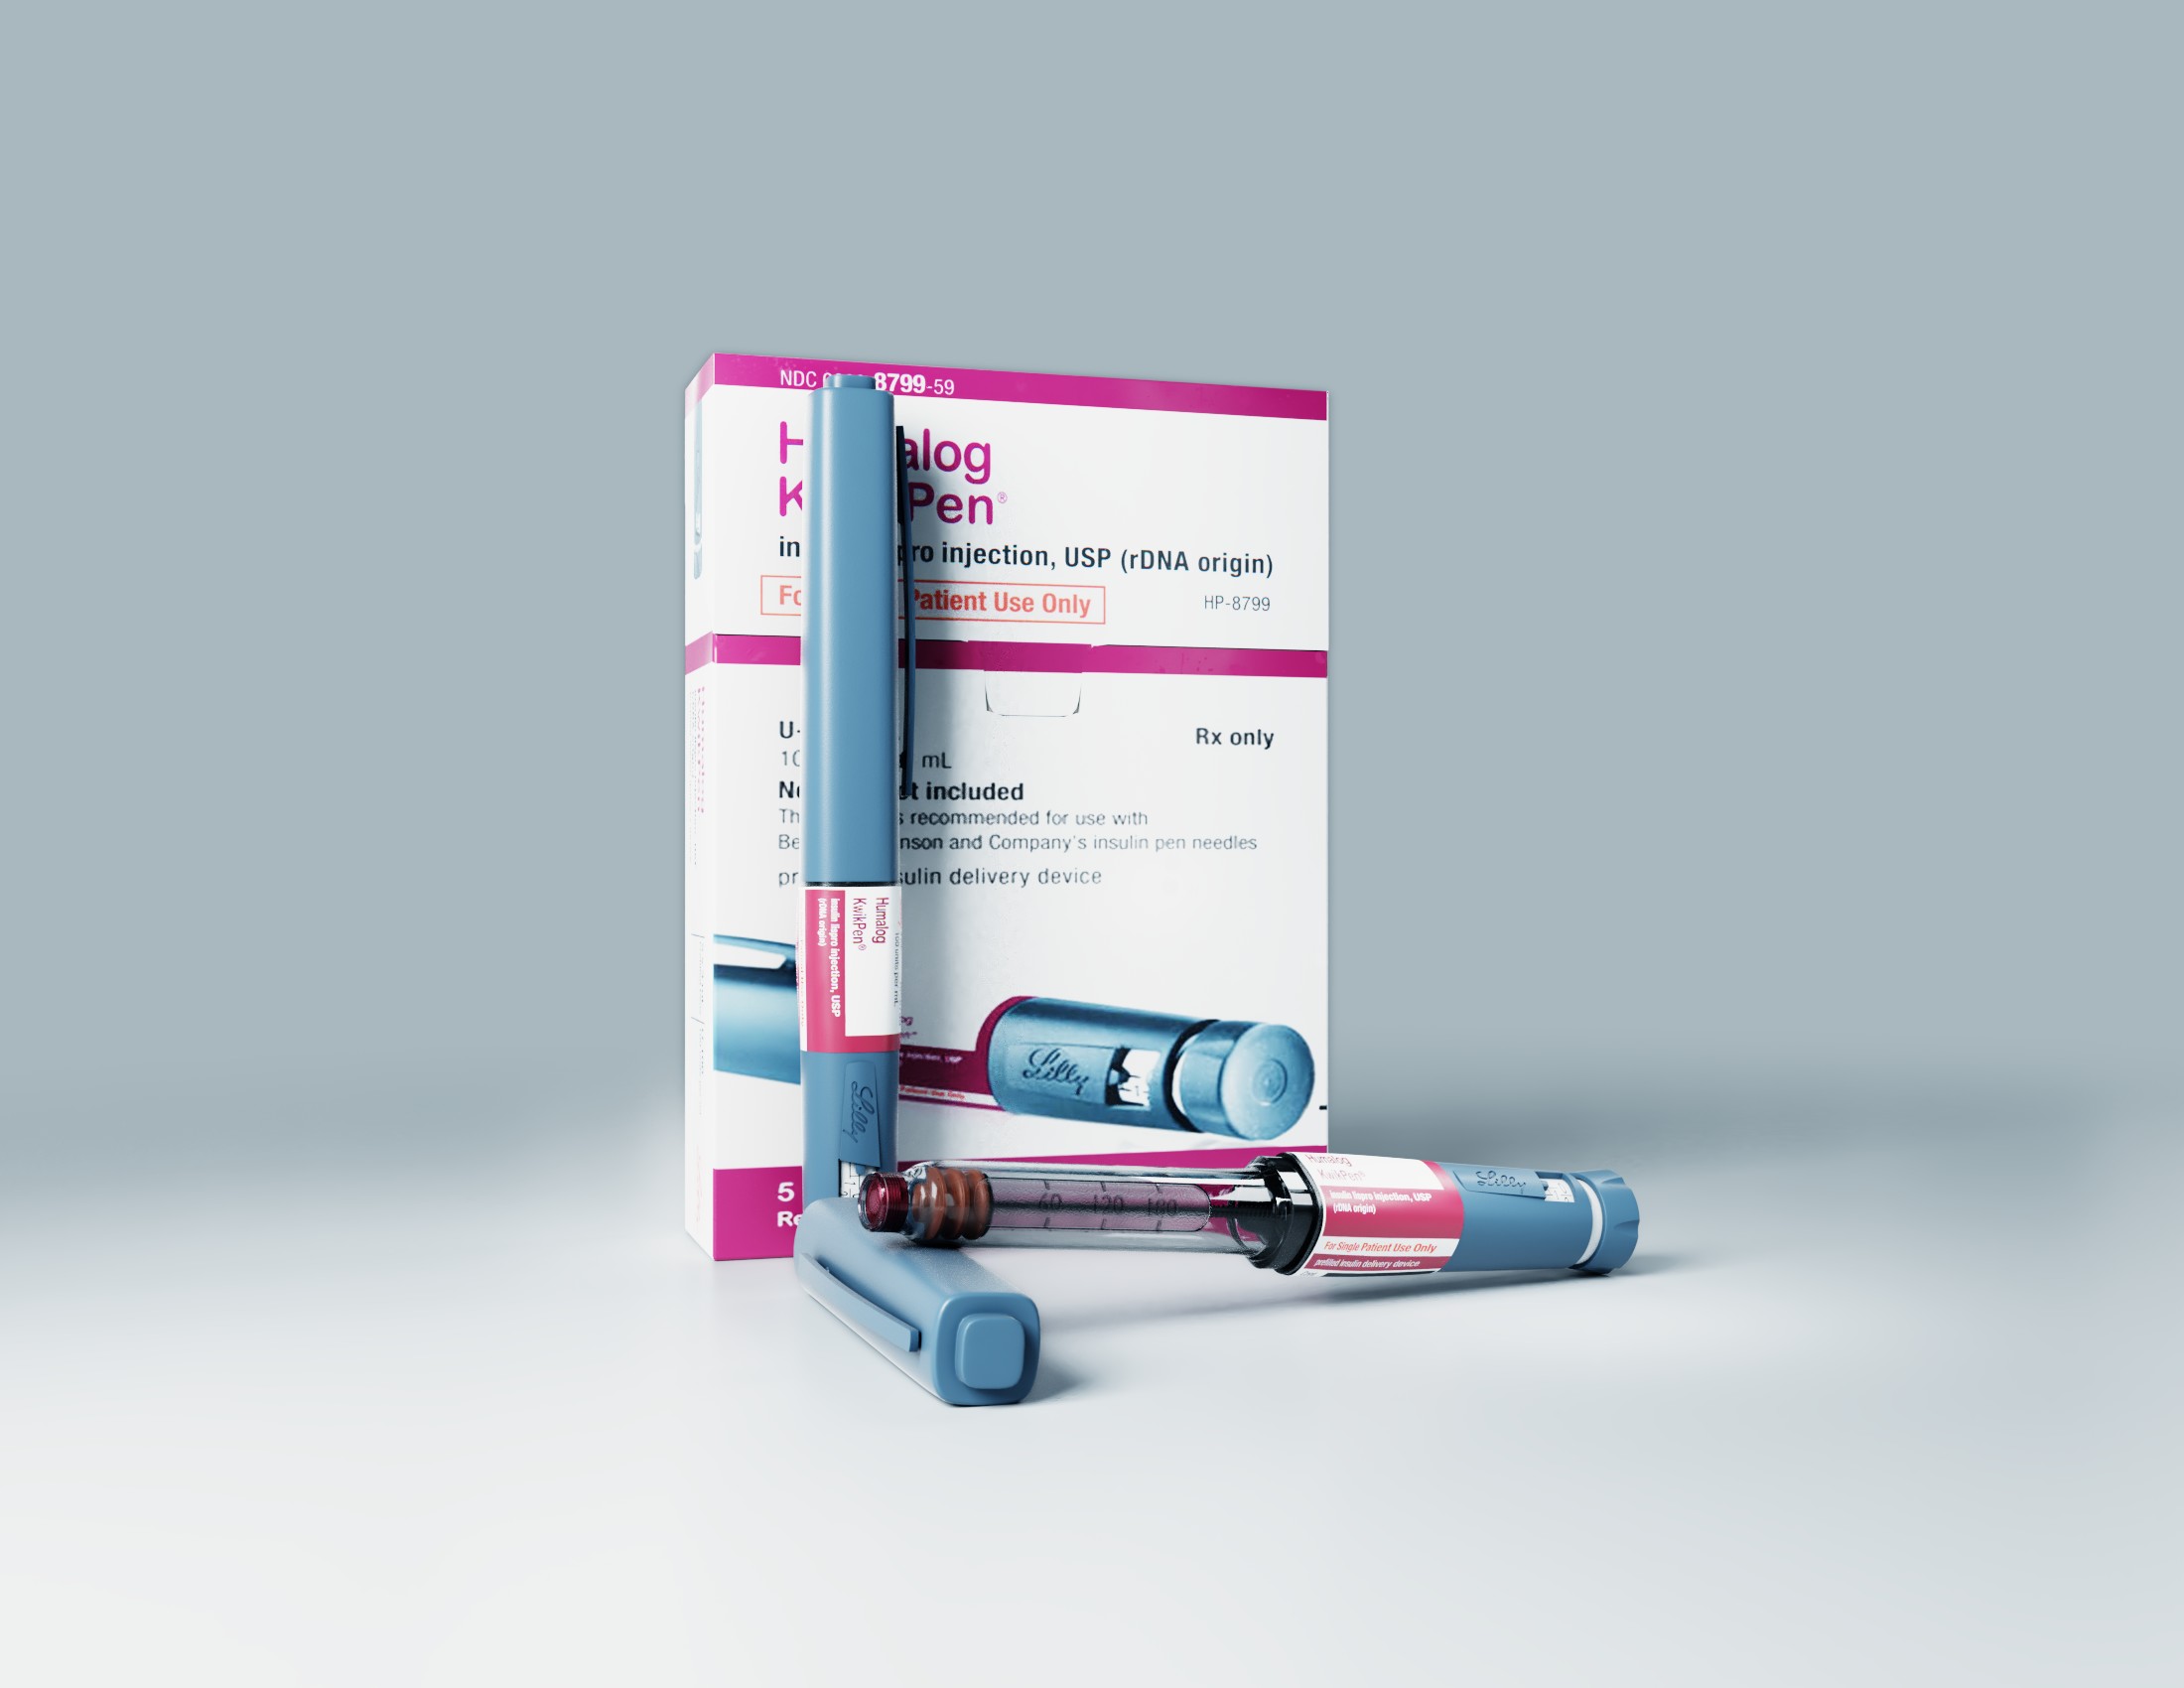


Final Product Animation
Pre-Production

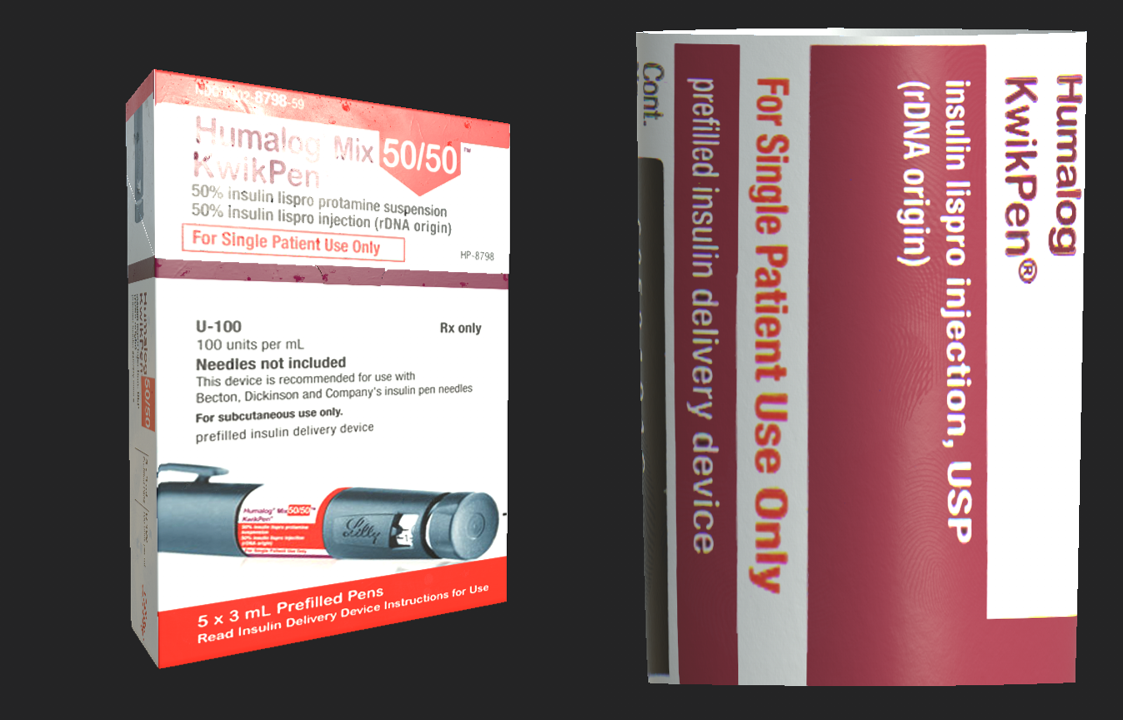
A compilation of the reference images I used. Some of which were taken with a photography camera since I own the product itself.
Production Process
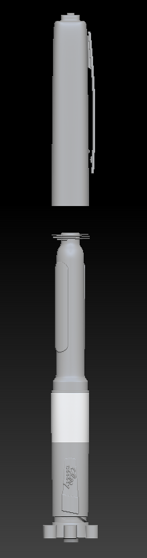
Modeling

Modeling commenced in Blender, to establish the overall shapes and form of the insulin pen. Various parts - such as the pen's cartridge, body, and dosage knob - were prepared for export into Zbrush for its LiveBoolean feature.

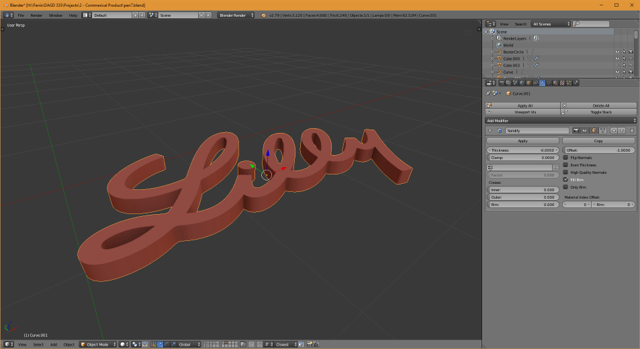
To bring a sharper quality to Lilly's logo, I brought it into Adobe Illustrator to vectorize the image that will be later used for the engraving towards the bottom of the pen.

Booleans applied in Zbrush

Booleans - Before & After
Texturing


After each part of the insulin pen was modeled in Blender, I proceeded to unwrap the UVs for the box, the pen's label, and the dosage cylinder. Once I was satisfied with the UV layout for each, I exported the layout to Photoshop to map out the textures from image scans.
Once the base colors for each were finalized, I brought them into Substance to create PBR textures to create realistic materials, then exported to render in Blender Cycles.
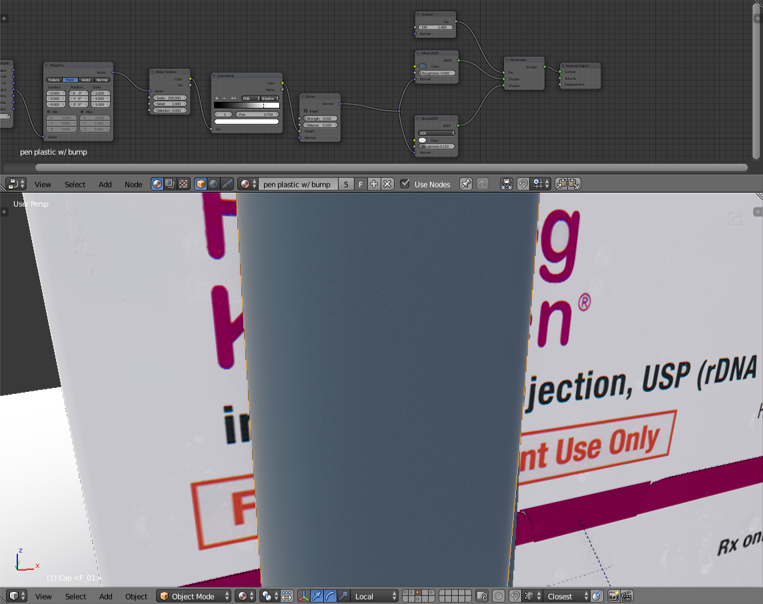
Some of the materials for this project were entirely constructed in Blender Cycles to ensure the microscopic details like the subtle pattern on the pen's body were accurately made.

Since a reskin of the product was required, I created a material where the color would change simply changing the frame number. I did this by keyframing the color mix factor value from one frame and instantly to the next. Doing it this way saves time and frankly stress on setting another scene or redundantly duplicating objects - especially if you already have millions of polygons in the scene as it is.
Rendering


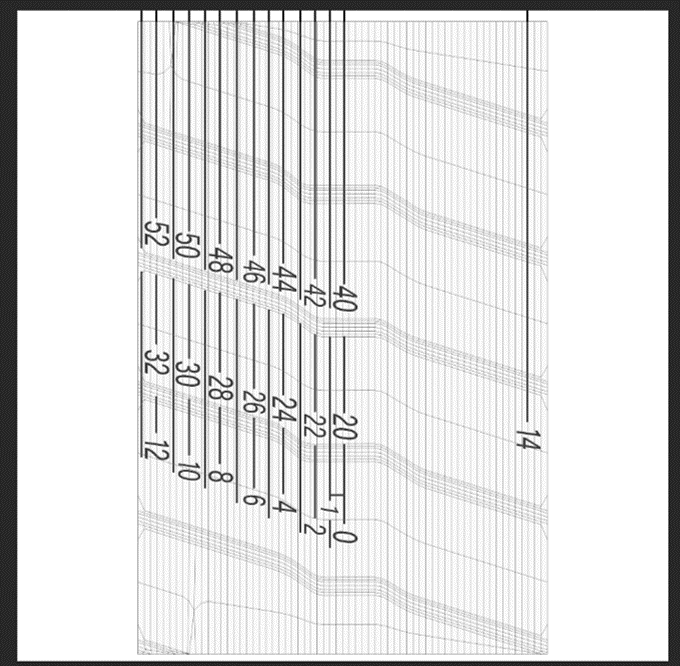
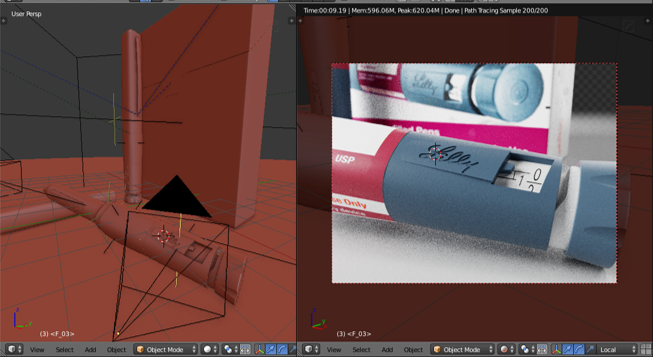
Shown here is the entire scene within Blender. I used a three point lighting set up with various cameras set up and assigned to single frames, as well as setting up render passes for compositing both within Blender and After Effects.


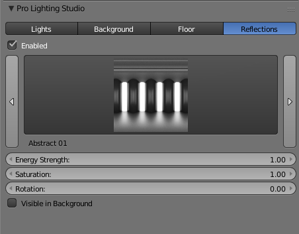
To help me achieve better lighting in the scene, I used the Pro Lighting Studio plugin for Blender. The only preset used was the three-point lighting rig; everything else was customized by me to further achieve realism.
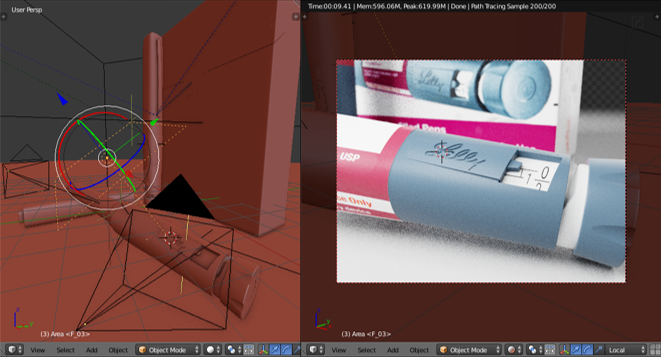
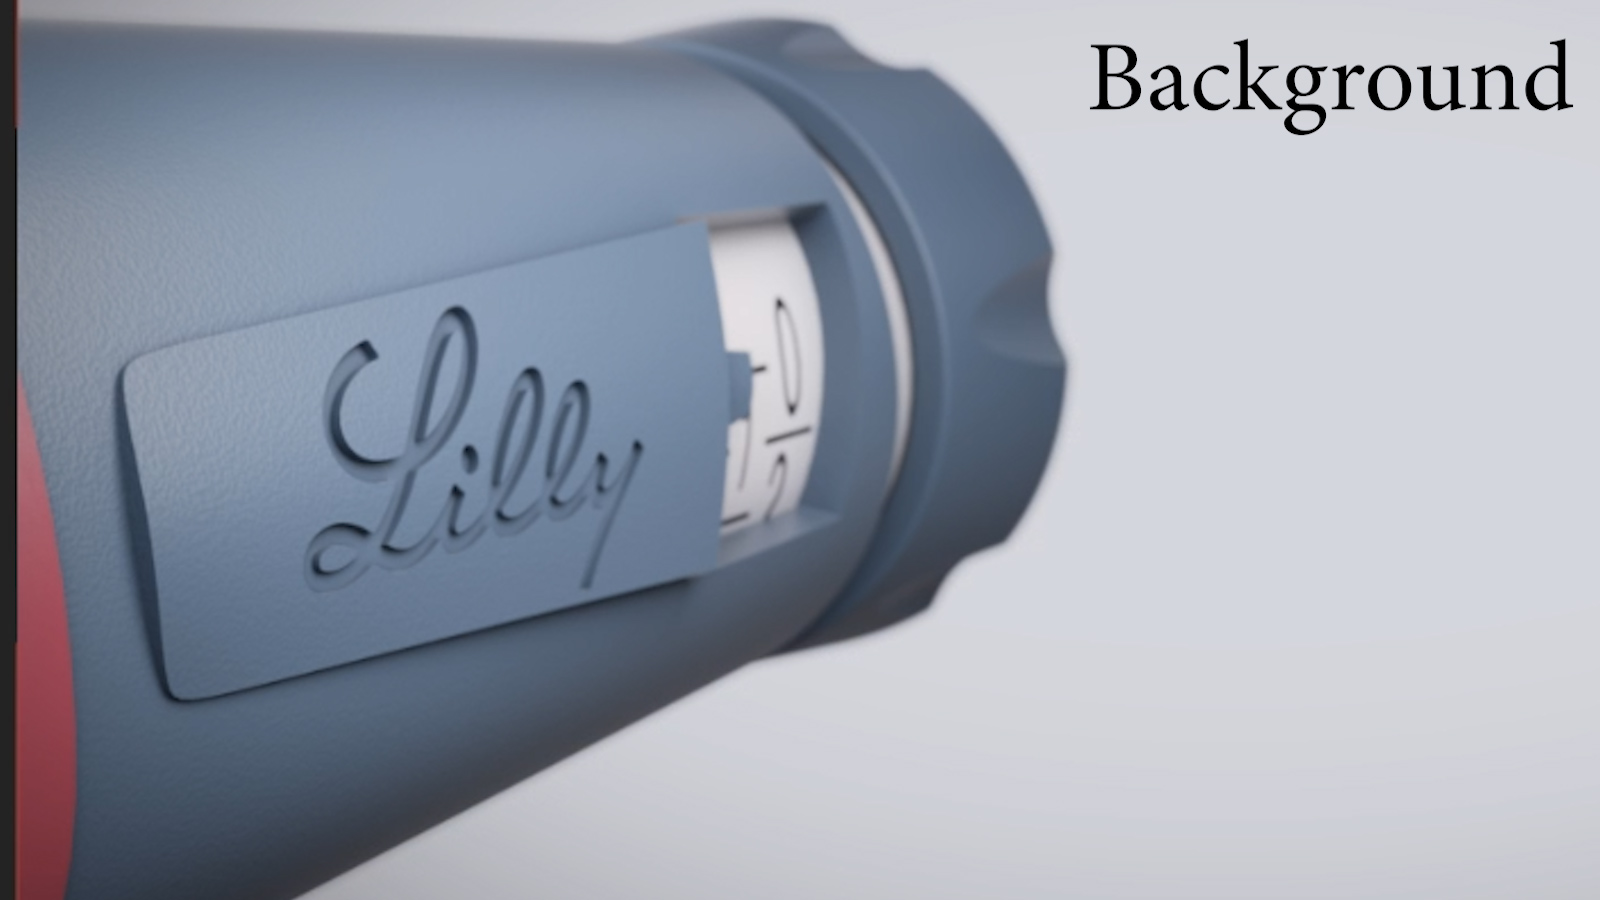
I added an additional light to the scene on this region of the pen to enhance the details that could be shown, bringing focus to the Lilly logo.


With Filmic color management, color values and contrast are essentially more realistic. This gave me more opportunity to experiment with contrast levels without having to always render nor wait to bring the raw render into Photoshop; it's all managed here.
To understand more about Filmic, check this video out.
Compositing - Still Images

An overview final node tree in Blender's Node Editor. After the images were rendered, I was able to composite and therefore enhance the raw images without having to leave Blender.


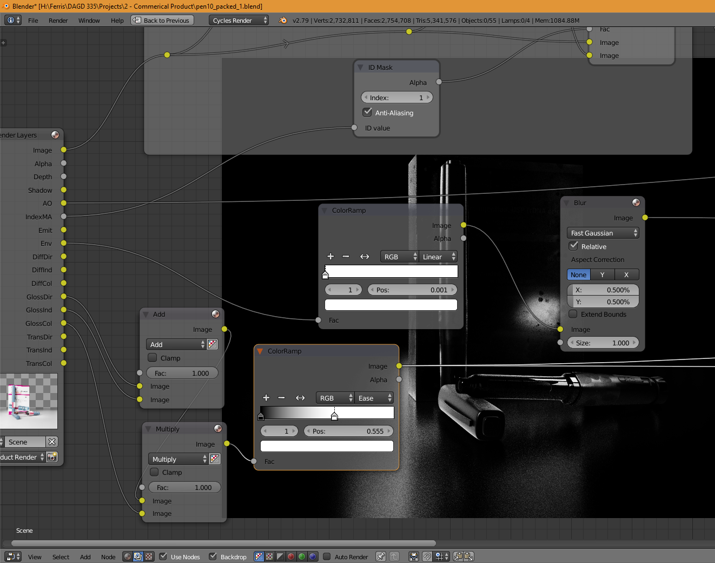
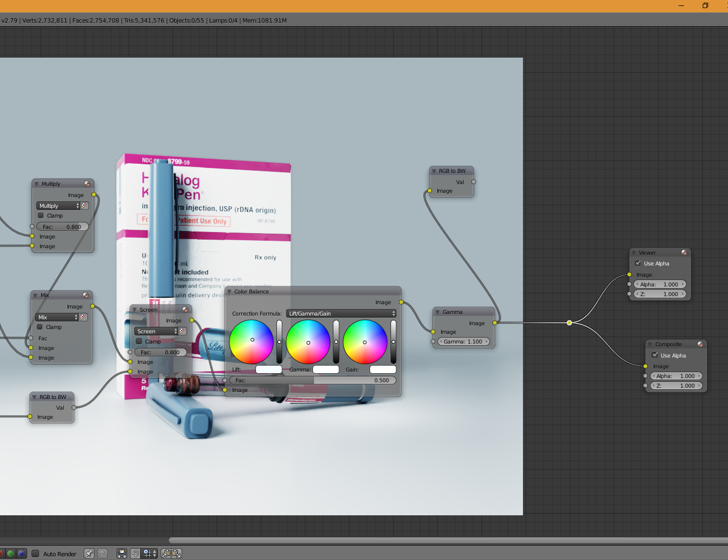
Various screenshots of which each group of nodes does. Desaturation of the overall image, color correction and balance, as well as using render passes to create masks and composite them to enhance the image.
Animation Process
Initial Storyboard Idea
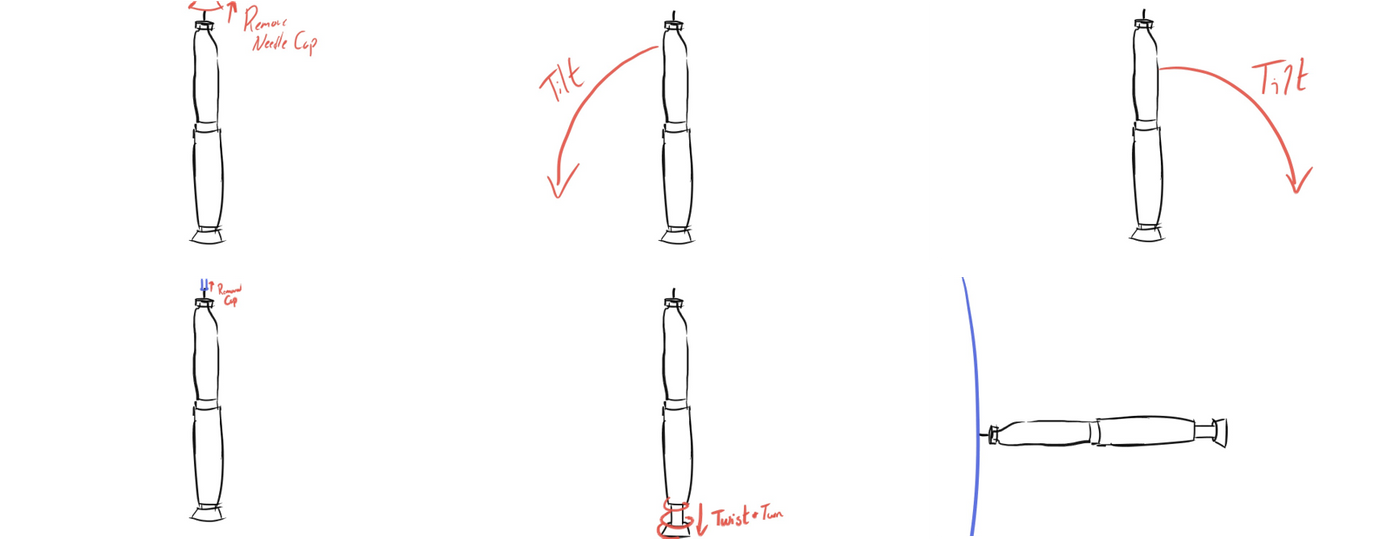

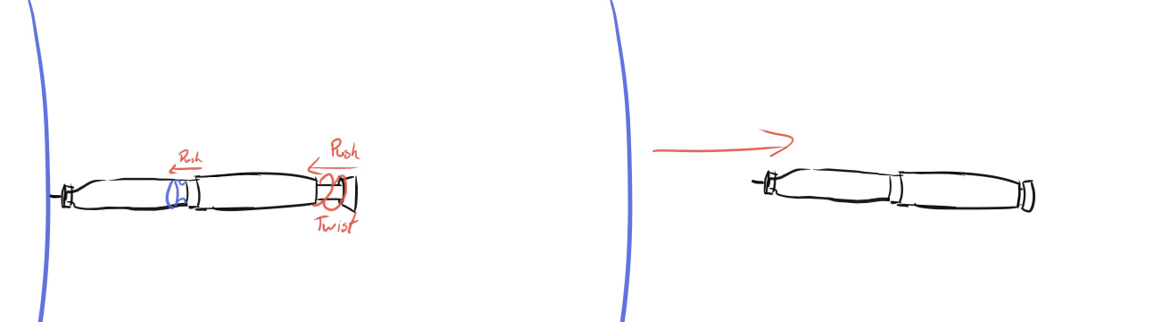
The initial idea for the storyboard would be scraped and be directly inspired by this video due to time constraints and was given the impression from my instructor that the specifications for the animation portion of the assignment was "producing a video advertisement to be used on the web." Lastly, the music used in the videos was from a film called "The Village" by M. Night Shyamalan. So all credit belongs to that film and its respective owners and creators.
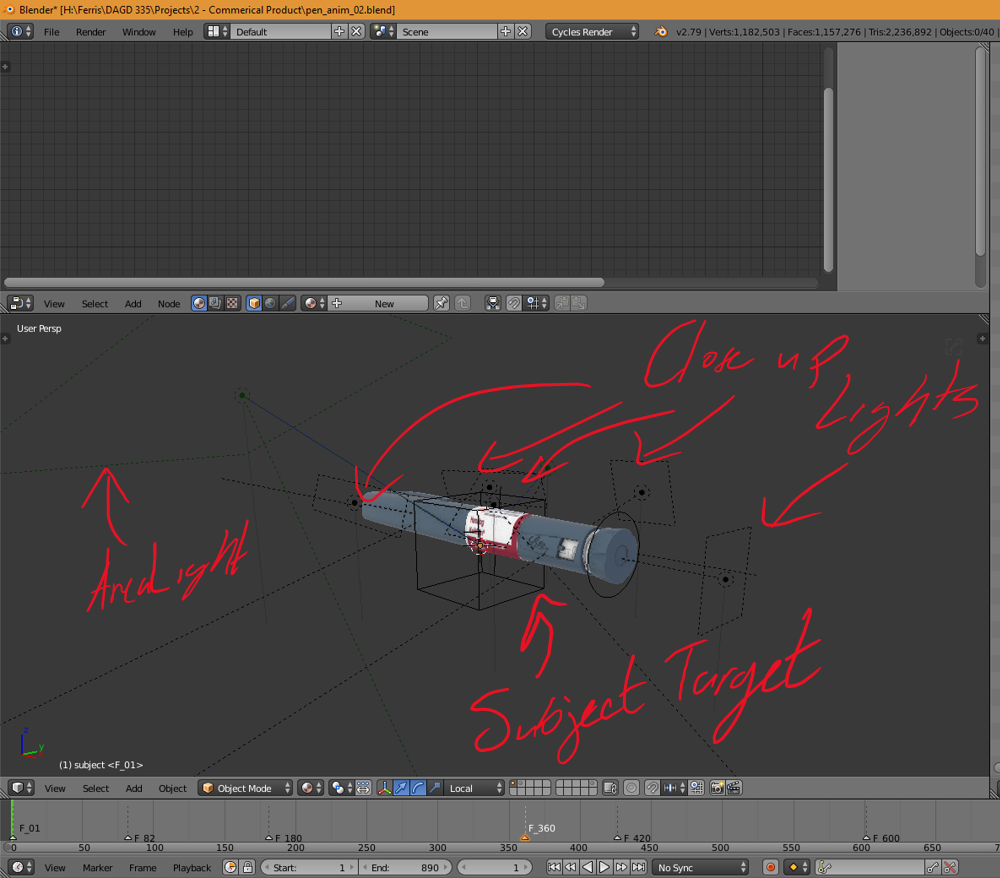
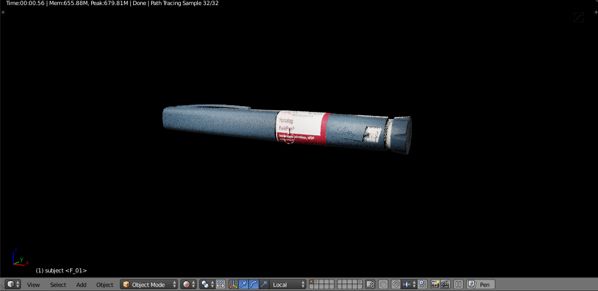
Several lights were set up in the scene - close up and distant - to effectively illuminate the pen and its highlights as minutely as possible. Another reason for this was to get highlights along the entire pen, as suggested from my instructor.

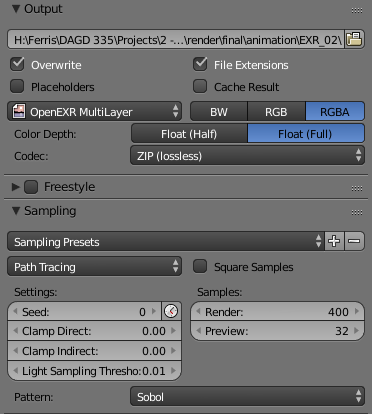
In preparation of compositing in After Effects, I enabled the following render passes and set each frame of the animation to output as Multi-layer EXRs. Doing this retains all the data from each said render pass so that they can be used outside of Blender, such as Nuke, and, in this case, After Effects.
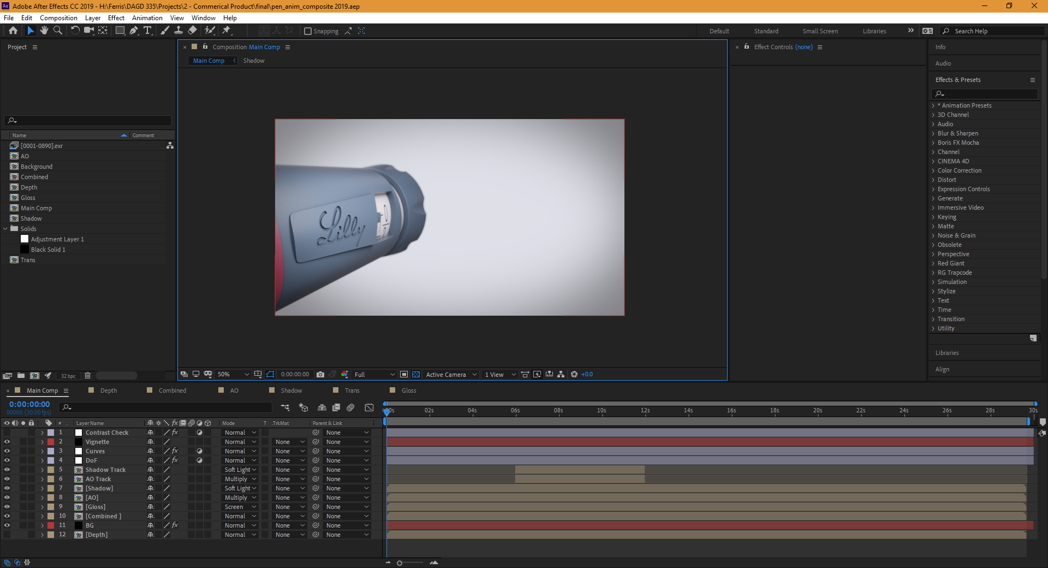
Overview of Compositions within After Effects
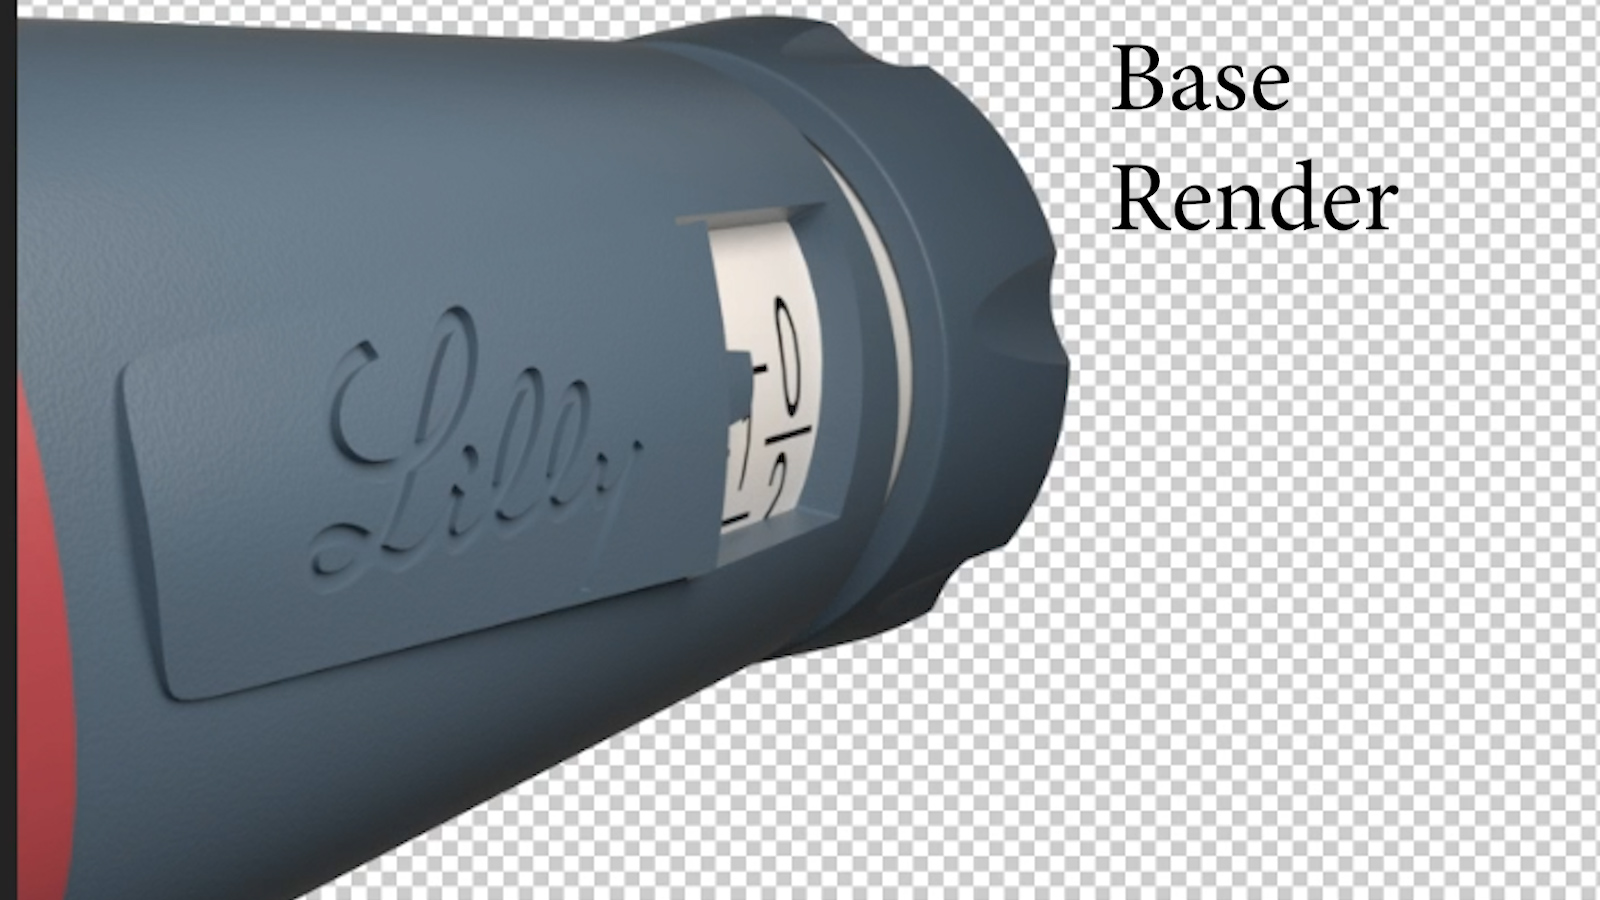


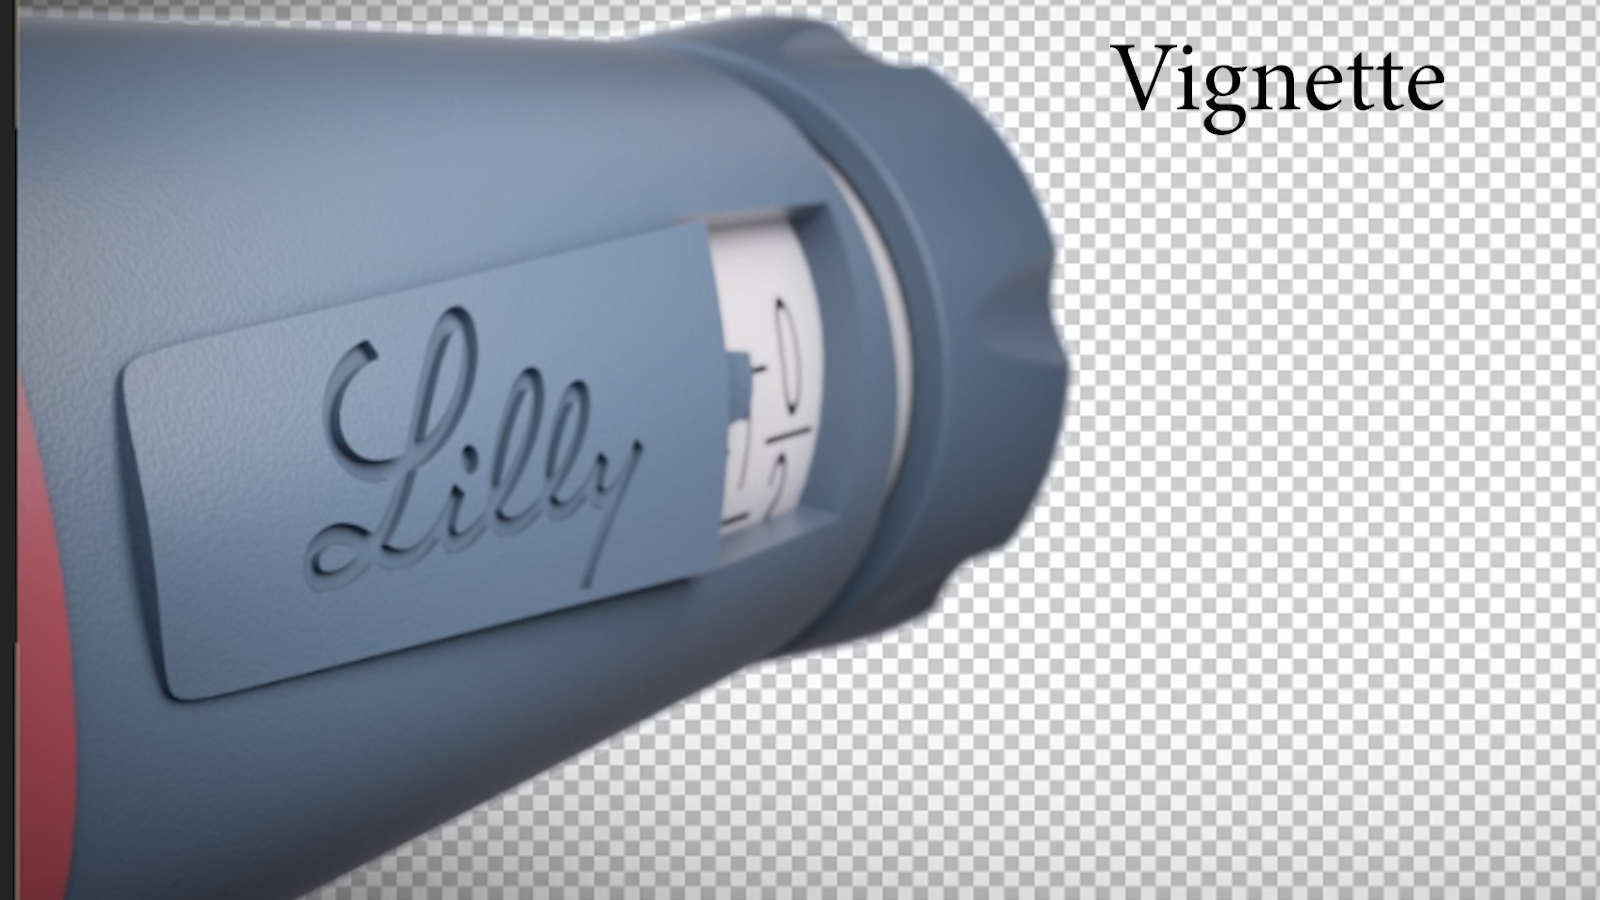
Various render passes were composited over each other to enhance the raw render; therefore, making it more appealing rather than flat.

Last but not least: after the composite in After Effects finished rendering, I used Adobe Premiere Pro to edit the footage to get the transitions and timing shots down to a "T."


Comments (0)
This project doesn't have any comments yet.